So, I decided to take this week off work (well almost all of the week, I have a meeting on Wednesday that I couldn’t reschedule). Most people would go to the beach or relax somewhere nice with their feet up, but not me, I must admit that my little addiction means I plan to spend my entire vacation working on Junebug. ![]() I know, I’m hopeless. I swear I will relax and go camping once I am done with this project! I like a challenge, and my new goal is to finish Junebug (or get as close as possible) by the last week of July (i.e. two weeks from now
I know, I’m hopeless. I swear I will relax and go camping once I am done with this project! I like a challenge, and my new goal is to finish Junebug (or get as close as possible) by the last week of July (i.e. two weeks from now ![]() ). My family is coming down to my grandma’s in Austin to visit, and I would love to take Junebug to her house again to show how changed she is!
). My family is coming down to my grandma’s in Austin to visit, and I would love to take Junebug to her house again to show how changed she is!
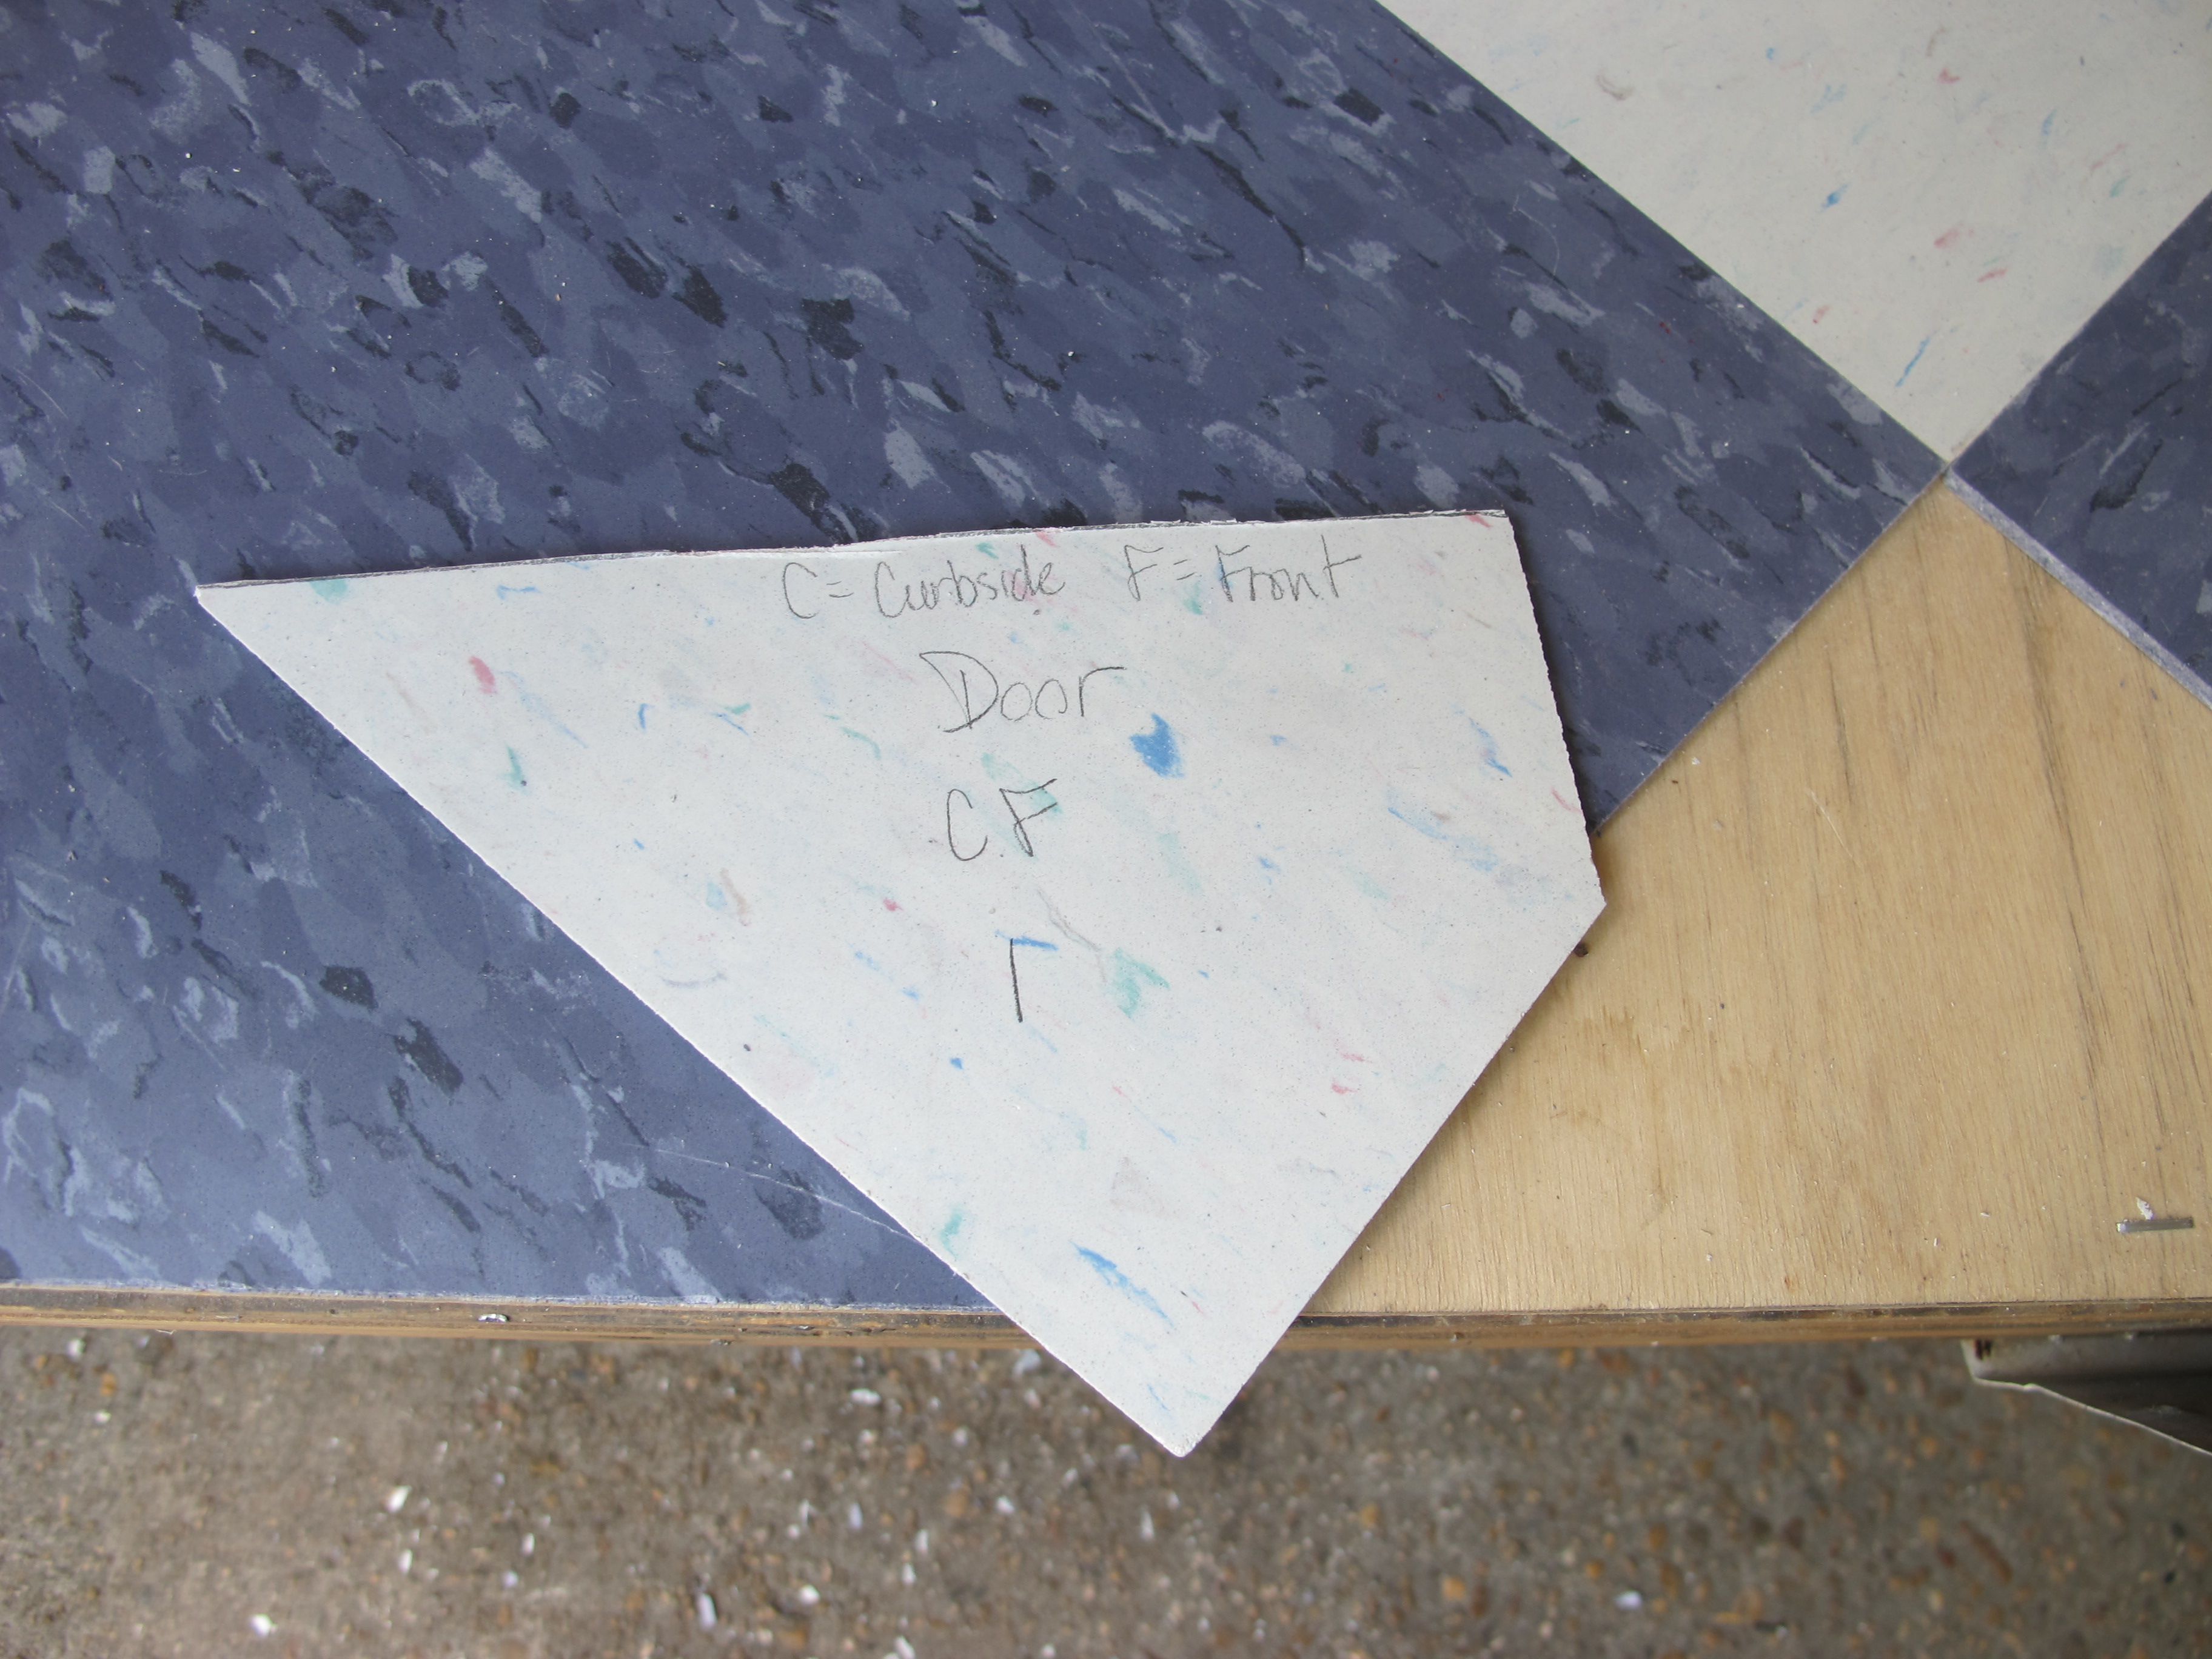
Early last week, I called Steve at Hemet Valley RV and ordered my new pre-polished aluminum siding for Junebug. I sent him the “lovely” drawing below to help explain my order. I think it’s pretty clear that my sketching abilities are rudimentary at best. haha
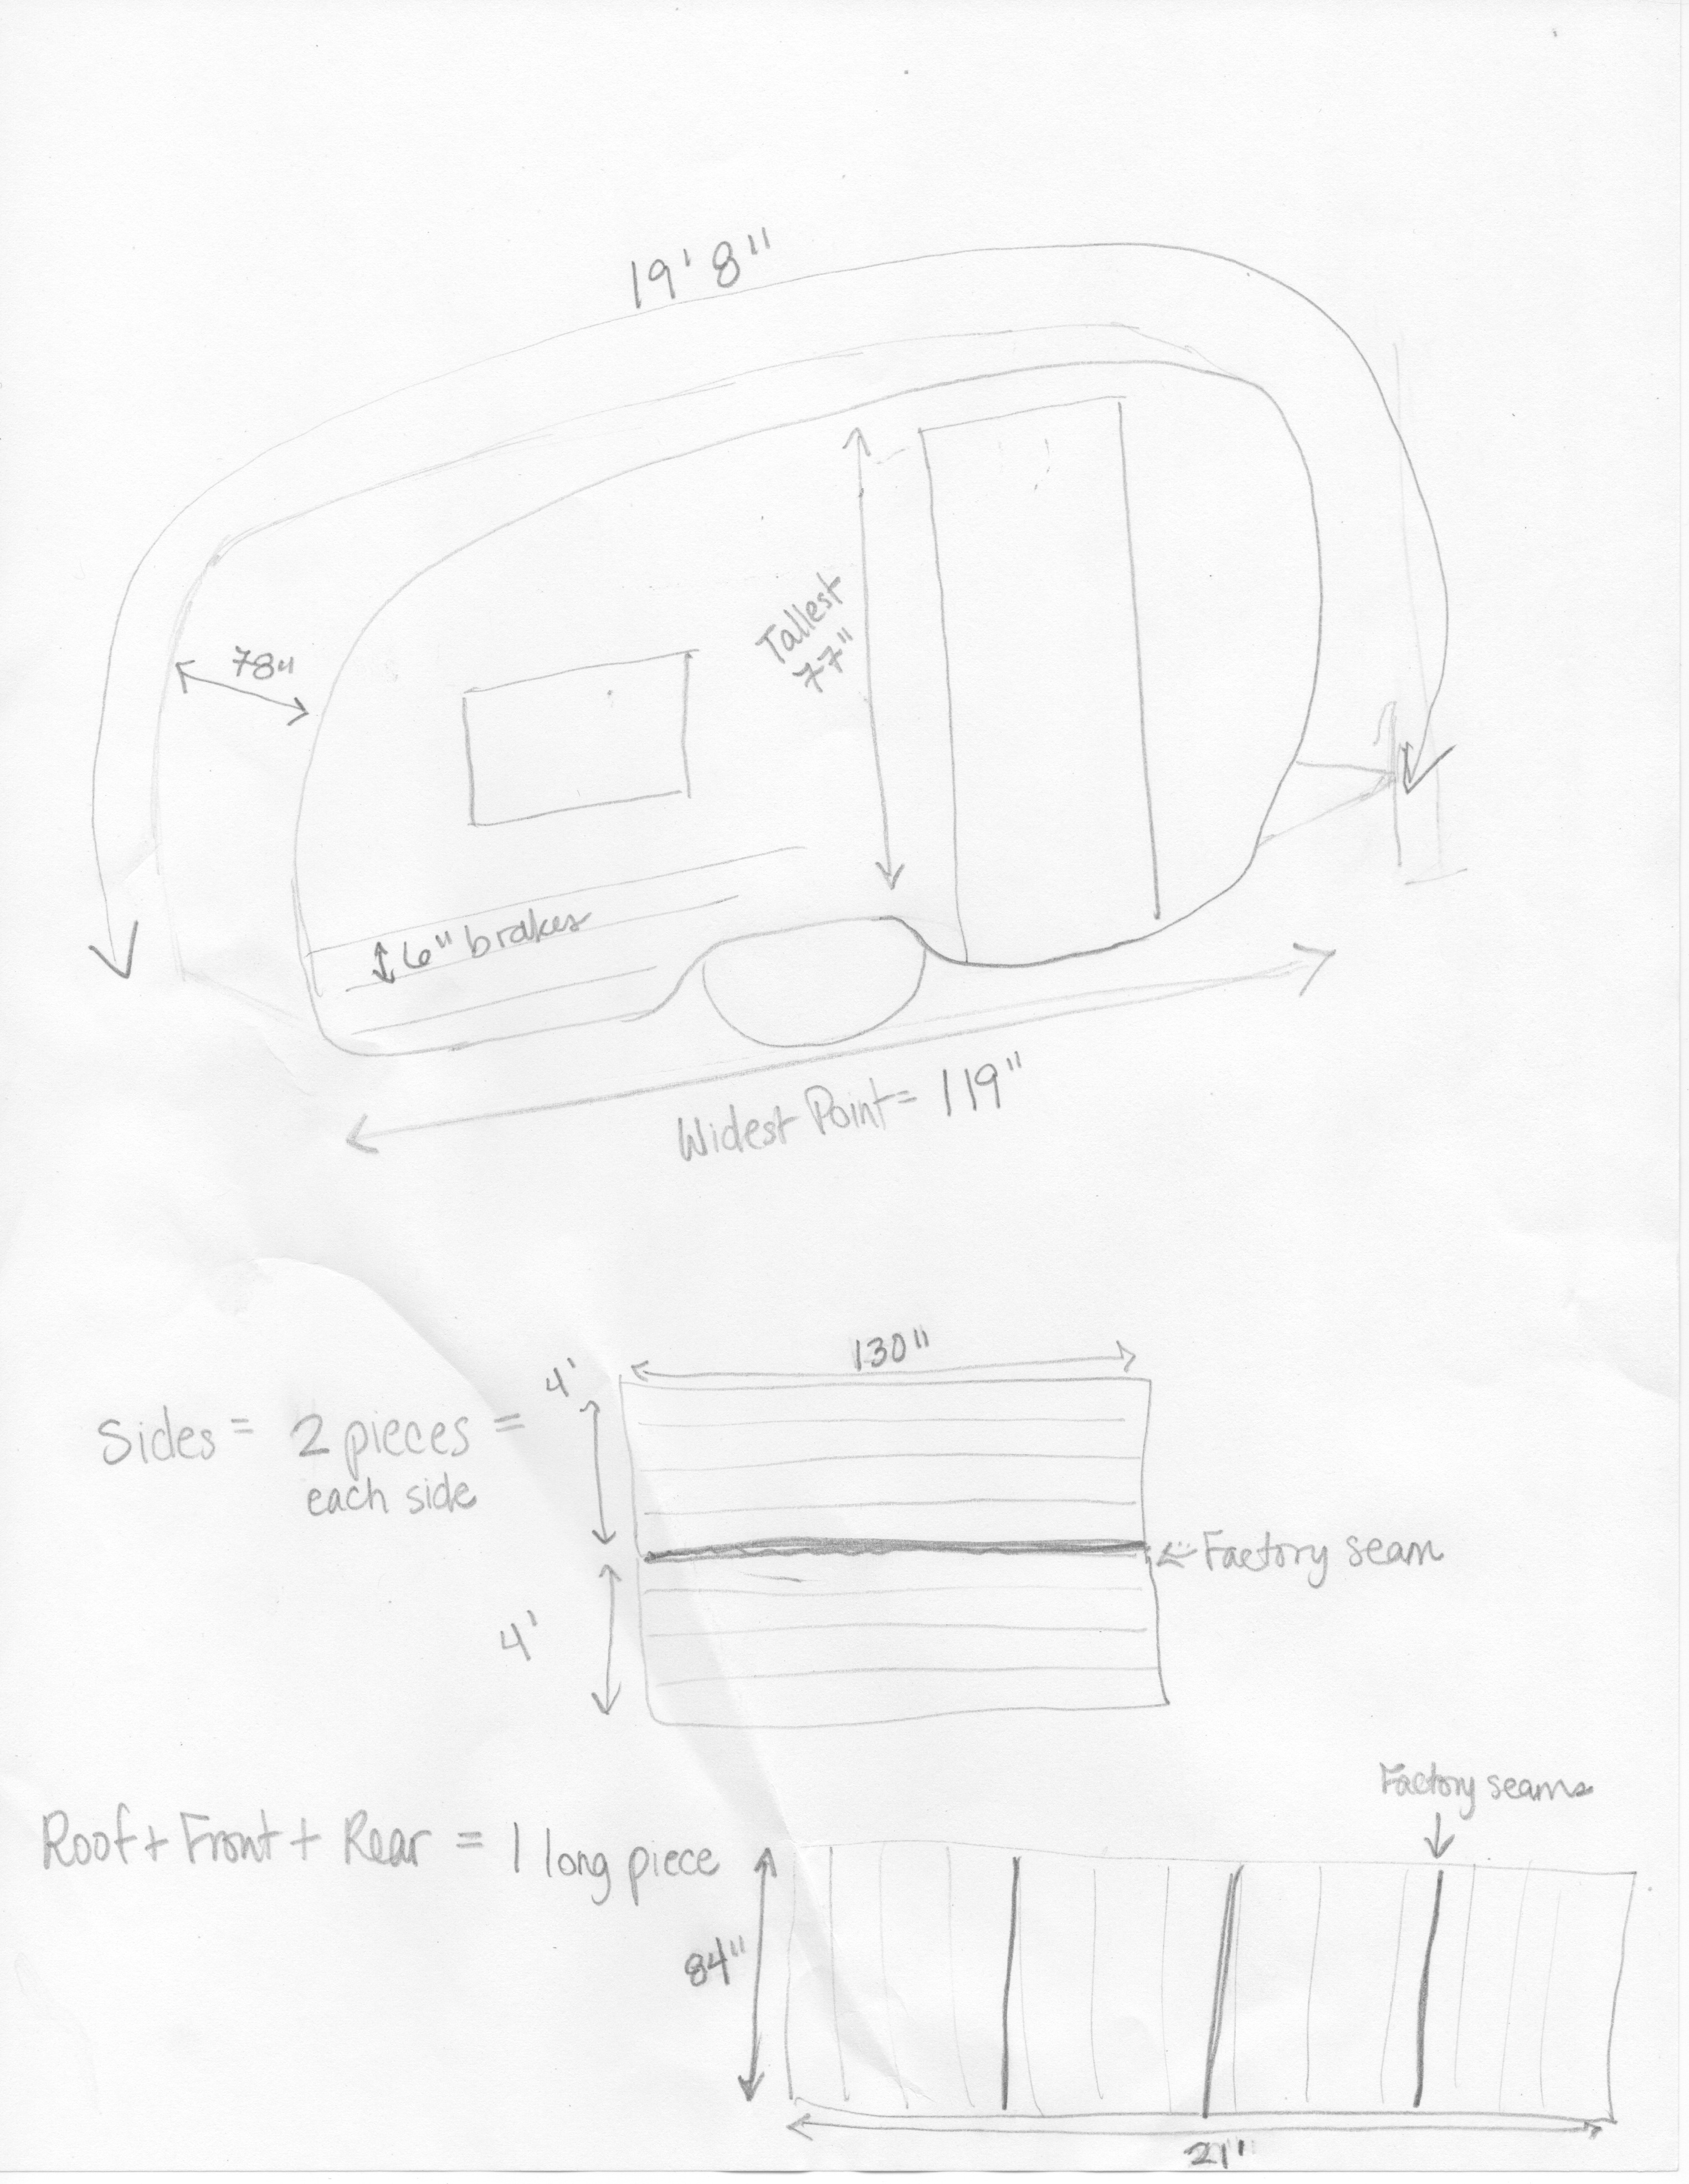
In order the measure the size of the roof/rear/front of Junebug, I actually tied a piece of twine to the tongue and then threw the rest over the top of the camper until it fell on the other side. After that, I removed the twine and measured how long it was. I don’t know if this was the best method, but it was sure a lot easier than trying to use the measuring tape!
After discussing the sizes I needed with Steve for a few minutes, we settled on one long piece with factory seams to cover the roof, rear, and front of the camper that would be 84″ wide by 24′ long. He wanted it to be 24′ feet long vs 20′ feet long since that would probably be cutting it too close and it comes in 4′ pieces. I will also be getting four side pieces, two for each side. Each will be 10′ long and 4′ tall, with the bottom piece already bent at the bottom so I can easily fit it to the bottom of the sides. The top piece will have an S lock seam in it so that it will easily slide into the bottom piece, creating a water-tight seal. I figured it would take a few weeks for me to get my siding, but Steve told me that it should arrive by this Thursday, July 10th! I was so pleasantly surprised that it would be ready and shipped so quickly! I have already enlisted the help of three friends next weekend to help me put it on Junebug in exchange for beer, food, and swimming in the pool after. ![]() I can’t wait!
I can’t wait!
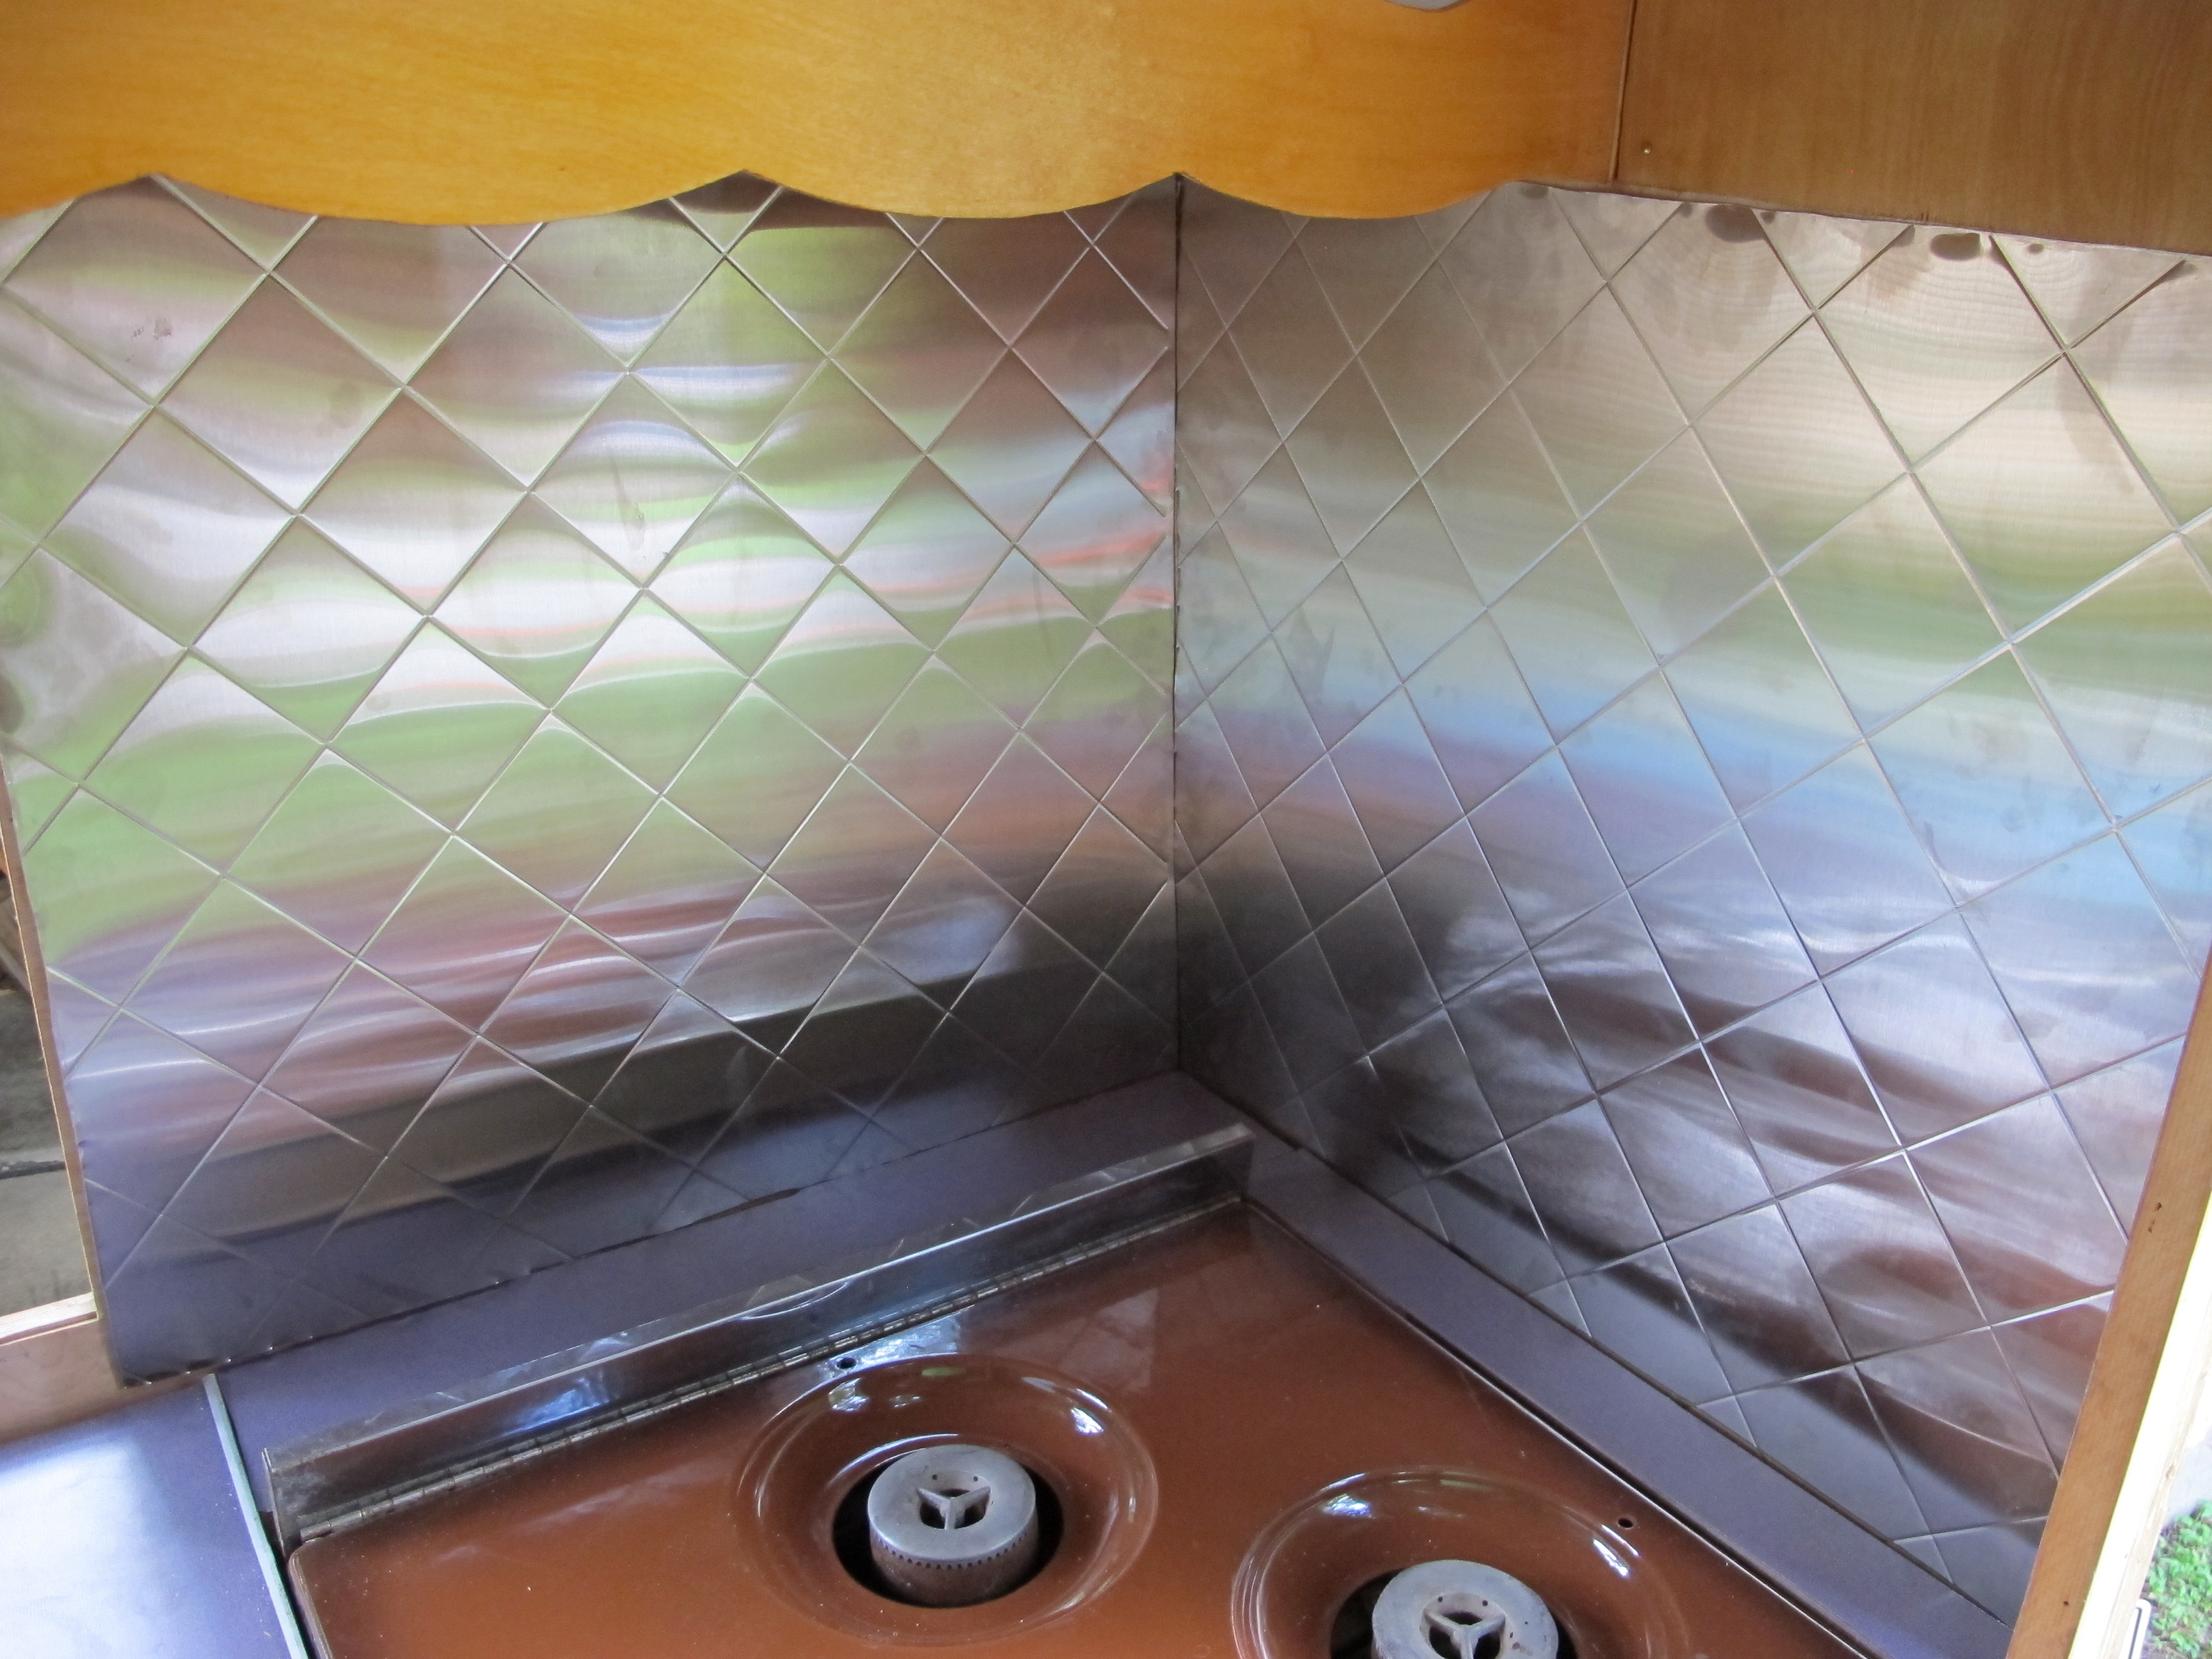
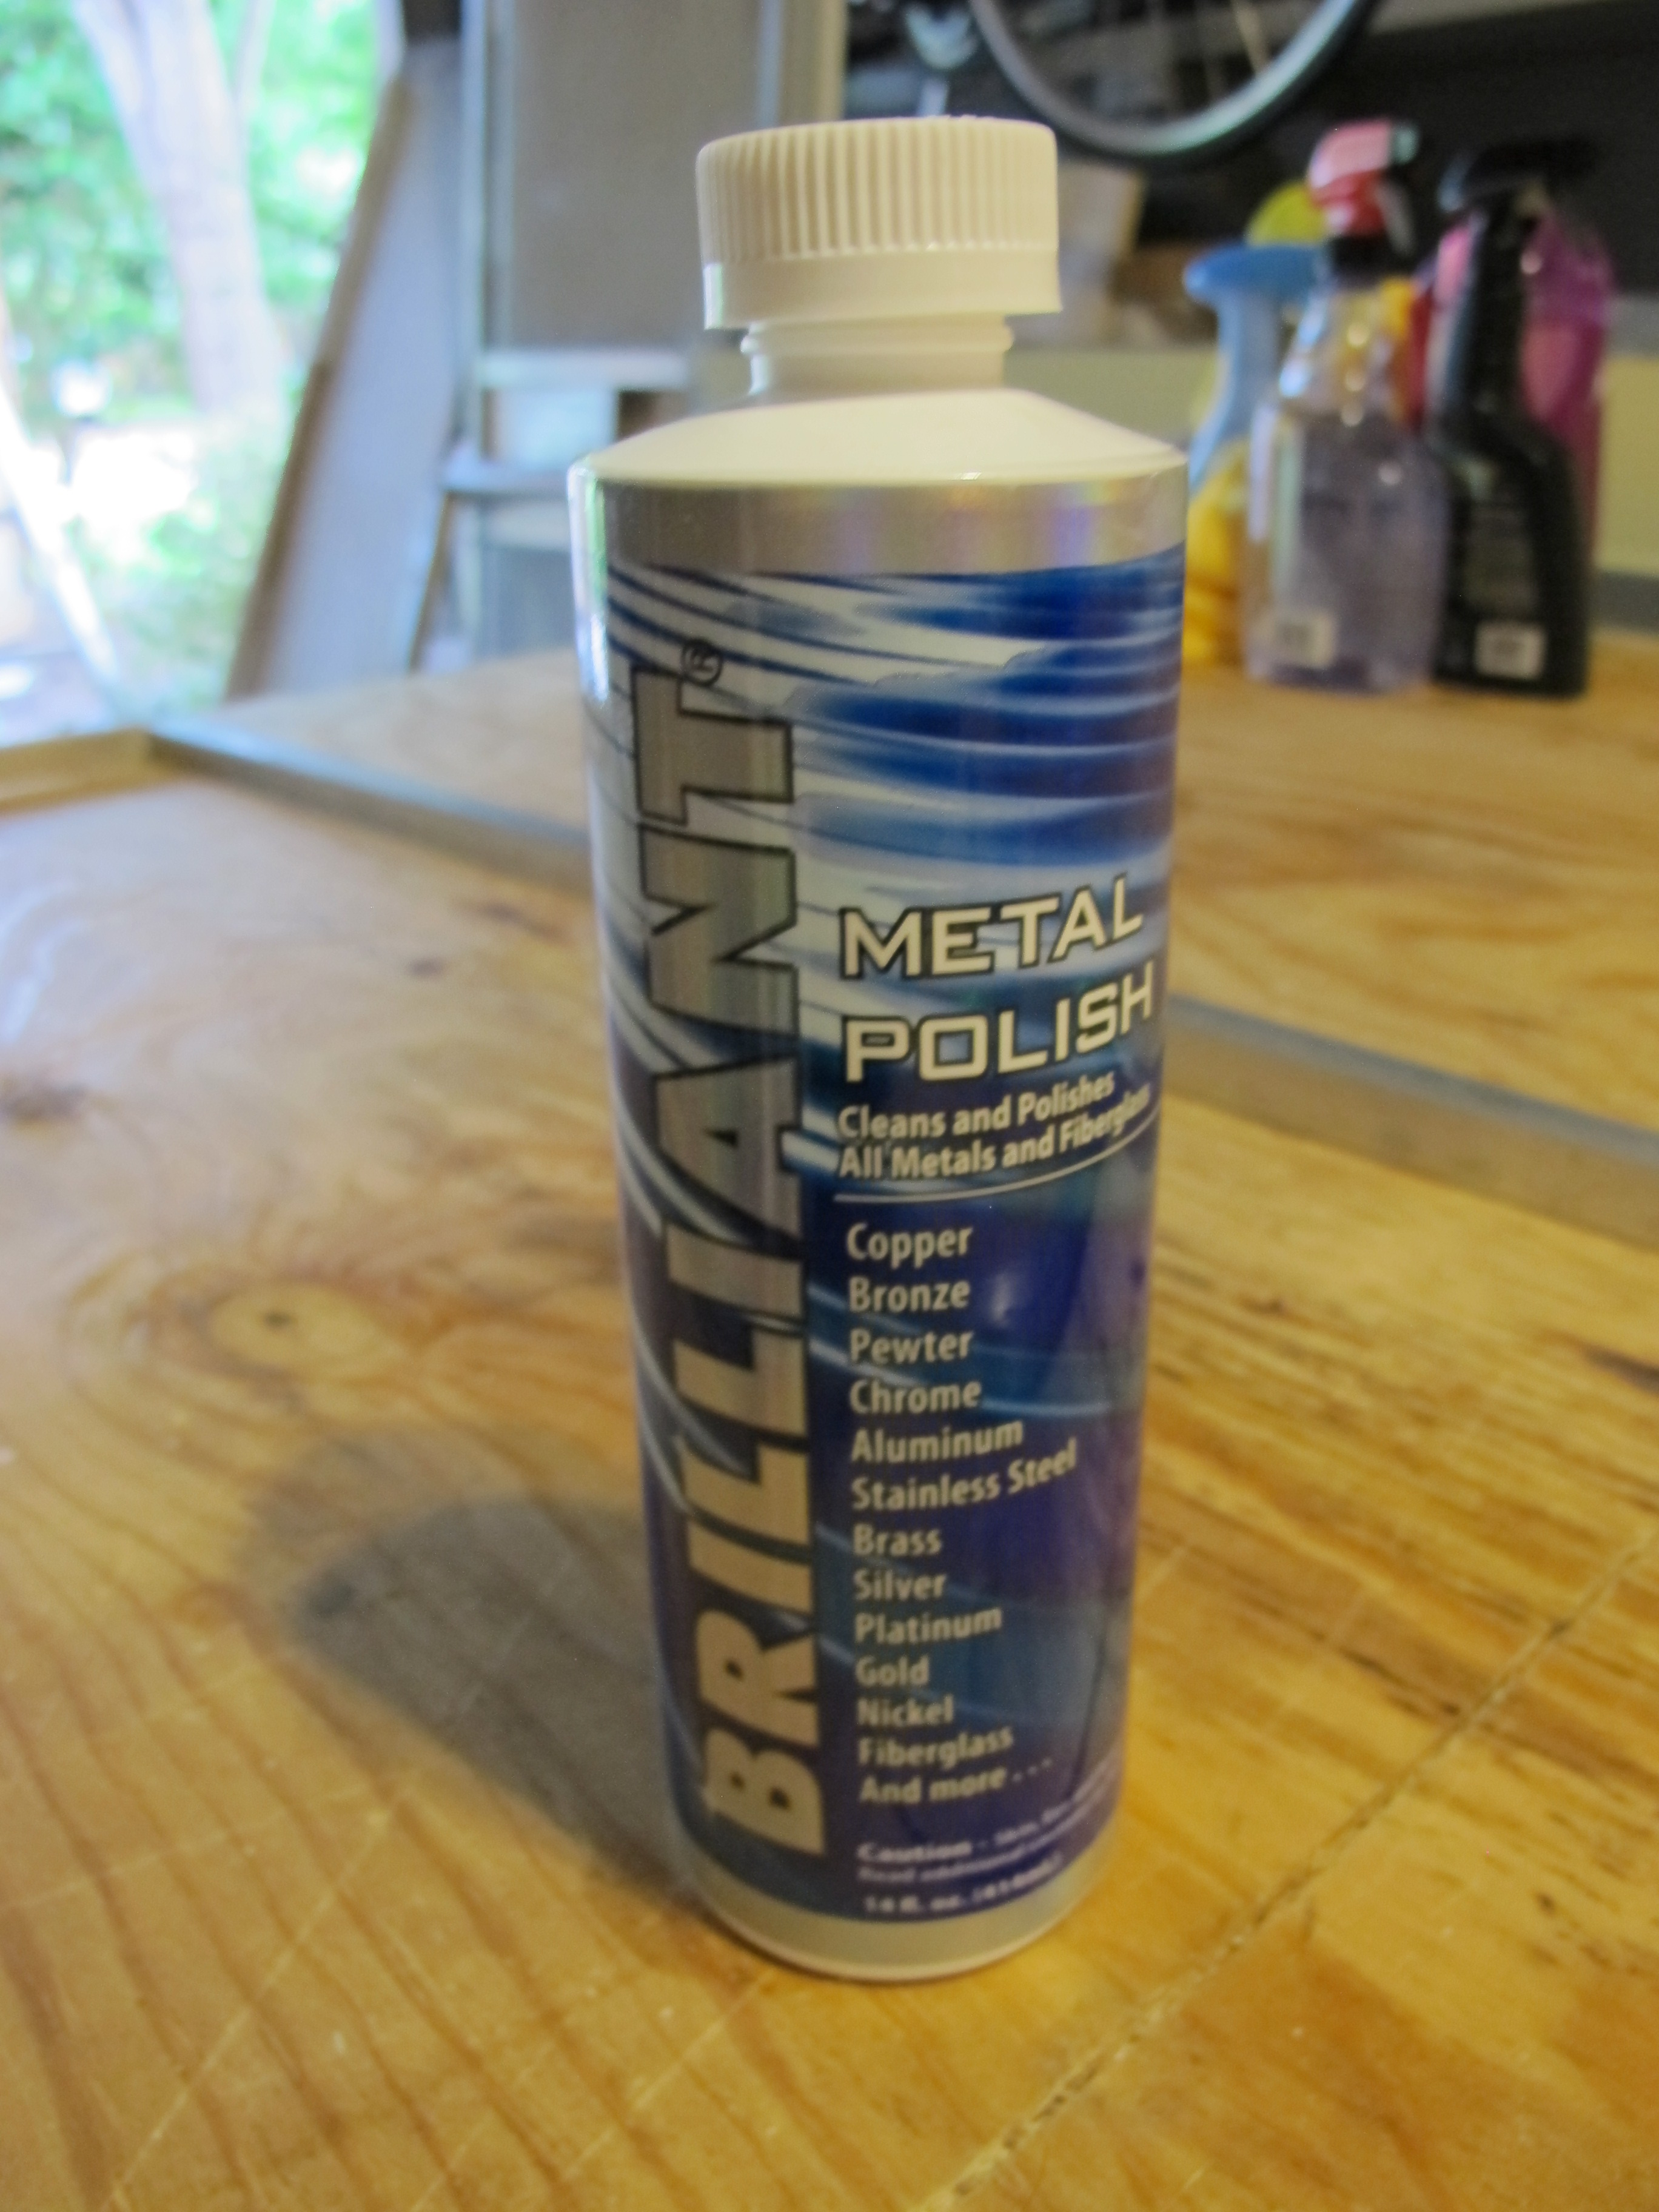
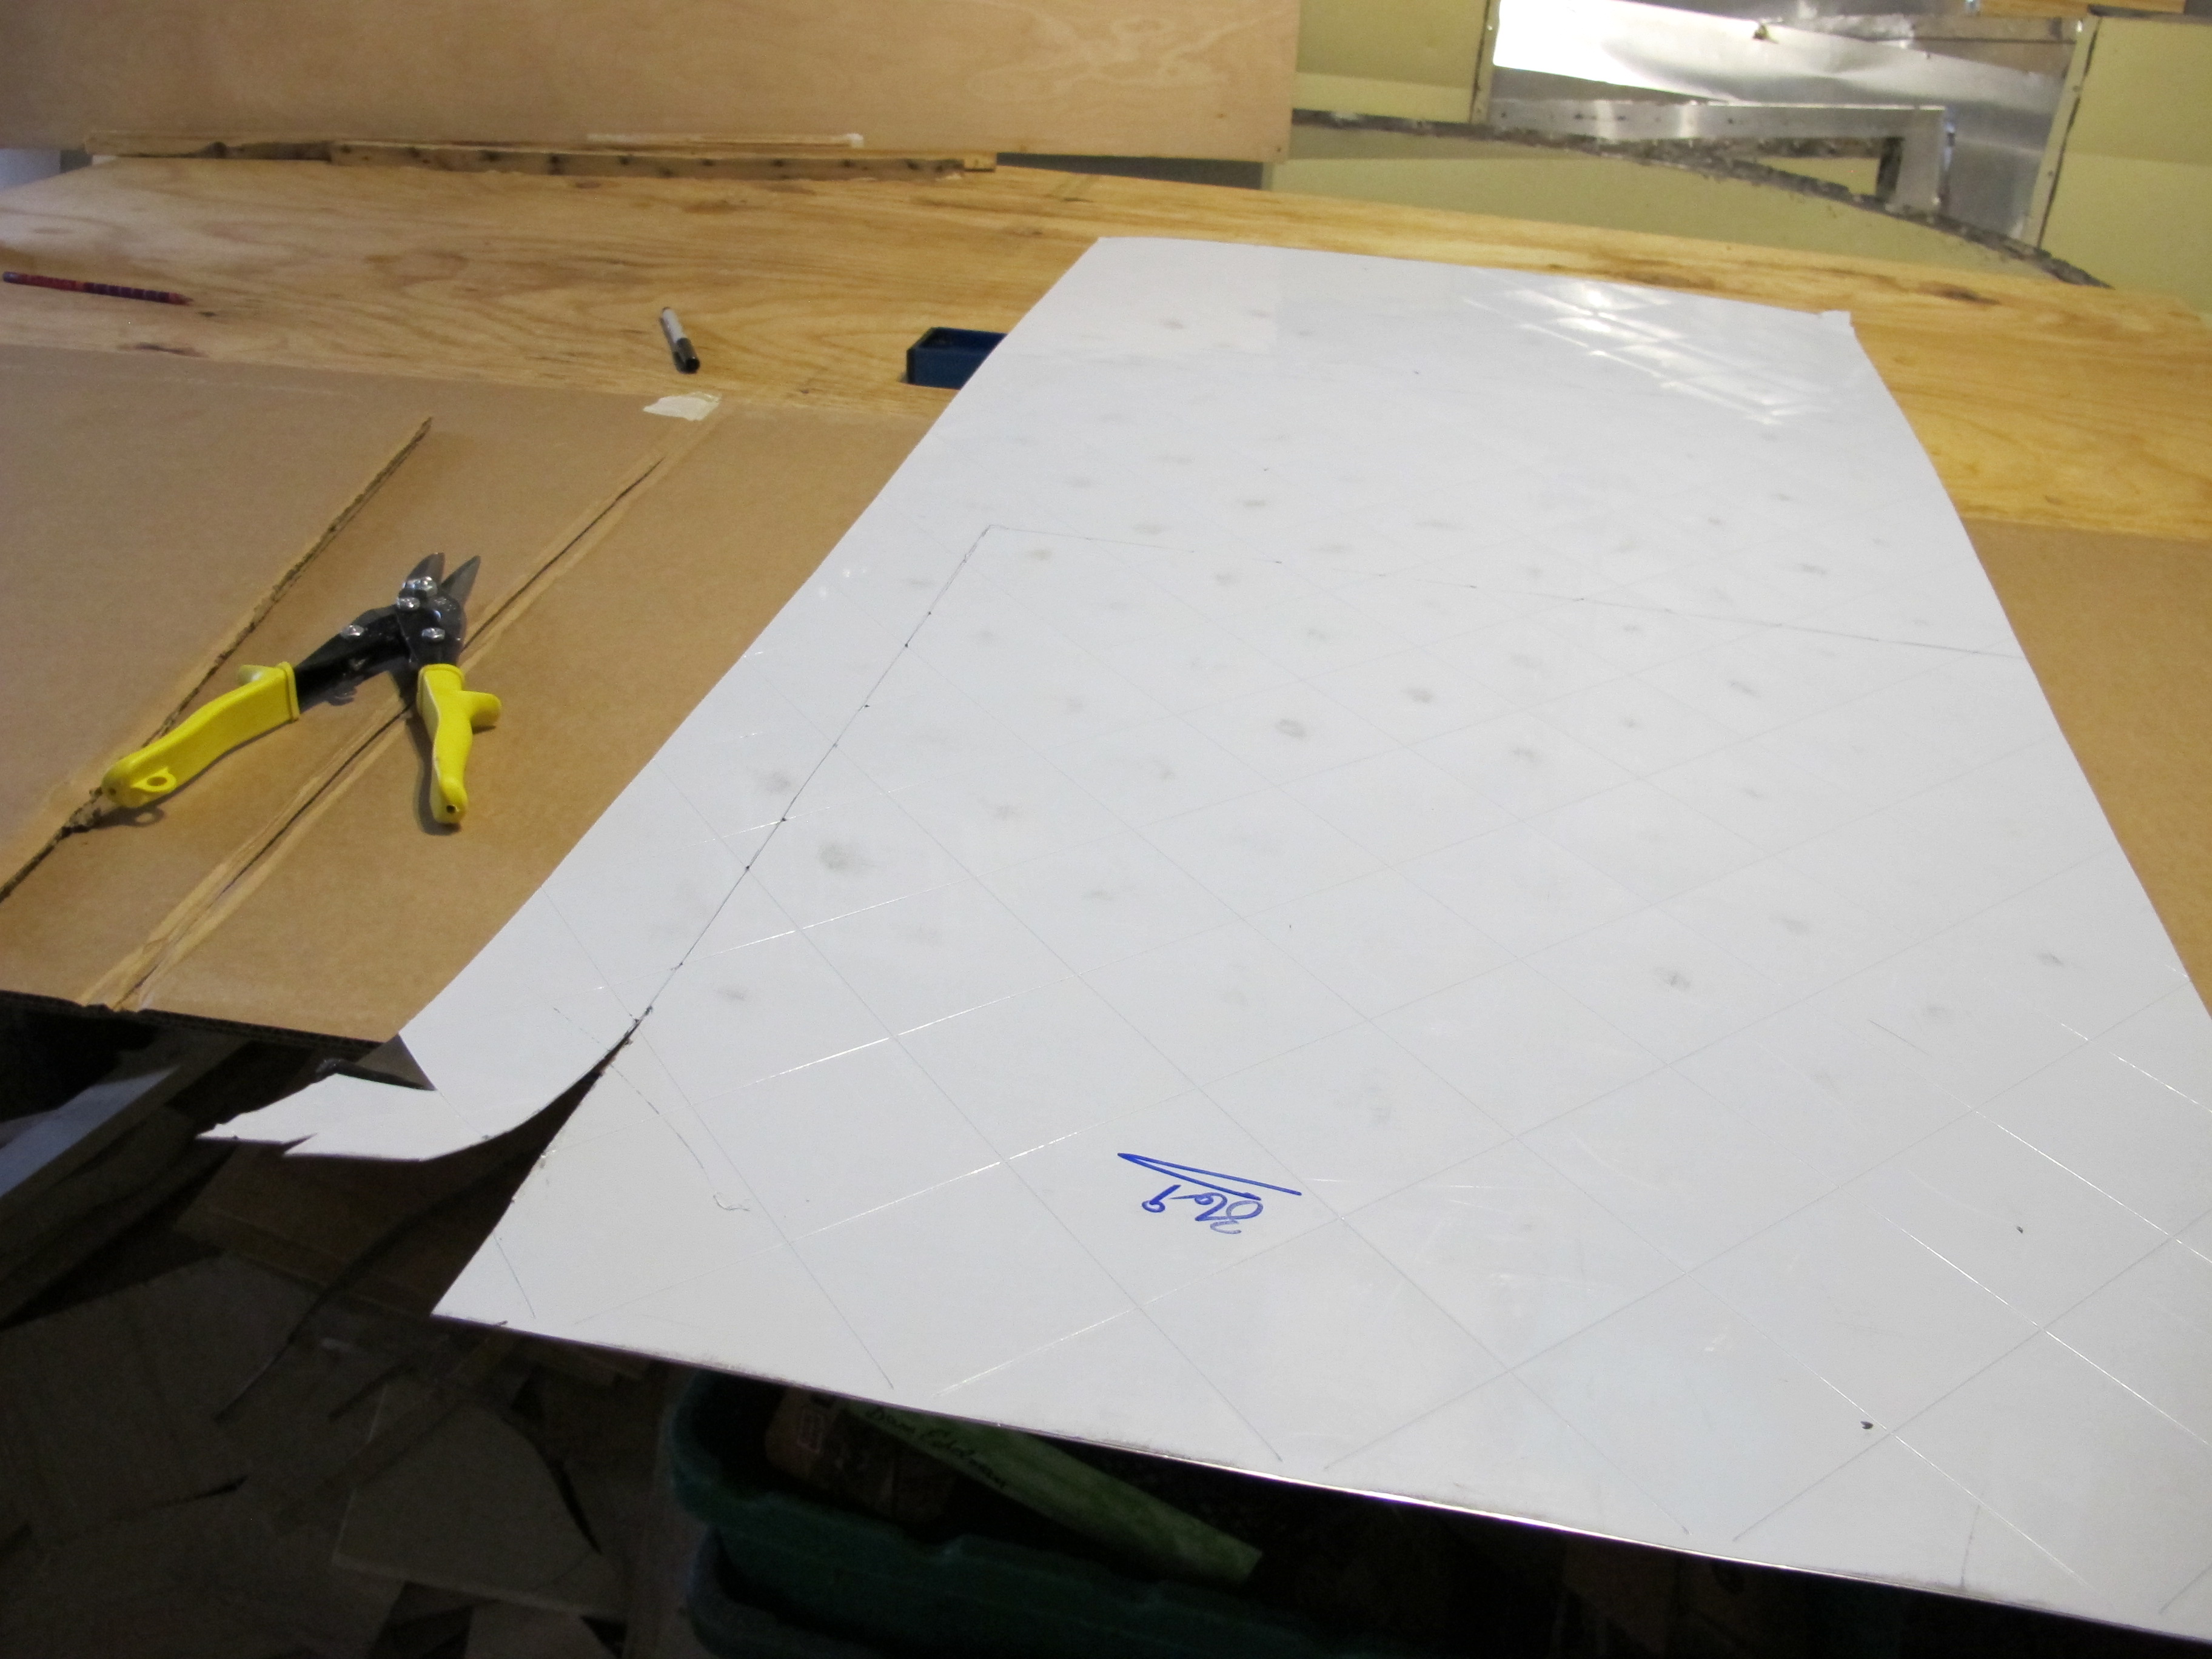
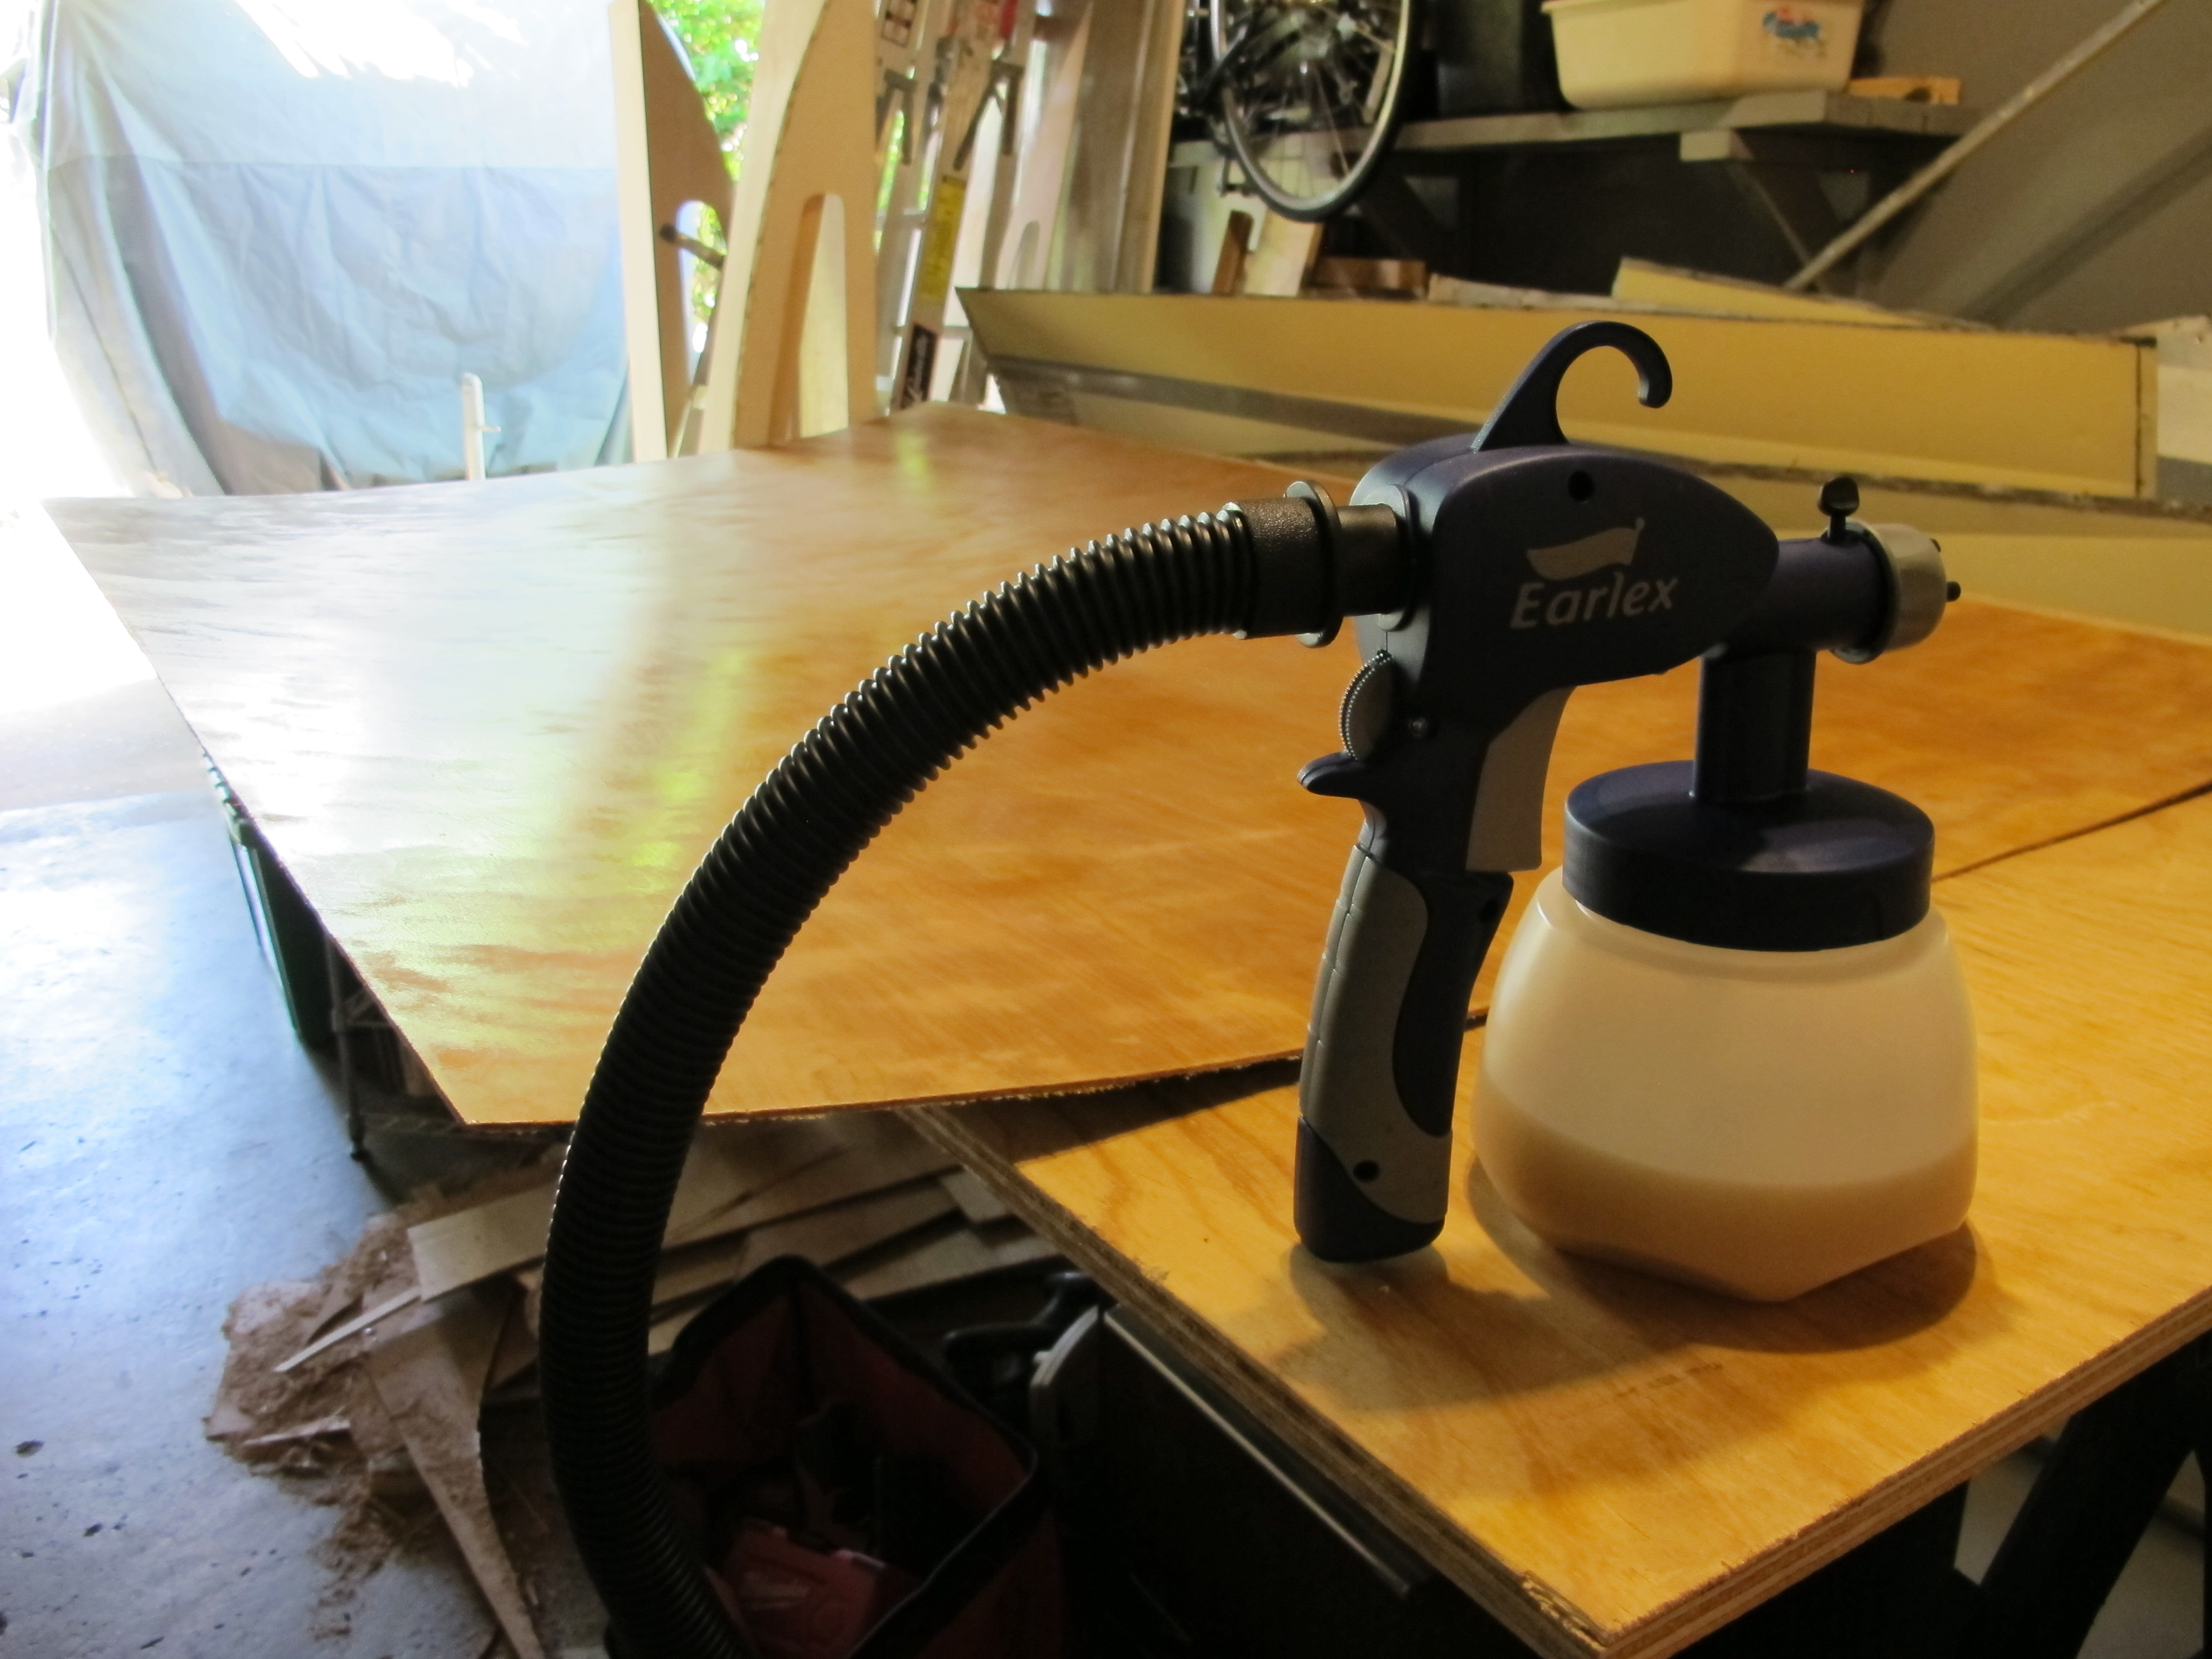
In preparation for the new skin, I decided I had better look into what type of aluminum shears I should get. I already have a multi-purpose hand-held set, but they don’t really work that well, so I wanted something better. Today, I decided to buy a pair of electric metal shears from Northern Tool. I tried them on my stainless steel backsplash, which is harder to cut than aluminum, and they worked great! I am hoping they will make cutting the aluminum siding a cinch.

My pool party for the 4th of July went well. I was slightly hungover on Saturday, but that didn’t stop me from getting a few things done on Junebug after cleaning up the mess in my house.
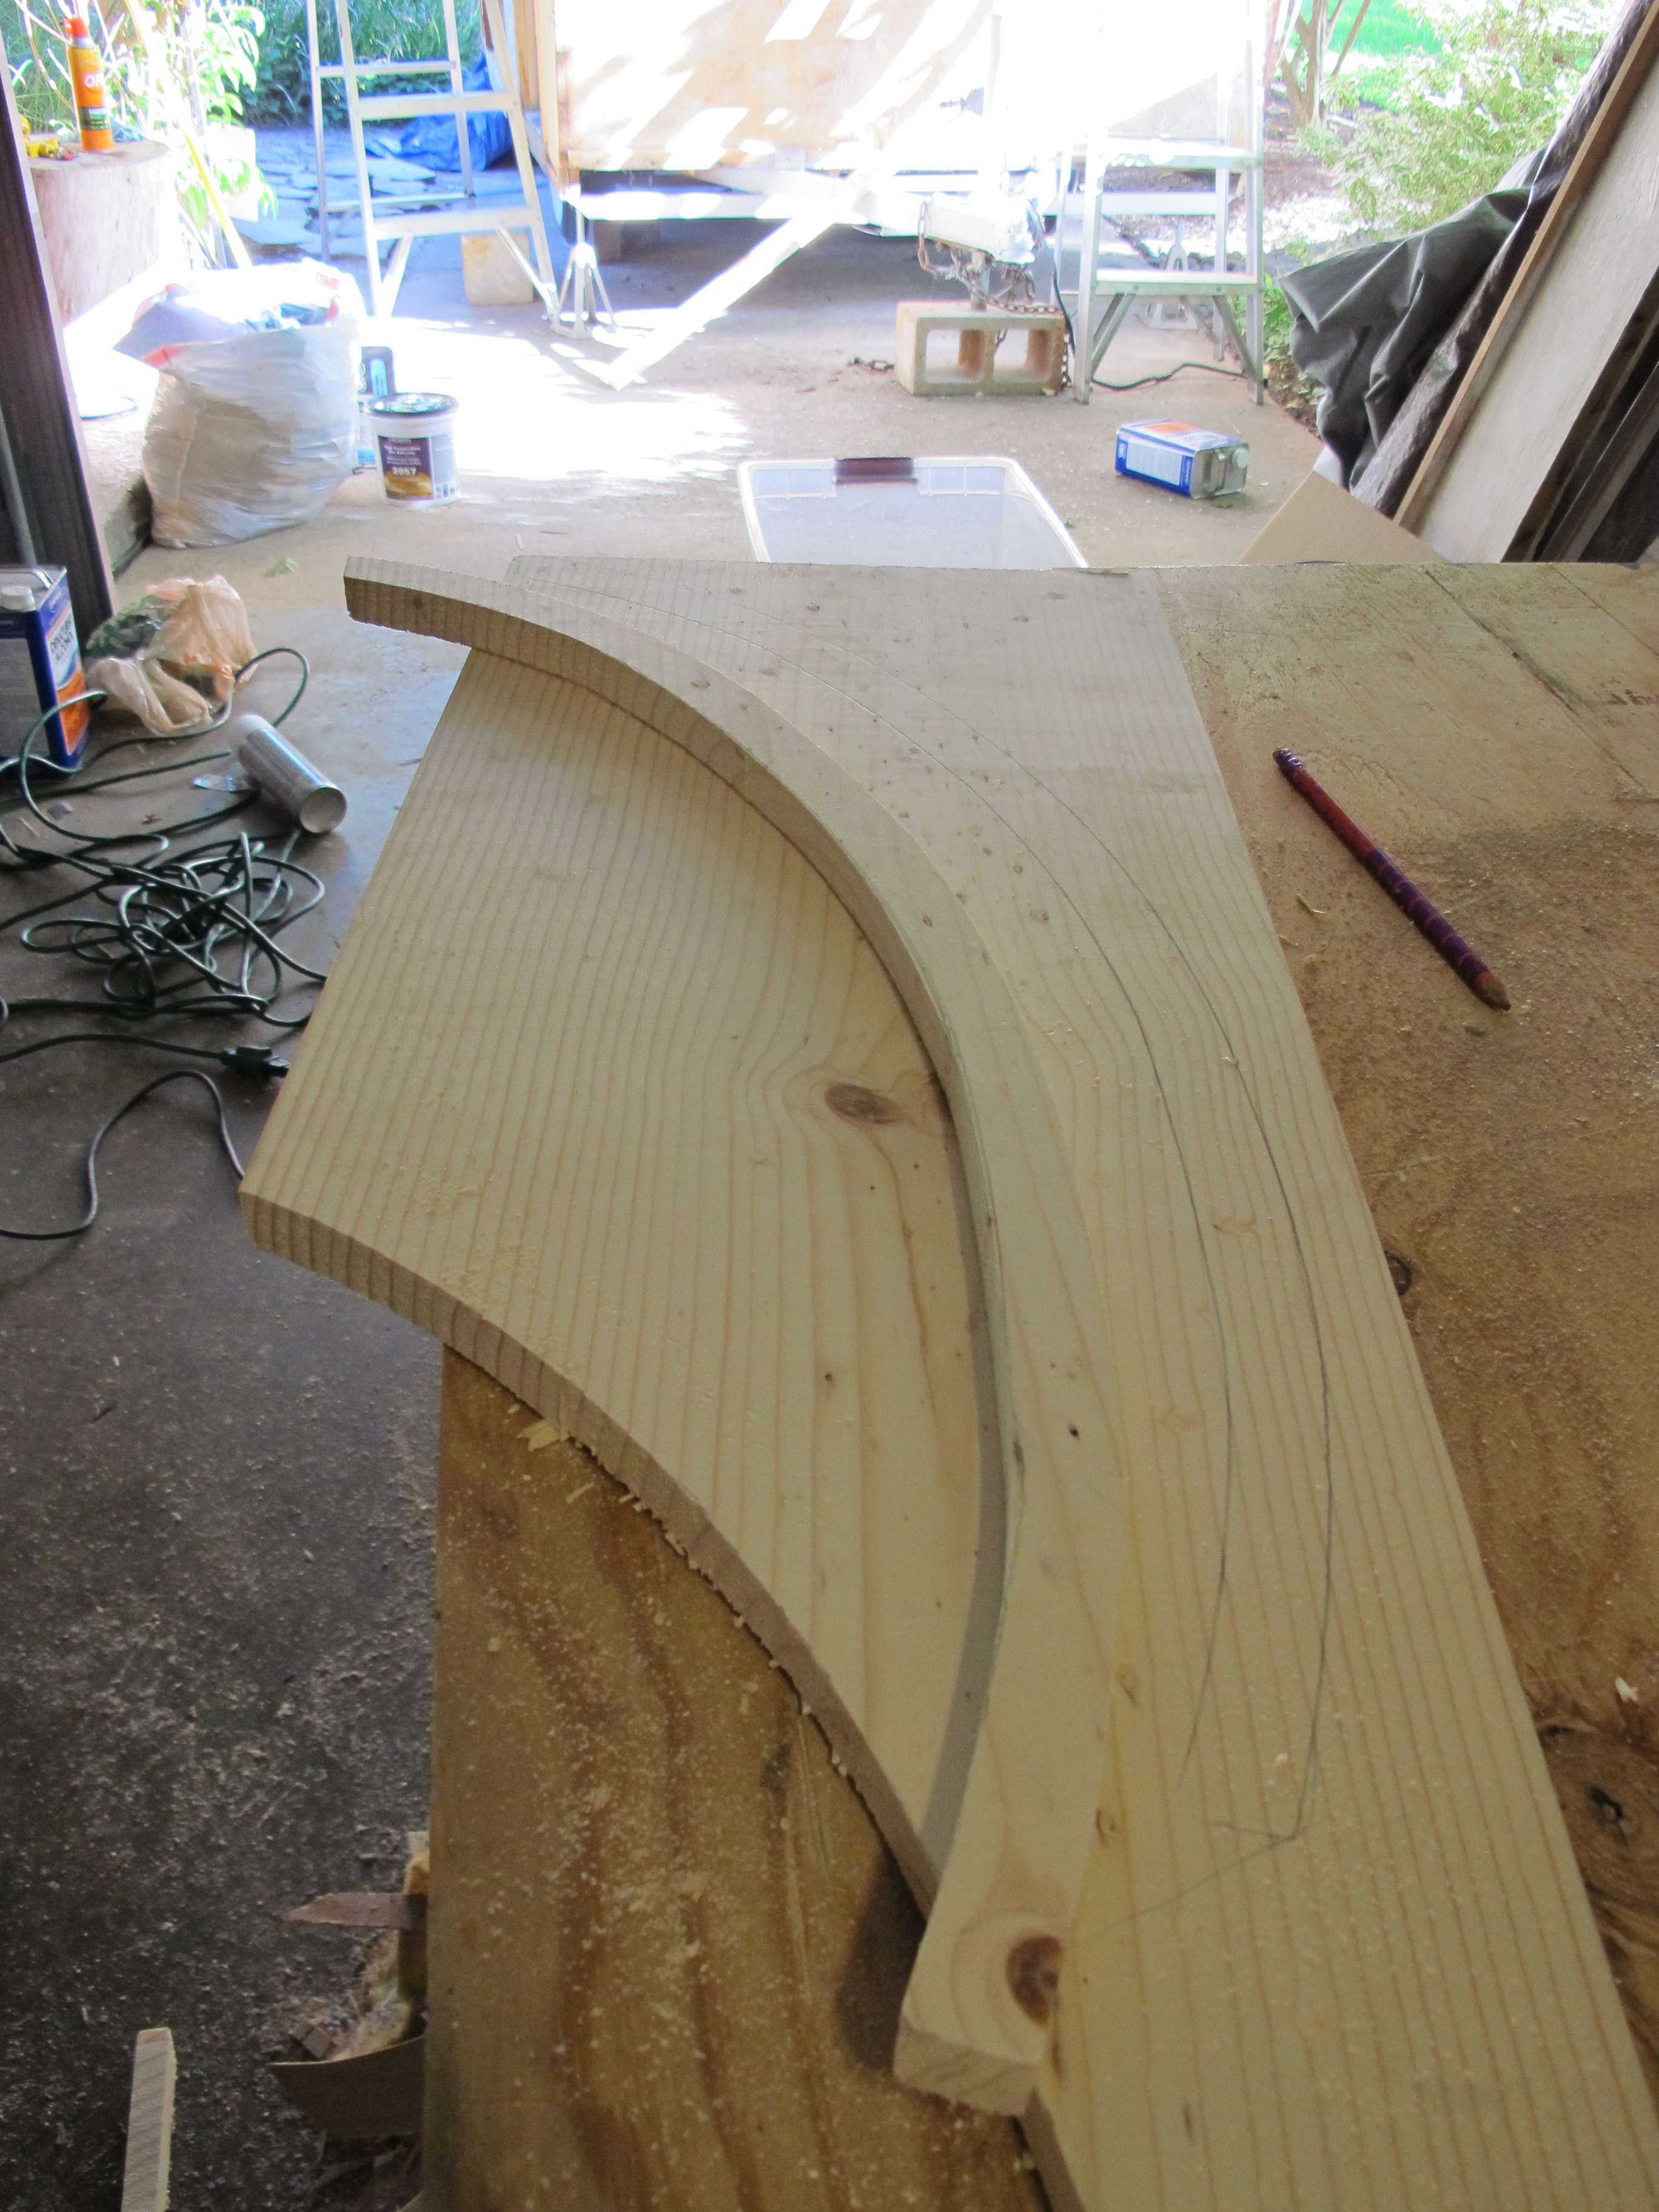
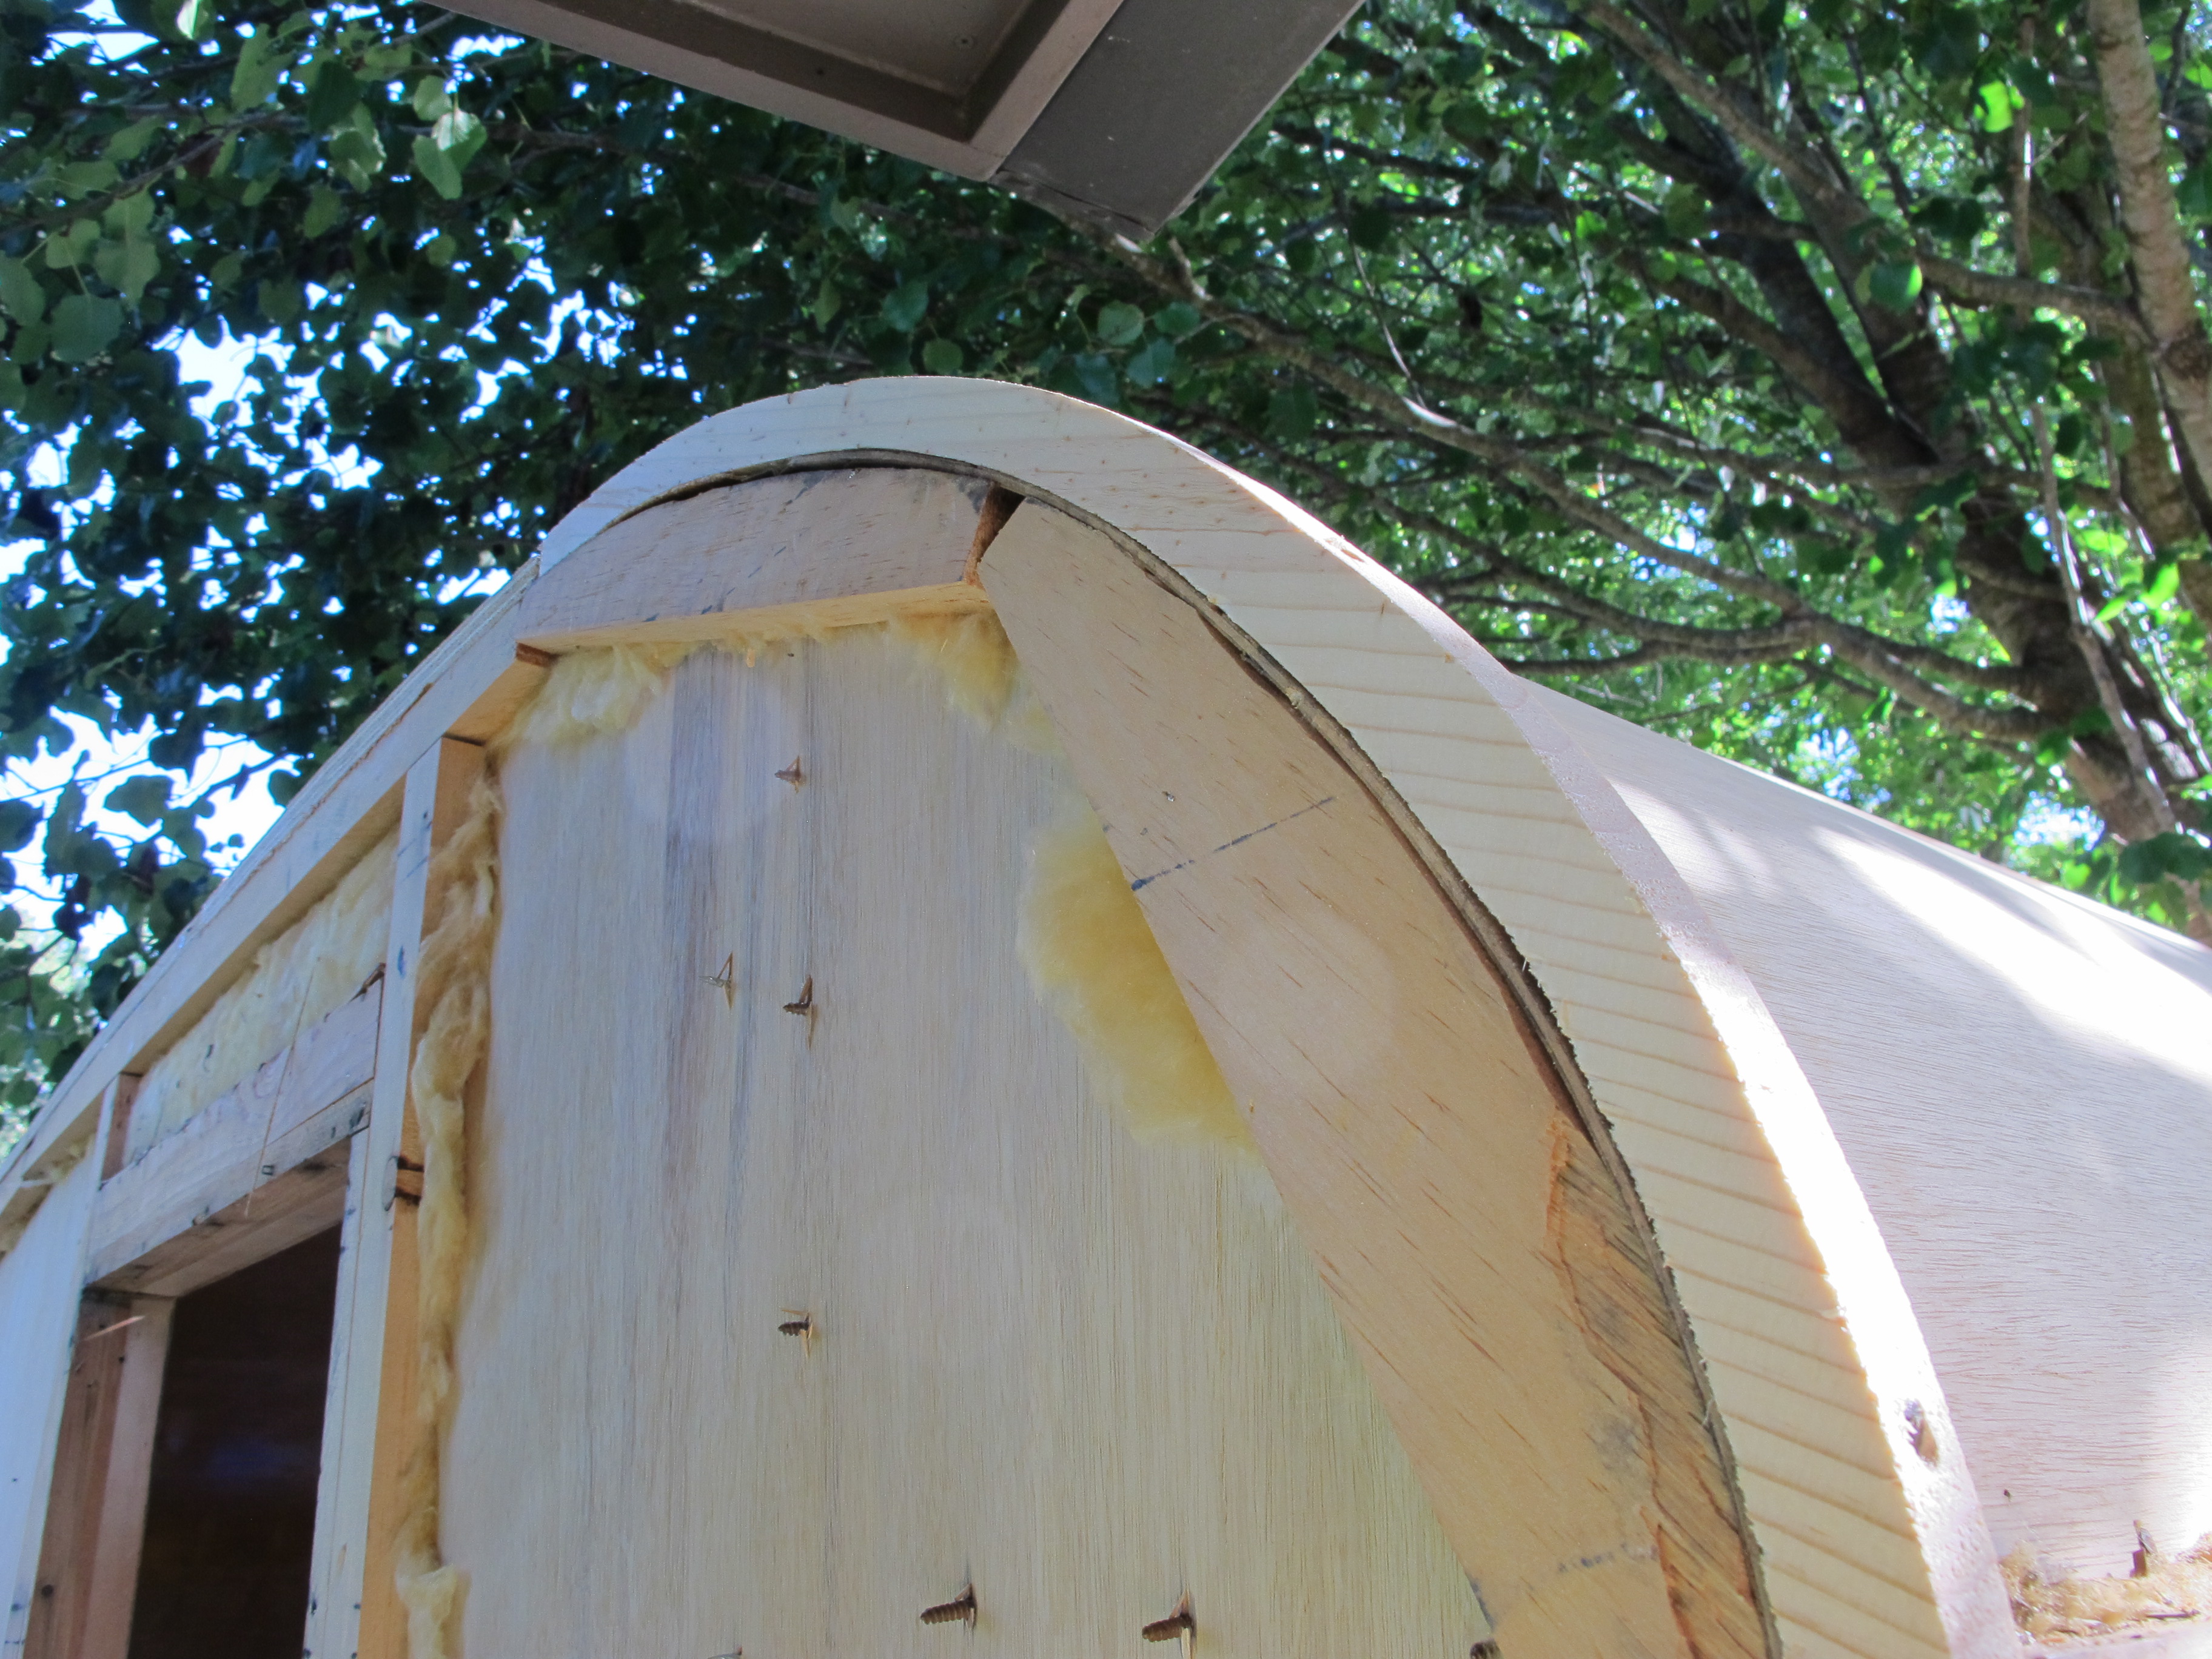
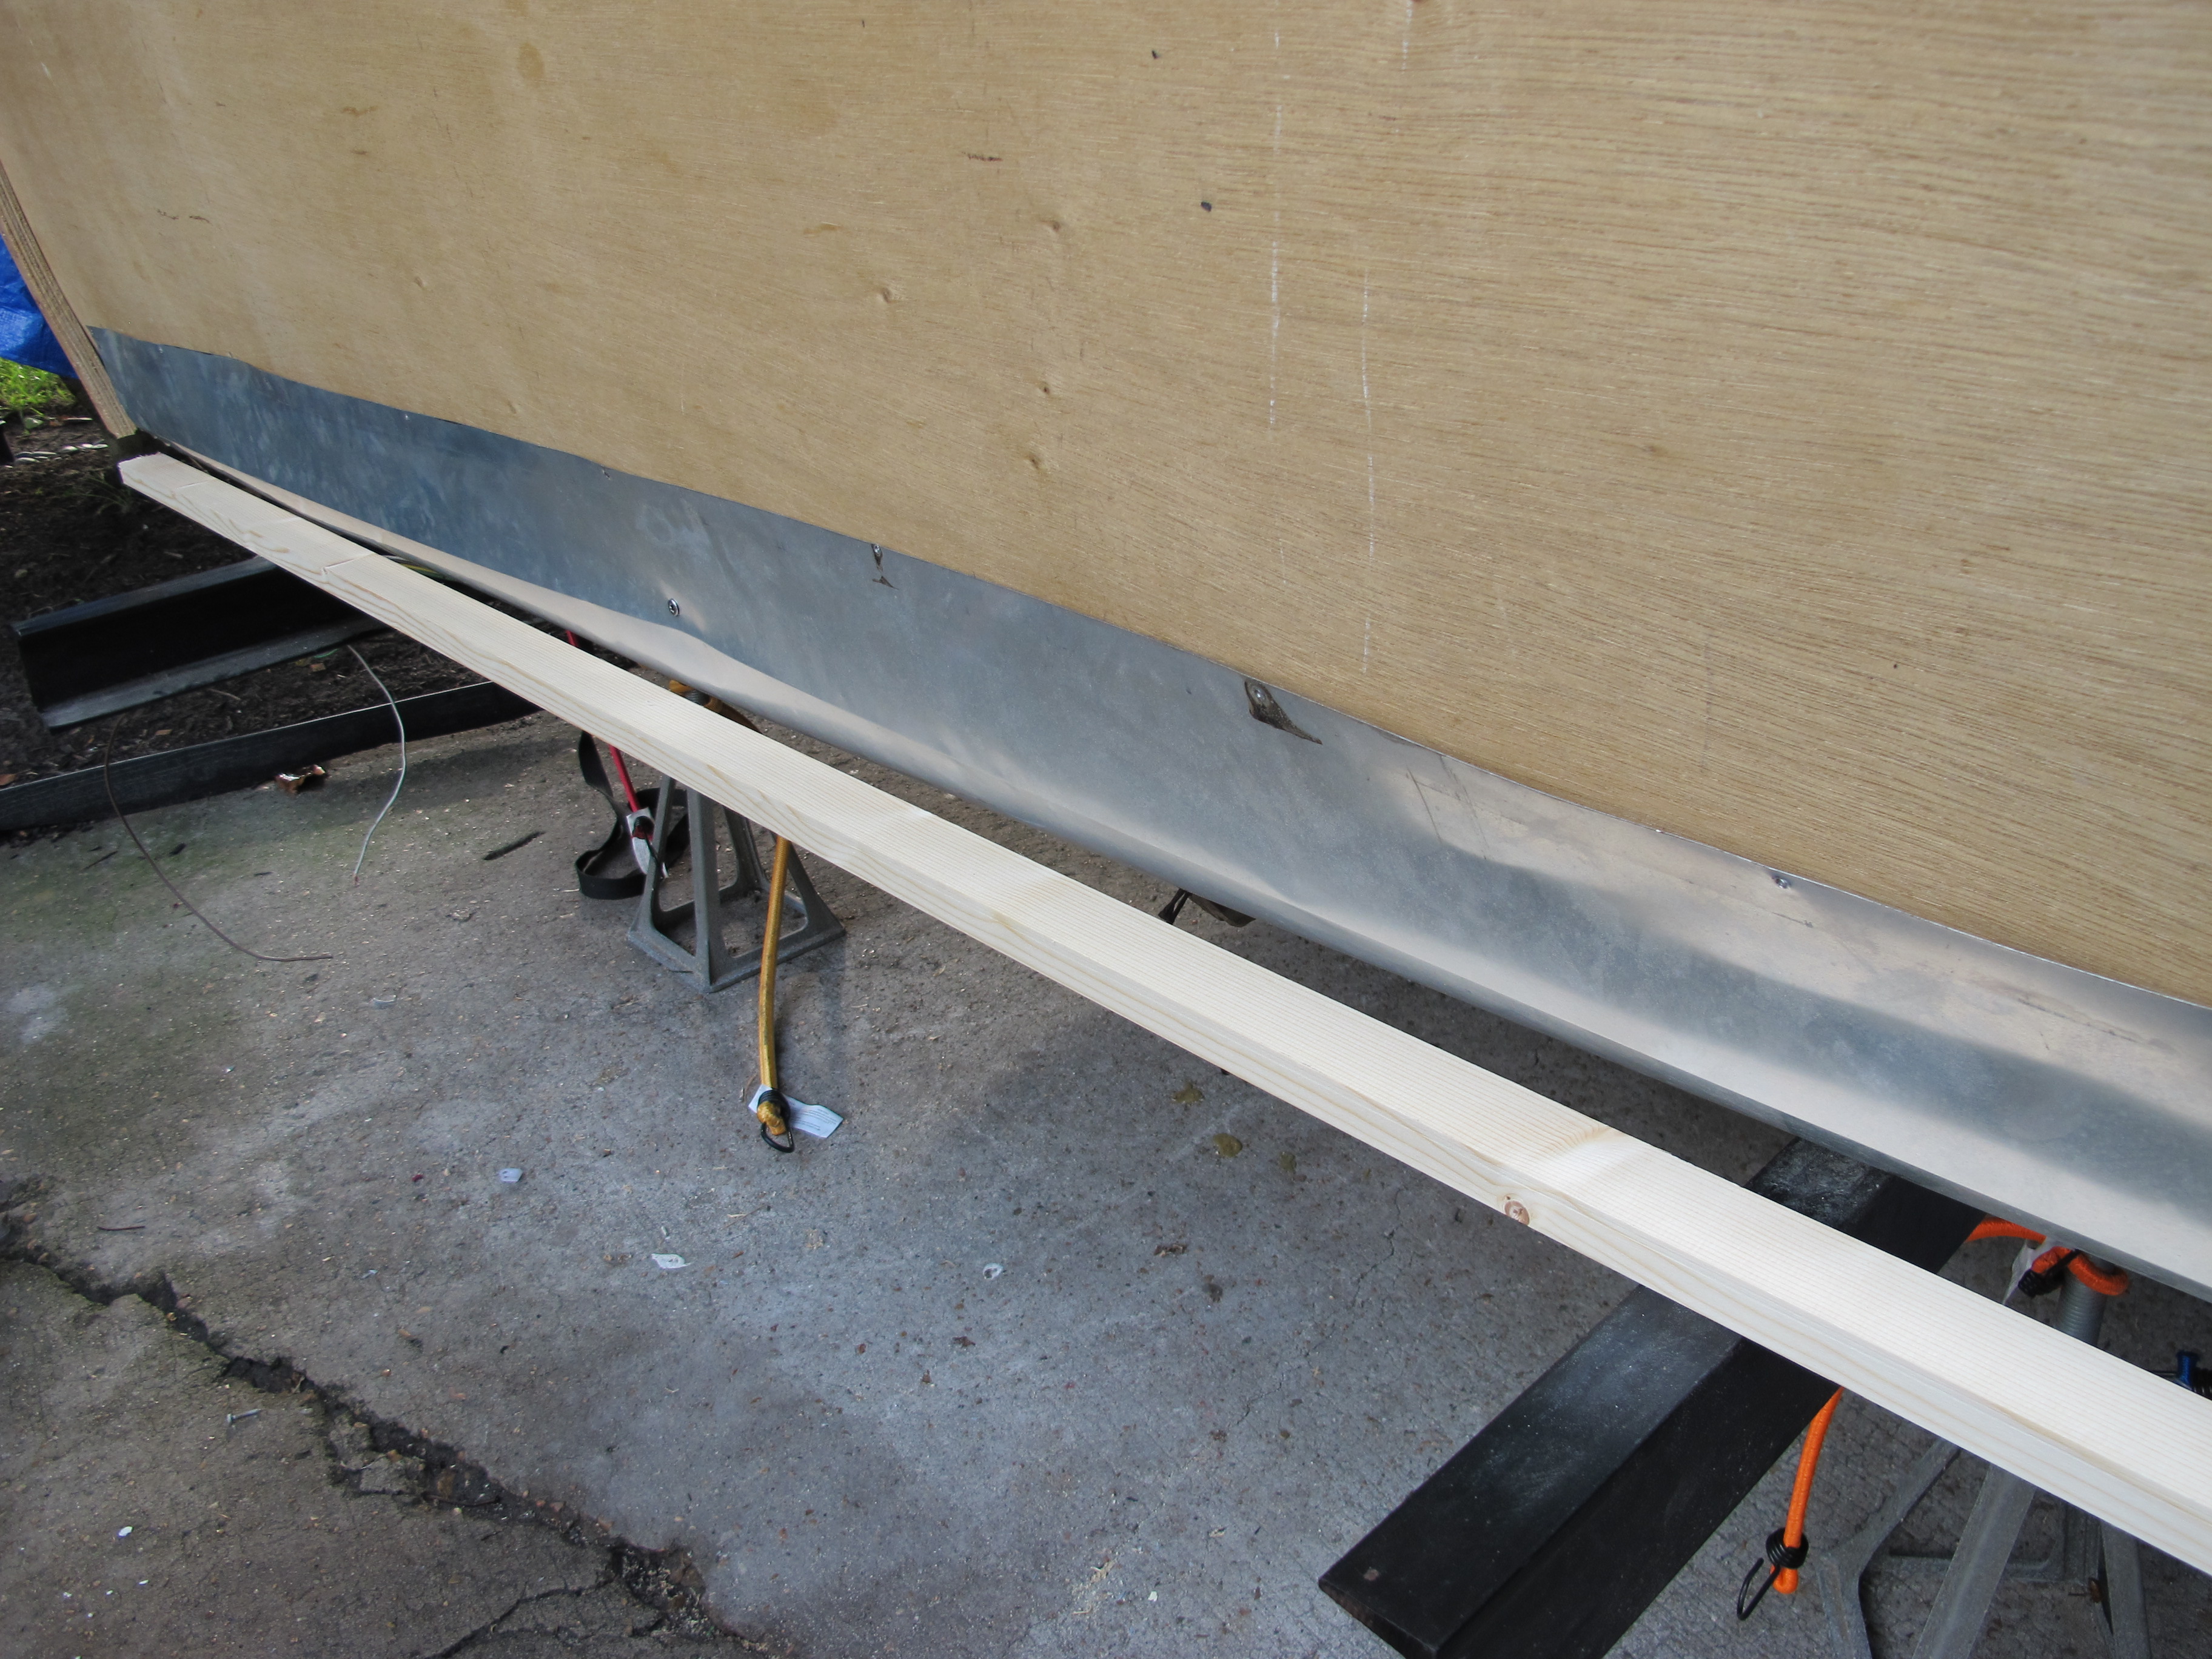
I decided that I wanted to put a bit of metal flashing around the rear to add some protection from water that might get under the skin while driving on wet roads. I thought the old siding would be put to good use for this purpose!

piece of old siding before cutting a section off

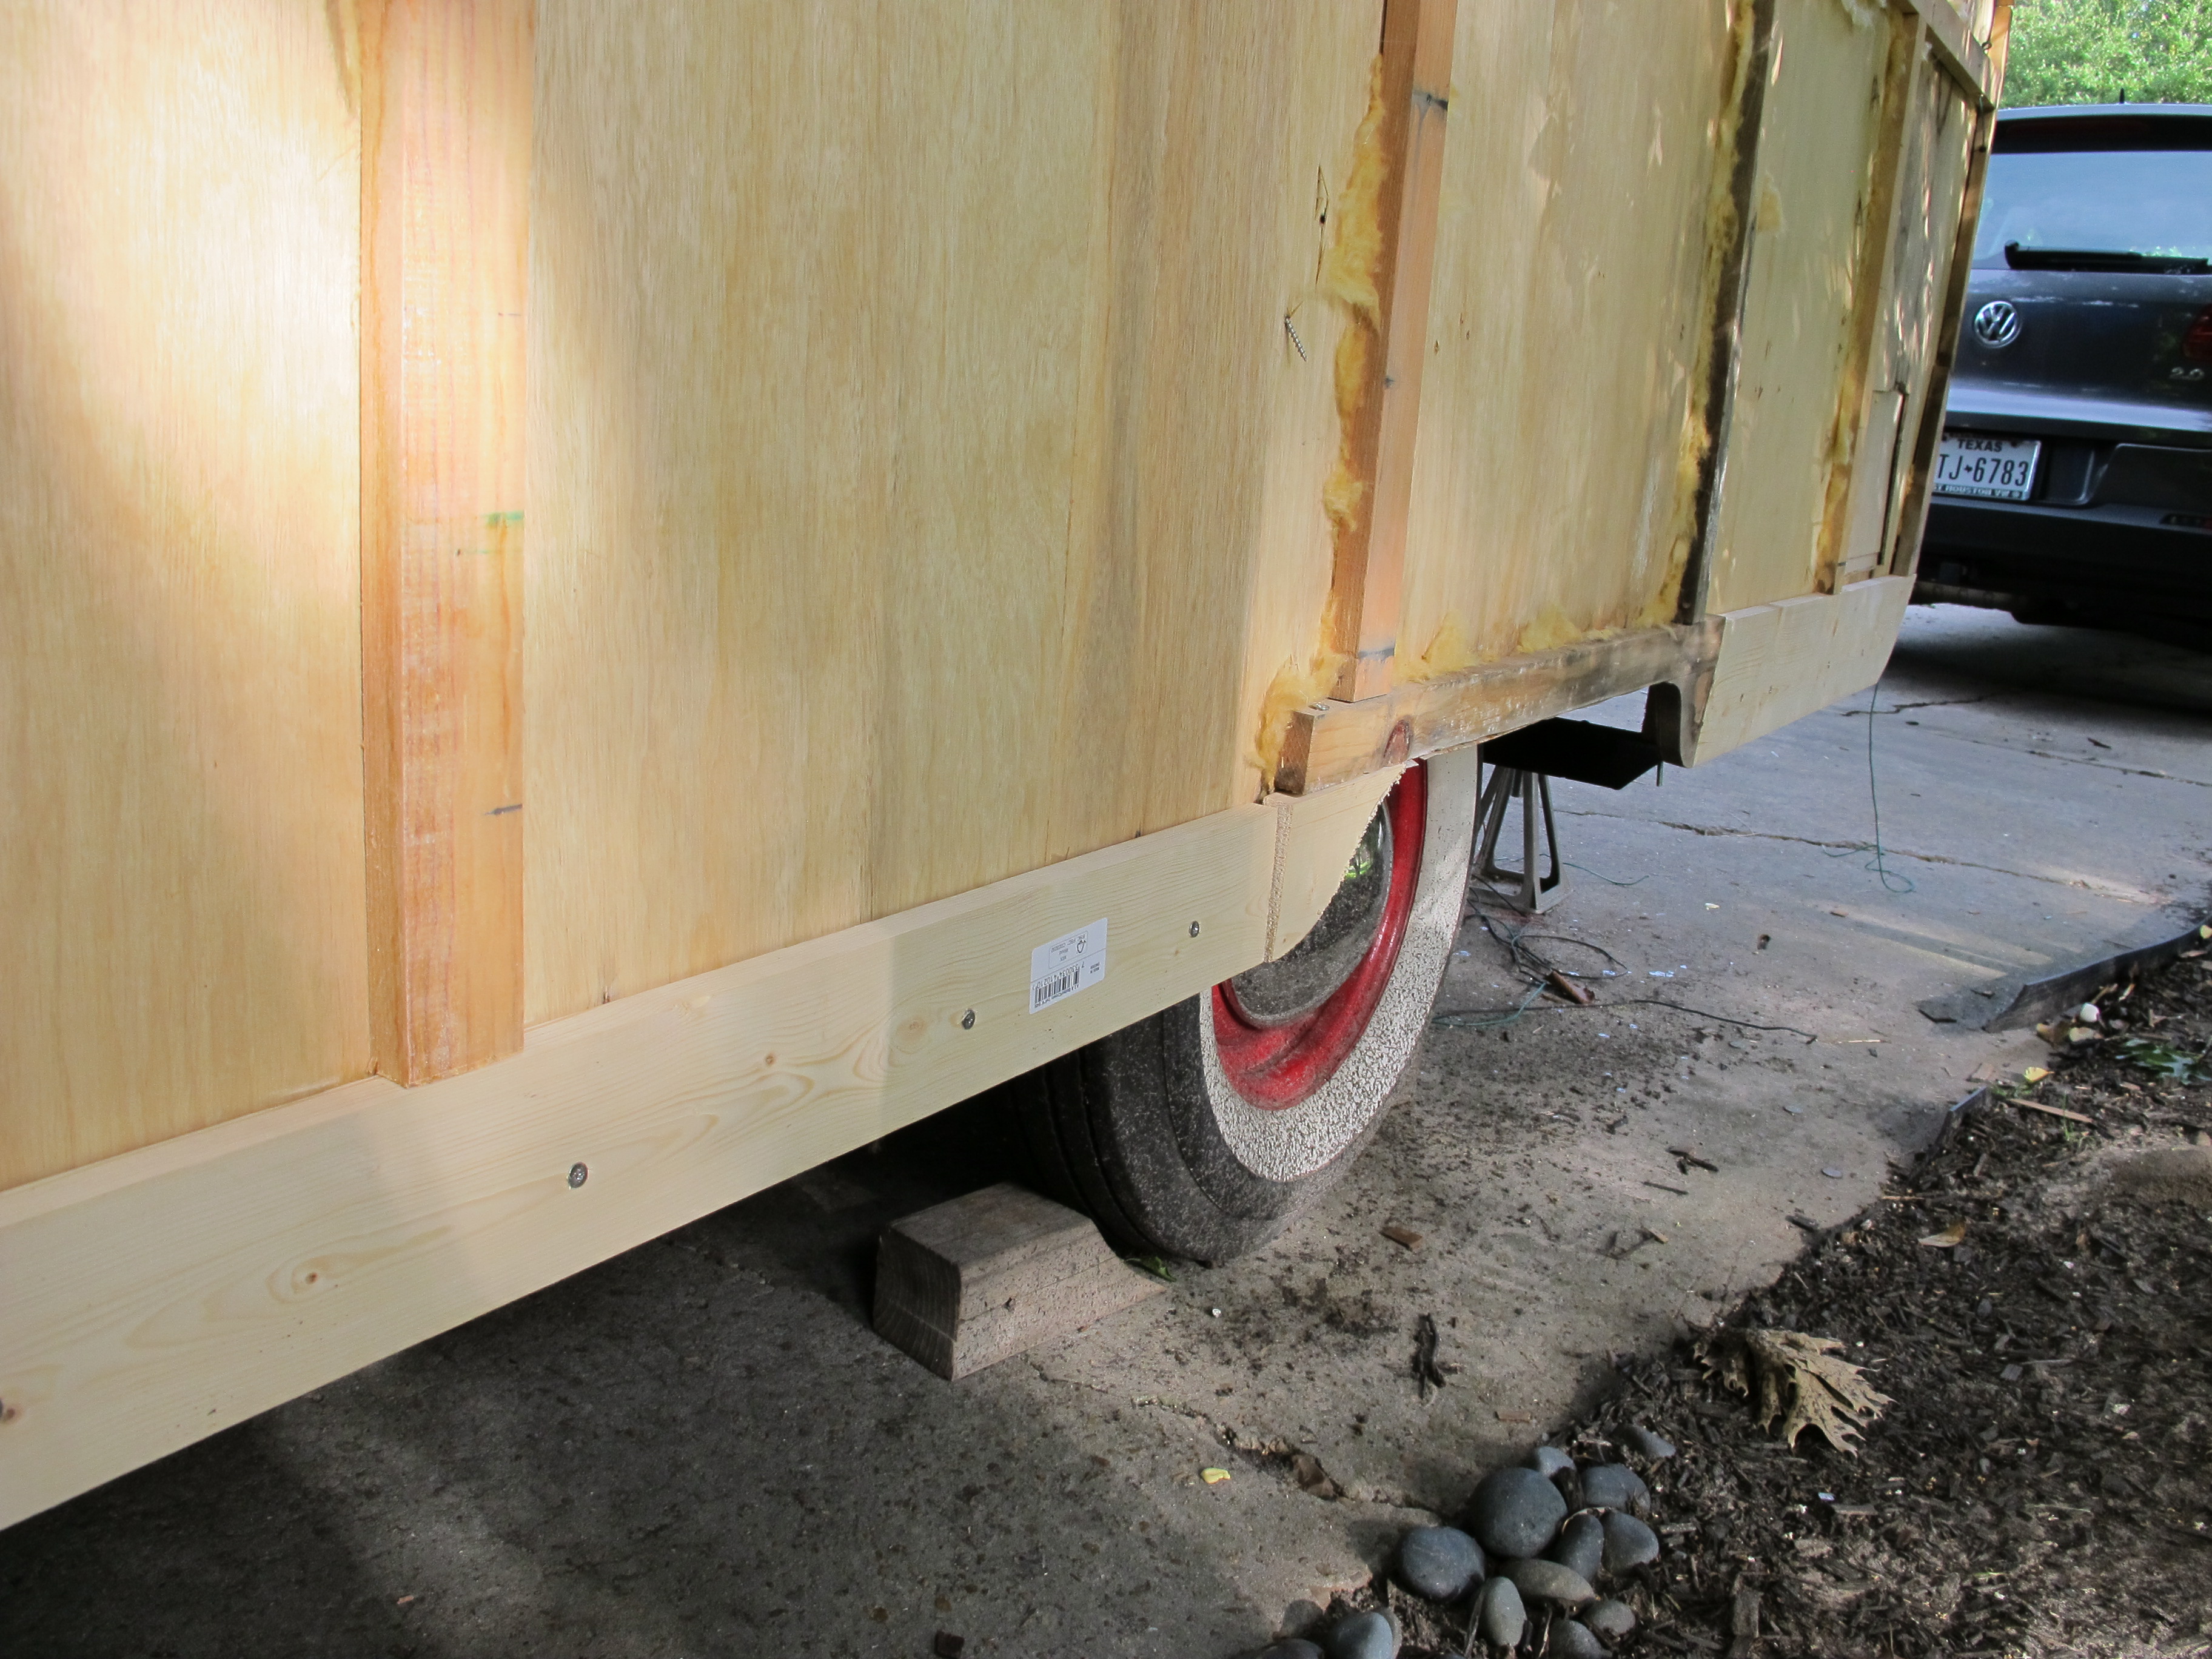
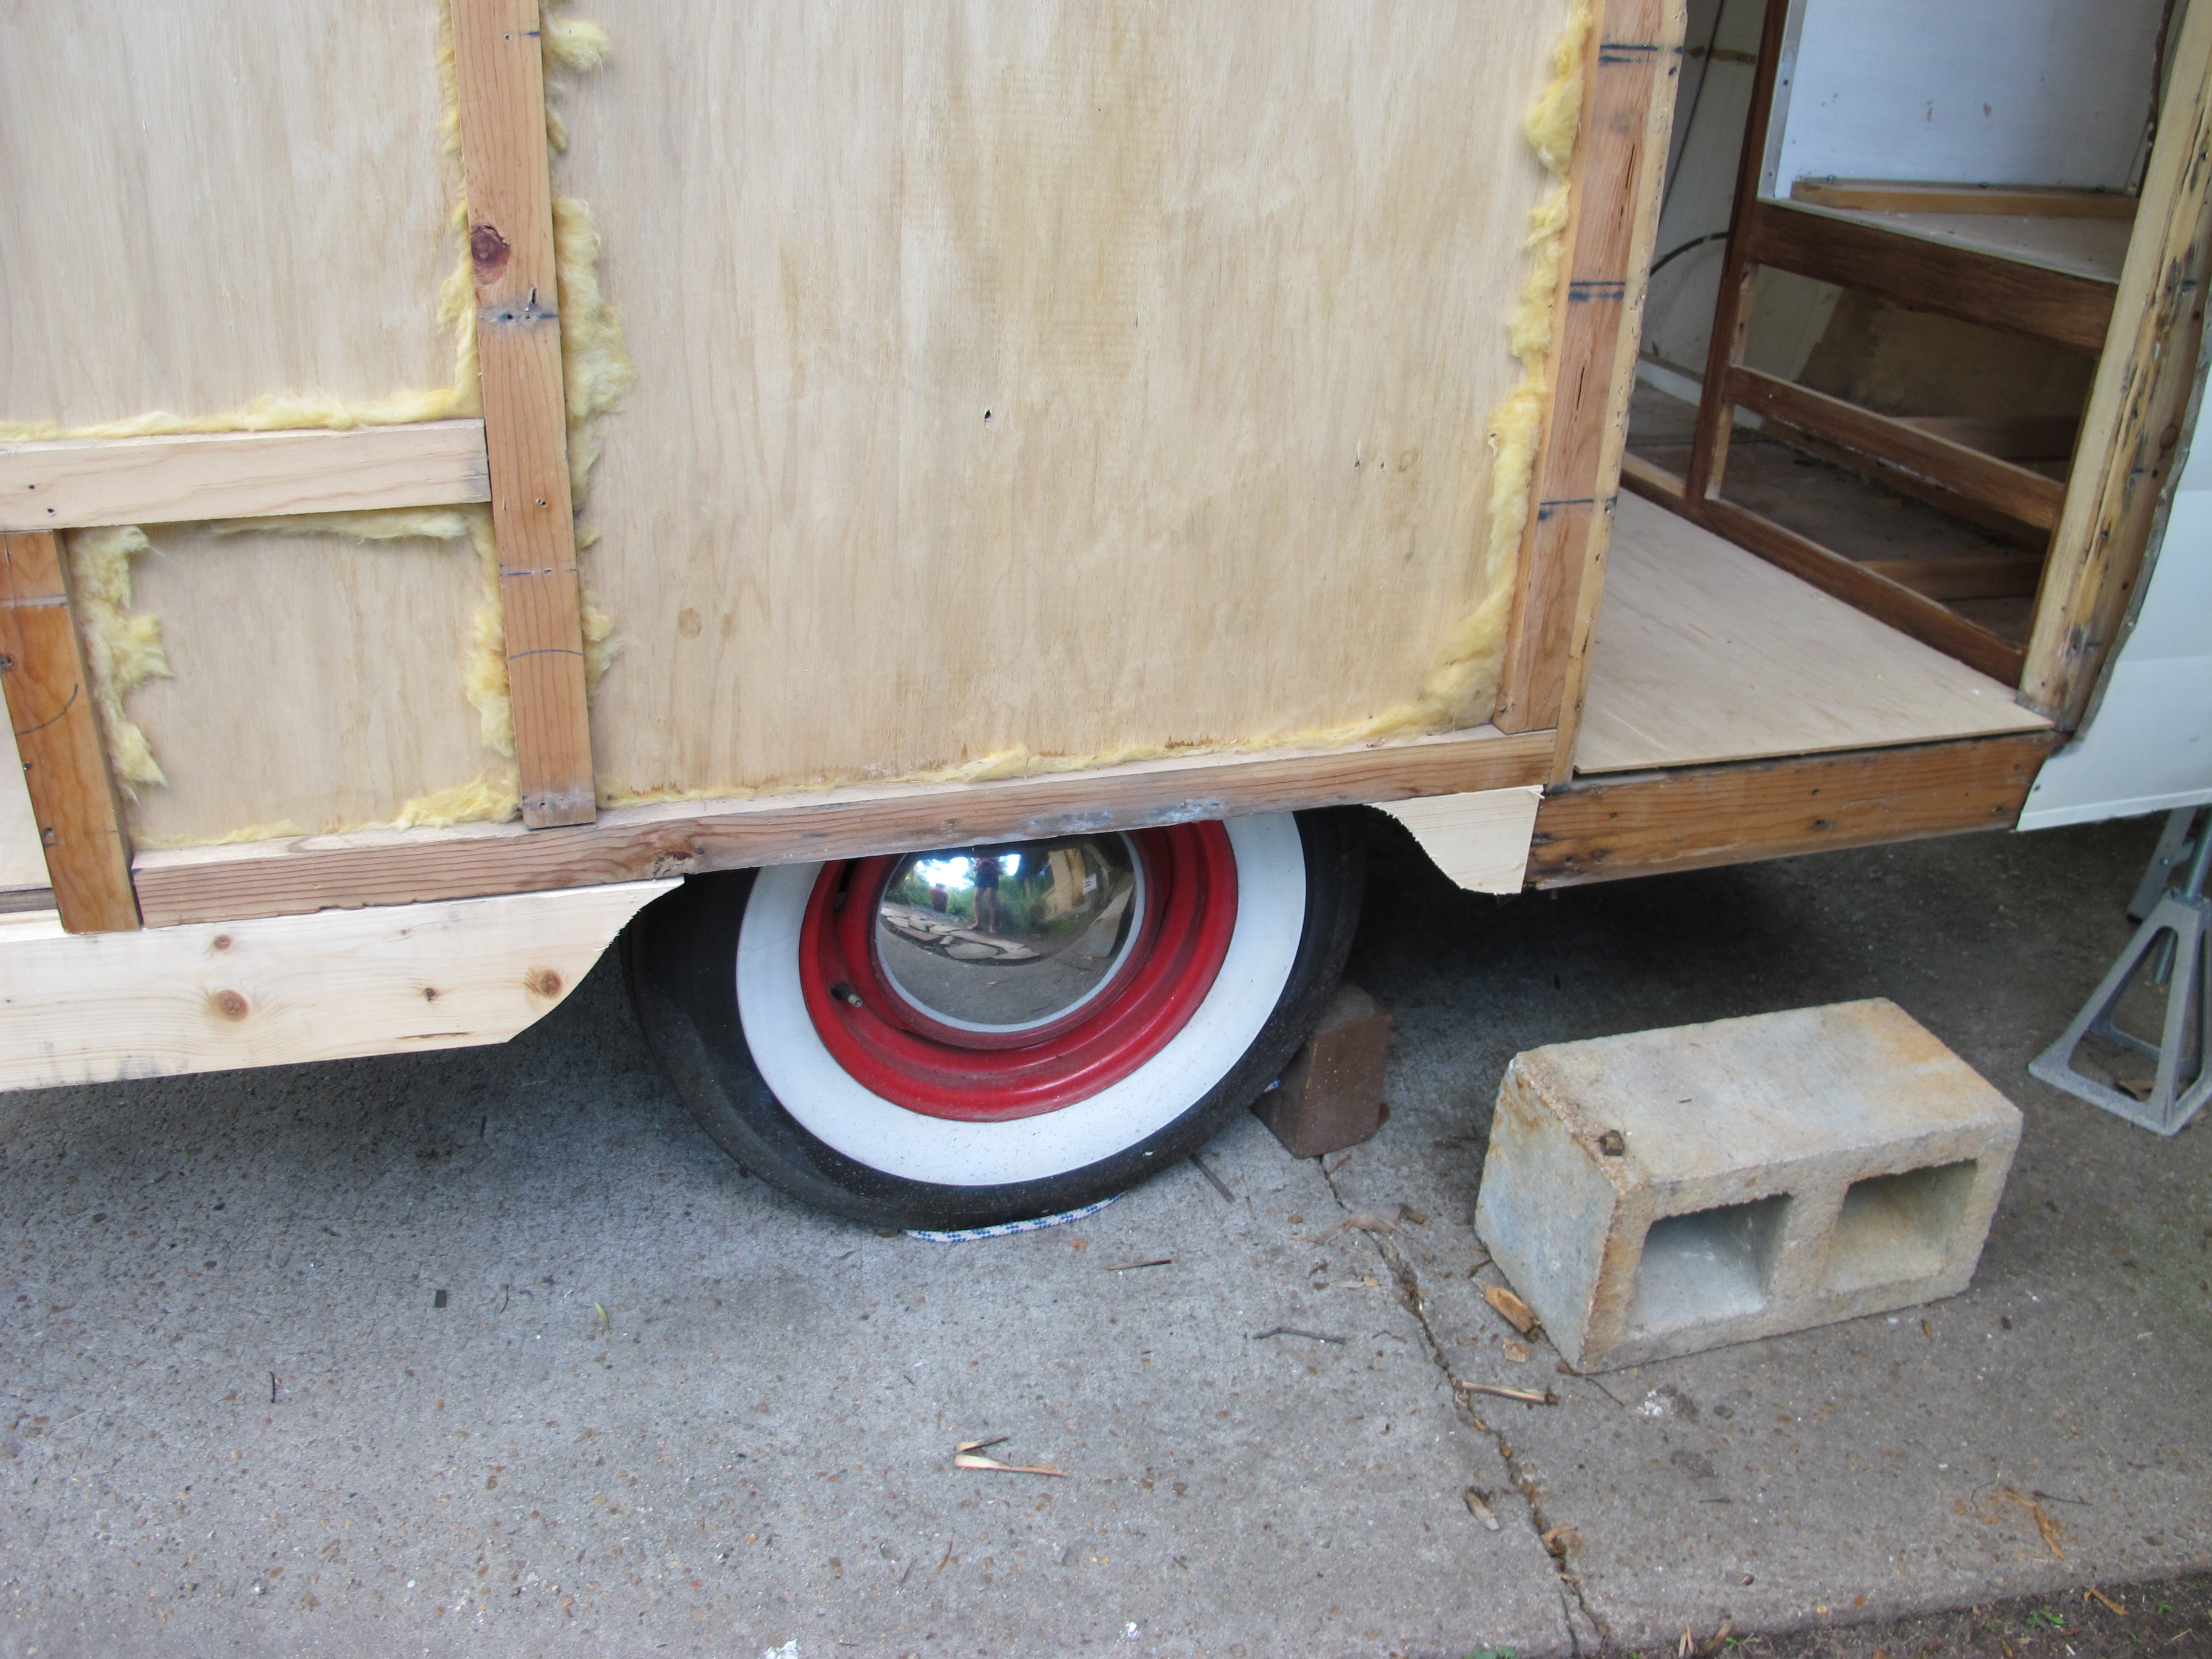
After attaching the aluminum and adding a piece of wood for extra support. Still not finished though..
I still need to add another piece of wood across the rear for the siding to attach to. I’m trying to figure out the best way to do this since the new steel beams are in the way of attaching a piece of wood all the way across. I may have to attach some pieces in sections. I’m also planning to put some sealant around the flashing where it meets the wood. I will be painting the undercarriage with Black Beauty Fence Post Paint as well. I just picked up a huge 5 gallon drum of it from Home Depot. I wanted less, but apparently they don’t sell it in smaller quantities. If anyone wants some fence post paint, you know who to call!
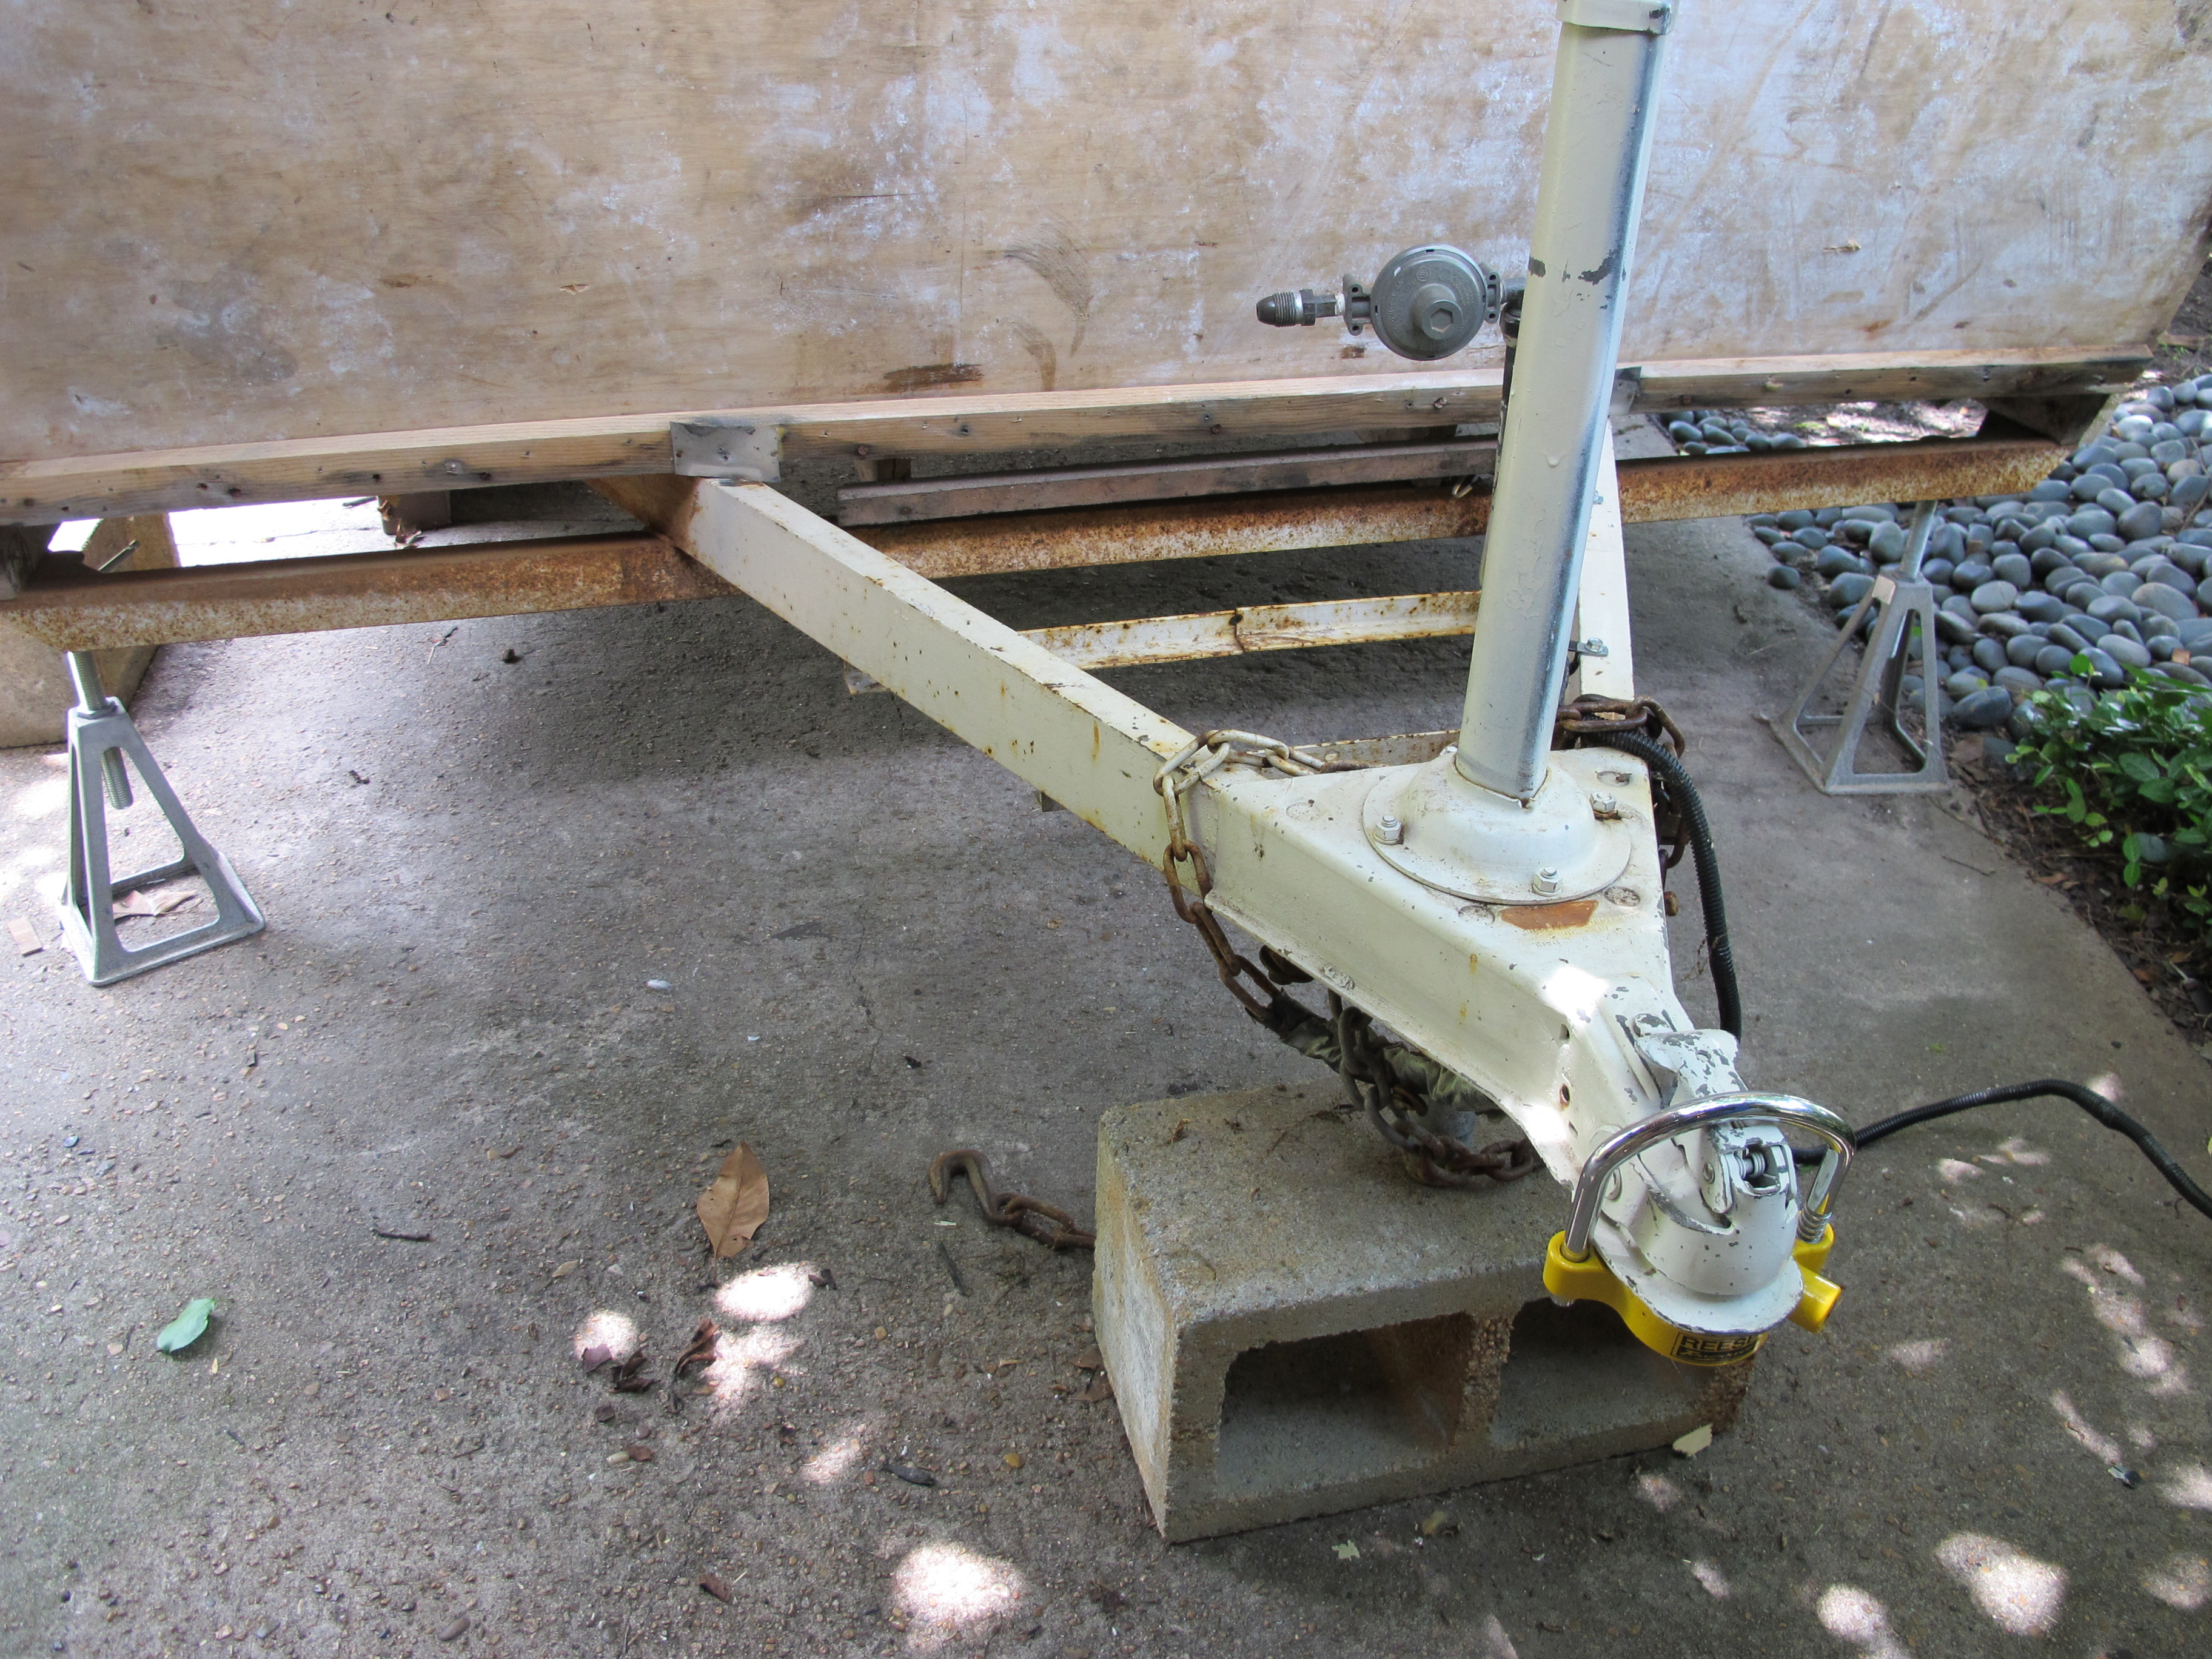
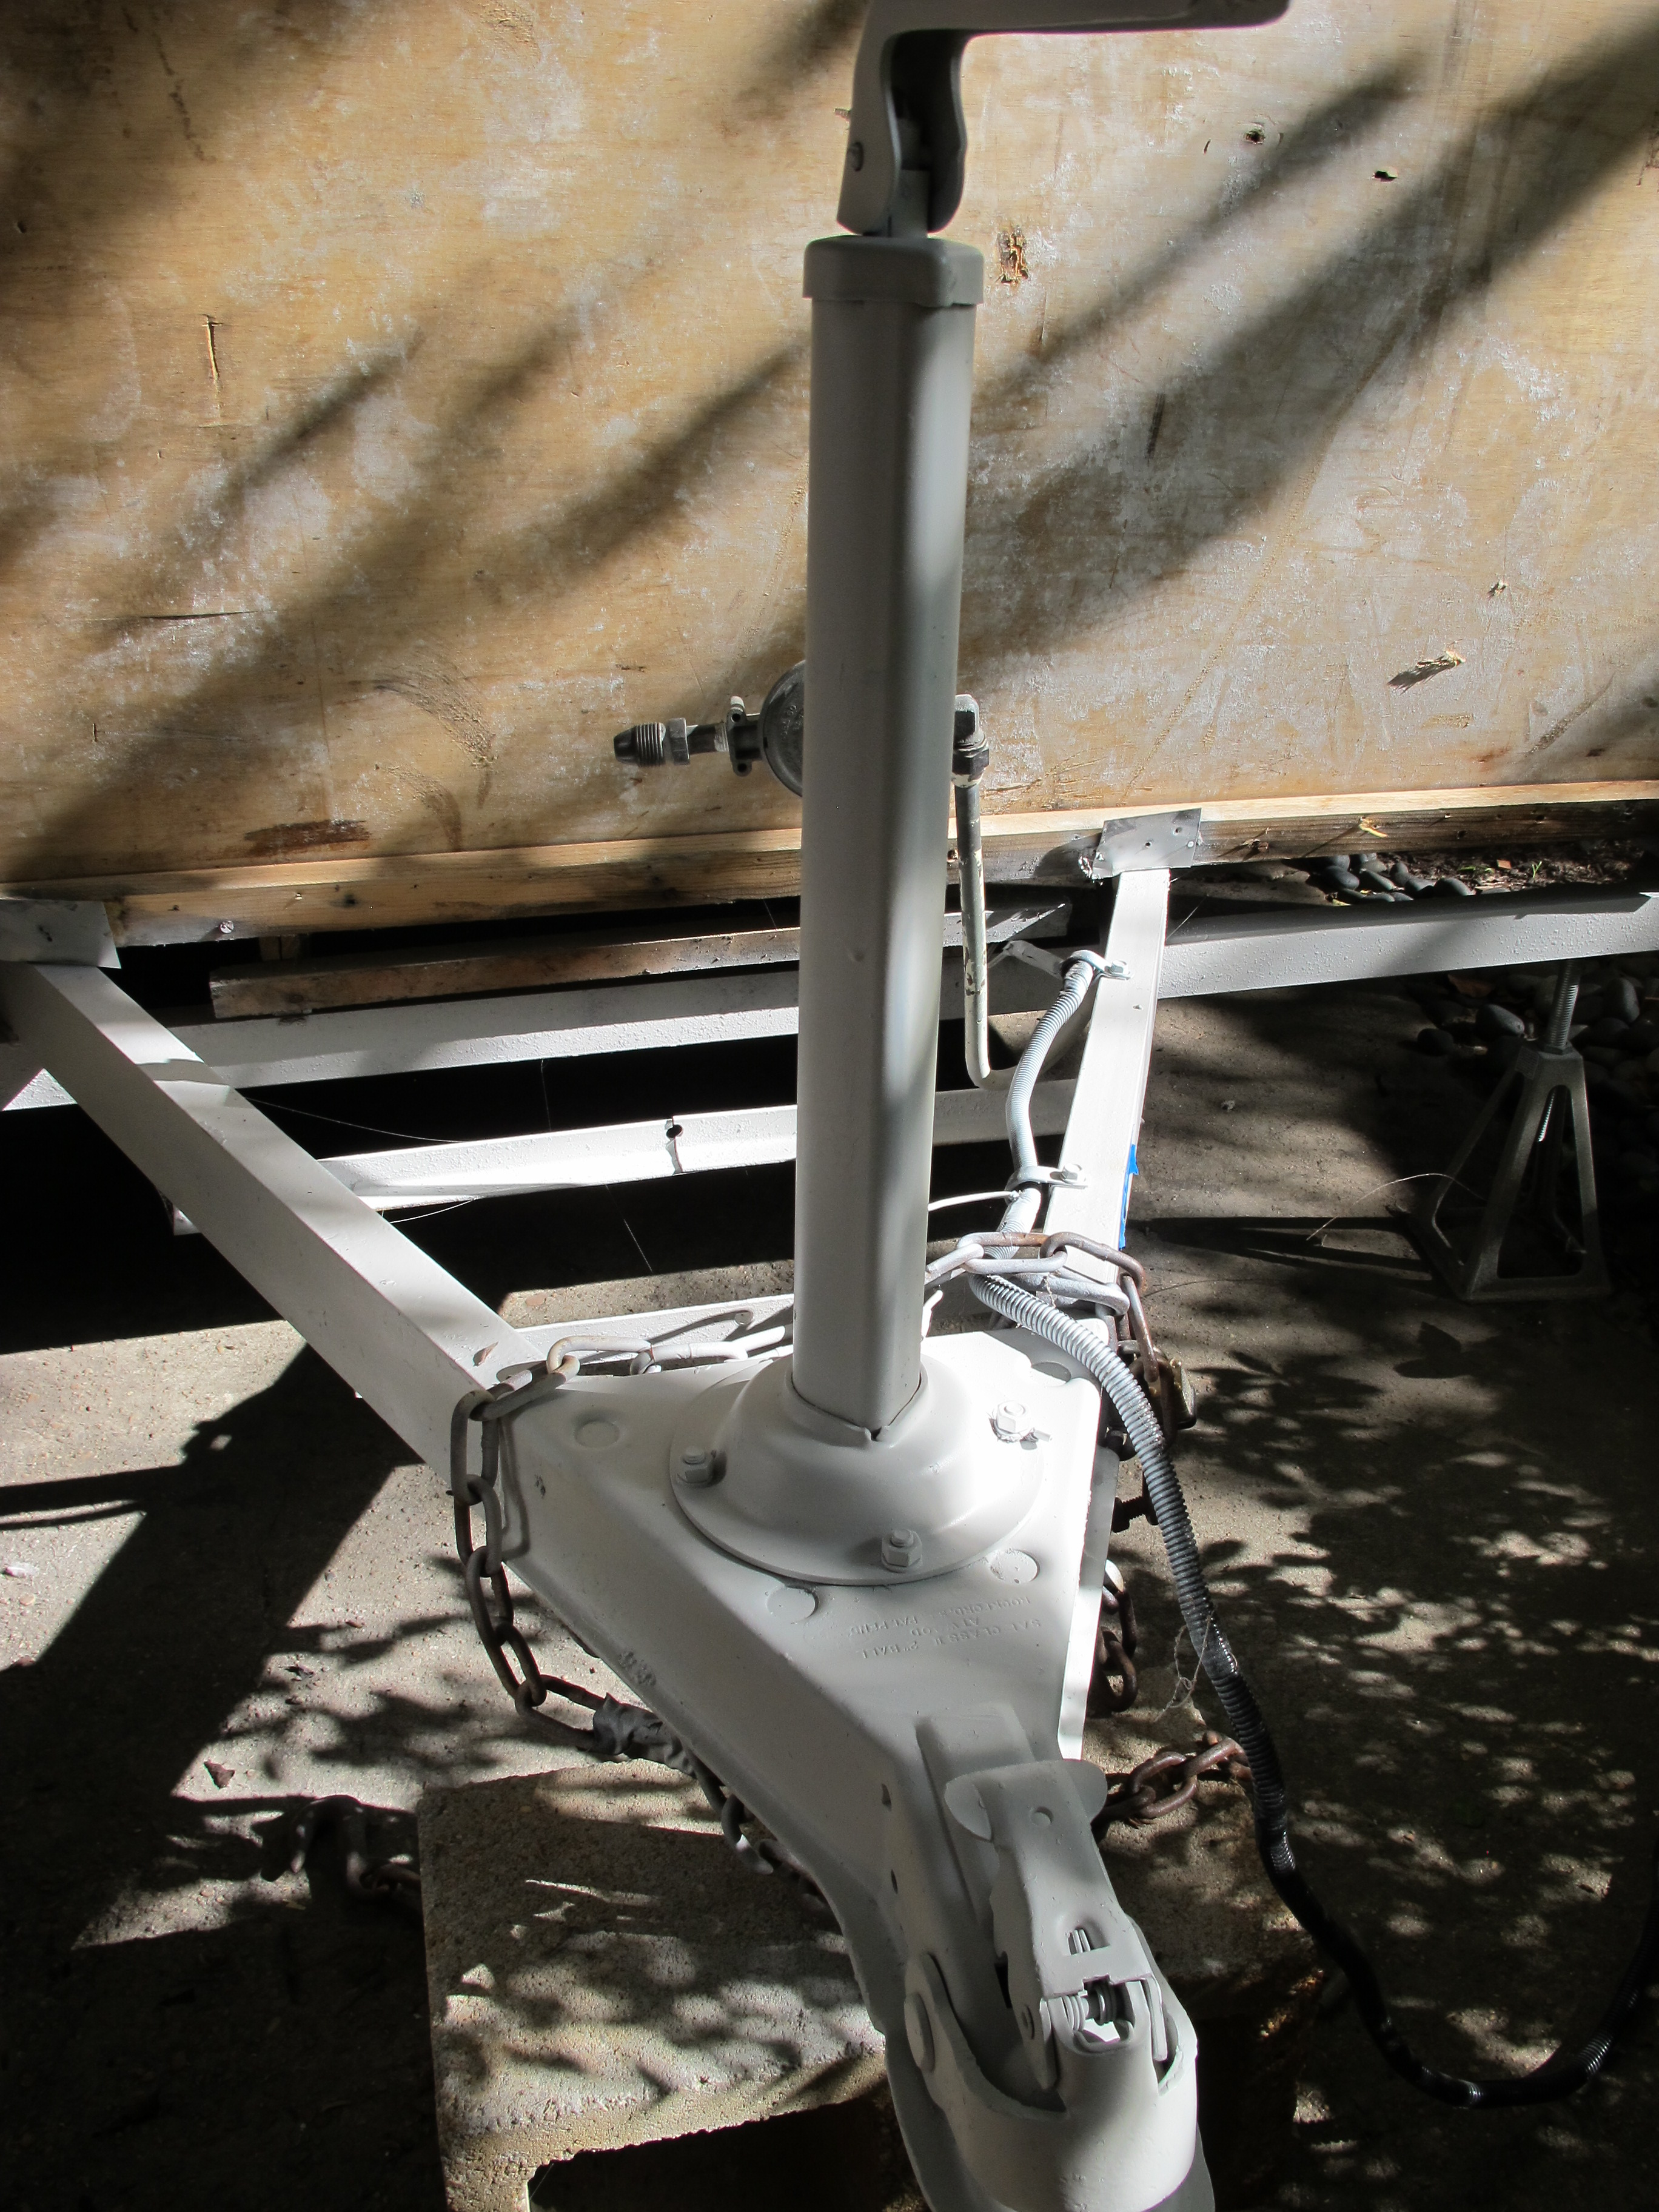
I had the same welder I hired a while ago come back to help me fix the taillight wiring. Initially, he was just going to help me prepare to connect the taillights again once the skin is on, but upon closer inspection, he thought it would be best to replace the wiring. I thought that was probably a good idea seeing as how it was pretty old. He added all new wiring and took some measurements and is planning to come back again soon to attach the bumper, repair my propane tank holder, and add a spare tire mount to the propane tank holder. All of that is going to cost me $300 which is more than I wanted to spend, but I figured I might as well just get it done now and not have to worry about it later.
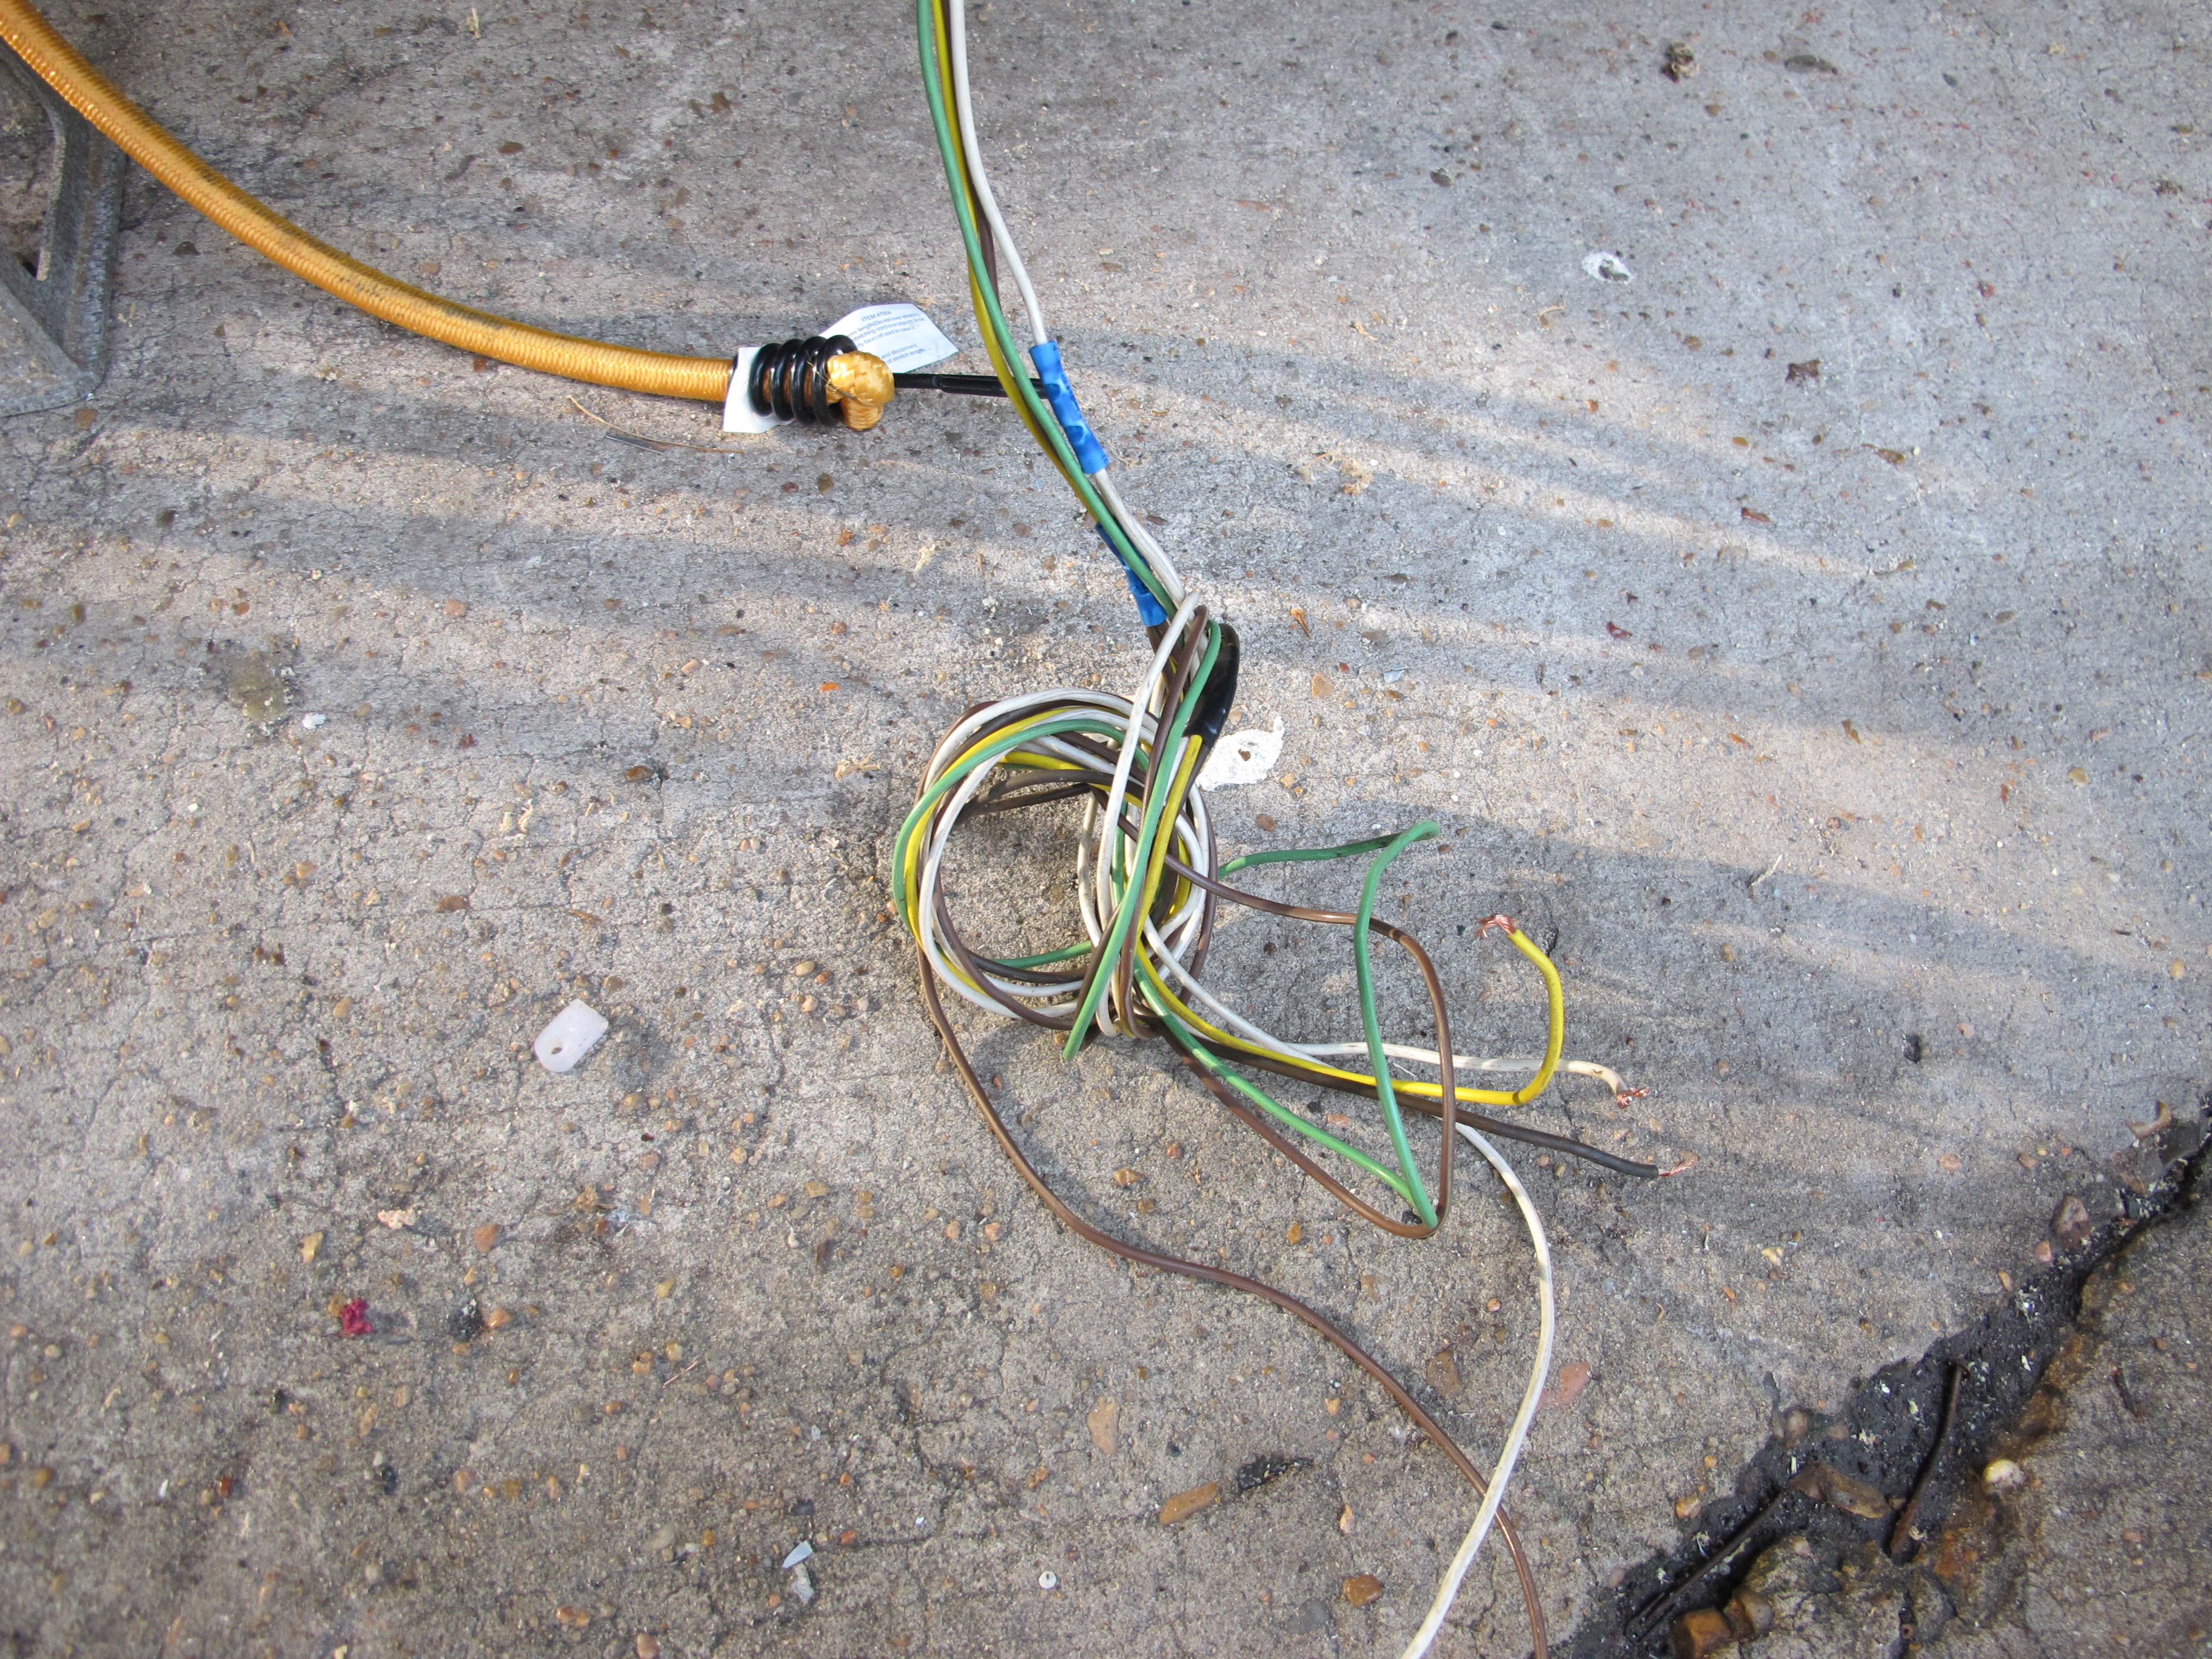
New wiring – all different colors than the old wiring. Not sure if the colors have changed over time, or if the Shasta factory didn’t care. I’m guessing the latter based on experience…
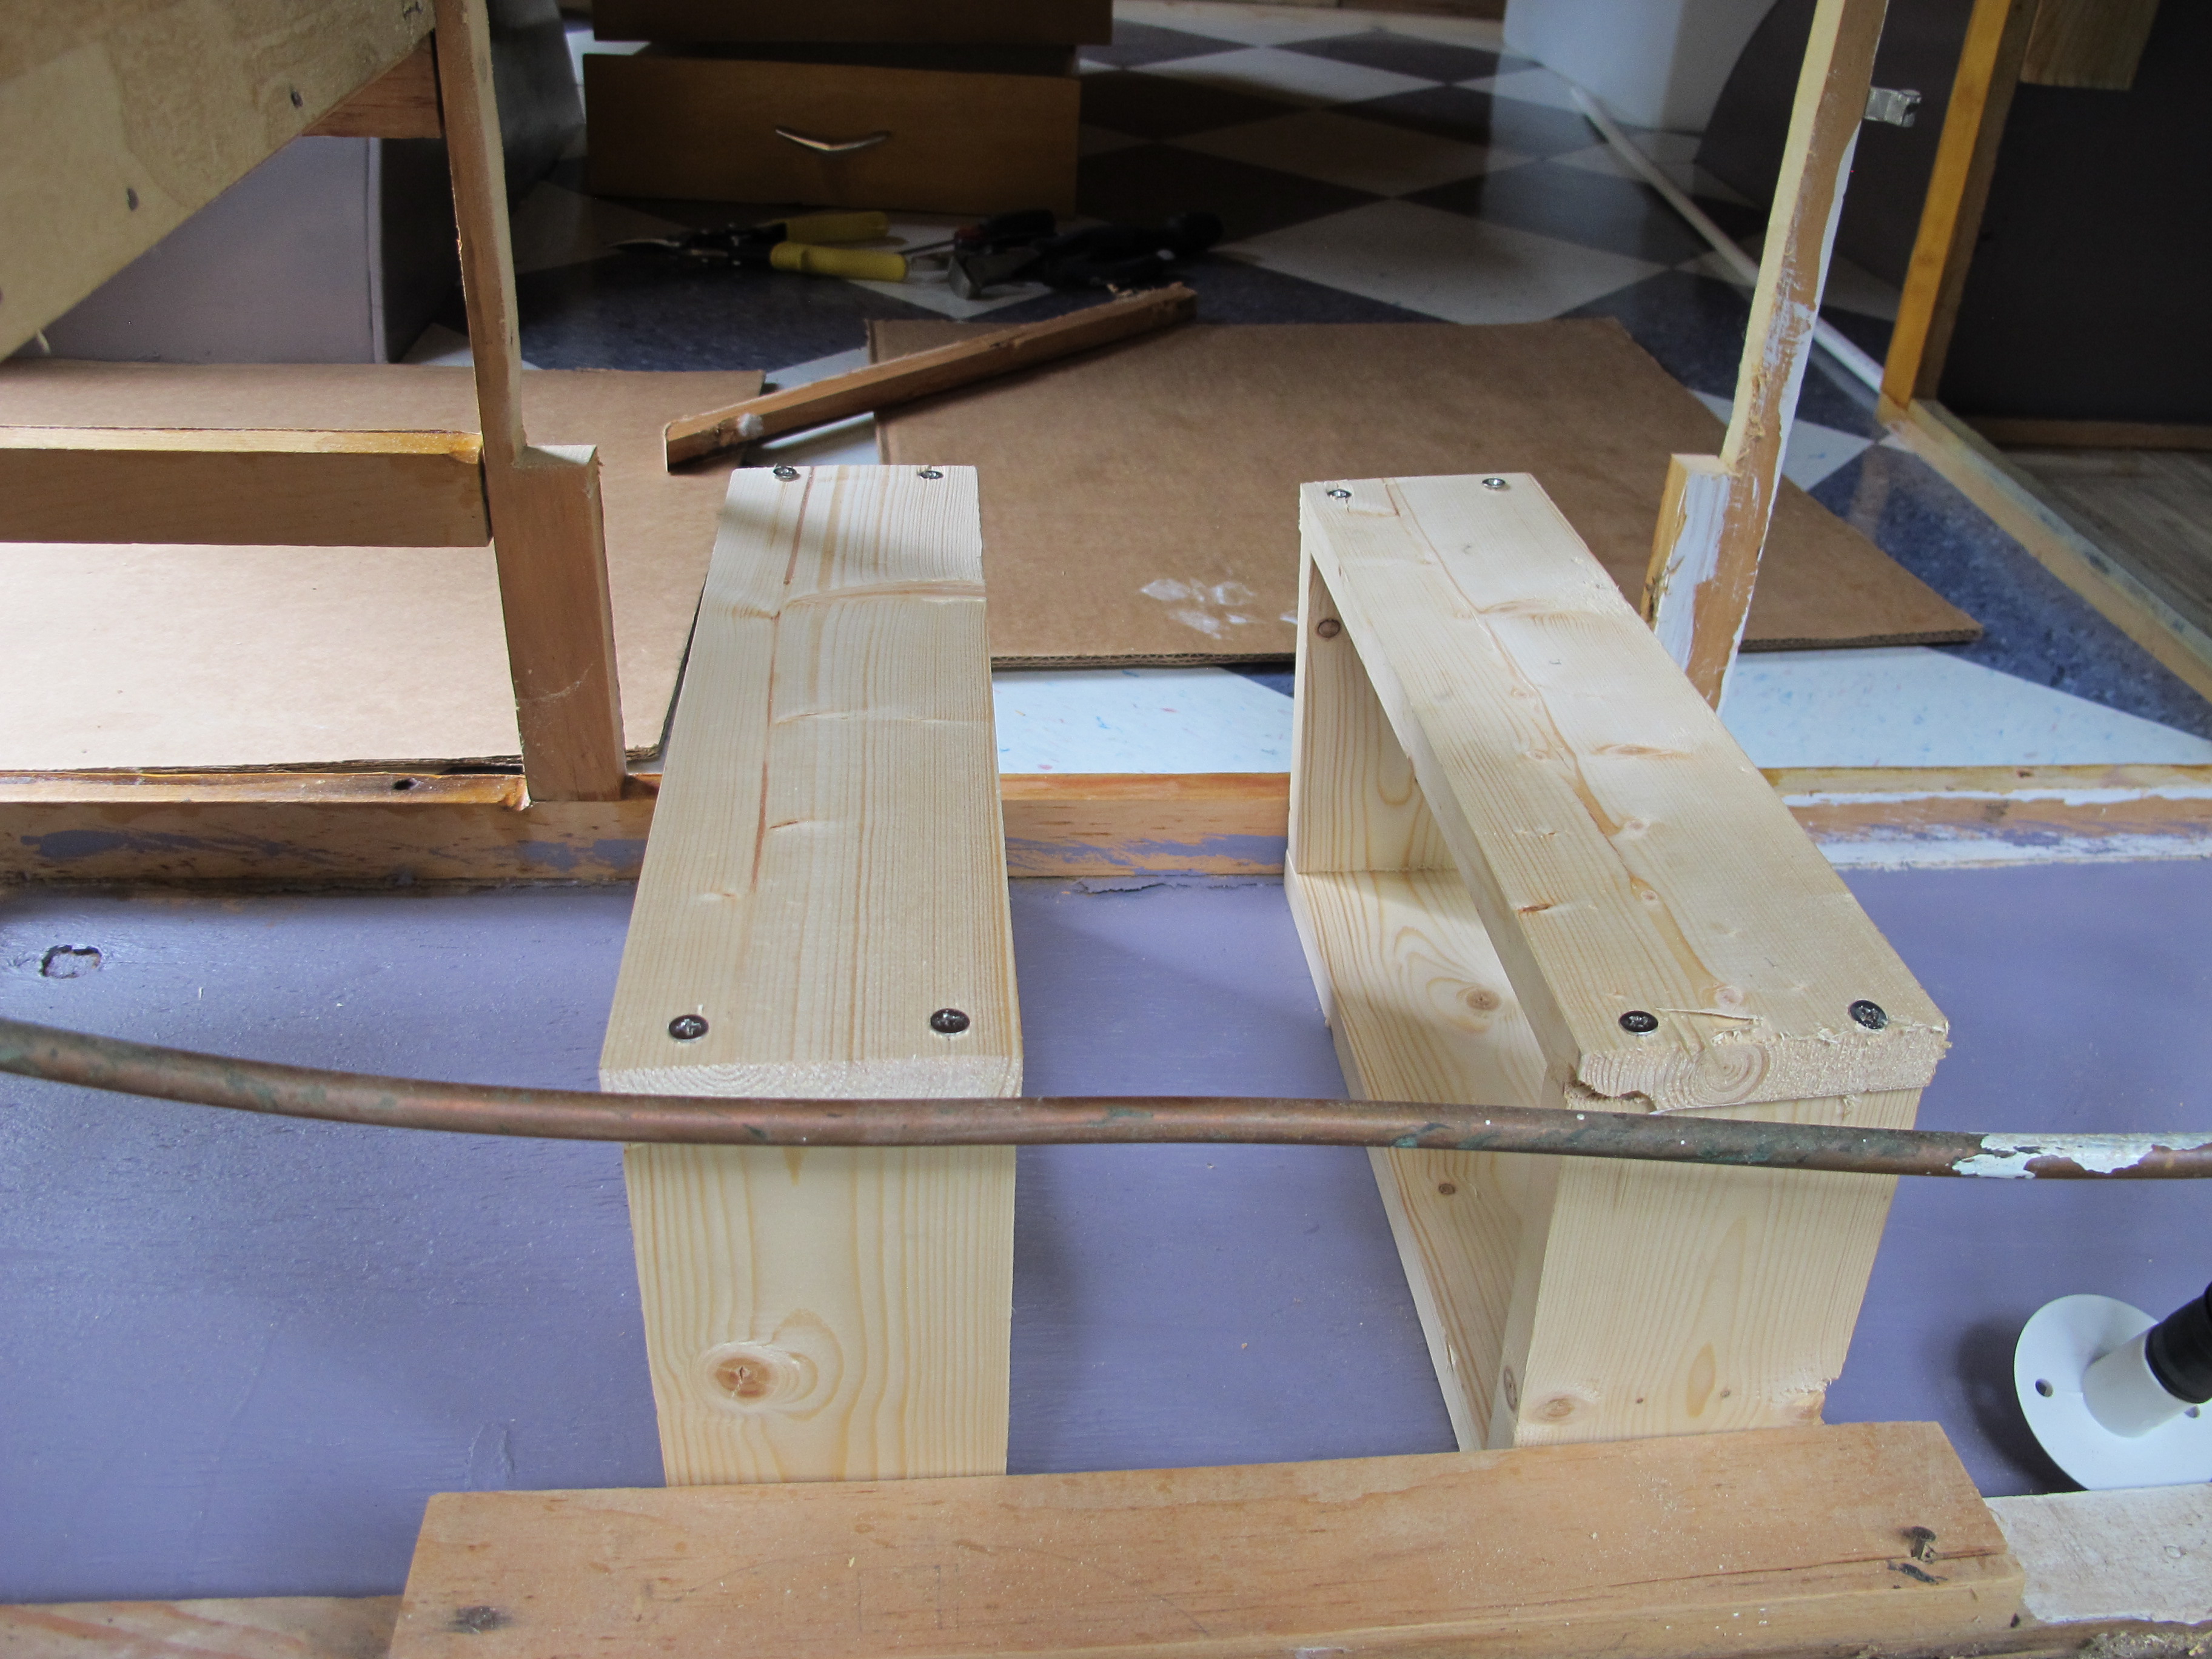
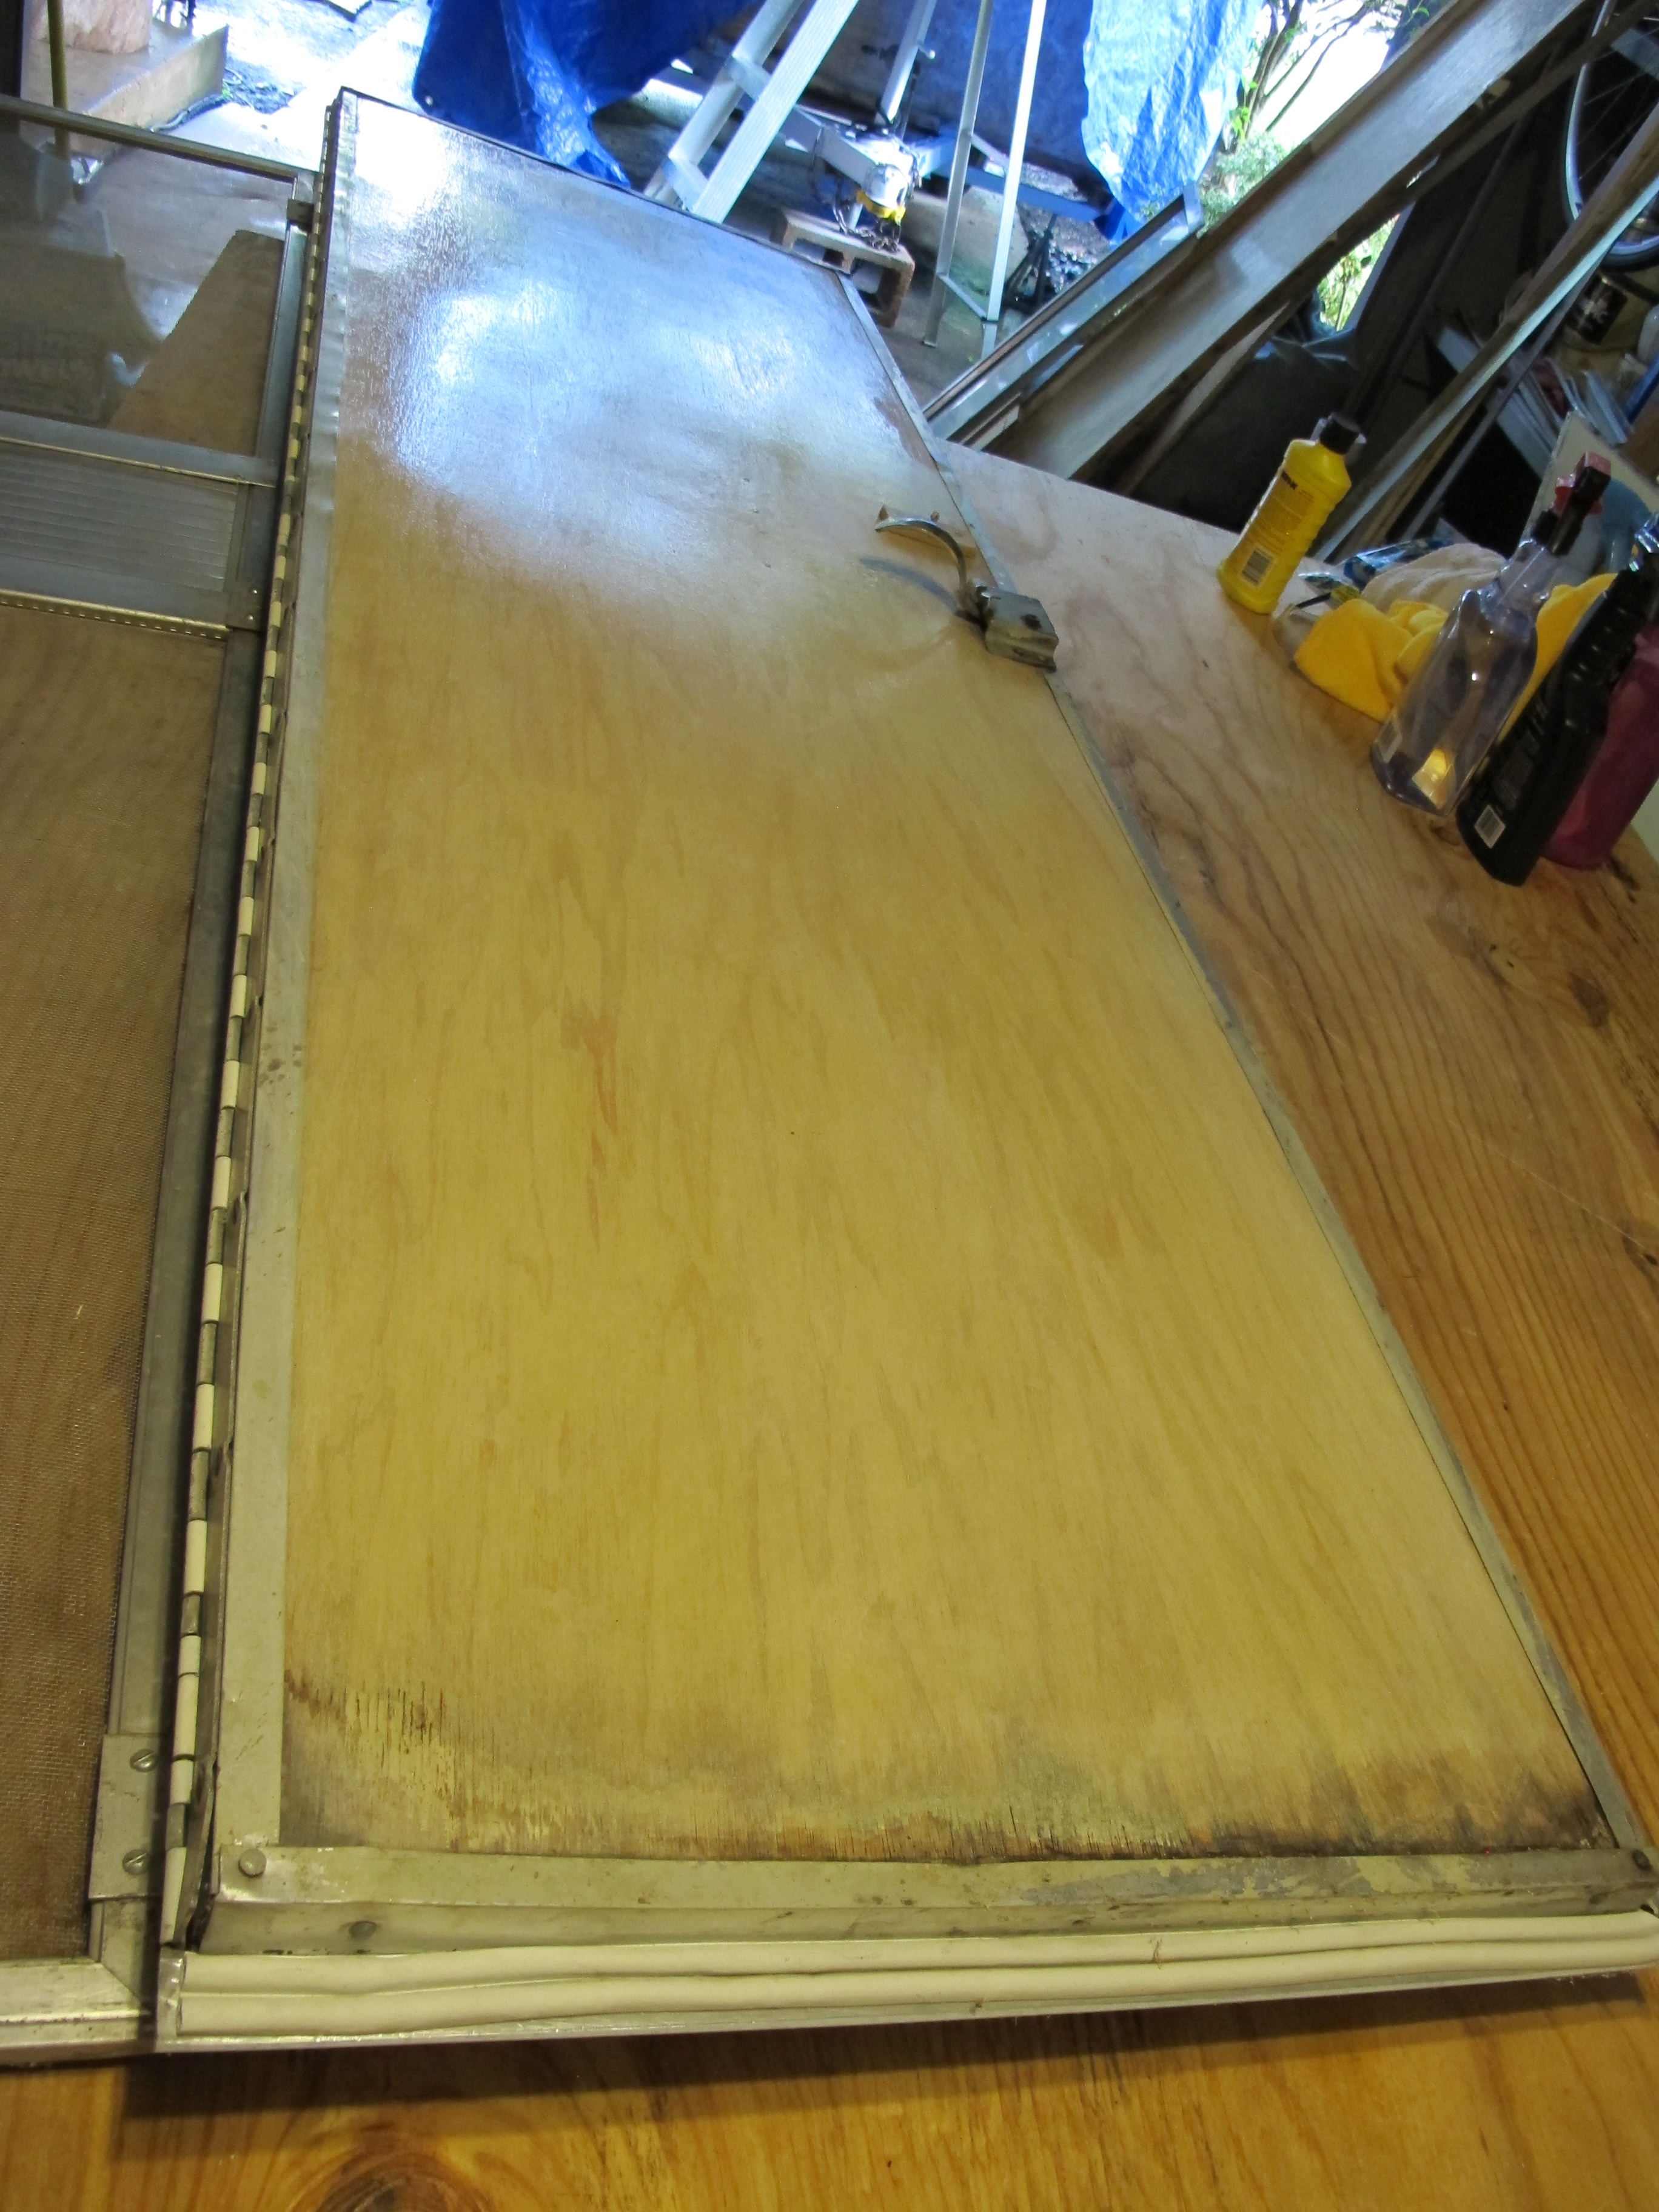
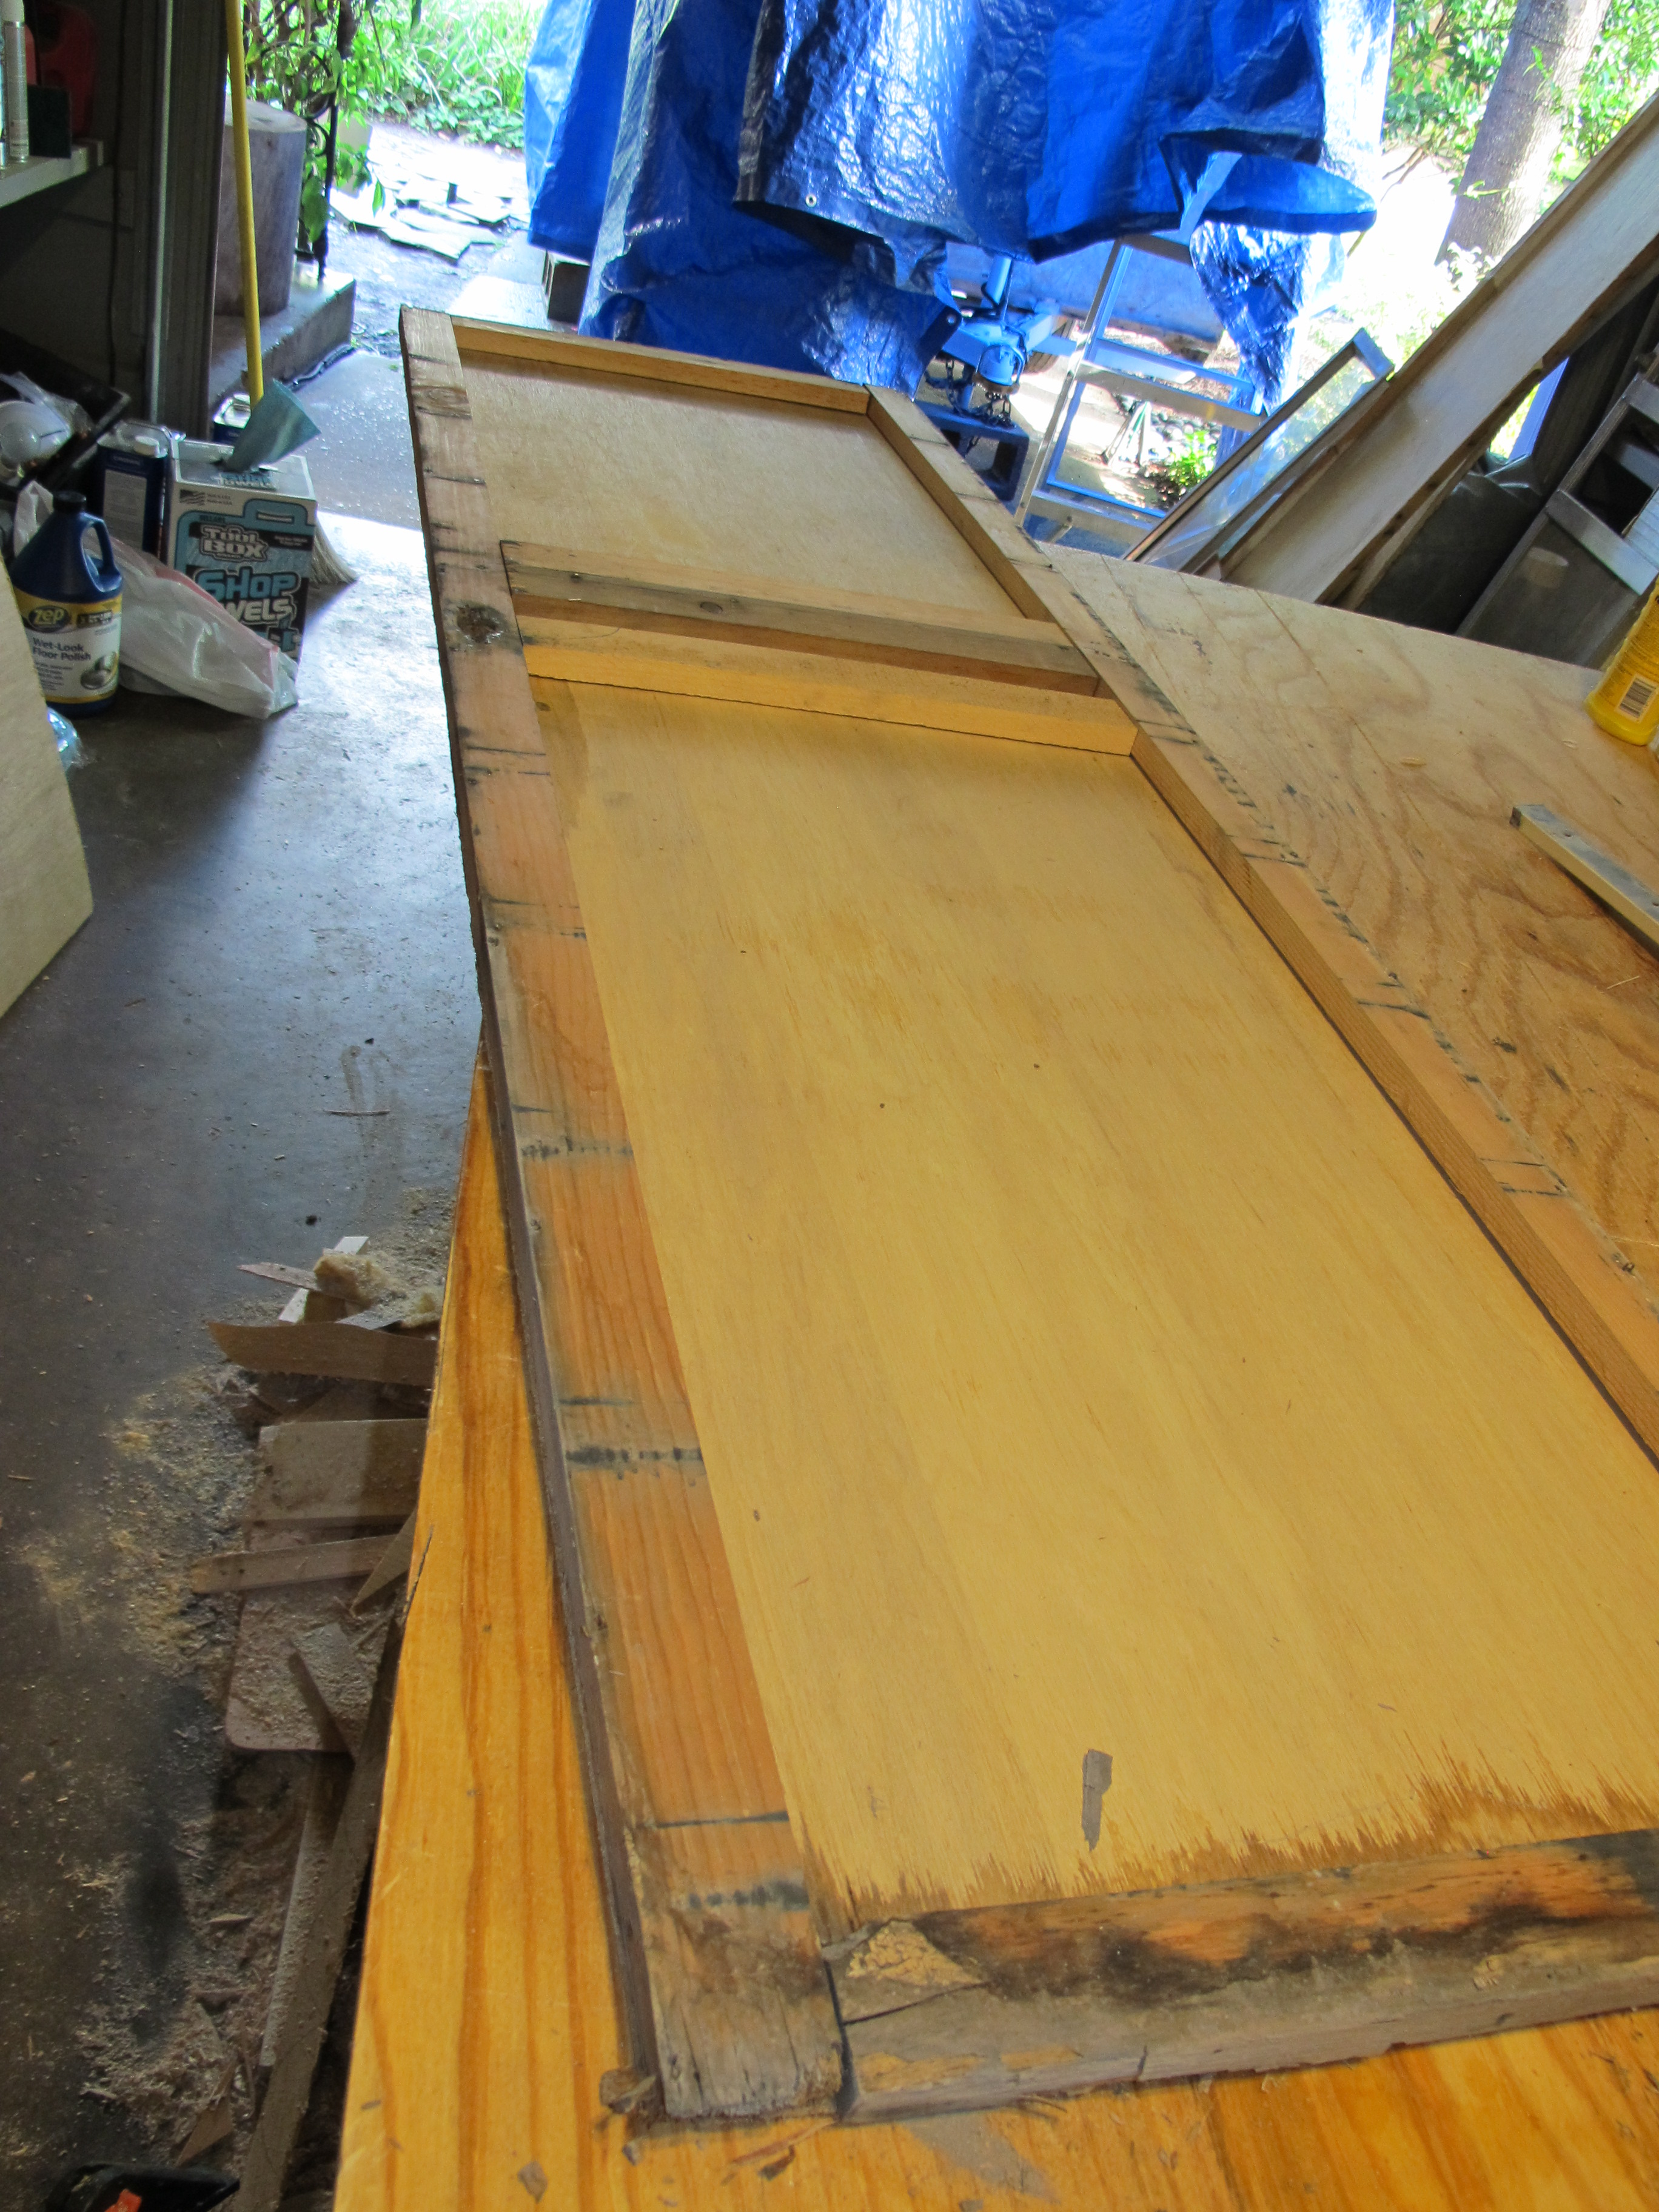
It started raining later on Saturday, so I changed course and started building a drawer to go under the bed. I used some pieces of pine for the frame then attached leftover pieces of birch as the bottom, sides, and front. It’s a good sized drawer, it measures 35″ wide x 24″ deep, x 10″ tall. I thought it would be easier to access than lifting up the bed to get things. 

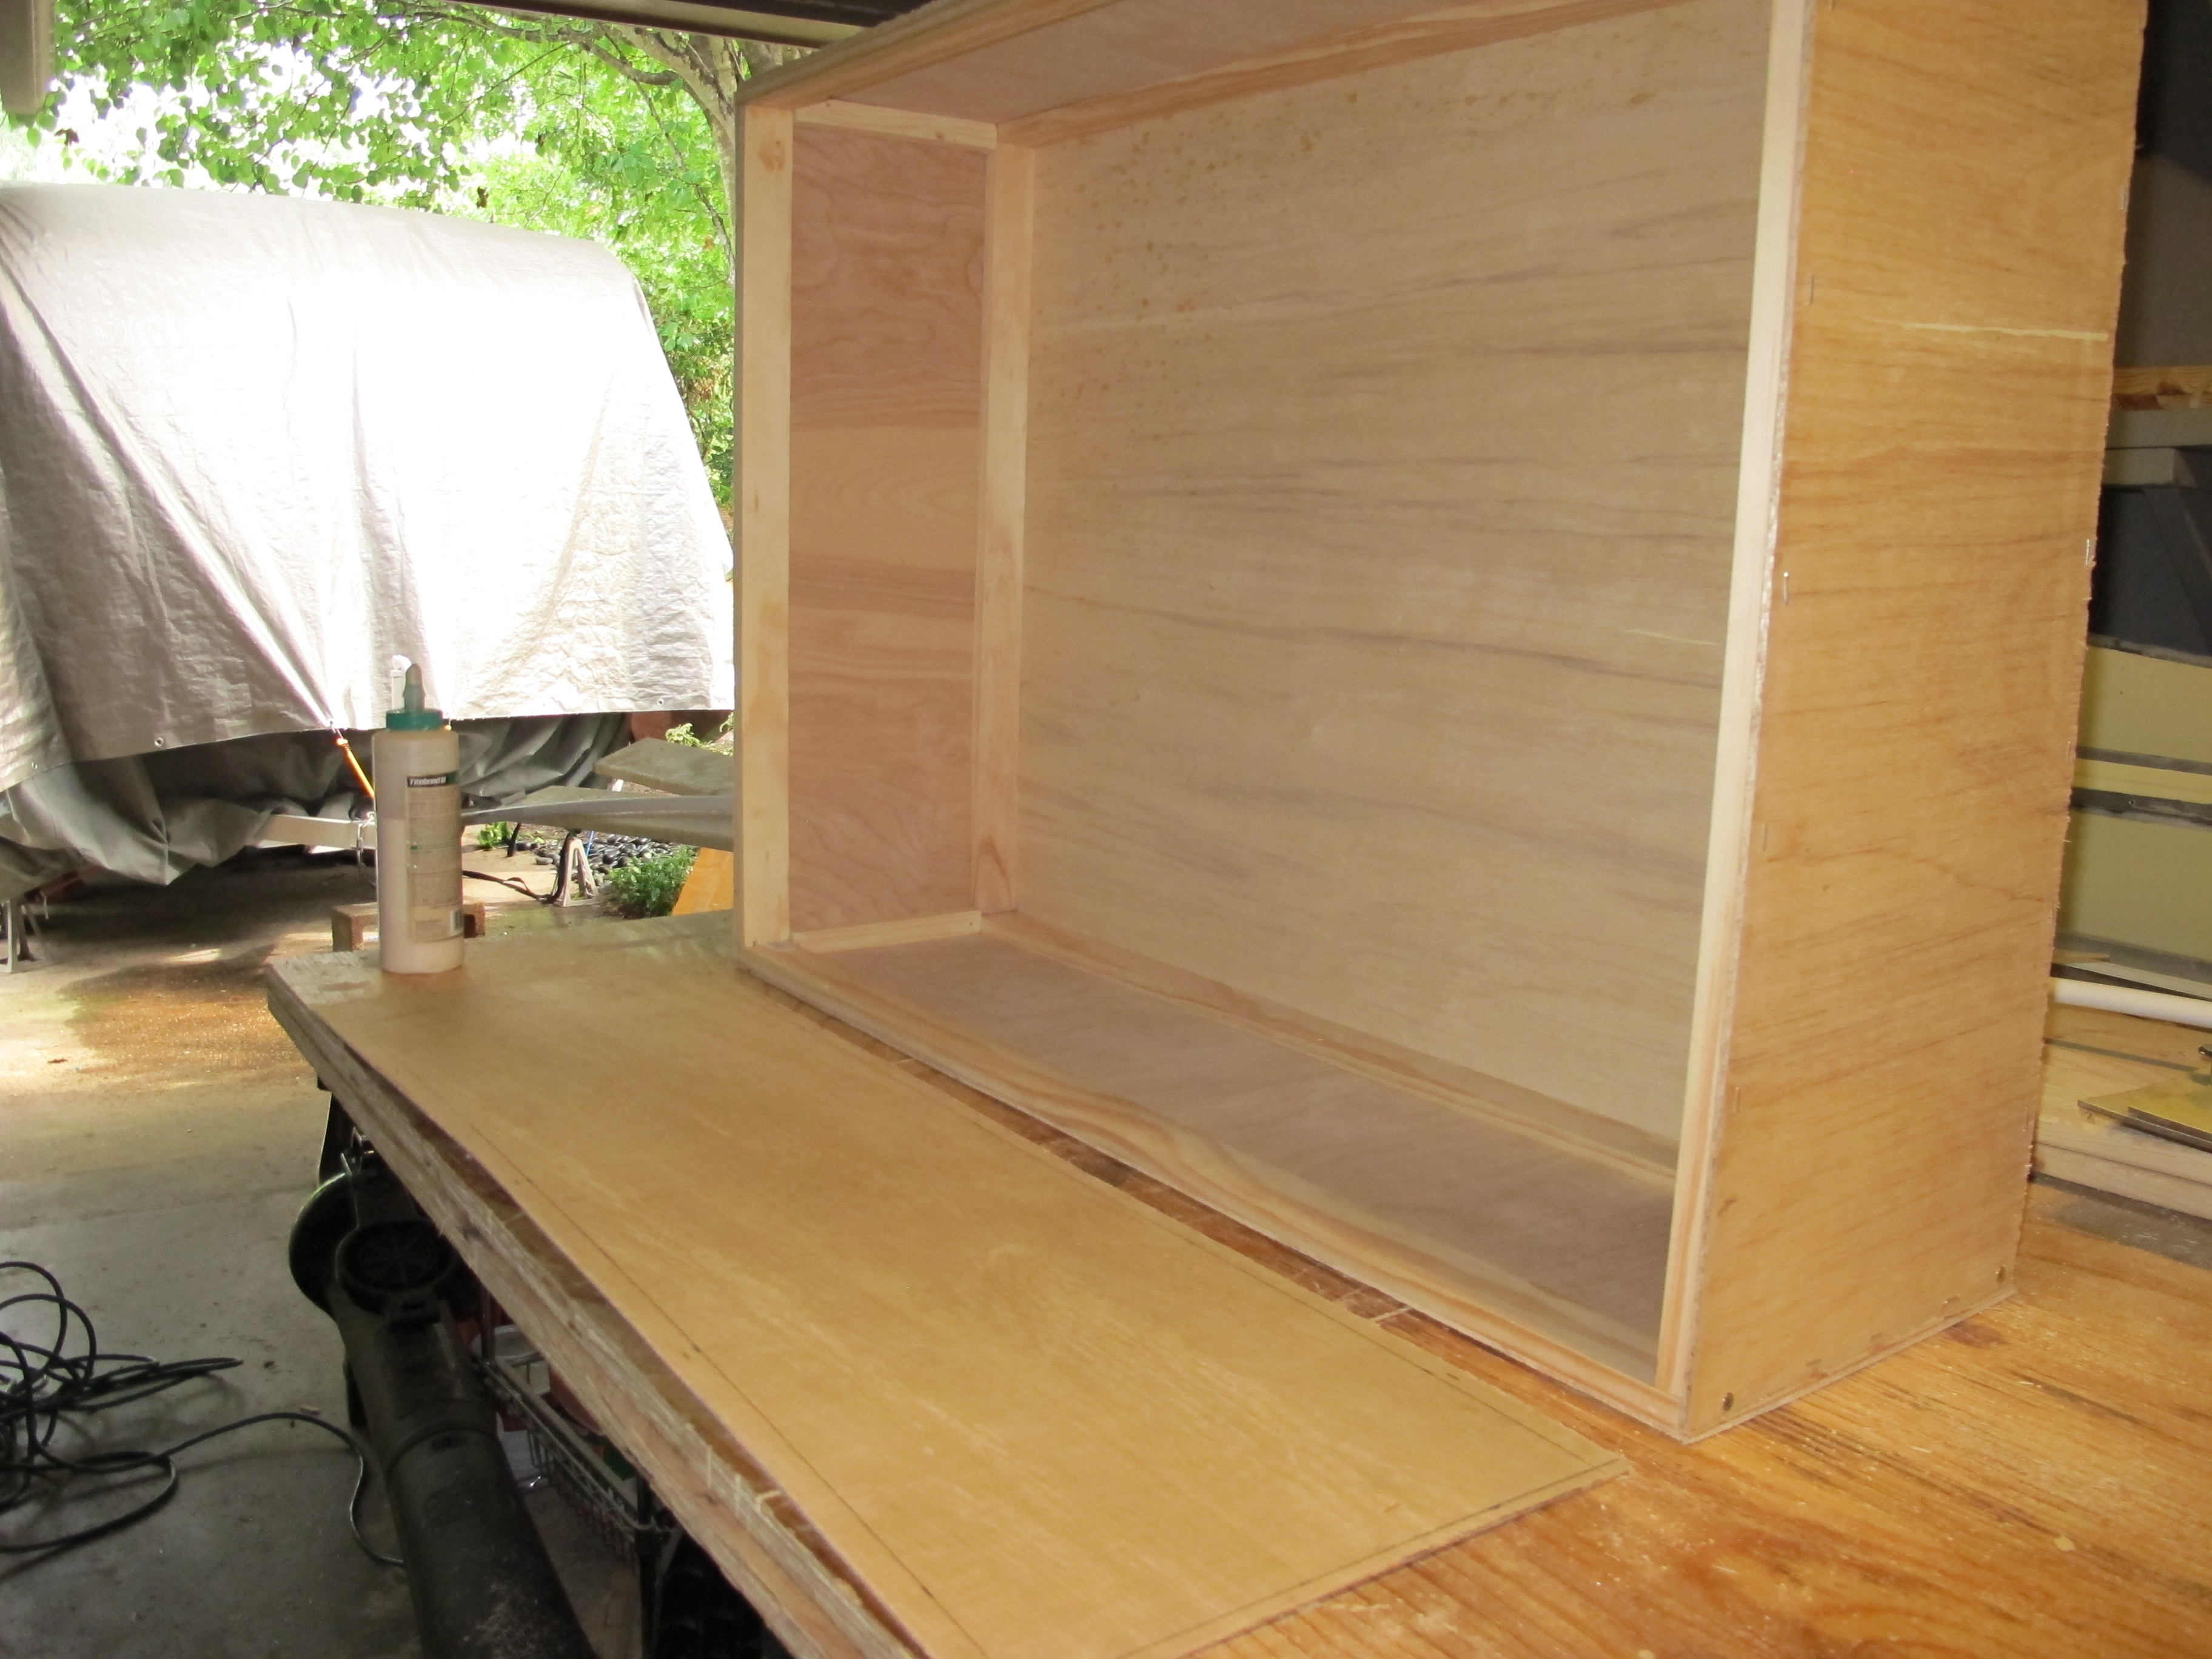
 I screwed in the first drawer face, and then this one is going to be glued to the other face so that no screws are showing.


I was able to use a leftover piece of birch that already had shellac applied to it so it made my life a little easier. The drawer pull is from Anthropologie, they have the best hardware!
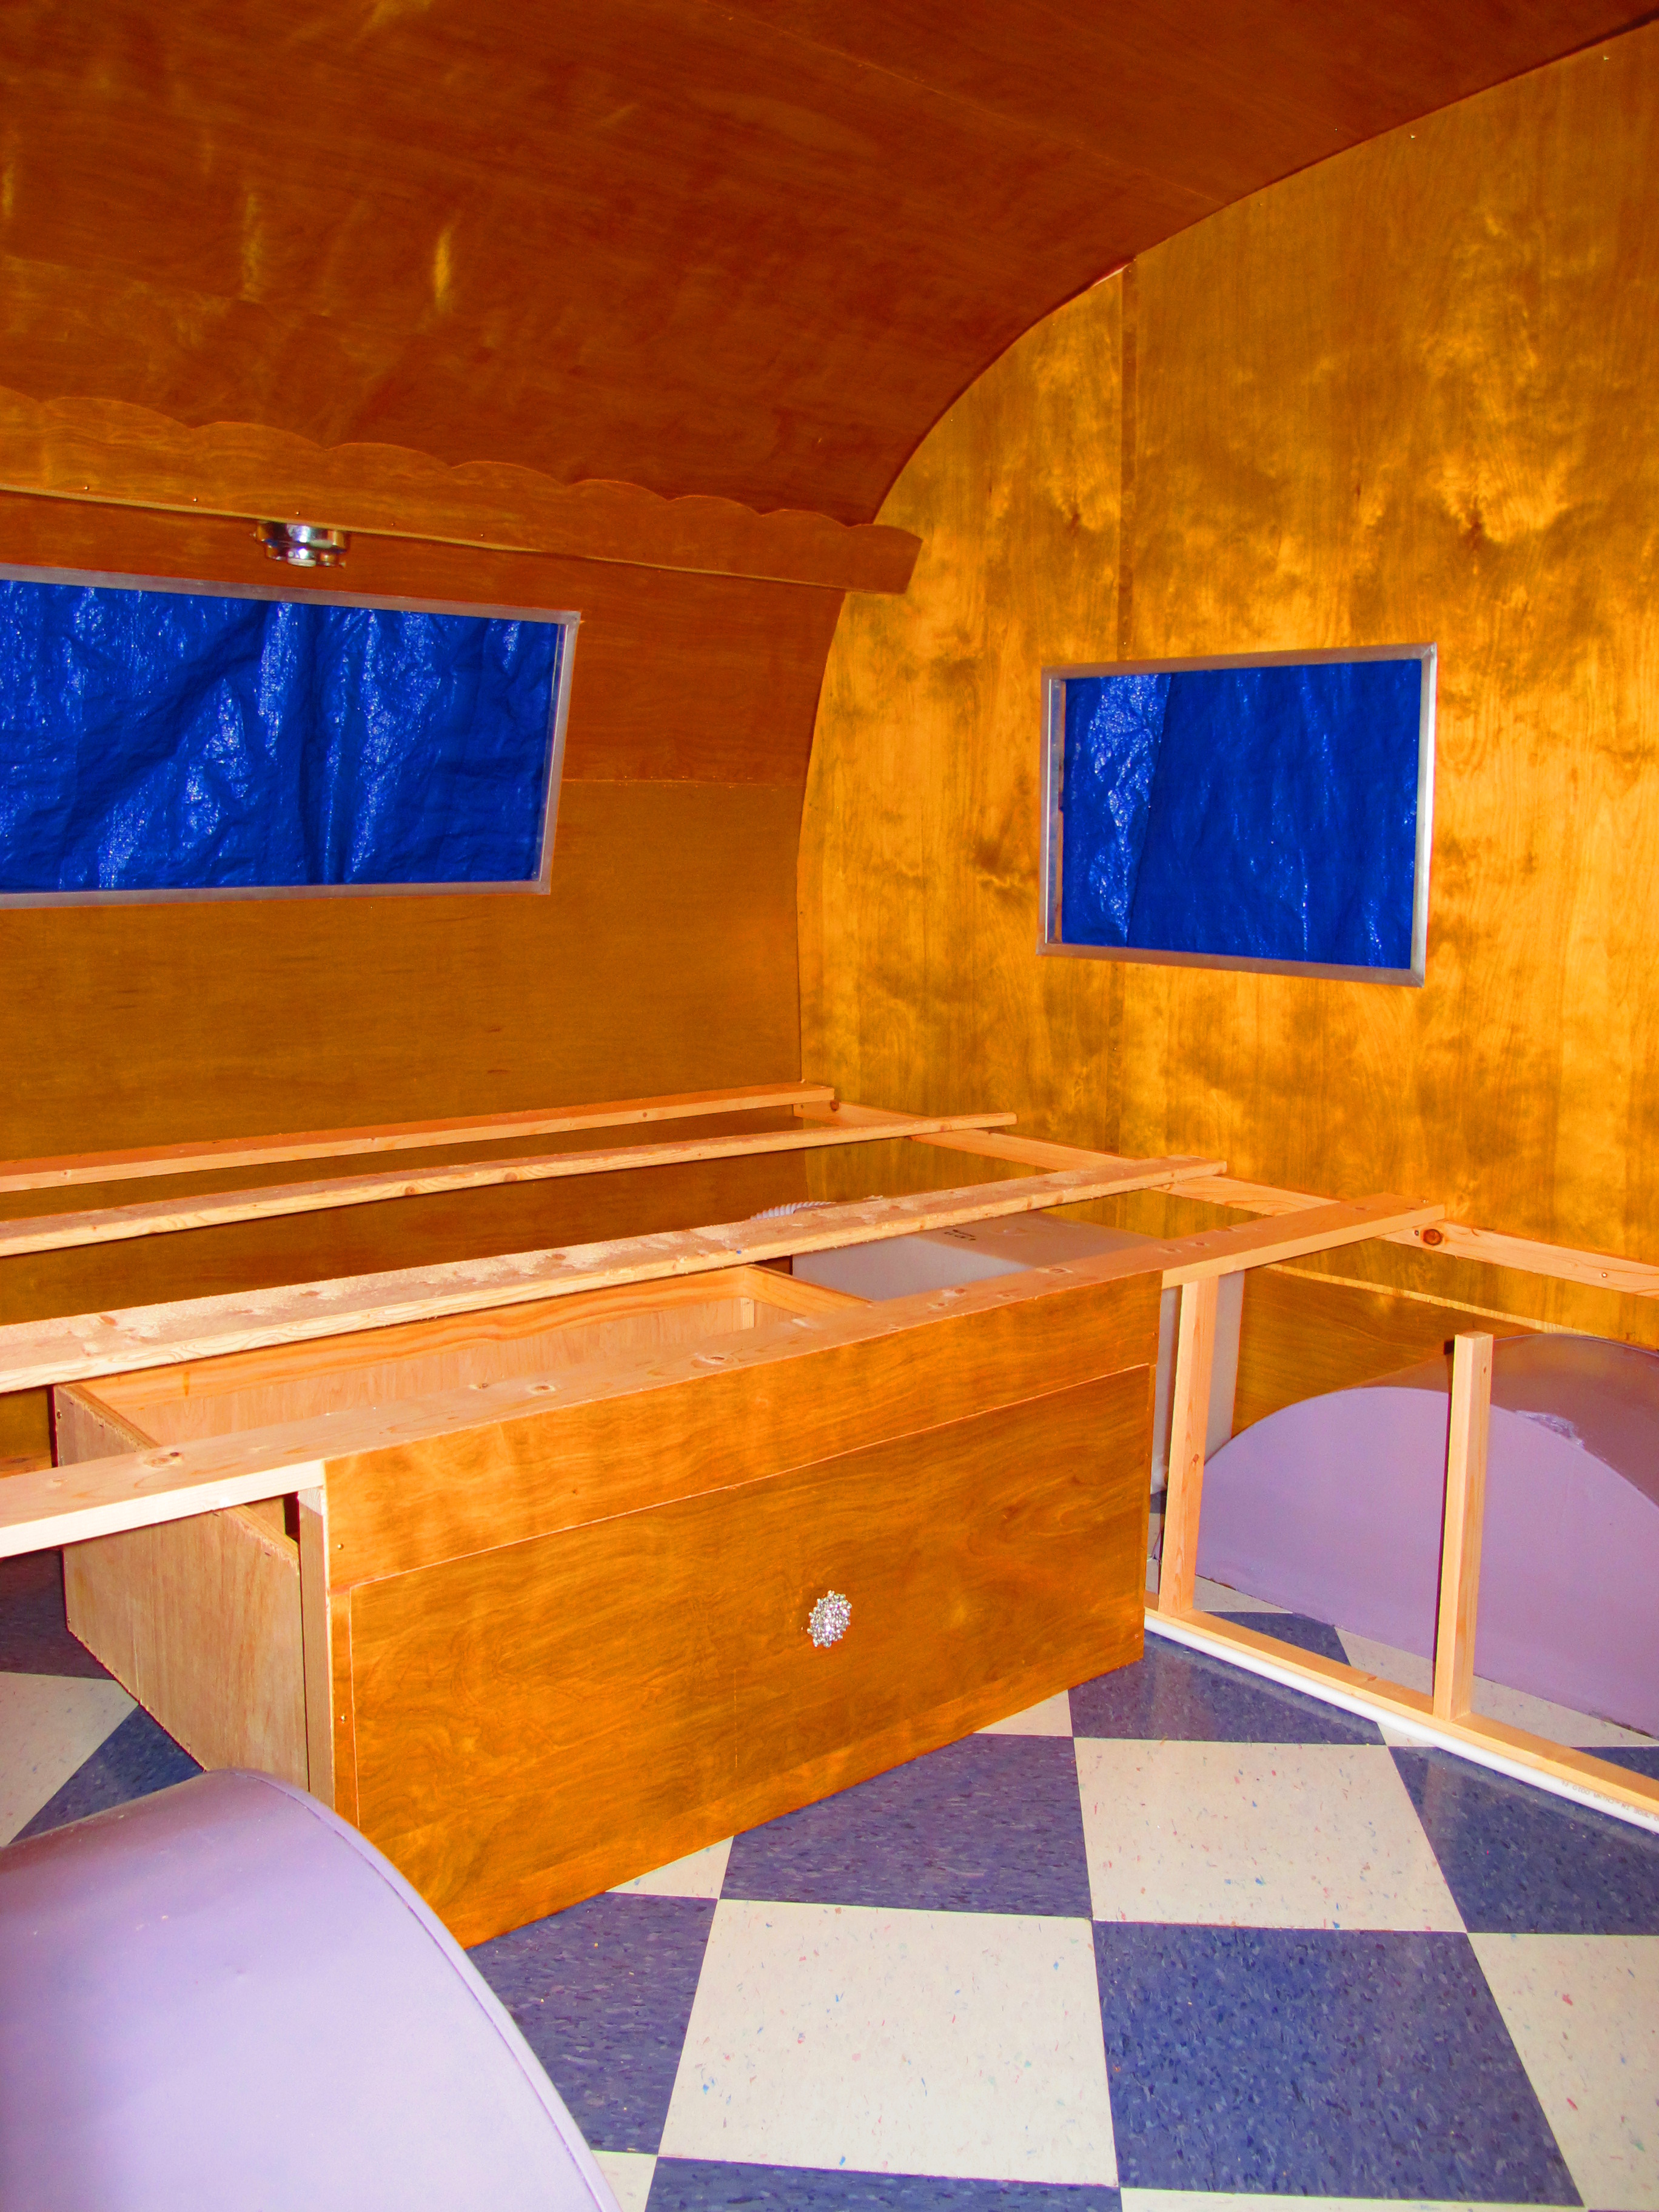
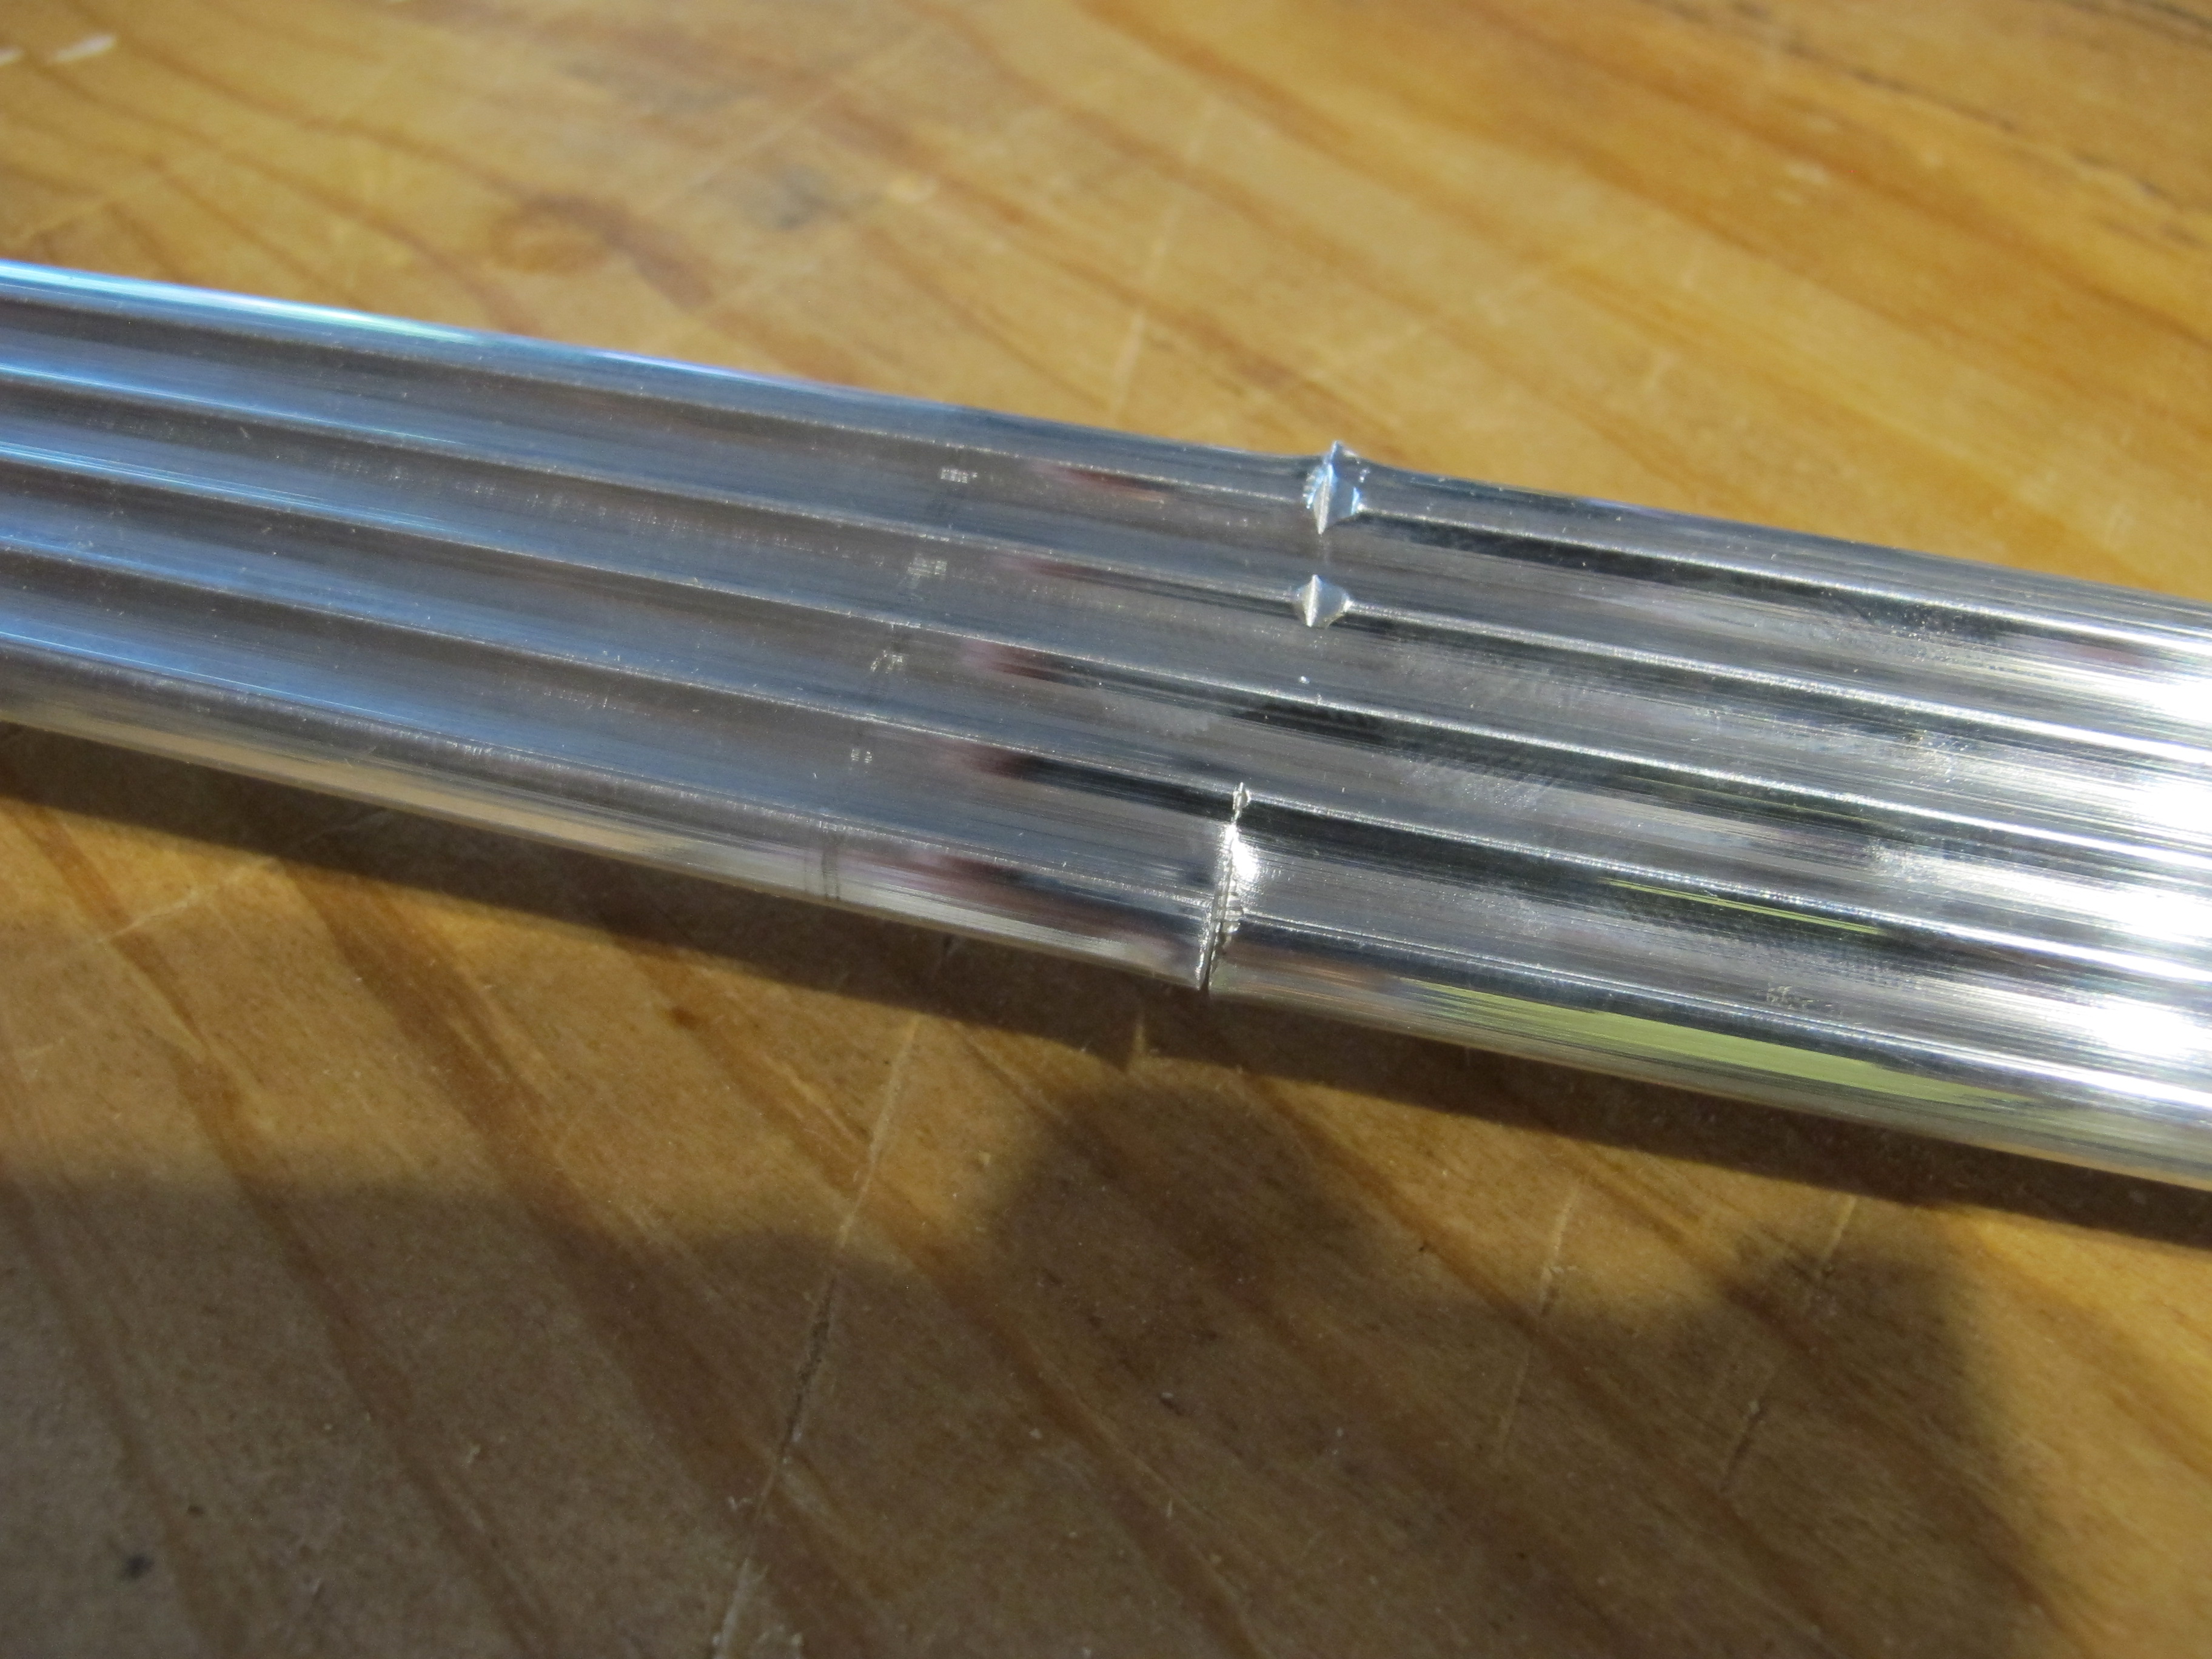
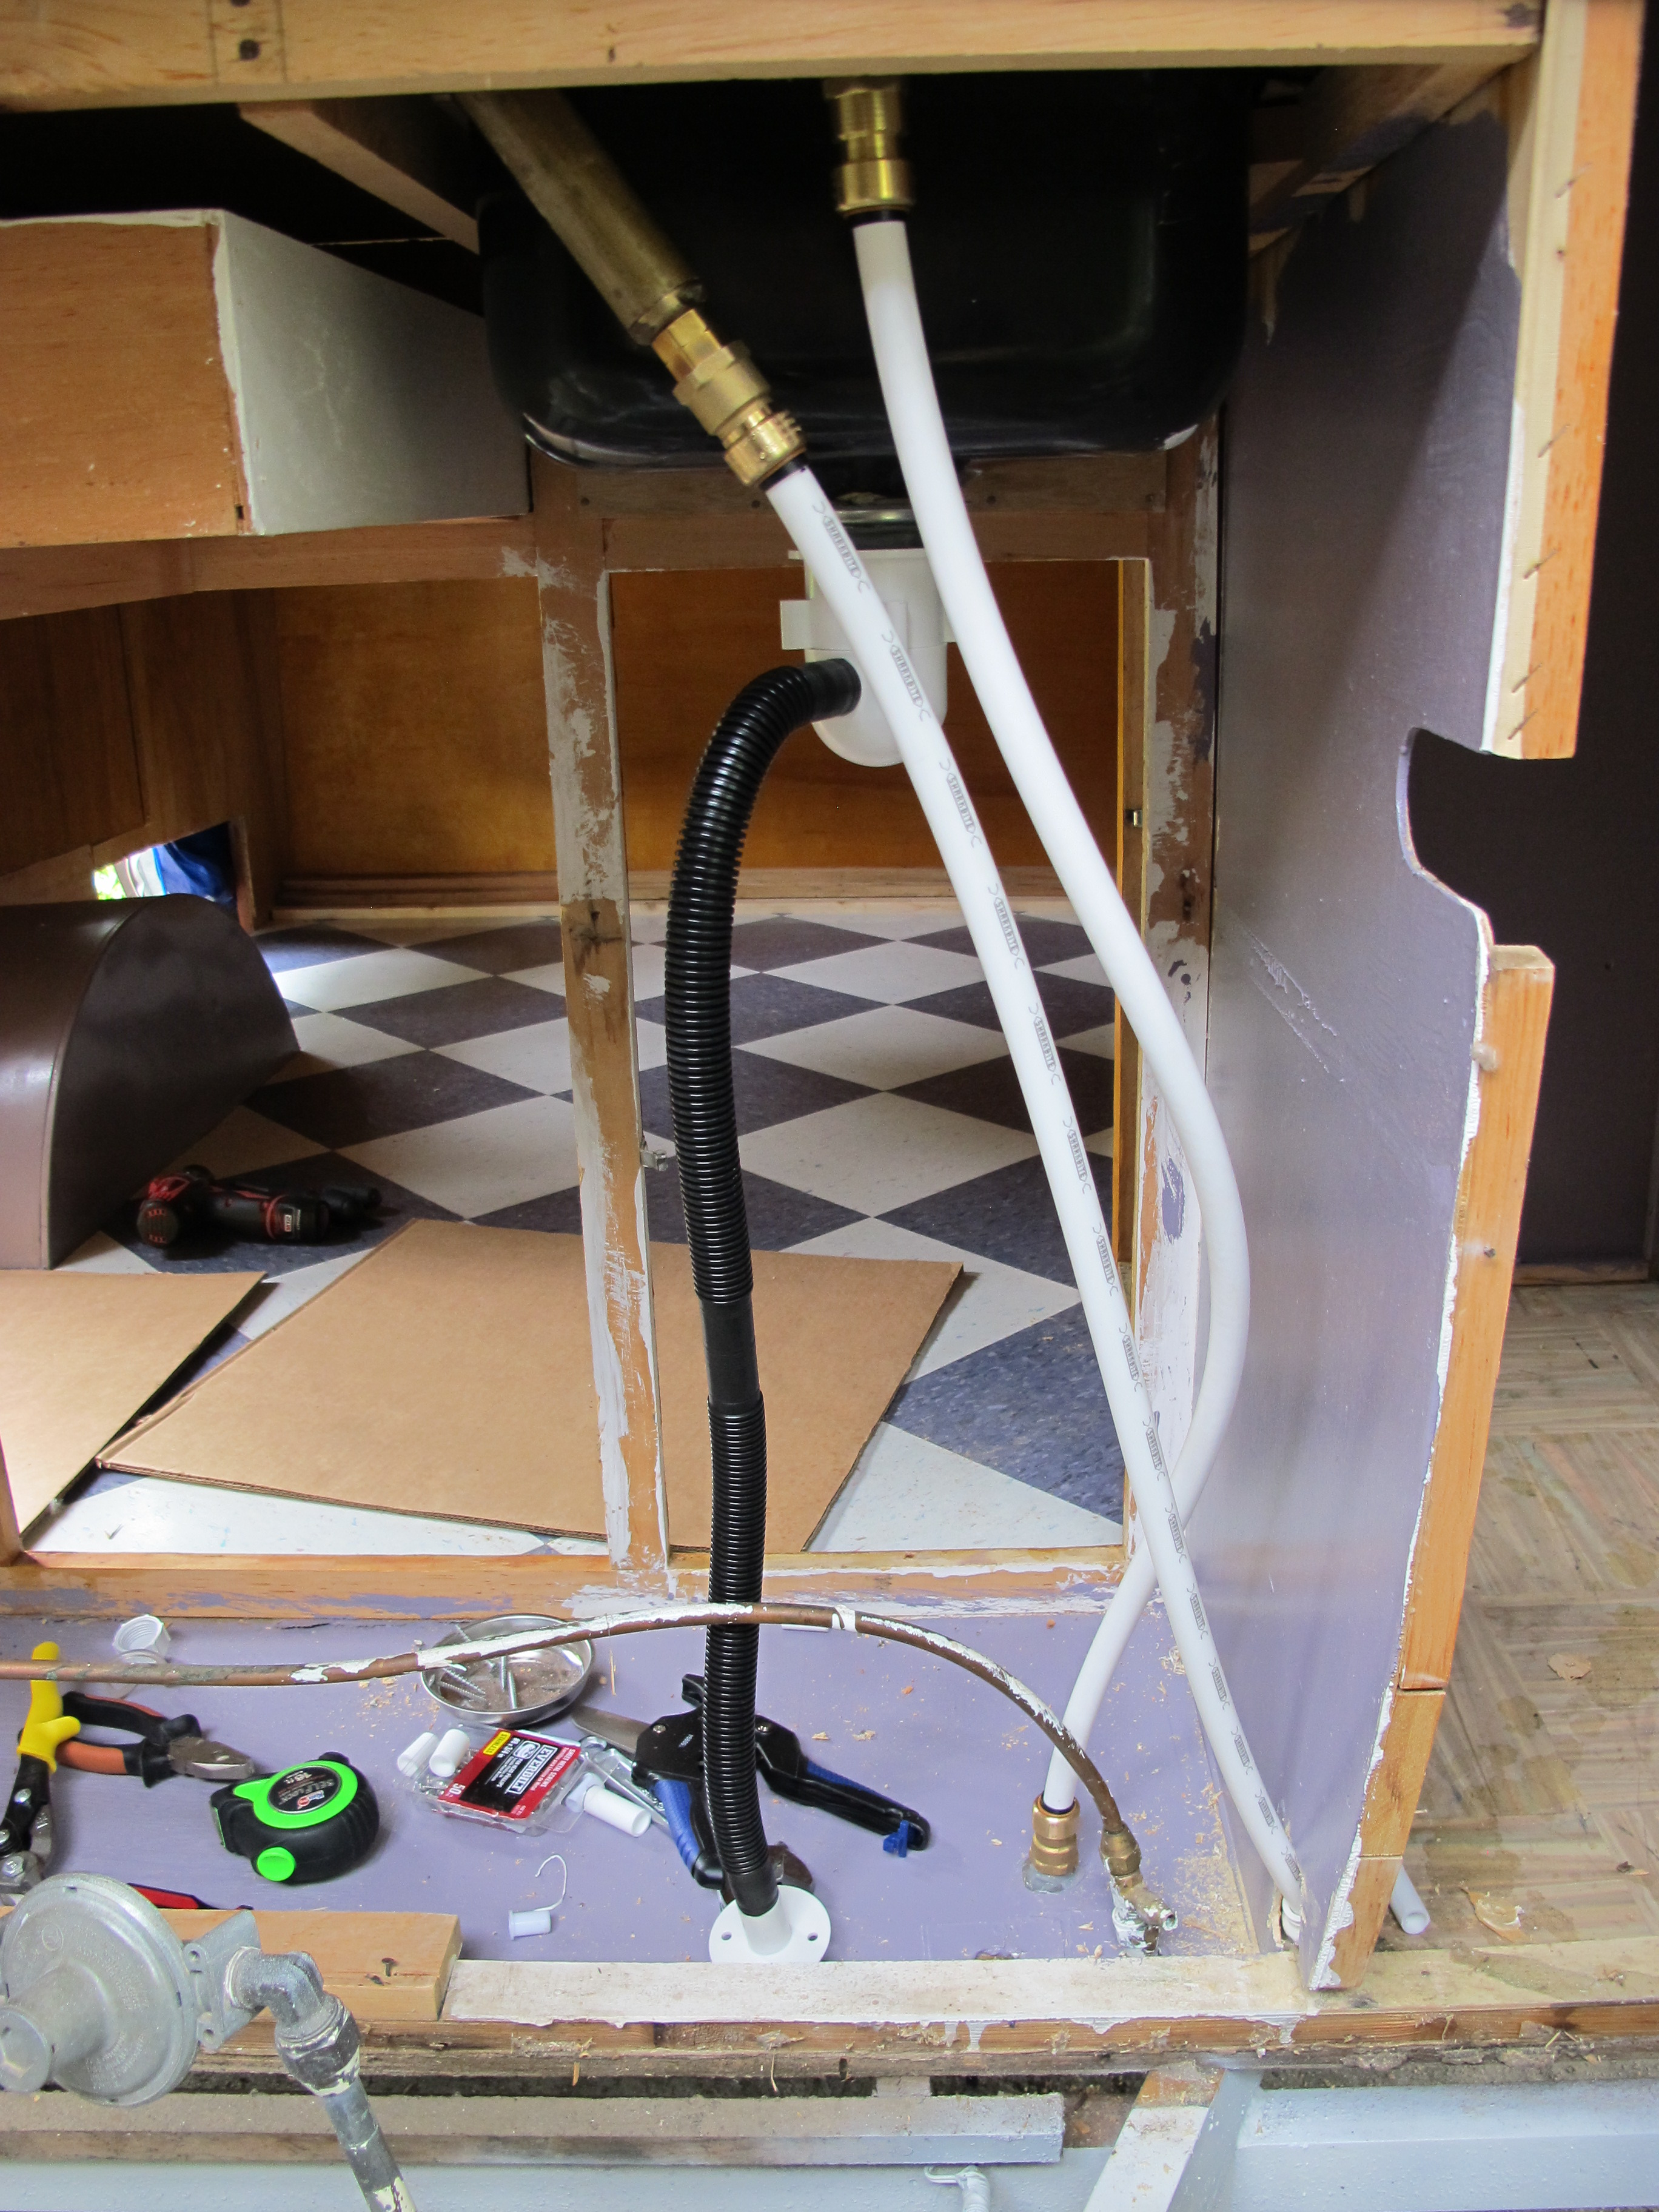
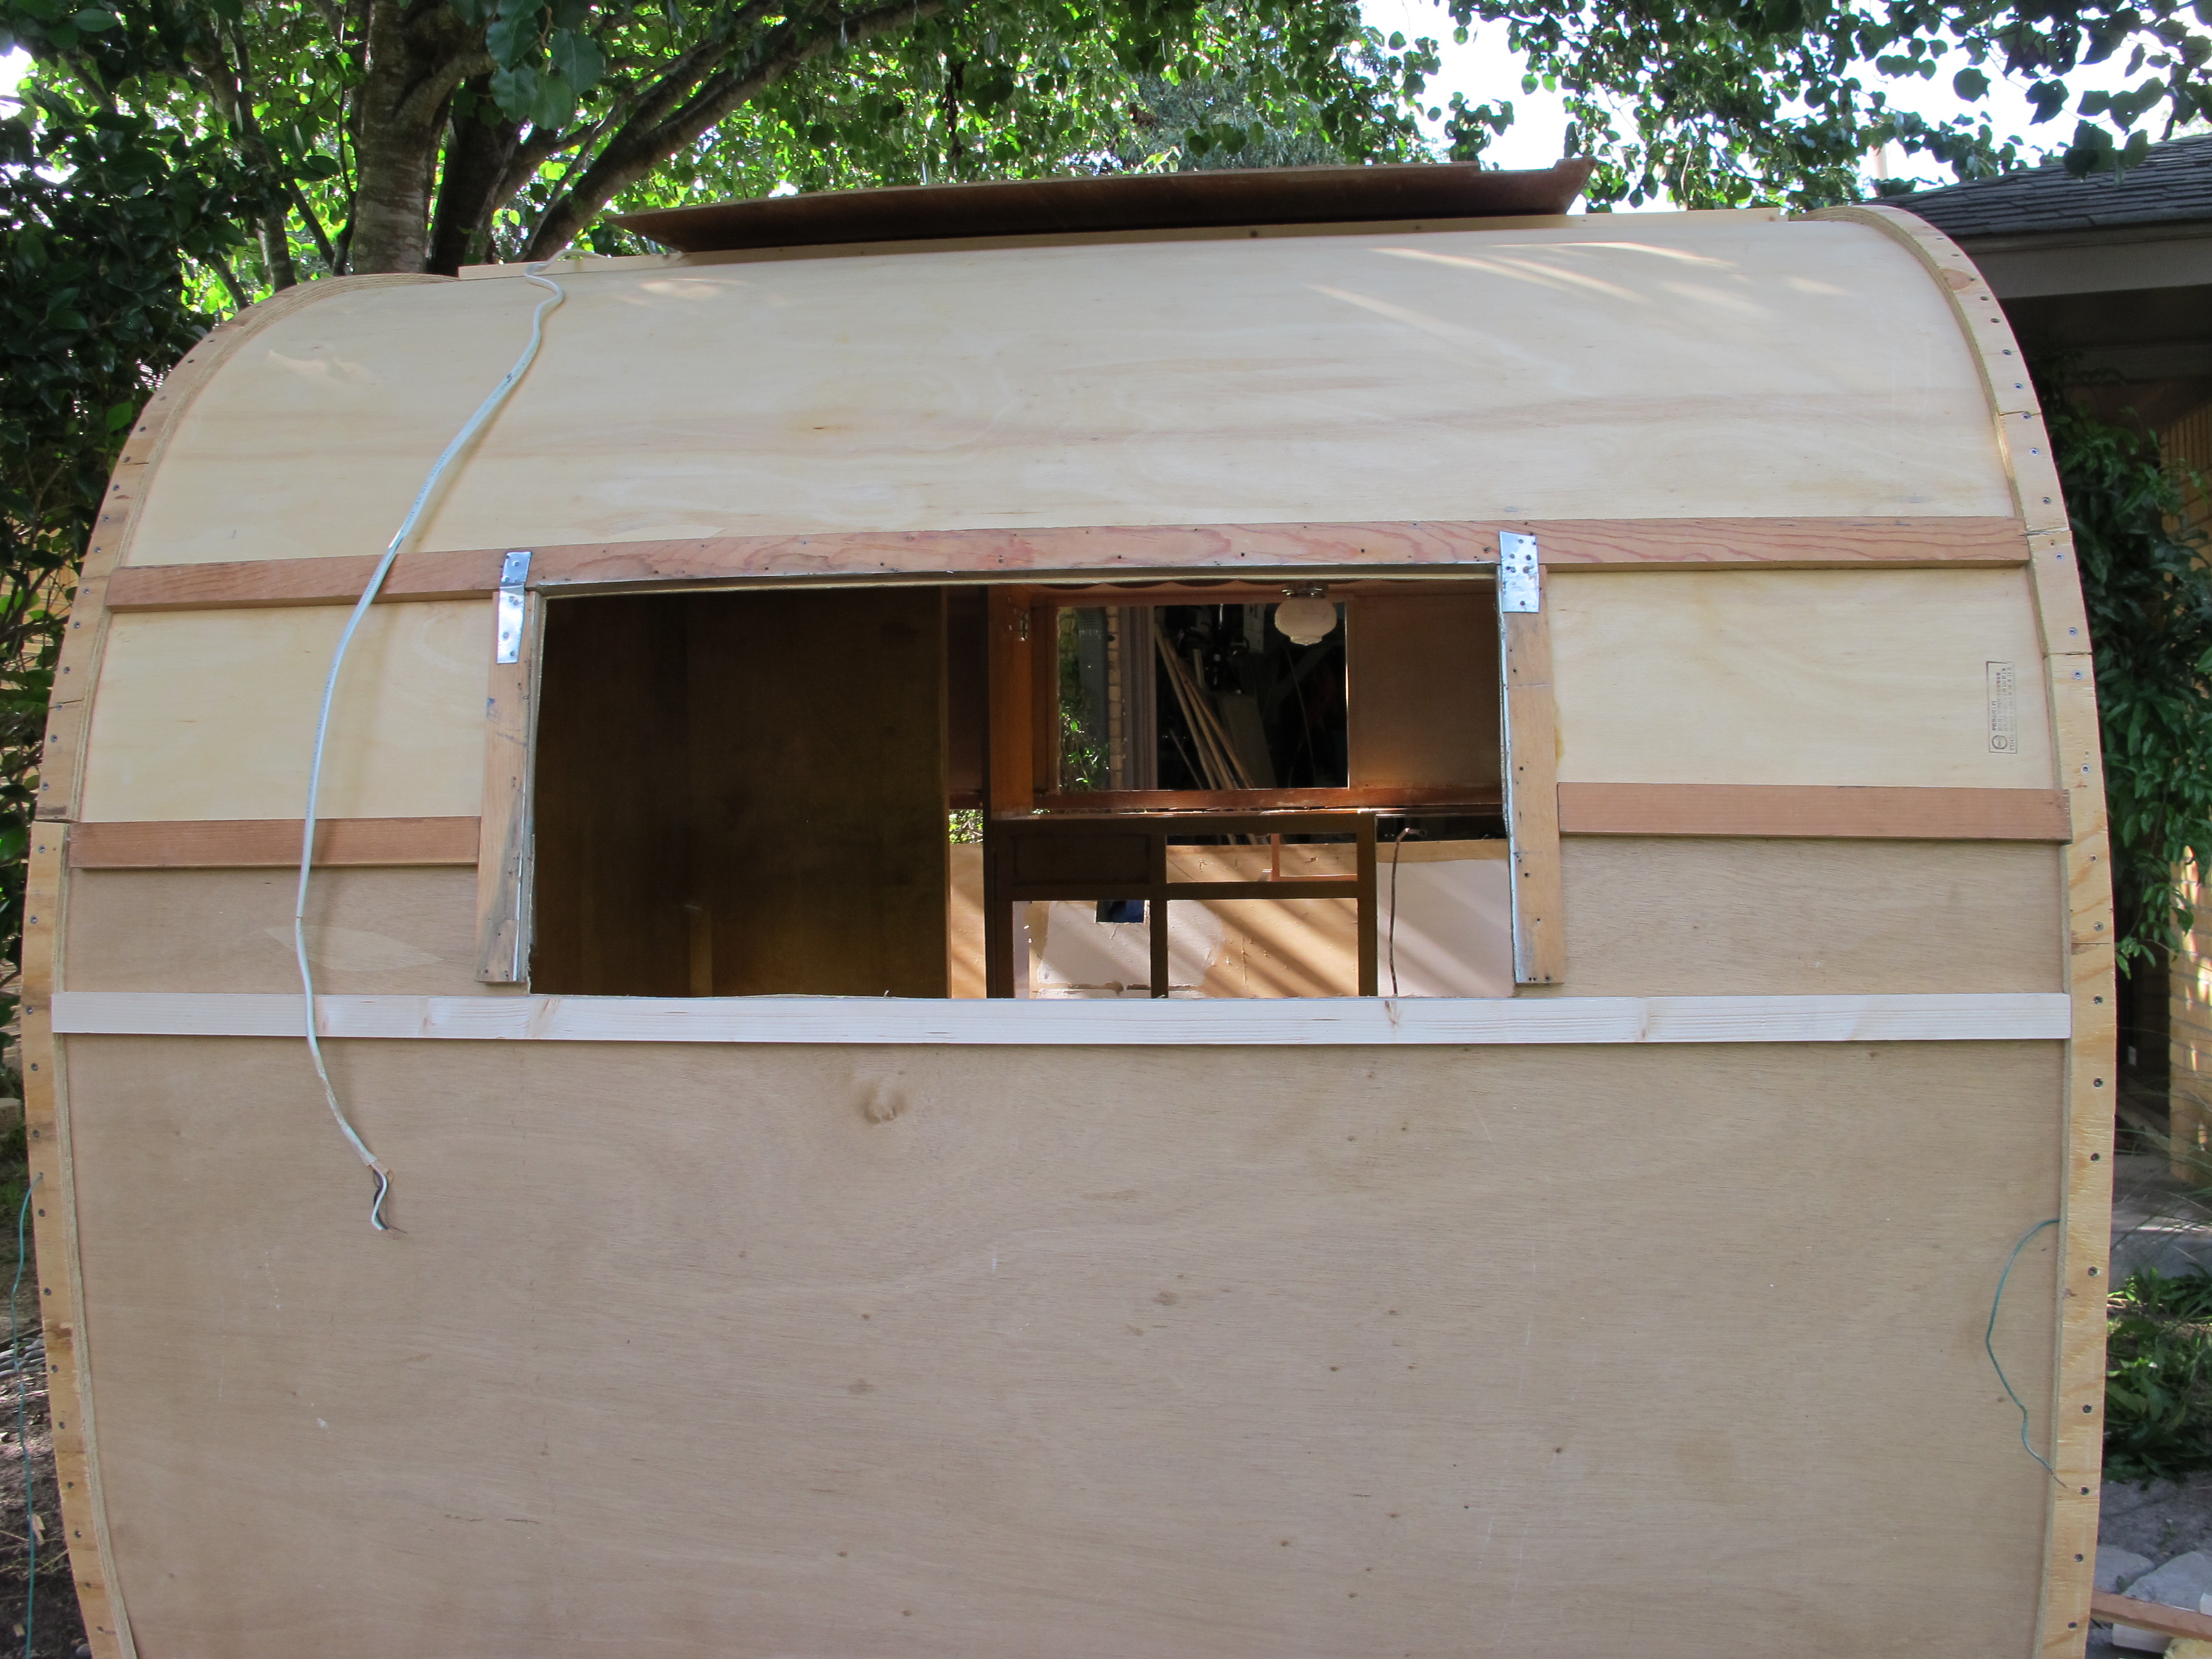
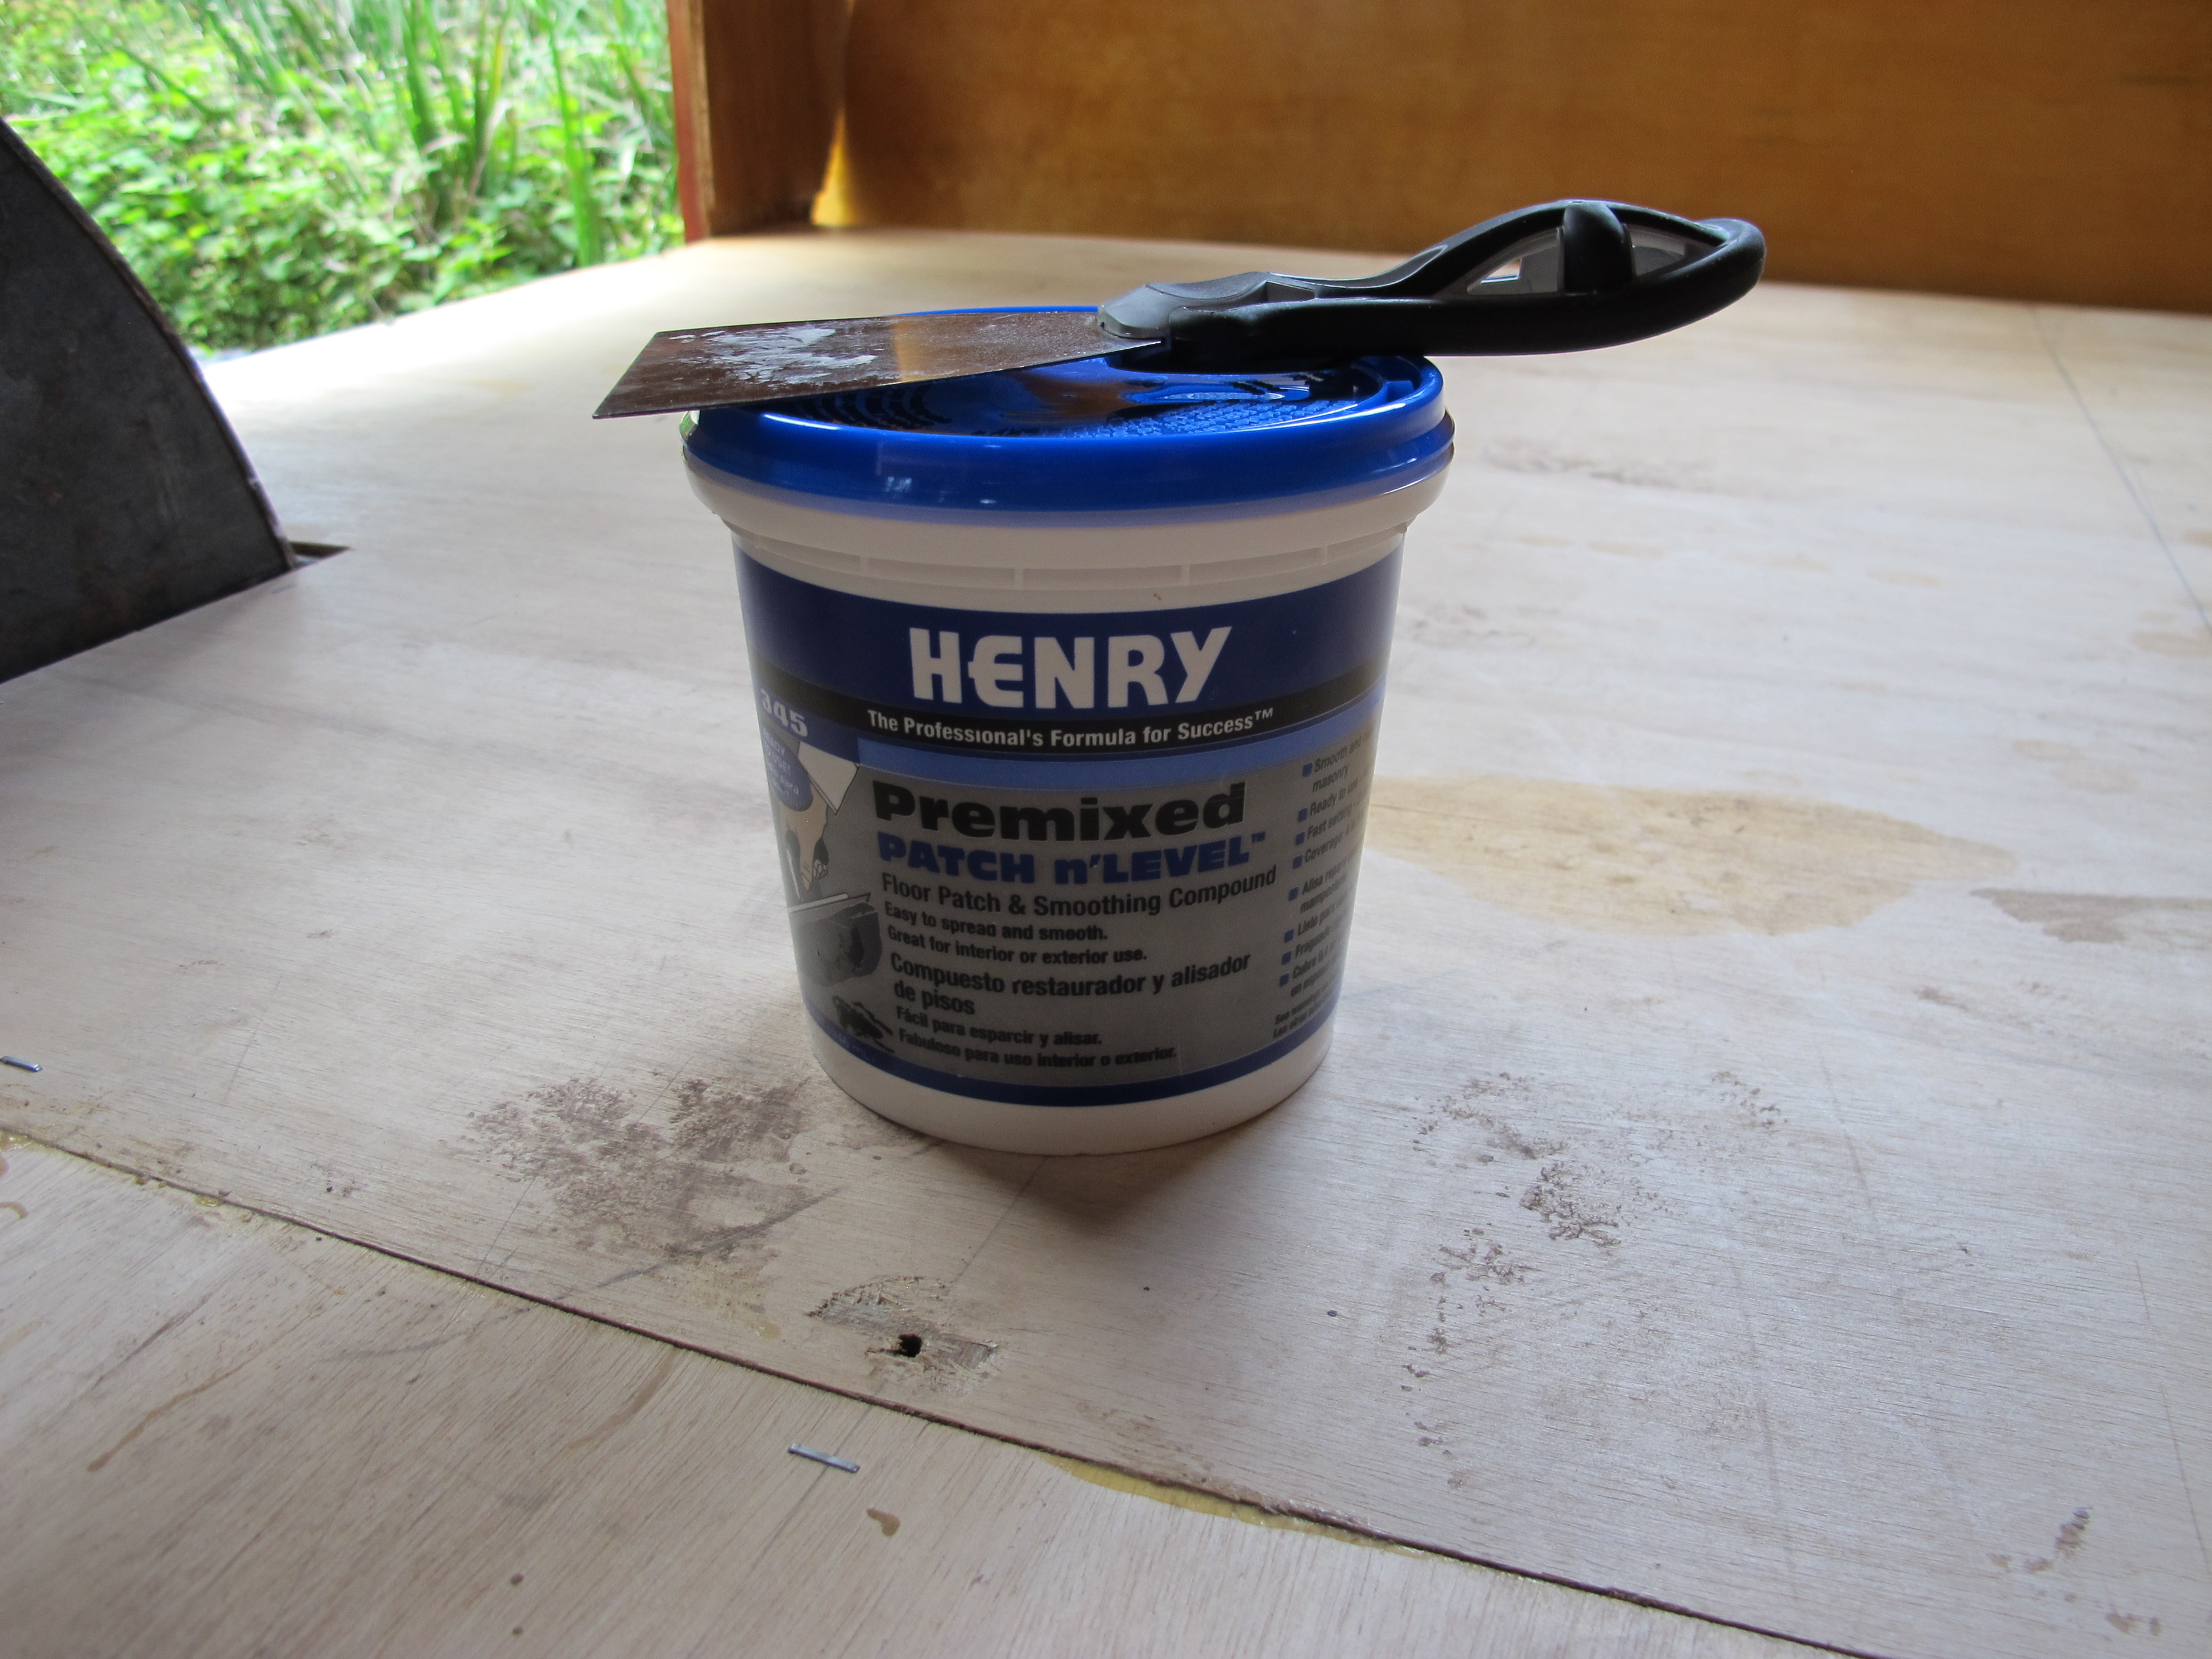
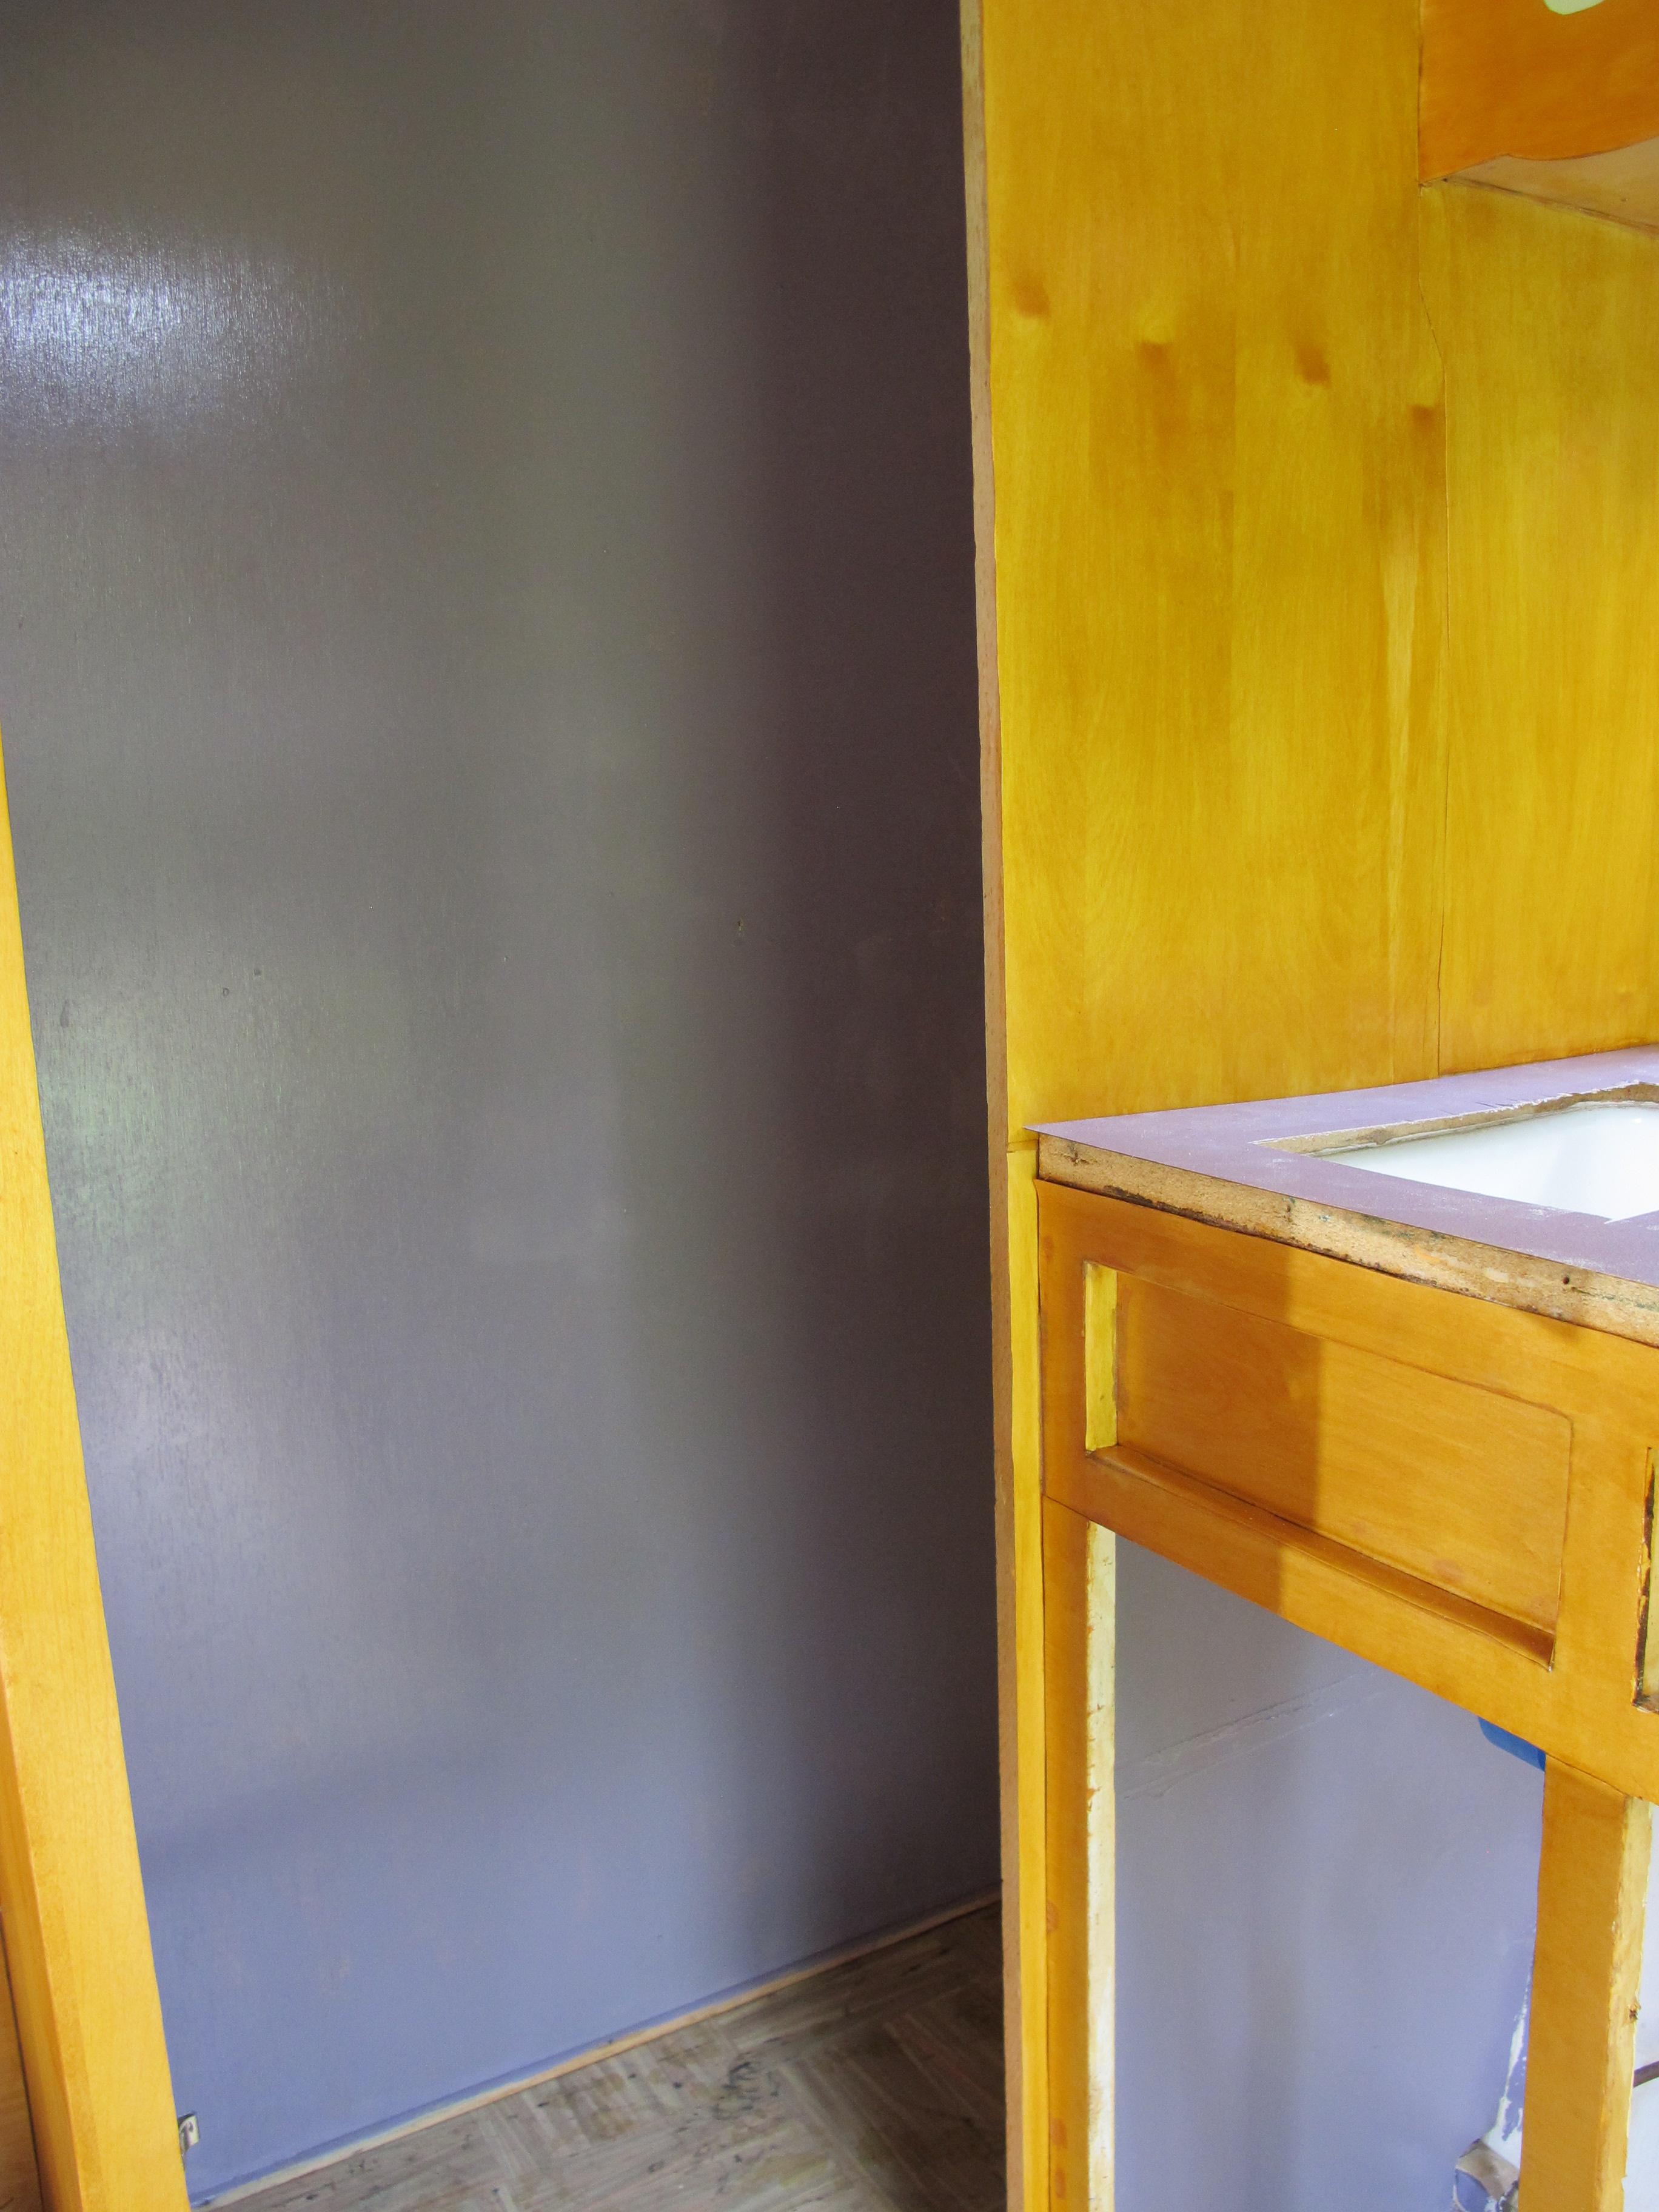
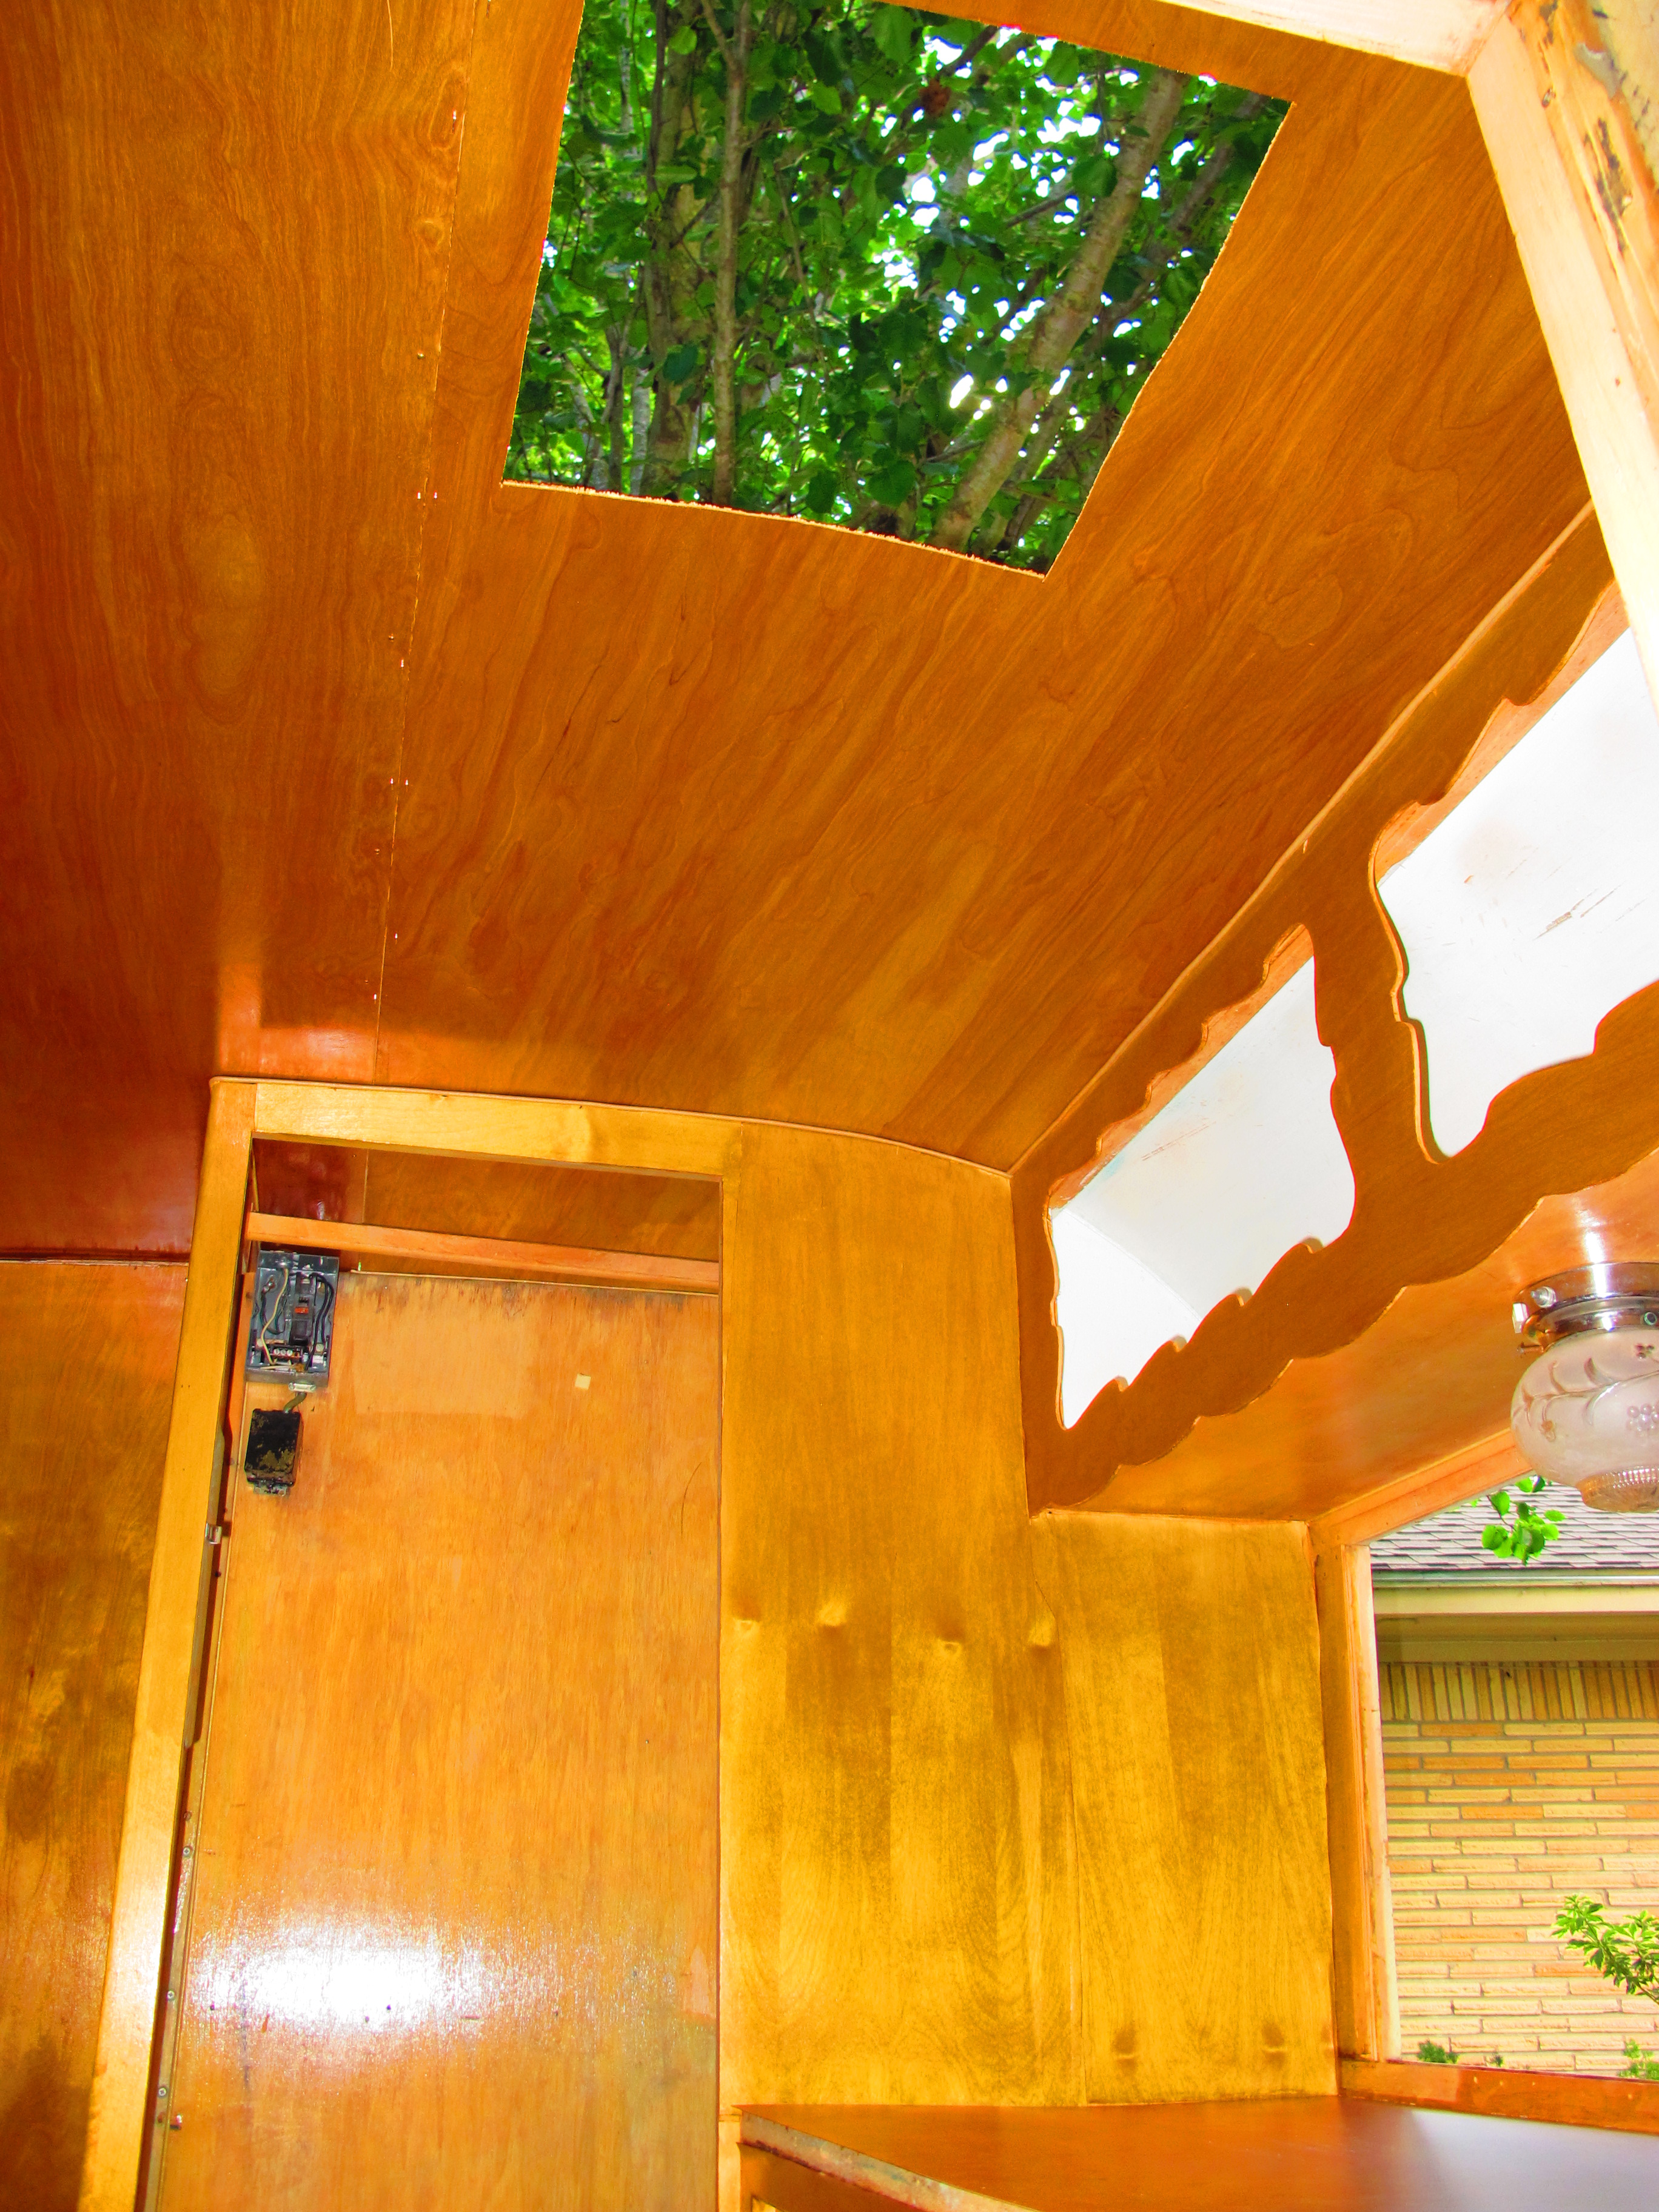
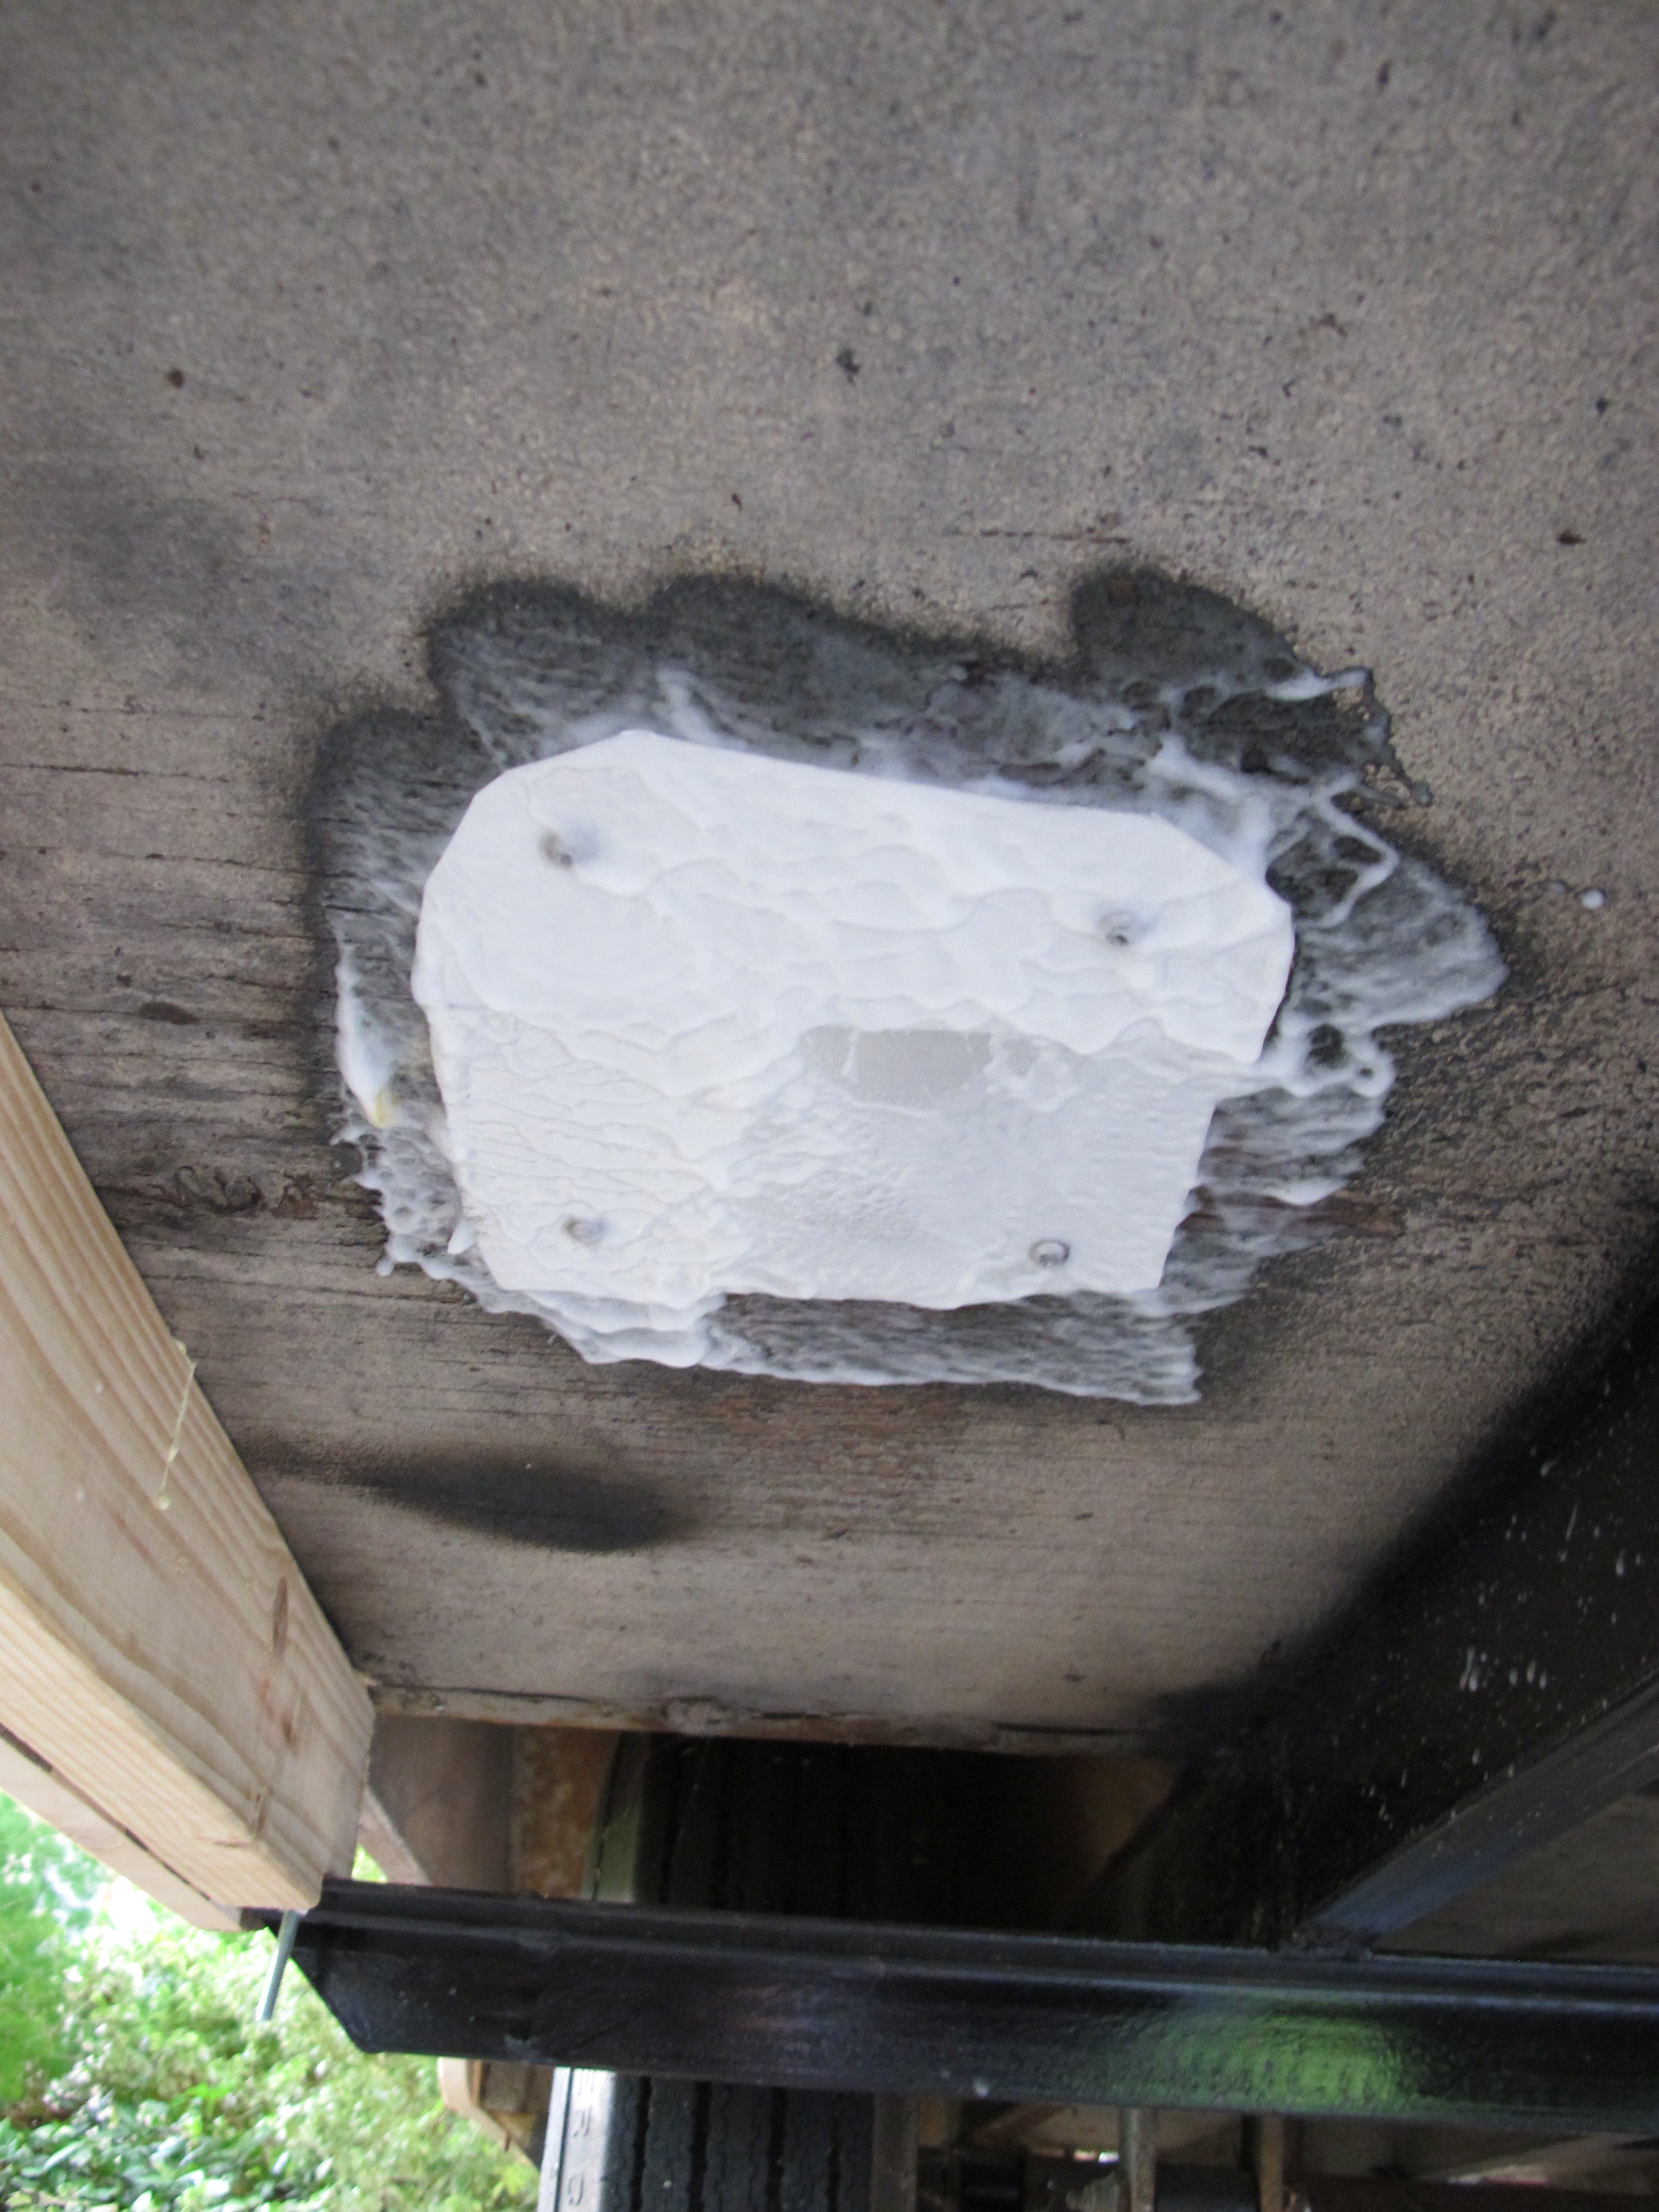
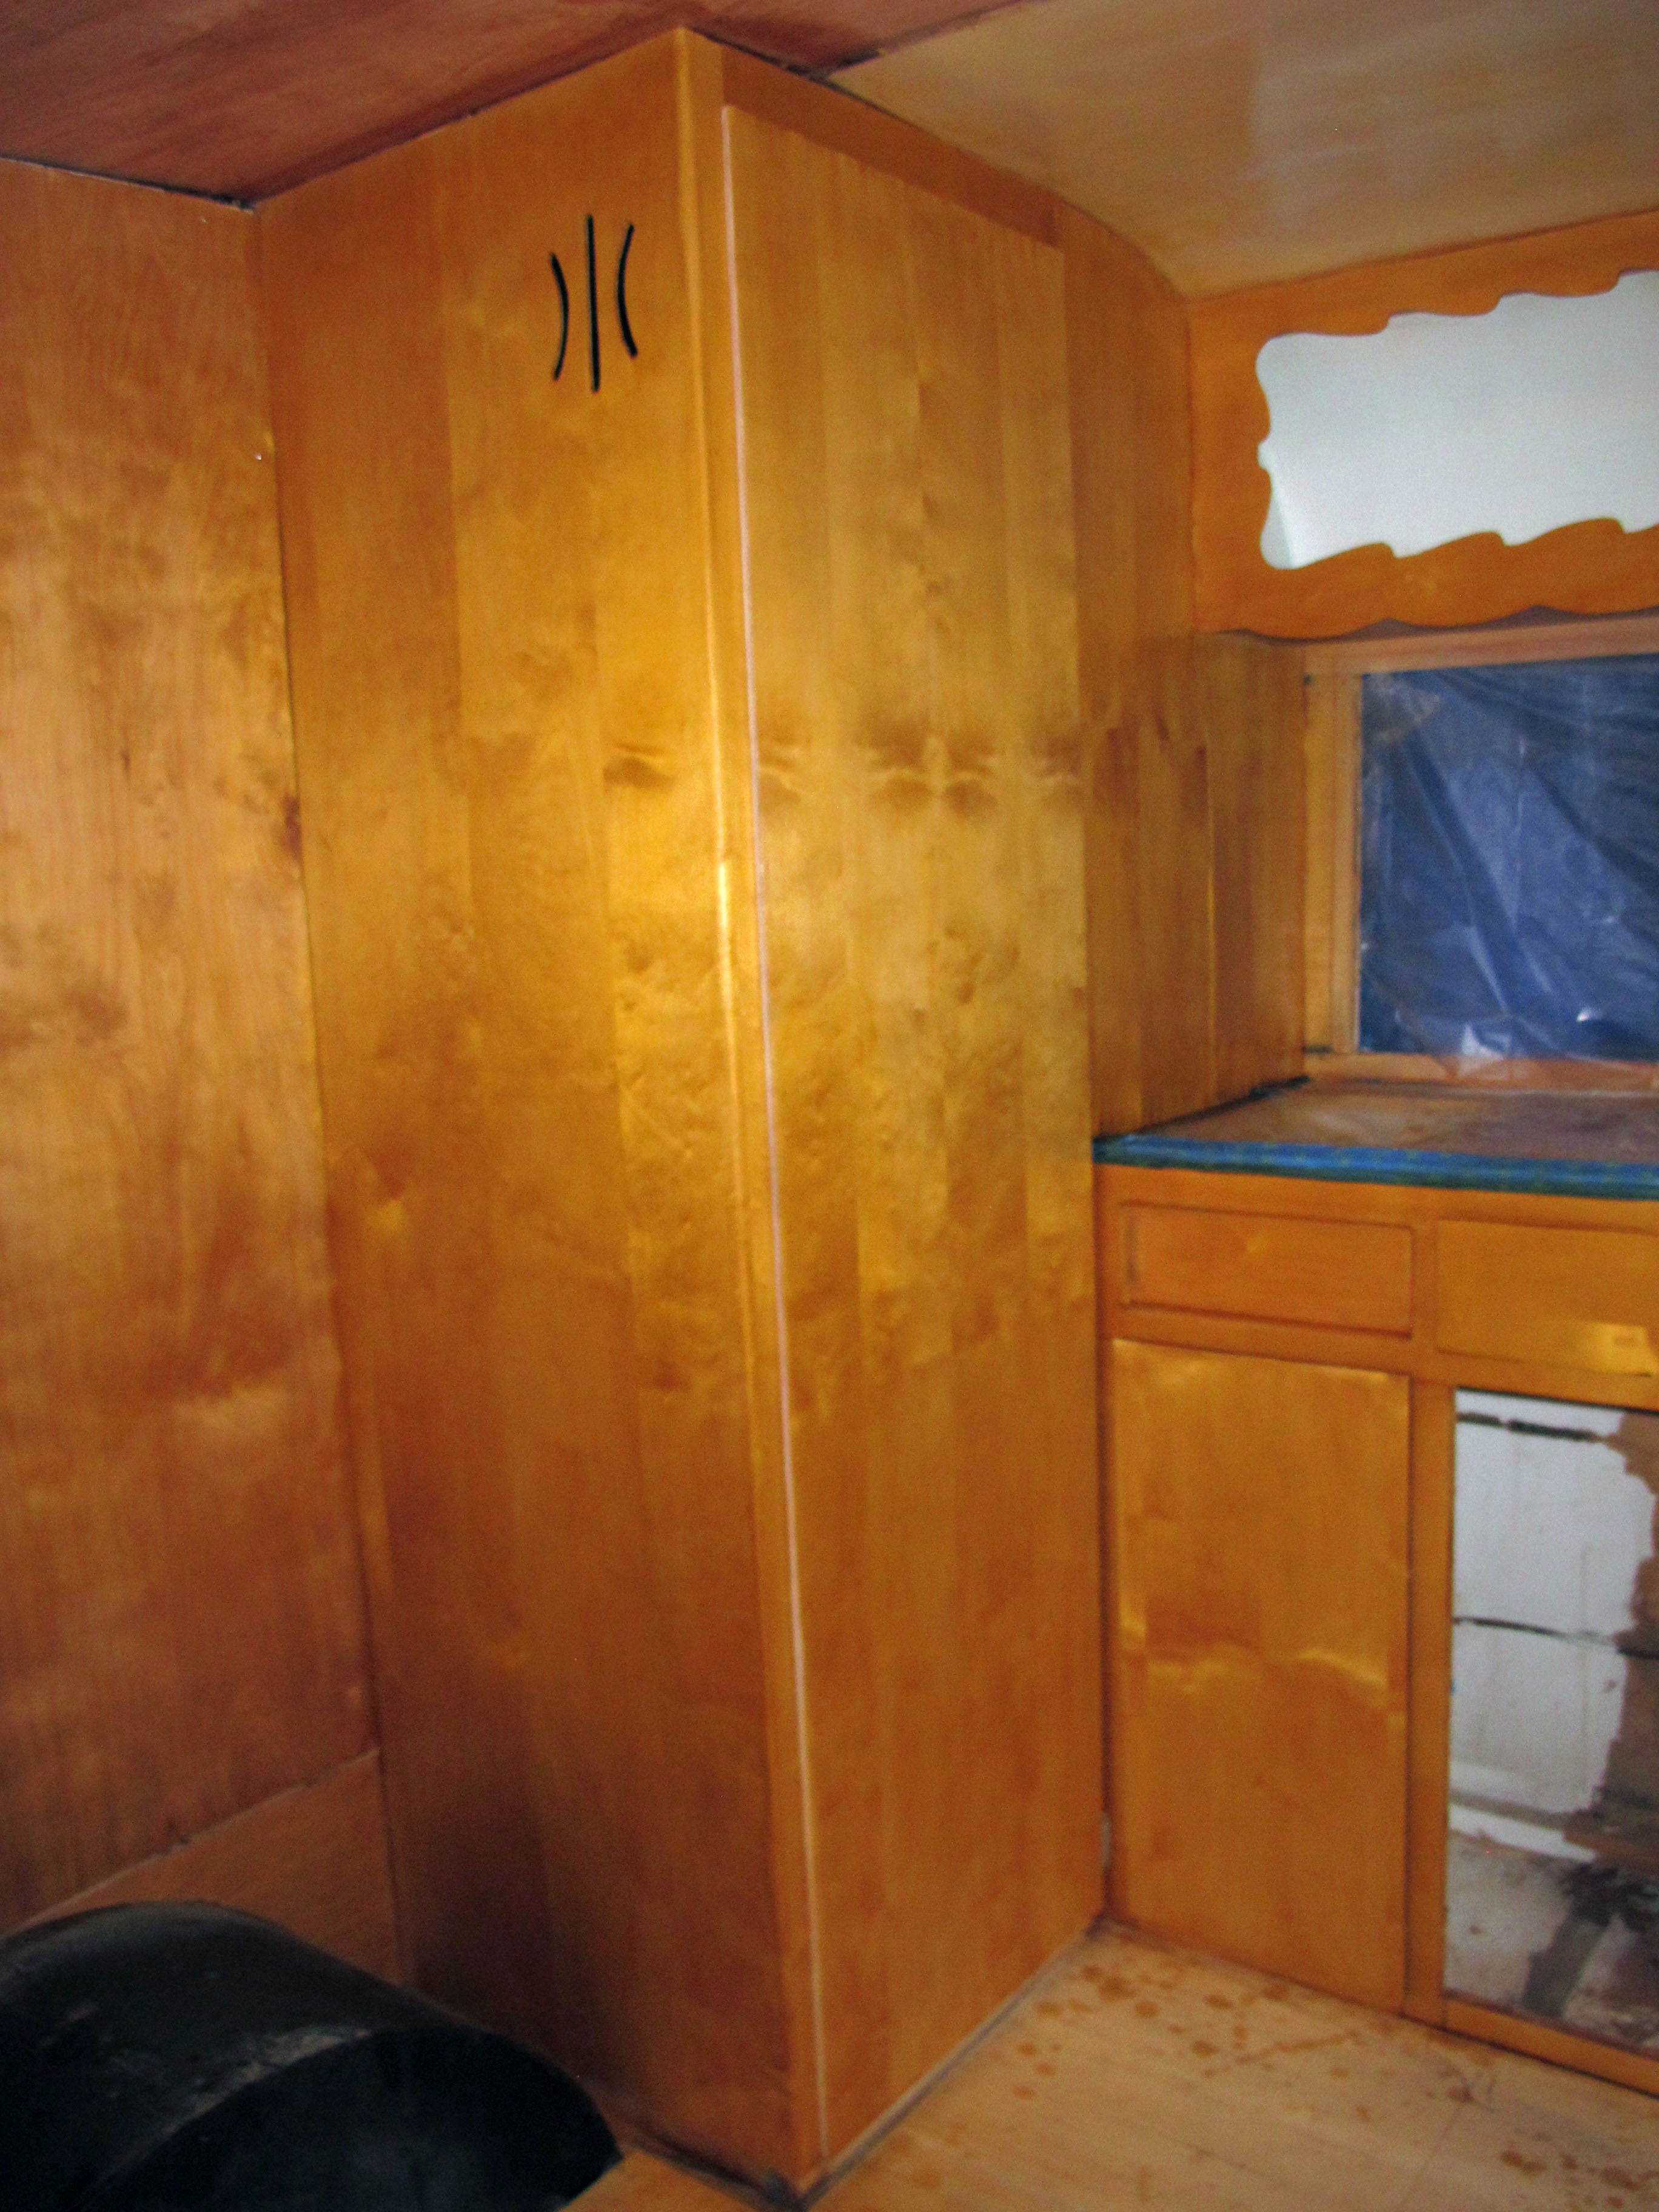
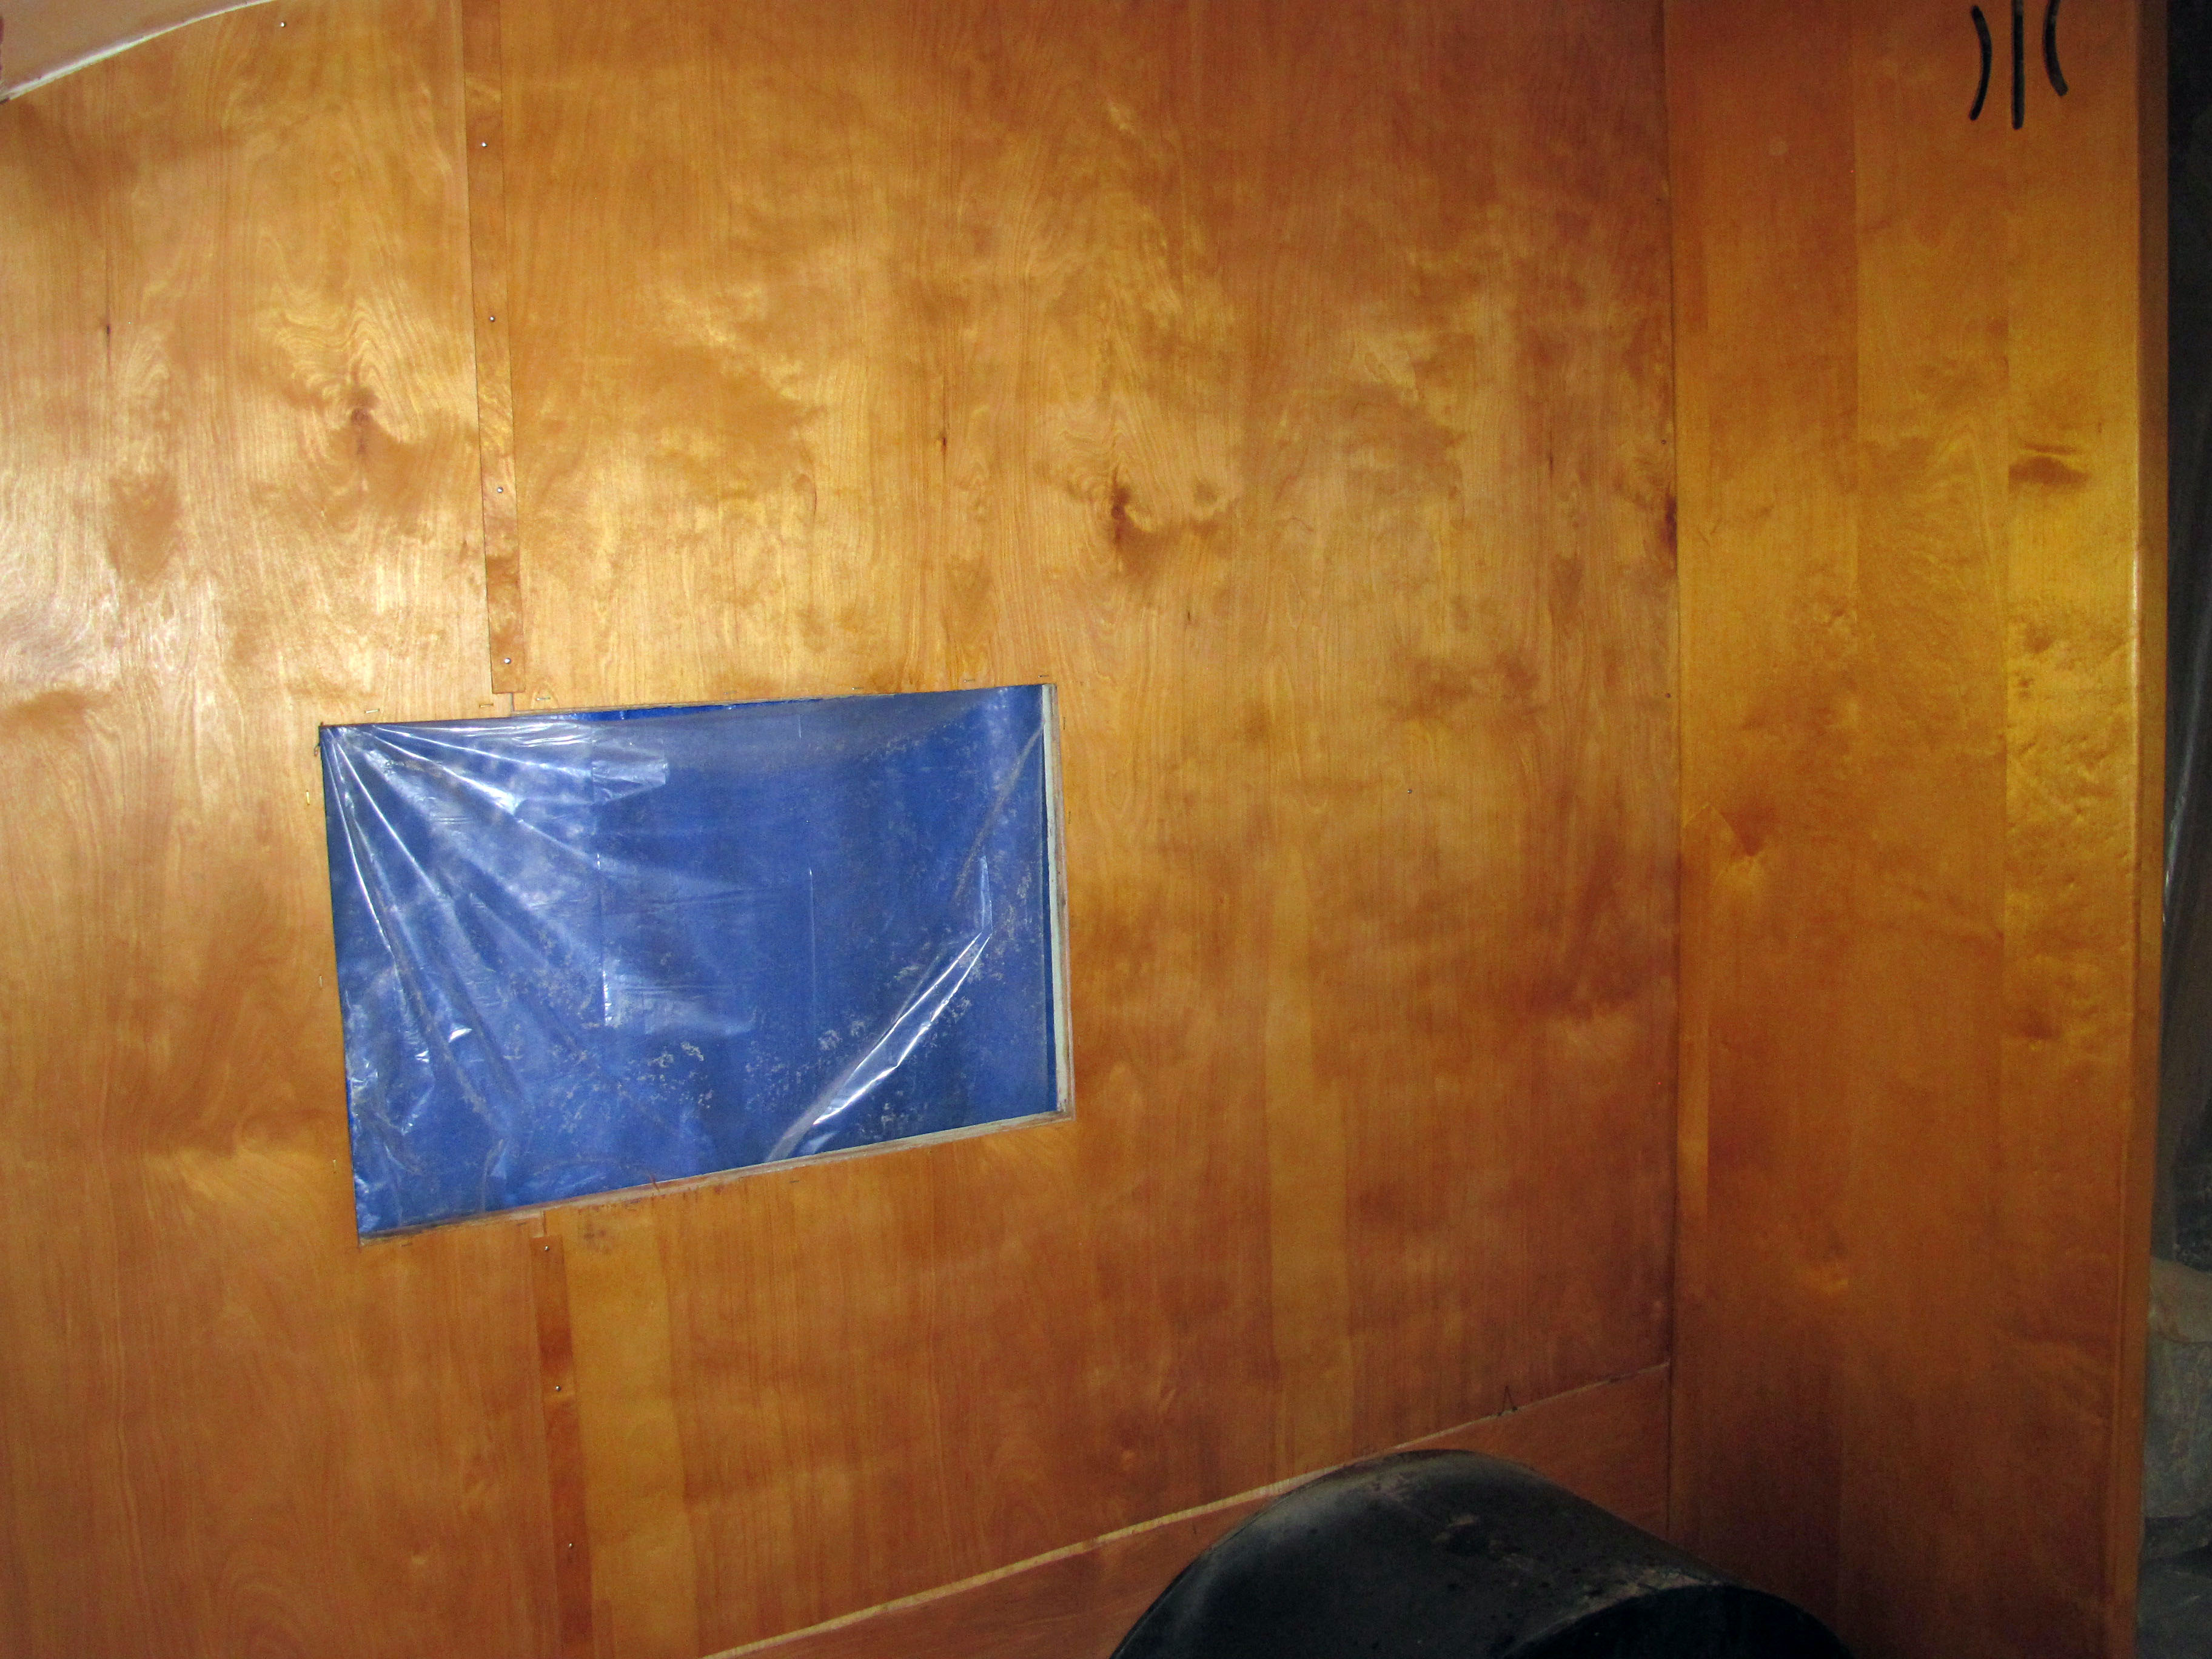
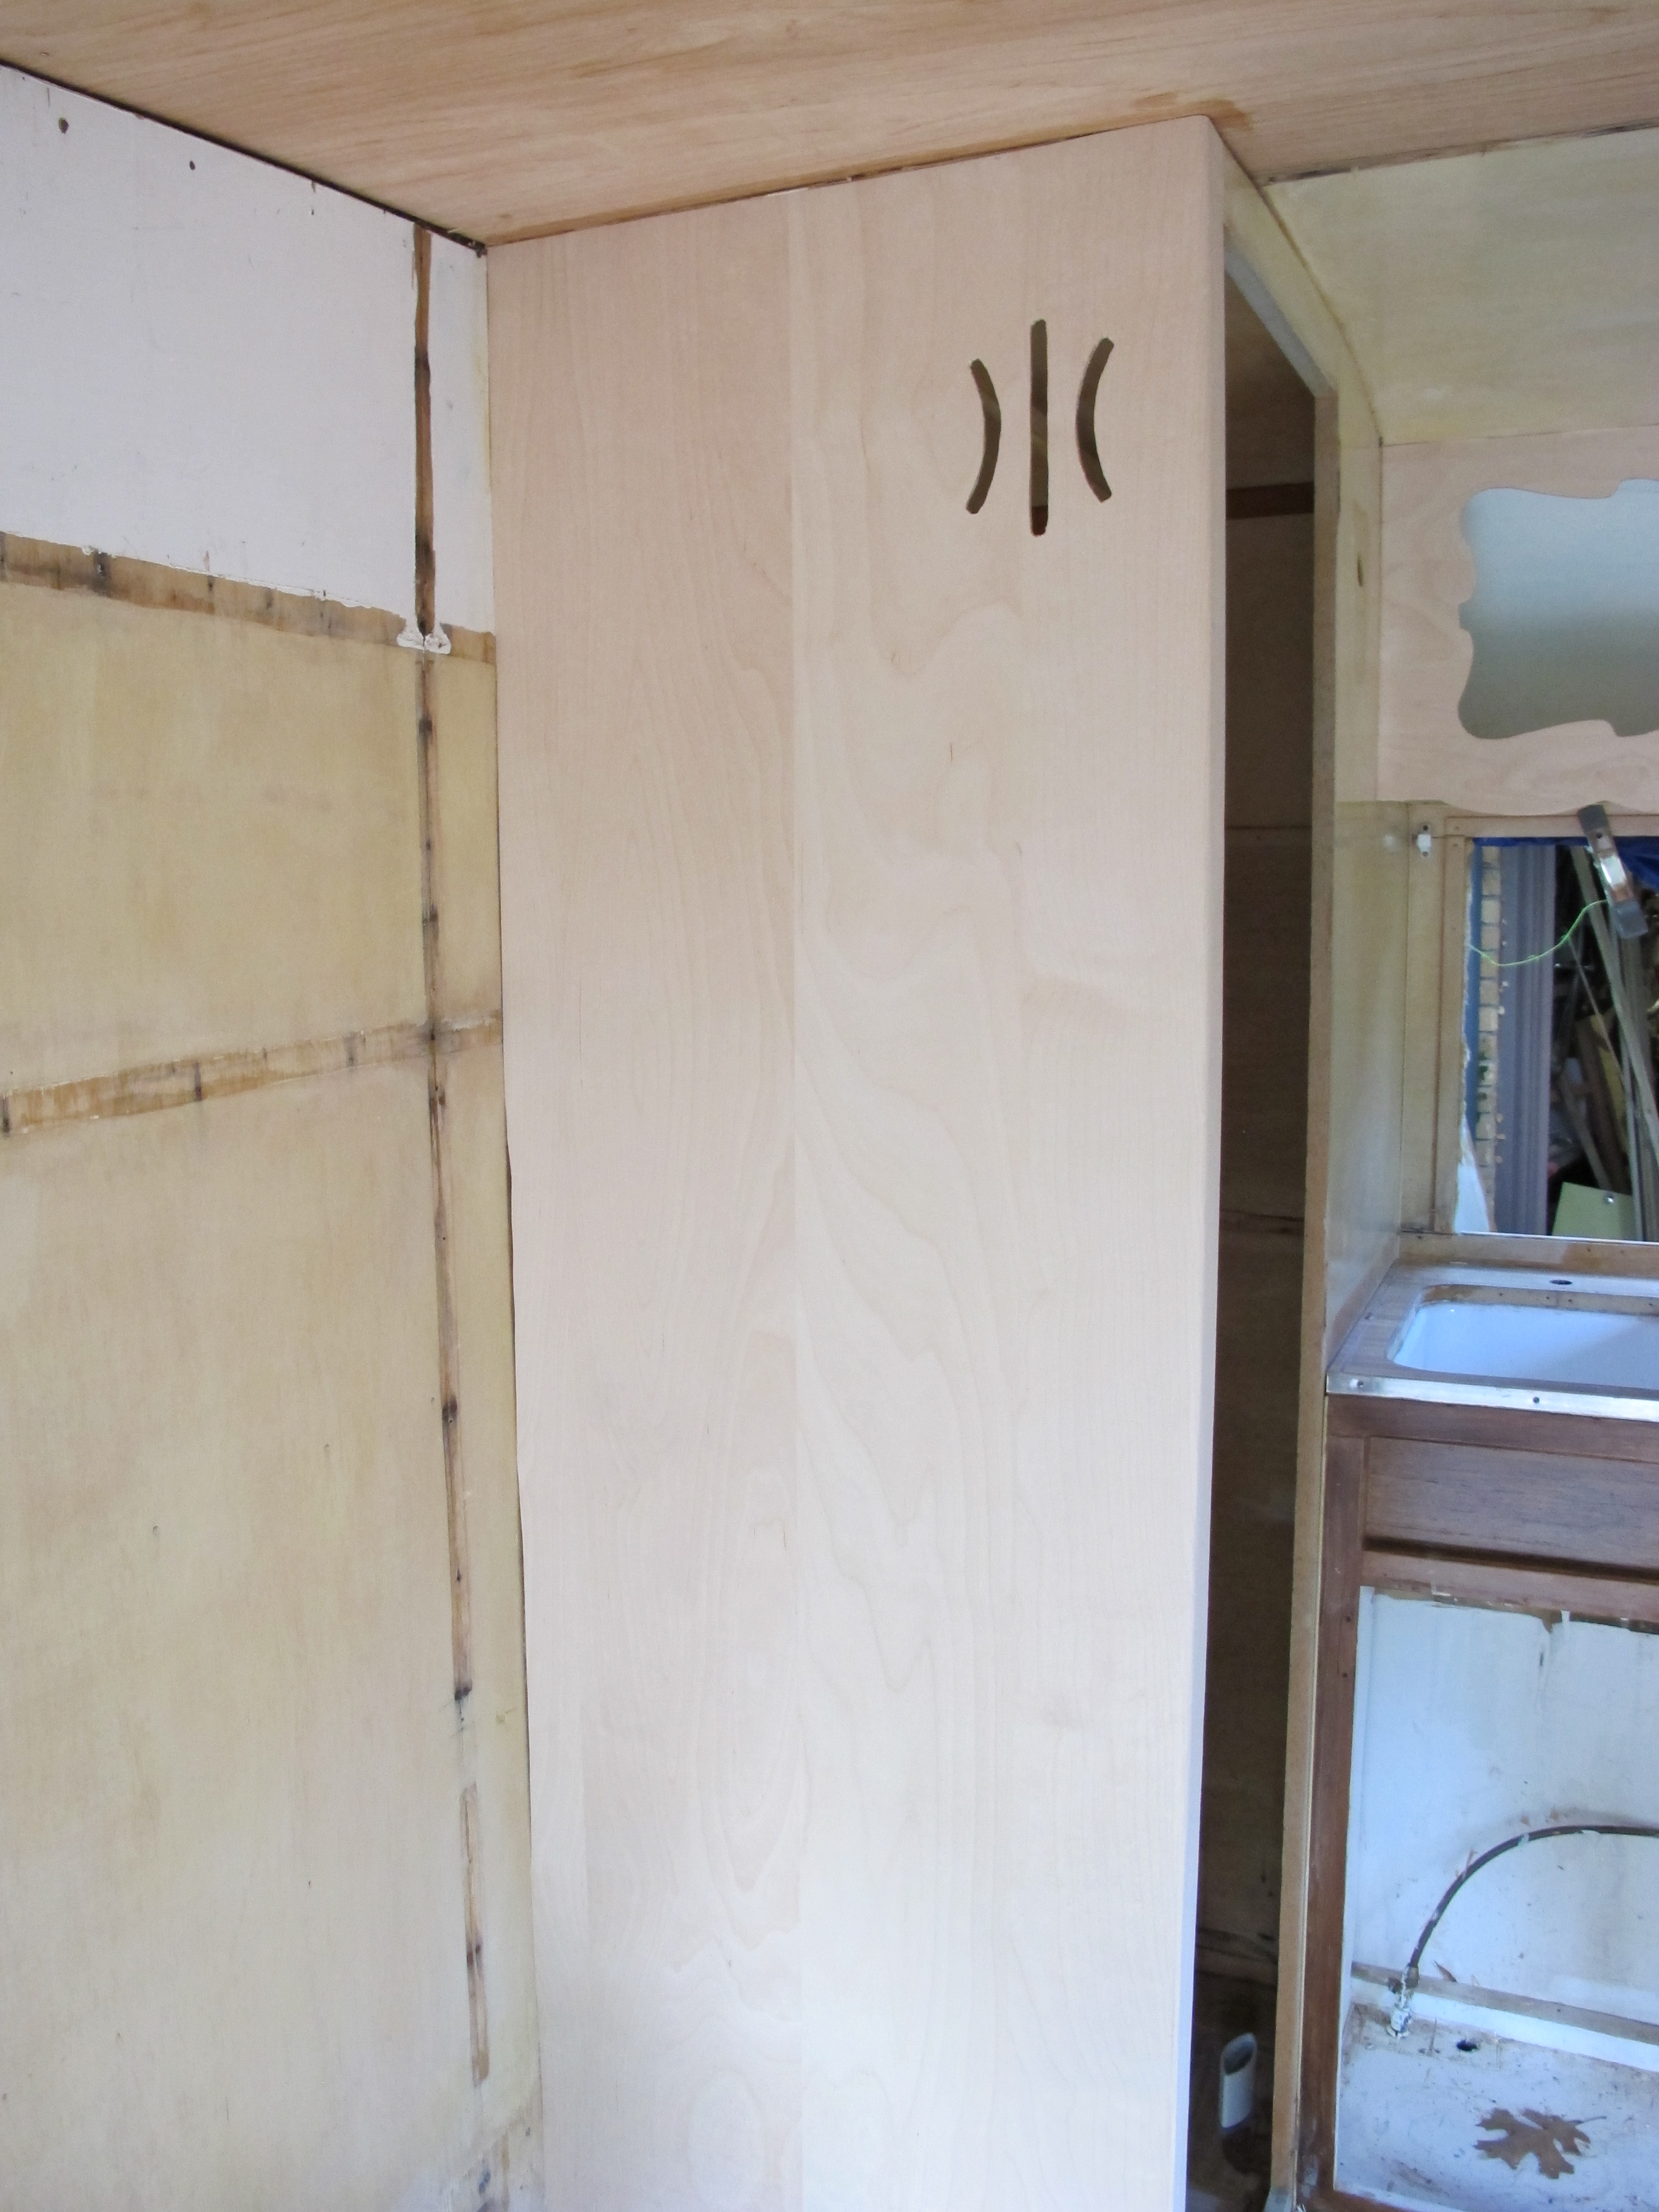
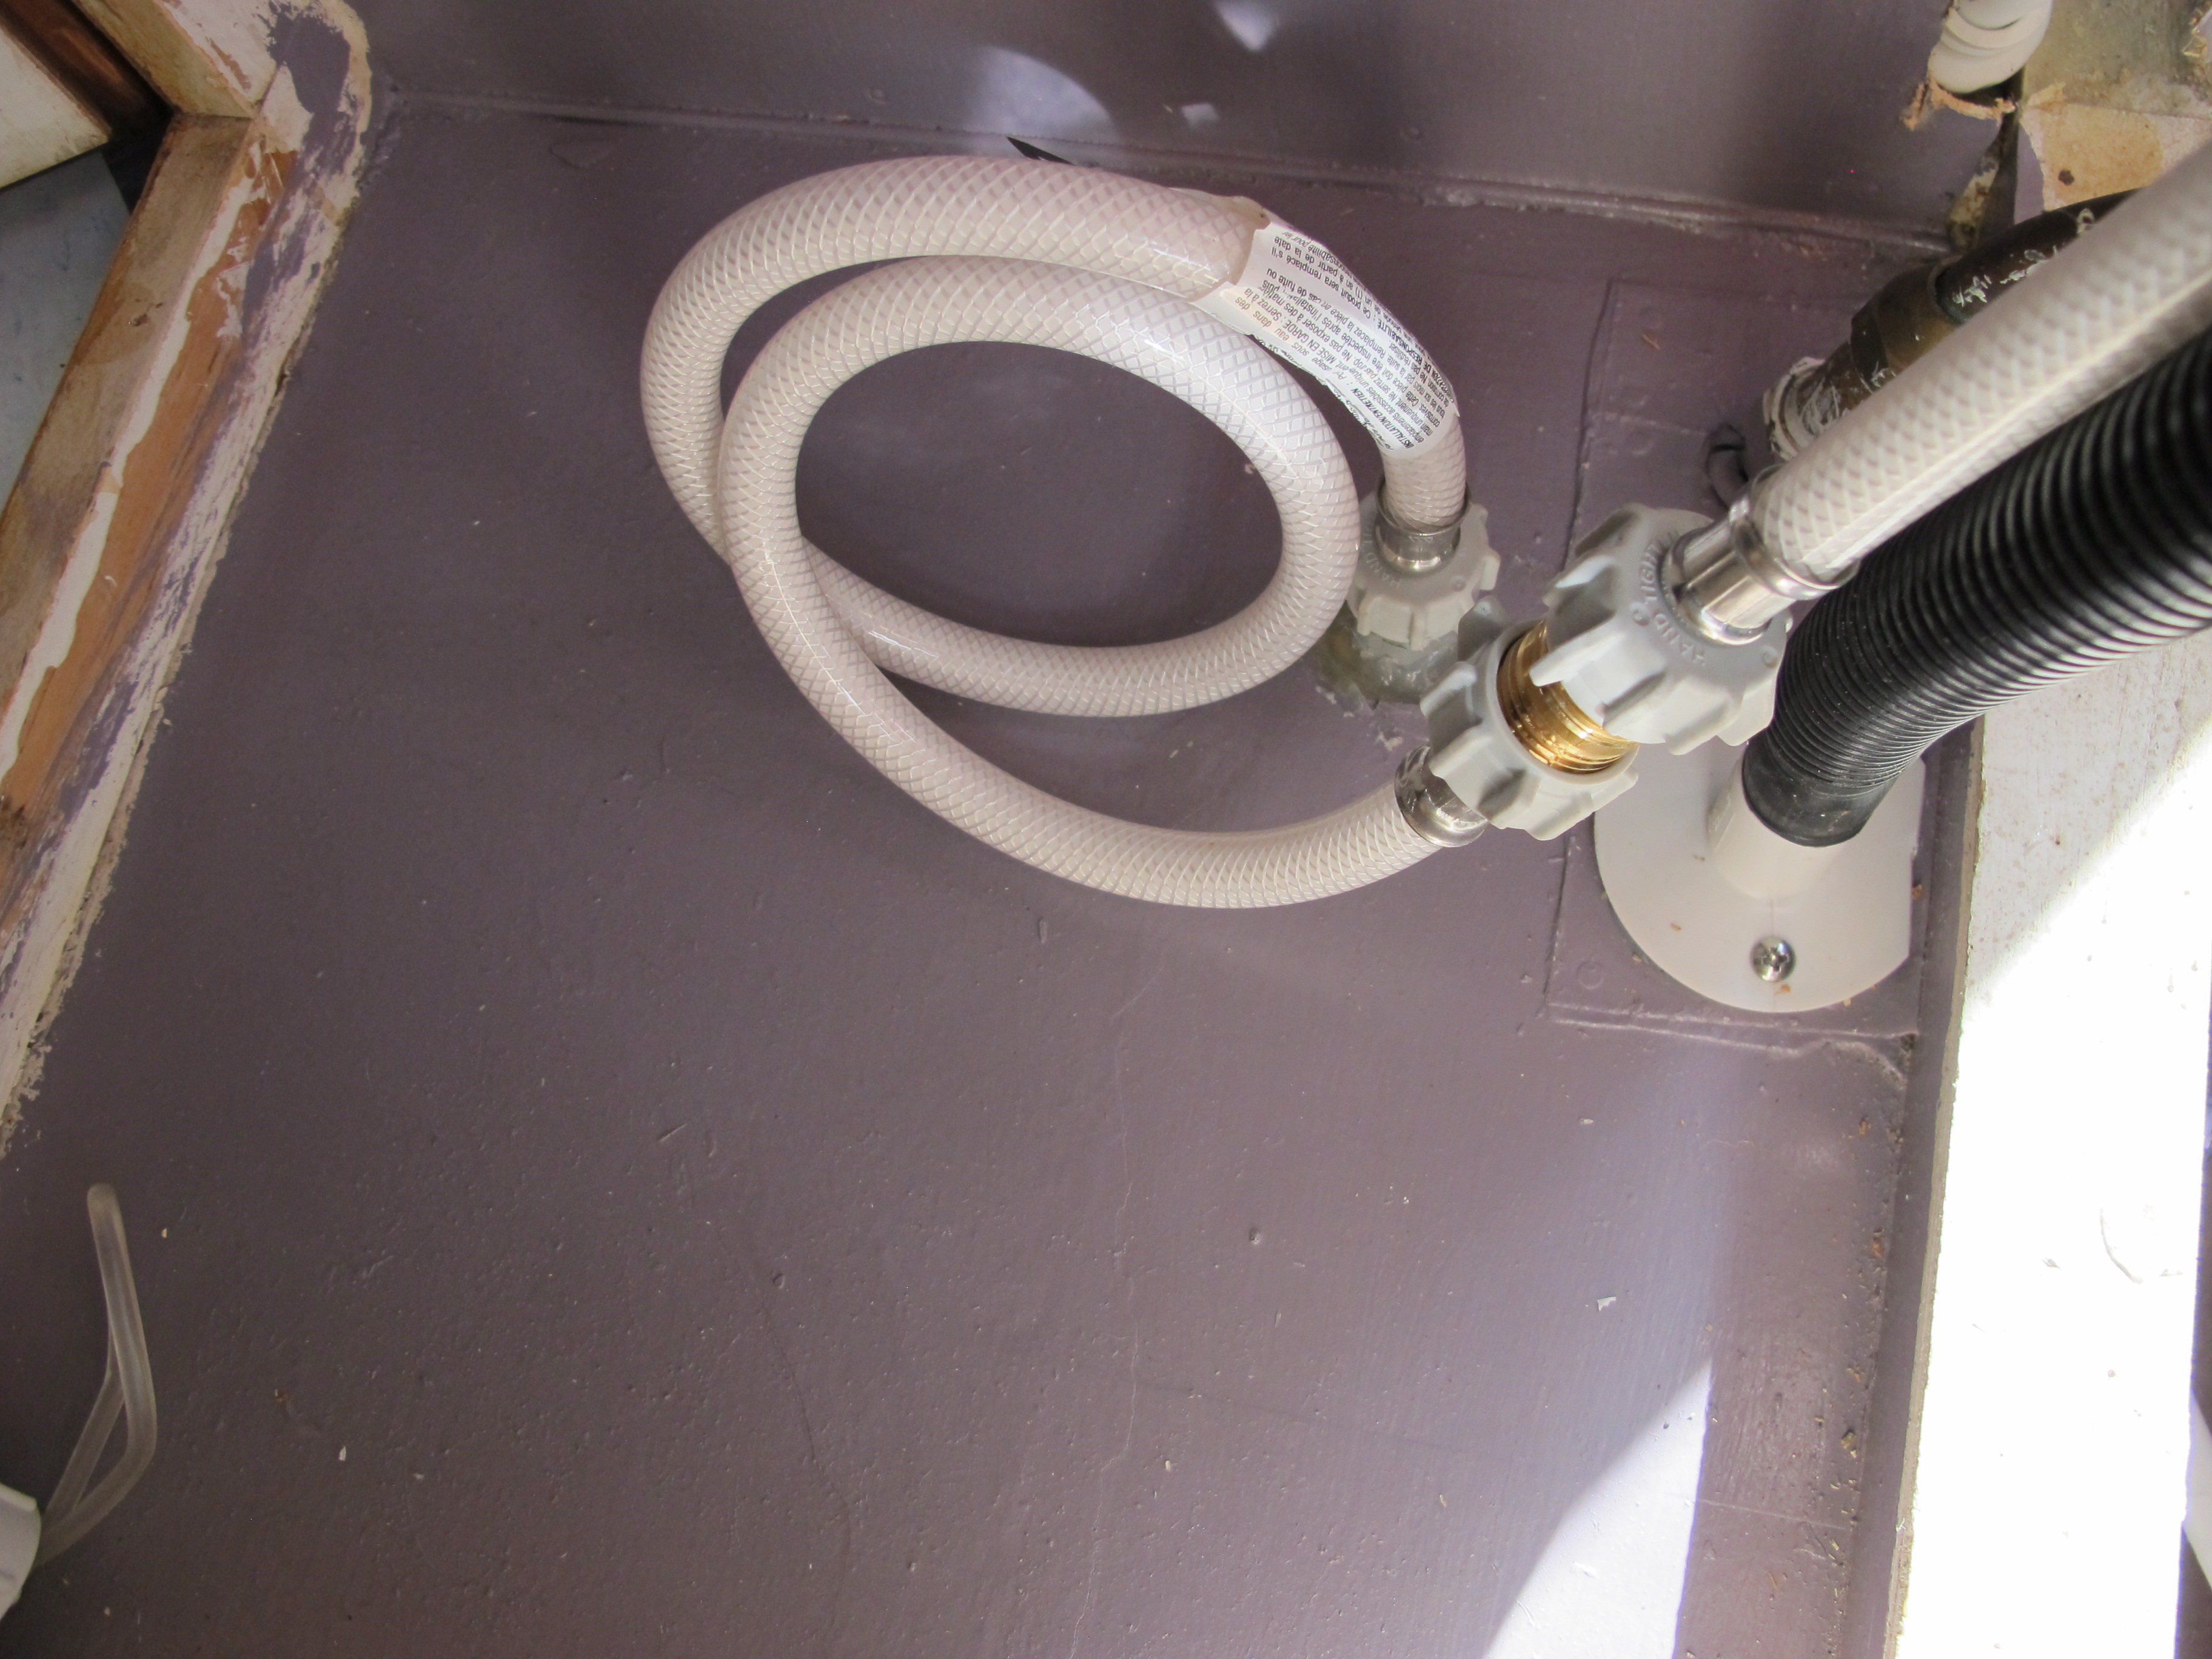
Yesterday, I finally got the drain installed in the floor and sealed properly. I attached a water hose attachment underneath, just to divert the water so that it wasn’t too close to the subfloor. Now that I finally finished that task, I could install the final piece of paneling on the front wall. ![]()

Newly installed final panel. I hadn’t added the cross beam on the bottom yet in the pic below, but you get the idea.

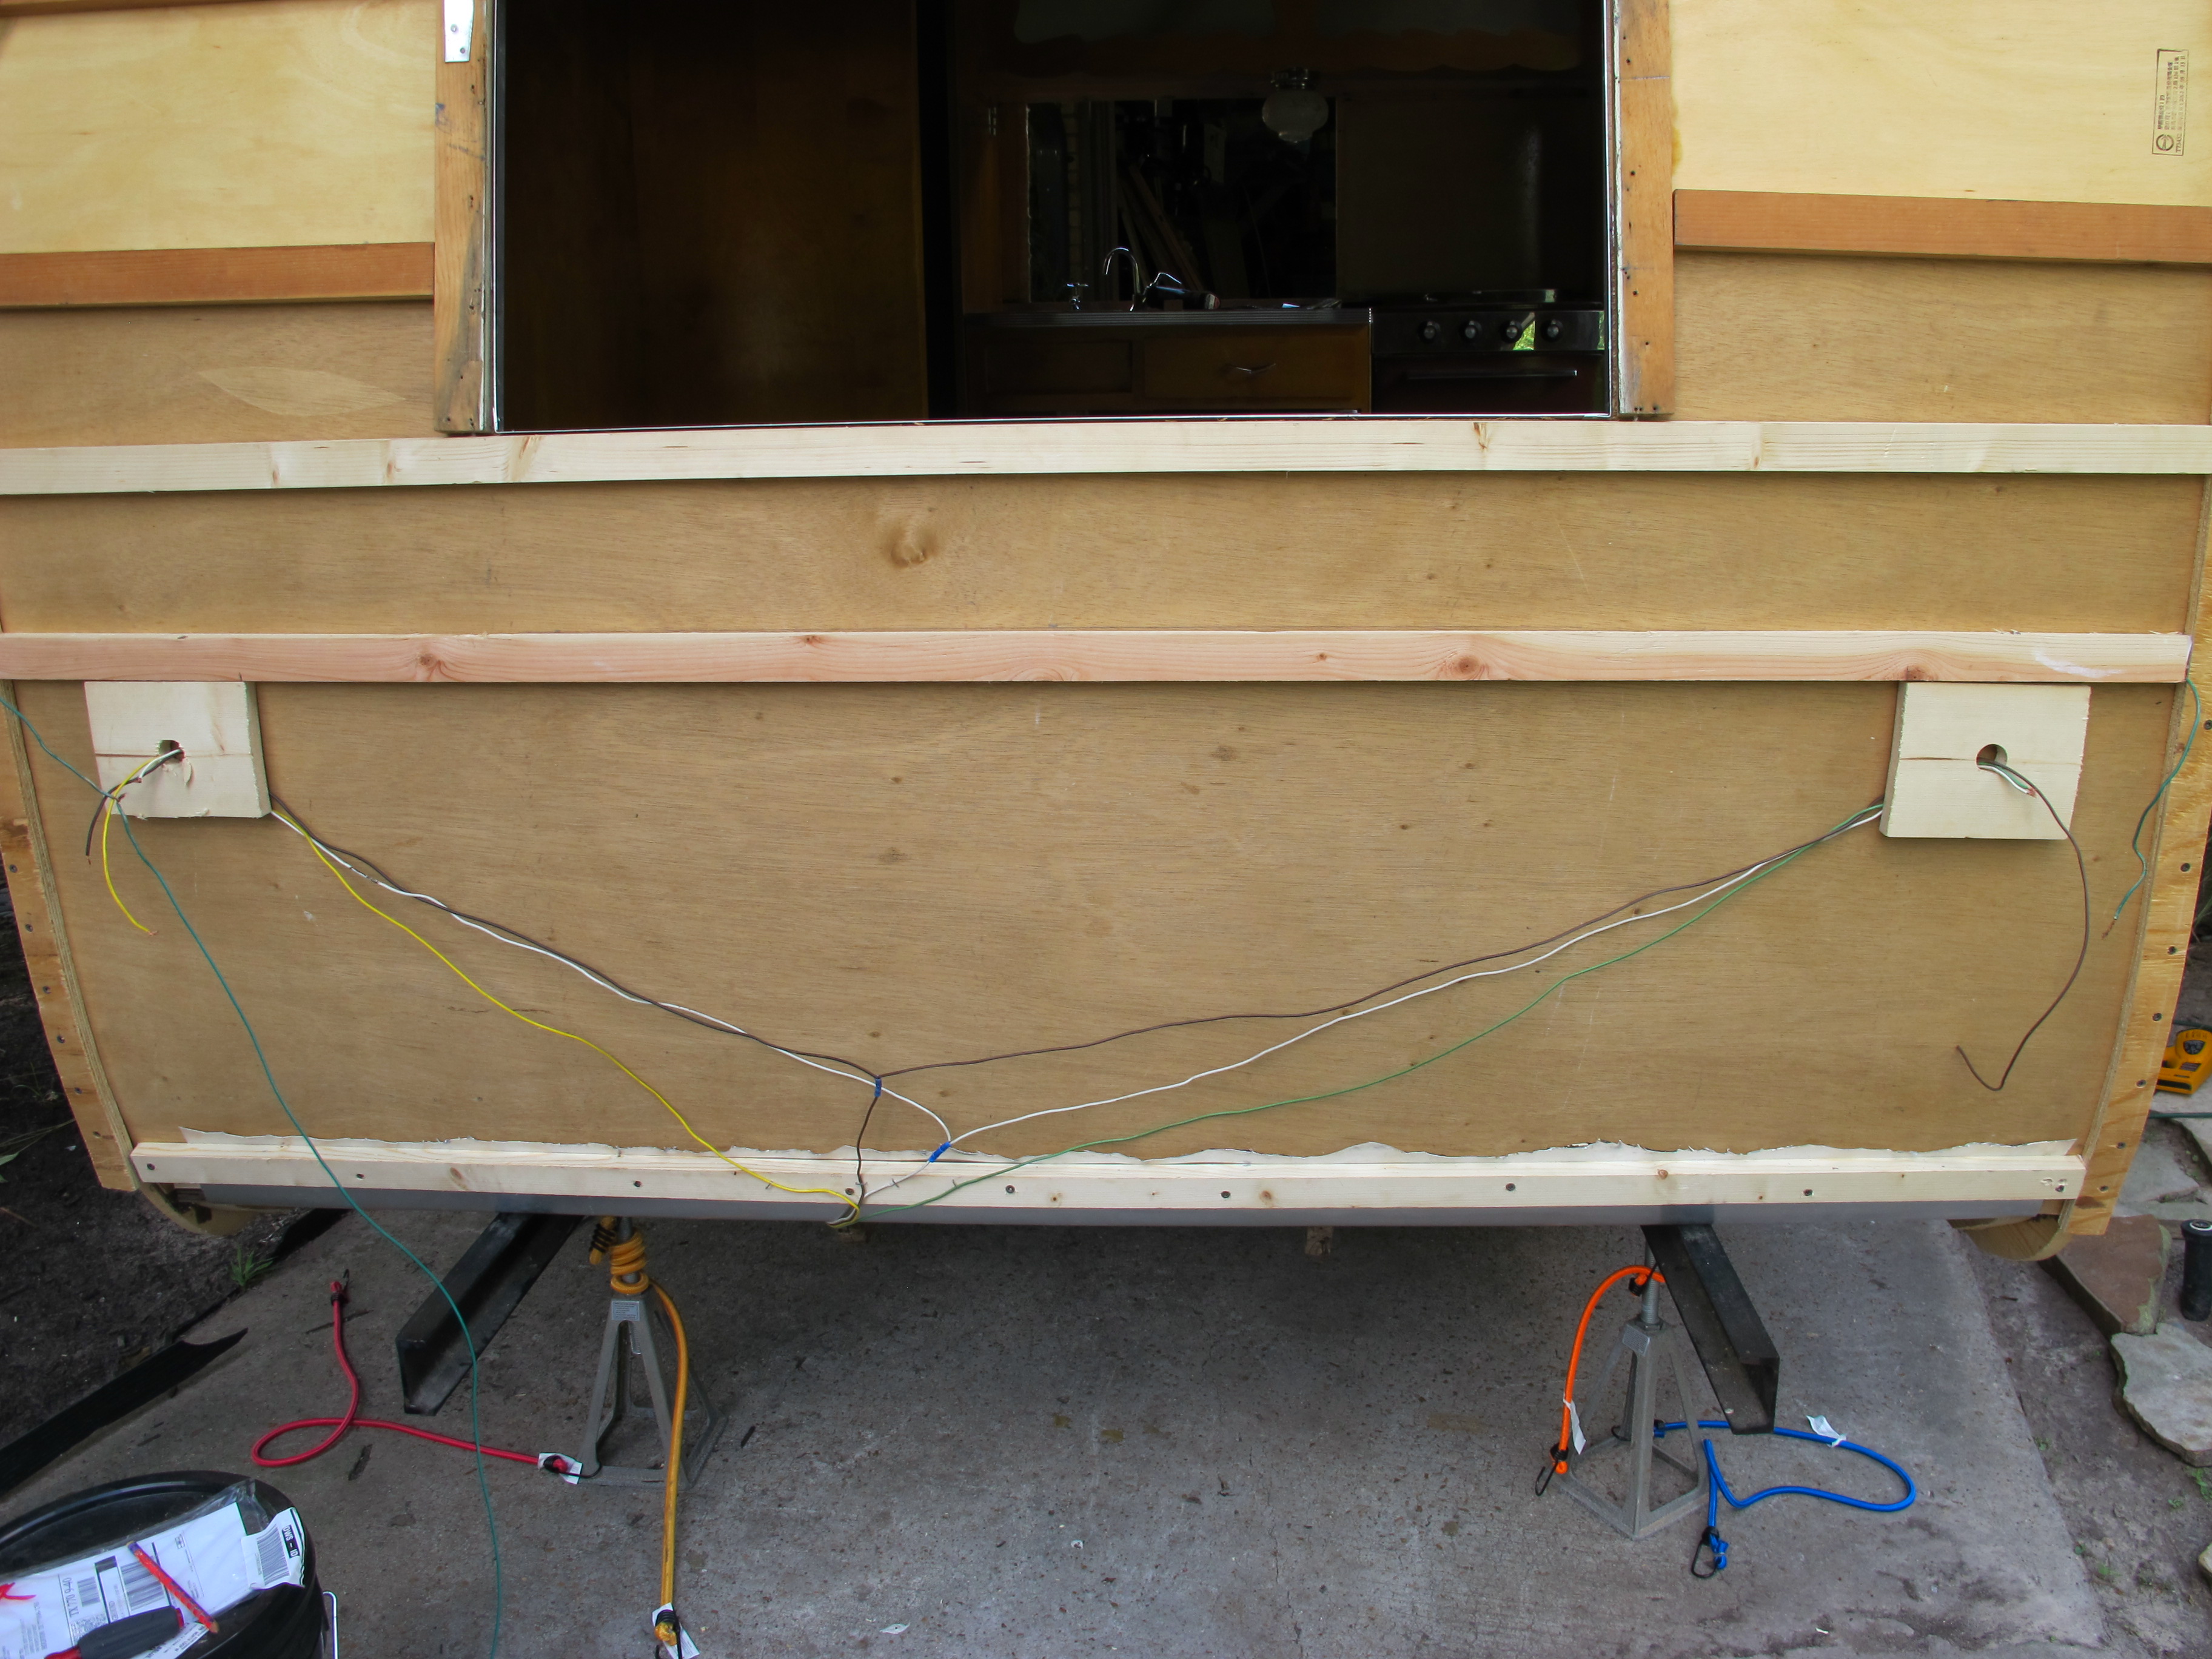
Next, I added some pieces of wood to hold the tail light wires as well as add something for the tail lights to screw into. I wanted to put them slightly higher, but the welder didn’t leave me enough wires to reach that far. Hopefully this will still look ok. I lost a bit of time today because I had to redo the window framing. It wasn’t quite the right size the way I had screwed it in before. Oh well, this just means it will be less frustrating when I get ready to re-install the windows later. In the pic below, I have run the tail light wires to the support boards, but I still need to run an extra piece to lead to the license plate light as well as the side running lights. Luckily, my welder taught me that the brown wire is the “hot wire”, i.e. the one I need to connect the running and plate lights to. ![]()

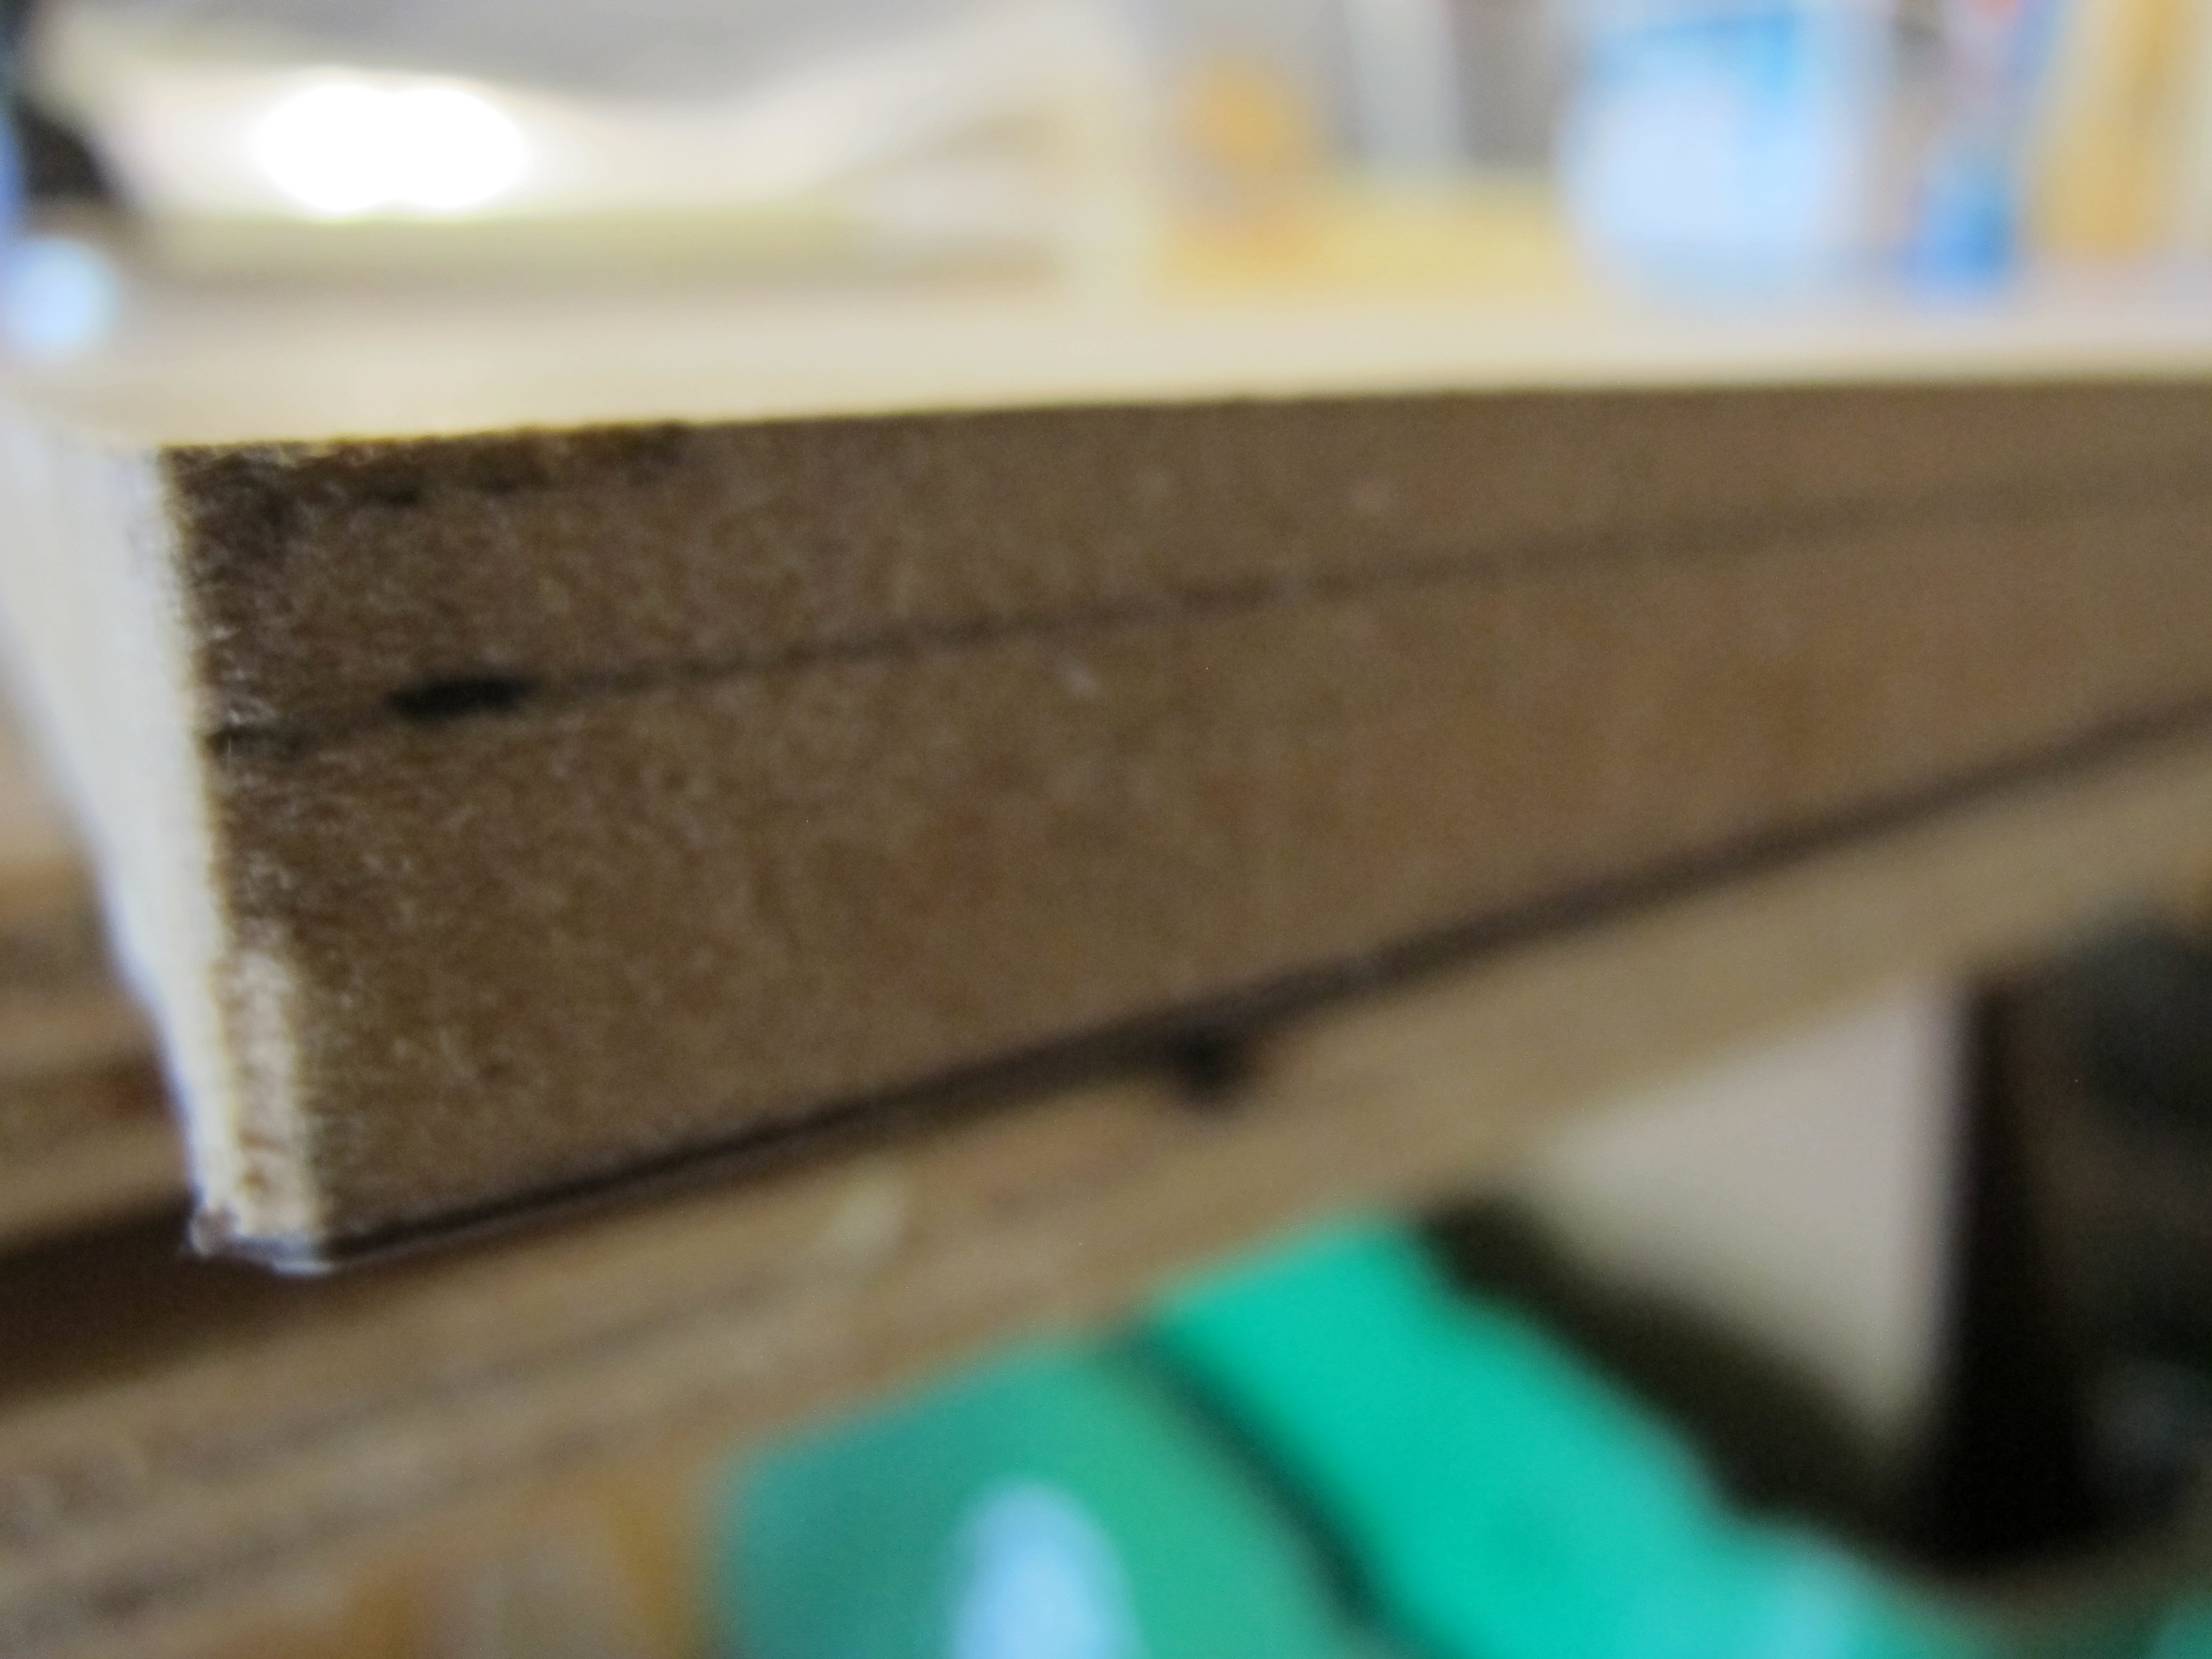
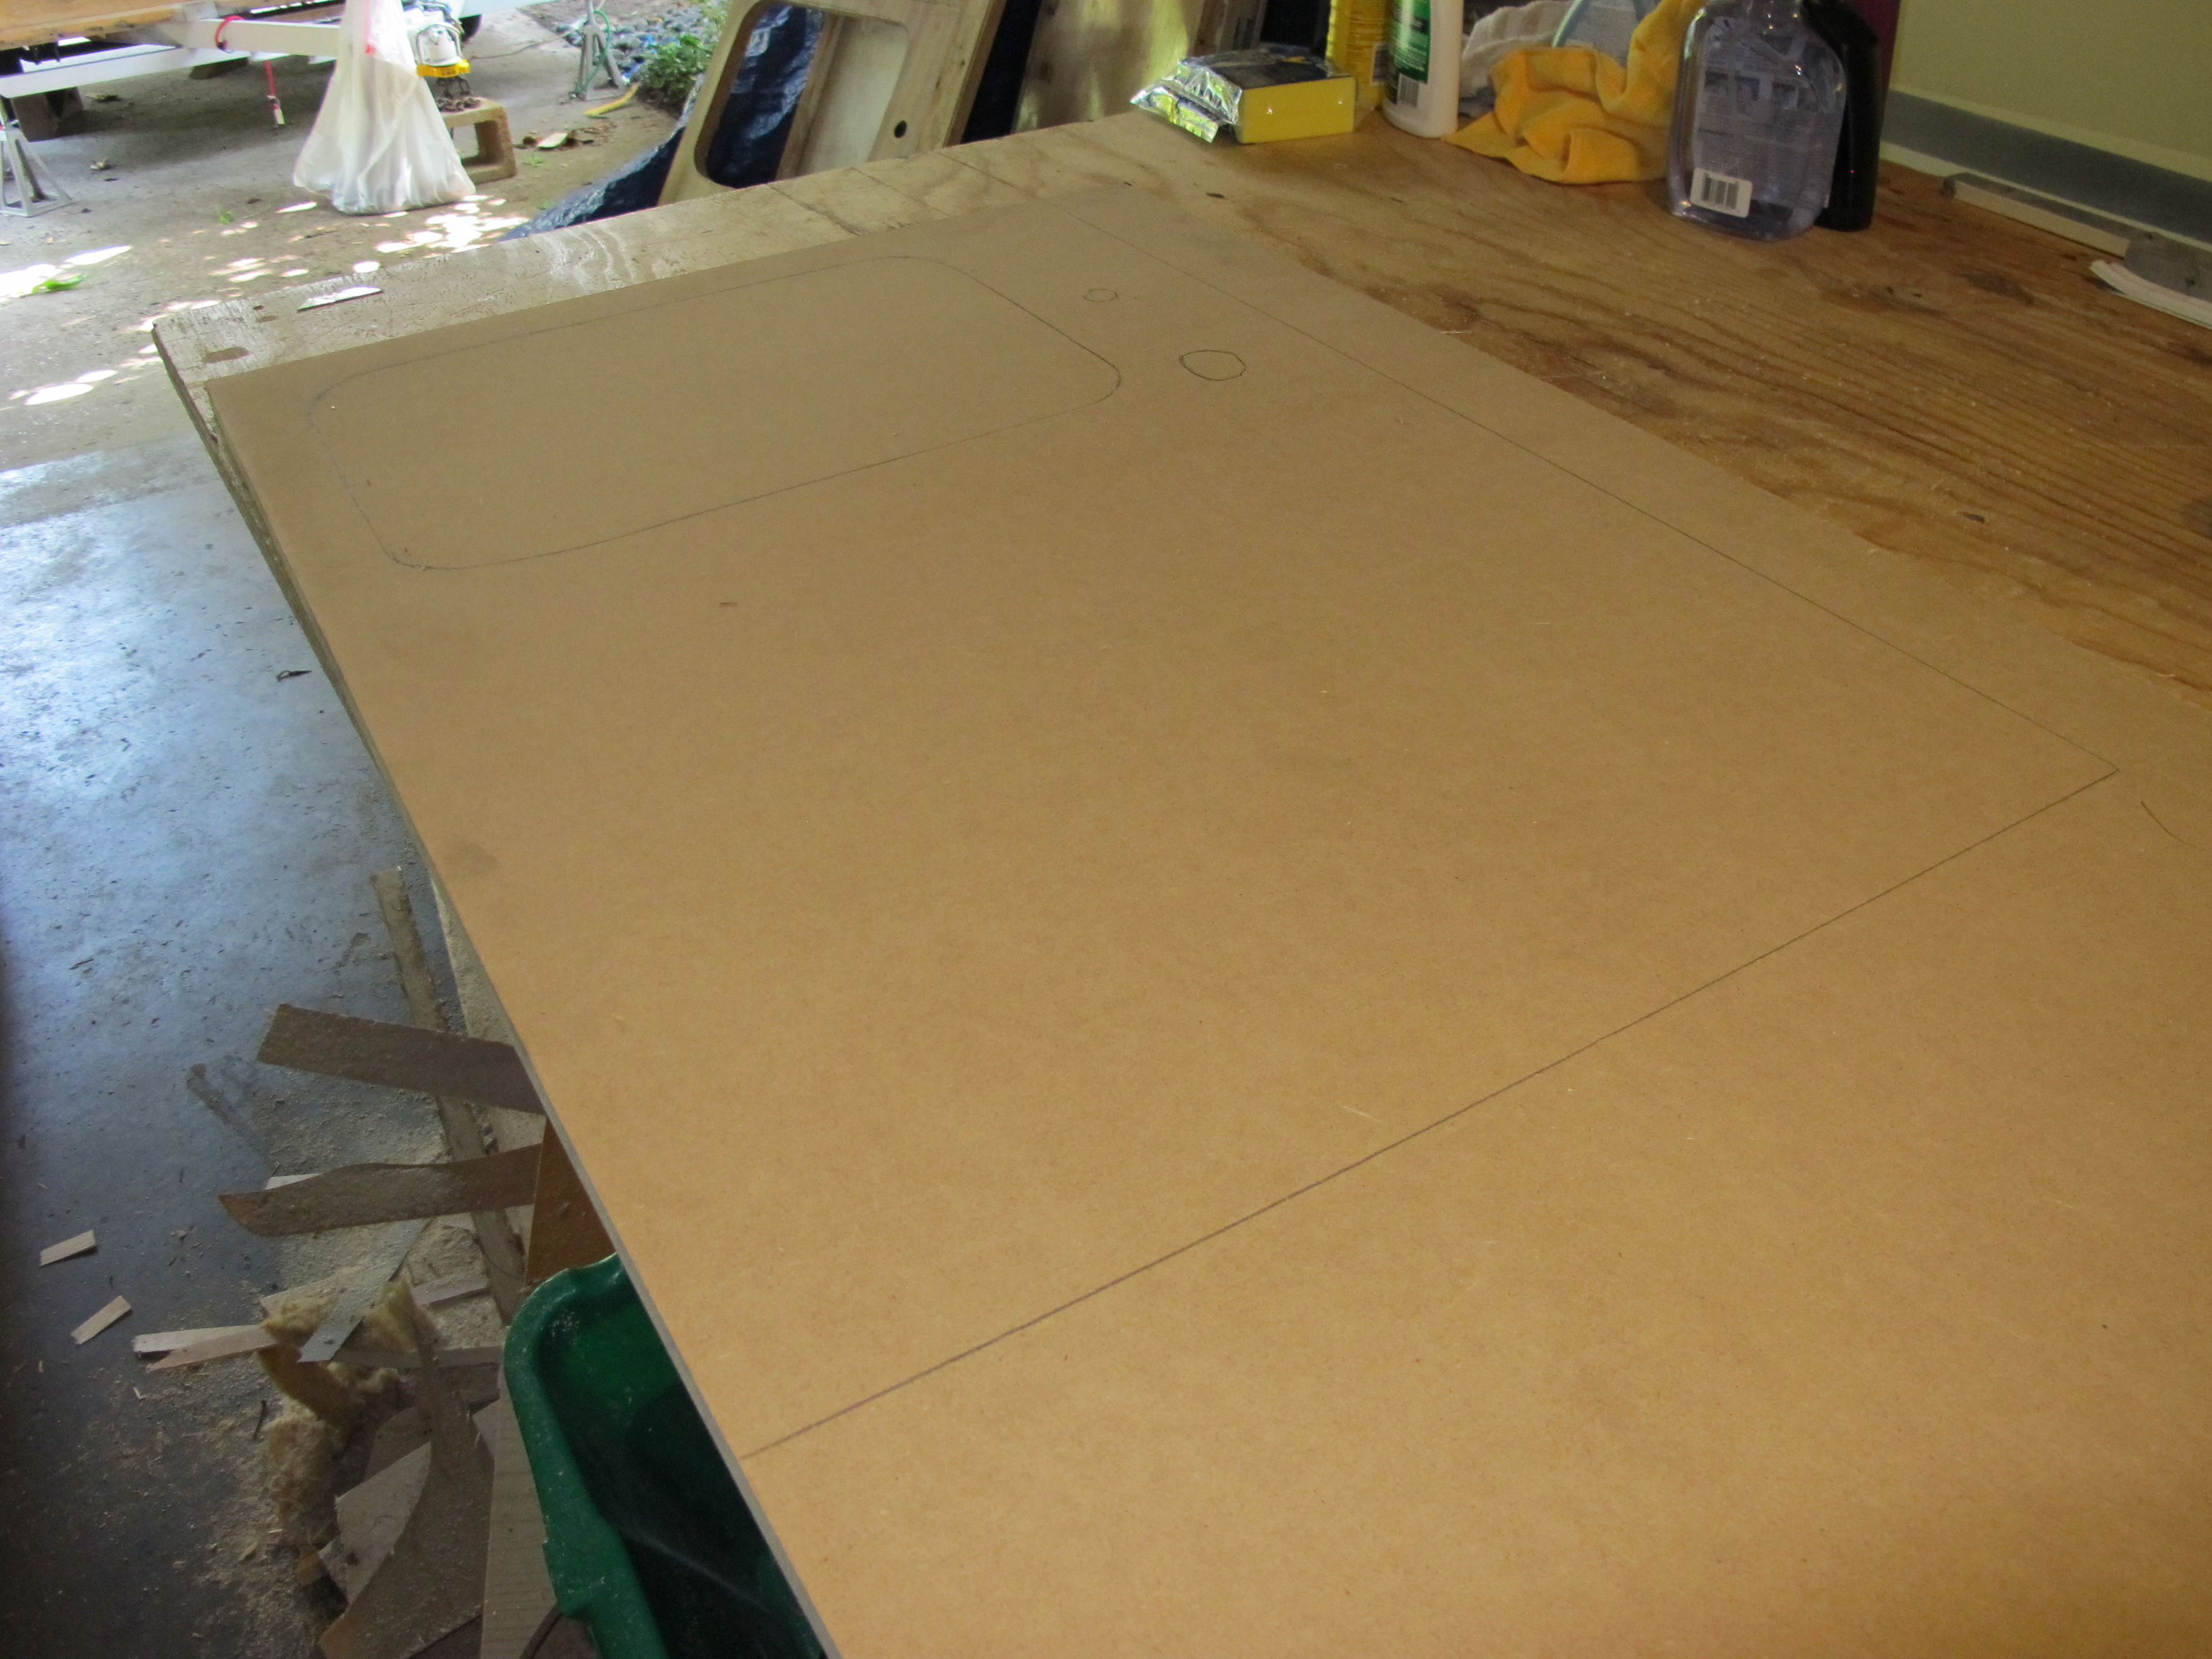
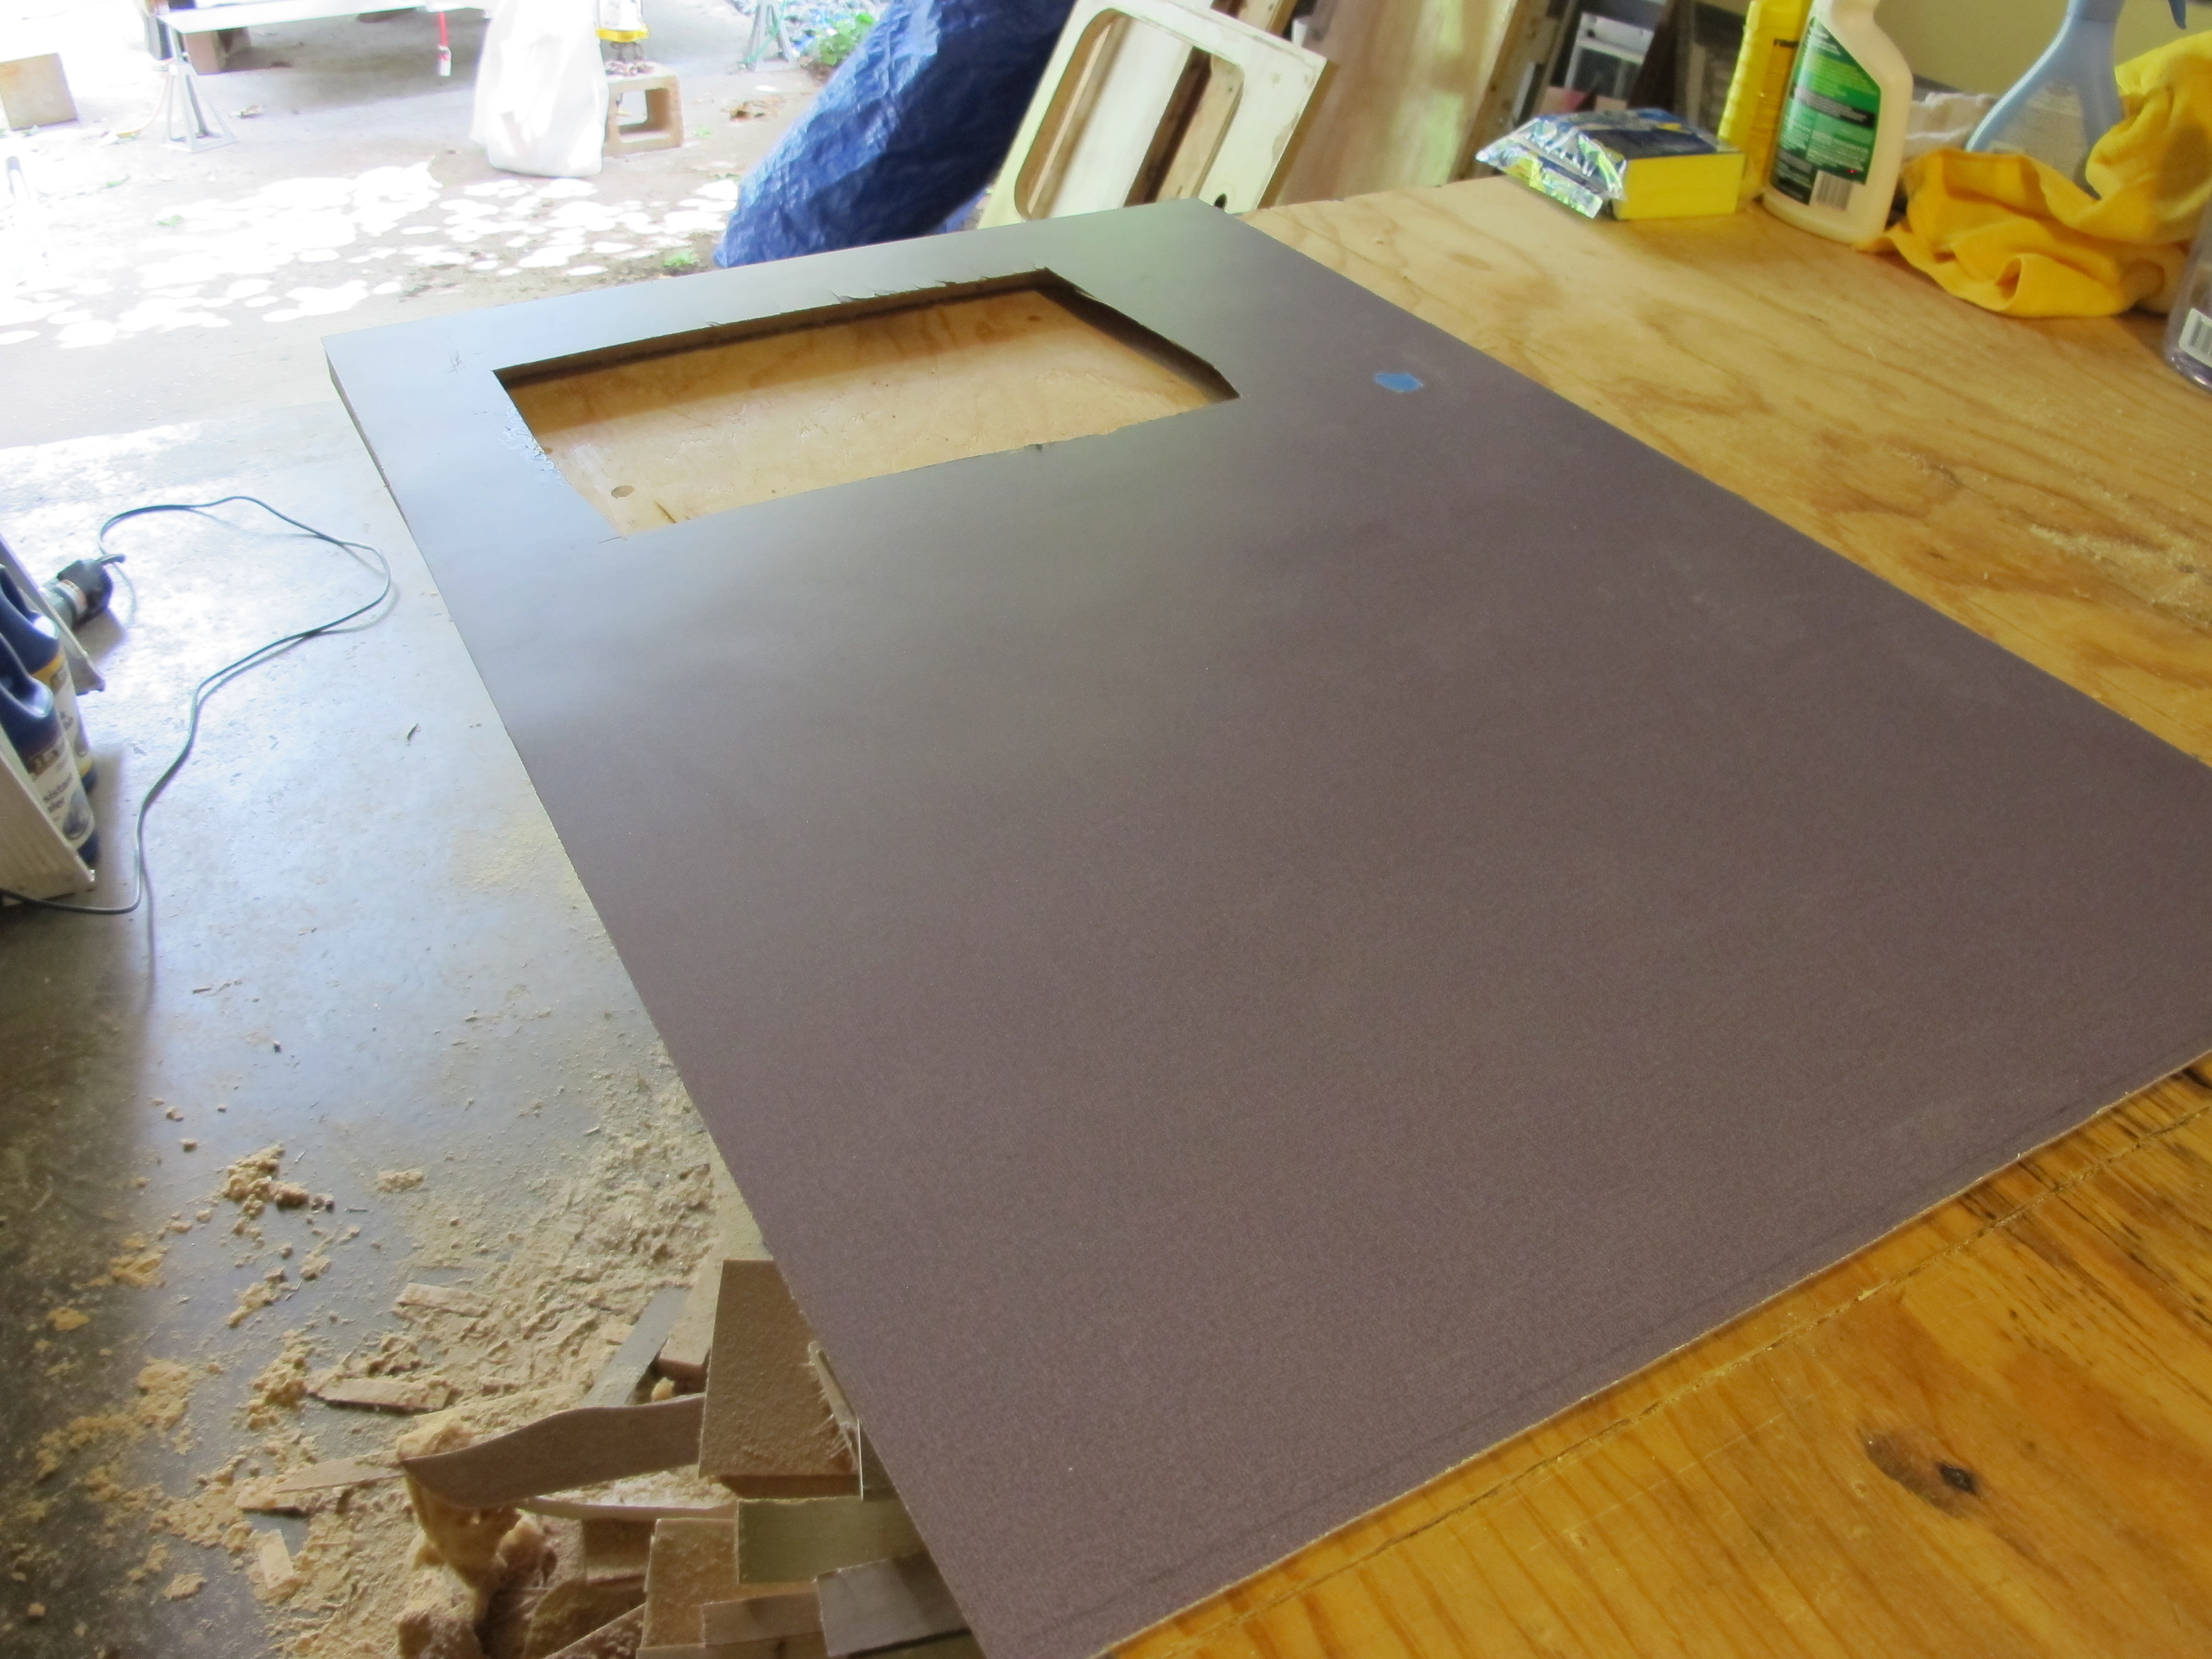
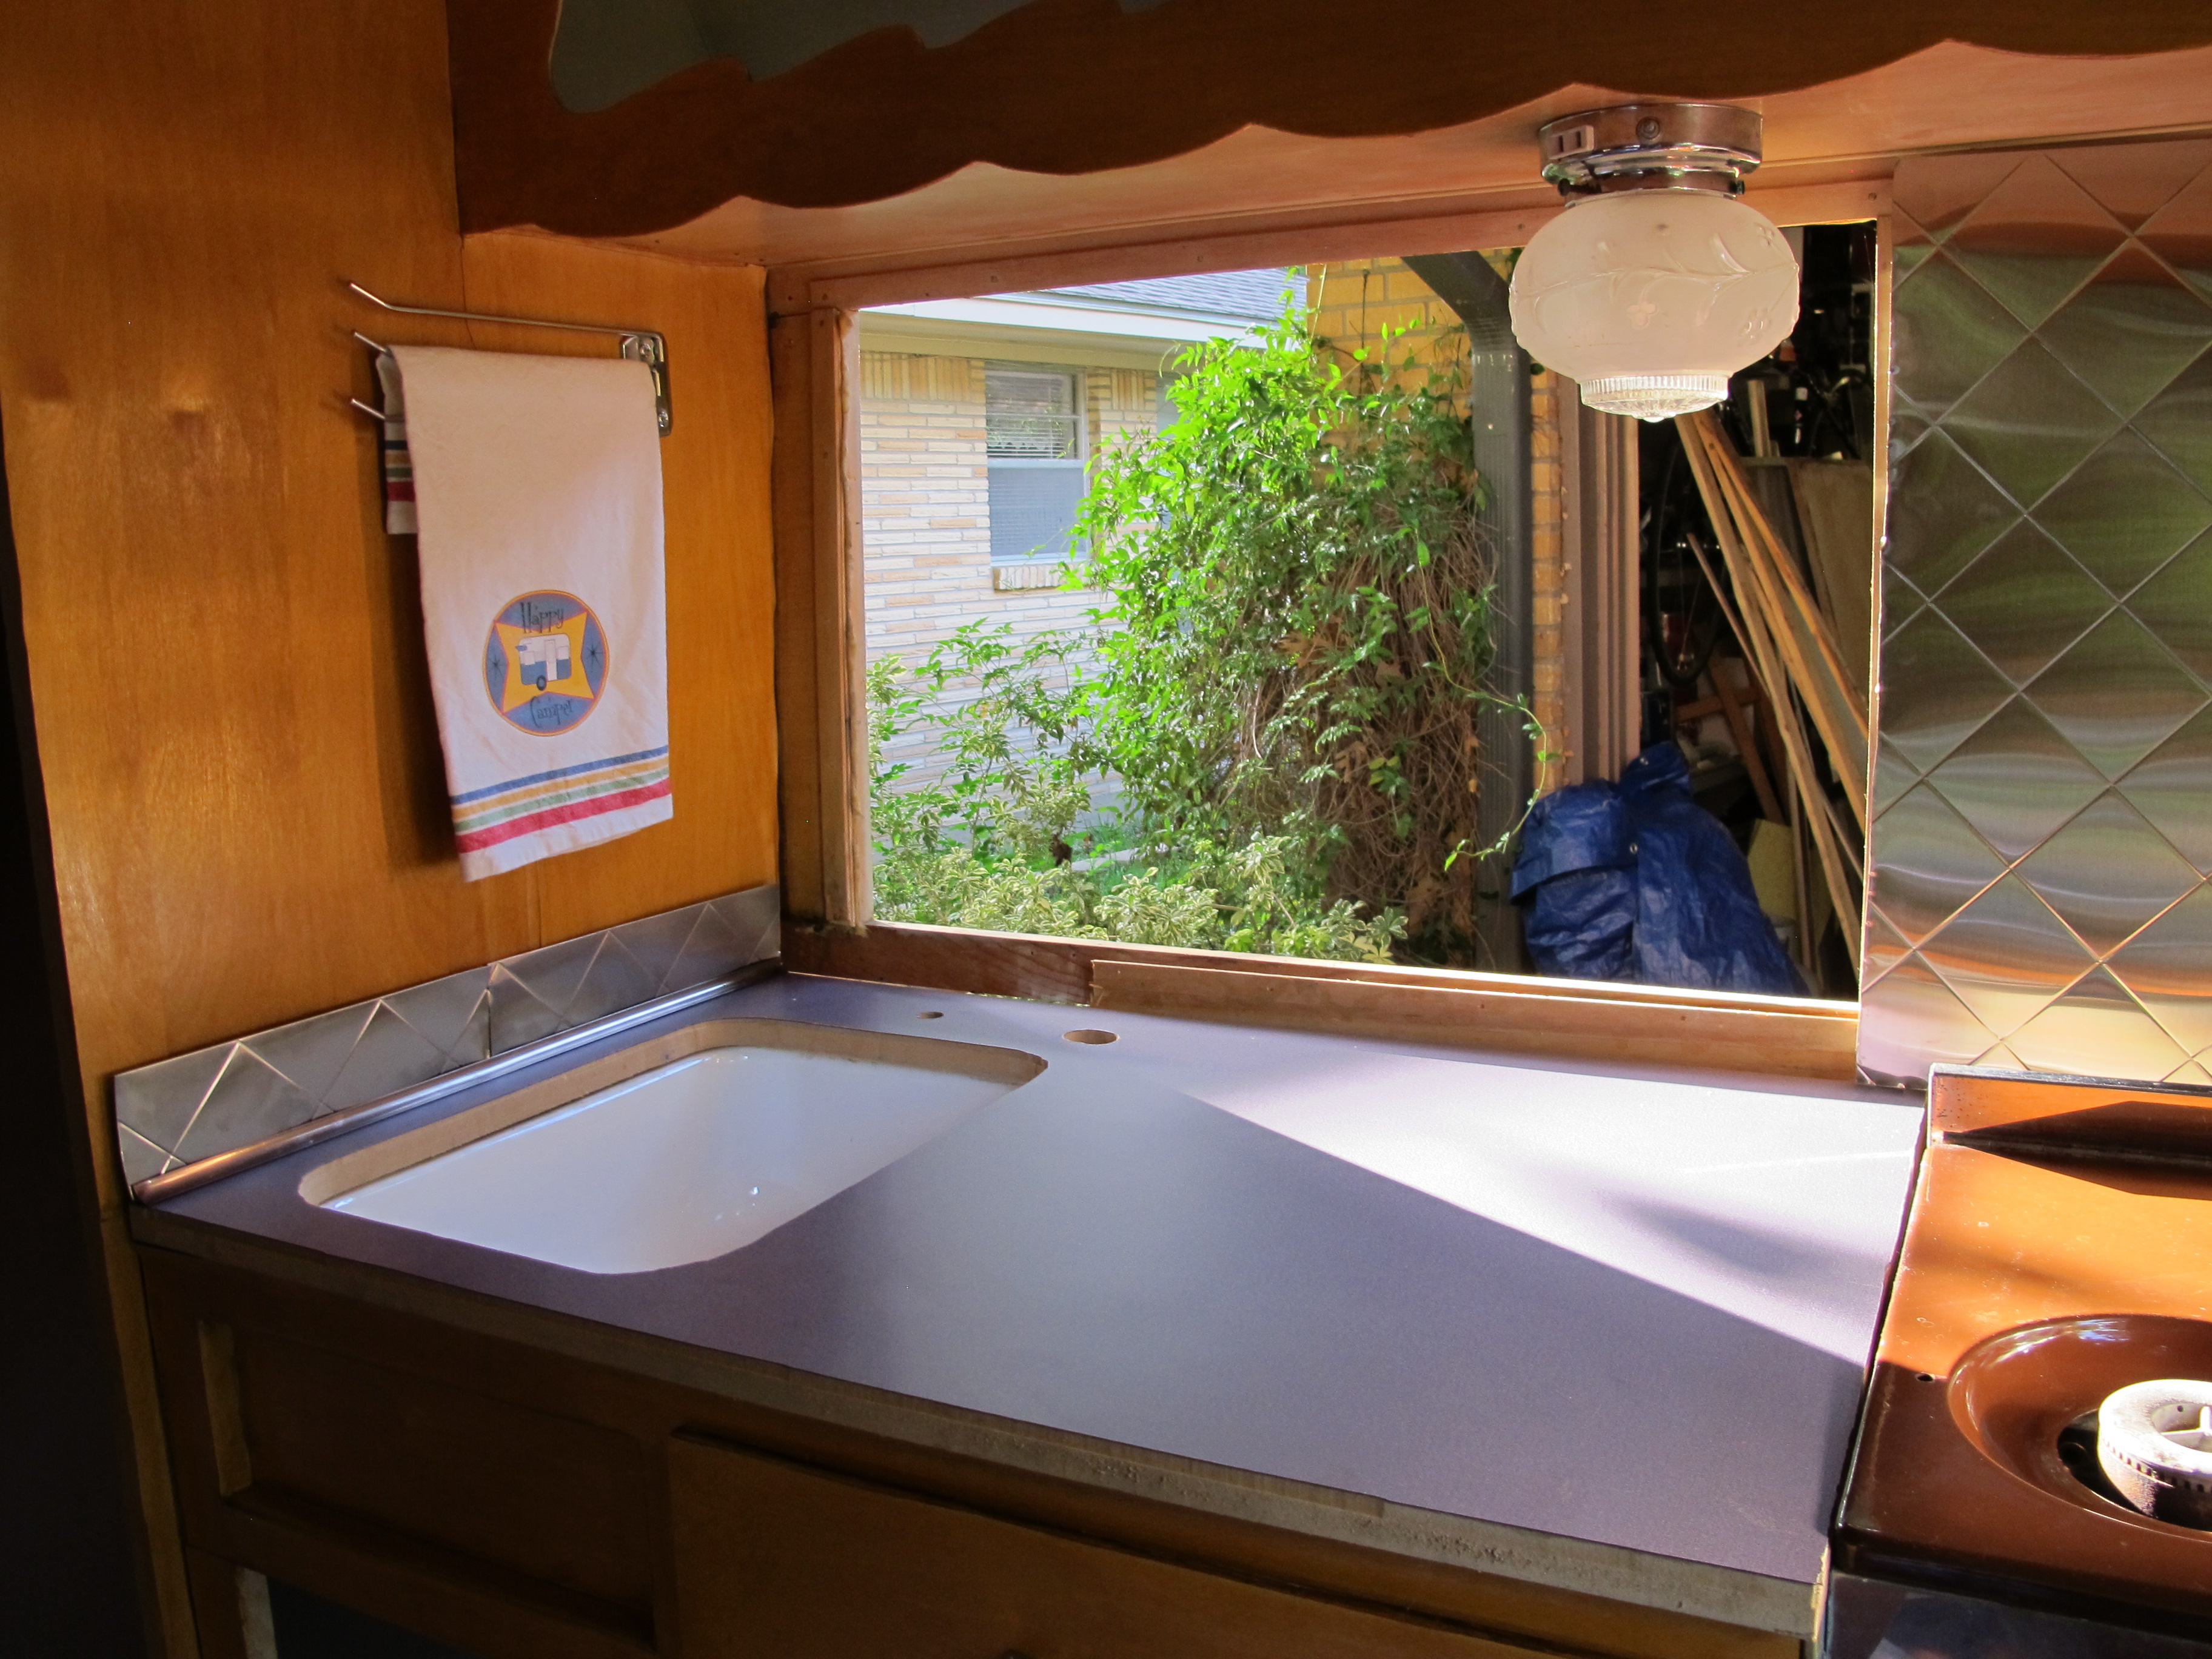
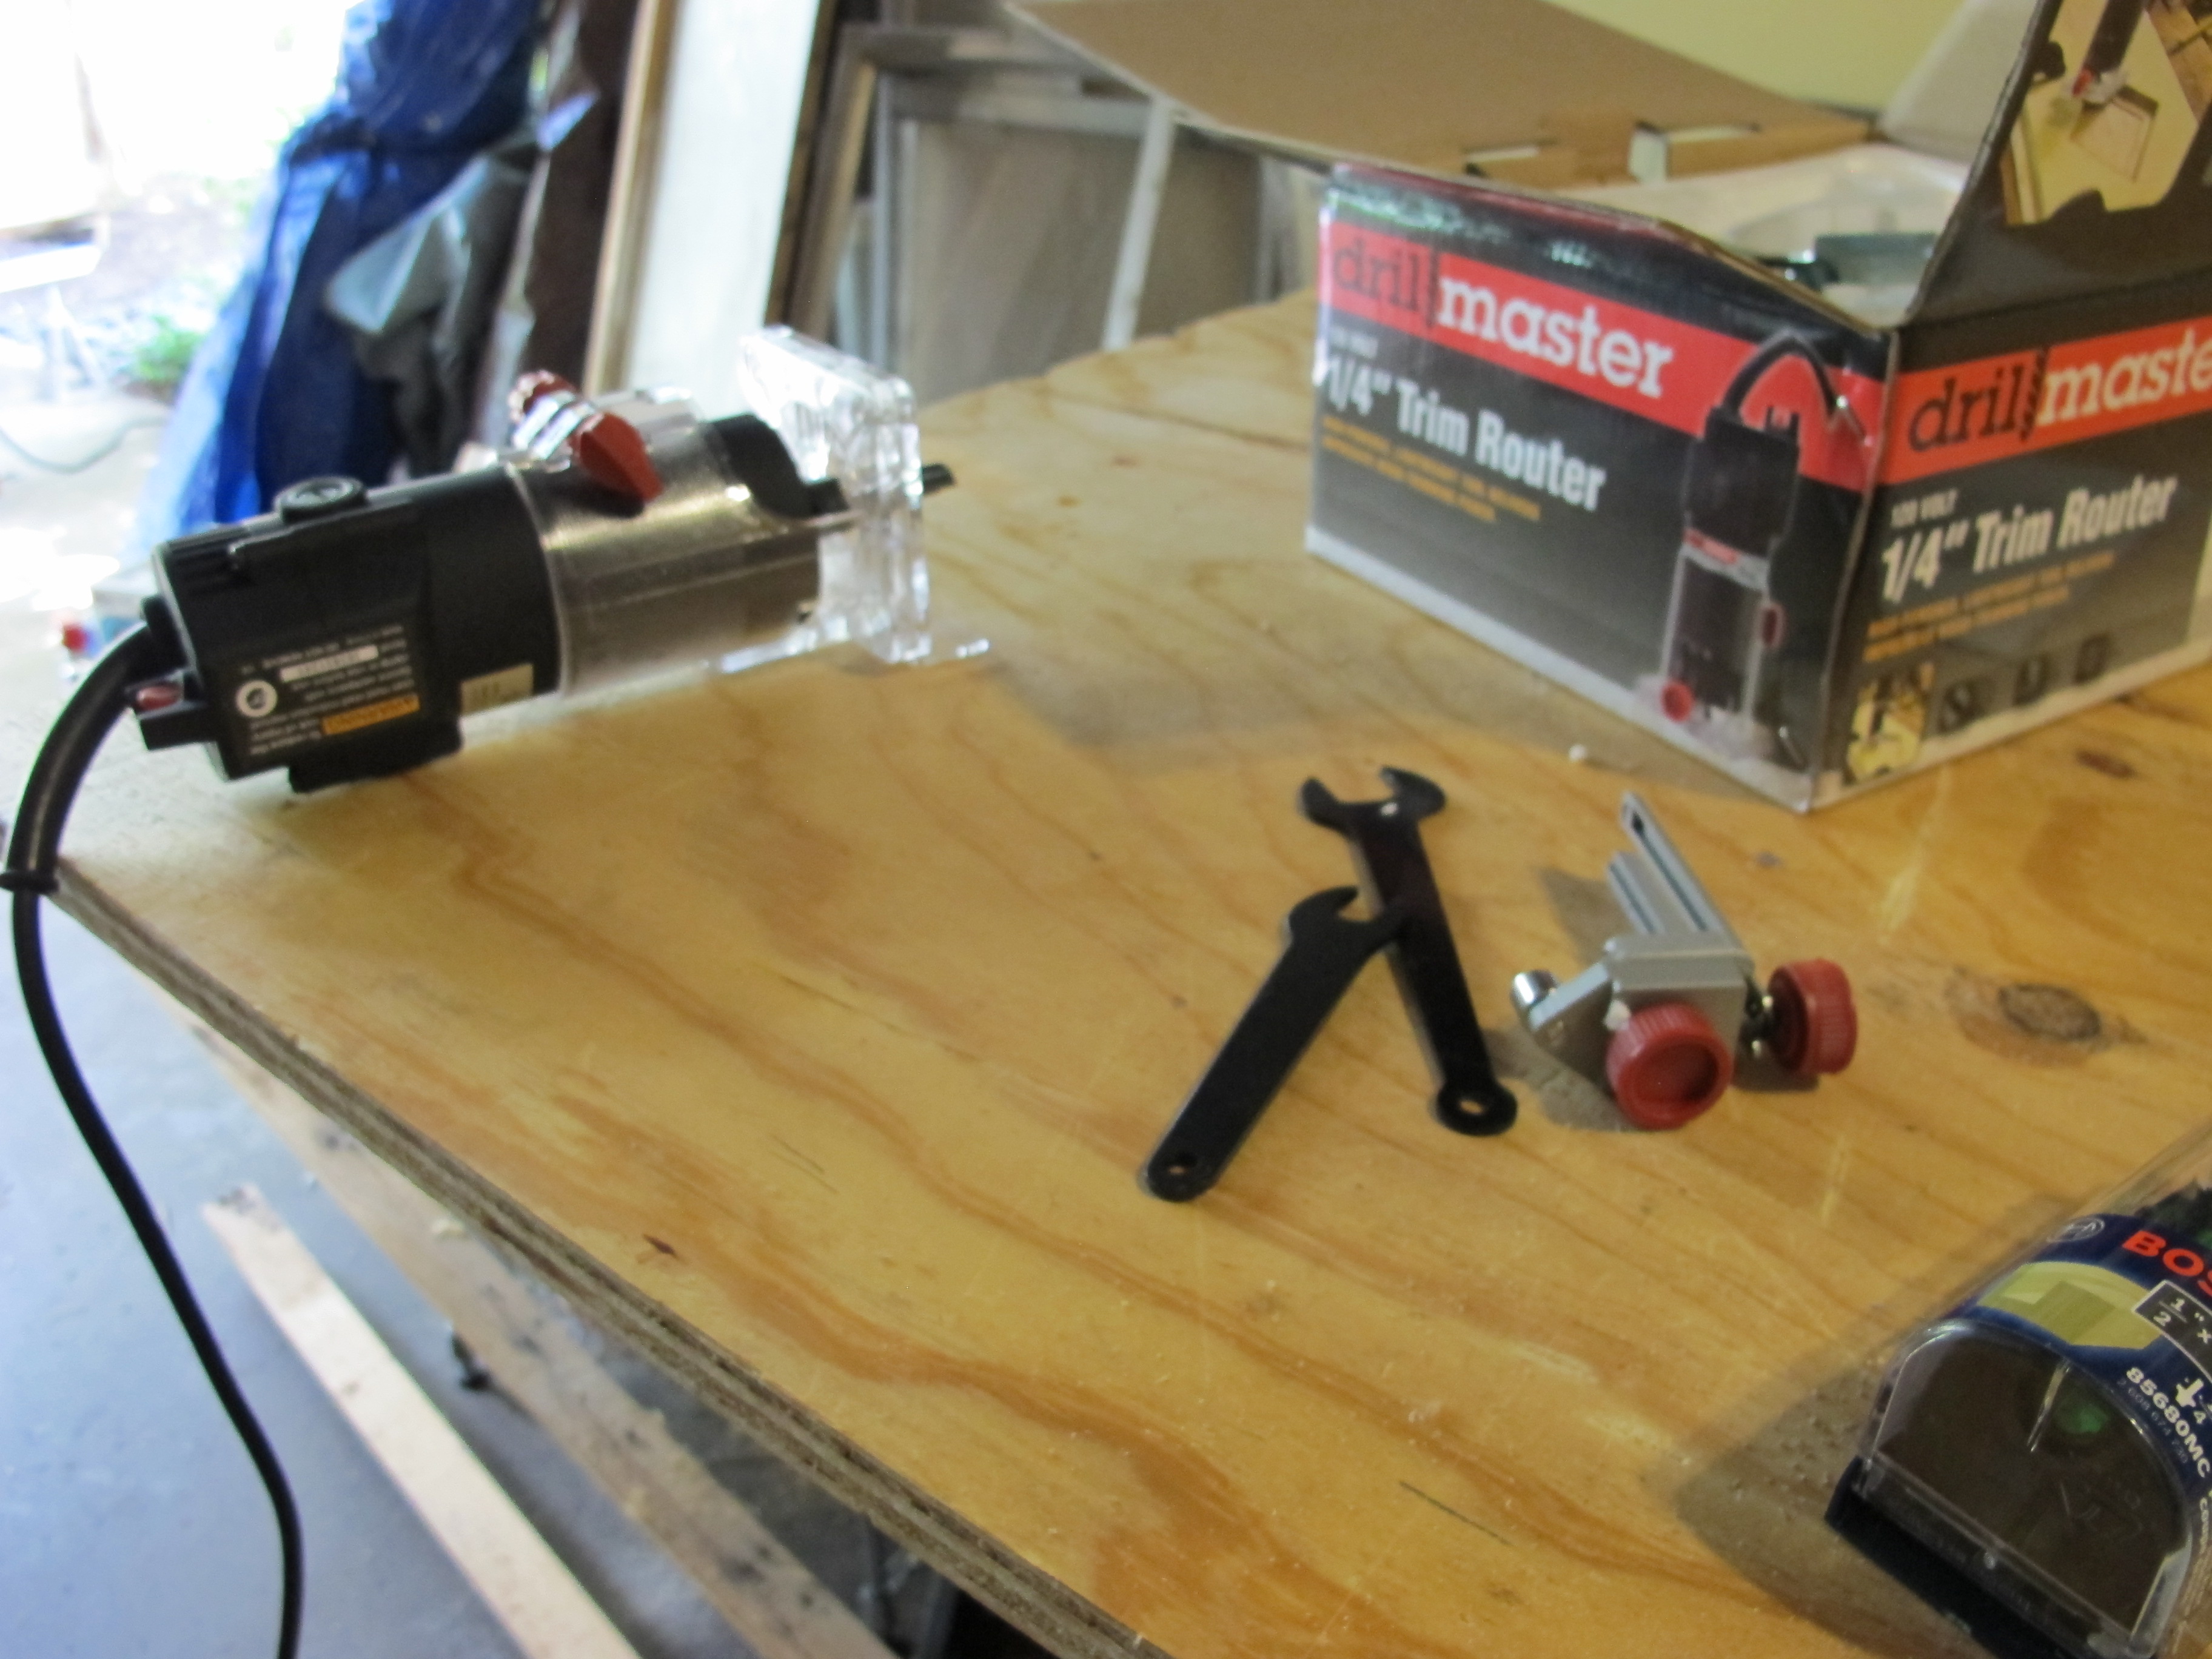
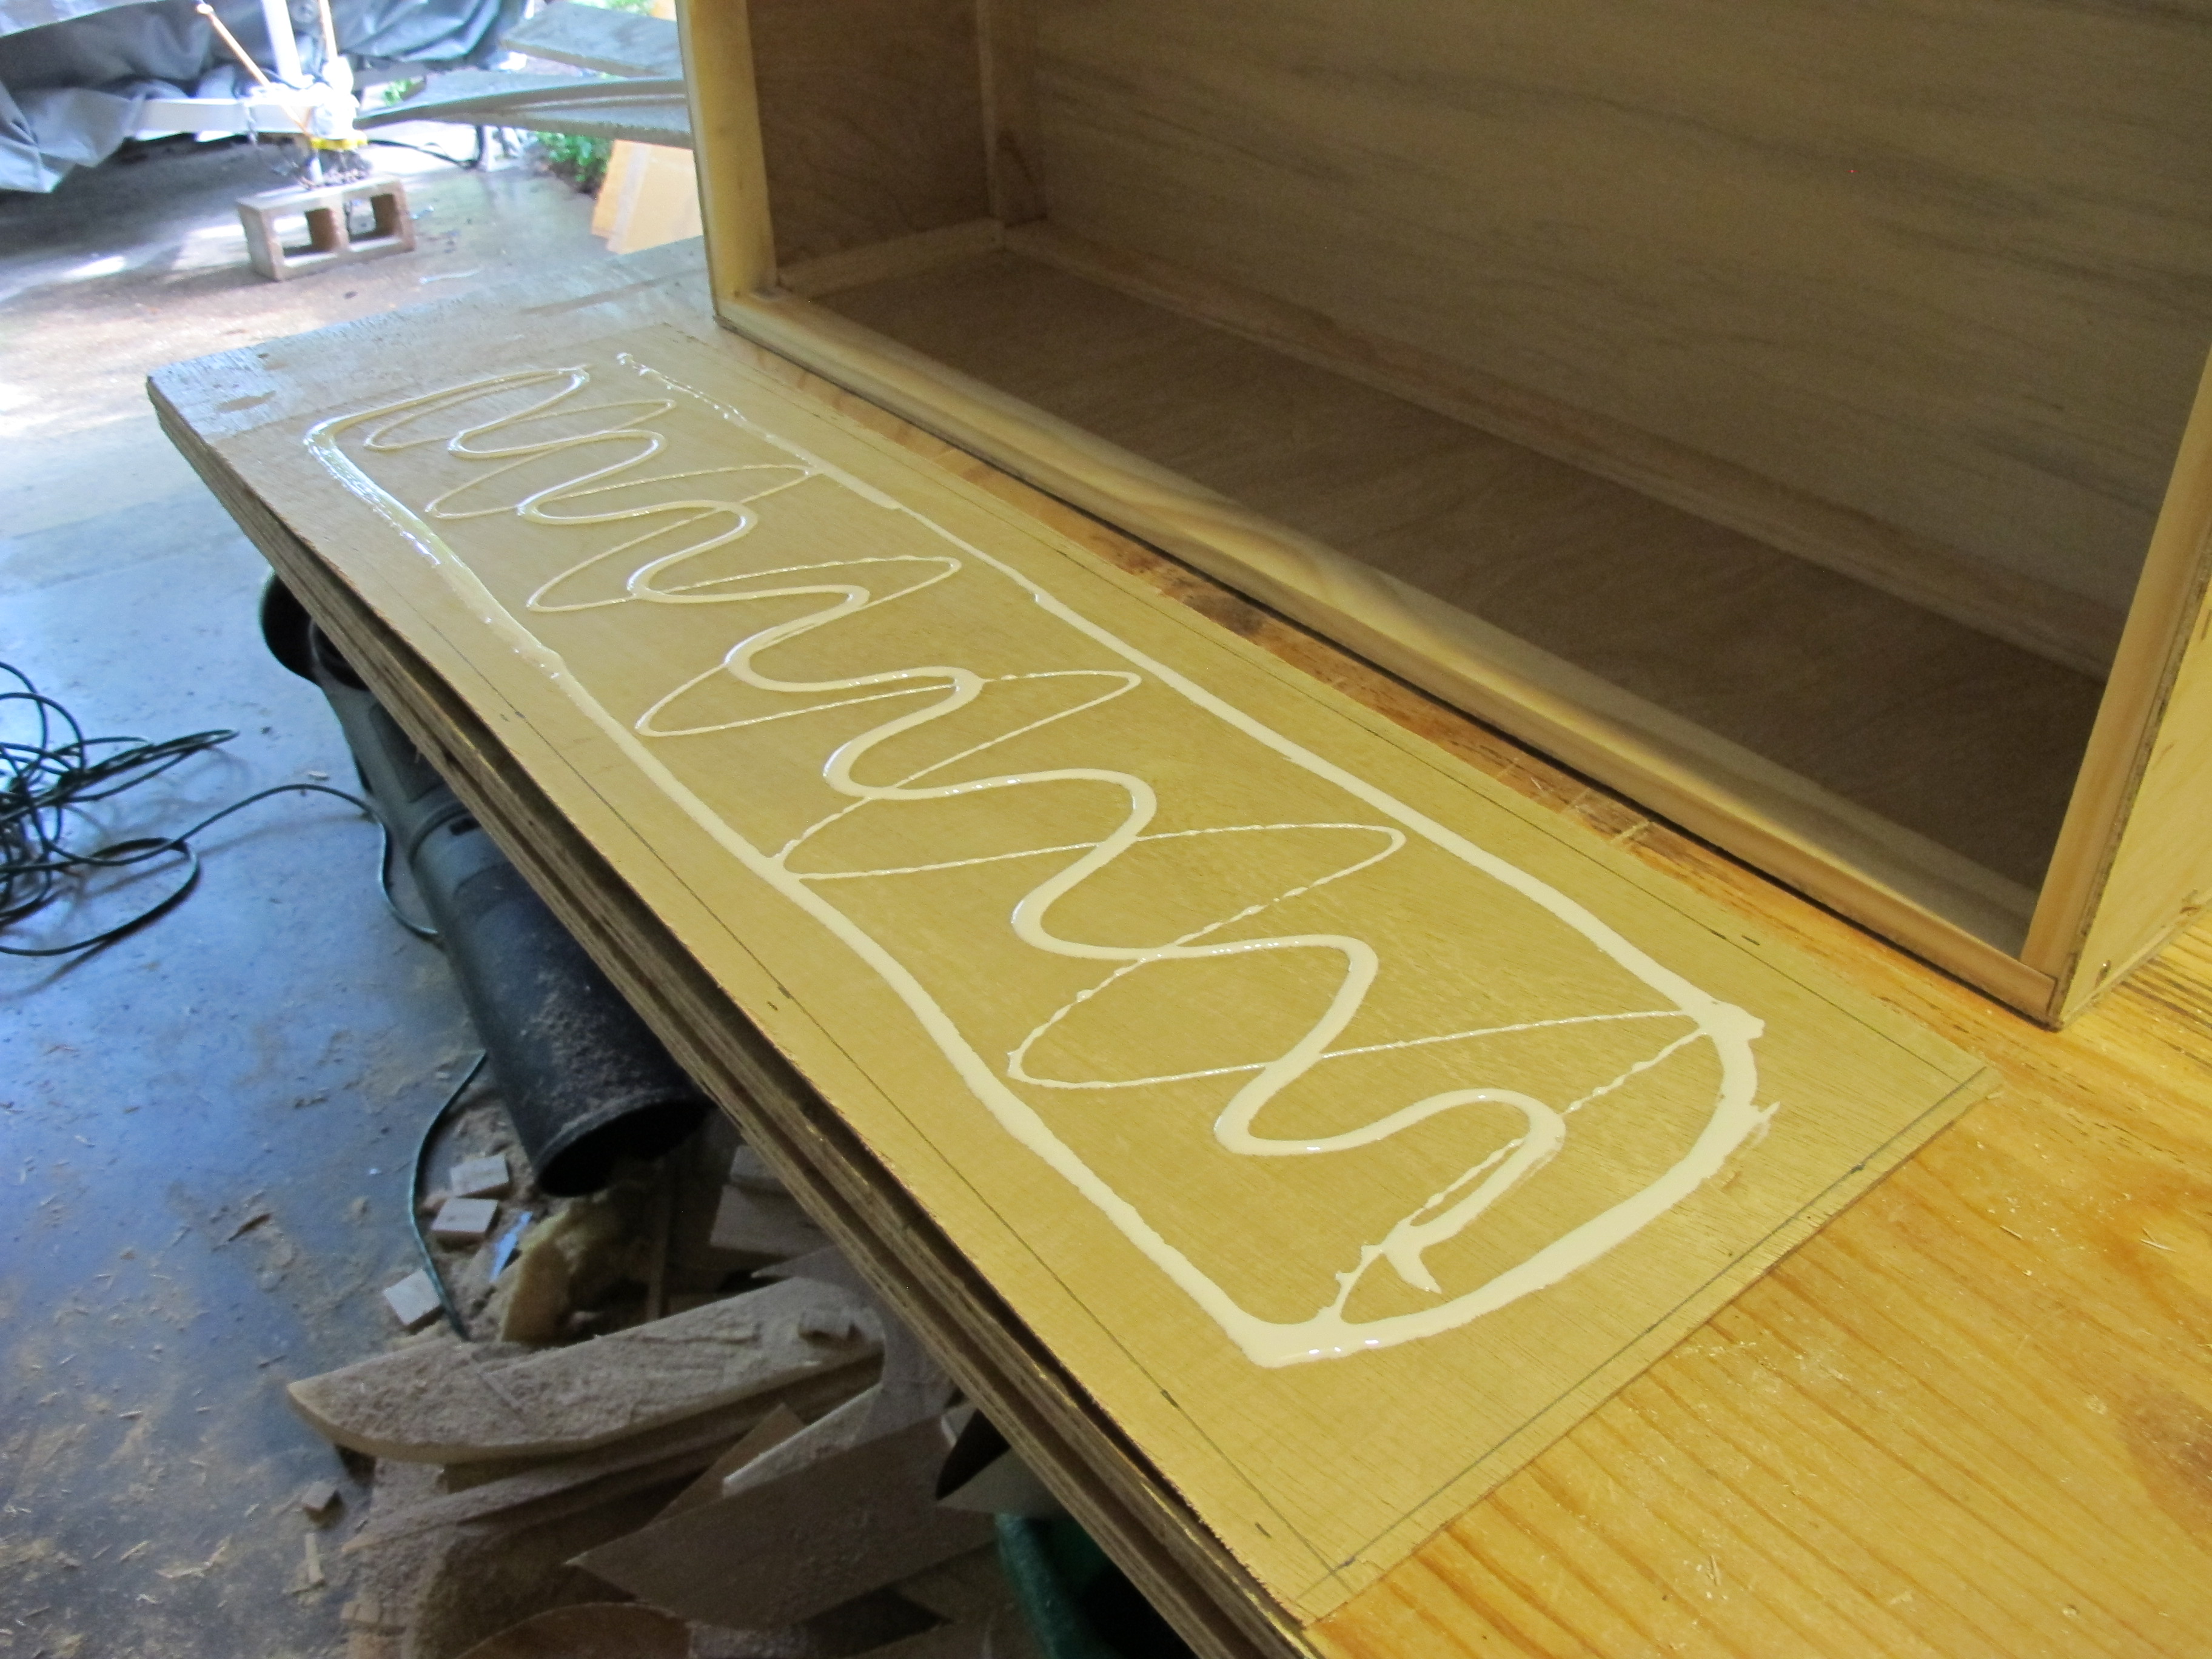
After finishing this task, I decided it was time to finish laminating the last remaining pieces of wood that I needed to install for the countertop around the stove as well as the pieces for the sliding doors above the kitchen.

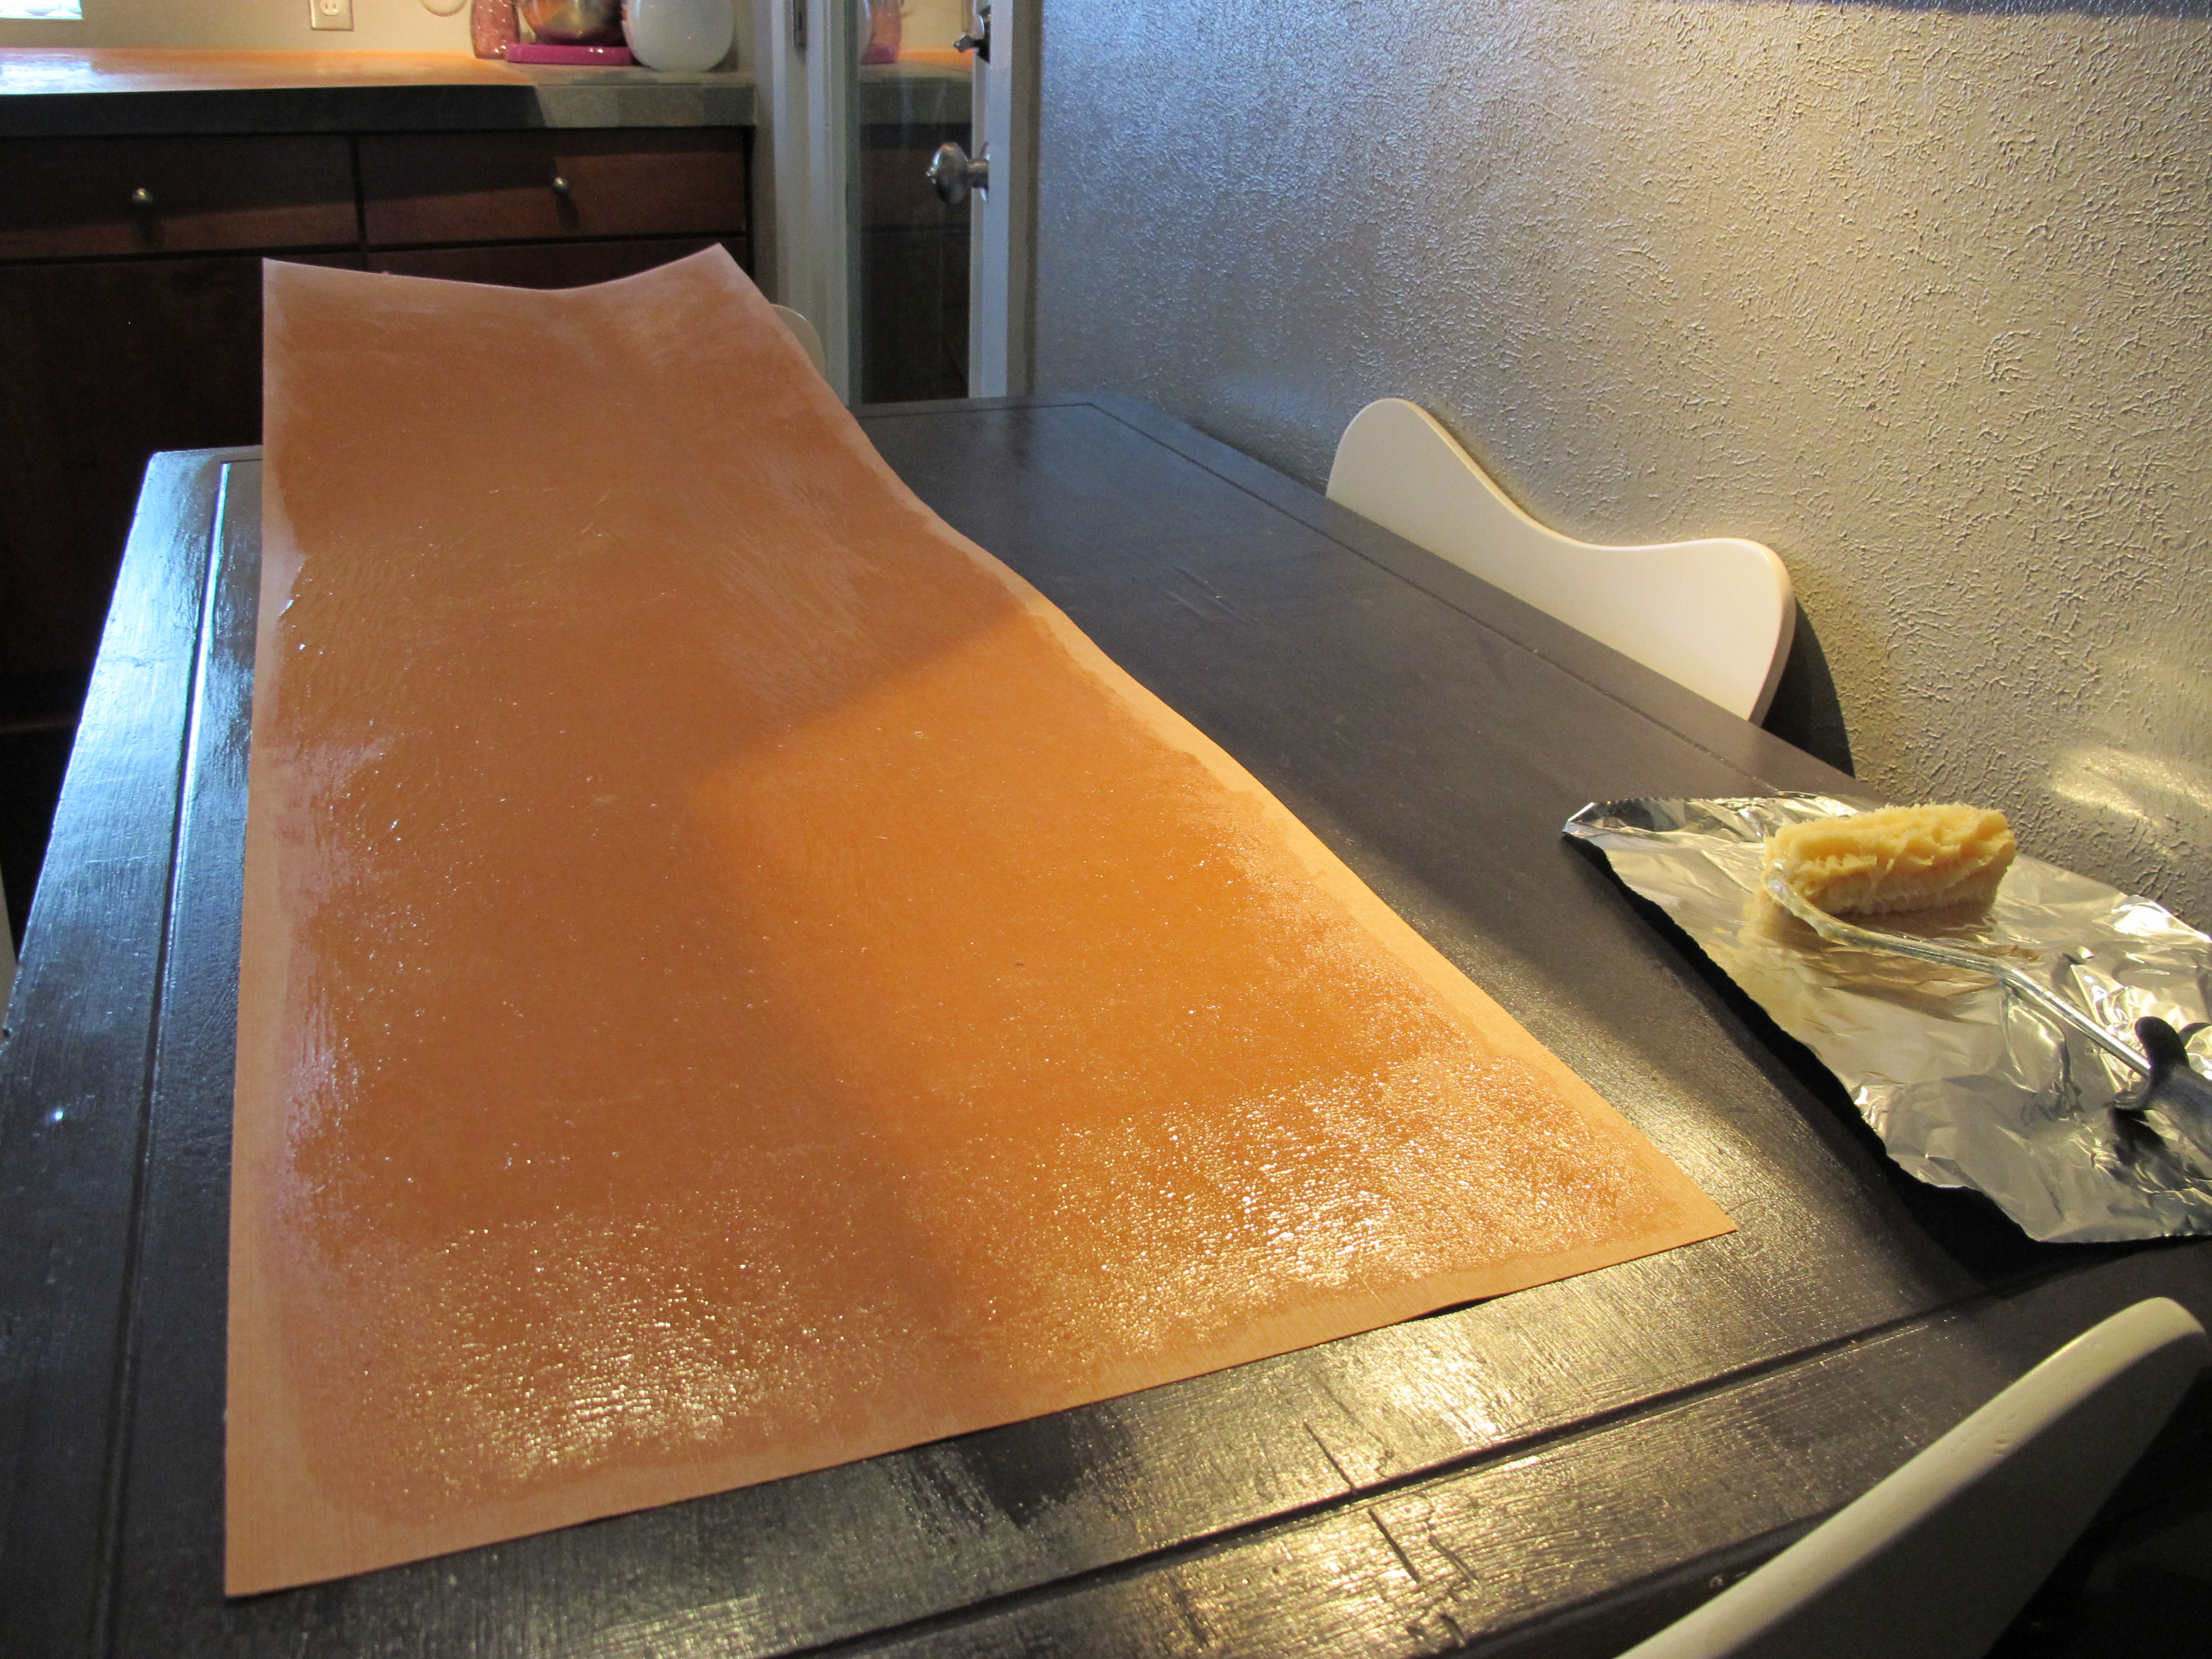
Laminate is cut and ready for contact cement.

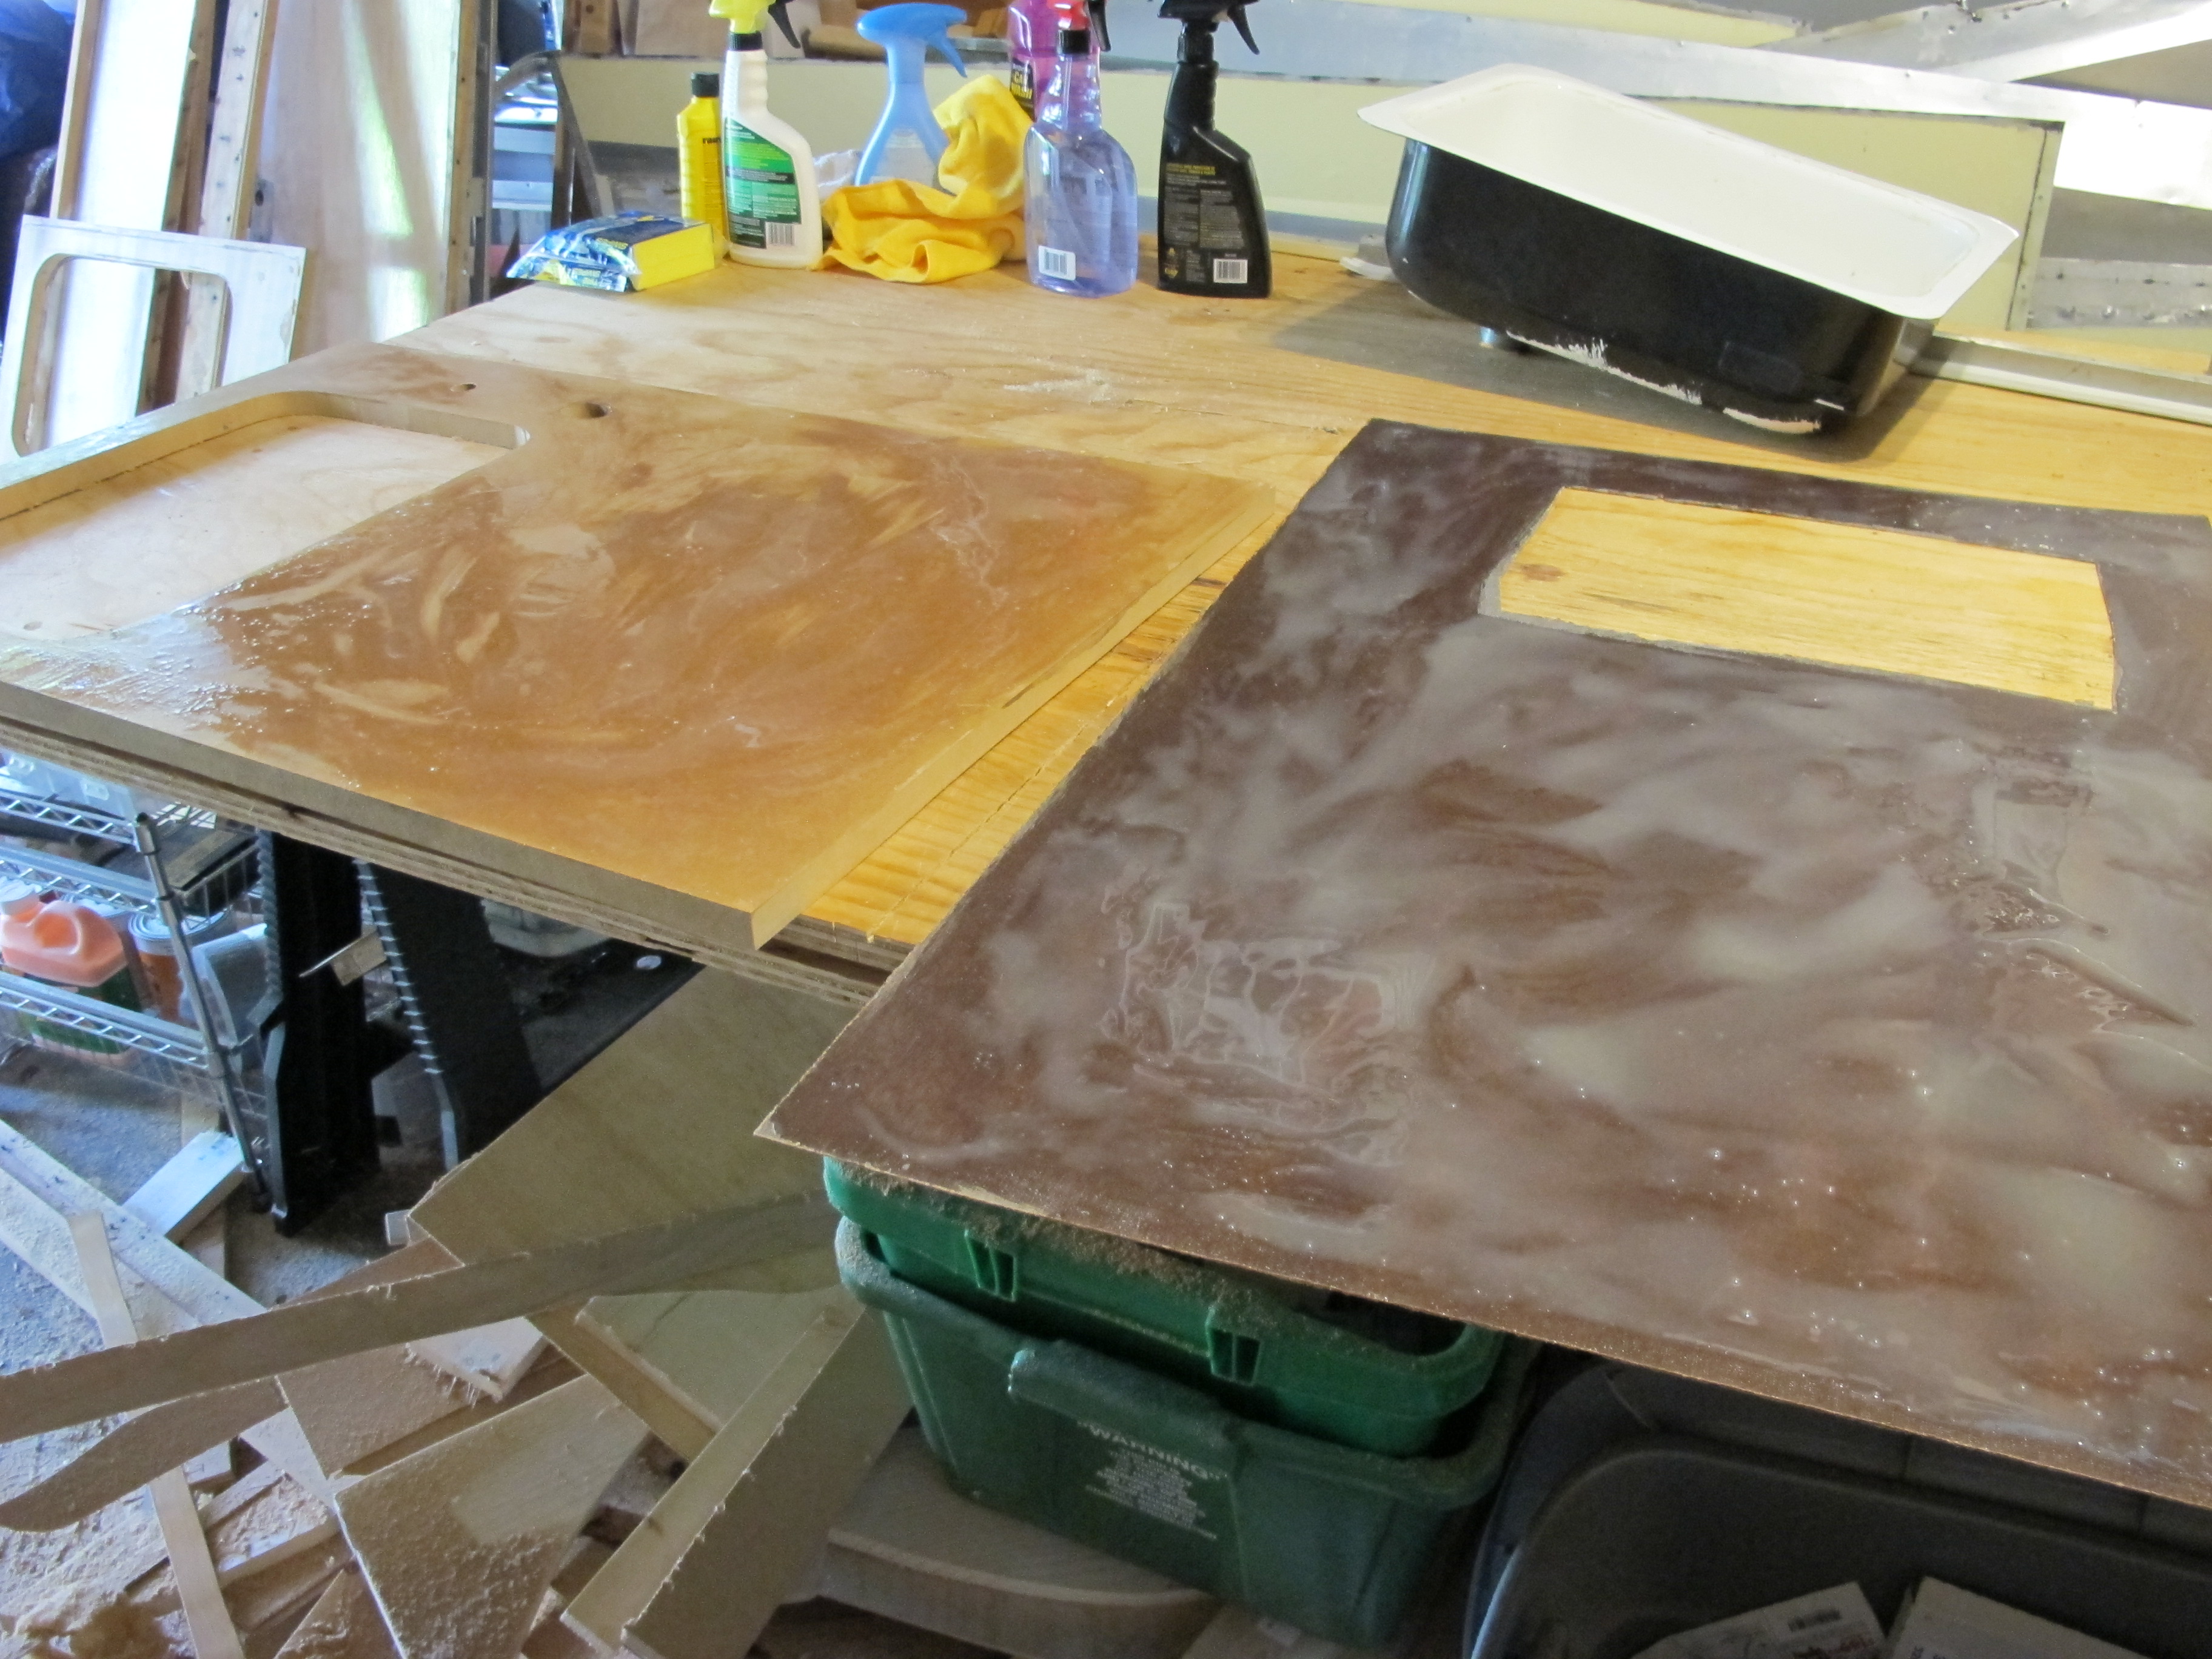
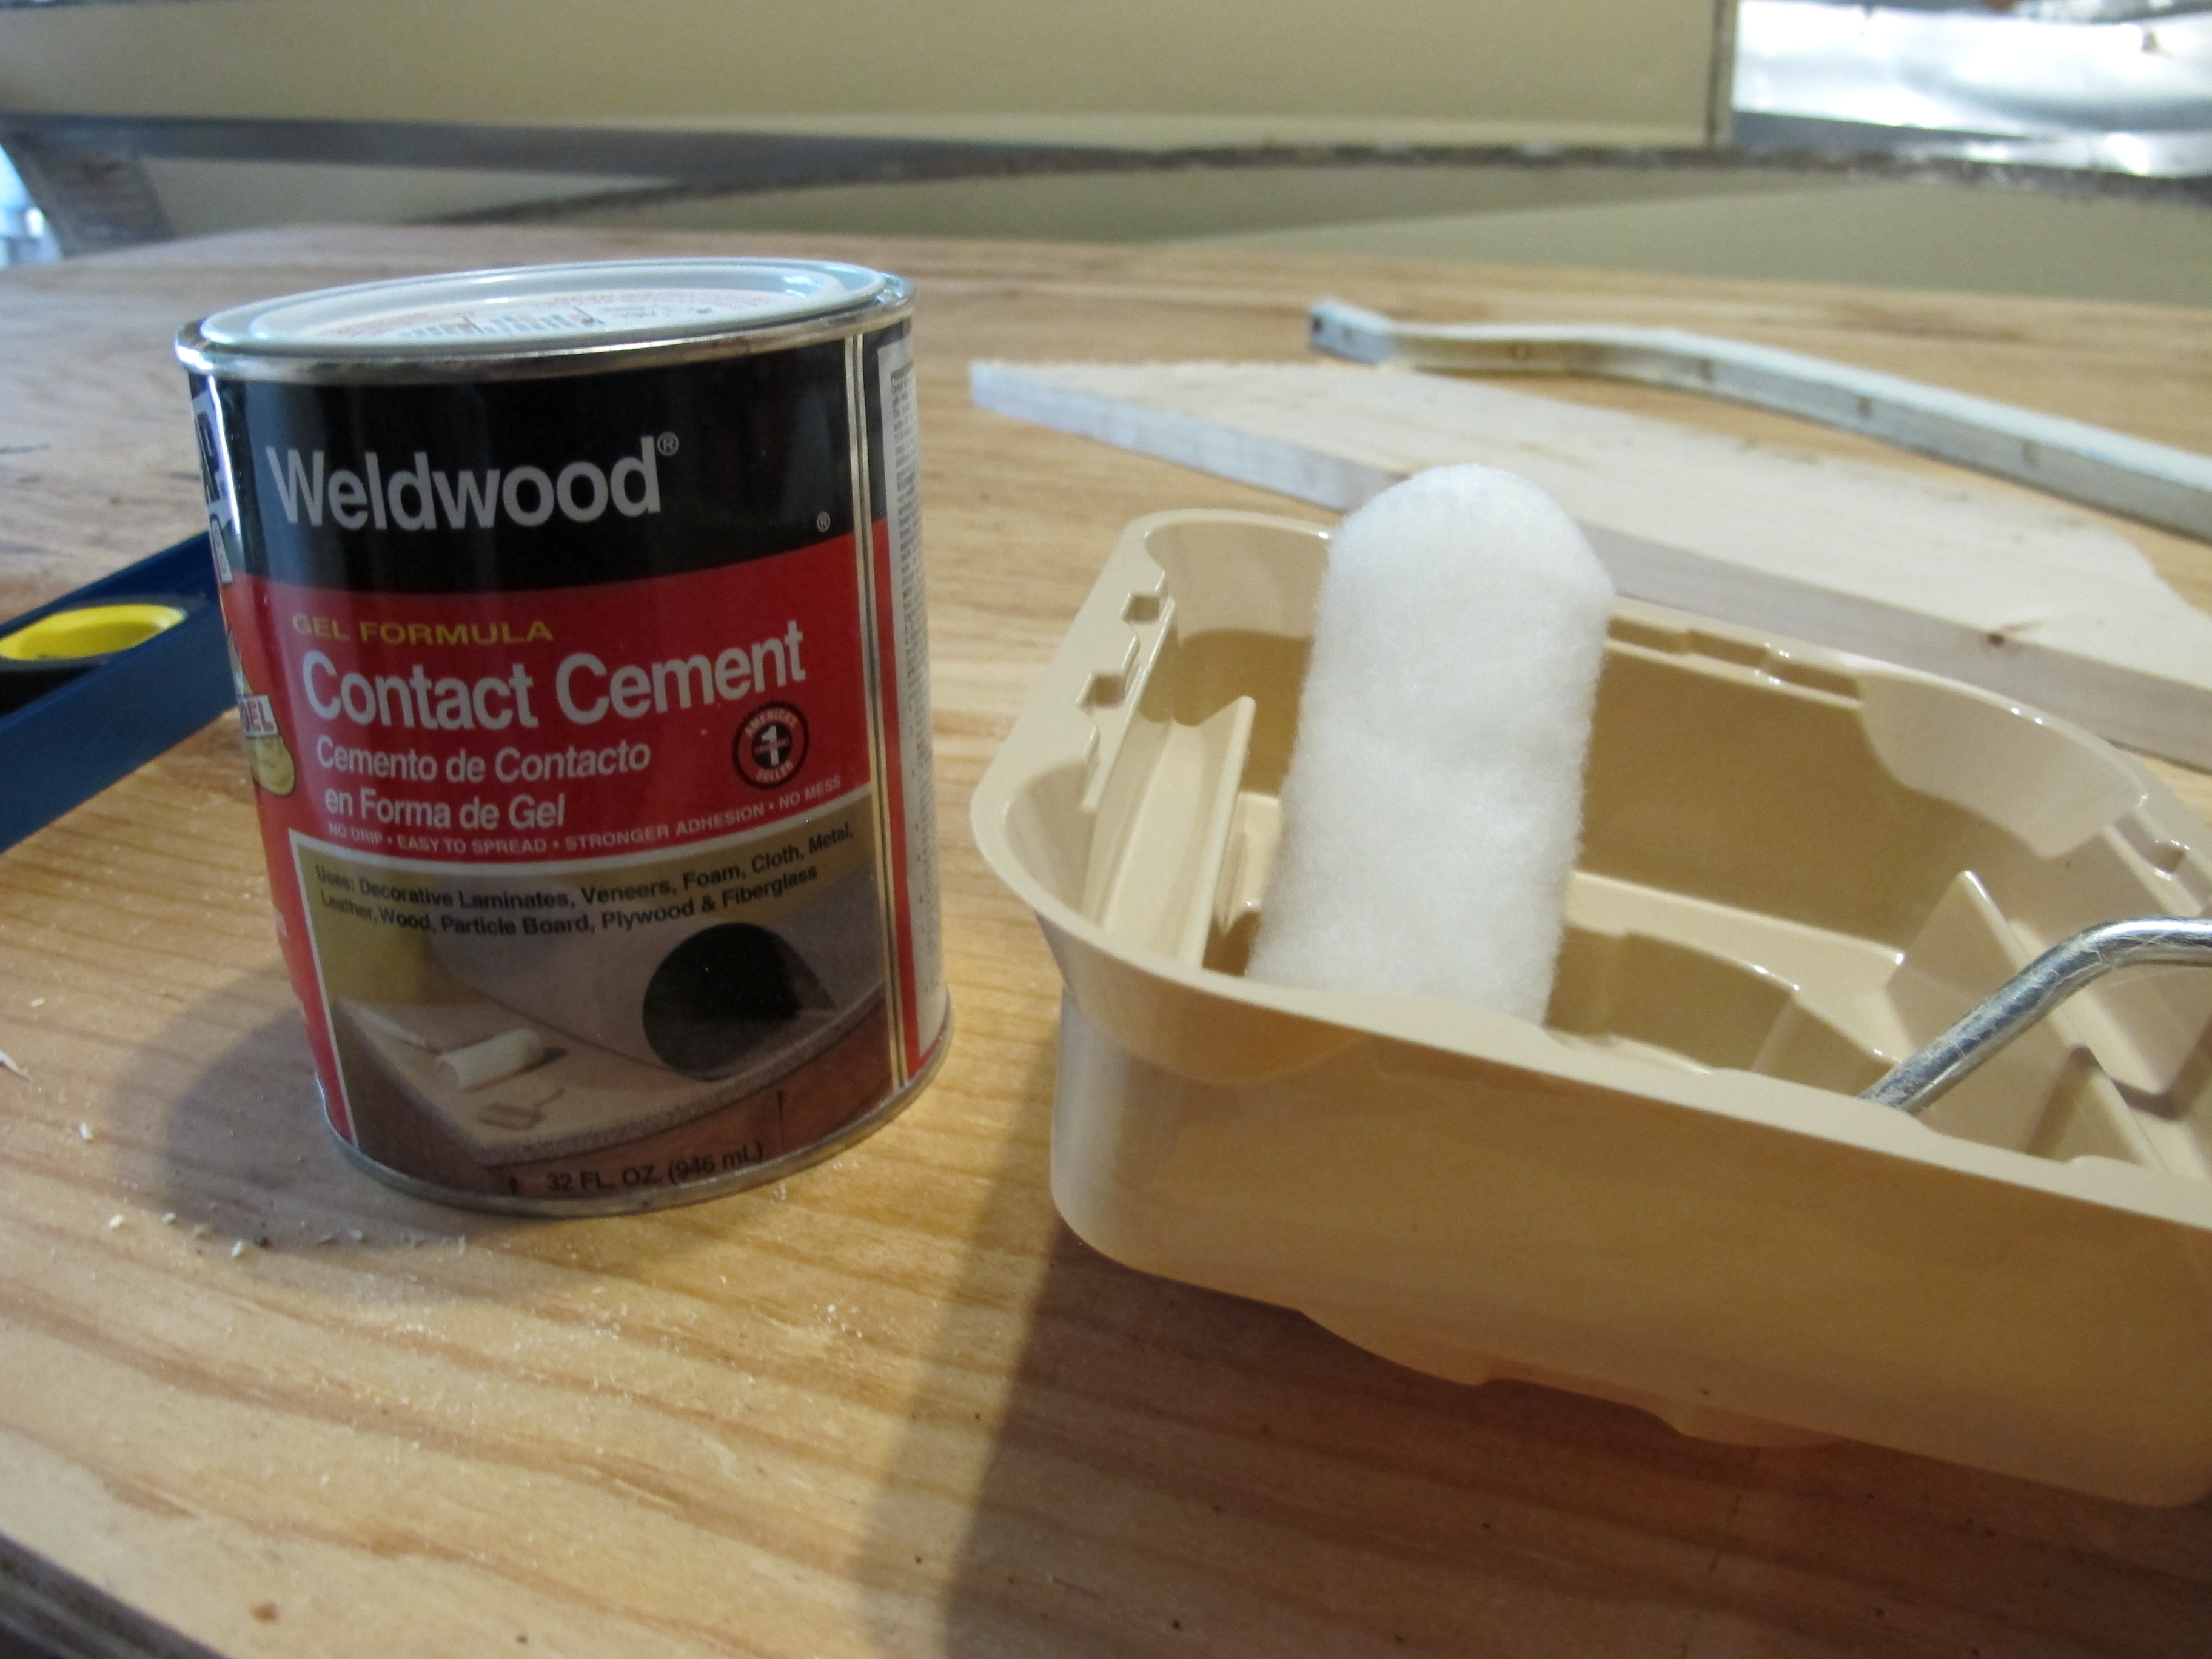
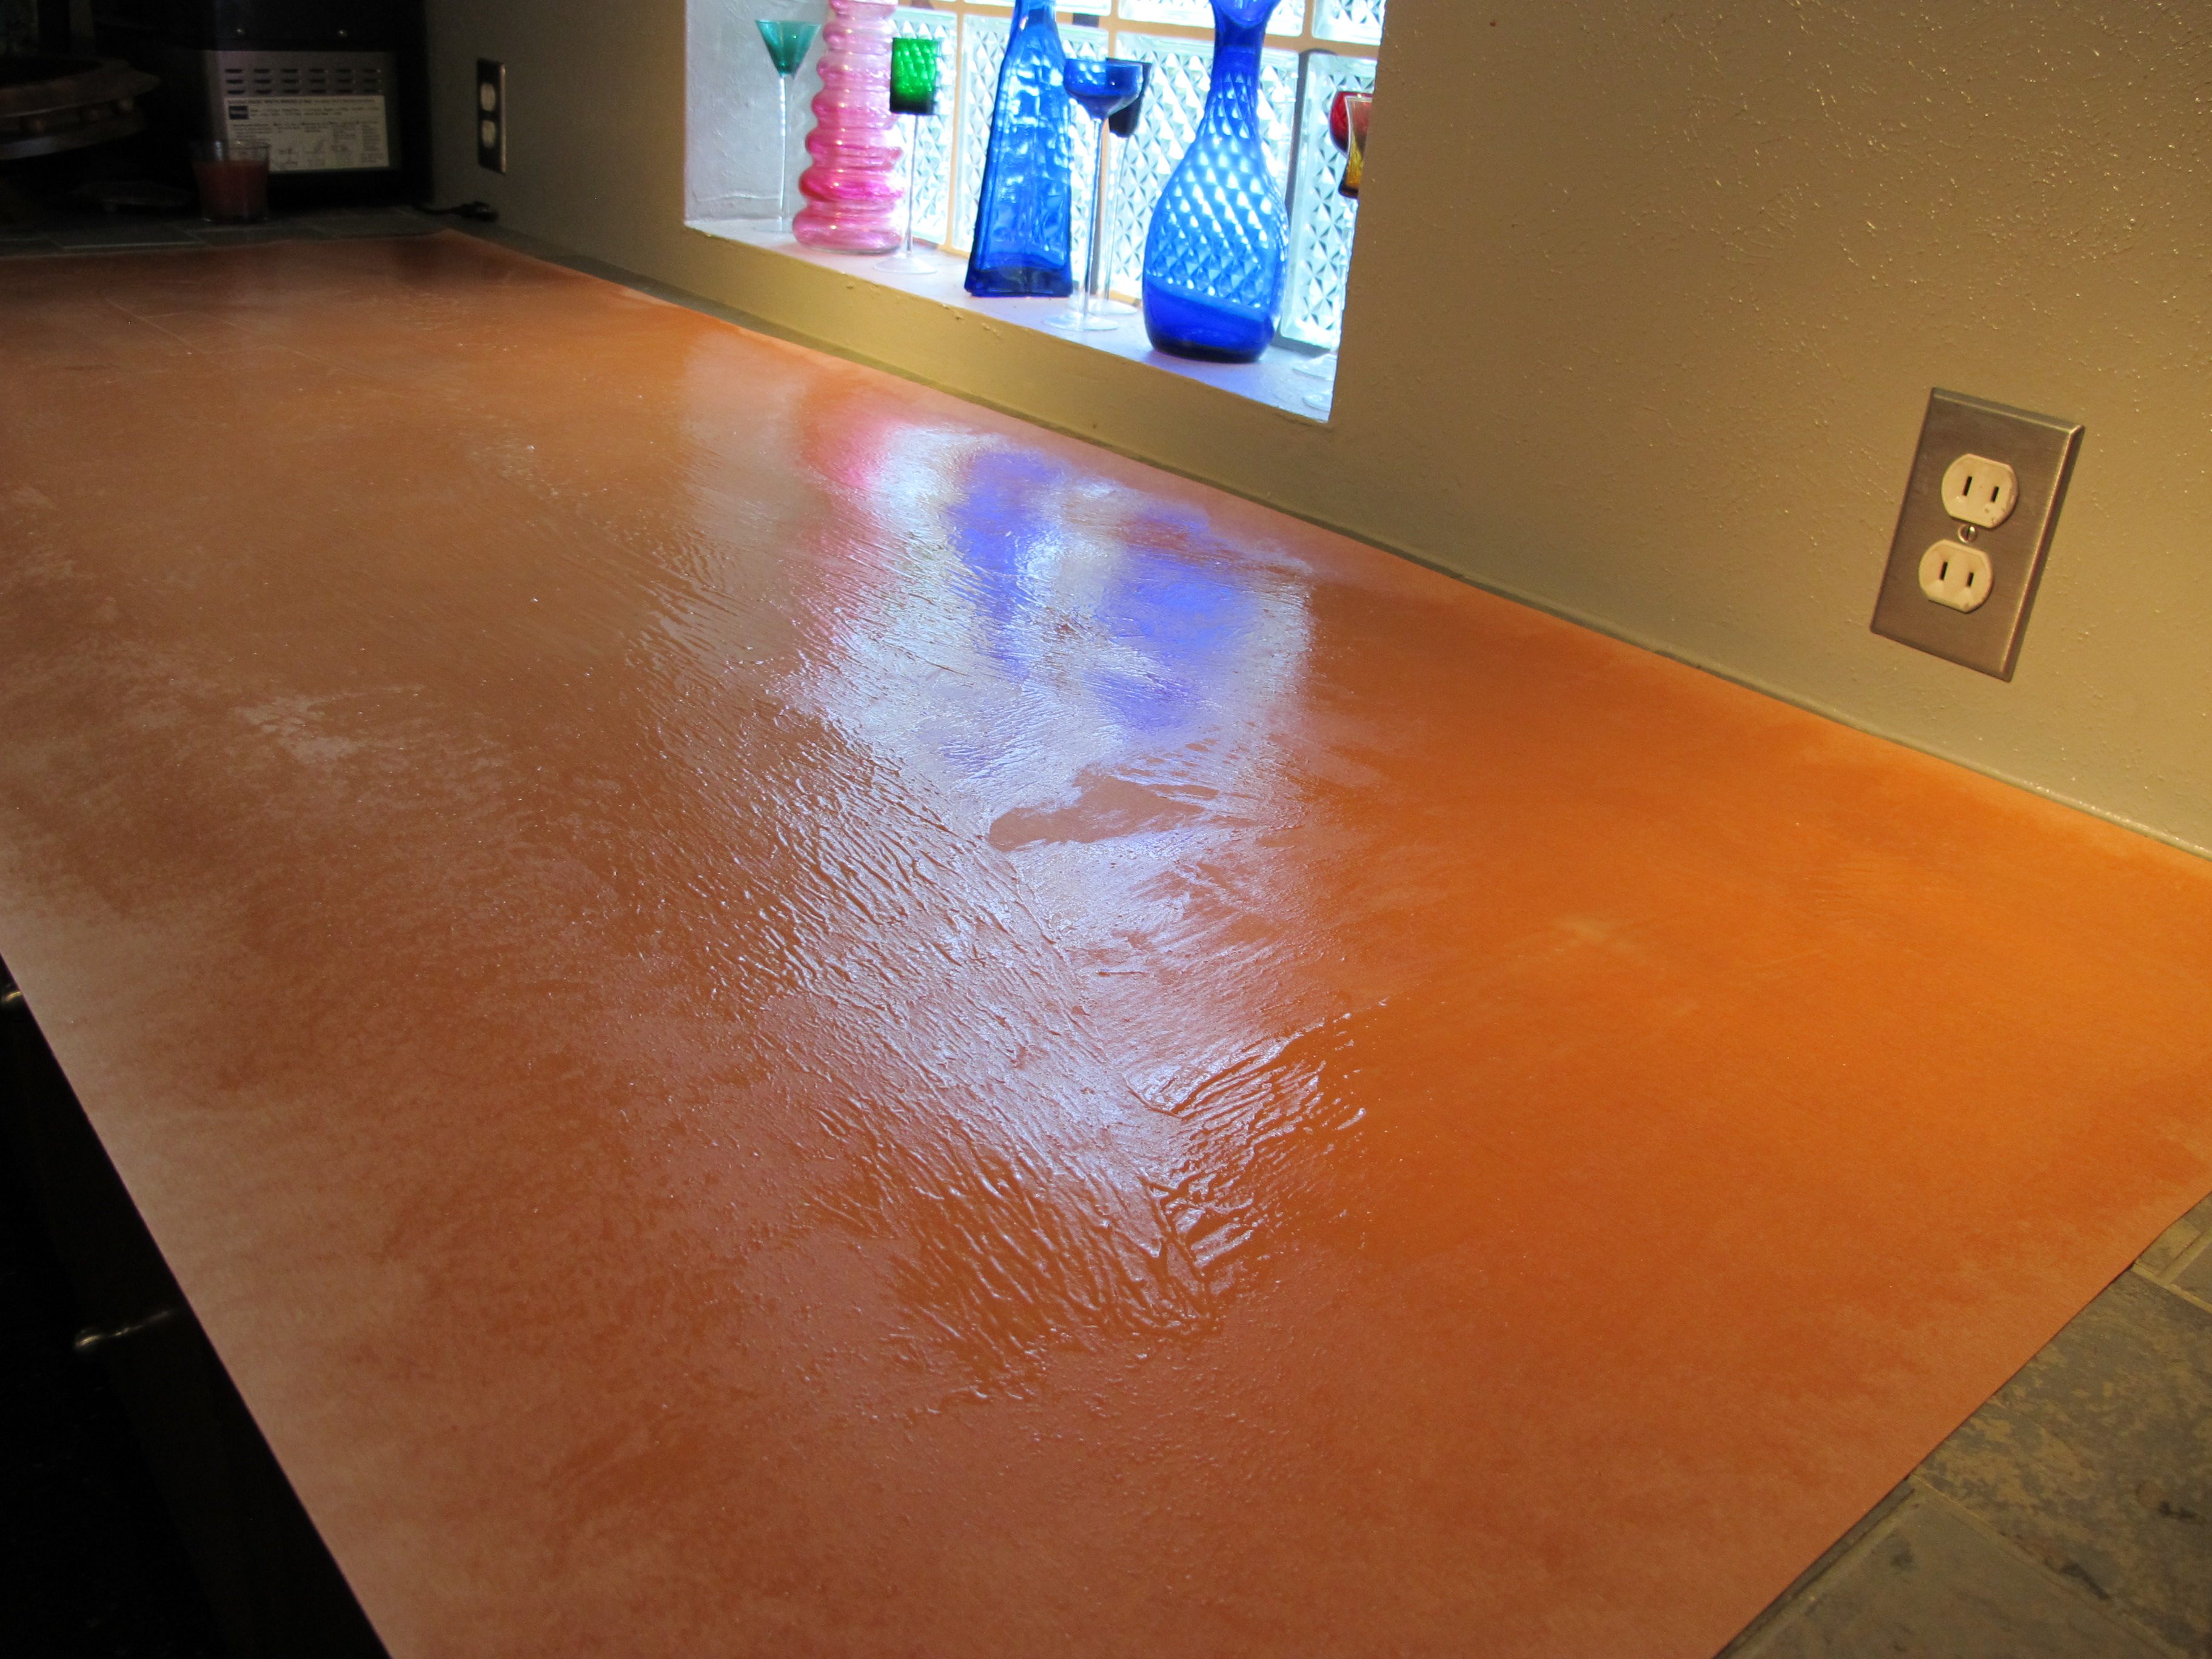
Contact cement is on!

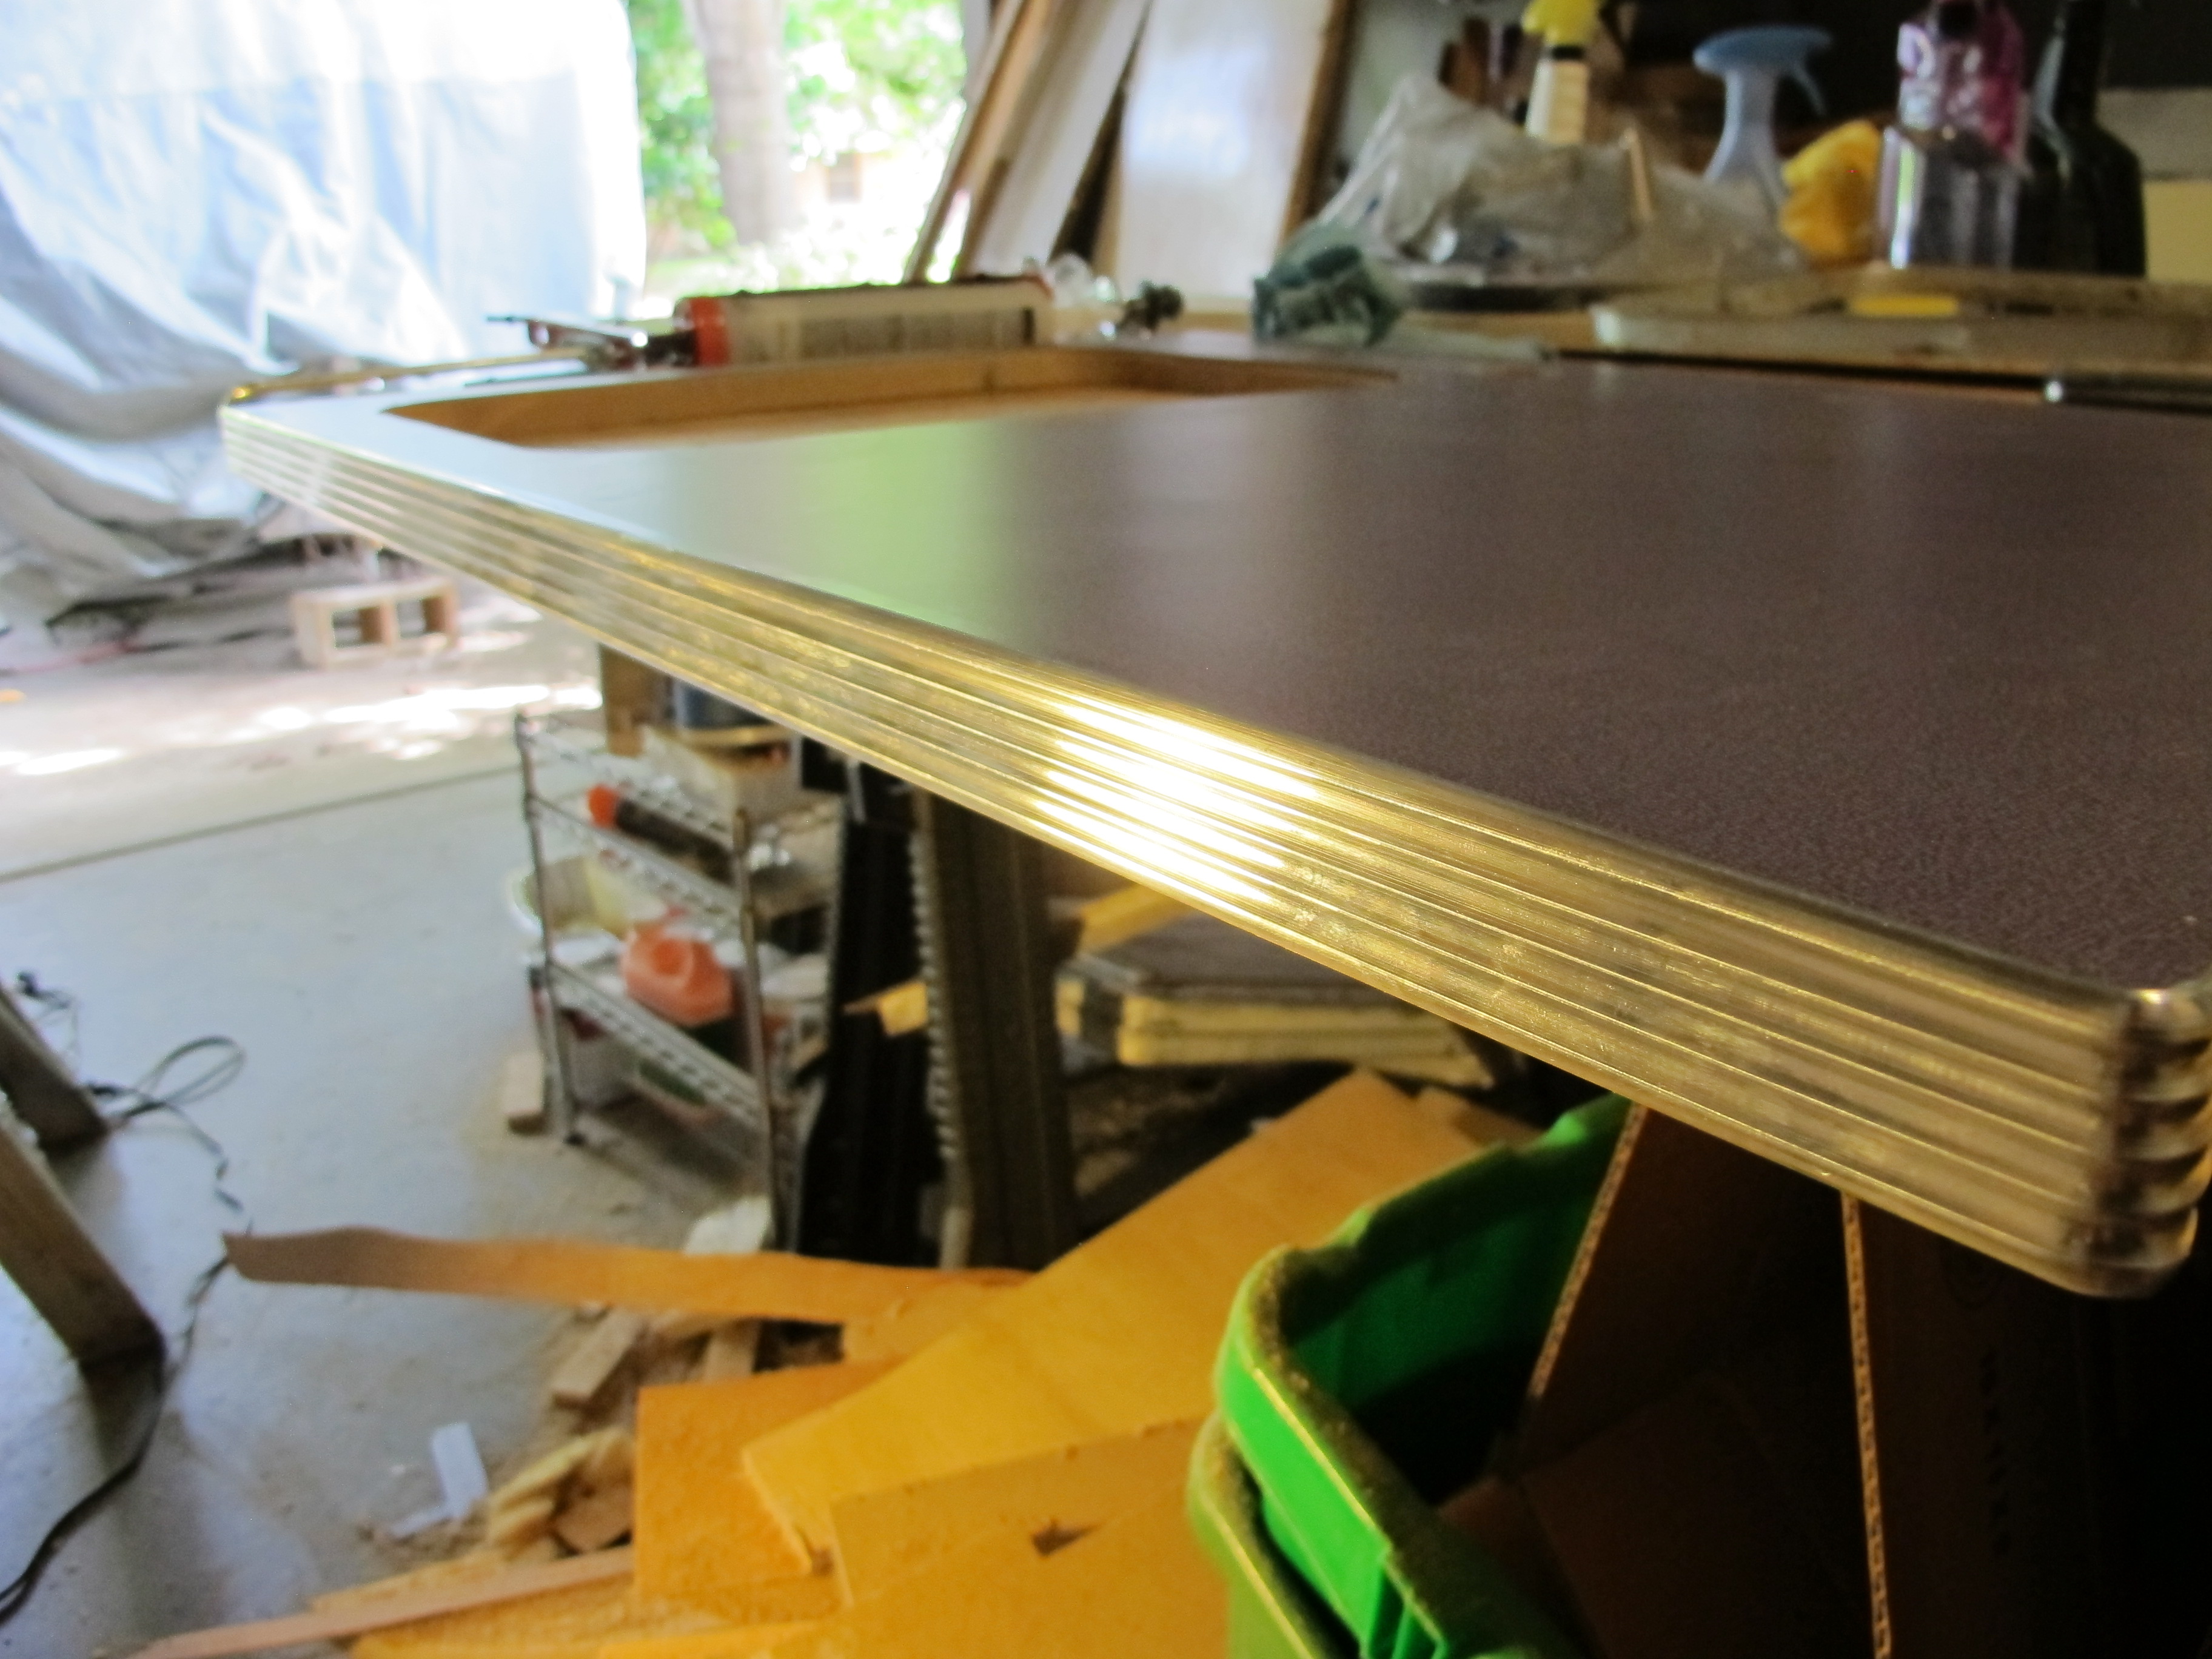
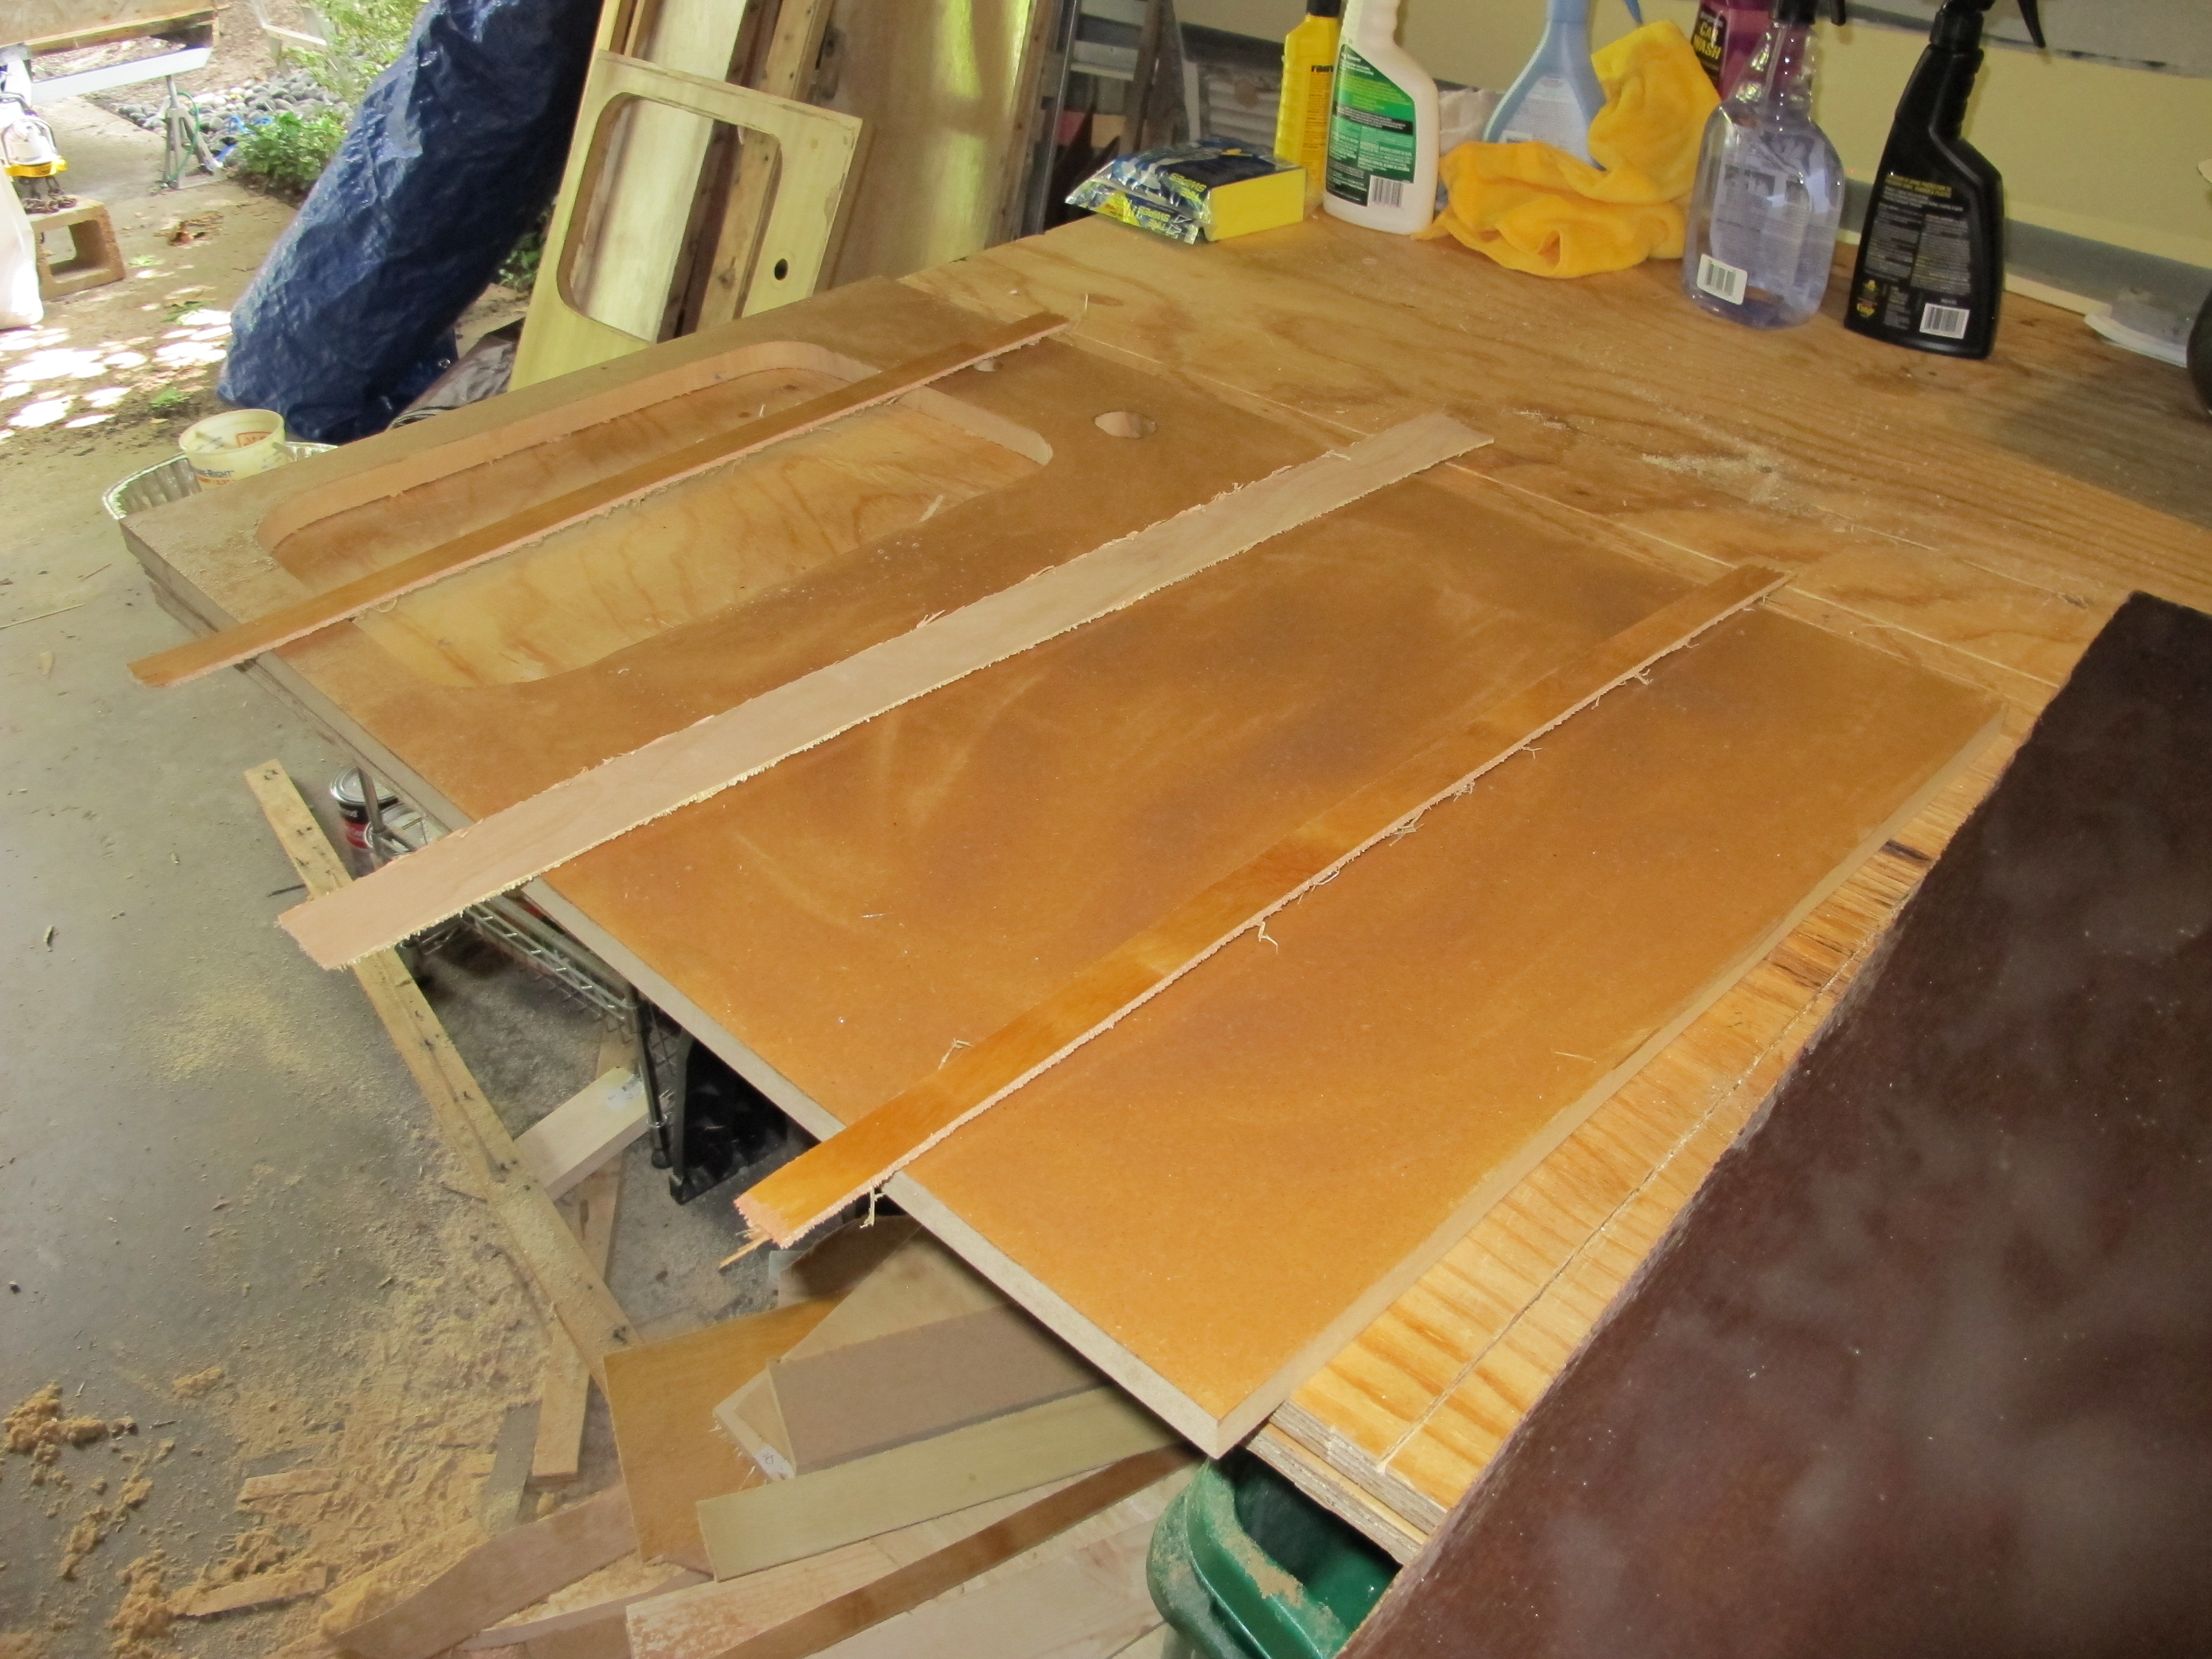
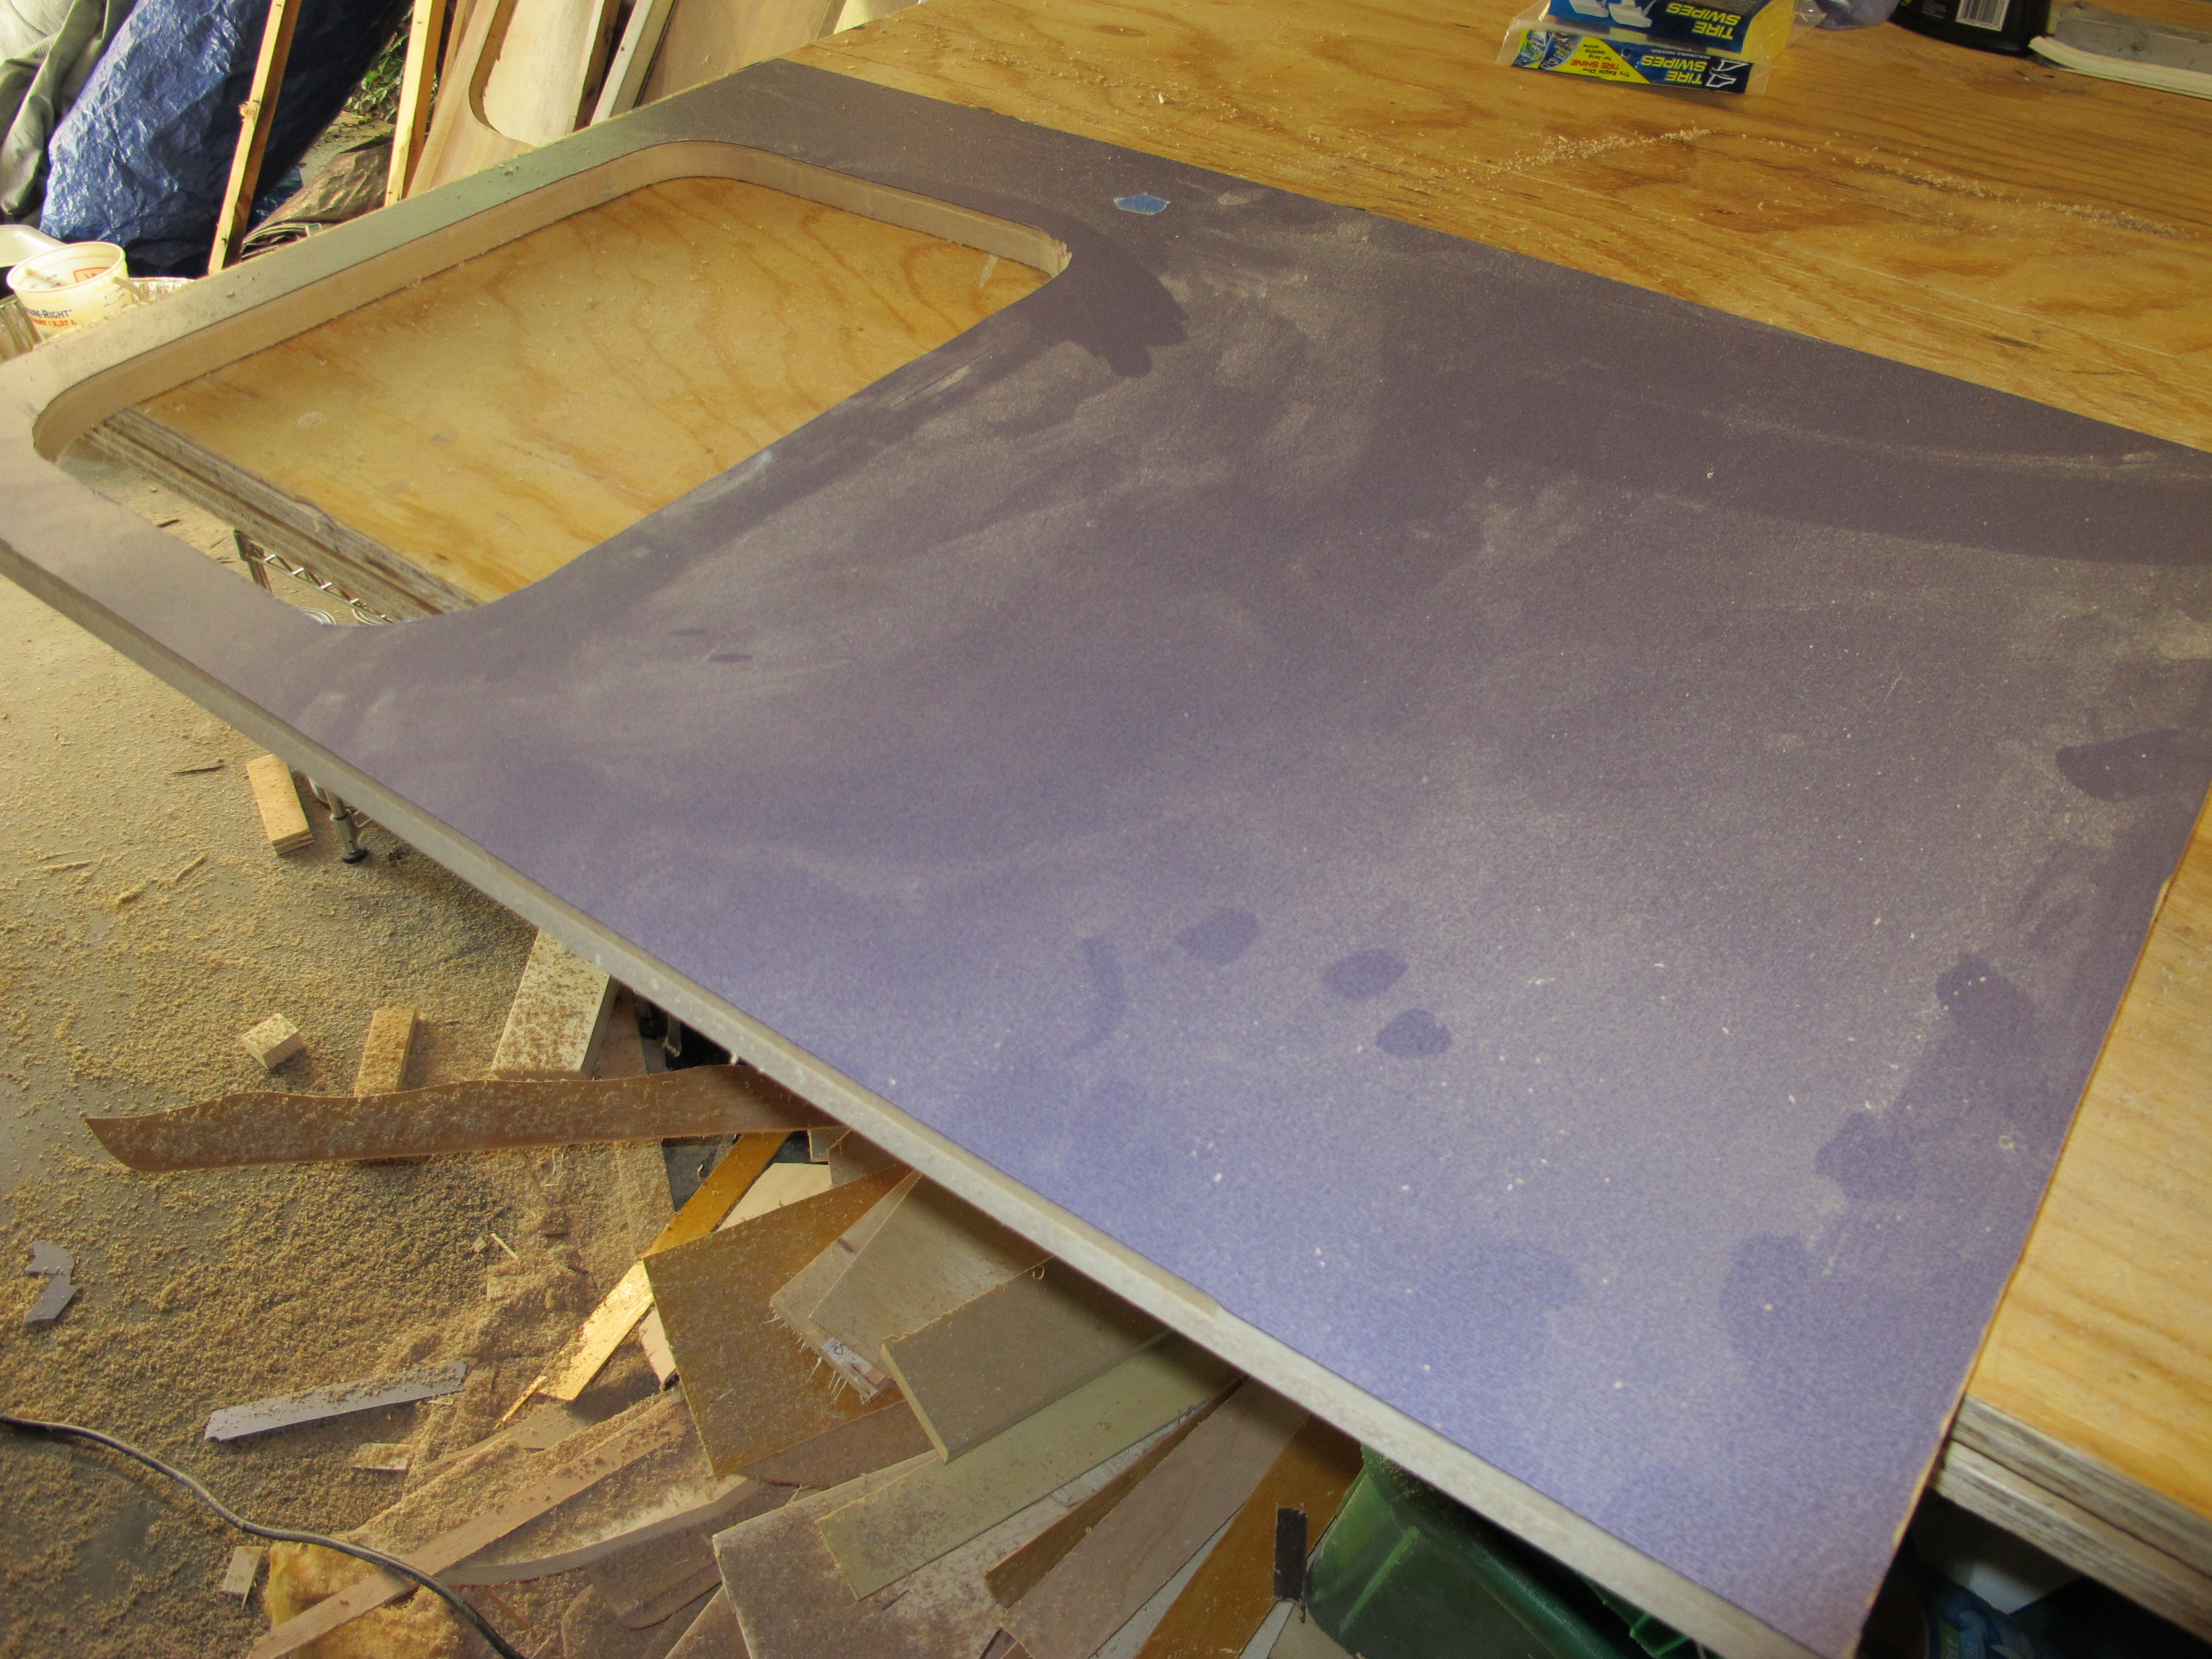
After 20 minutes, I attached the laminate and applied pressure. I will wait a day before using the router to trim the edges.

Today, I used the router to trim the edges and then added the cute owl hardware I picked up at Anthropologie. I think they turned out pretty nice!
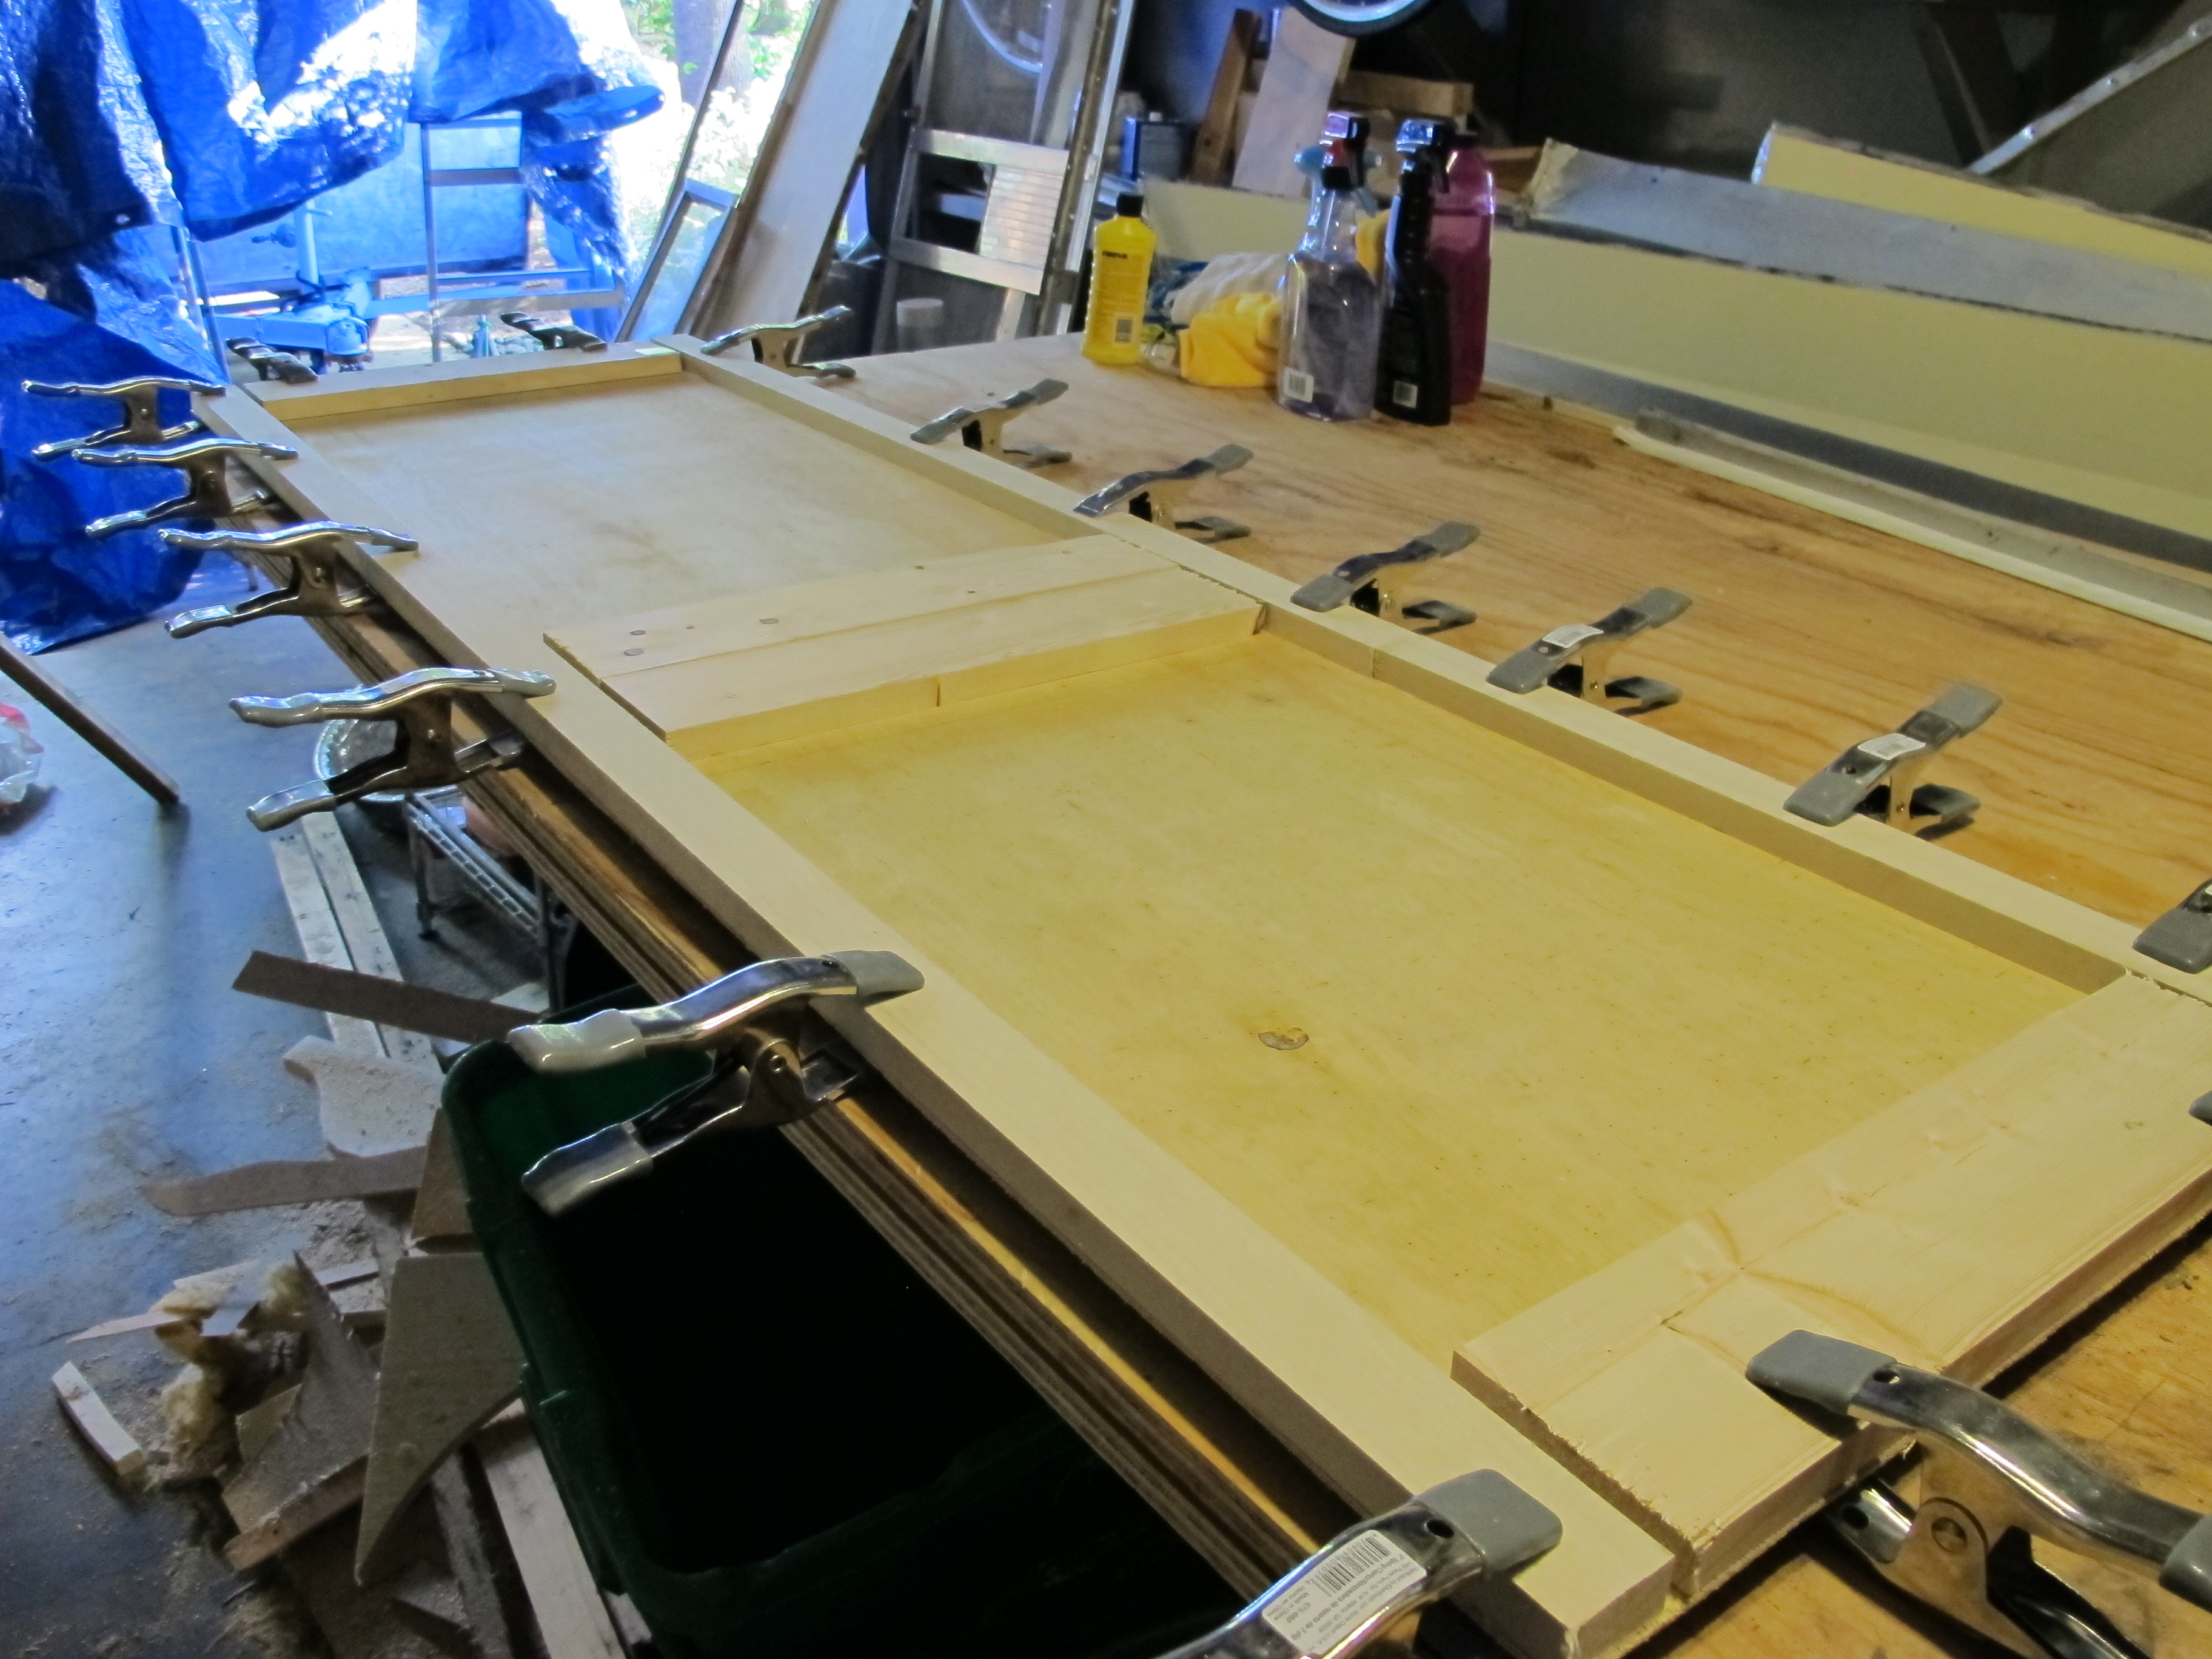
Today, I finished up the drawer project. I added some pieces of wood under the drawer to keep it aligned and make sure it is supported once it is full of stuff. 

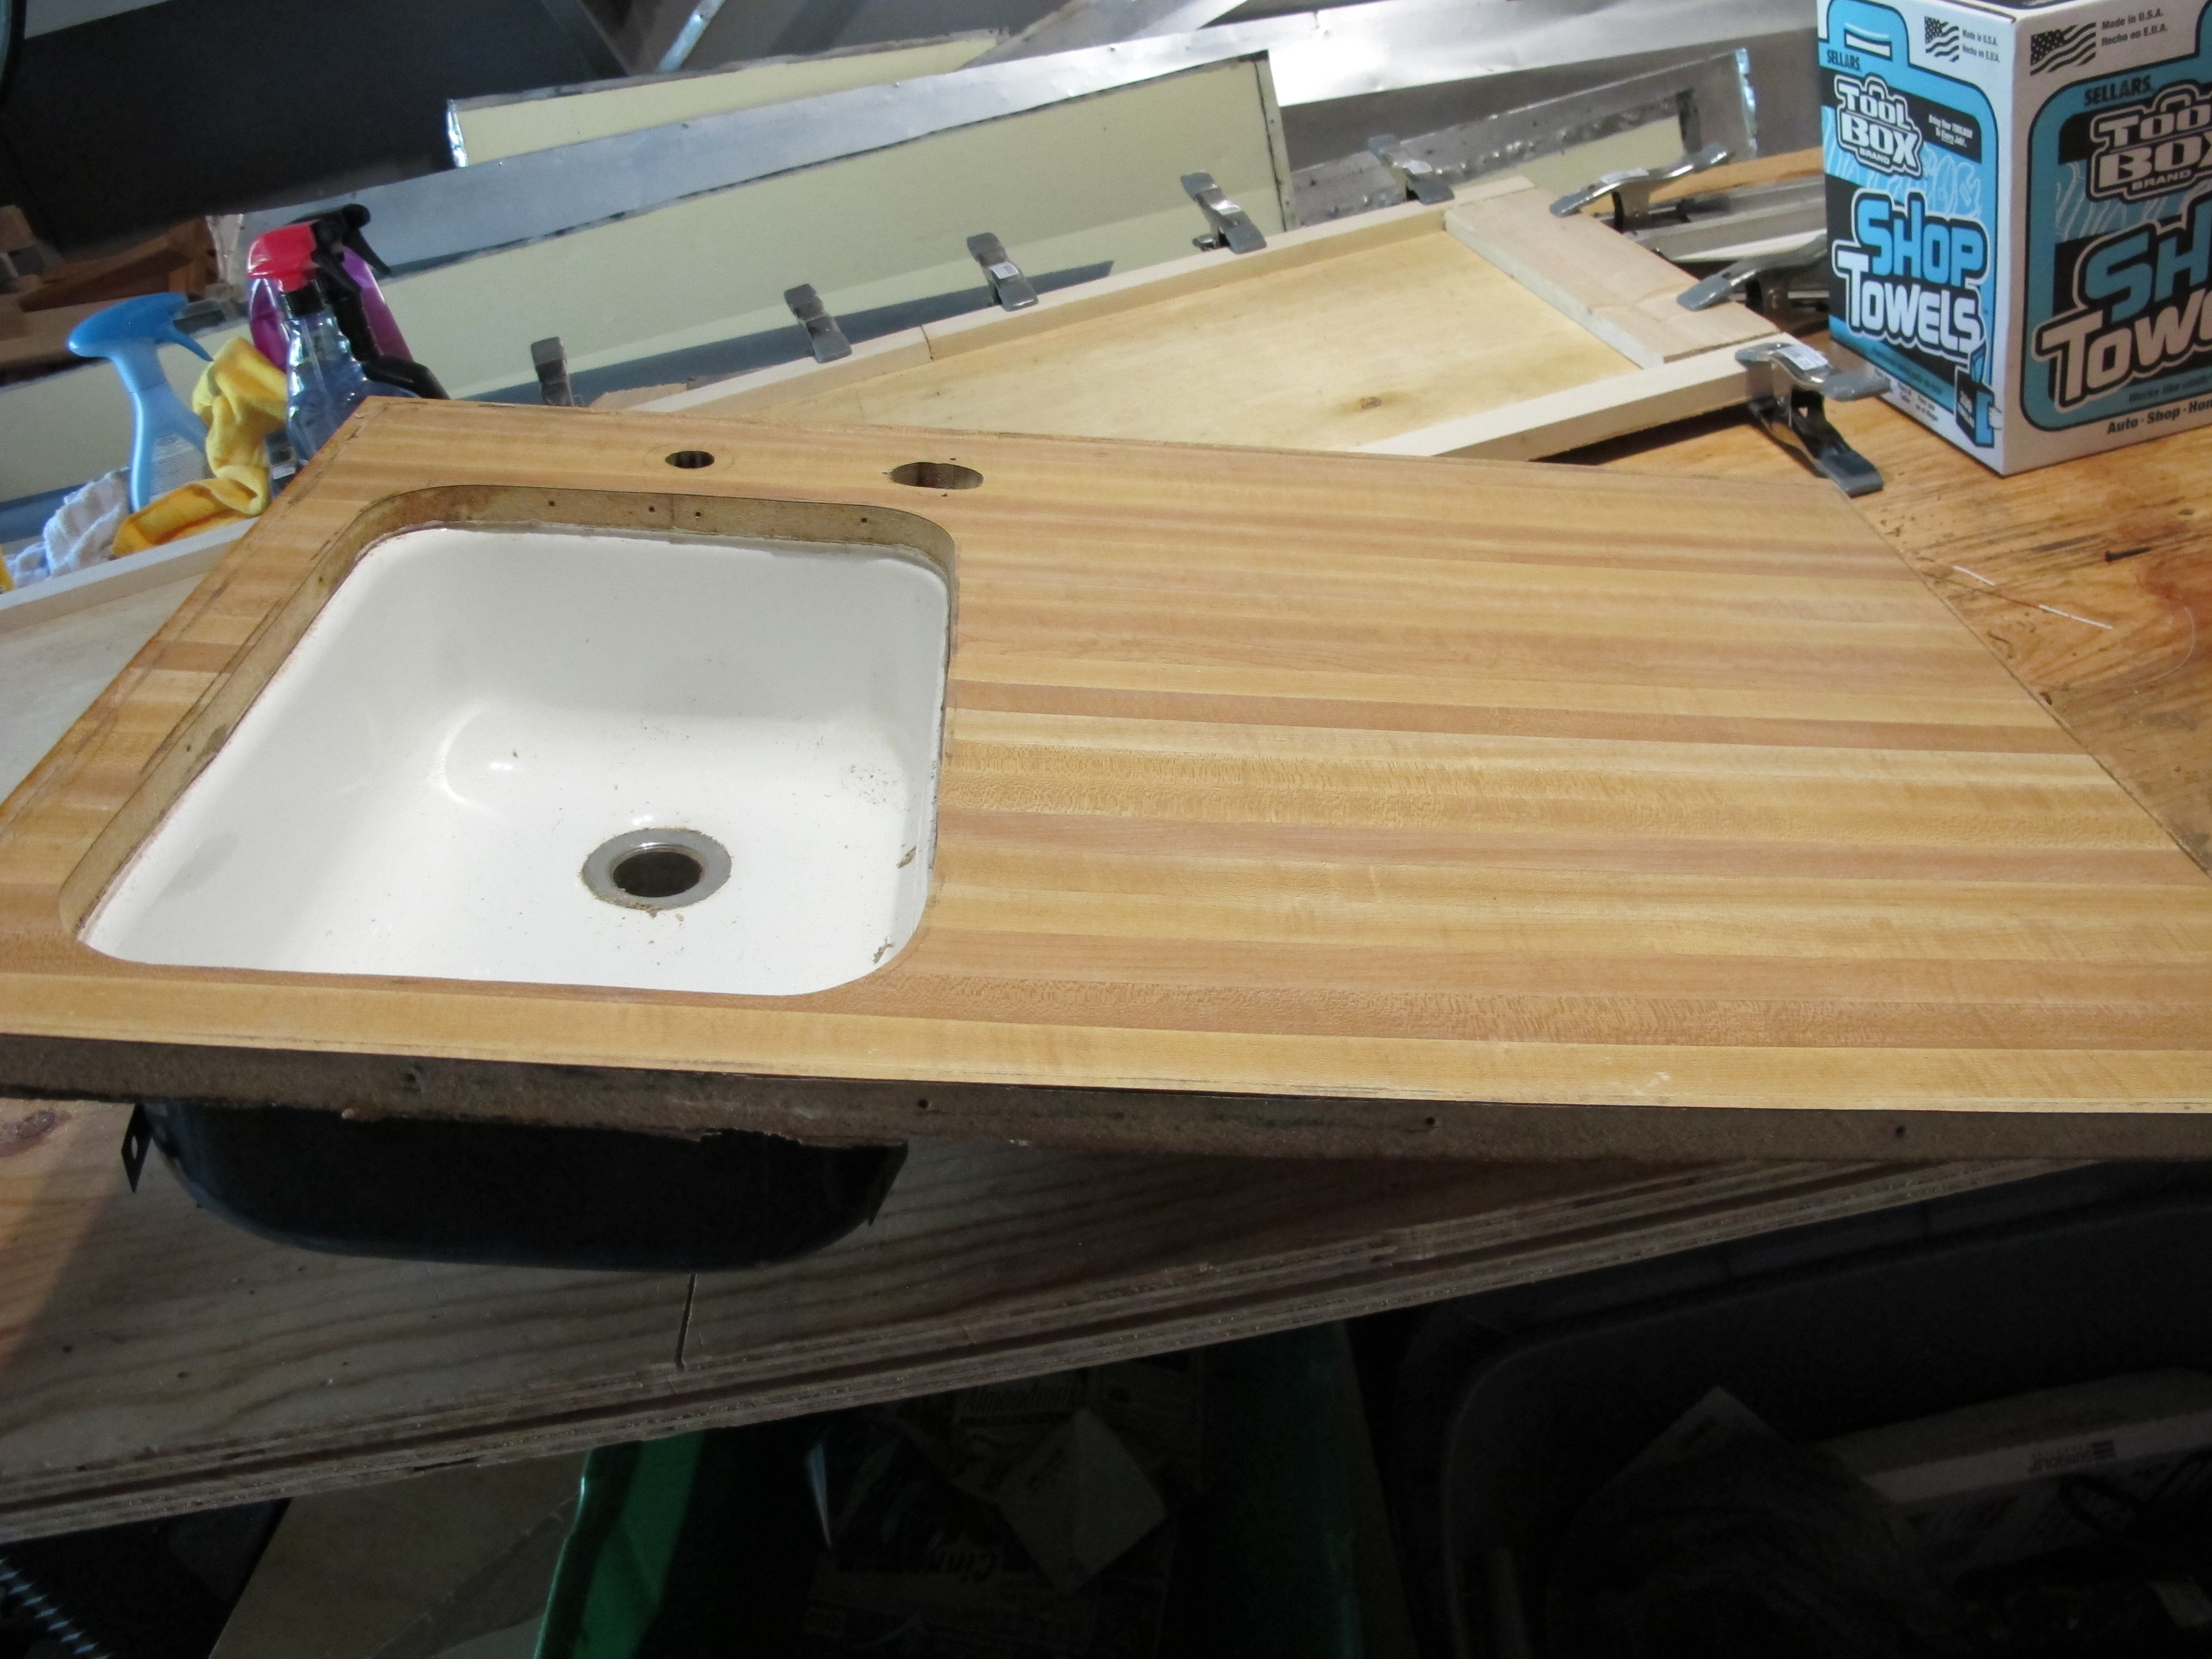
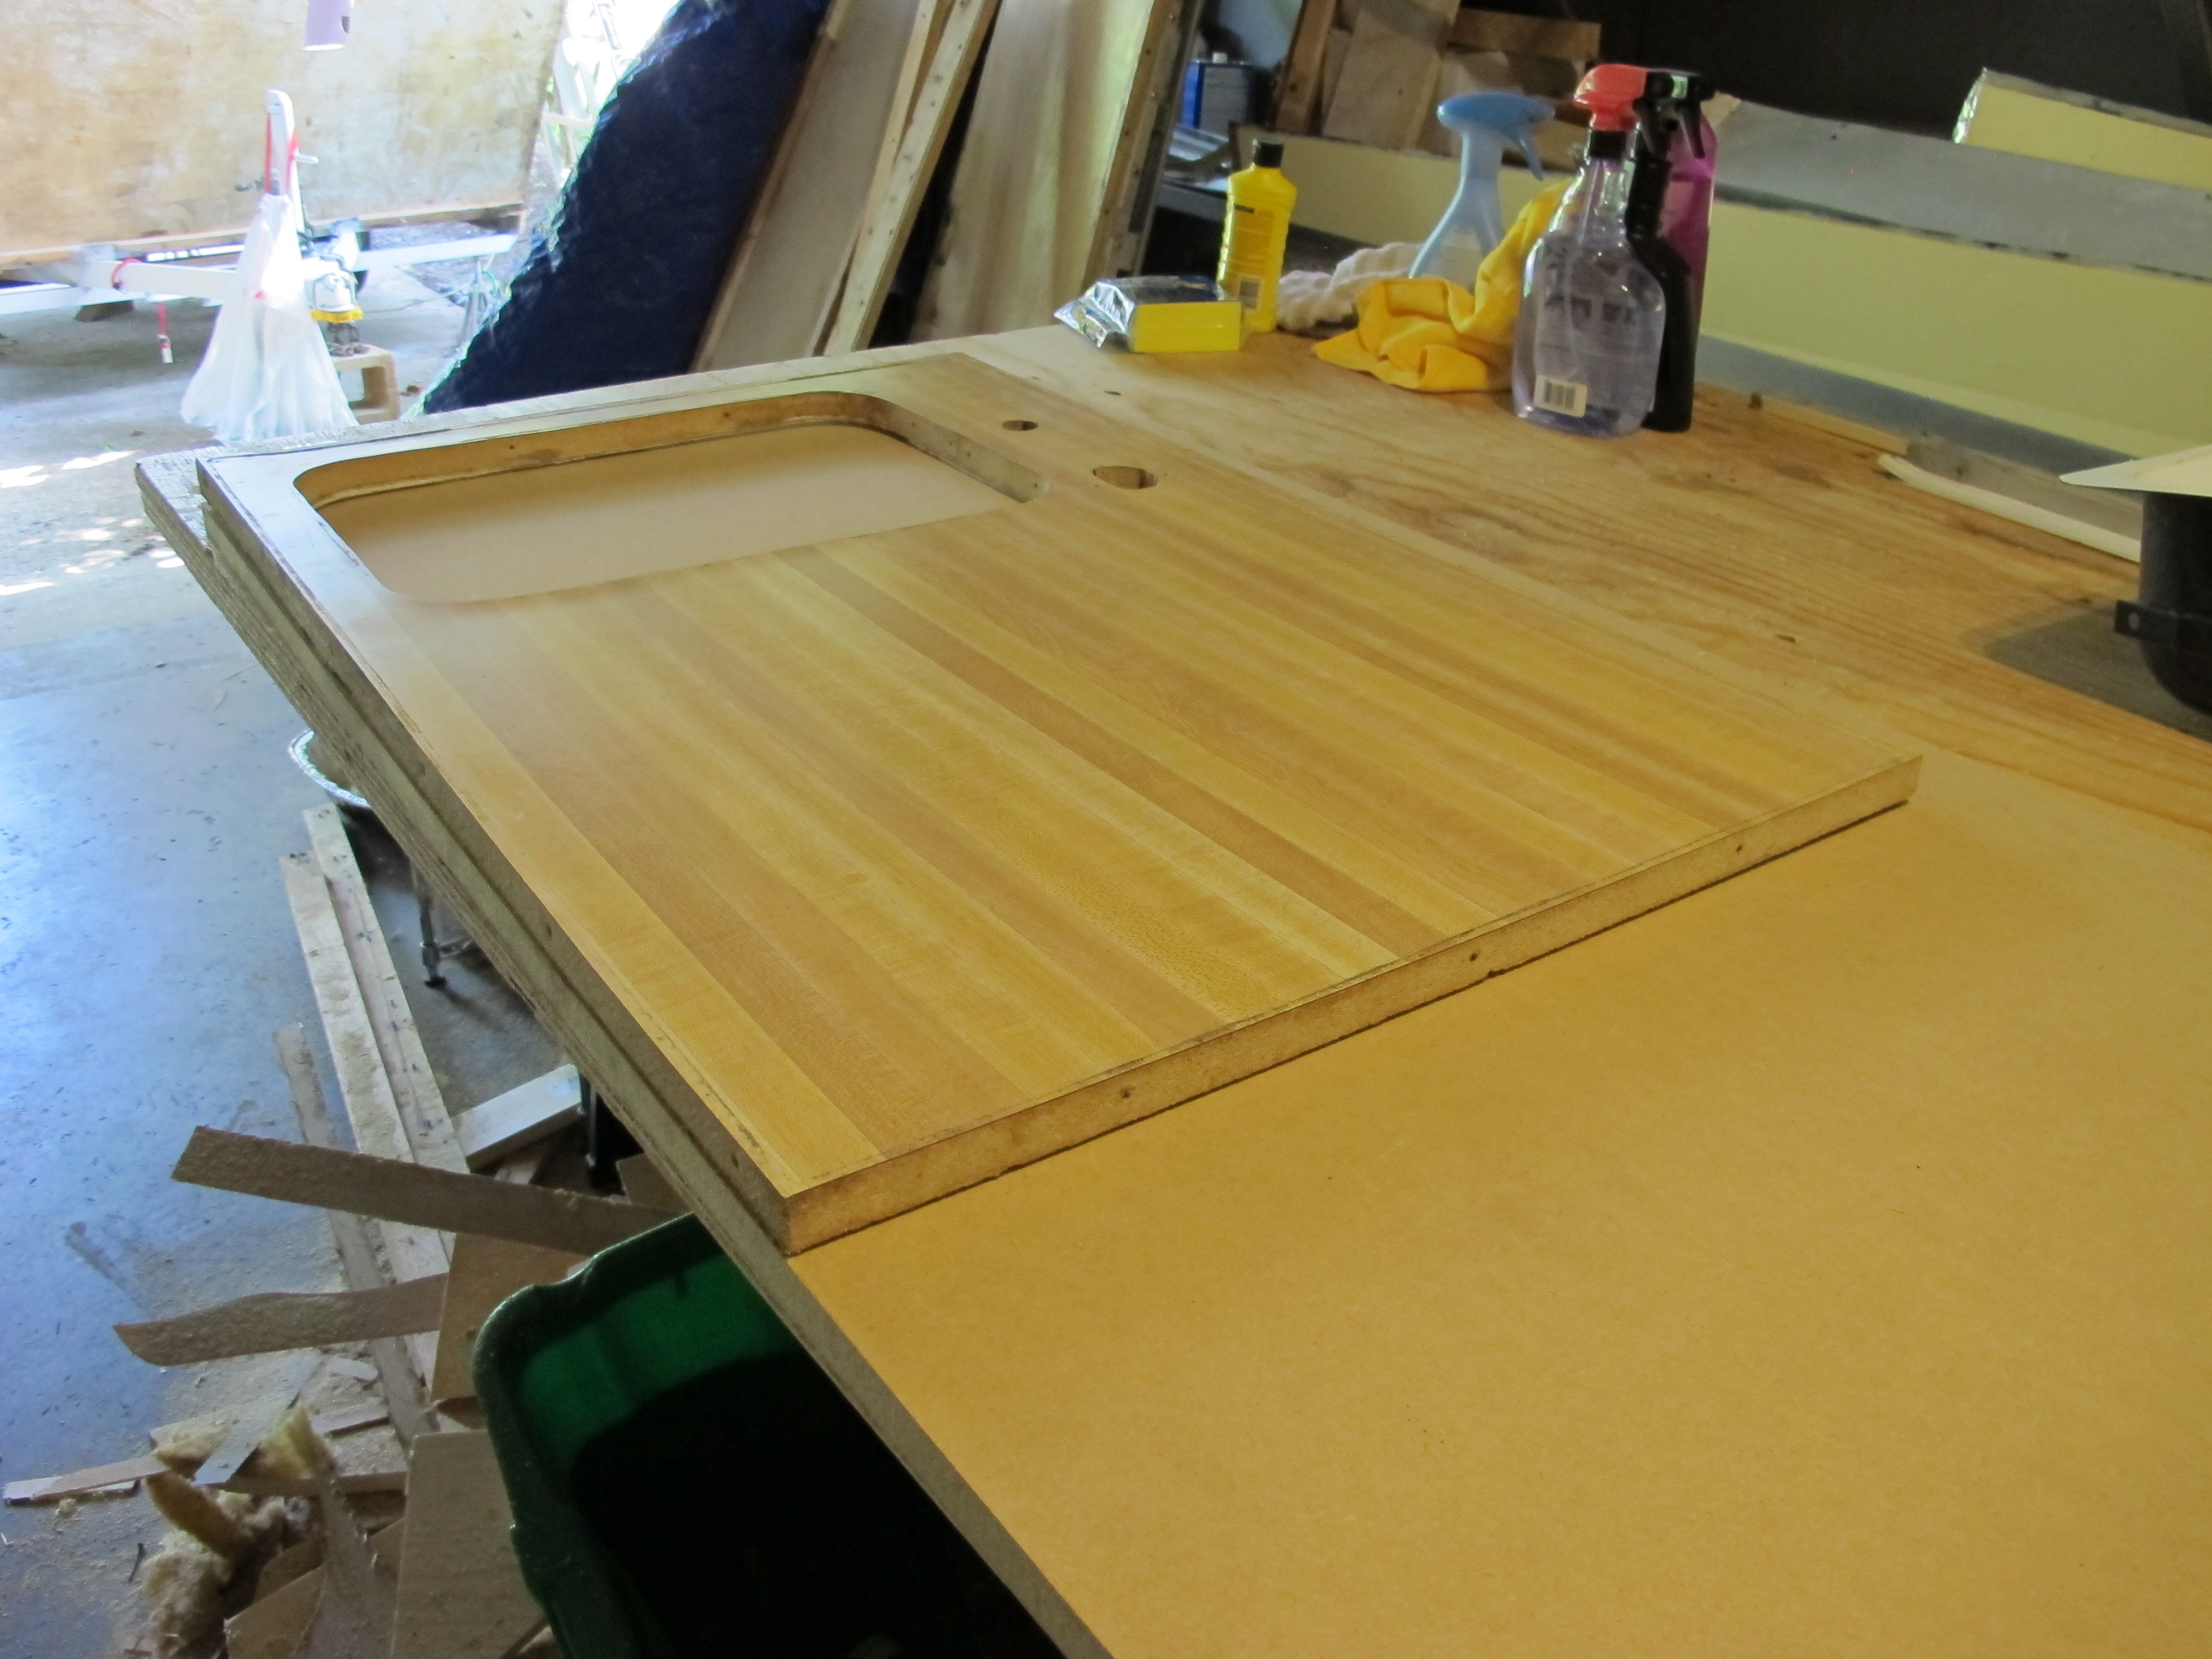
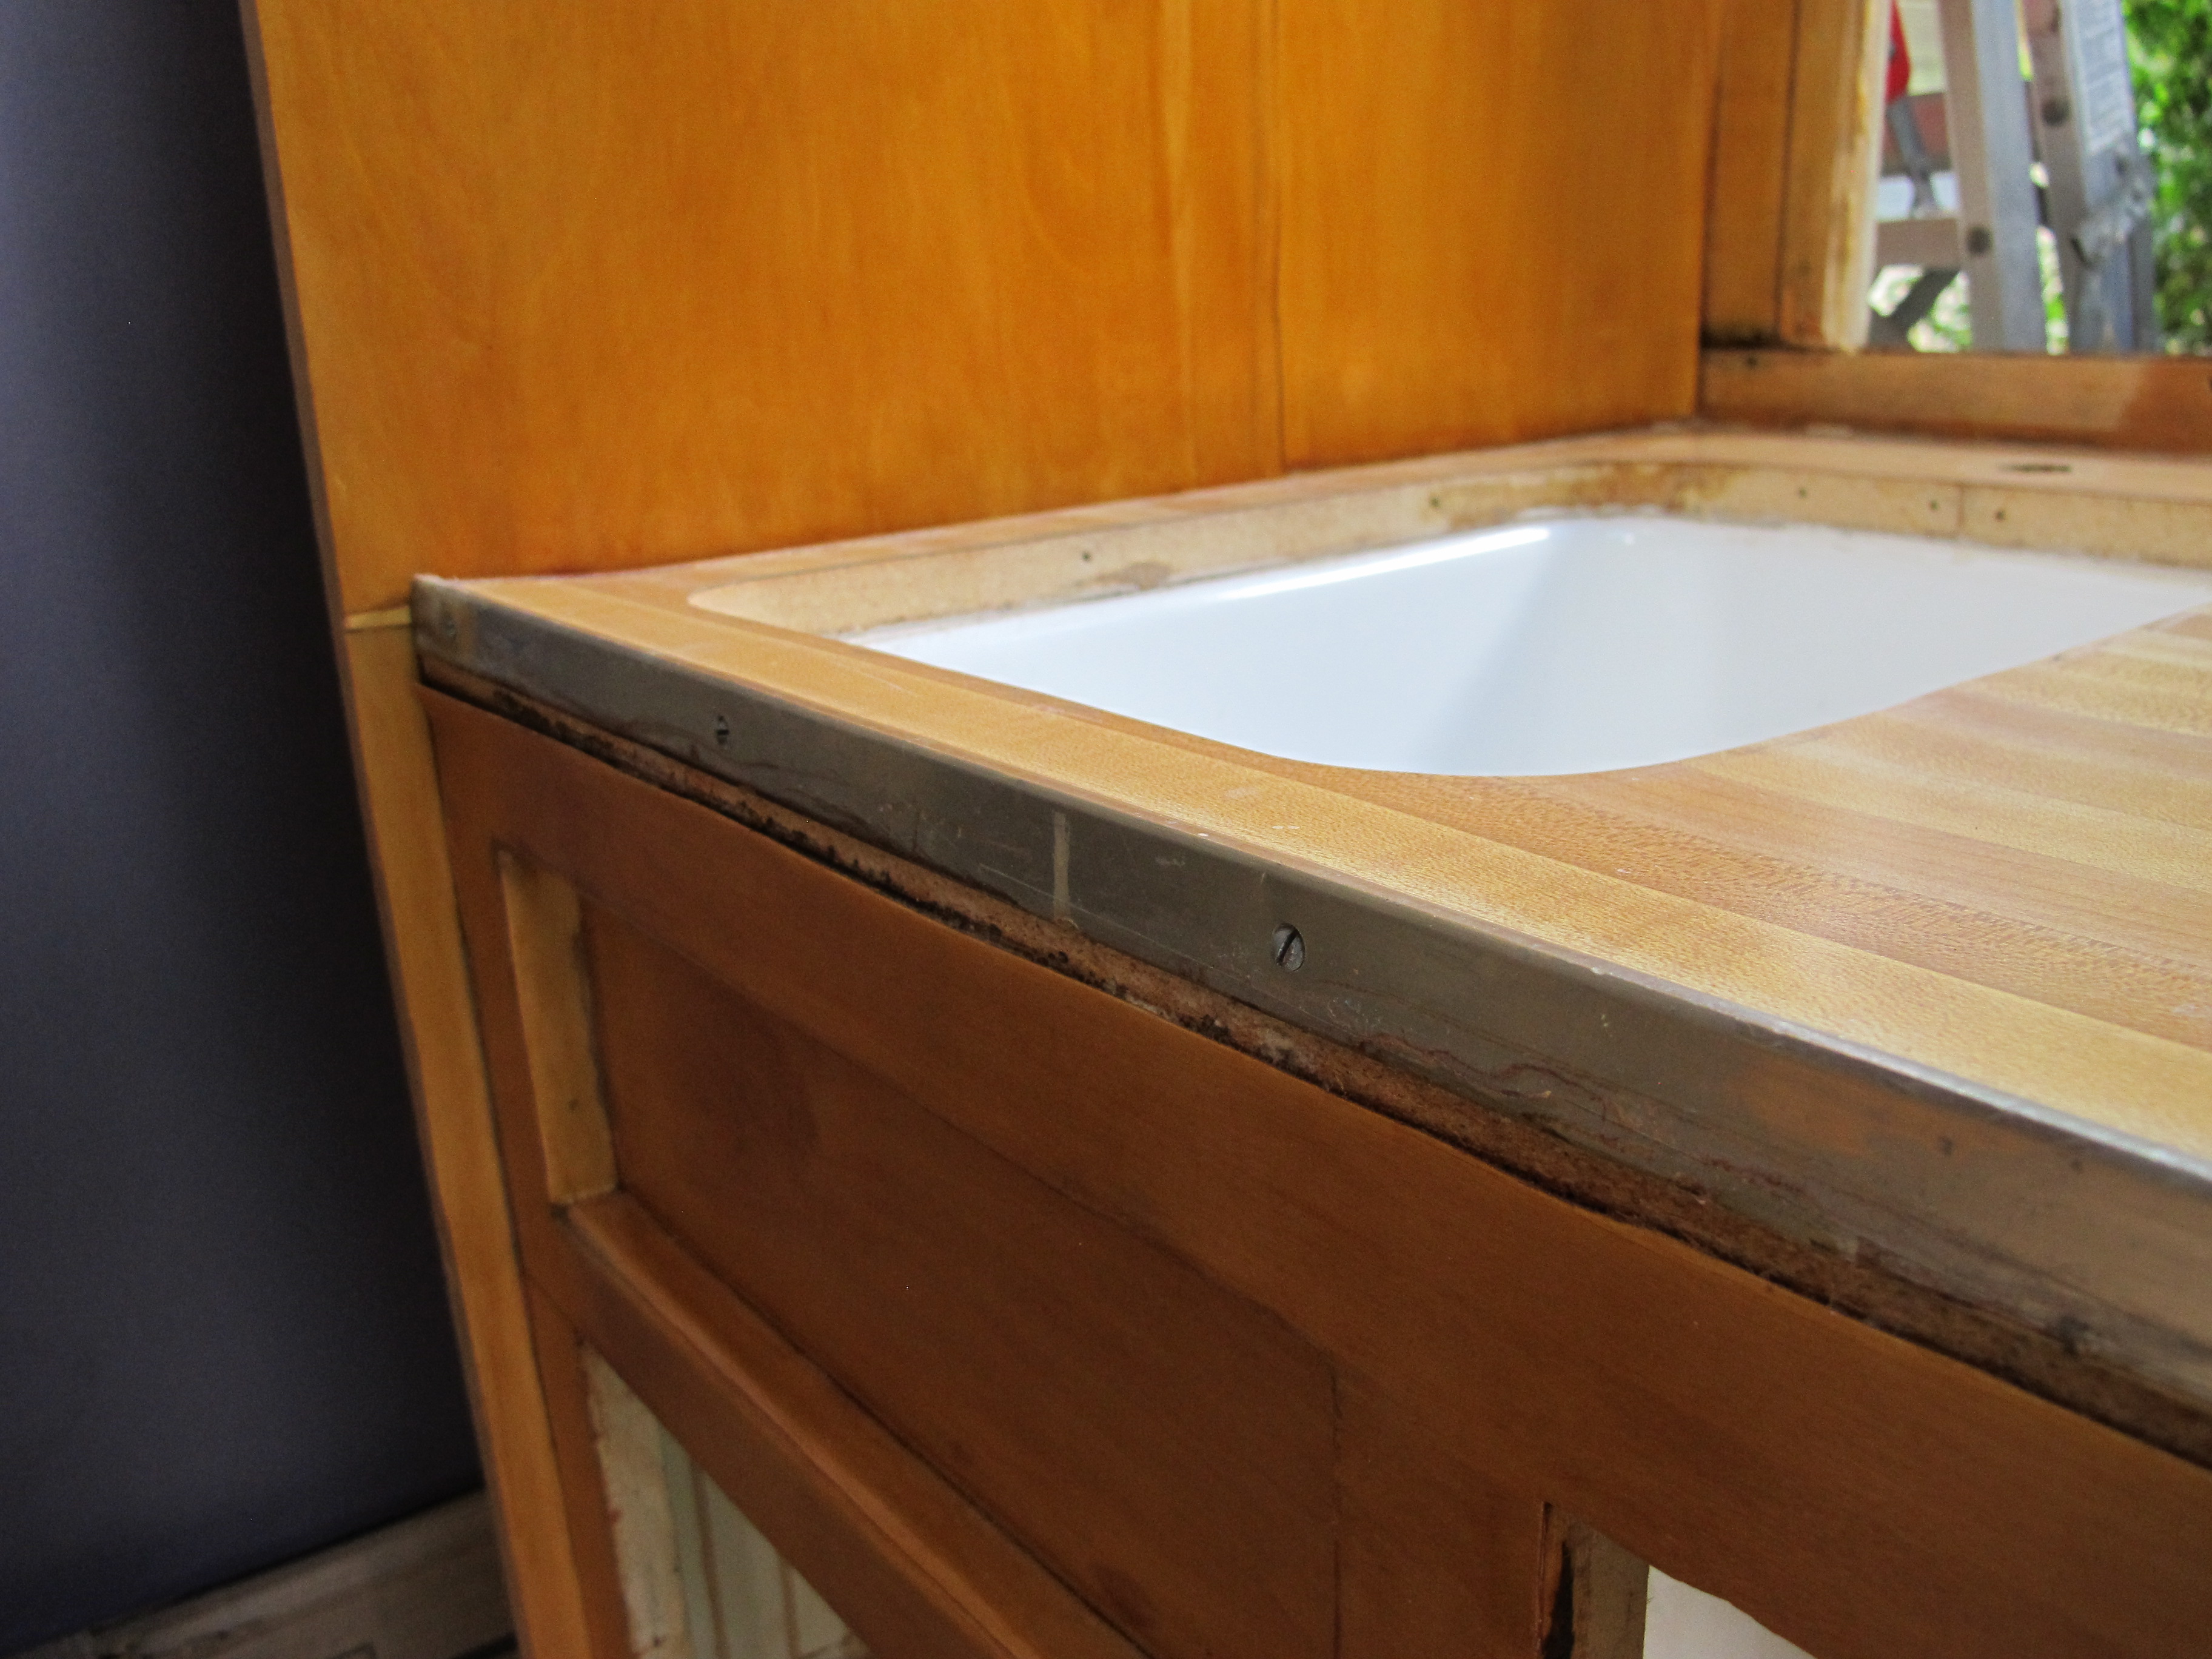
In this pic, you can see the additional pieces of countertop I added today now that the laminate has been applied.
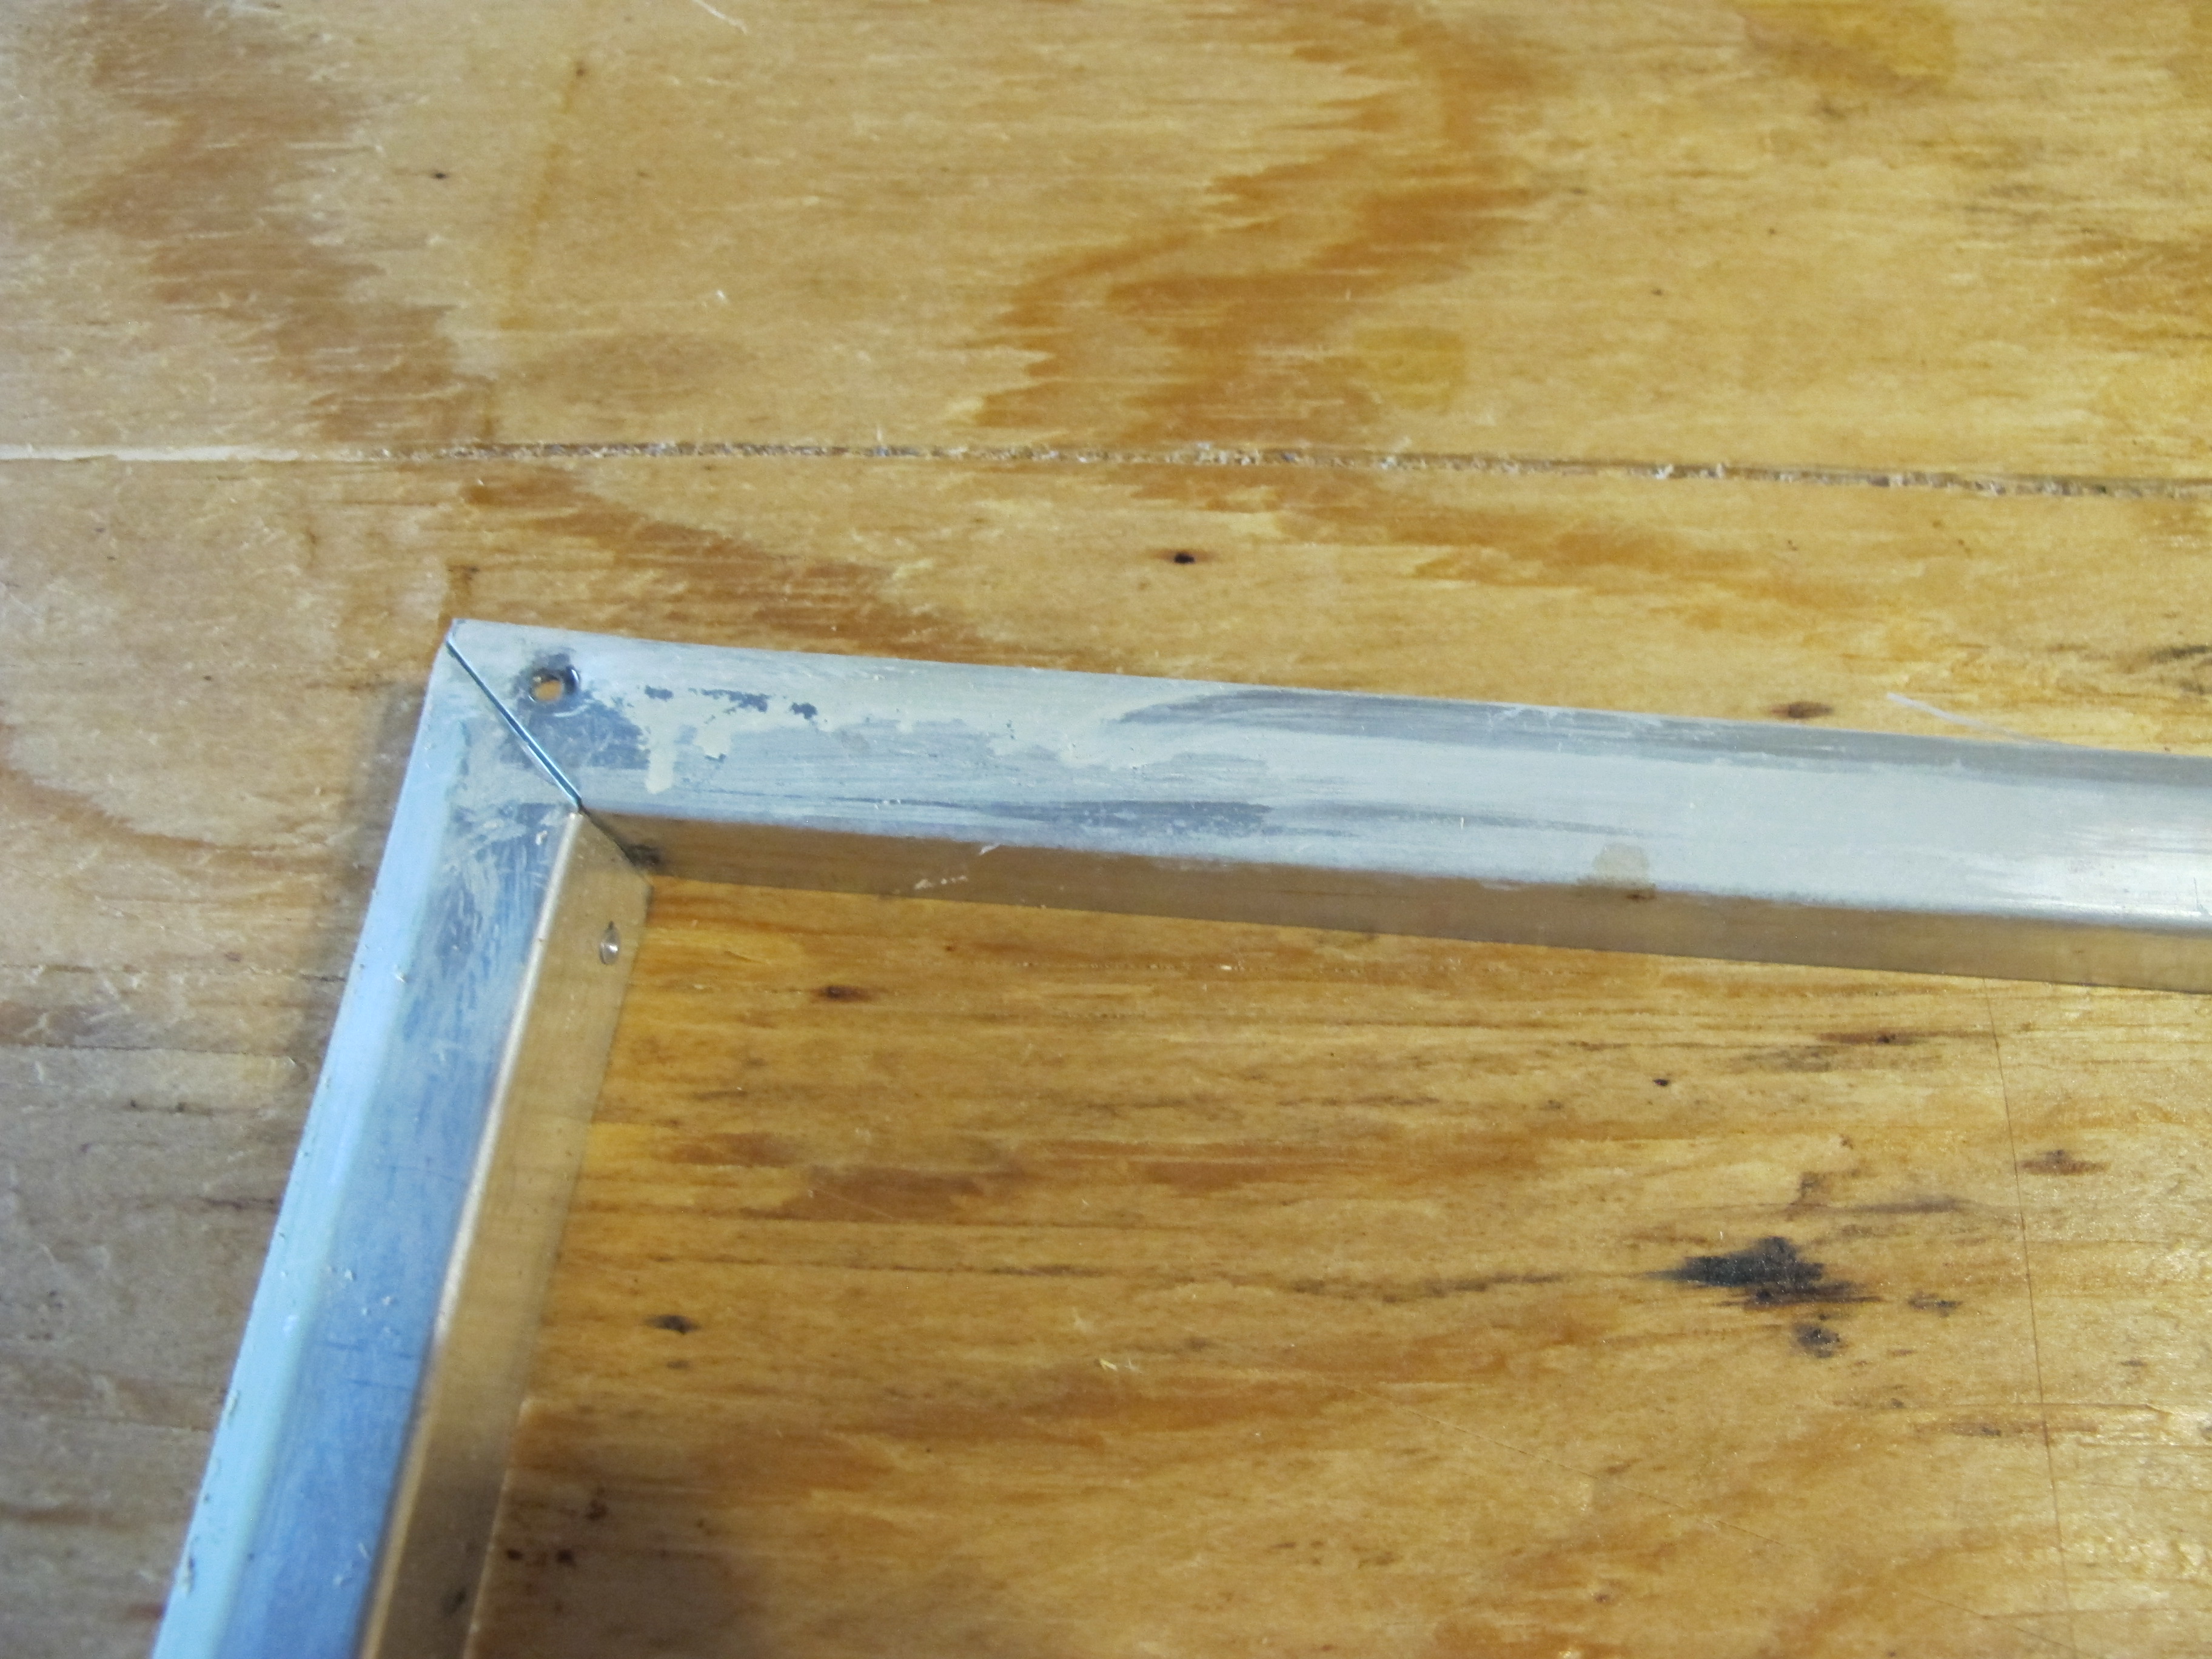
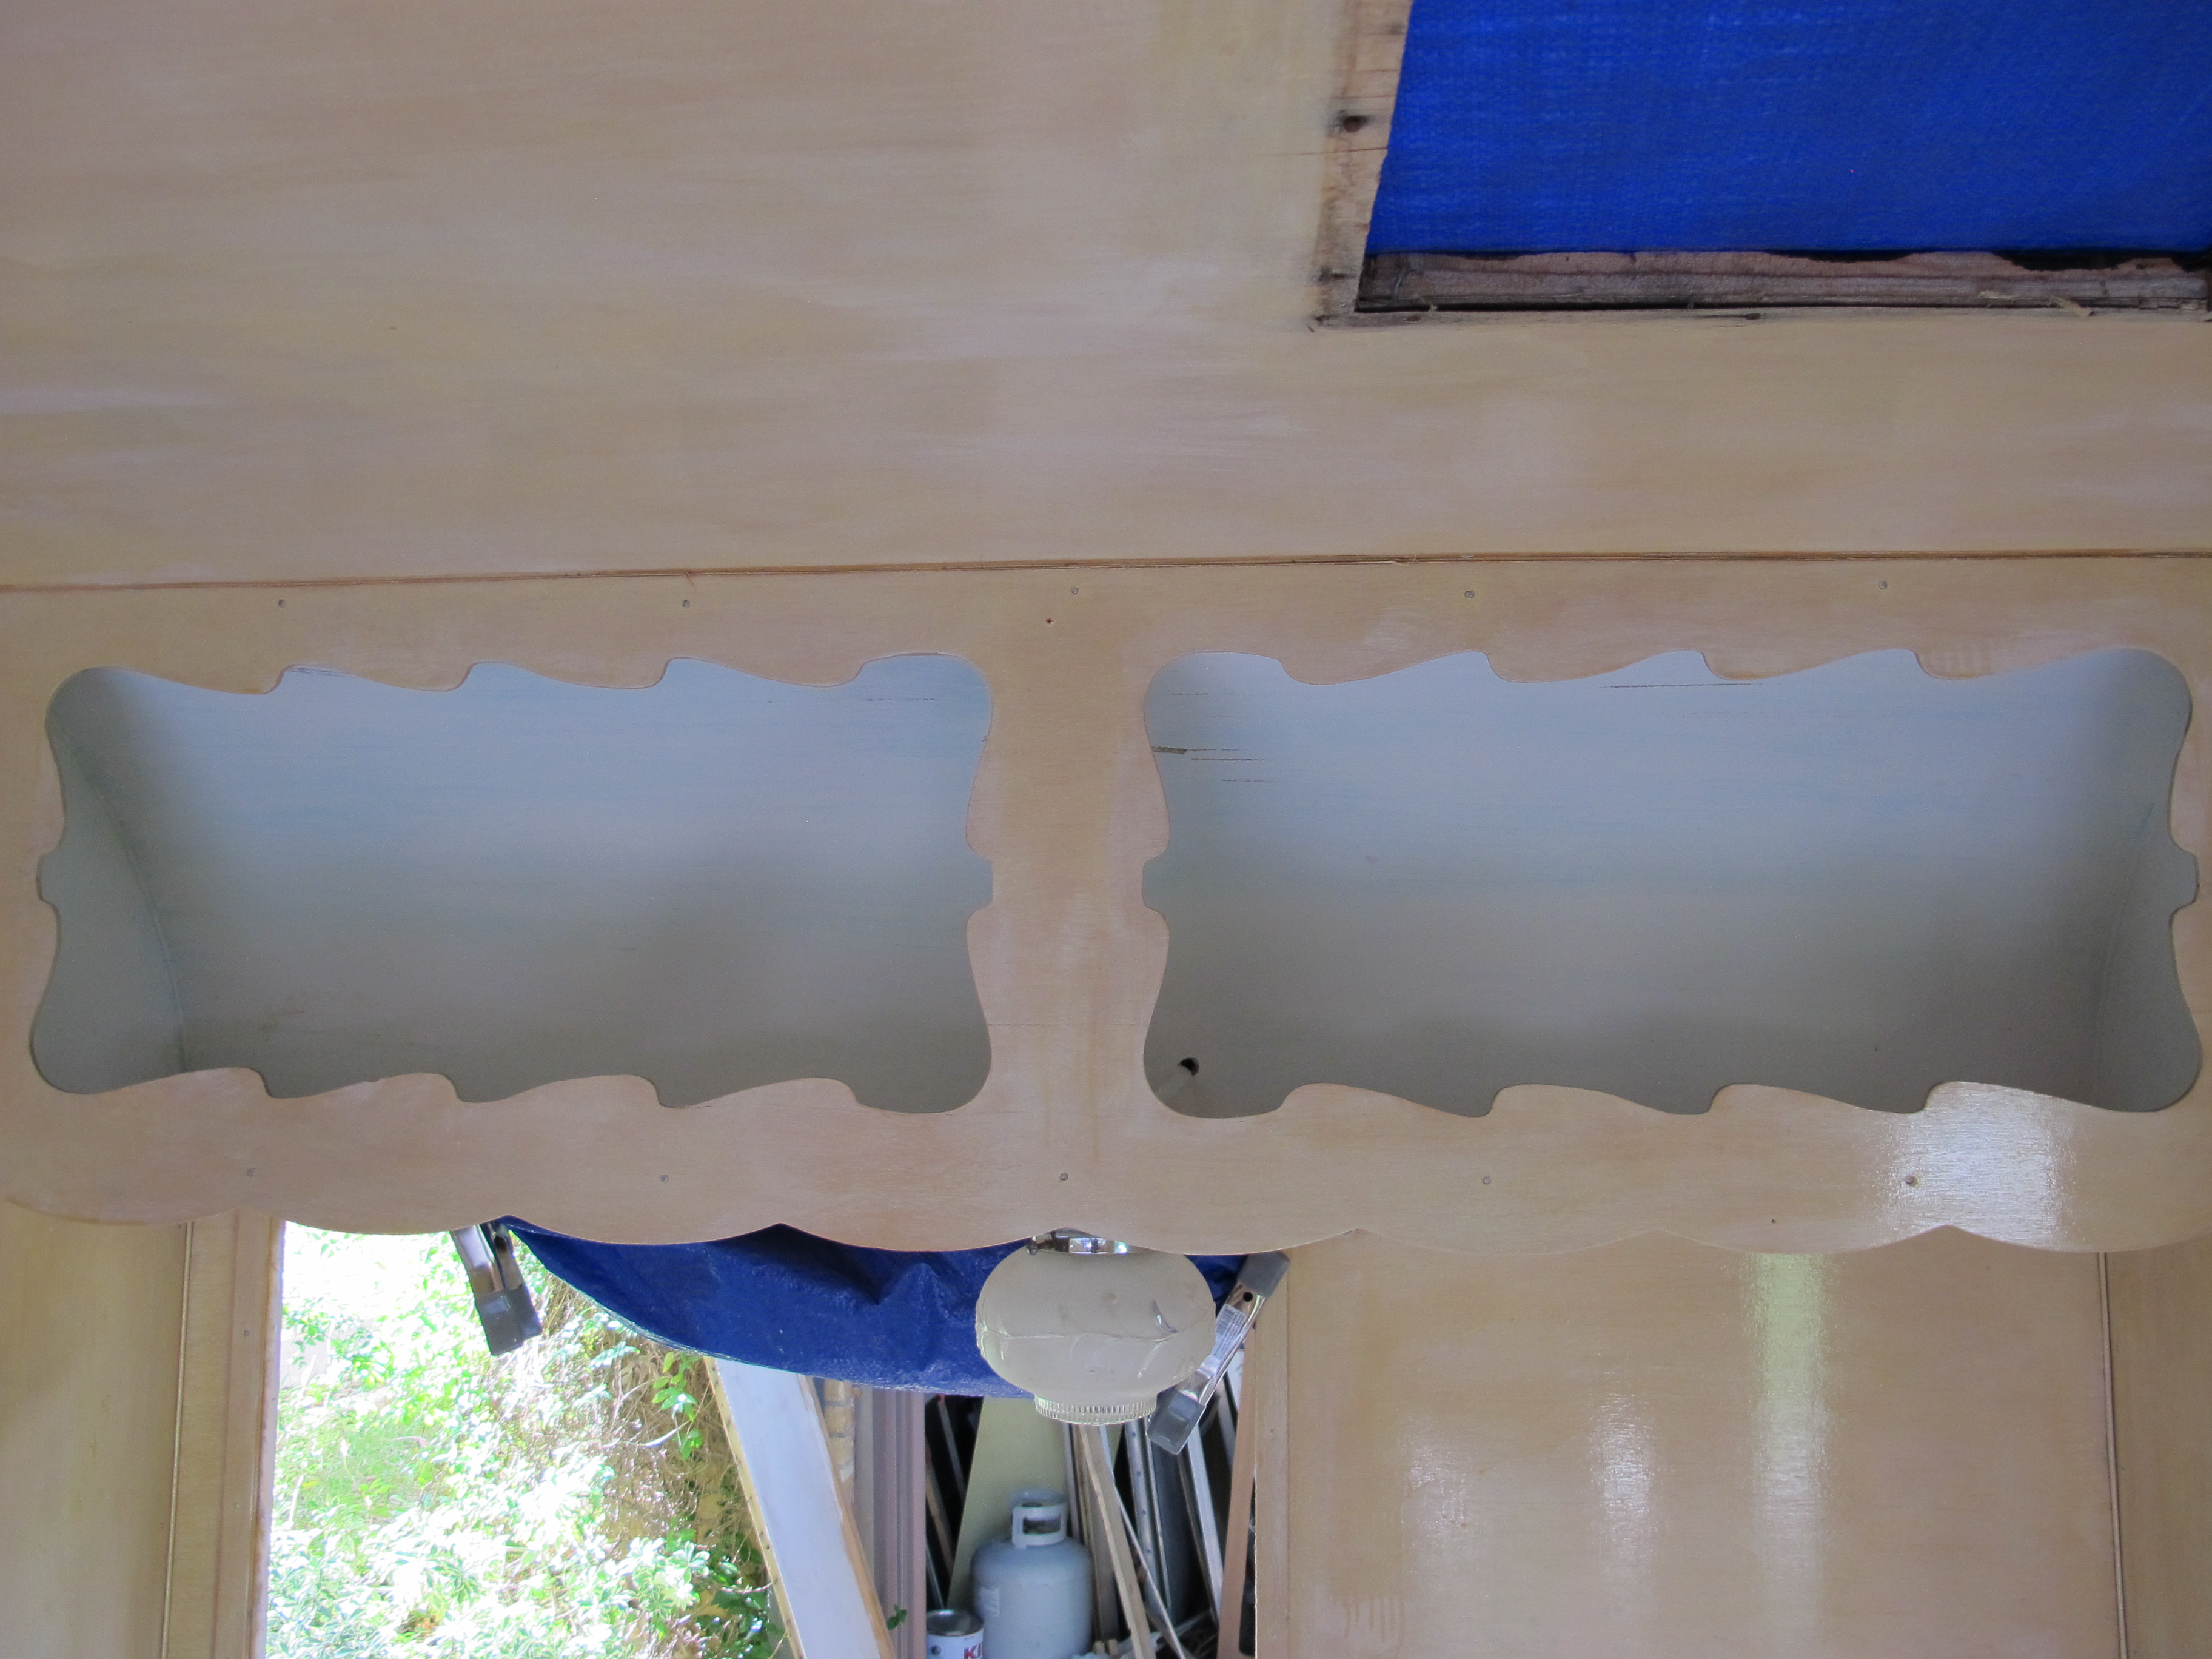
I also attached the stainless steel backsplash with contact cement. All it needs now is some trim and it will be ready to go! In the picture below, you can also see how the new sliding doors look in the cabinet. 
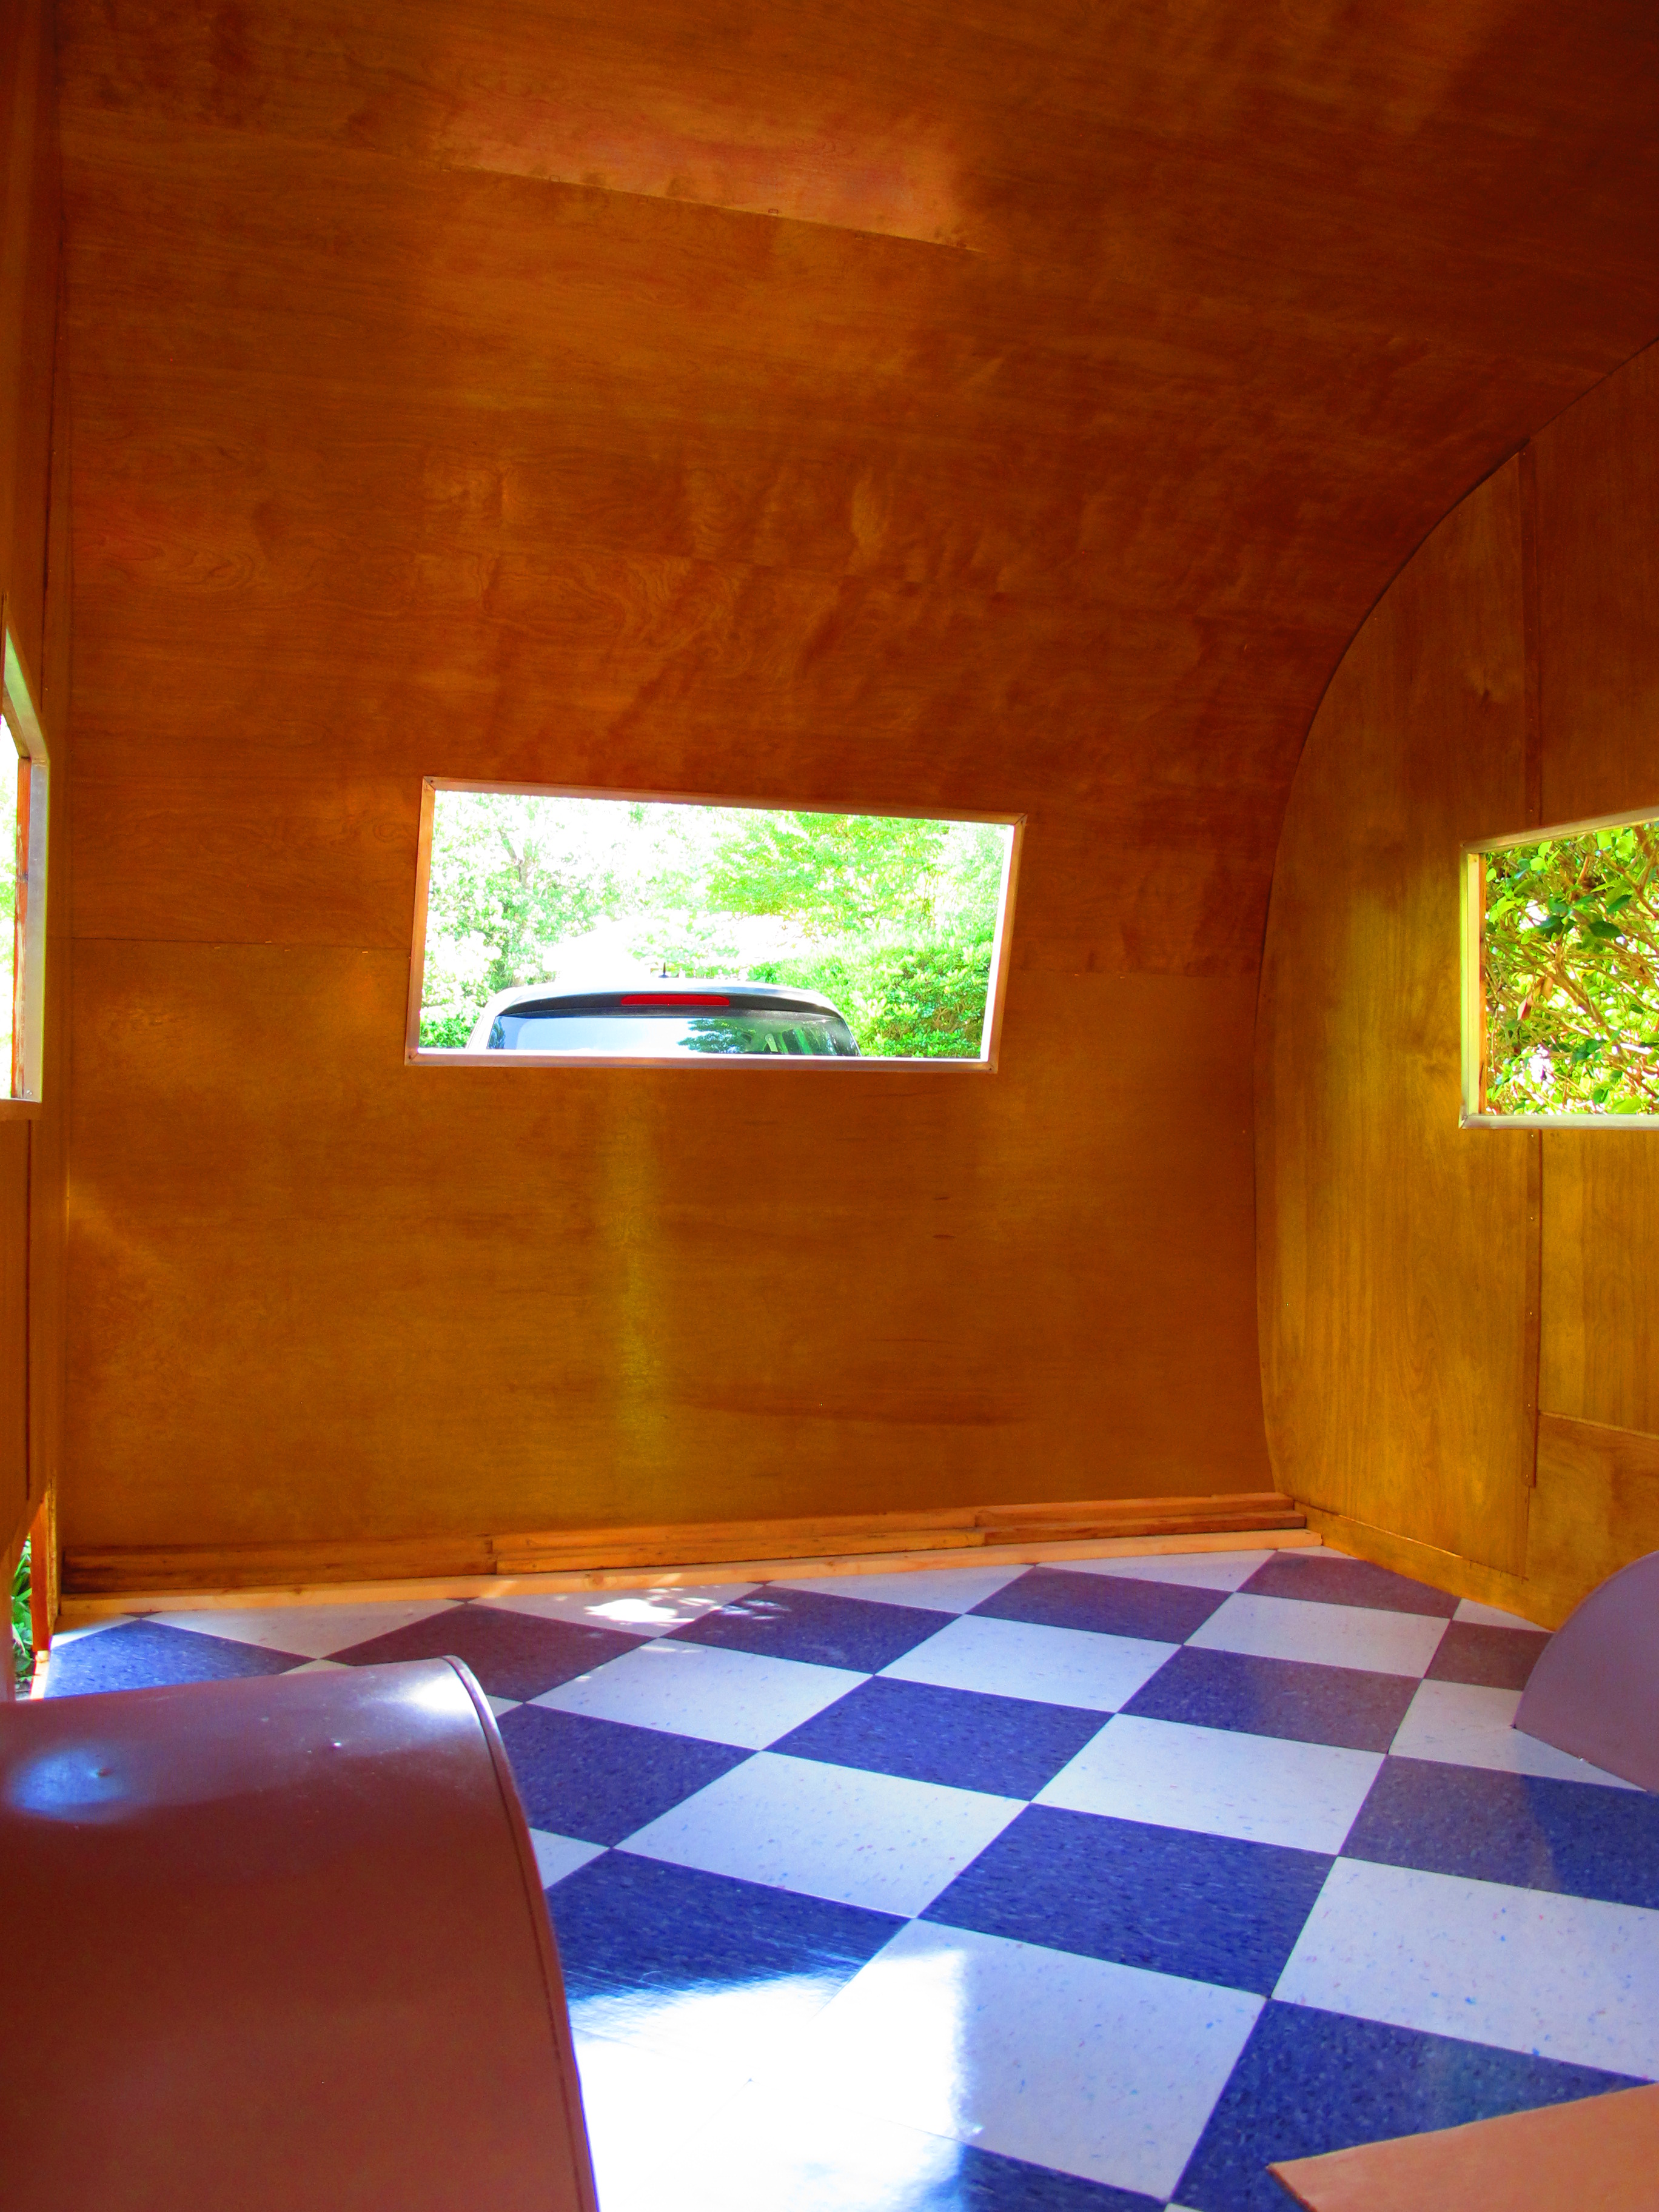
And here’s how the drawer will look under the bed. Obviously I still need to add the benches, etc. but this gives you an idea.

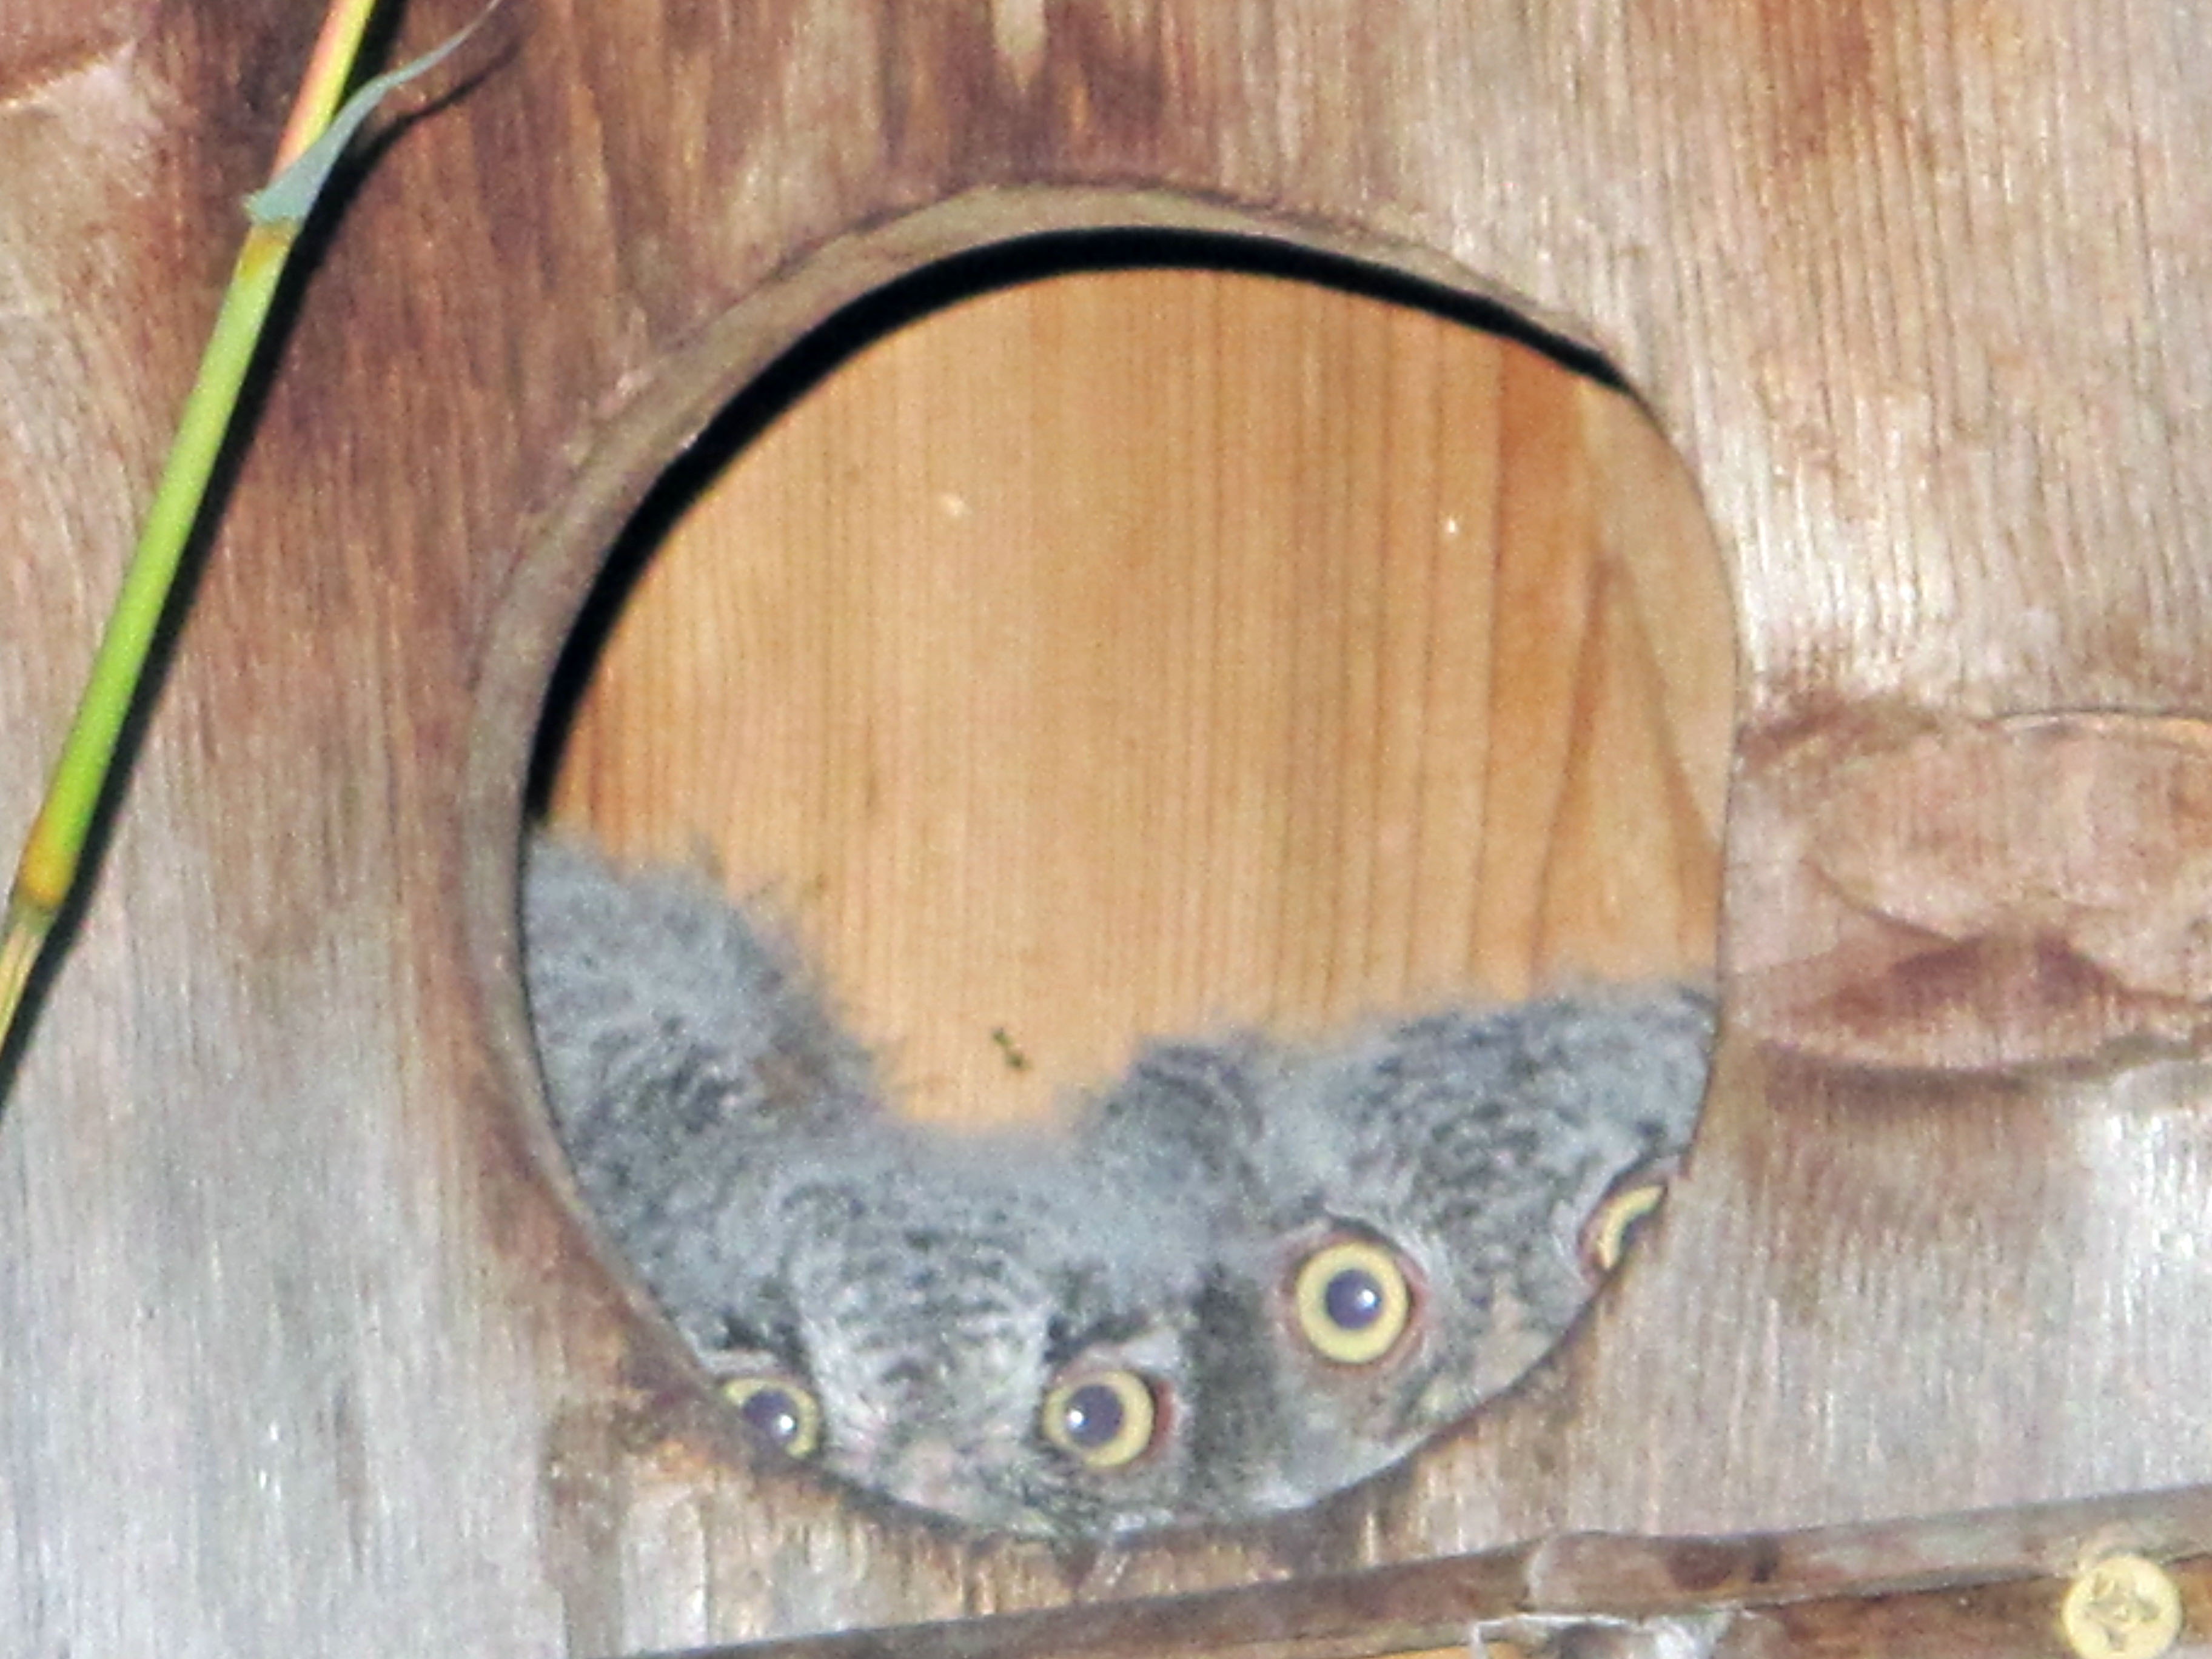
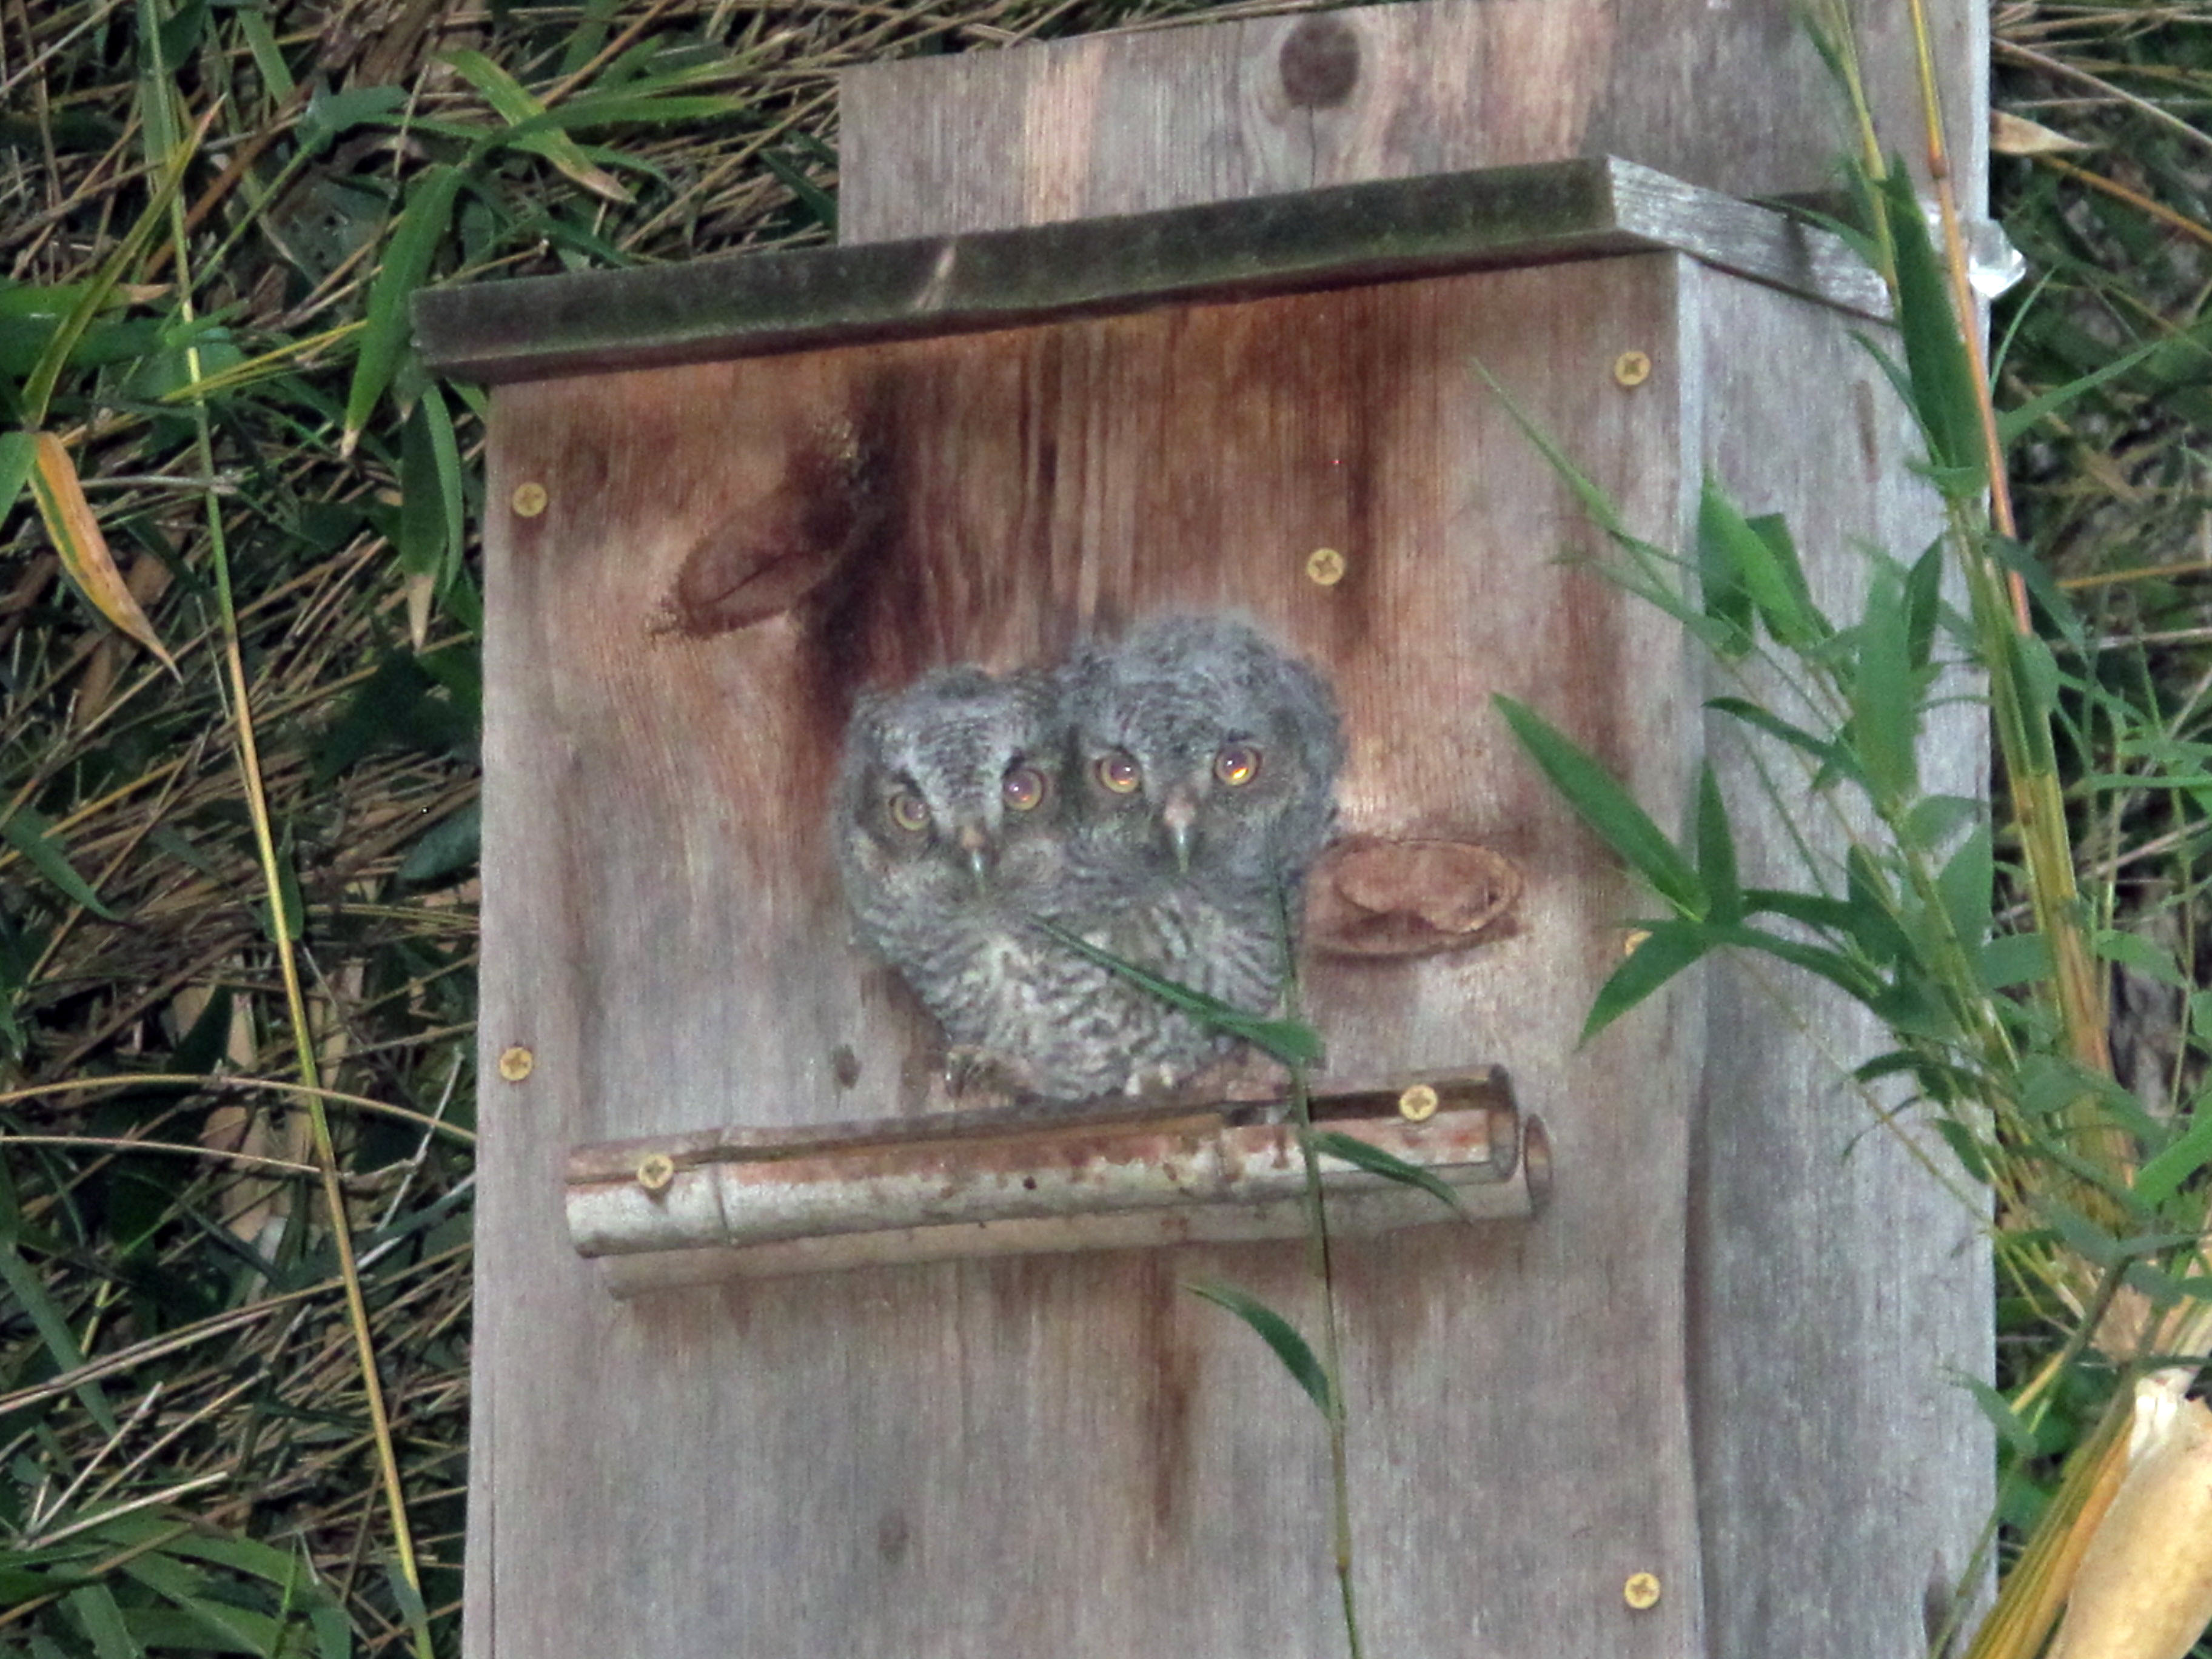
Tomorrow, I have an electrician coming over at 8am to look at the wiring in the camper and add an outlet for my mini fridge. Hopefully it won’t take him very long because I have an important date to take my 5 year old cousin to the zoo at 10am. I will resume my restoration activities in the afternoon once we are done looking at the giant bugs at the zoo. ![]()
Stay tuned for day two updates tomorrow….


 Here’s the before picture.
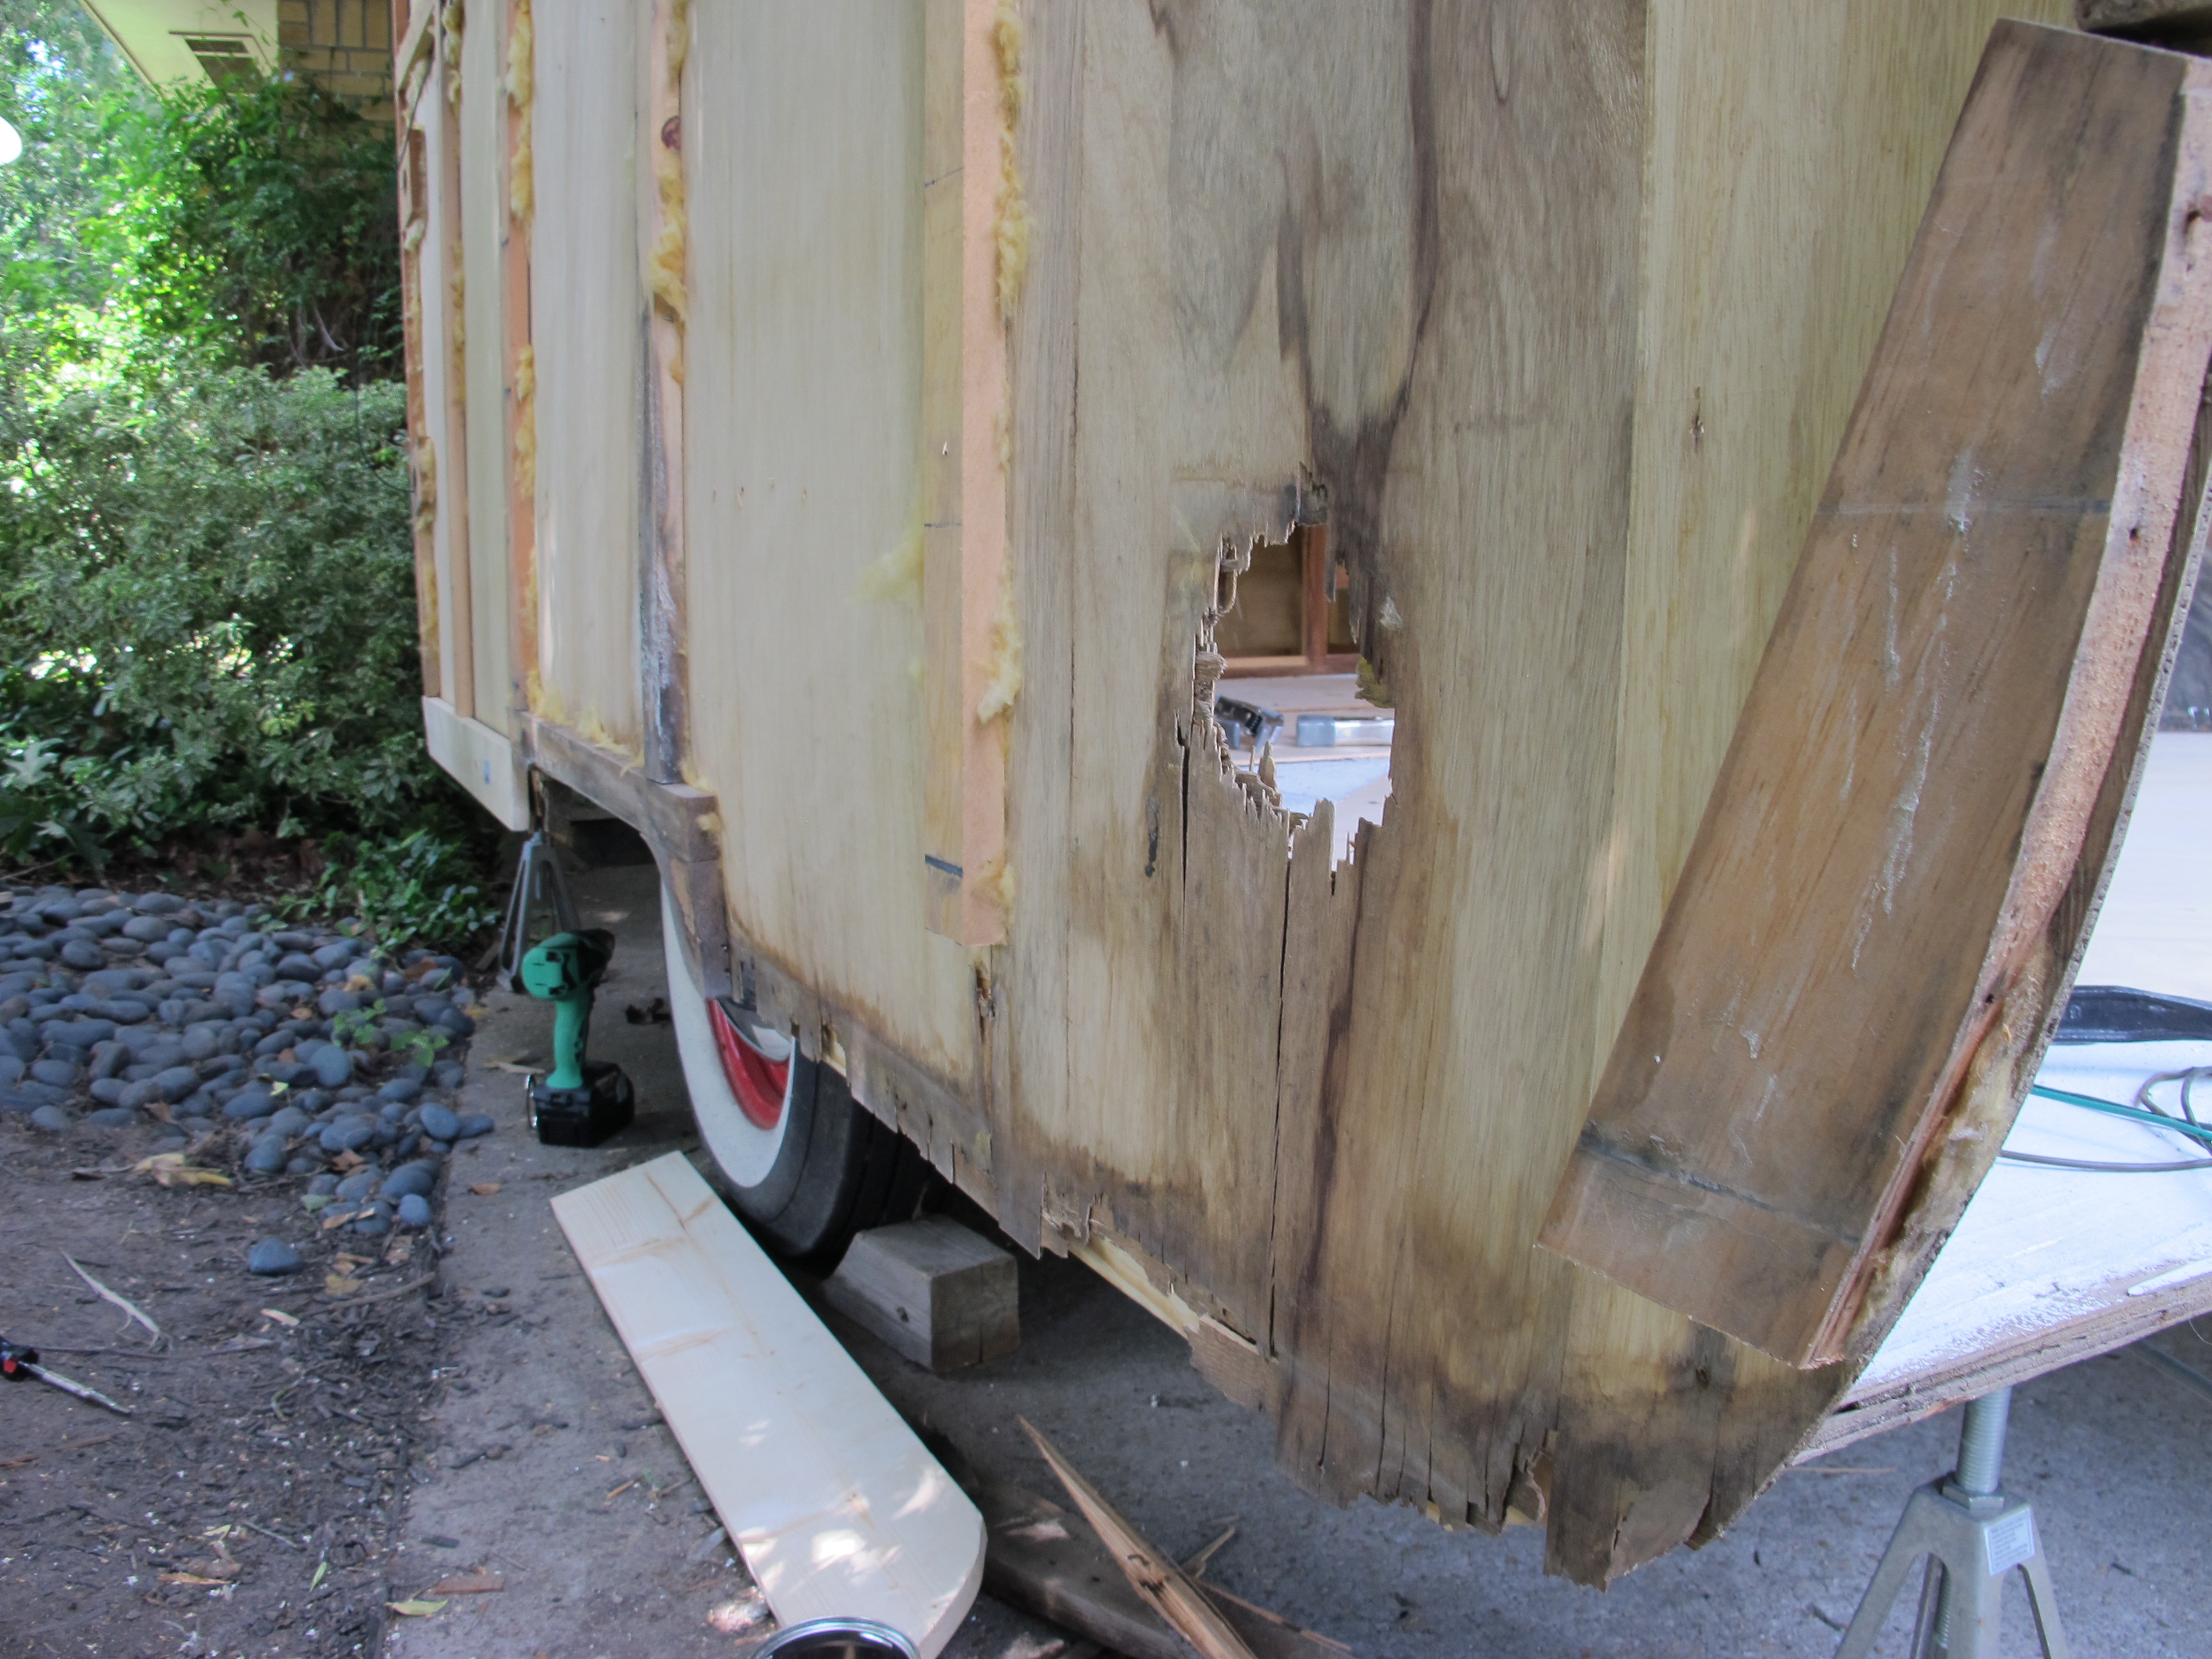


