RSS Feed

Monthly Archives: January 2014

Waiting

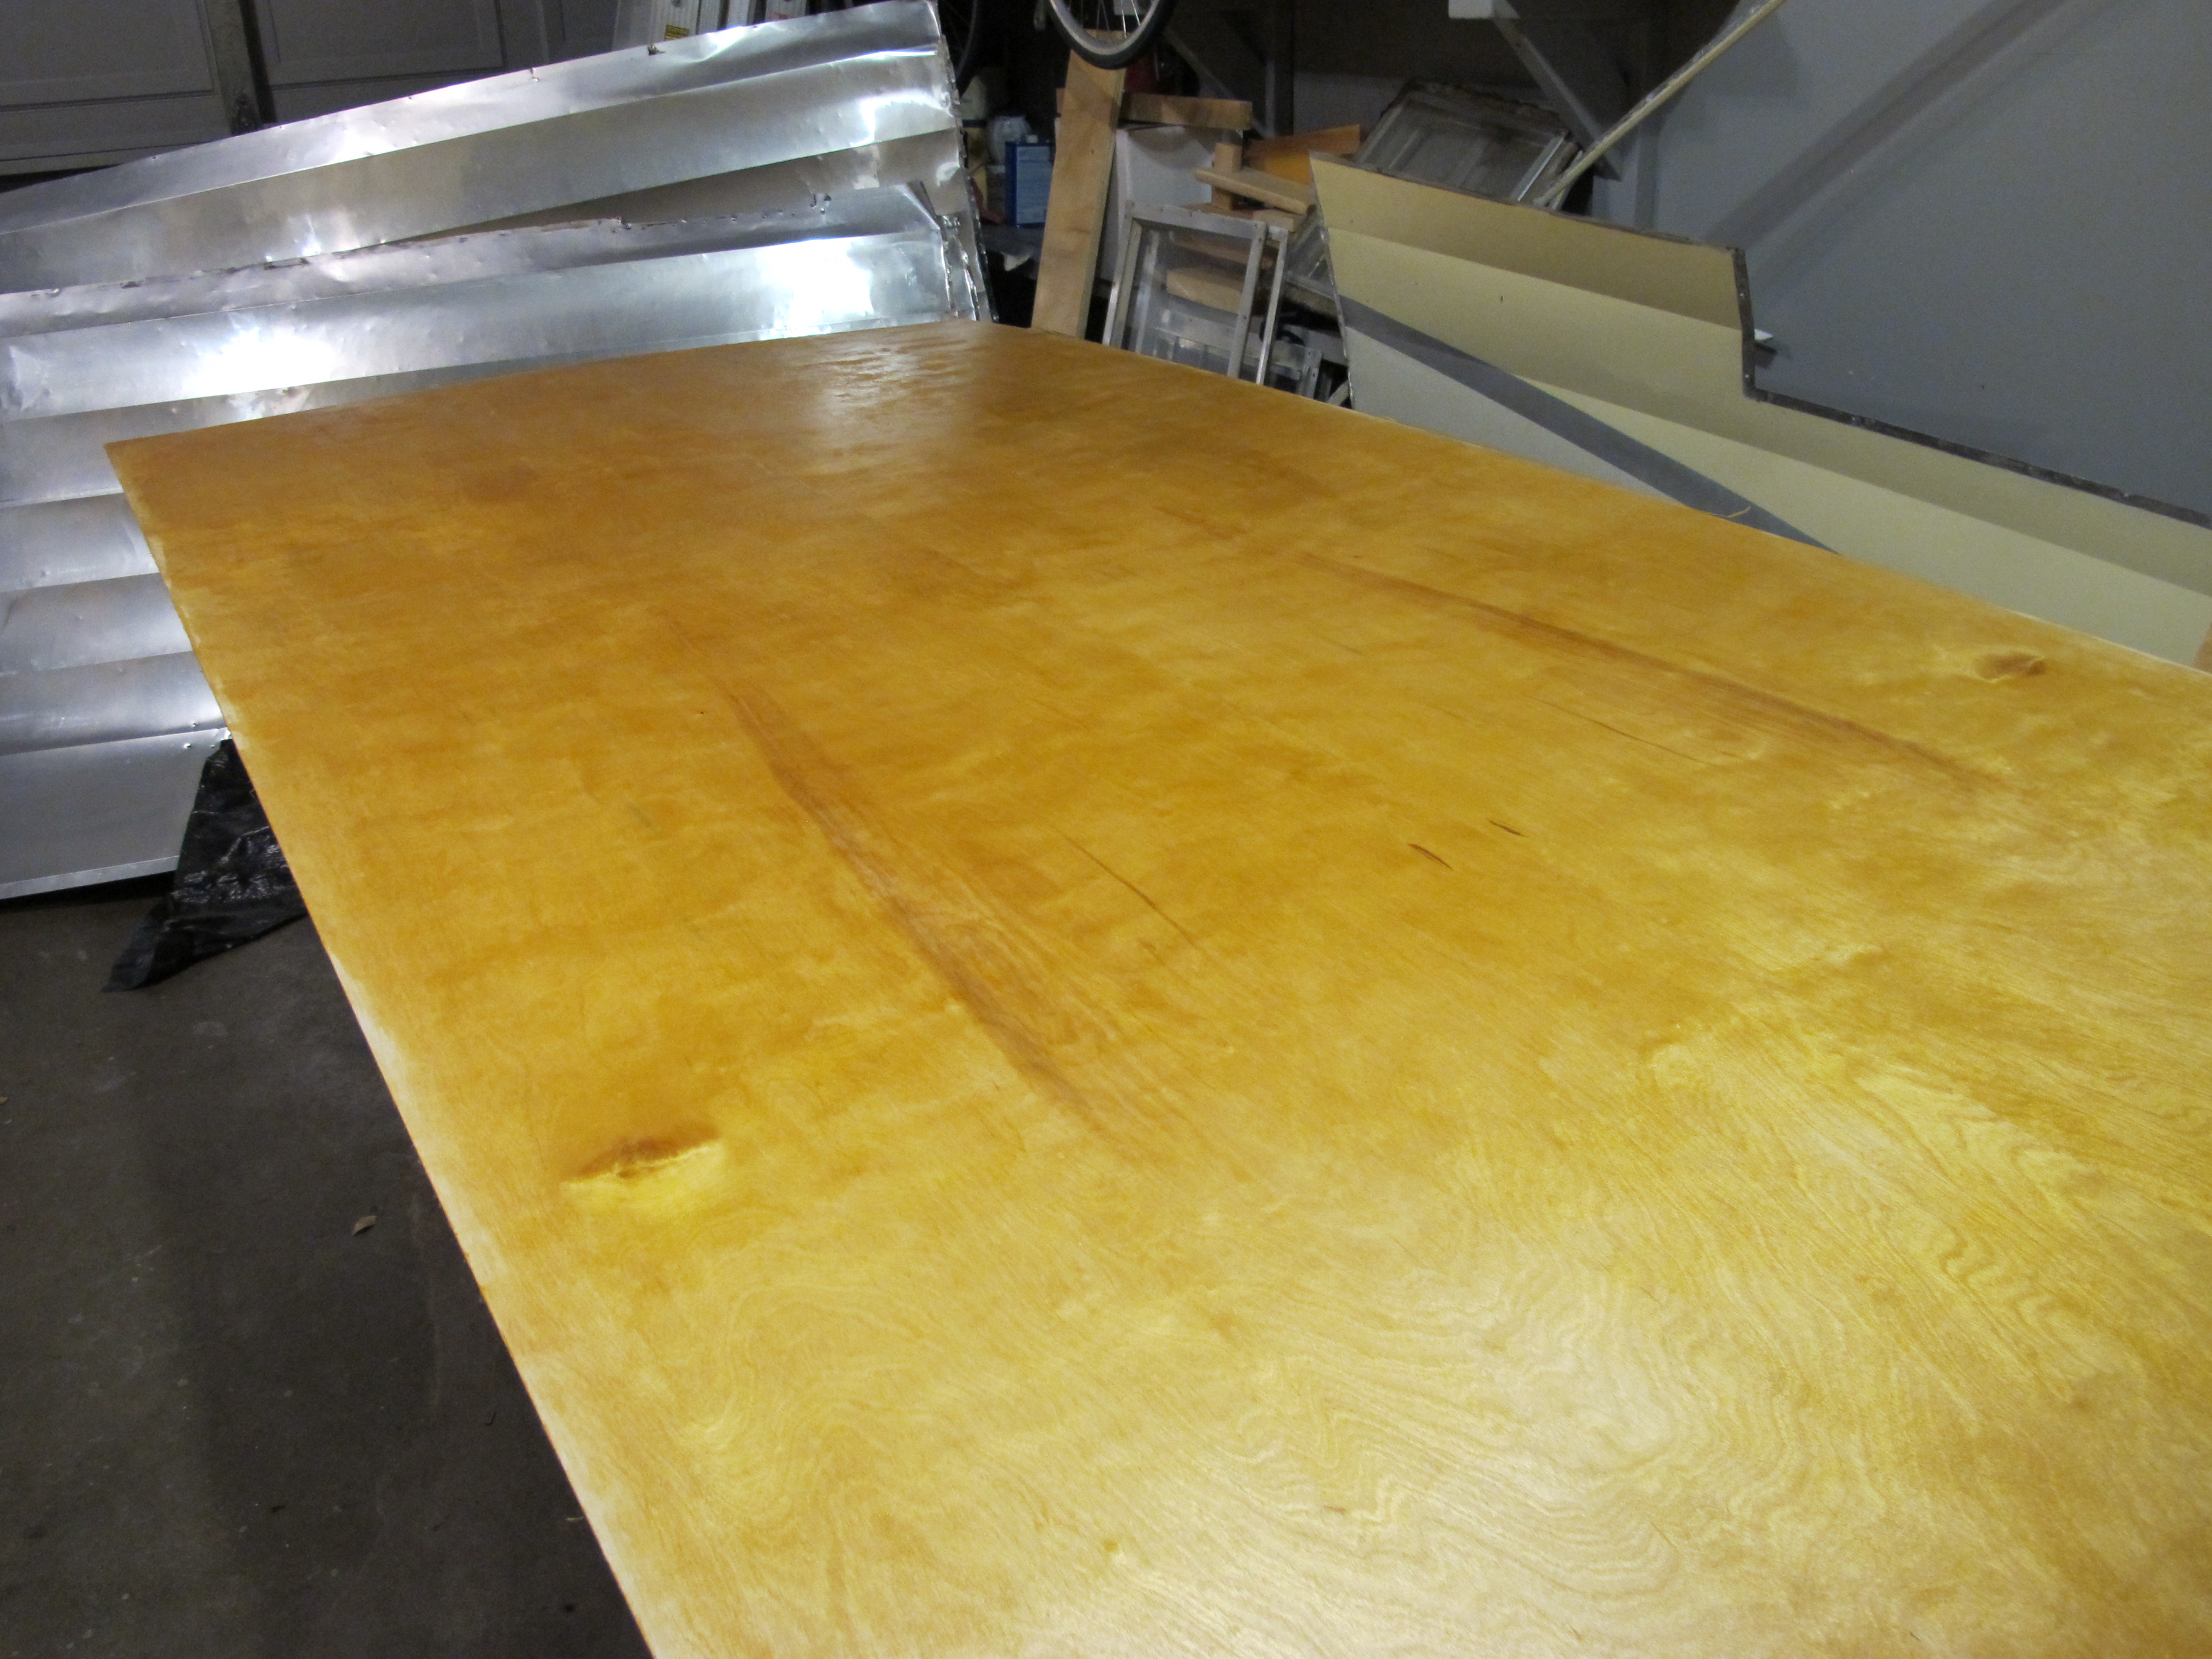
I hate waiting.  Waiting in line, waiting for my food to come at a restaurant, waiting for my friends to show up because I’m usually the first to arrive.  I guess you could say I have a problem with patience.  confused emoticon Today is my day off, and I had to spend the first part of it waiting for my  beautiful birch to arrive from Houston Hardwoods.  Luckily, they arrived around 10am, so I didn’t have to stick around all day long.  I’m pretty pleased with the wood I picked out and can’t wait to start putting some shellac on it!

IMG_4104

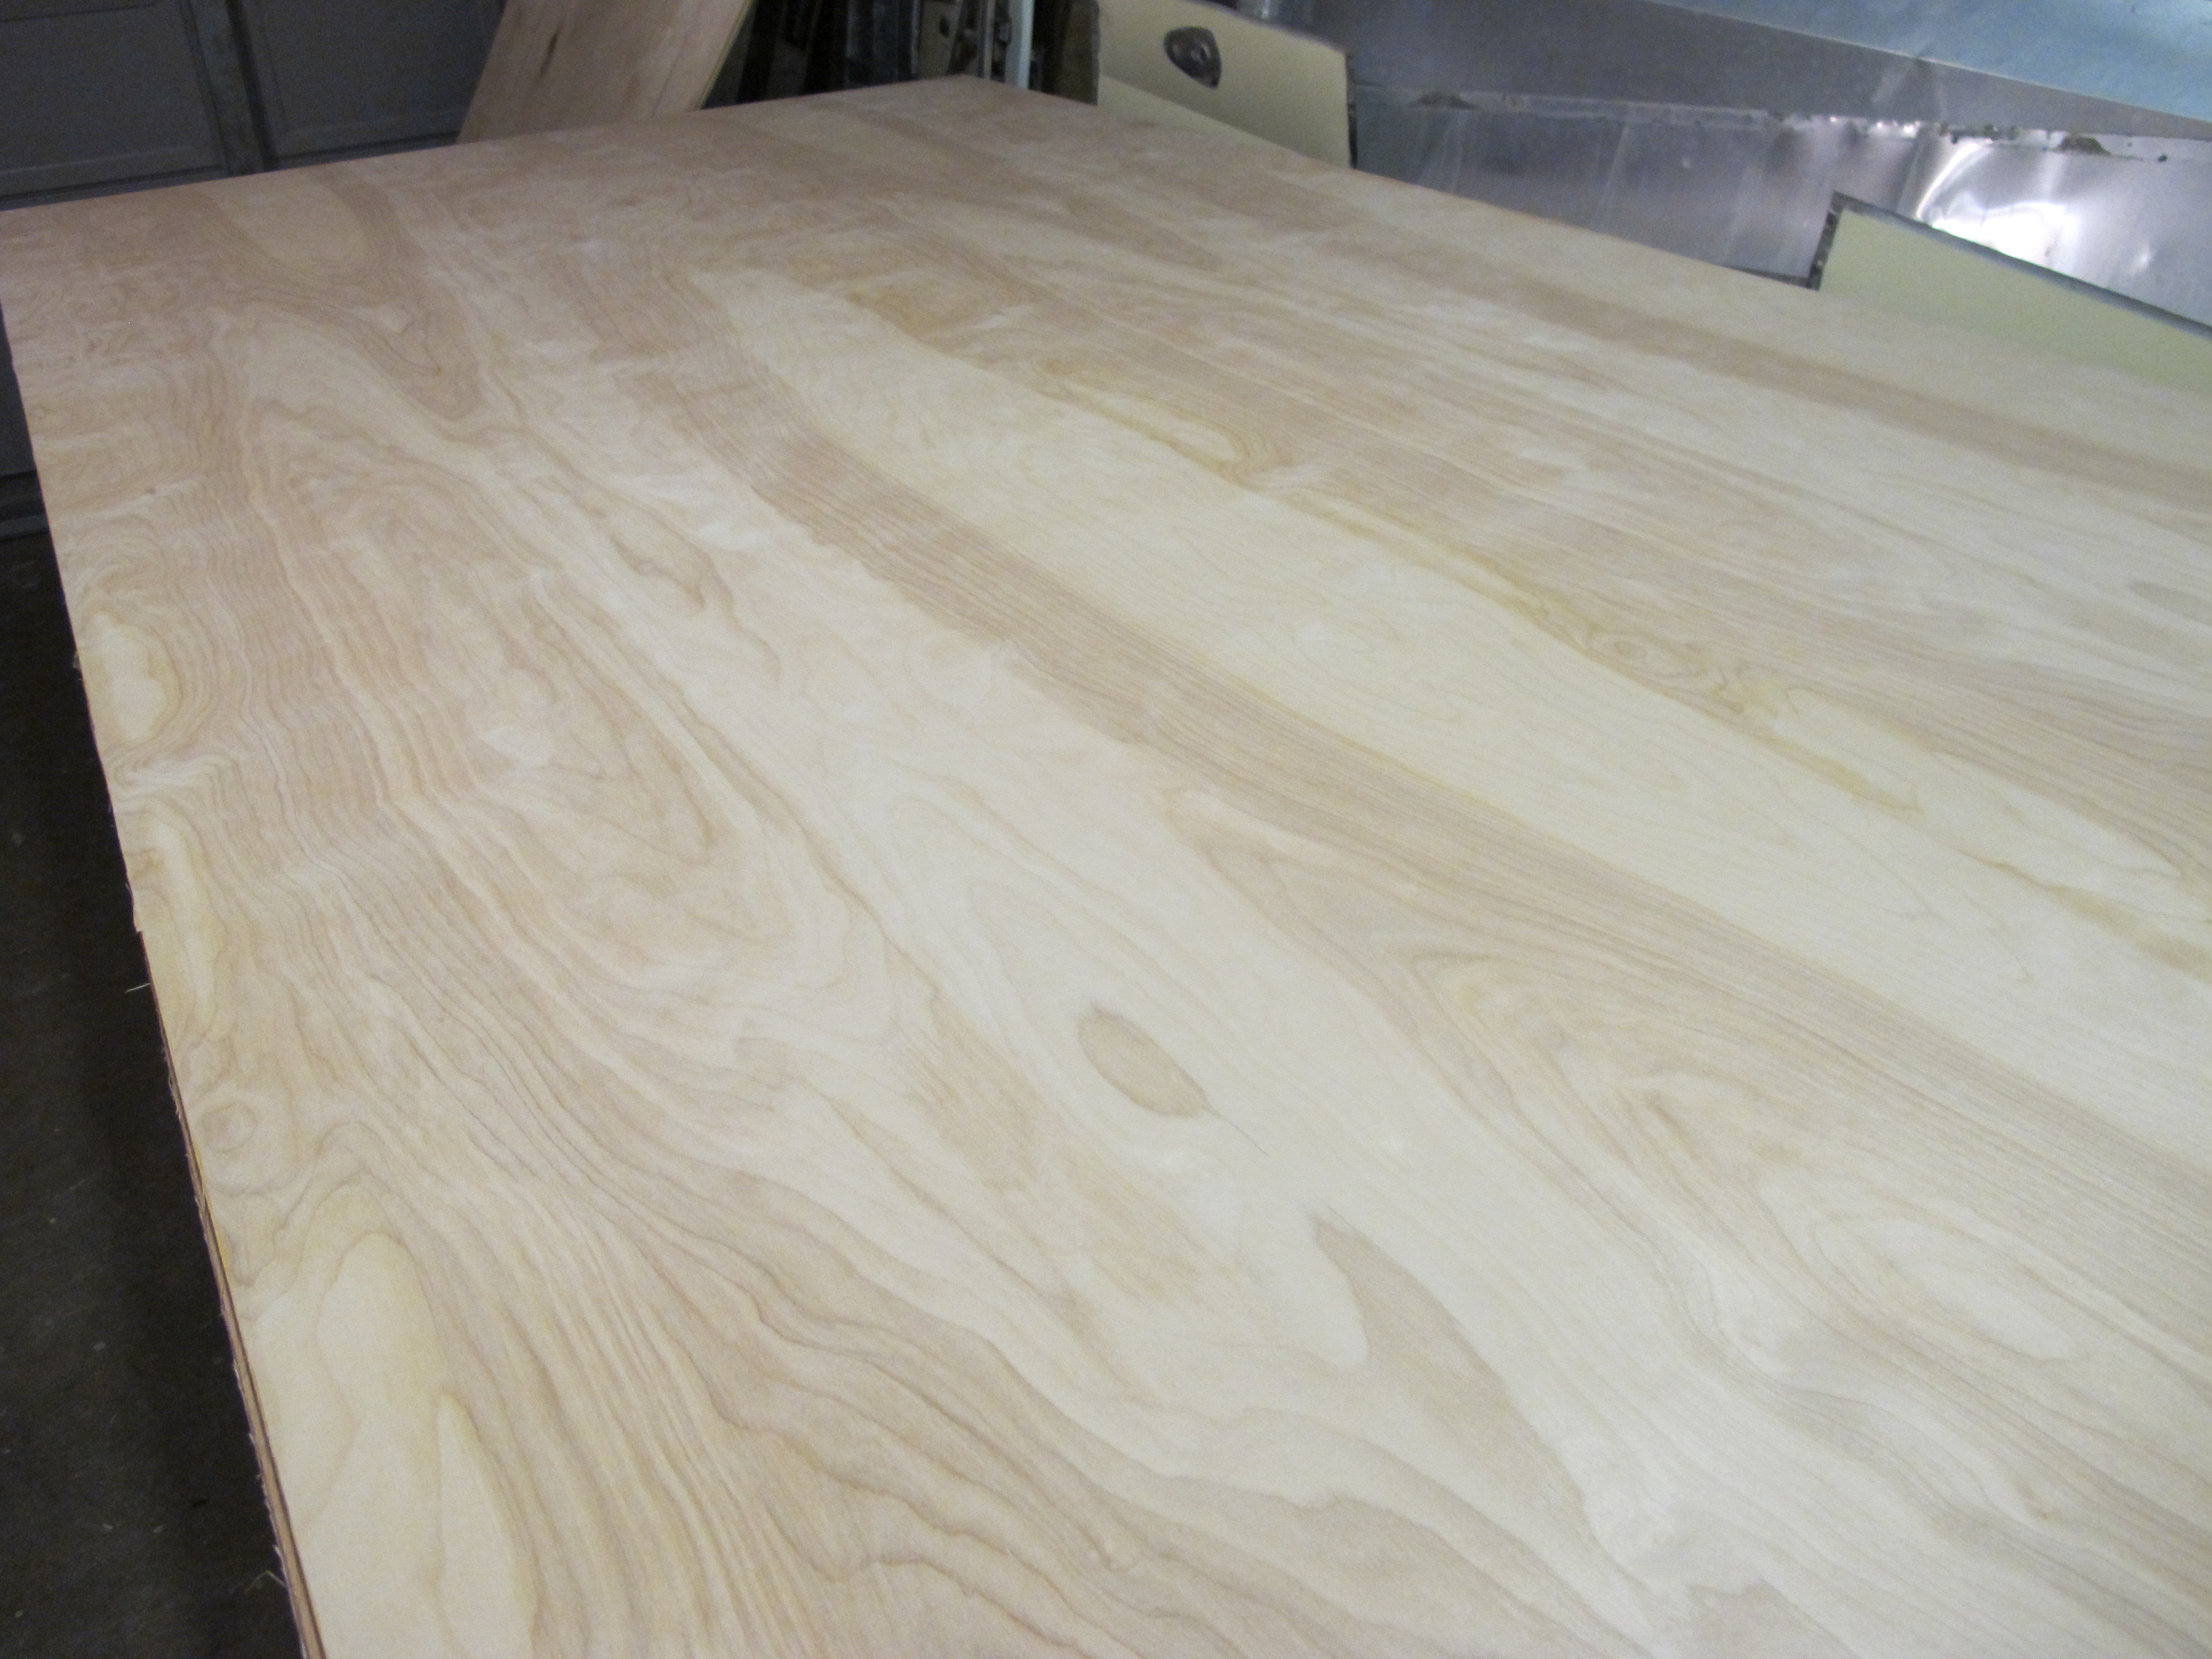
Look at the beautiful wood grain on this piece!

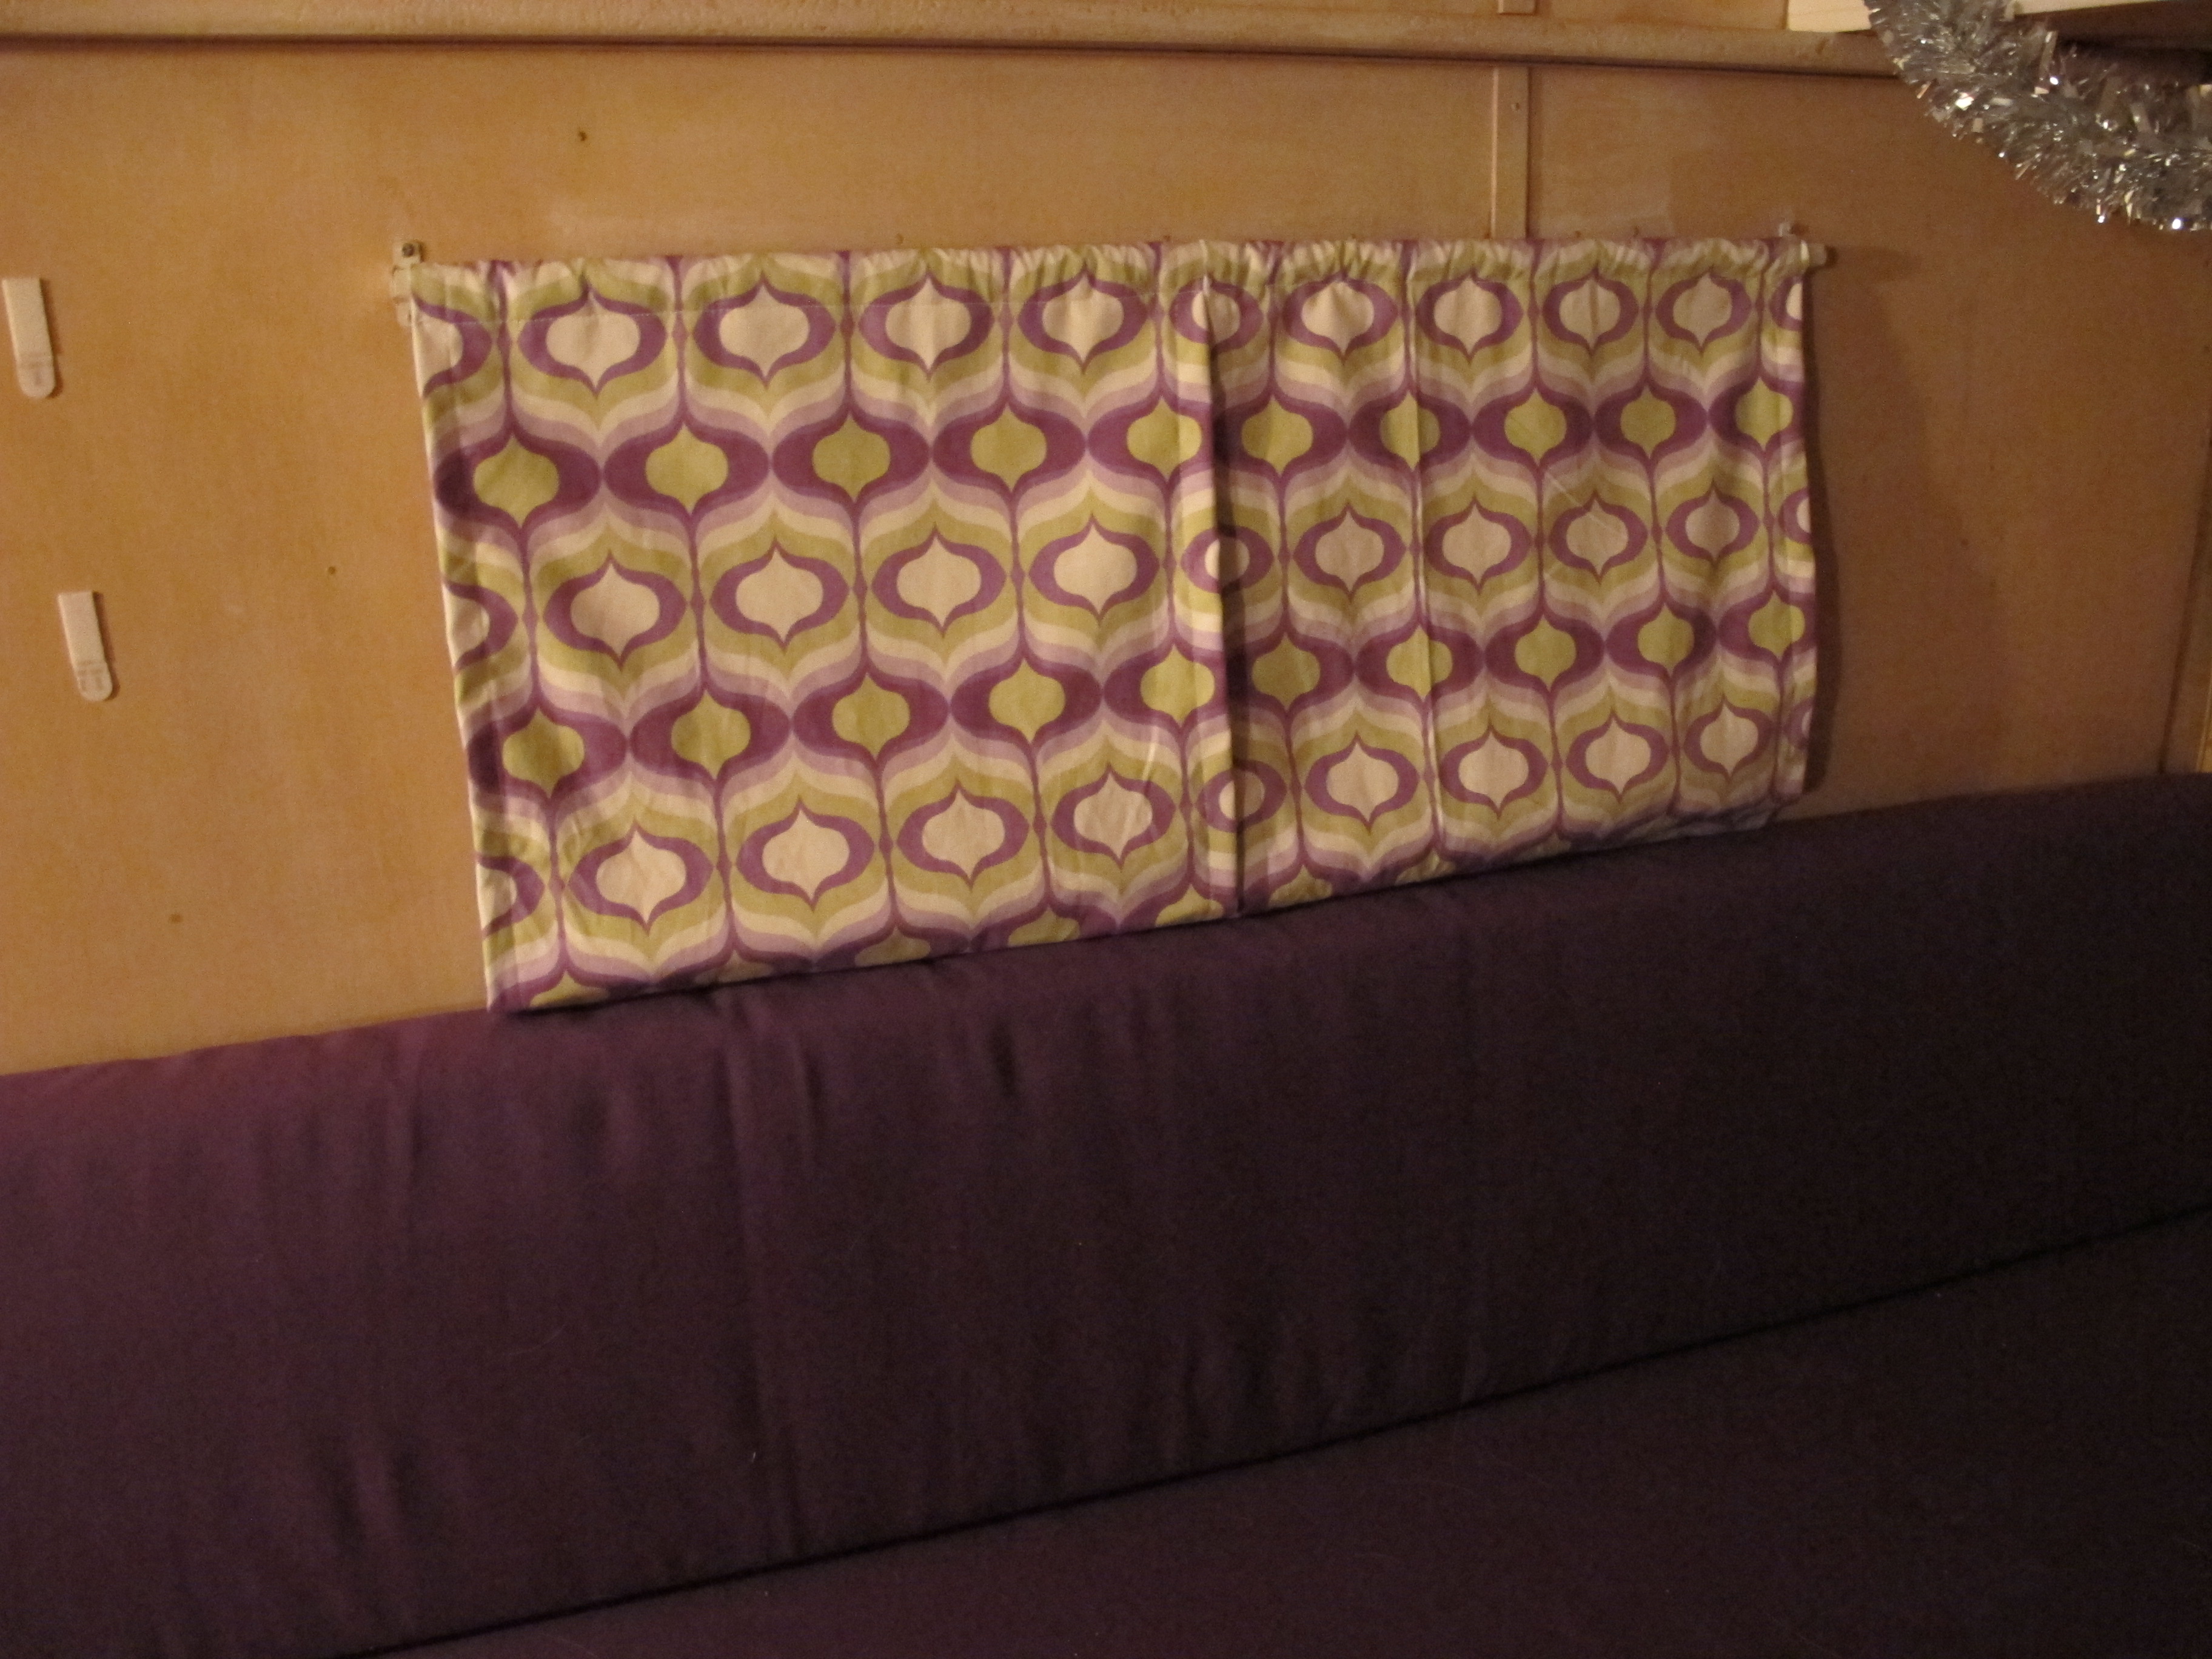
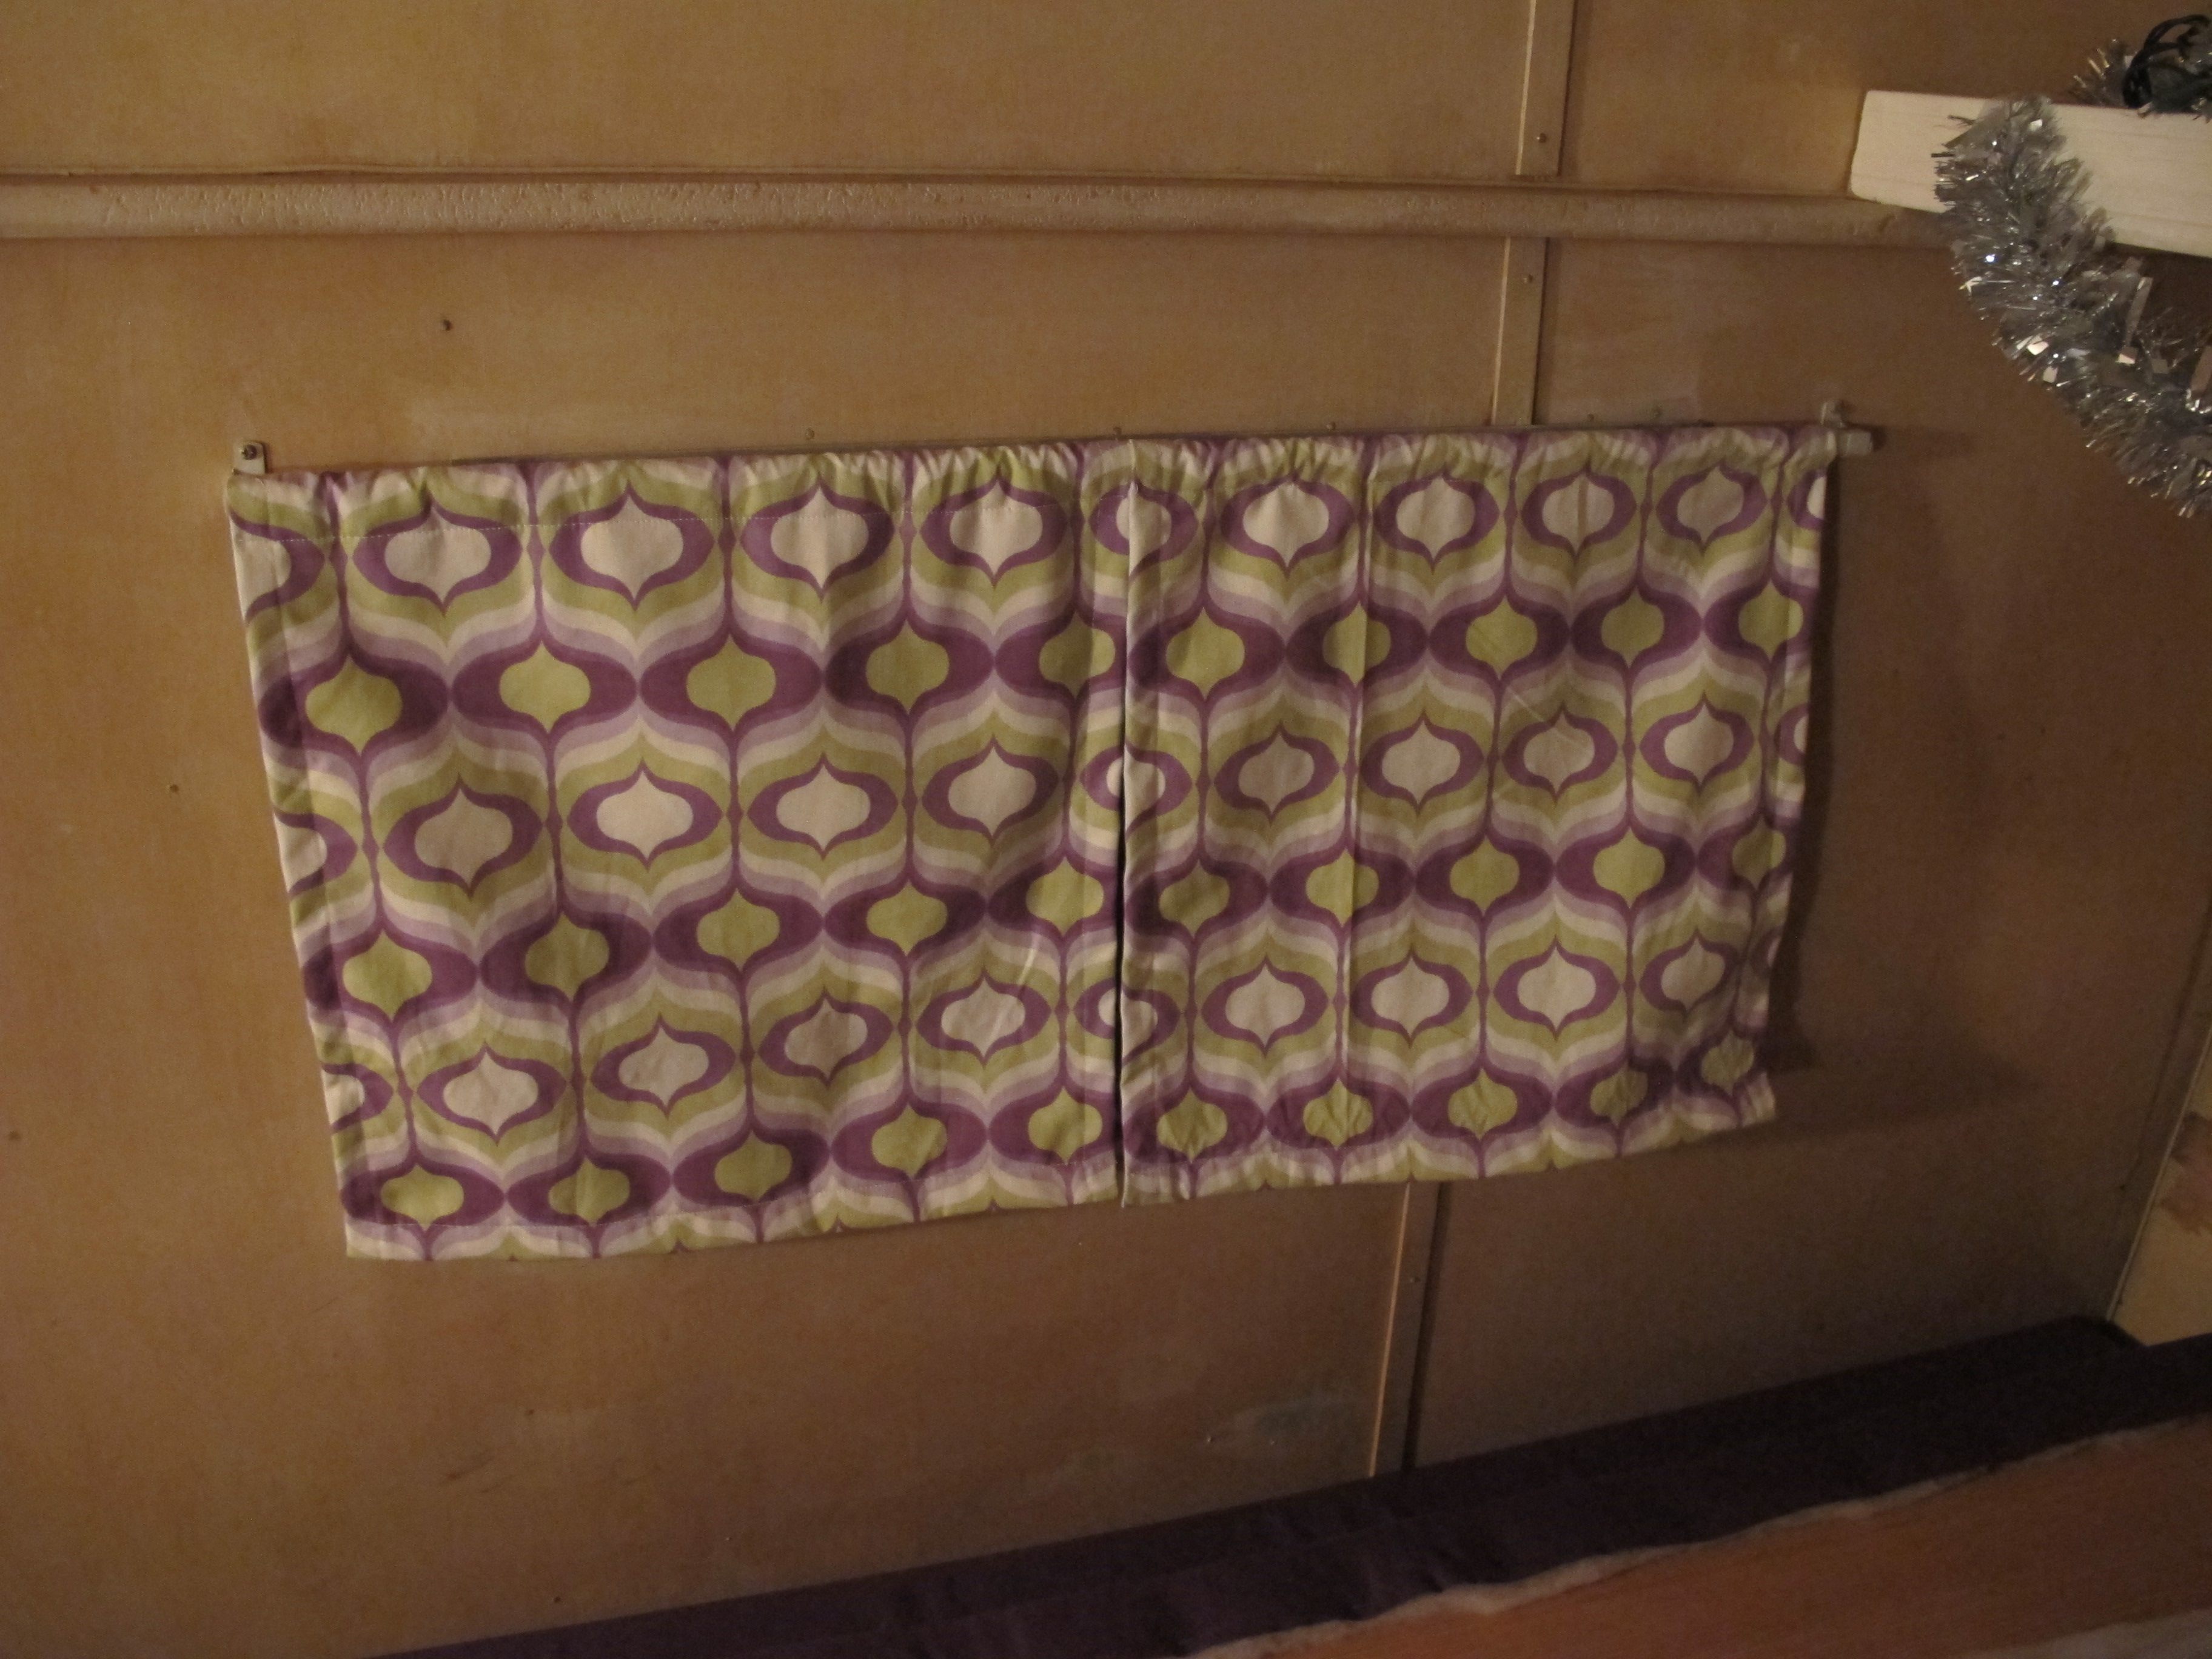
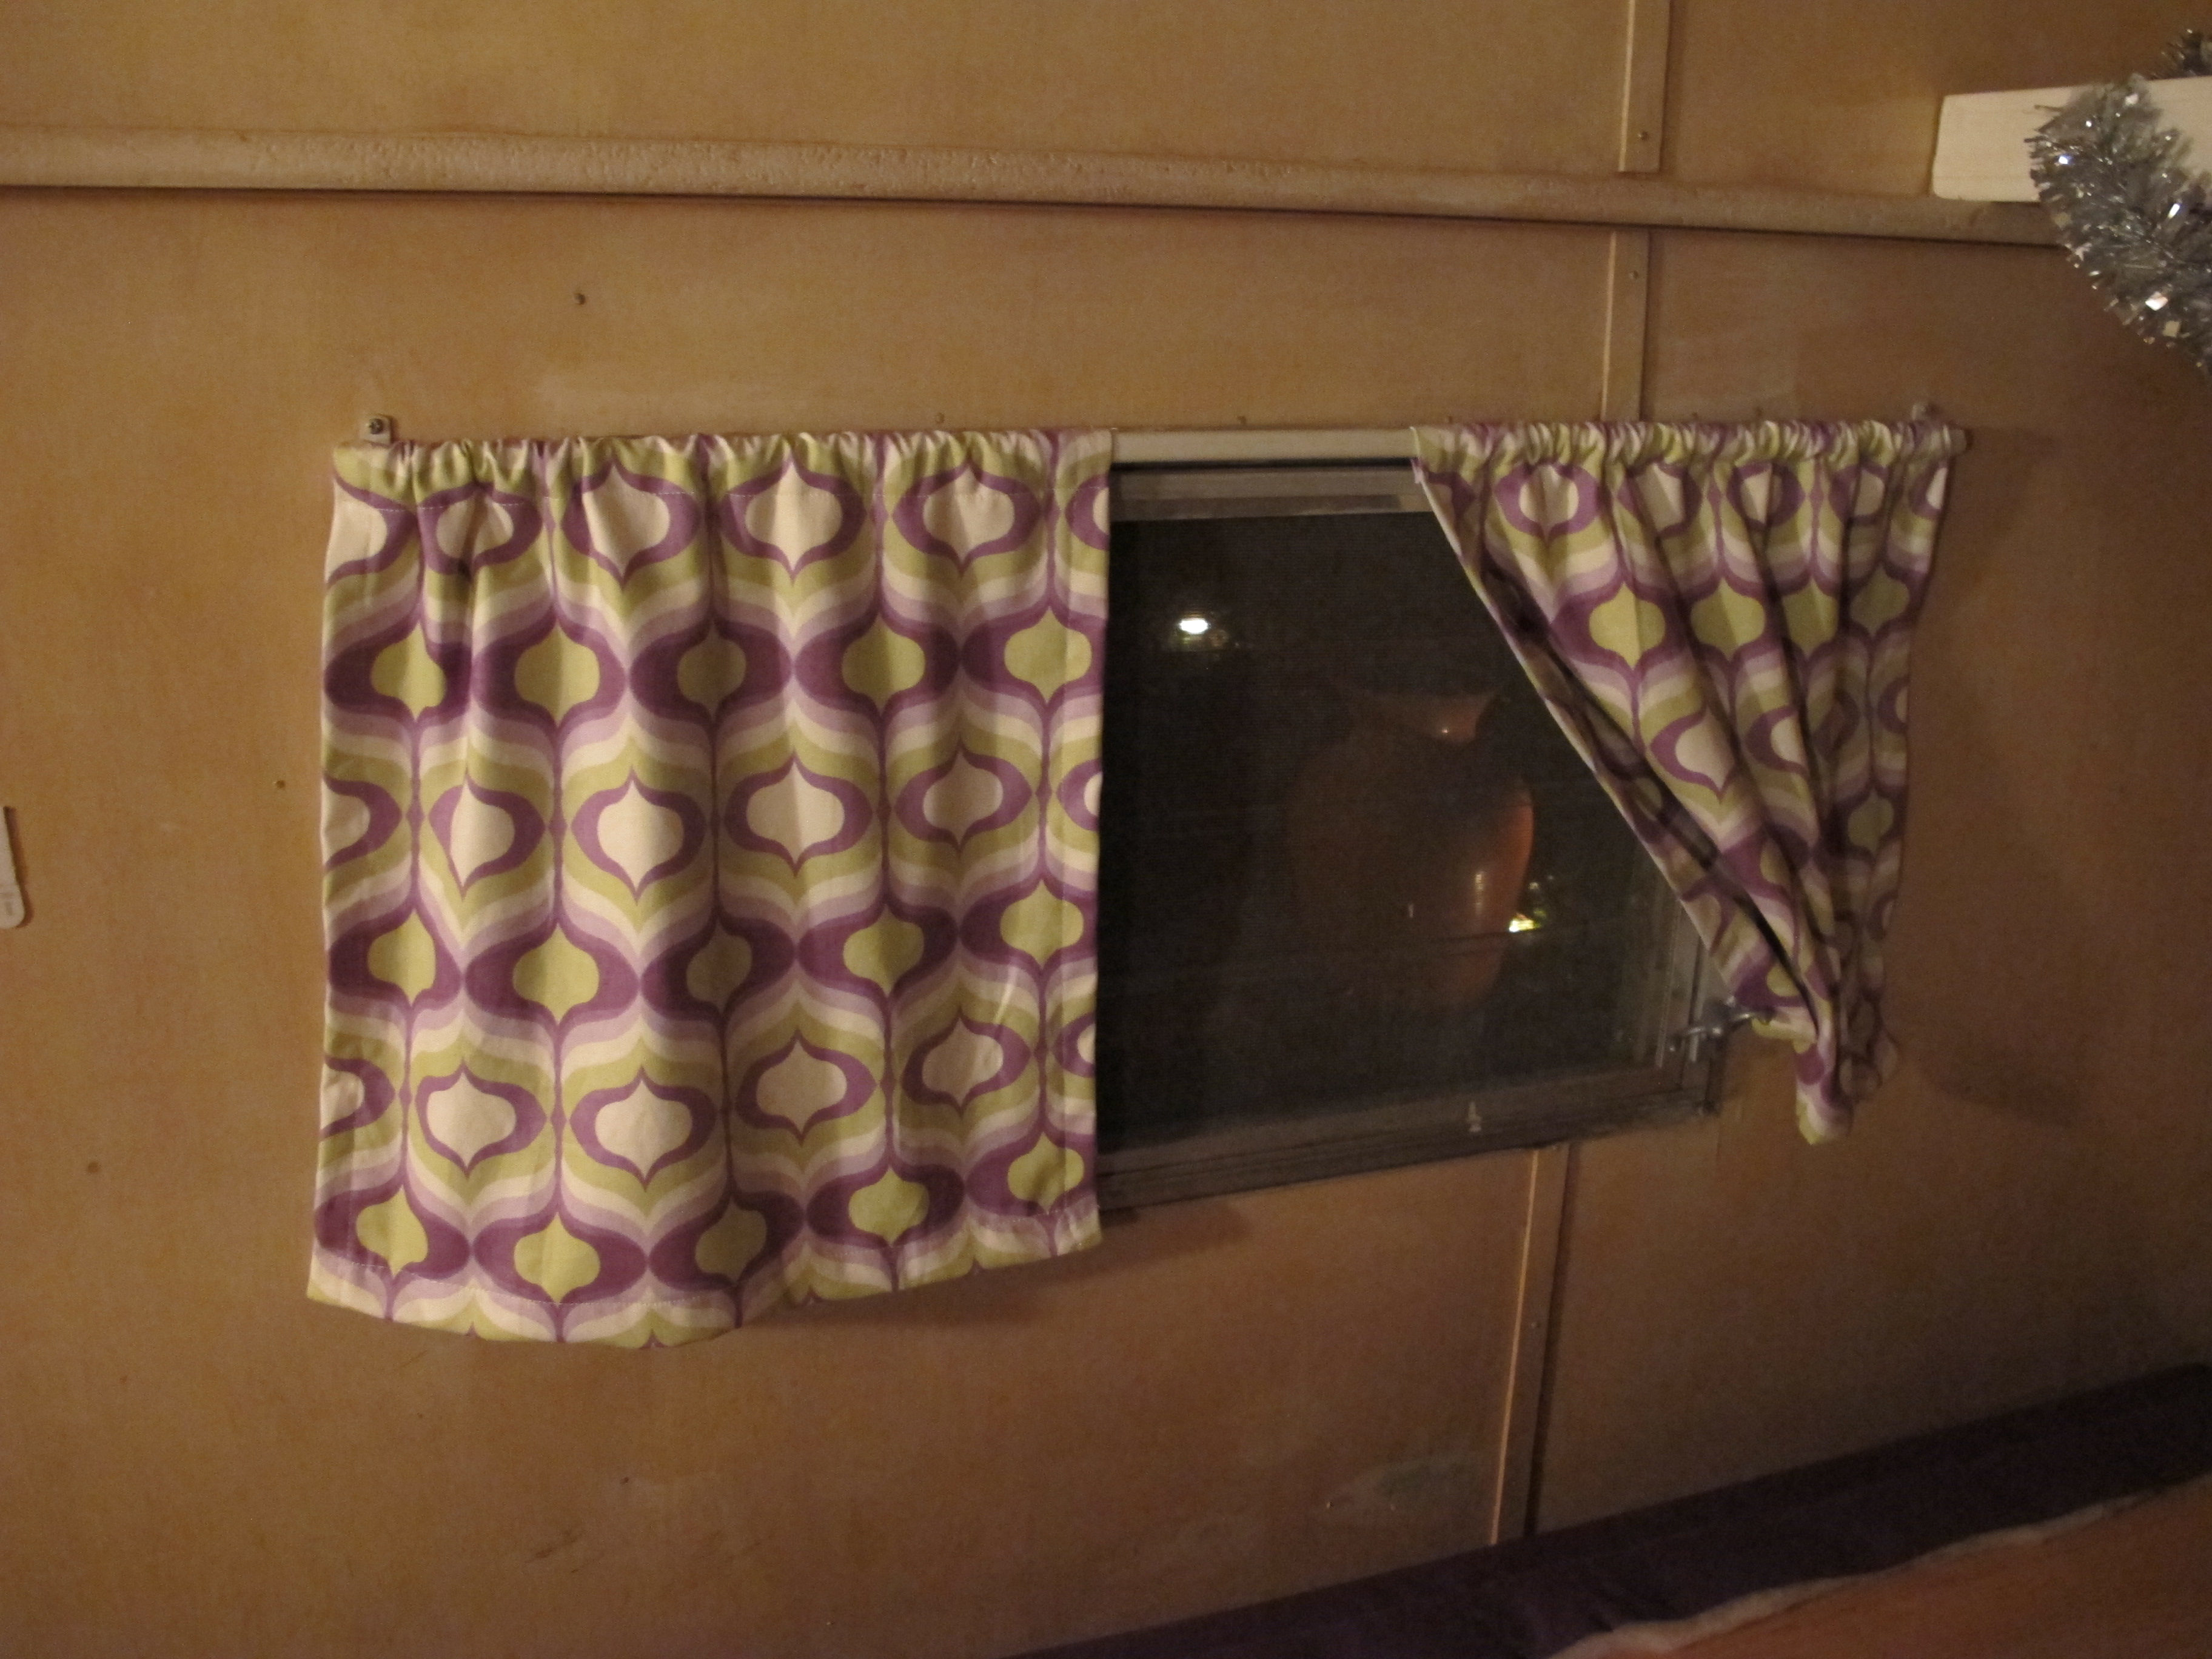
I am also on pins and needles waiting for the guy I went out with last weekend to call.  He texted yesterday but today is Friday, and he still hasn’t asked me to do anything this weekend.   Why do guys always wait until the last minute?  Doesn’t he know I like to plan out my weekend in advance?  haha  I am apparently missing the “go with the flow” gene.   I’m also waiting for some fun things to arrive in the mail that I ordered for Junebug.  A few of them arrived yesterday and I was excited, but now I have to wait (once again) until Junebug is actually ready for them to be installed!

IMG_4101

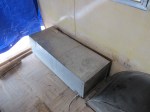
New tankless water heater 🙂

IMG_4103

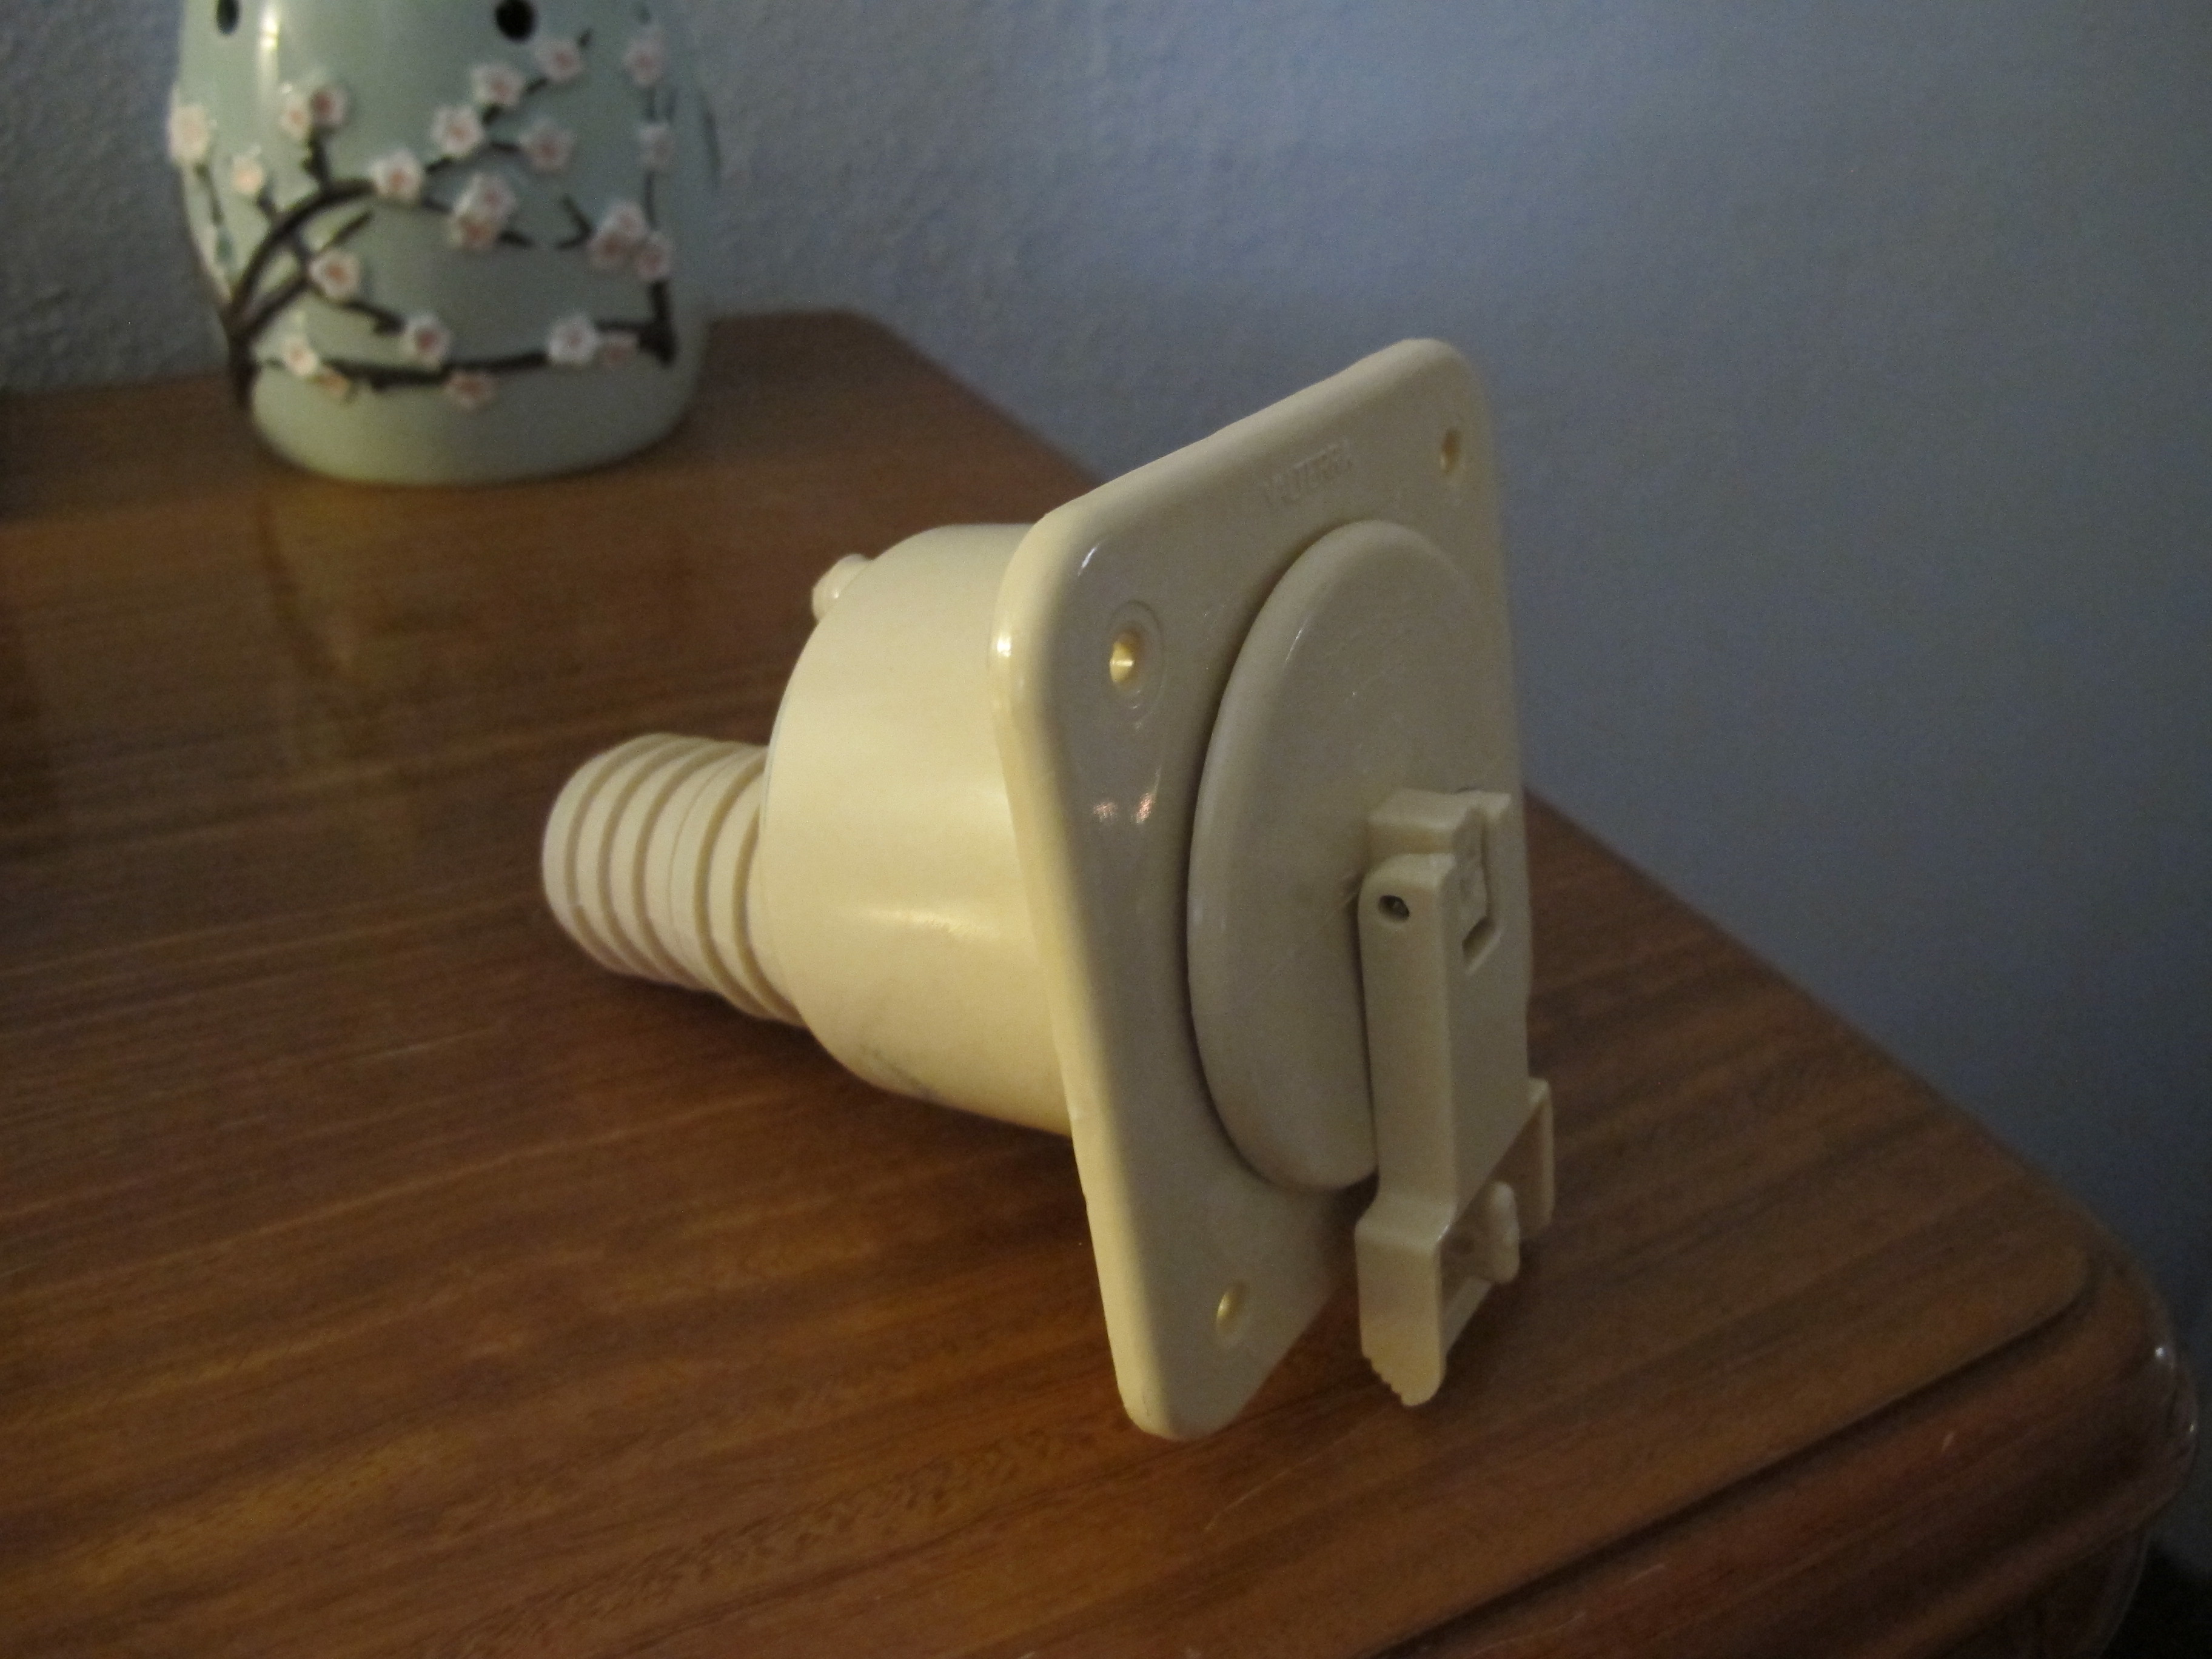
New plastic water fill (closed)

IMG_4102

Plastic water fill (open). It even has a little hole so you can lock it if you’re worried about someone sabotaging your water supply. Hopefully other campers wouldn’t be that mean!

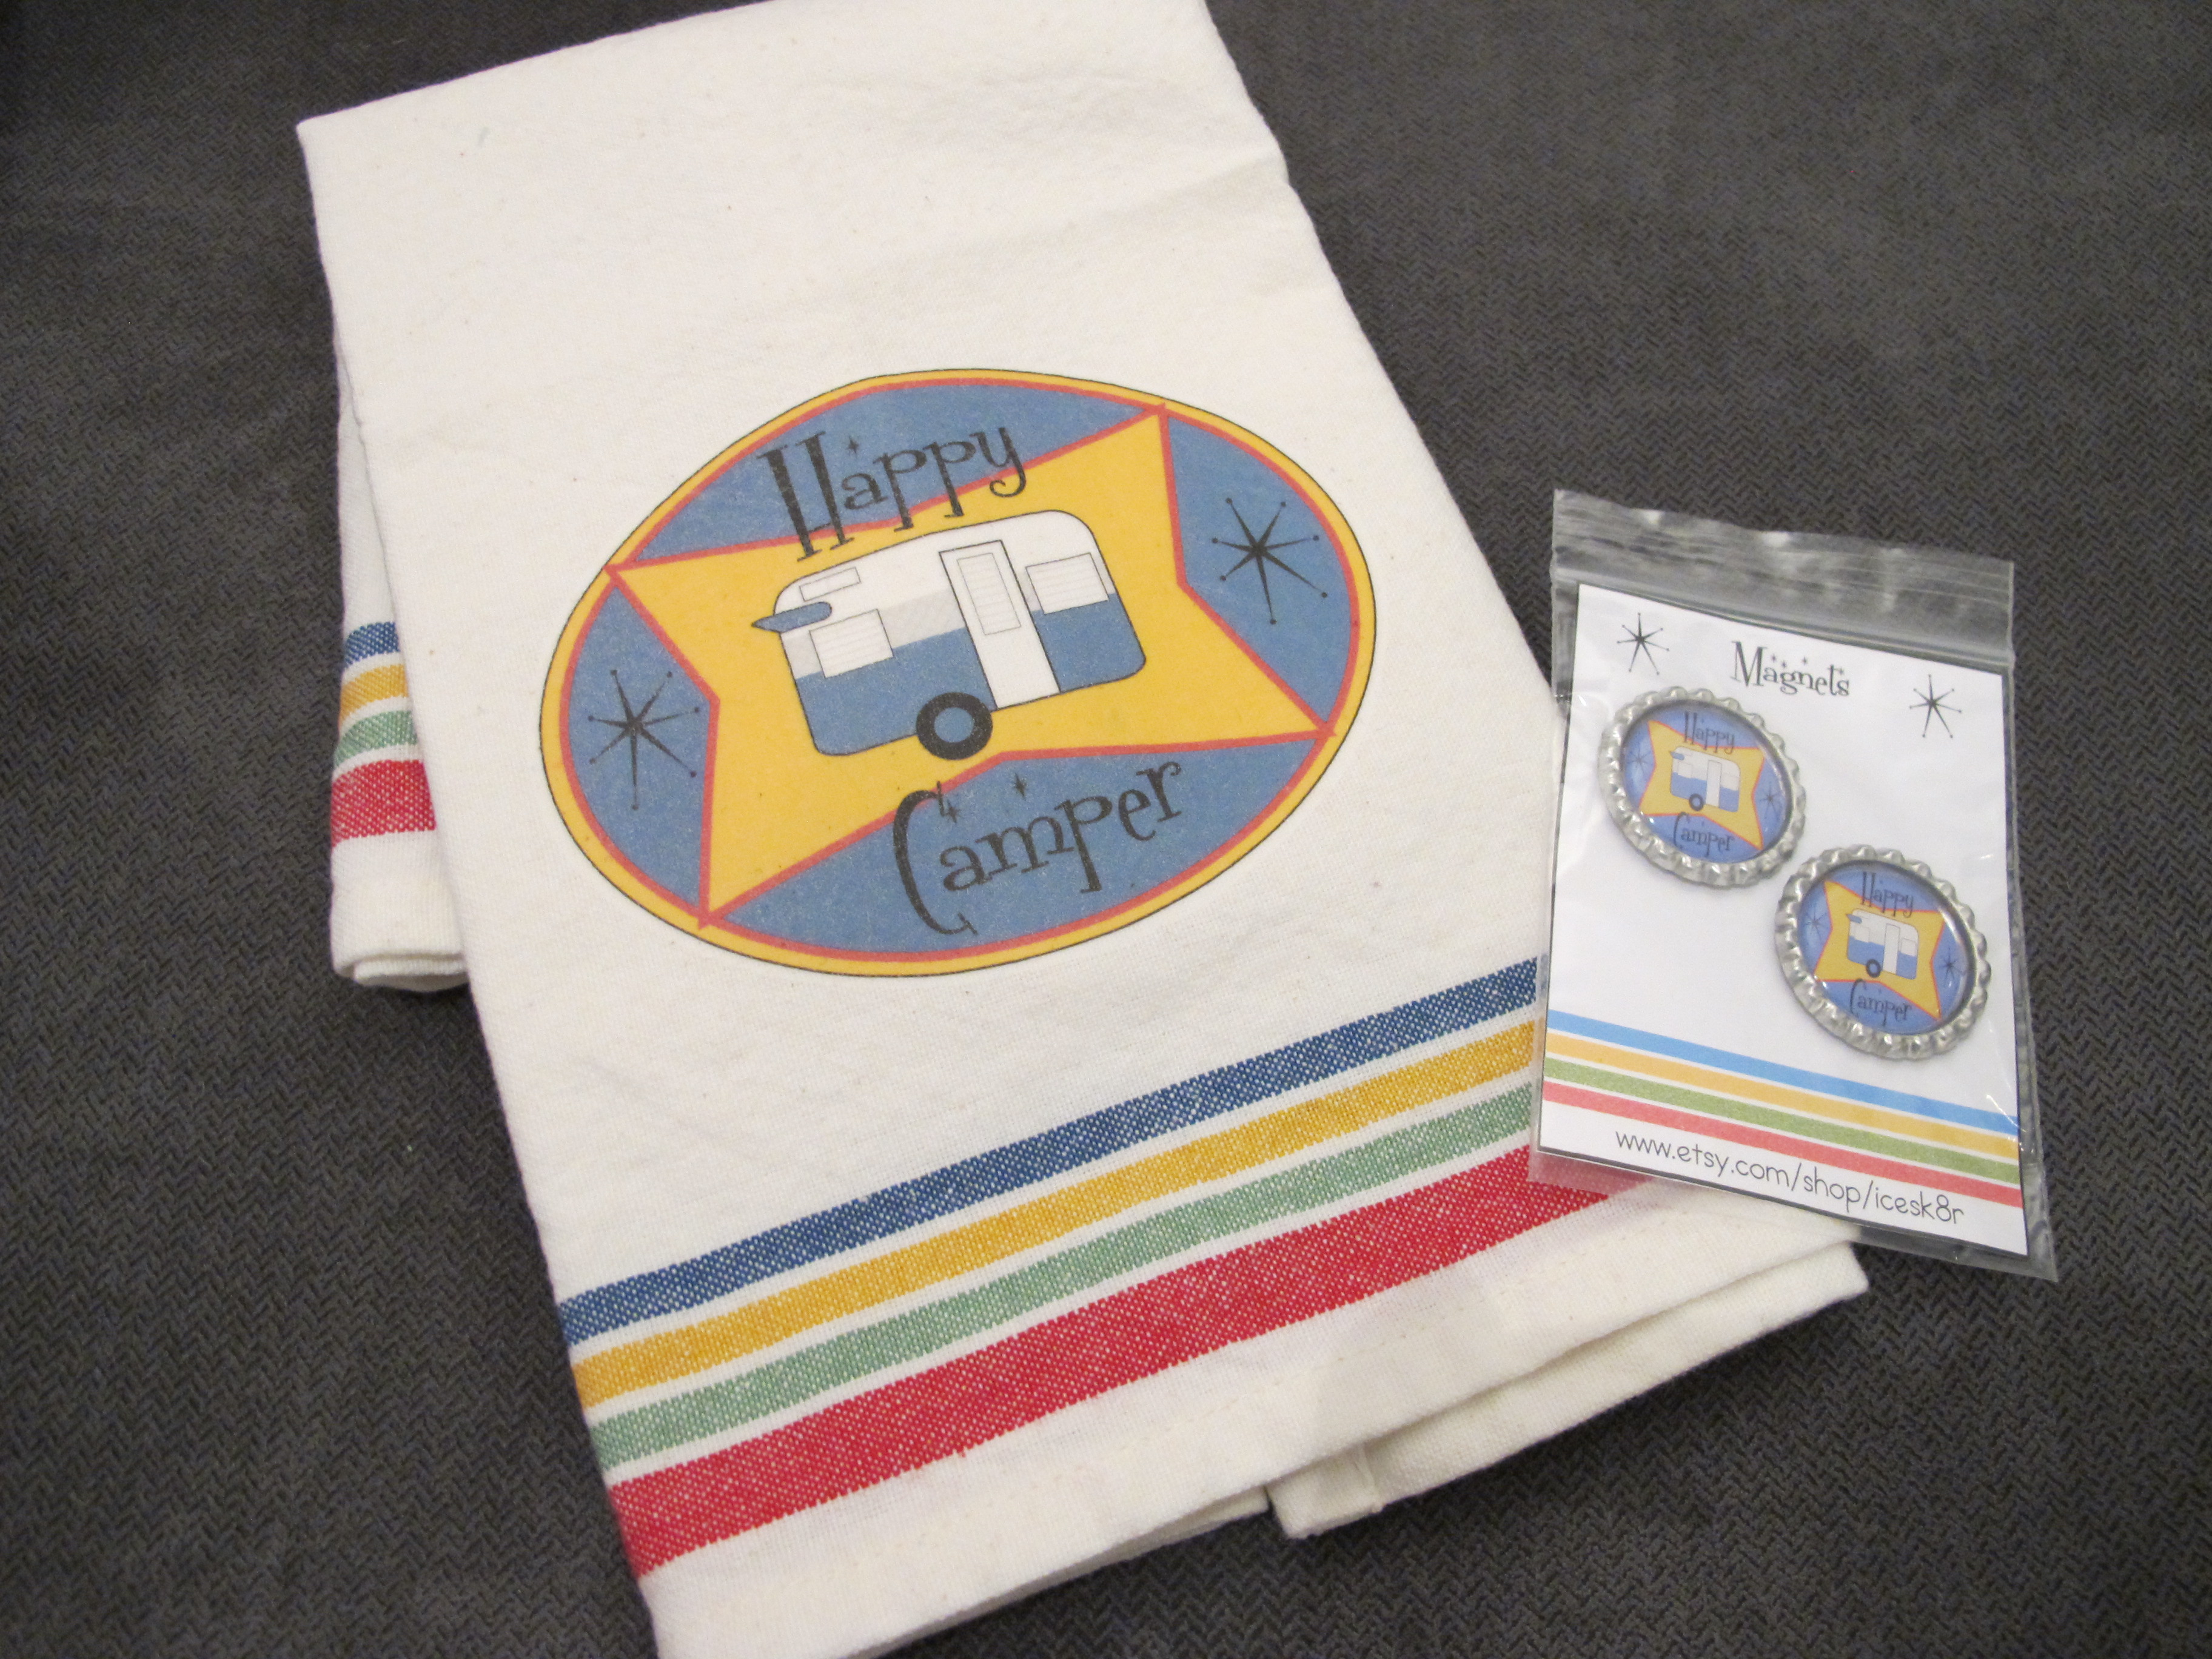
The other items I ordered should be here sometime next week.  I’m really excited about my “new” Shasta emblem I ordered from http://www.vintagecampers.com .  Also got a tank holder and a replacement glass globe for my gas lamp.

tank holder

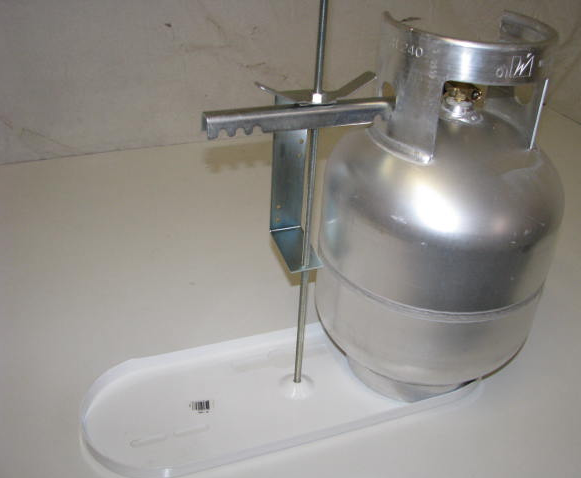
New propane tank holder. My welder is going to weld this to my trailer frame in the front. 🙂

Shasta emblem

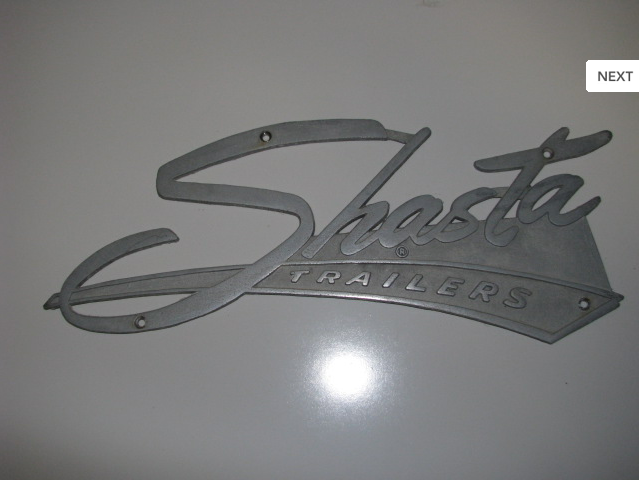
Don’t ask me how much I paid for this. These are apparently in really high demand!

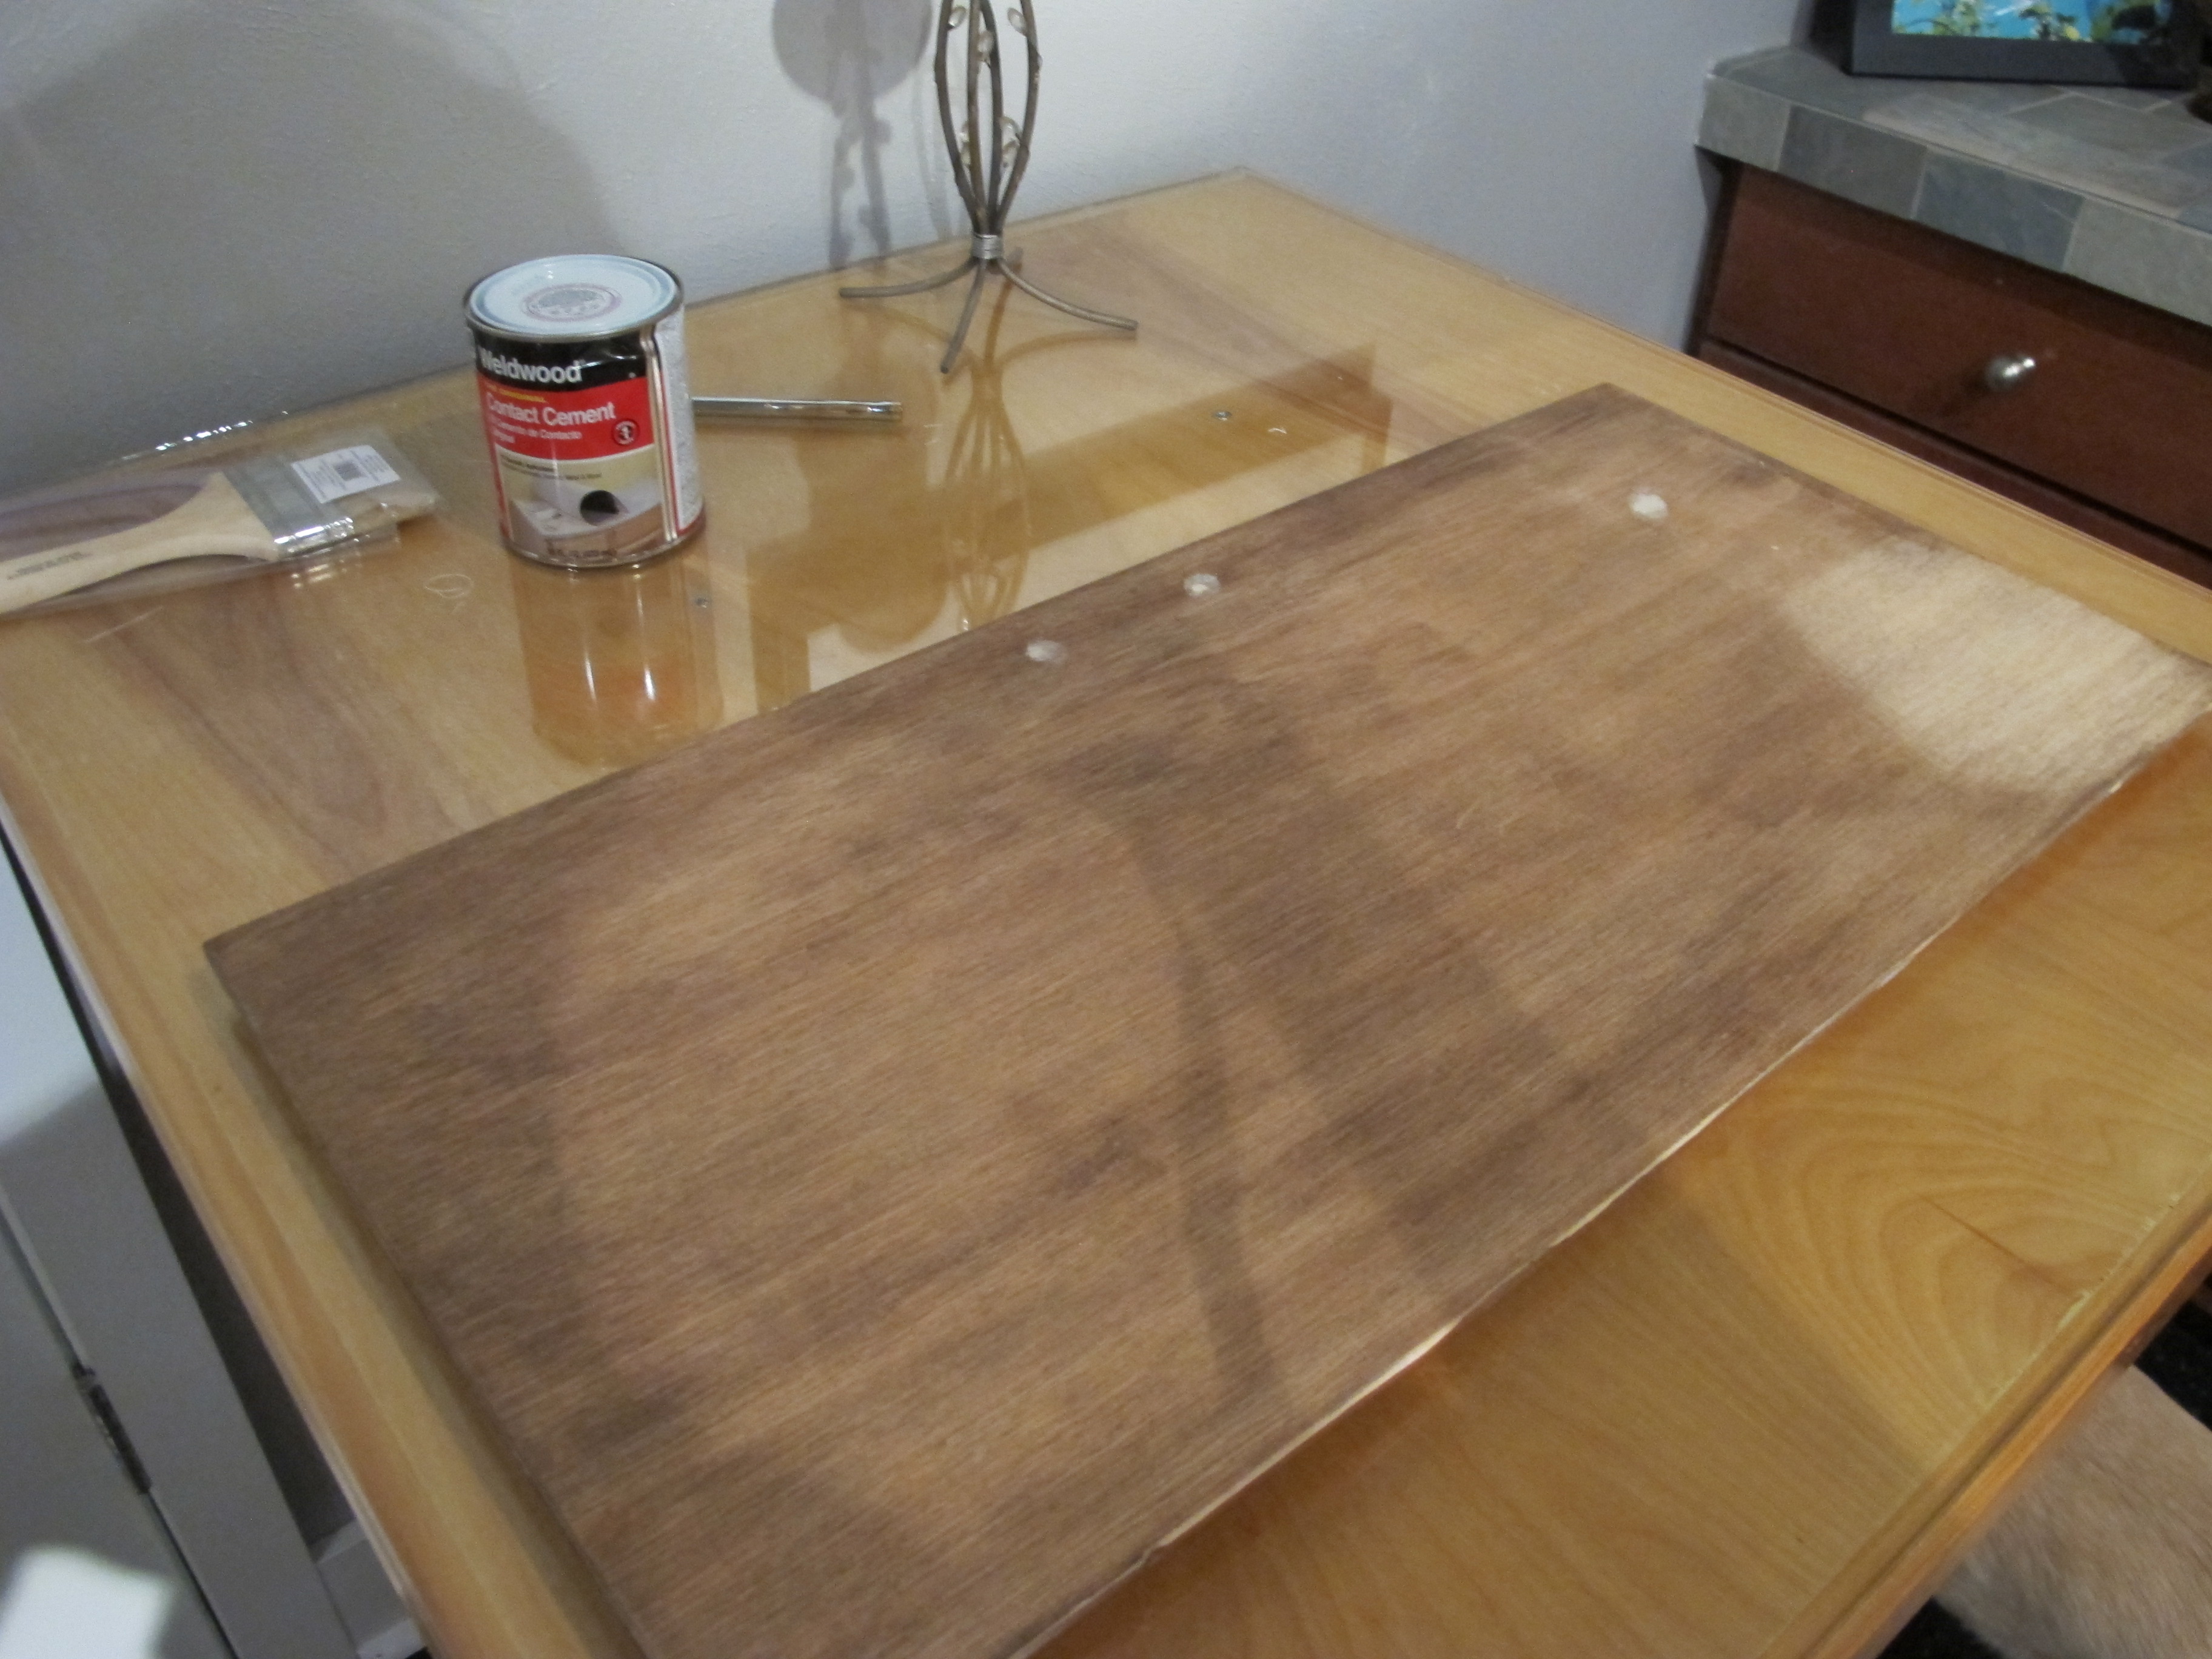
Yesterday, I felt industrious after getting home from the gym so I decided to do my first attempt at gluing the birch veneer to the cabinet door.  It turned out beautifully!  Now I just need to do the three drawers, the rest of the cabinet face, the closet walls and door, and the shelves.  ugh  Oh well, at least I have one item done.  It actually wasn’t as hard as I thought it might be.  I just had to be careful to keep the veneer lined up with the edges.  I think I might leave a little extra next time just in case I don’t get it exactly straight.  I can always trim the excess.

IMG_4098

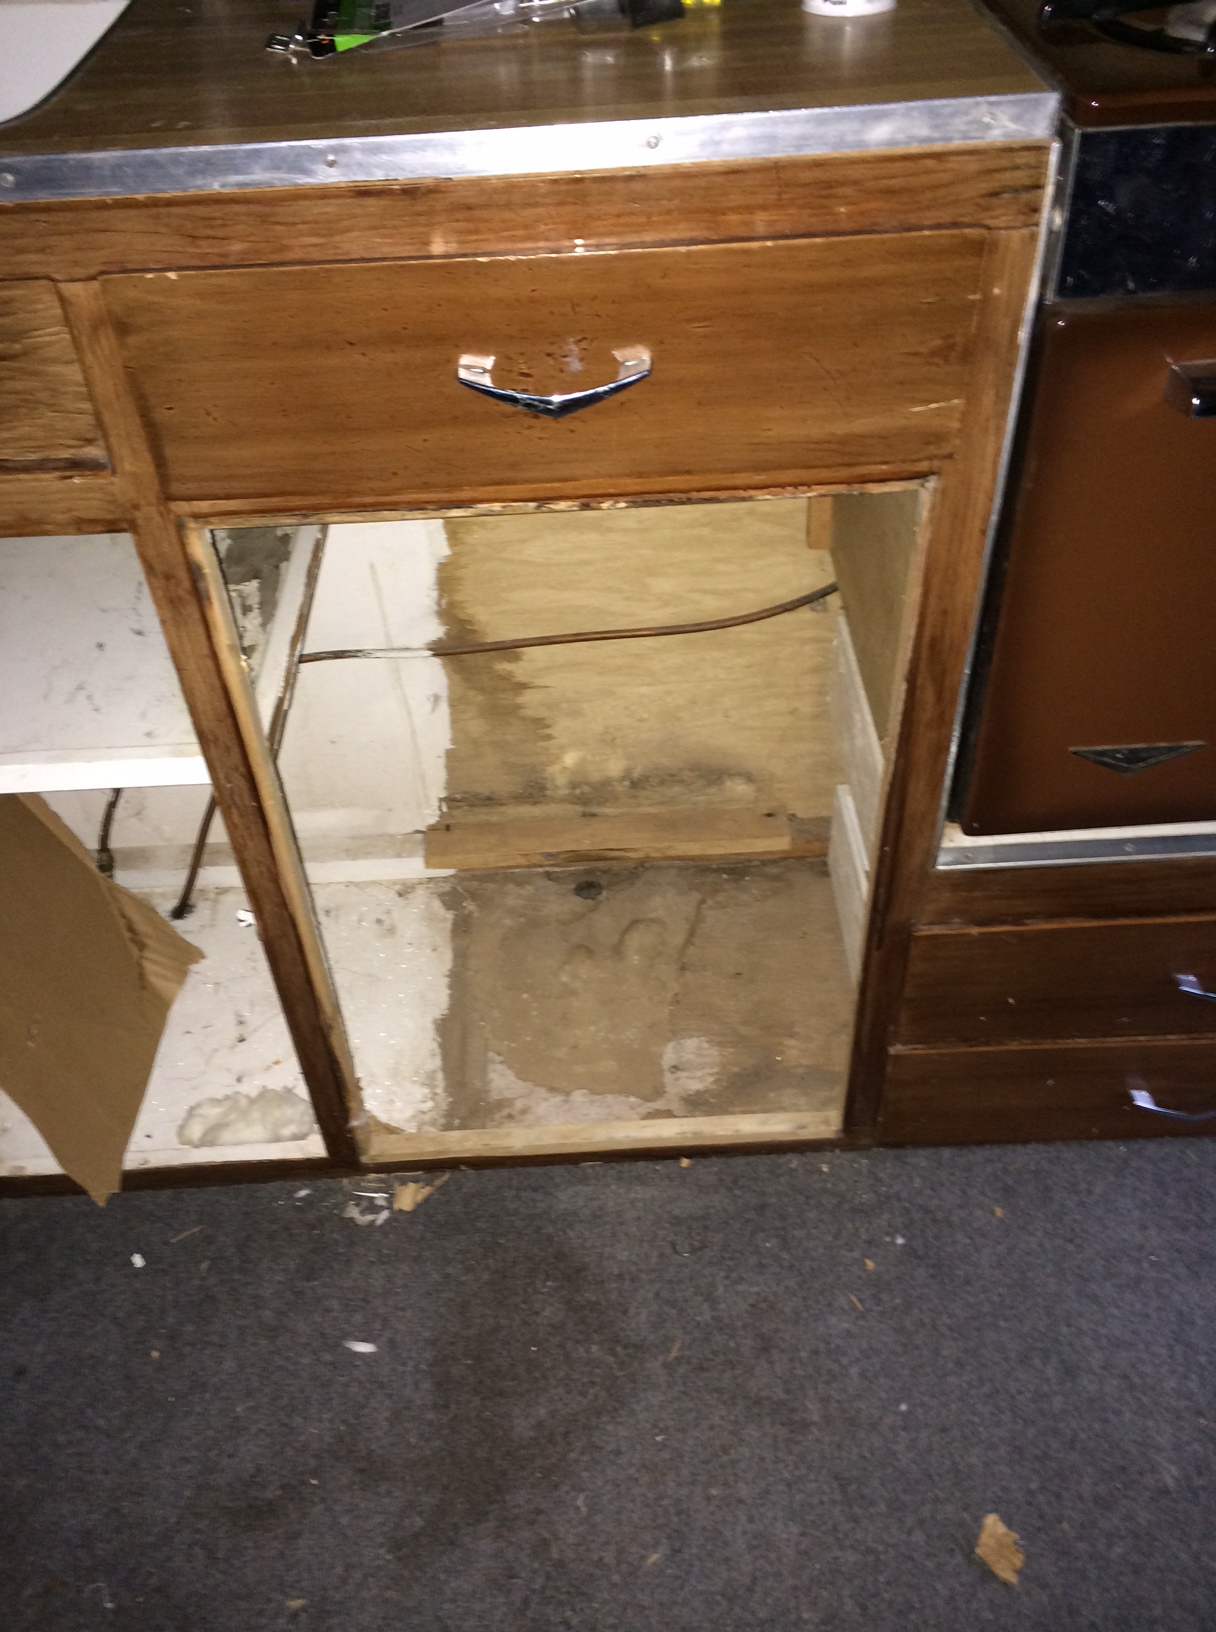
Cabinet door – before

IMG_4099

Cabinet door with veneer cut and ready to glue

IMG_4100

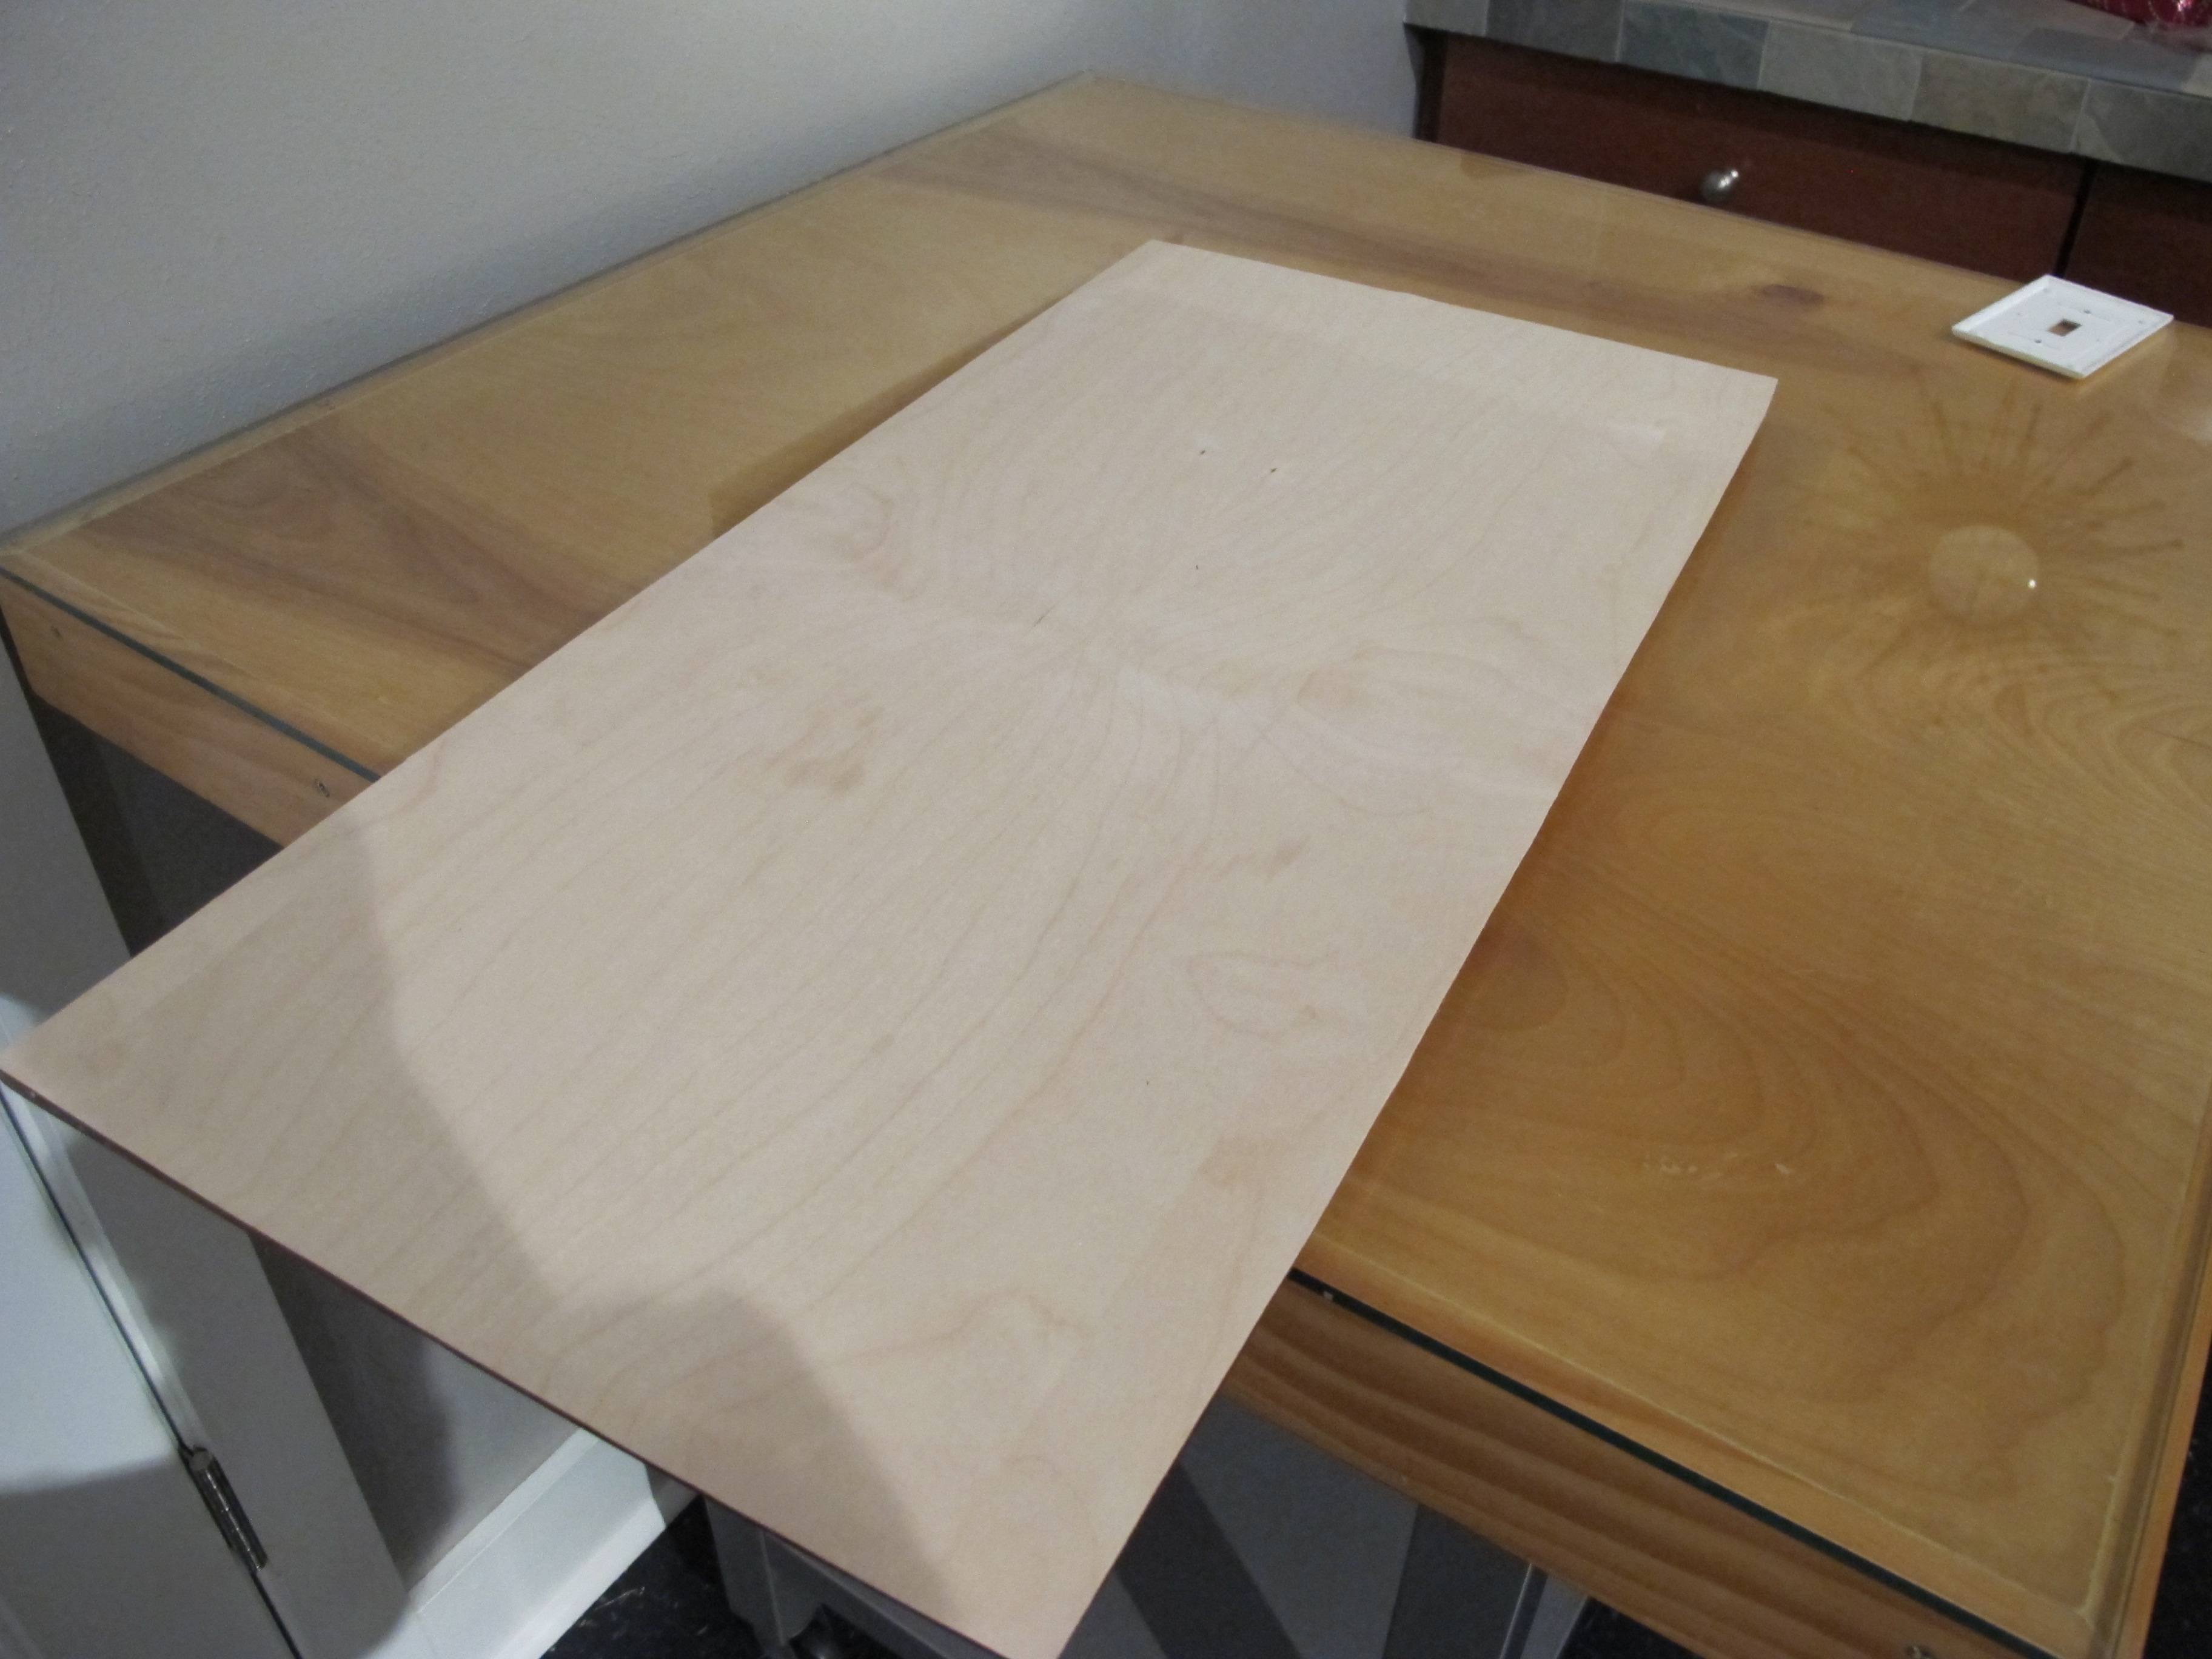
All done! Now just needs a few coats of shellac


I’m now about to head to the Boneyard Drinkery with Baxter to meet a friend of mine with her dogs.  The Boneyard is the perfect place to spend an afternoon when it’s nice out in Houston.  I can’t spend all my time on Junebug and I’ve been neglecting Baxter lately, so it’s time for him to have some fun too!  http://www.boneyardhouston.com/

IMG_0577

Baxter in the bluebonnets. He’s so cute!

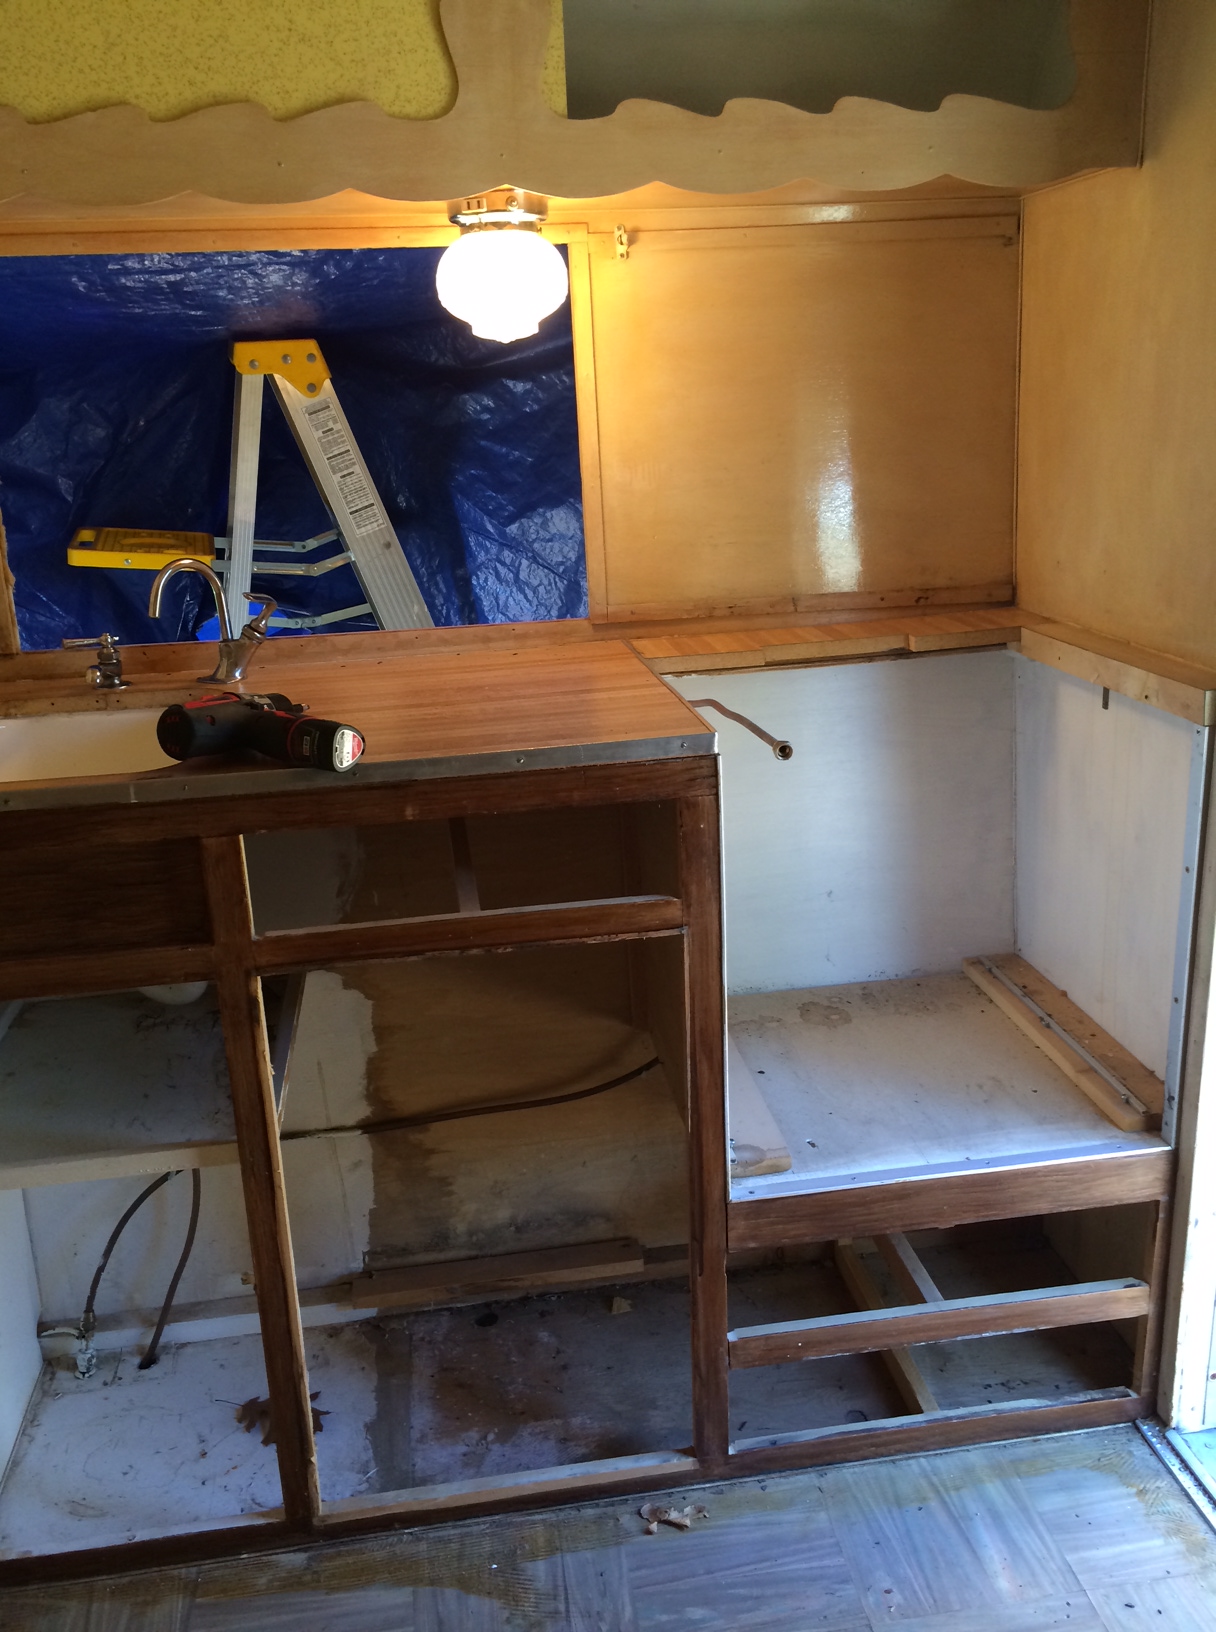
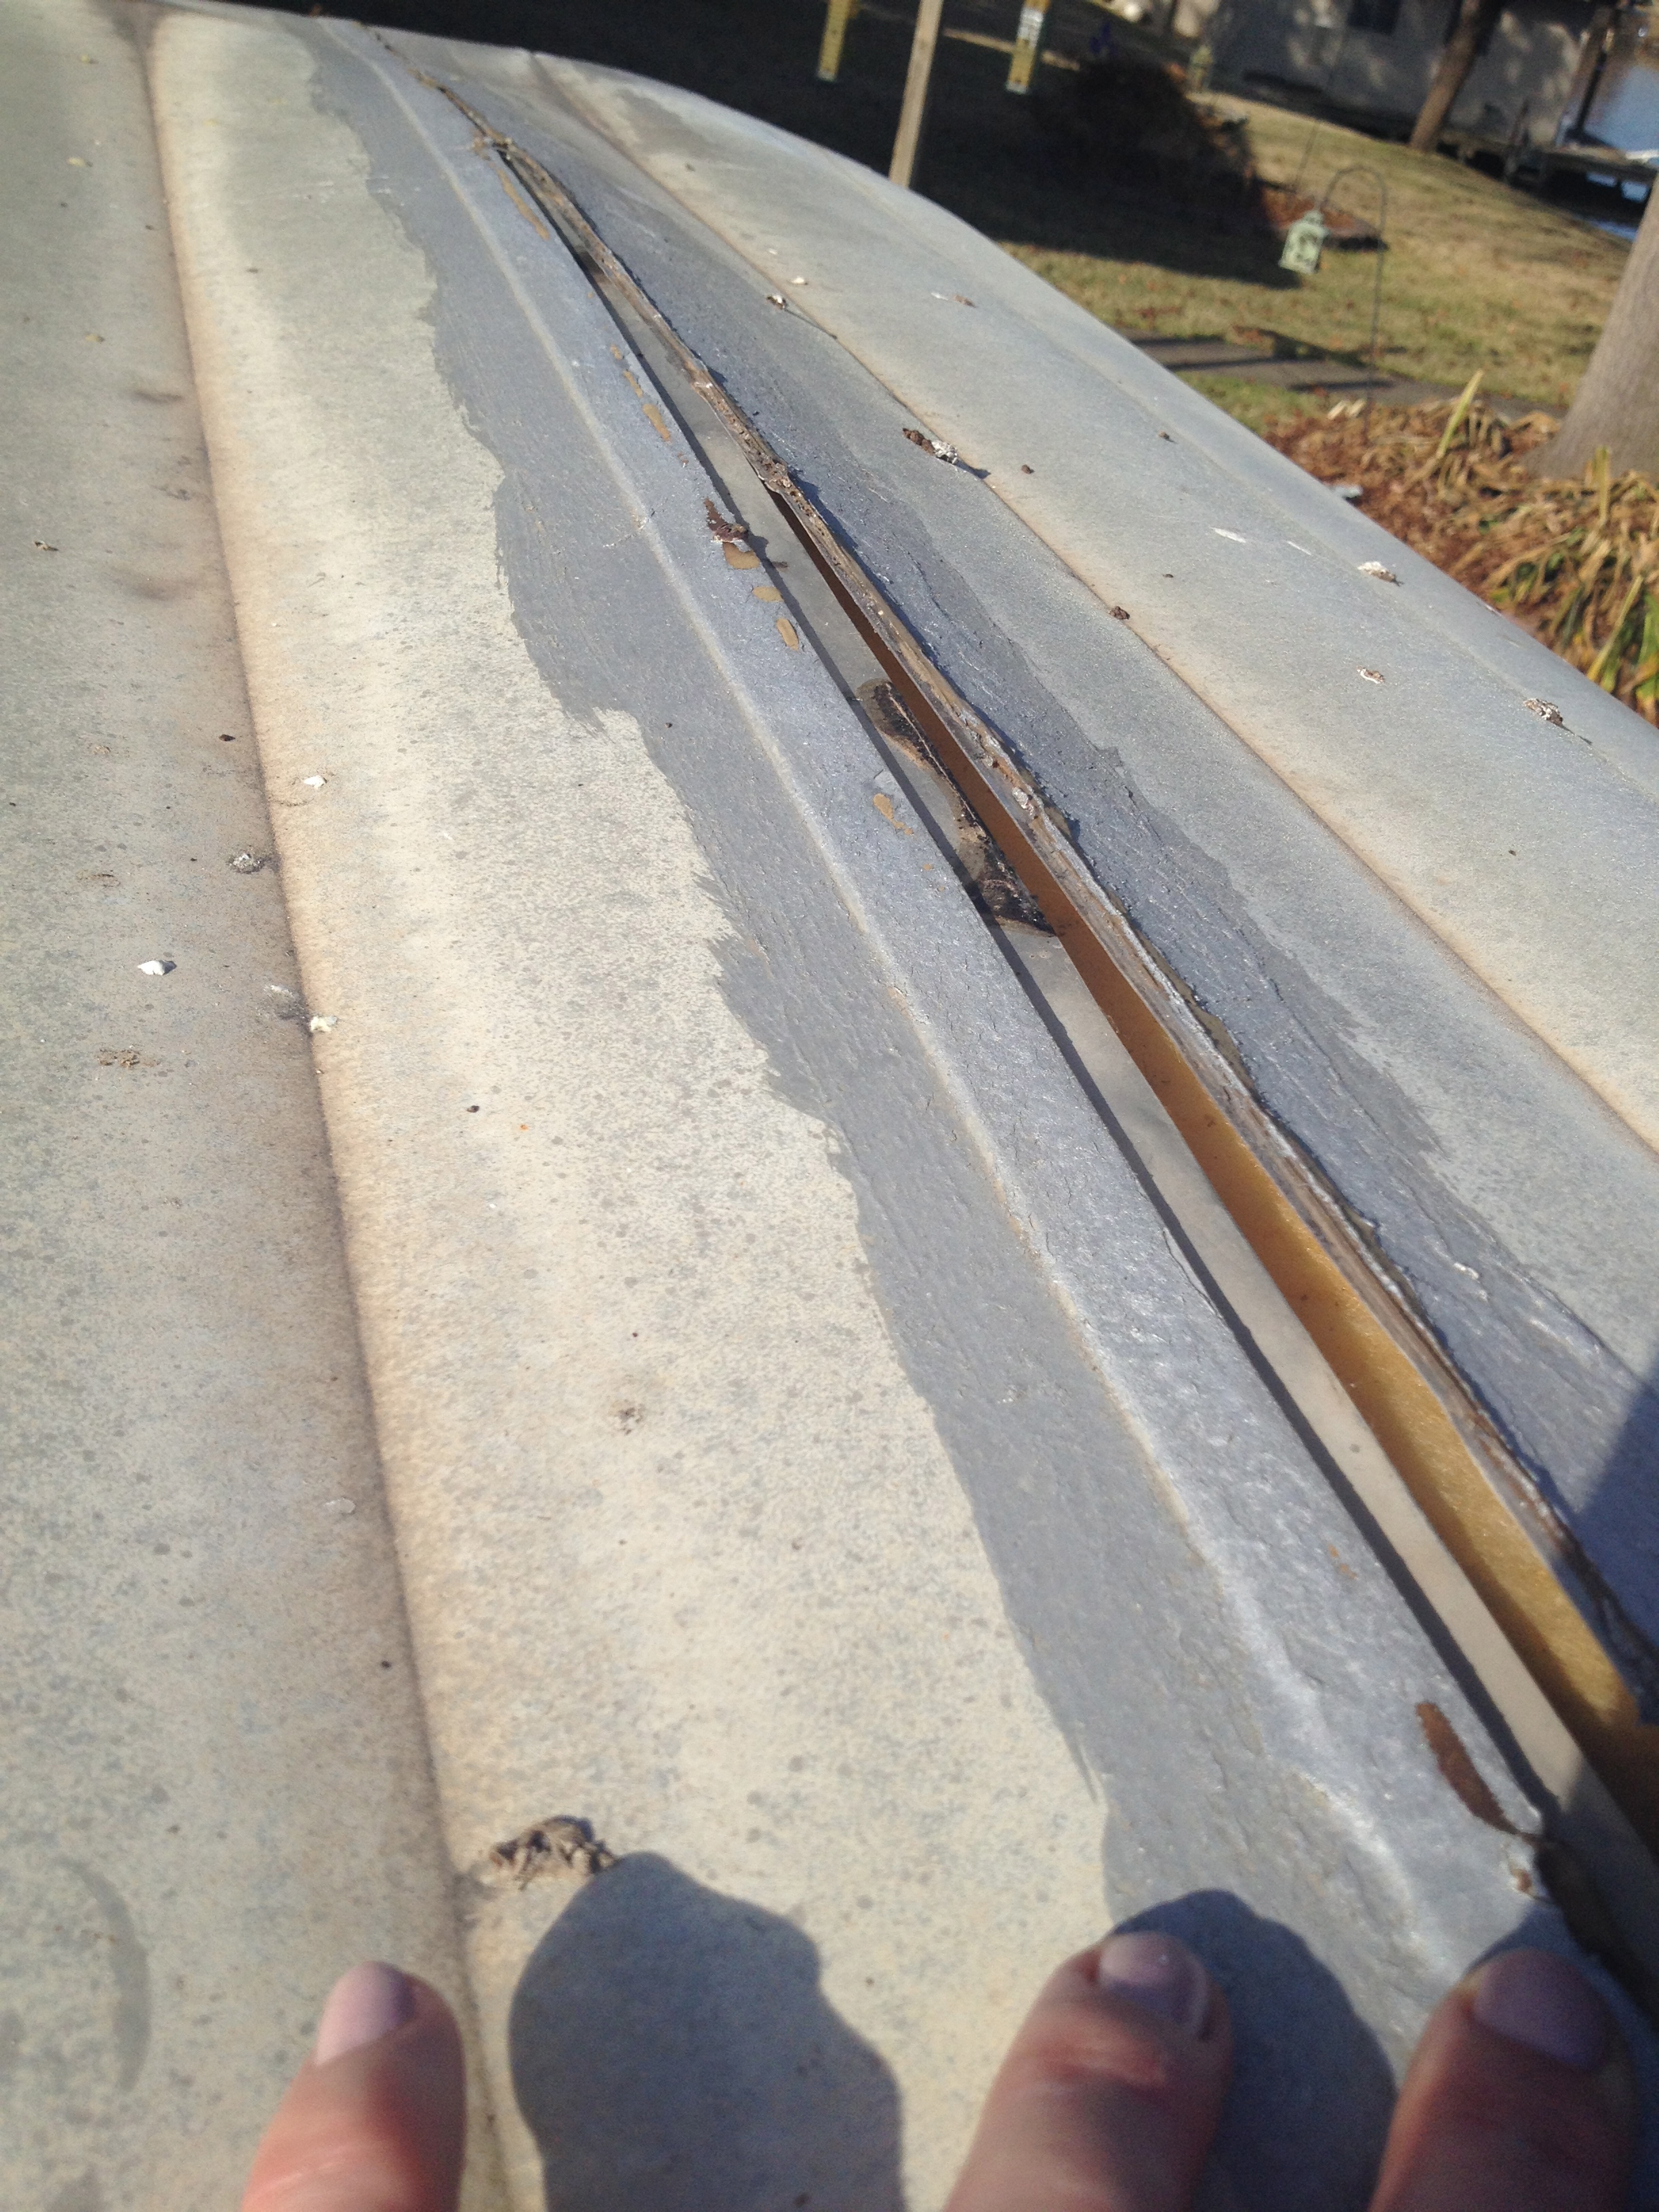
The welder is coming to my house to repair Junebug’s frame at 5:30pm.  I’m excited to get that done so that I can get the floor leveled.  The picture below is what I’m having him do as well.  He’s going to weld a bumper on with a spare tire mount.  I’m also going to make a custom tire cover that says Junebug on it.  Much cheaper than a personalized license plate and will have the same effect. smile emoticon

999939_683329358375336_1176145845_n

This is not Junebug, just a photo to give you an idea of what the bumper and spare tire mount will look like. (Just imagine a custom tire cover with Junebug written on it in lavender and white).

If at first you don’t succeed…

I started on this post earlier today with the name, “Everything Must Go”, then I decided that the more accurate name for today should be the above.   I’m feeling a little defeated at the moment.  I know that oftentimes you must fail many times at something before you can succeed, but the failing part […]

Some Days are Better than Others

Some Days are Better than Others

It is a beautiful Sunday here in Houston, so I took Baxter to the dog park this morning, and I soaked up some sun while Baxter soaked up some other dogs’ spit and who knows what.  I had hoped to make some more progress on Junebug today, but I don’t think it was meant to be.

First, I got out the paint stripper and tried it on my cabinet door.  It seemed like it took something off, but there’s still a lot of varnish or stain on the wood, meaning I’ll either need to strip again and then sand, or maybe I can get the rest just sanding.  I’m going to borrow a sander from one of my friends soon so that I don’t have to buy one.

You can’t even tell that I did anything to the door from this picture.  The only thing that seems to be different is the texture of the wood since the drawer is still smooth with a slight sheen to it and the door is rough to the touch.  The color doesn’t seem to have changed at all.

photo-3

While the stripper was doing its thing, I decided to remove the oven.  That wasn’t actually that hard, however I quickly realized that the oven would have to stay in the camper because it wouldn’t fit through the door frame. confused  If I want to take it out, I’ll have to wait until I remove some of the paneling.  I wanted to remove the cabinets and laminate from the countertop today, but even though I thought I got all the screws out, the cabinet wasn’t budging.  I also tried prying loose the laminate countertop and it kept breaking off so I gave up on that task for now.

no stove

Since none of my other projects seemed to be going well, I decided to get back to work removing the carpet glue from my tiles.  I thought that I could at least make some progress there for today.   I thought the acetone was working well before, but this time since I was working with a larger area, I realized that the acetone was also removing a thin layer of the tile itself.  Now I don’t know what to do about the tile once again.  I could try some different kinds of remover to see if something else works.  I really wish the previous owners hadn’t put that carpet down!

So, it’s 3pm and I’m not really any further along than I was yesterday.  I decided that maybe today was just an off day.  I am going to find something else to do instead, in hopes that next weekend will be better.   Sorry for the frustrated and negative post today.  Hopefully I’ll be back to my usual Pollyanna self next weekend.  (My stepdad used to call me Pollyanna because I was always in a good mood and so optimistic).

I will leave you with this cute picture of Baxter to lighten the mood.  I caught him sunning himself last weekend in one of my lounge chairs by the pool.  He’s so photogenic.

IMG_3990


A few hours later…

I found a cool idea online for Junebug for the dinette/bed area, and I got re-energized a bit. smile emoticon  I really like how this camper has a permanent bed and a small dinette so you don’t have to constantly make the bed up everyday and find a spot to store the linens.  This will work great for Junebug! (Downloaded from http://www.littlevintagetrailer.com)

Cool idea


I also forgot to give credit to Larry at http://www.cannedhamtrailers.com for adding a link to my blog on his site!  I’ve learned so much watching Larry’s videos online and that’s what gave me the courage to start my own renovation.  I was honored that he added the link to this blog on his site.  Hopefully I will make him proud!

I started to shellac one of the birch panels tonight with my renewed energy.  It is already looking beautiful after only two coats!  I noticed there are some green streaks in the wood though and I don’t think those are supposed to be there.  I’m going to call Houston Hardwoods tomorrow to see if they’ll replace it with a better one.  I can probably still use this one in a less noticeable spot like above the kitchenette.

IMG_4029

Notice the greenish streak in the wood.  HmmIMG_4030

Ok, I’d better get to bed soon.  Good night everyone!

Revealing her age…

I had a rather crappy week at work.  I was happy that yesterday was my Friday off (we get every other Friday off, a nice benefit, especially after a bad week).   I’m glad I could work on Junebug to take my mind off of things.  Unfortunately, the more I do to Junebug, the more […]

Junebug Goes Topless, Day 2

Today, I went to Lowe’s and Home Depot and bought a variety of supplies, most notably some acetone, sanding paper, a Milwaukee multi-purpose oscillating tool (with sanding attachment), two cans of Zinsser Amber Shellac, and two cans of the clear shellac.  I wasn’t planning to start the shellacking process today, but I figured I might as well get prepared in case I feel like tackling it during the week sometime.  I’m not sure if I’m excited about that part of this project or afraid.  I guess I’ll find out once I start on it!

So I continued on my quest to remove the roof today, and I finally succeeded!  I had more trouble removing the two pieces than expected, thanks to a bunch of screws holding them together that were, of course, covered in sealant.

Shasta Restoration Part 5

In this video clip, I show what the roof looks like before and after I remove the next two sections.  I didn’t find any more surprising messages today.  But I’m not done uncovering all the wood yet, so who knows what I’ll find!

I tried acetone on the tiles to remove the carpet glue and it is working!  Unfortunately, it’s going to take me a million years to get it all off.  😦  Another problem I am seeing and haven’t decided whether to take on is that one of my benches has come loose from the floor, and the wood on the bottom of the bench is cracked.  I think it was a result of the wrong sized spring that was on the trailer when I bought it.  I’m not sure.  I think I should probably remove the benches, but I feel like that’s an even bigger project than what i had planned to take on.  Then again, this whole project just keeps getting bigger and bigger, so what harm is there in removing a couple of benches?  Ok, maybe releasing some asbestos into the air is one problem.  ugh

Whenever taking on a project such as this one, it is always a good idea to make sure your tetanus vaccination is up to date.  That aluminum is razor sharp!

IMG_4007

If you just looked at my garage, you would probably assume a man lives here.  But you would be wrong!  (unless you count Baxter)

IMG_4011

More to come next weekend as I continue to remove the skin.  I may also try to remove the cabinets and benches if I can get up the courage.  🙂

Junebug Goes Topless

I was at work all week, so that’s why you haven’t heard from me in a while.  The week was actually pretty eventful.  I got a lot done at work, made it to the gym a few times, managed to lose six pounds (healthy diet and exercise really does work wonders!), and I had two dates!  🙂  The dates were with the same guy, a musician I met on this dating app called Tinder (http://www.tinder.com/).  I figured I might as well try it since my friend met her boyfriend on there.  I normally hate internet dating, but you never know, and as busy as I have been, I hardly ever meet anyone the traditional way.  Working on Junebug is fun, but I guess it does make me a little antisocial. haha The first date was great, but the second one last night was kind of a let down.  I won’t go into the details, but let’s just say I will add that to my growing list of internet dating failures.  Oh well, at least I had this weekend’s project to look forward to instead of dwelling on my failure to find Mr. Right. 🙂

So, now back to my progress today with Junebug.  Today, I had intentions of removing the entire roof from Junebug.  Unfortunately, things took a little longer than expected, so I was only able to remove one more piece of skin.  I didn’t anticipate that it would take me over an hour to remove the stupid vent on the roof thanks to 50 years and several layers of sealant applied around it and over the screws.  Have you ever tried to remove a Phillips head screw with sealant in all the cracks?  Doesn’t work very well!

Shasta Restoration Part 3

In the video below, I show you a few clips of my long and arduous journey to remove the sealant around the vent and ultimately remove the vent.

Shasta Restoration, Part 4

And in this video clip, the next piece of skin is removed and a lovely surprise is revealed!

And last but not least, I wanted to share a few more photos of the interior.  I removed the seat cushions and the carpet to reveal the original floor tiles!  I have heard that they may contain asbestos, so I’m trying to decide what to do with them.  I would love to remove the glue and add a wax finish so that I can keep them in Junebug.  I think they are pretty cool.  I’m going to do some research to see if that’s risky.  I already tried removing the carpet glue, and it wasn’t easy.  I may decide to give up on keeping them, we’ll see.  I’ll keep everyone posted on what I decide of course.

IMG_3998 IMG_3999 IMG_4000

I also removed the wings the other day since they were sharp on the corners, and I was afraid they were going to poke a hole in my new cover.  I figured I would need to remove them anyway once I got to that point.  You can see where they belong, and Junebug can’t fly without her wings, so I can’t wait until I can put them back on!  I read somewhere that I could cover them with a pool noodle to protect my cover, so I will try that once I have everything put back together.

IMG_3991

I’m thinking that at the rate I’m going, I may finish this project in time for my retirement! haha


P.S.   In case you didn’t watch the video and want to skip to the surprise.  Somebody at the Shasta factory was having a bad day…

Screen Shot 2014-01-15 at 7.19.04 PM

Christmas Through The Years

Posted on

I reluctantly started taking down the Christmas tree and decorations today.  I always hate this part, it’s usually kind of depressing.  This time, however, I decided to take pictures of each of the ornaments my mom has given me over the last seven years, and share their stories with all of you!  This made it […]

The Ice Box

Posted on

So I spent most of yesterday going to different stores looking for stainless steel screws in the right size to replace all of the rusty screws that I have been removing from poor Junebug’s skin.  Everything I have removed is rusty it seems.  Not to mention the dry rot.  And the water damage.  And some weird white powder all over the wall after I removed the old insulation (what is that stuff??).   Anyway, I didn’t make a lot of progress, and I ran out of time in the evening to write a post since I had to get ready to go to a party at a friend’s house.

After I got back from the store, my neighbor, always curious, came over to see what I had been up to.  He was impressed that I had removed some of the skin myself and bought several new power tools.  We went inside the camper to look at the cabinets, and the next thing I knew, he was helping me remove the old ice box.  This wasn’t on my original agenda for the day, but hey, I’ll take the help when I can get it!  Actually, it has been pretty easy so far to get random help from my neighbors.  I think they are just as excited about this project as I am!  The ice box (and it’s literally an ice box, not a refrigerator), came loose pretty easily, and we thought we could just pull it right out.  But that turned out not to be the case (big surprise).  It was attached to the cabinet toward the front and we couldn’t figure out what in the world was holding it in.  We tugged and pried and pulled and pushed.  Nothing seemed to work, and I didn’t necessarily want to start removing the whole cabinet.  Finally after lots of maneuvering, we discovered the big nails hidden away right behind the cabinet face.  After cutting those with my wire cutters, the ice box slid right out!

Pretty gross behind there!

Pretty gross behind there!

That gaping hole will be the home for a new modern refrigerator at some point.   I can’t wait to rip out this nasty carpet too.  You can see all kinds of stains in it like the one in the picture above.   Gross.

Junebug gets naked

Posted on

Today, I have decided to take on the biggest project yet, removing some of Junebug’s skin in order to repair the open seam in the roof.

This is the worst seam, it's completely open and you can see the insulation when I press on the aluminum.  Definitely needs a repair pronto!

This is the worst seam, it’s completely open and you can see the insulation when I press on the aluminum. Definitely needs a repair pronto!

I just had a nice chat with my new friend, Susan, who restores vintage campers, and she walked me through each of the steps I needed to take in order to complete this repair.  I really hope it turns out like it’s supposed to!  I will be posting pictures of my progress and maybe even some video, depending on what kind of mood I am in.  Stay tuned…

Seven hours later…

So, I spent quite a bit of time initially going to a few stores to get the proper supplies for today’s project.  I discovered a pretty good RV supply and repair shop not too far from my house, RV Masters.  http://rvmastersinc.com/  They were pretty nice and one of the employees gave me some advice and asked that I bring Junebug by when I’m done so they can see her.  I told him I would probably be by  before that if I get in over my head. haha  At least I know an escape route if all of this gets to be too overwhelming.  He reminded me that vintage camper restoration was not a good investment and that it was a labor of love.  I know this already, there’s no way I’m getting back my investment on Junebug.  I don’t even really care since I don’t know if I’ll be able to part with her after all of the time and effort I’m planning to put into her!

So, rather than post pictures this time, I took some videos to show you my progress.  These videos show a lot more than photos can.

Shasta Restoration Part I:

I show all of my tools and the “before” shot of the front of Junebug before I take her apart.  I also take off the eyebrow and window in this clip.  At this point, I am happy and hopeful because everything is going smoothly.


Shasta Restoration Part II:

In this clip, I remove the first panel of aluminum siding.   You can hear and see the frustration and disappointment I am experiencing because not only was it more difficult to remove than expected, but I also am finding quite a bit of dry rot.

After this clip, I called up my friend Susan.  She gave me a pep talk and explained what I needed to do to replace the rotted wood before I could replace the aluminum.   She also said it helps to keep plenty of wine on hand. haha  On that note, I poured myself a glass of wine.   I felt better after that, although I’m still kind of thinking, what have I gotten myself into??  The good part is, I needed to discover the rotted wood in order to know I needed to replace it.  I would hate to fix up the interior of the camper, only to have it ruined because the framing and siding is in horrible condition which would only lead to leaks and structural damage and ultimately ruin all of my hard work.  The bad part is, this is going to take a lot longer than I planned.  This shouldn’t surprise me at all, because so far that has been the case with each little Junebug project.  Guess I’d better reset my expectations going forward!

So, the saga will resume tomorrow.  Tonight, I think I’m going to treat myself to a steak dinner because I worked so hard today.  🙂

Life was not easier back then…

Posted on

My grandma always made sewing look so easy.  She sewed intricate dresses and nightgowns for my barbie dolls and made quilts with embroidered blocks signifying life events for all of her five children and I think most, if not all, of her grandchildren.  For a while there, I think she was cranking out two or three quilts a year plus numerous other sewing projects.  What I didn’t realize was how many hours she had to put into these projects to make every item look as good as it did.  I know you get better and faster at it with practice, but geez!  This curtain project is taking way longer than I thought it would!

I headed to Jo-Ann Fabrics today to buy one more yard of fabric since I had come up short yesterday.  Wouldn’t you know, they were conveniently all out of the kind I needed.  Just my luck!  I asked a sales person to help me, and we both searched high and low for the fabric.  They had the Waverly Hourglass Seaglass and Coral versions, but not the Hourglass Violet like I needed.  We also couldn’t locate a sku number so she could search the system.  ugh  Finally I gave up and went back home.  It was then that I realized, I only need a few more pieces for the back side of the curtains (facing the exterior).  Since I wanted the pattern to show from the outside, all I needed were pieces and they didn’t necessarily have to look perfect since the window would be in between the onlookers and my fabric.  I decided I would sew some pieces together that I had left over and make this work.

So…. I got my machine out and threaded it.  It had been a while since I threaded the machine, so of course, I had to get out the instruction manual and carefully go through each step.  After all that, I still kept getting the thread all tangled and the backside of the fabric looked like my dog, Baxter, tried to sew it.  😀  After at least 30 minutes and several pieces of trial fabric, I finally got the settings right and my stitches were coming out right.  Fast forward an hour and I finally finished the first two panels for one of the side windows!  Hallelujah!!

Funny side note:  I just ran spell check on here to make sure I didn’t have any mistakes, and it highlighted the word, “sew”.  It asked me if I meant to say “so” or “sue”.  Is sewing so uncommon that the people who created spell check think it’s got to be a mistake??  That made me laugh.  🙂

Side windowThe fabric is a little too long with the seat back up, but it needs to be long enough to cover the window when the bed is made down (see below).

IMG_3949

I made two panels for each window so that they could open in the middle.  I think I’ll make some sort of ties for them as well so they can either tie back or tie in the middle when I want them open.  I’m pretty pleased with how this one looks.  Hopefully the other three turn out as good!

IMG_3950


Two hours later….

I finally finished!!  I’m so proud of myself.  I lost count of how many times I had to rethread the machine (not sure if it was my machine or user error), but I finally did it.  I’m pretty satisfied with the result.  All of my measuring seems to have paid off because I think they turned out pretty straight!

Guess I need to take the tinsel down sometime soon.

Guess I need to take the tinsel down sometime soon.

And as an added bonus, my Happy Camper dish towel and little magnets came in the mail today that I ordered from icesk8r at  www.etsy.com.

IMG_3946 IMG_3957


The only curtain panels that had a slight problem were the ones above the sink.  They turned out slightly short.  I think I didn’t realize that the curtain rod was a little higher than the other ones.  Oh well, I can fix that later.  🙂

Now it’s time to make some dinner and relax.  I think my job is done for now anyway.  A bientot!