“Hope is not blind optimism. It’s not ignoring the enormity of the task ahead or the roadblocks that stand in our path. It’s not sitting on the sidelines or shirking from a fight. Hope is that thing inside us that insists, despite all evidence to the contrary, that something better awaits us if we have the courage to reach for it, and to work for it, and to fight for it. Hope is the belief that destiny will not be written for us, but by us, by the men and women who are not content to settle for the world as it is, who have the courage to remake the world as it should be.” — Barack Obama
Something about this project fills me with hope. I am enjoying the challenges that come with it on a daily basis and don’t have any misconceptions about how difficult this project is or will be for me, and I’m loving every minute of it. I am also enjoying the dreams I have of the places I will go when it’s all complete! I just signed up for my first vintage camper rally this year. It will take place in Lake Charles, Louisiana the weekend of September 20-21. I’m really excited at the thought of camping in Junebug for the first time and showing off my hard work to others who have an appreciation for things old made new again. This means I’ve got only about four more months before I need to be done! I’d better kick it into high gear!
Yesterday, I came home from work and discovered a letter taped to my front door.
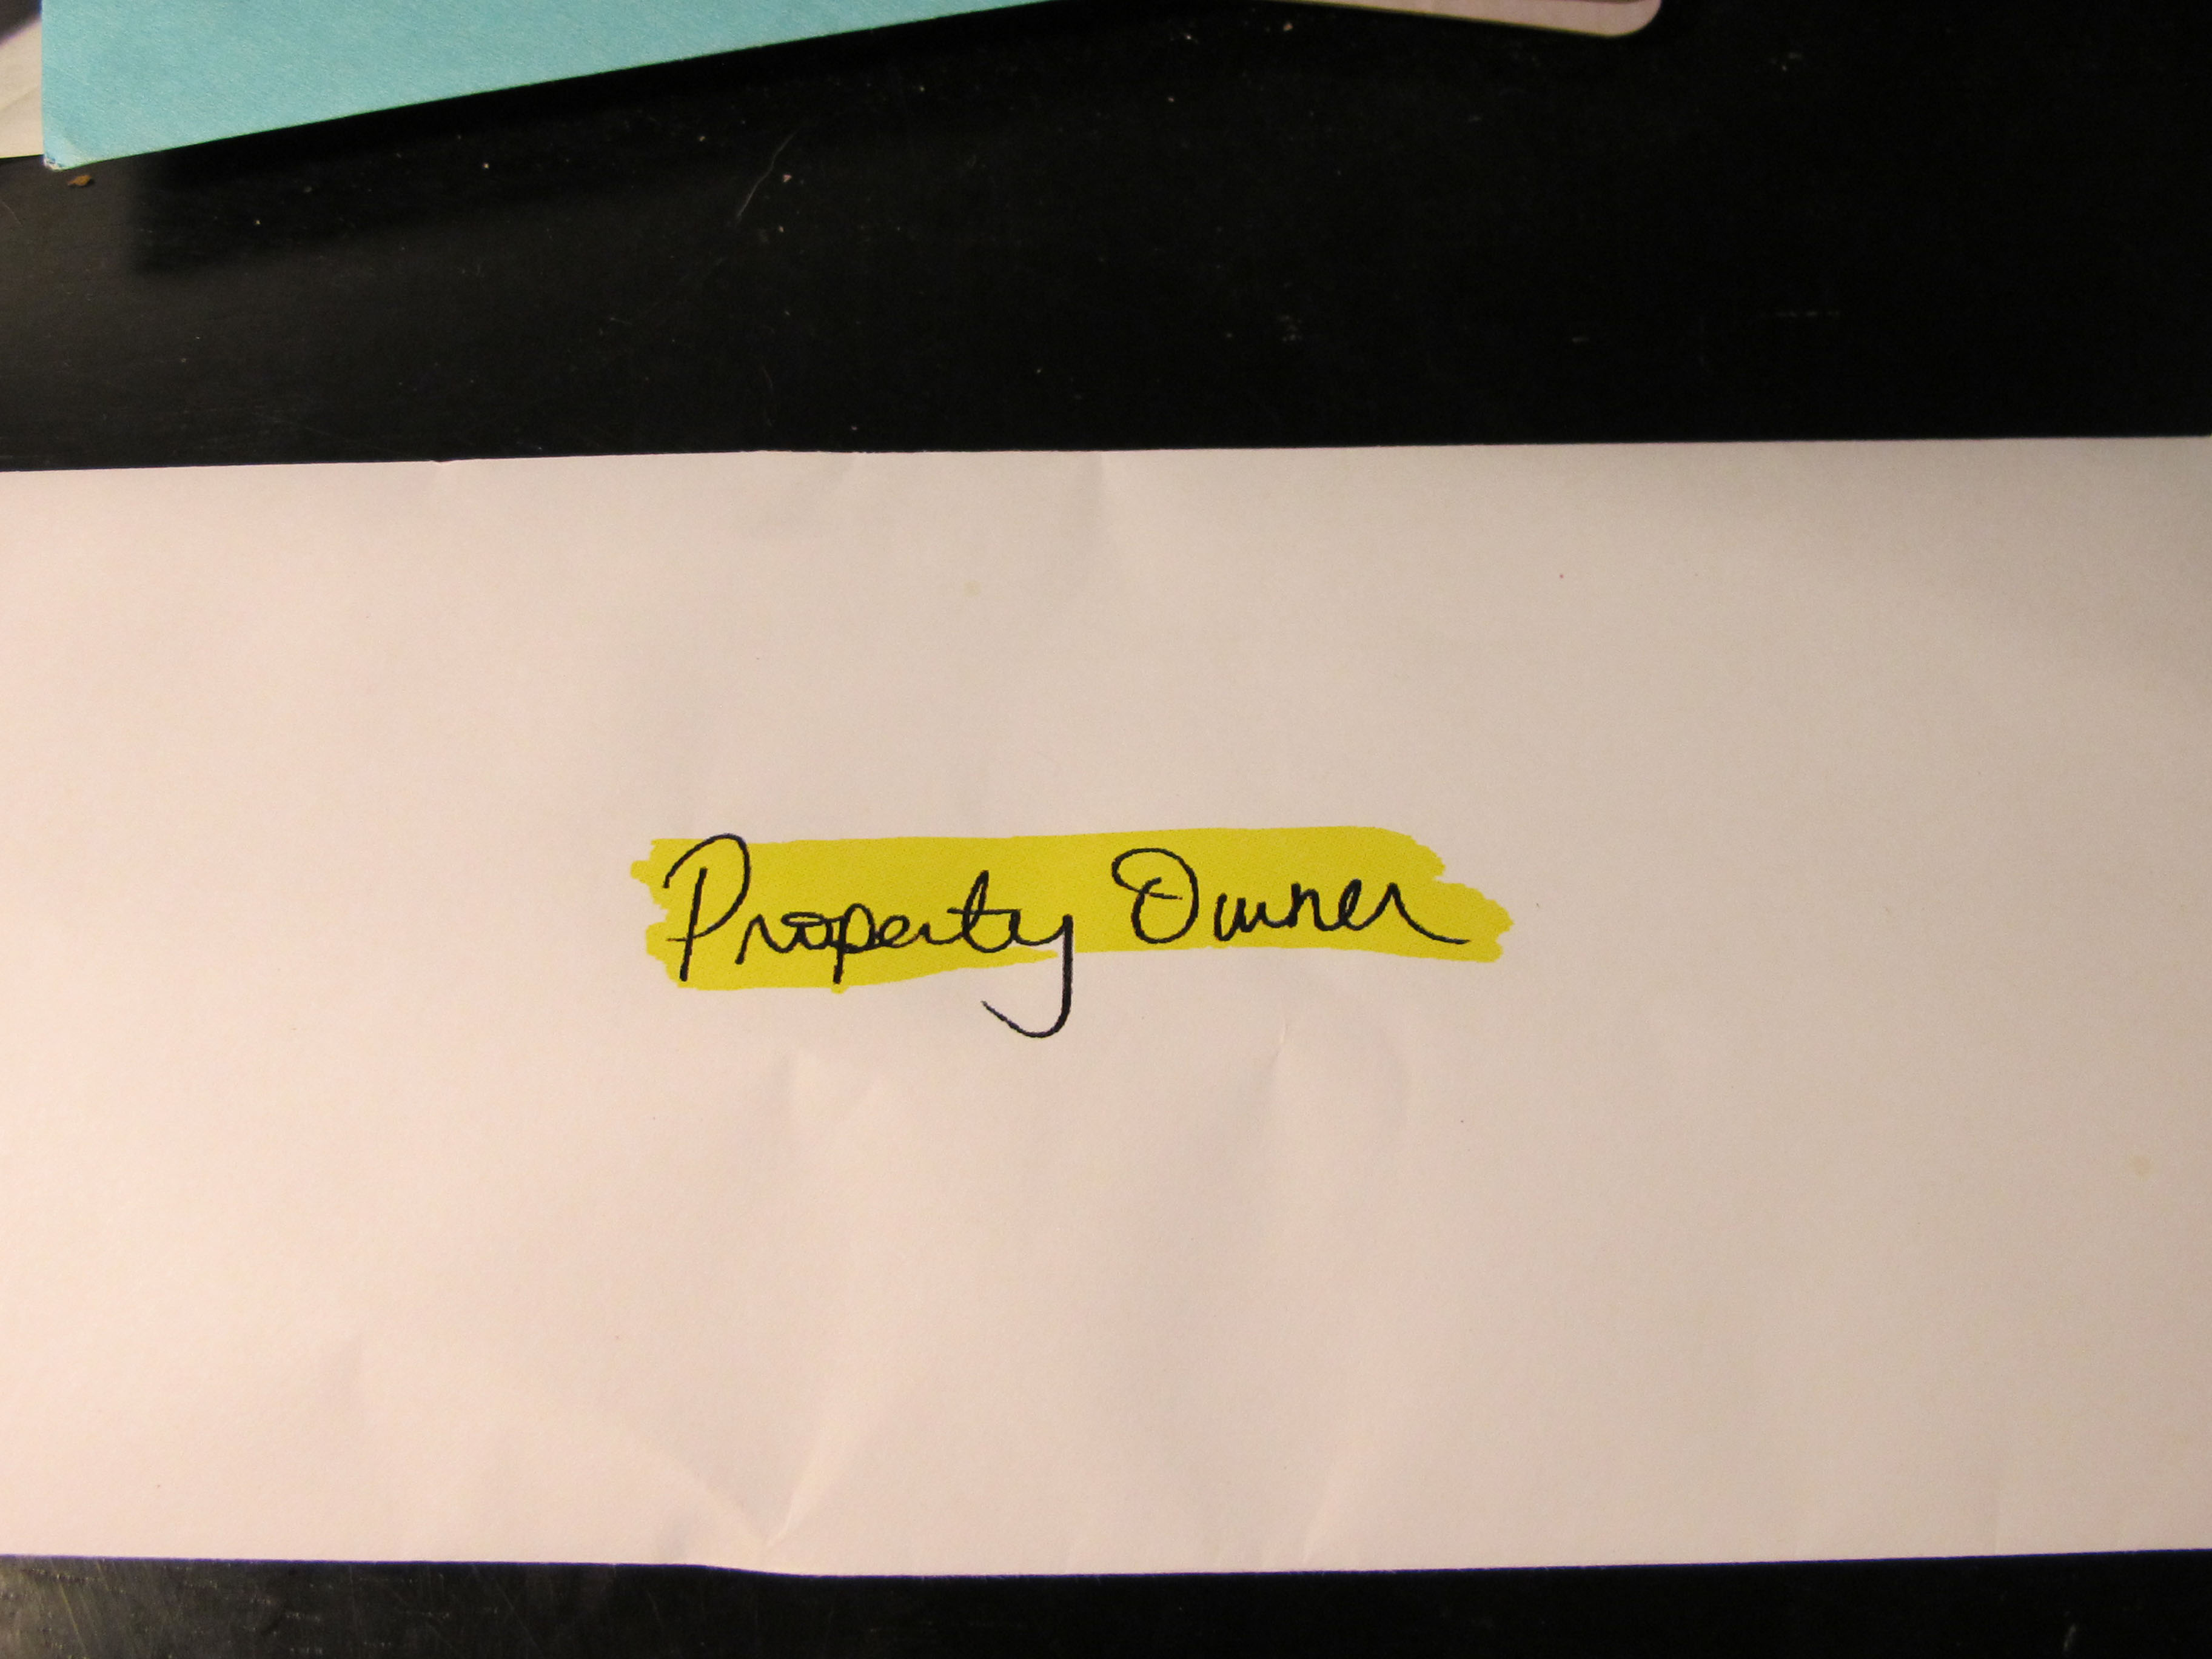
My heart sank. My first thought was, uh oh, someone has finally gotten fed up with this disassembled, eye sore of a camper sitting in my driveway and they’ve written me a letter to complain about it! I don’t have an HOA in my neighborhood, thank goodness, and so far, I haven’t had any complaints about my little project being in front of my house all the time. Luckily, when I opened the letter, it was just from a developer wanting to buy my house instead. haha ![]() I’ve always been the kind of person who sees the glass as half full, so I guess it was out of character for me to think the letter was something negative but I couldn’t help but wonder if my luck had run out. Not this time!
I’ve always been the kind of person who sees the glass as half full, so I guess it was out of character for me to think the letter was something negative but I couldn’t help but wonder if my luck had run out. Not this time!
Speaking of the glass being half full, I’m trying to maintain that outlook about my dating life, and I am afraid me posting about it on here is jinxing it or that’s what I’m telling myself anyway. A few posts ago, I wrote that I was happy to have found someone and then less than a week after that, I was single again. ![]() Dating is so unpredictable! I decided that from now on, I will not be sharing any more updates on my dating life. Maybe somehow that will lift the curse. And if not, at least the only failures you will know about are my failures with Junebug. haha
Dating is so unpredictable! I decided that from now on, I will not be sharing any more updates on my dating life. Maybe somehow that will lift the curse. And if not, at least the only failures you will know about are my failures with Junebug. haha
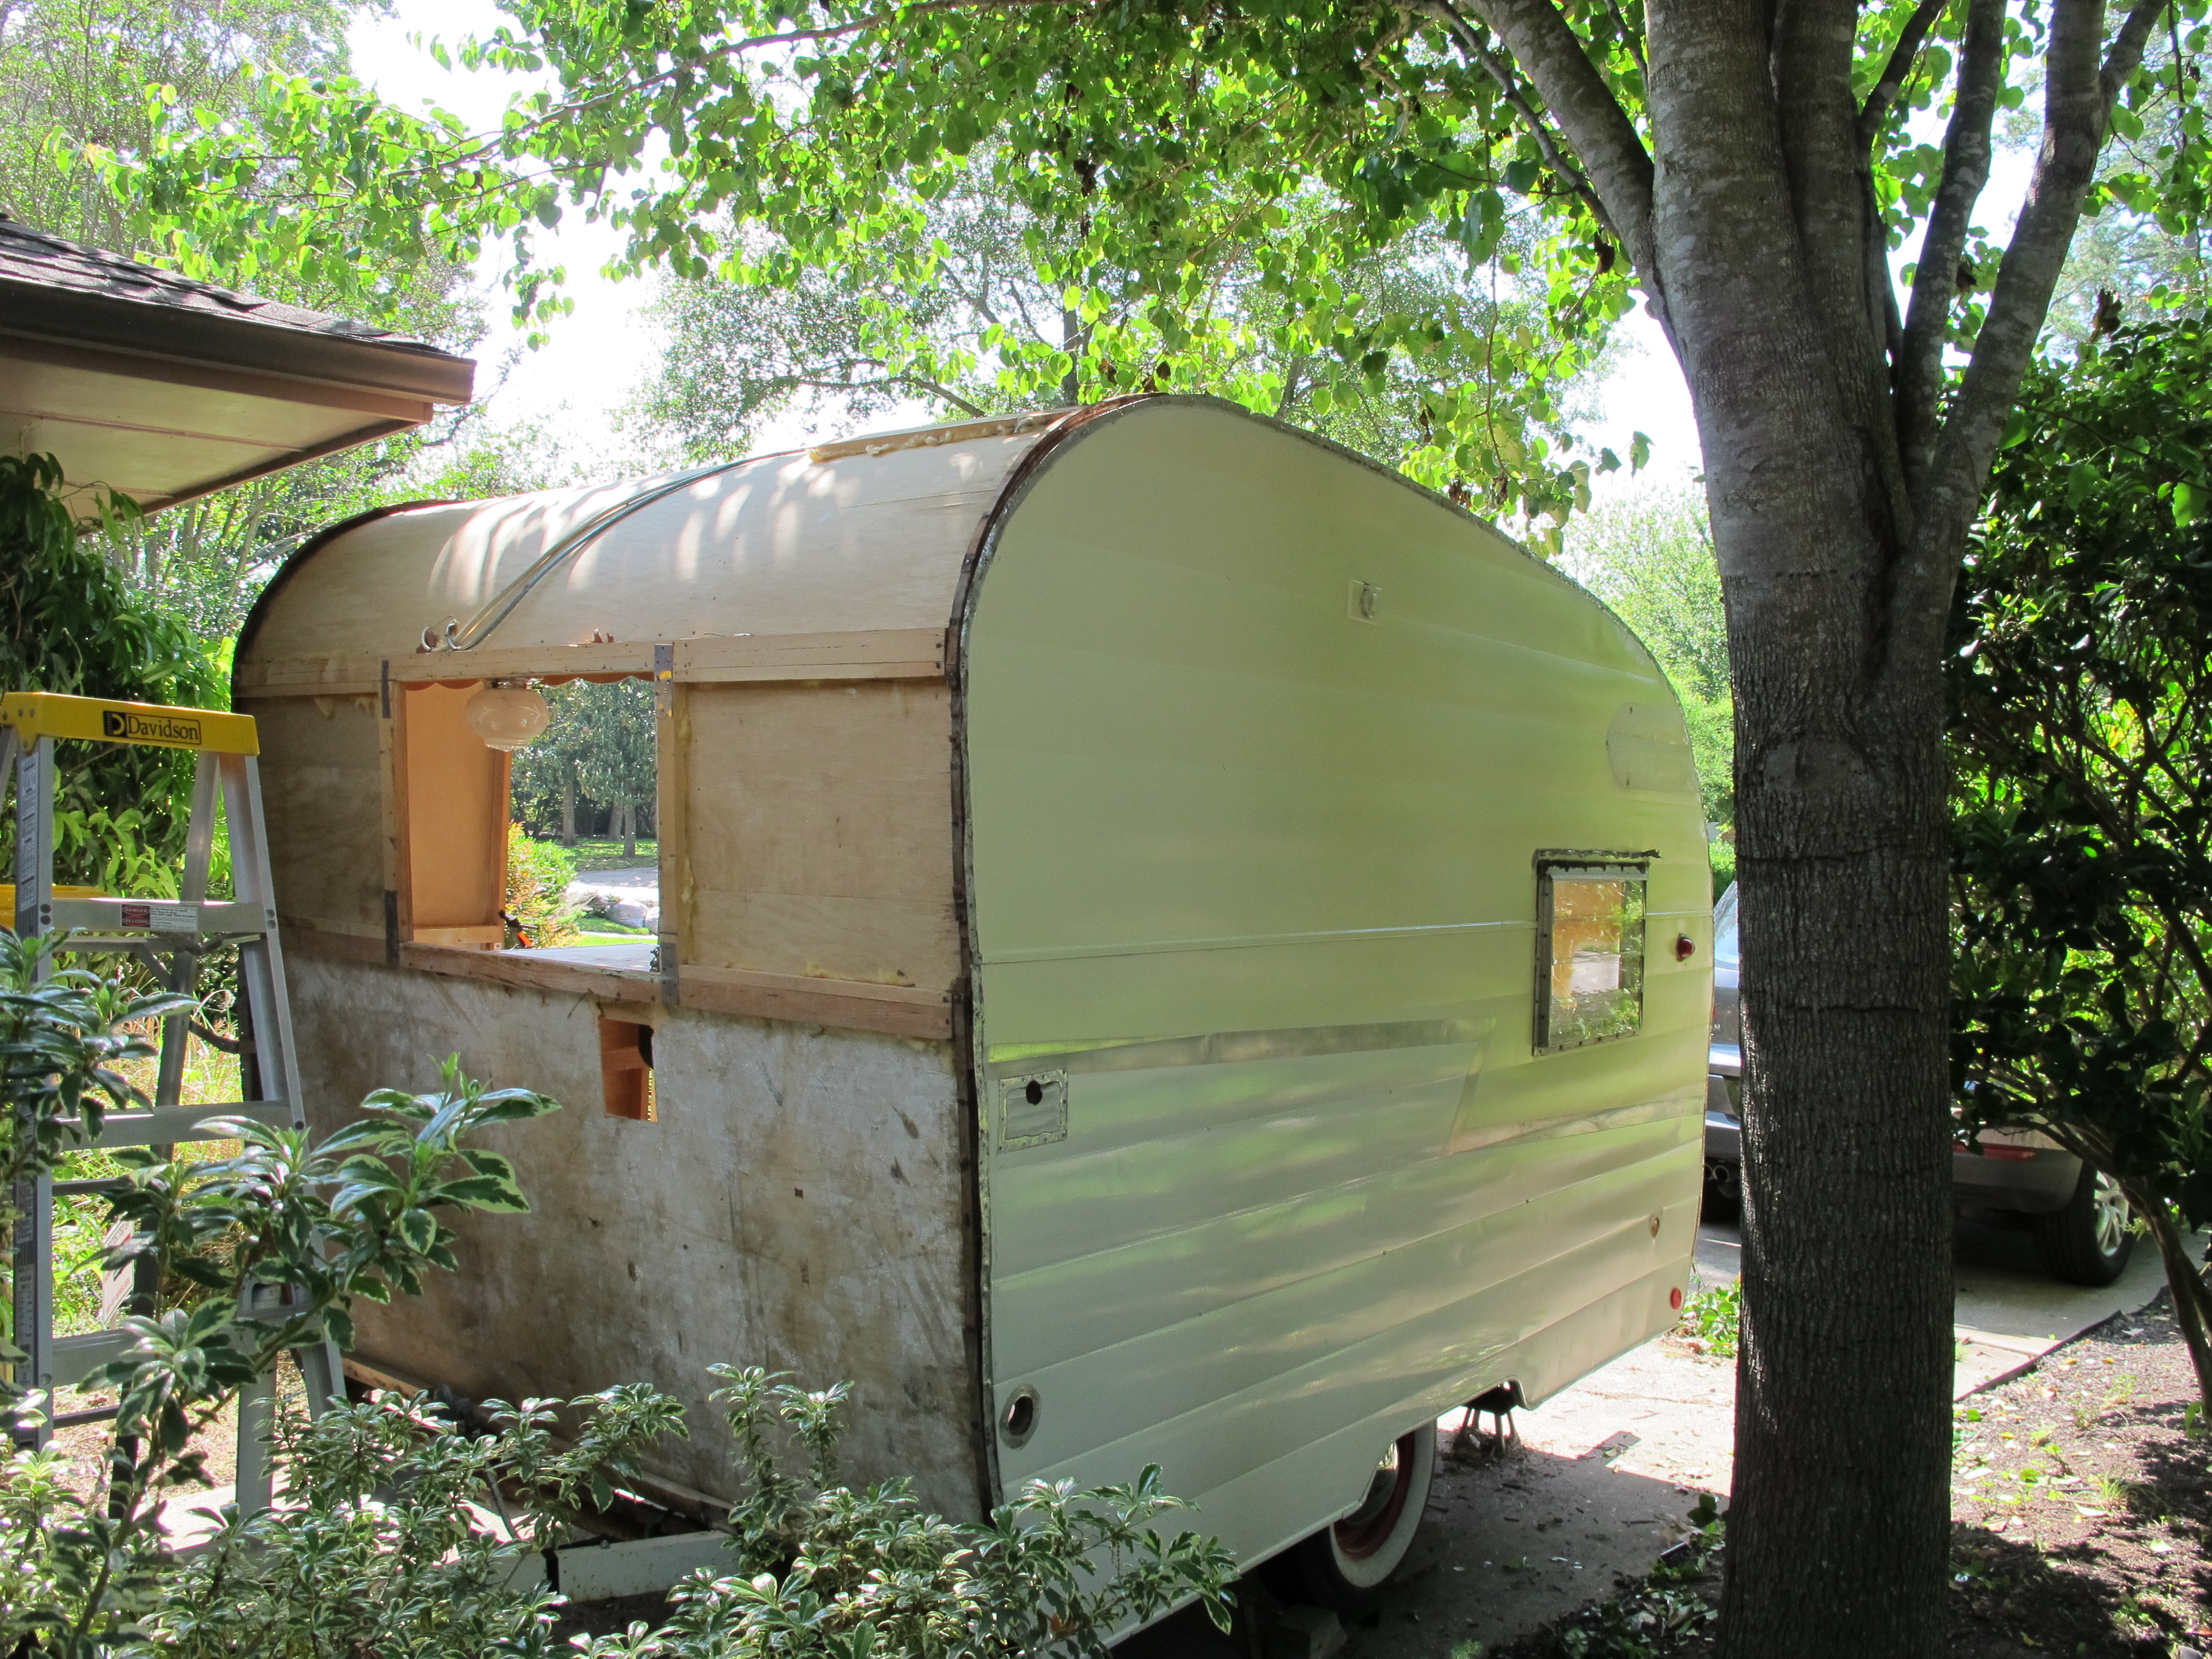
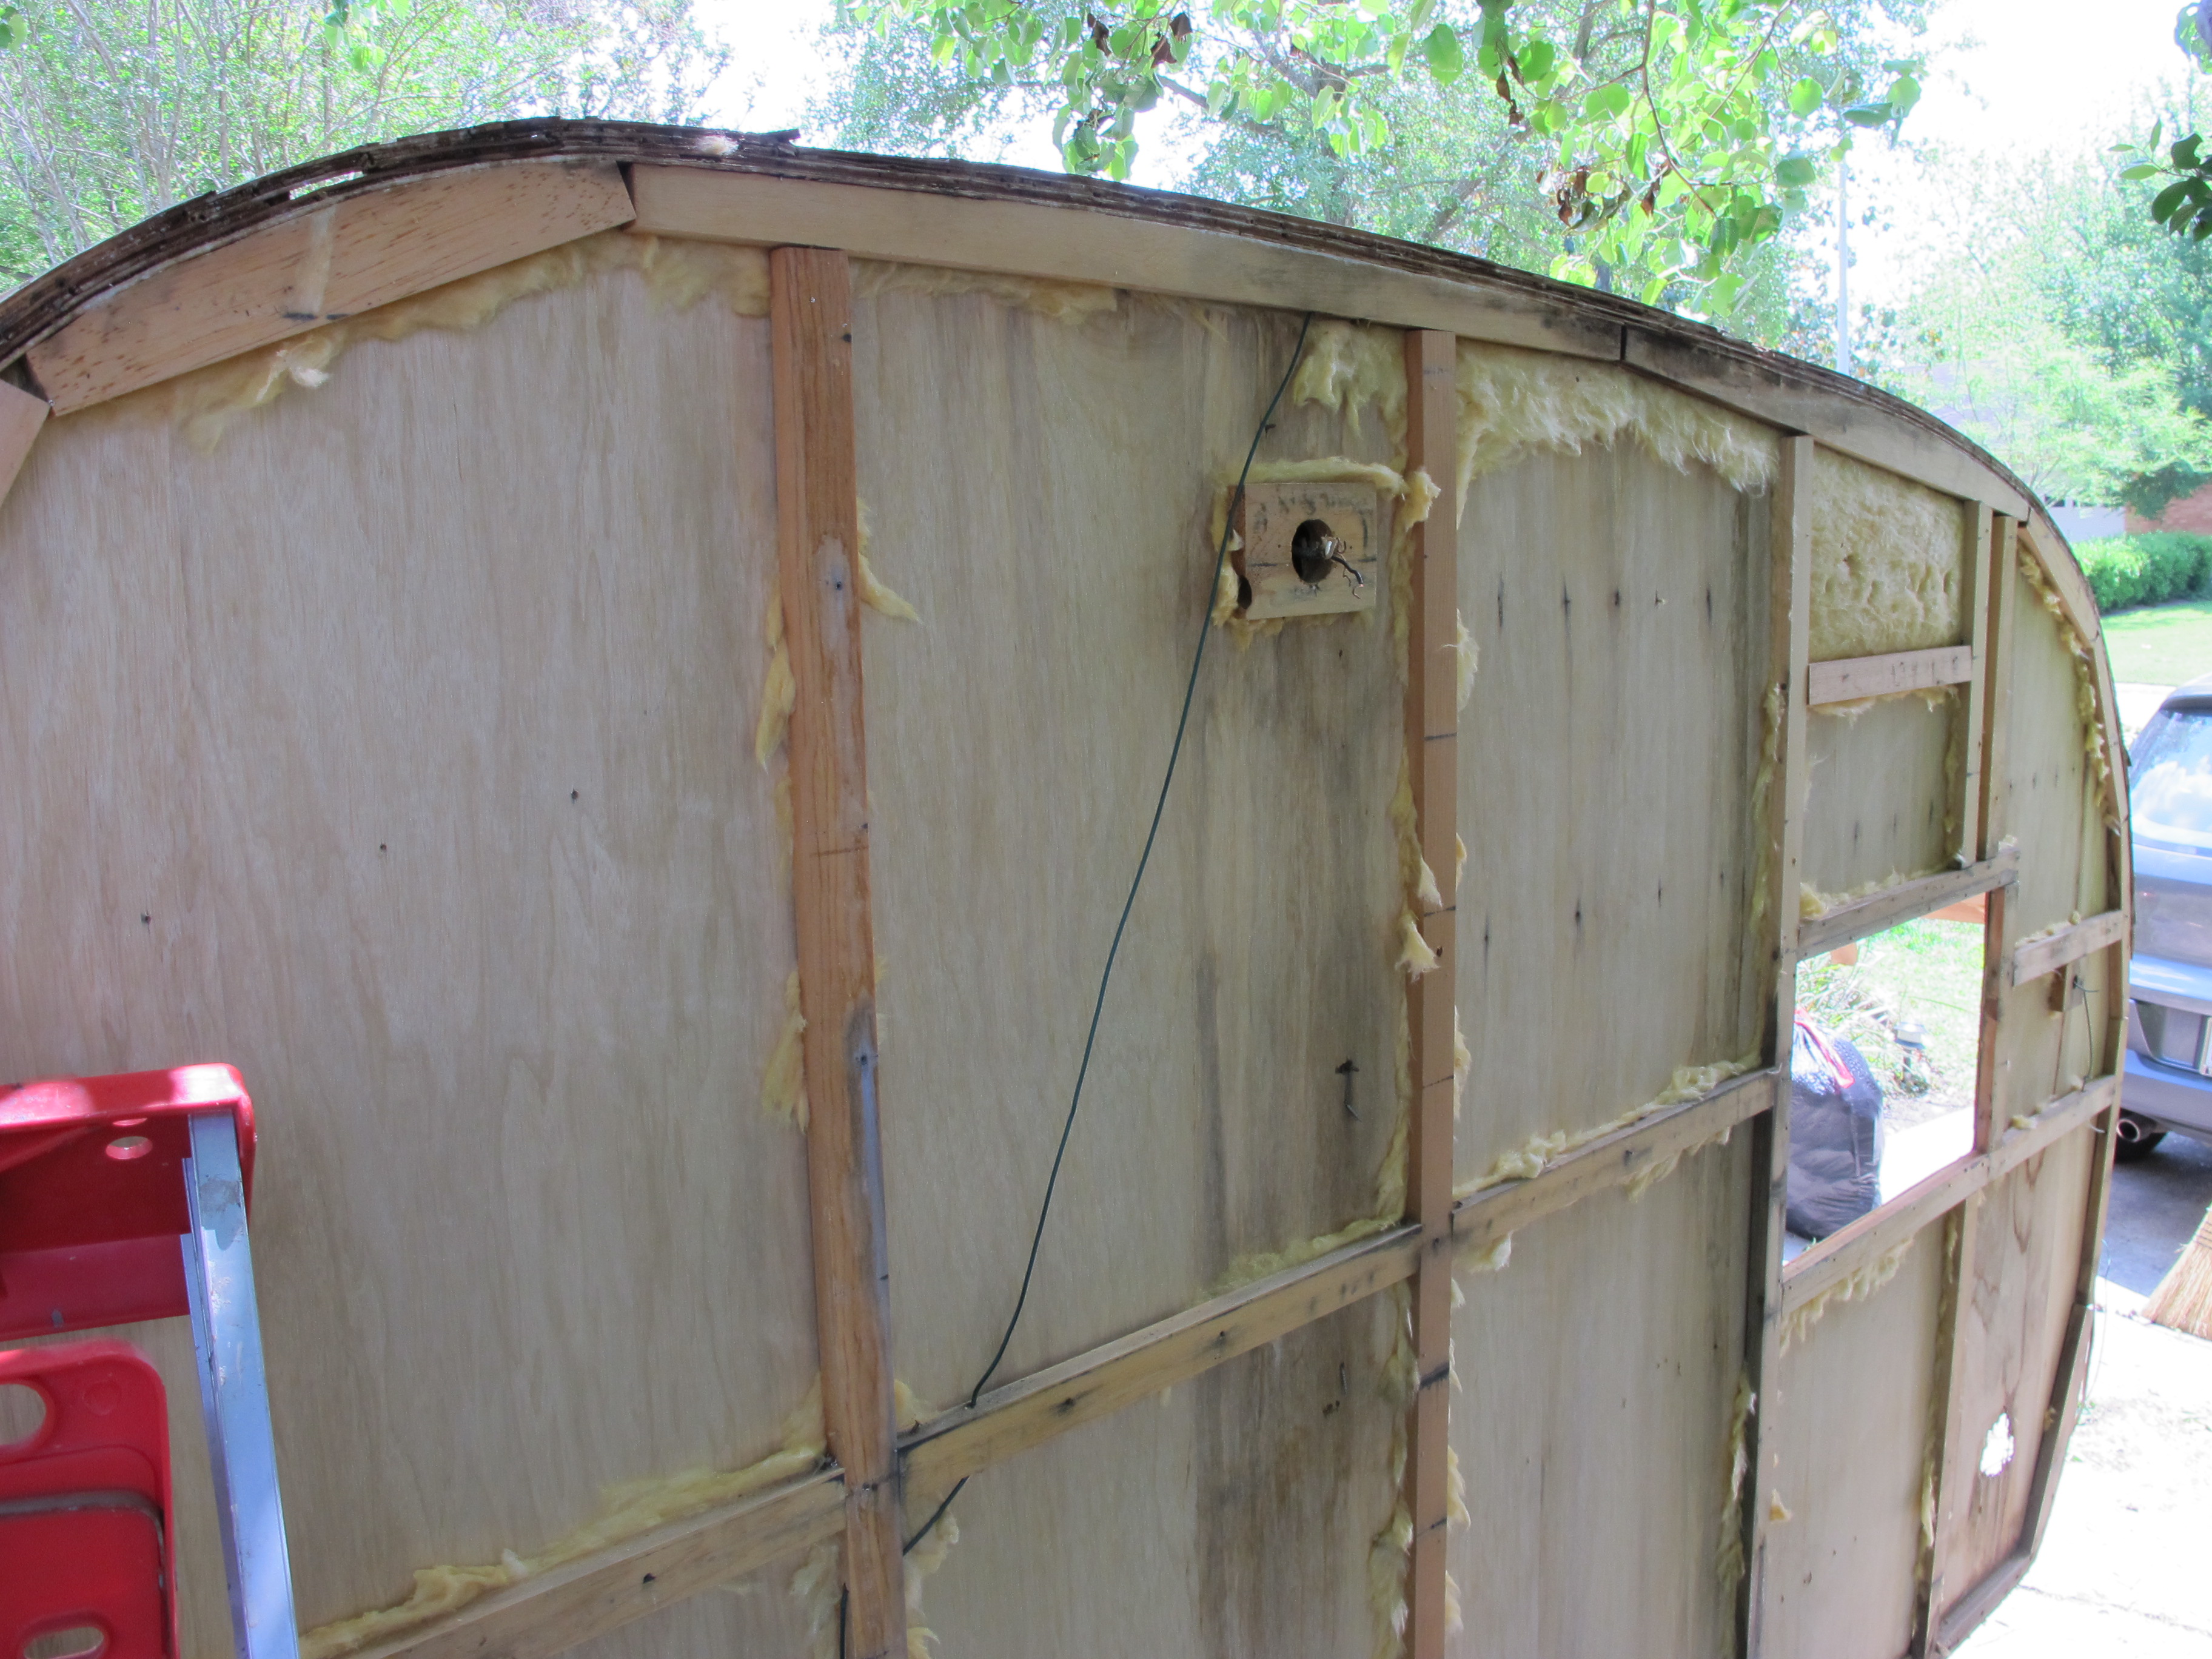
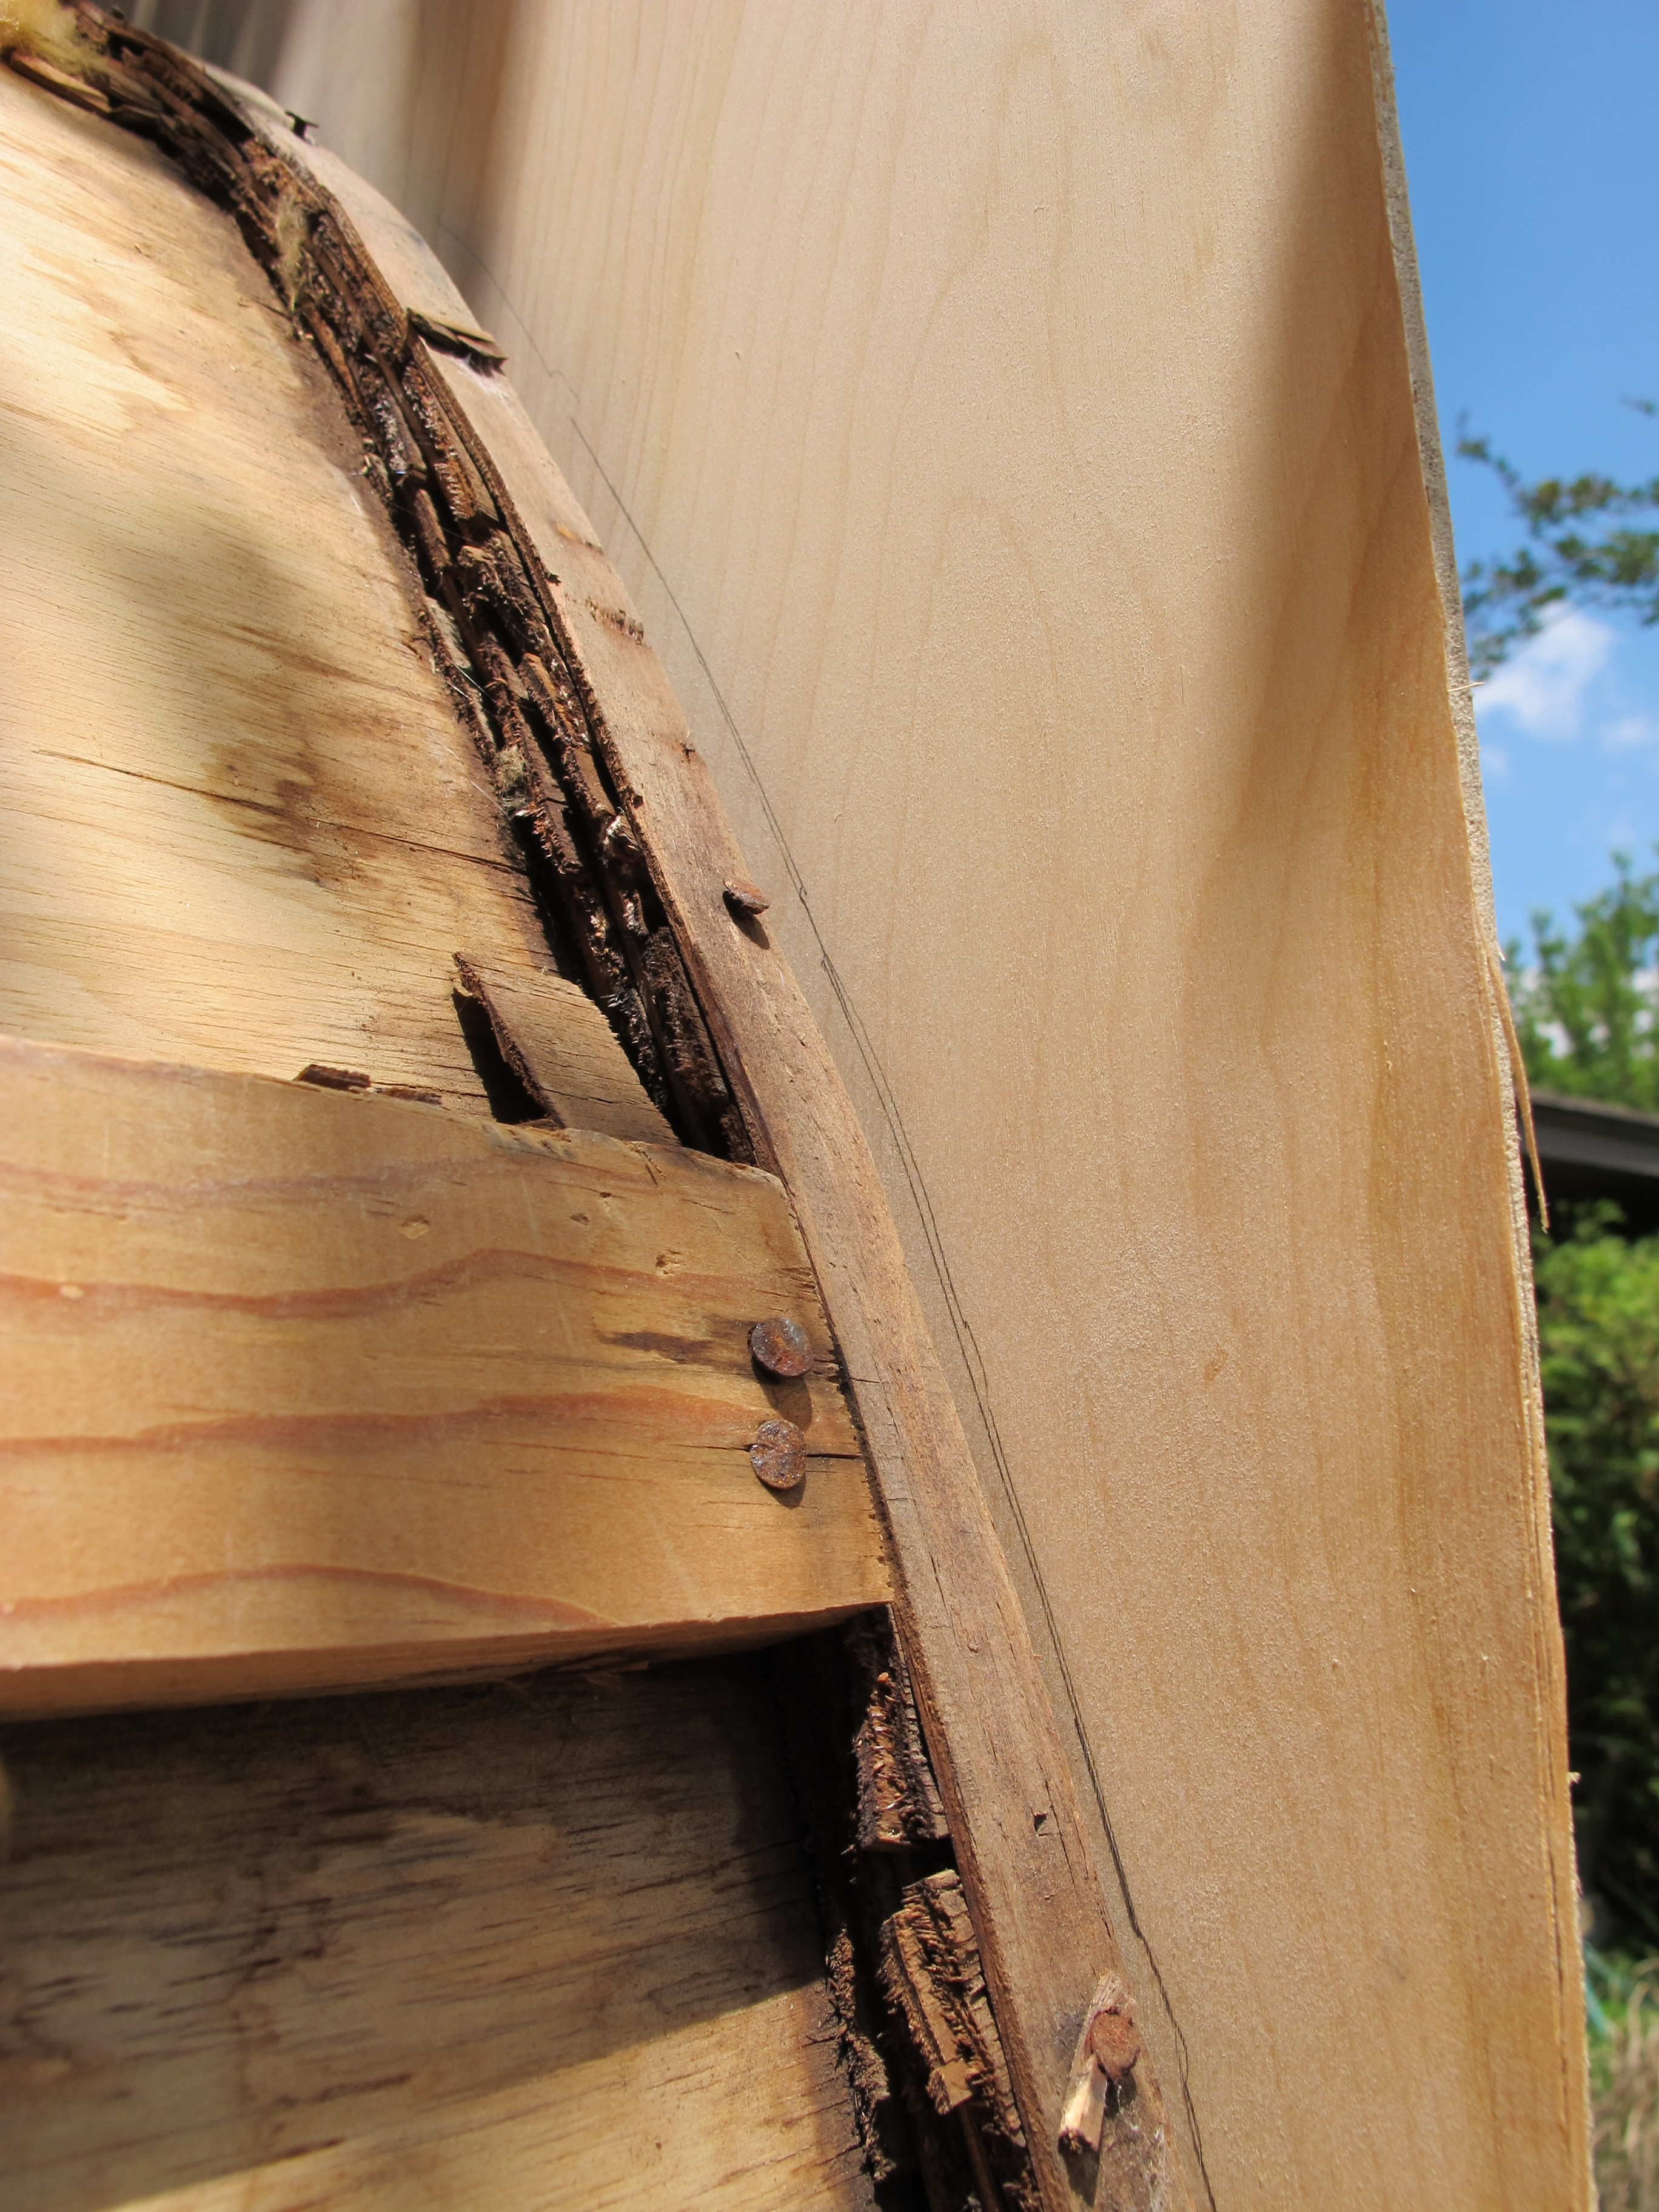
So, I’ve gotten quite a bit done since I last wrote. Last weekend, I screwed in the replacement pieces of wood that I cut a few weeks ago for the framing.

I also patched a hole in the subfloor where the old rusty water tank had its drain pipe. I think I did a pretty good job for an amateur anyway.
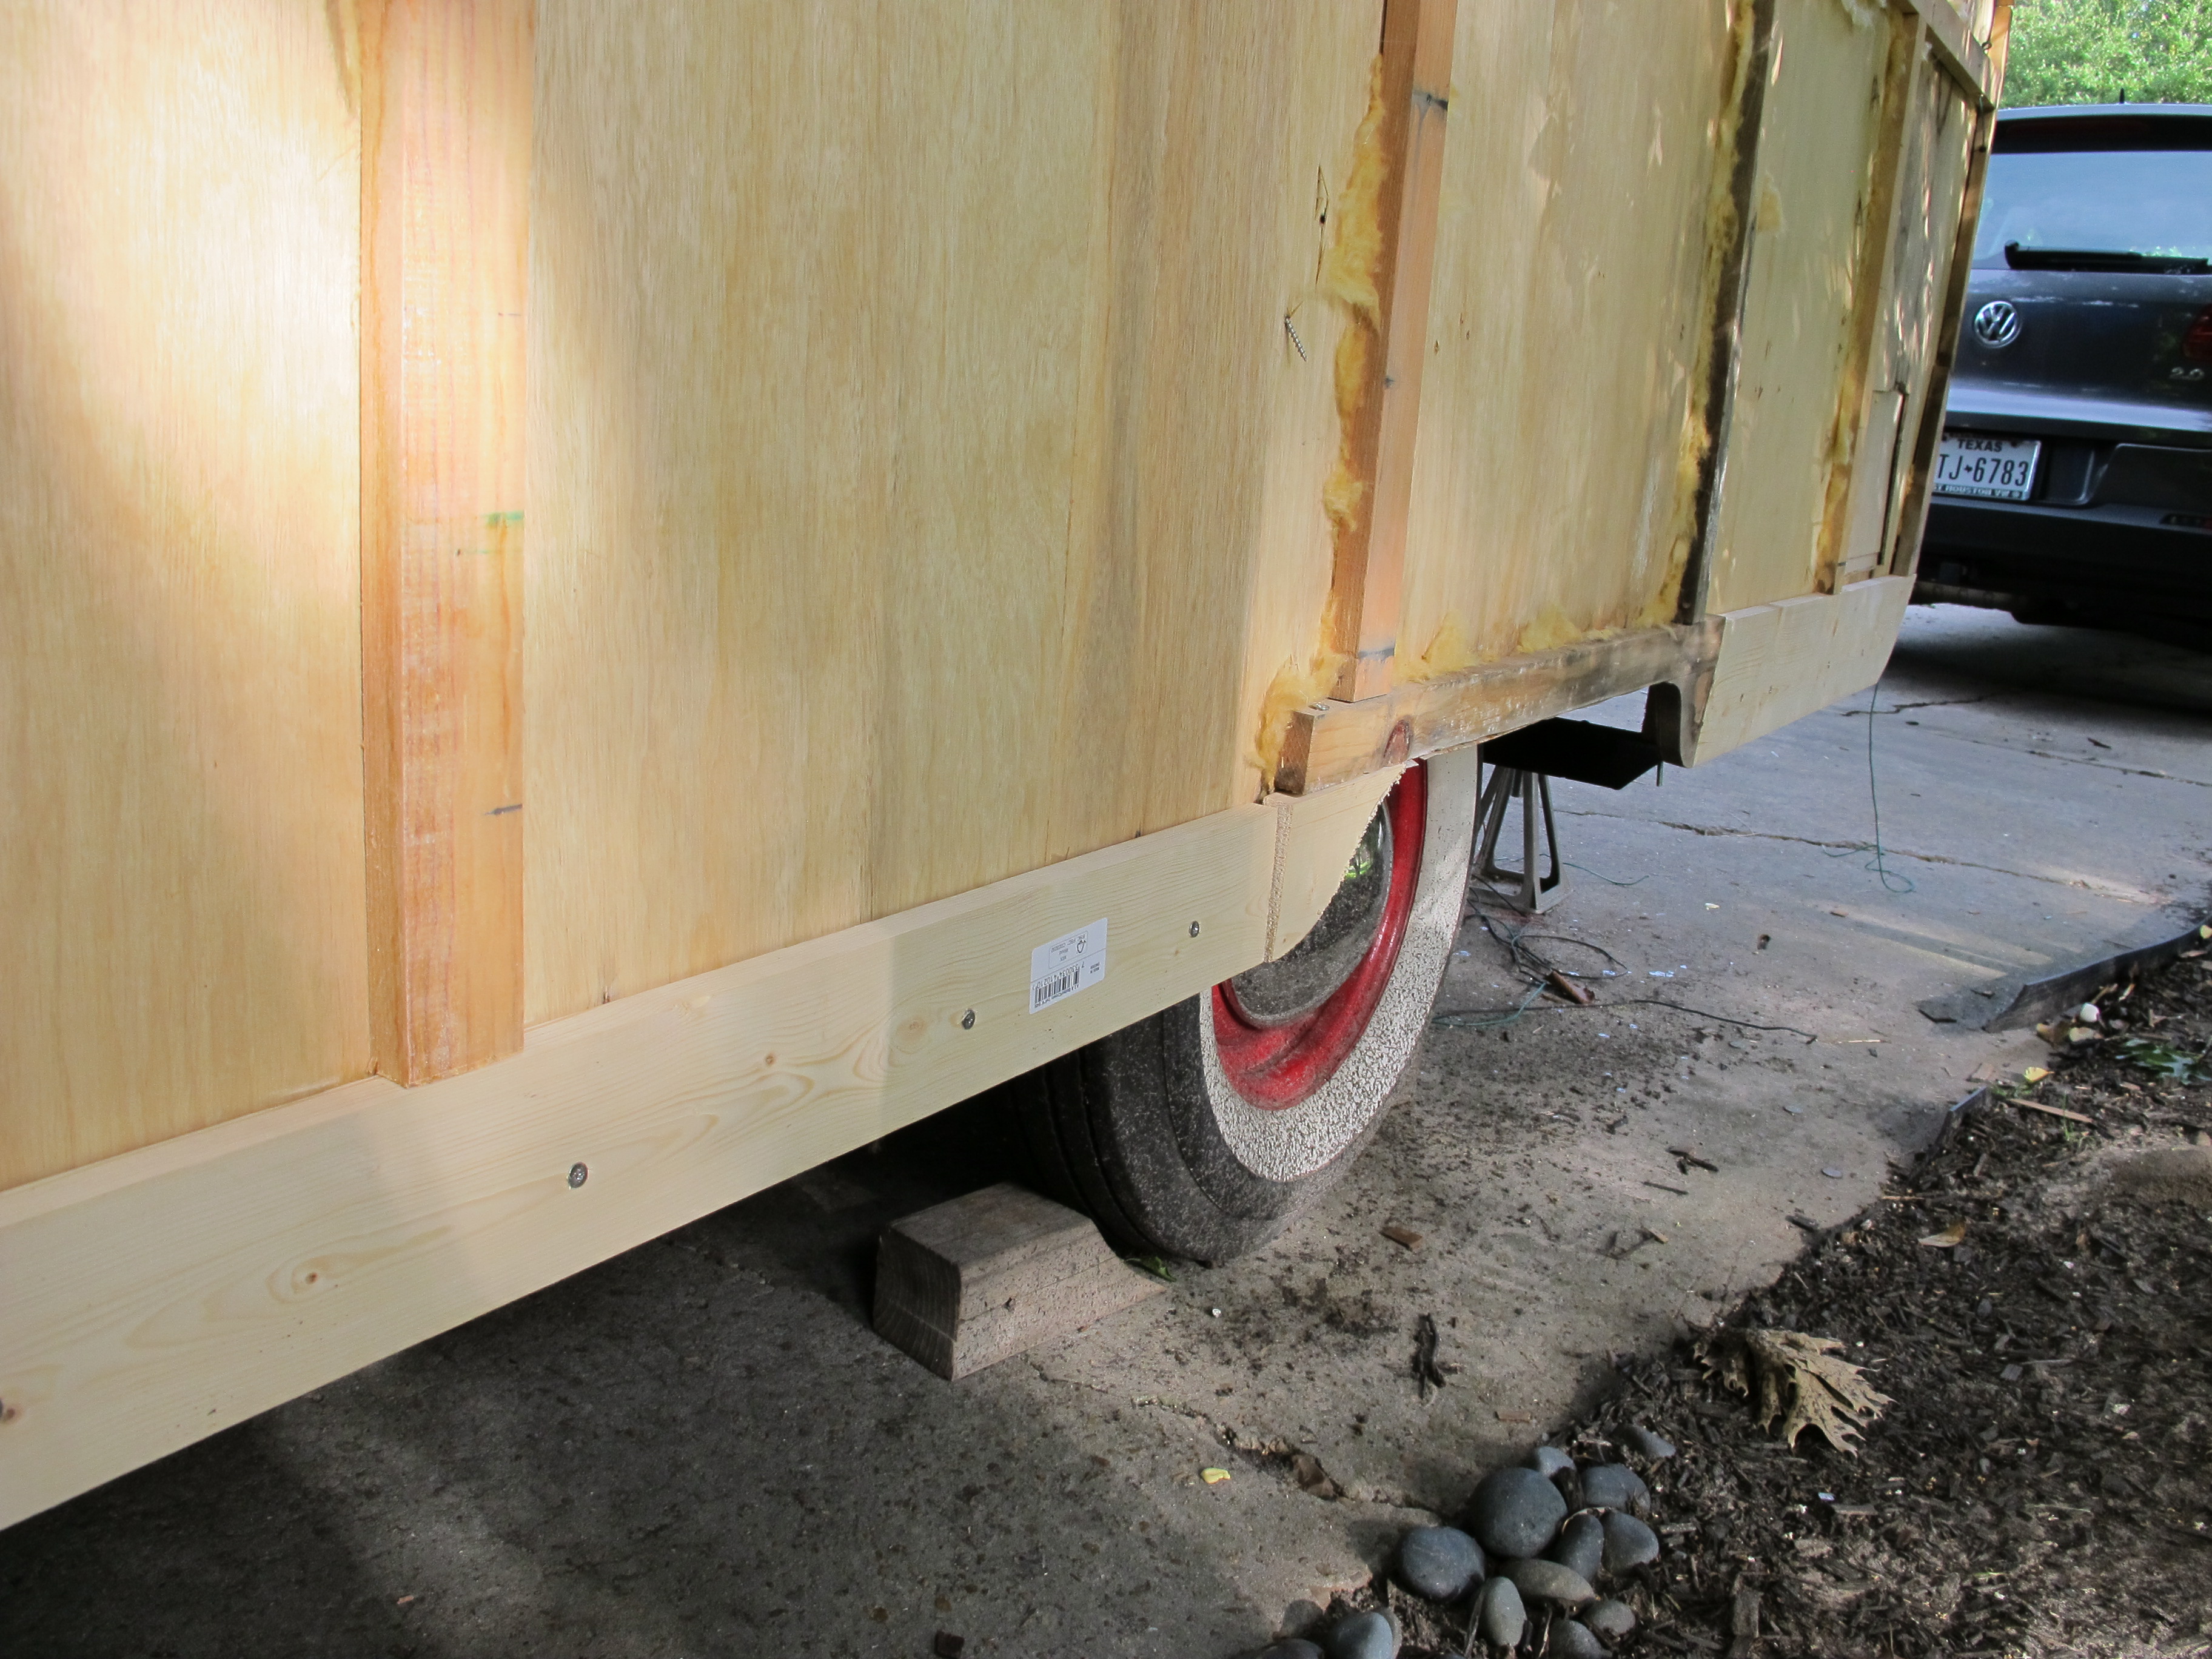
Here’s a picture of the hole from under the camper.

I cut a piece of aluminum to cover the hole and screwed it over the hole under the camper.
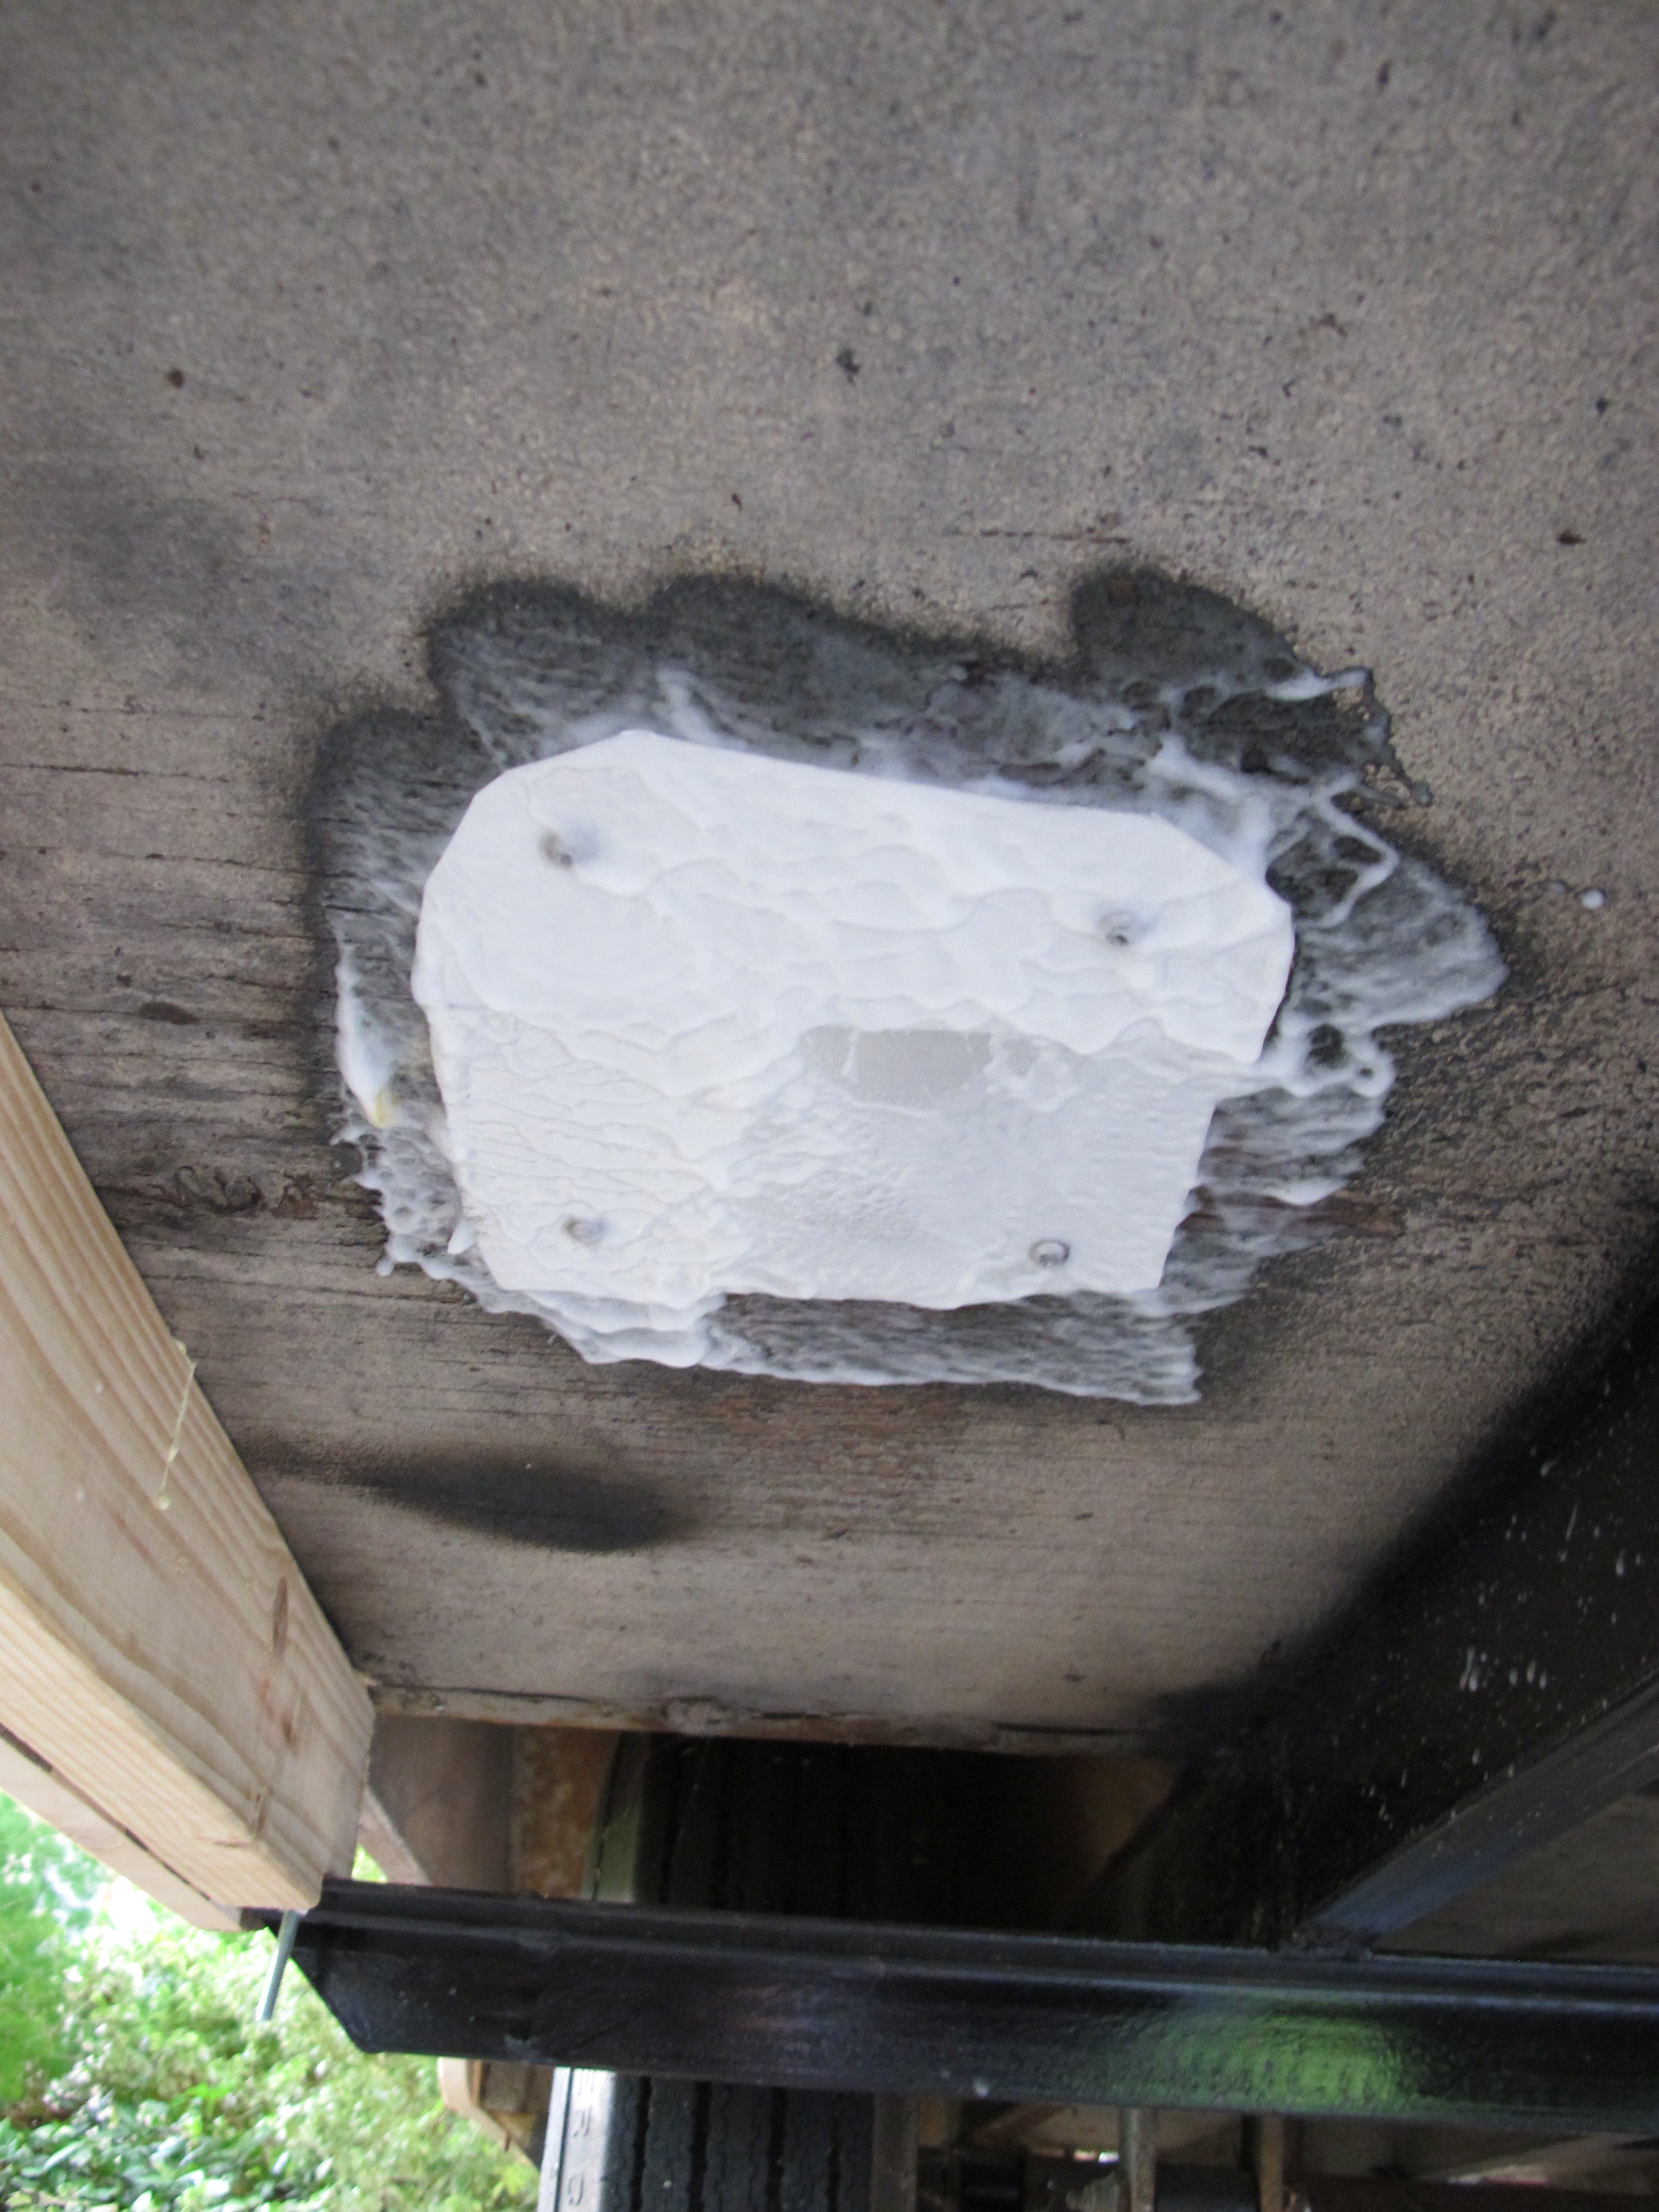
And here’s what it looks like after screwing the flashing on and spraying with a bunch of rubber sealant. I will also be painting the undercarriage later to make sure it’s all waterproof.
After finishing this task, I screwed the carriage bolt to the other side of my newly made steel crossbeam, and then secured the new overlay on my subfloor to cover the old tiles and create a smooth surface.
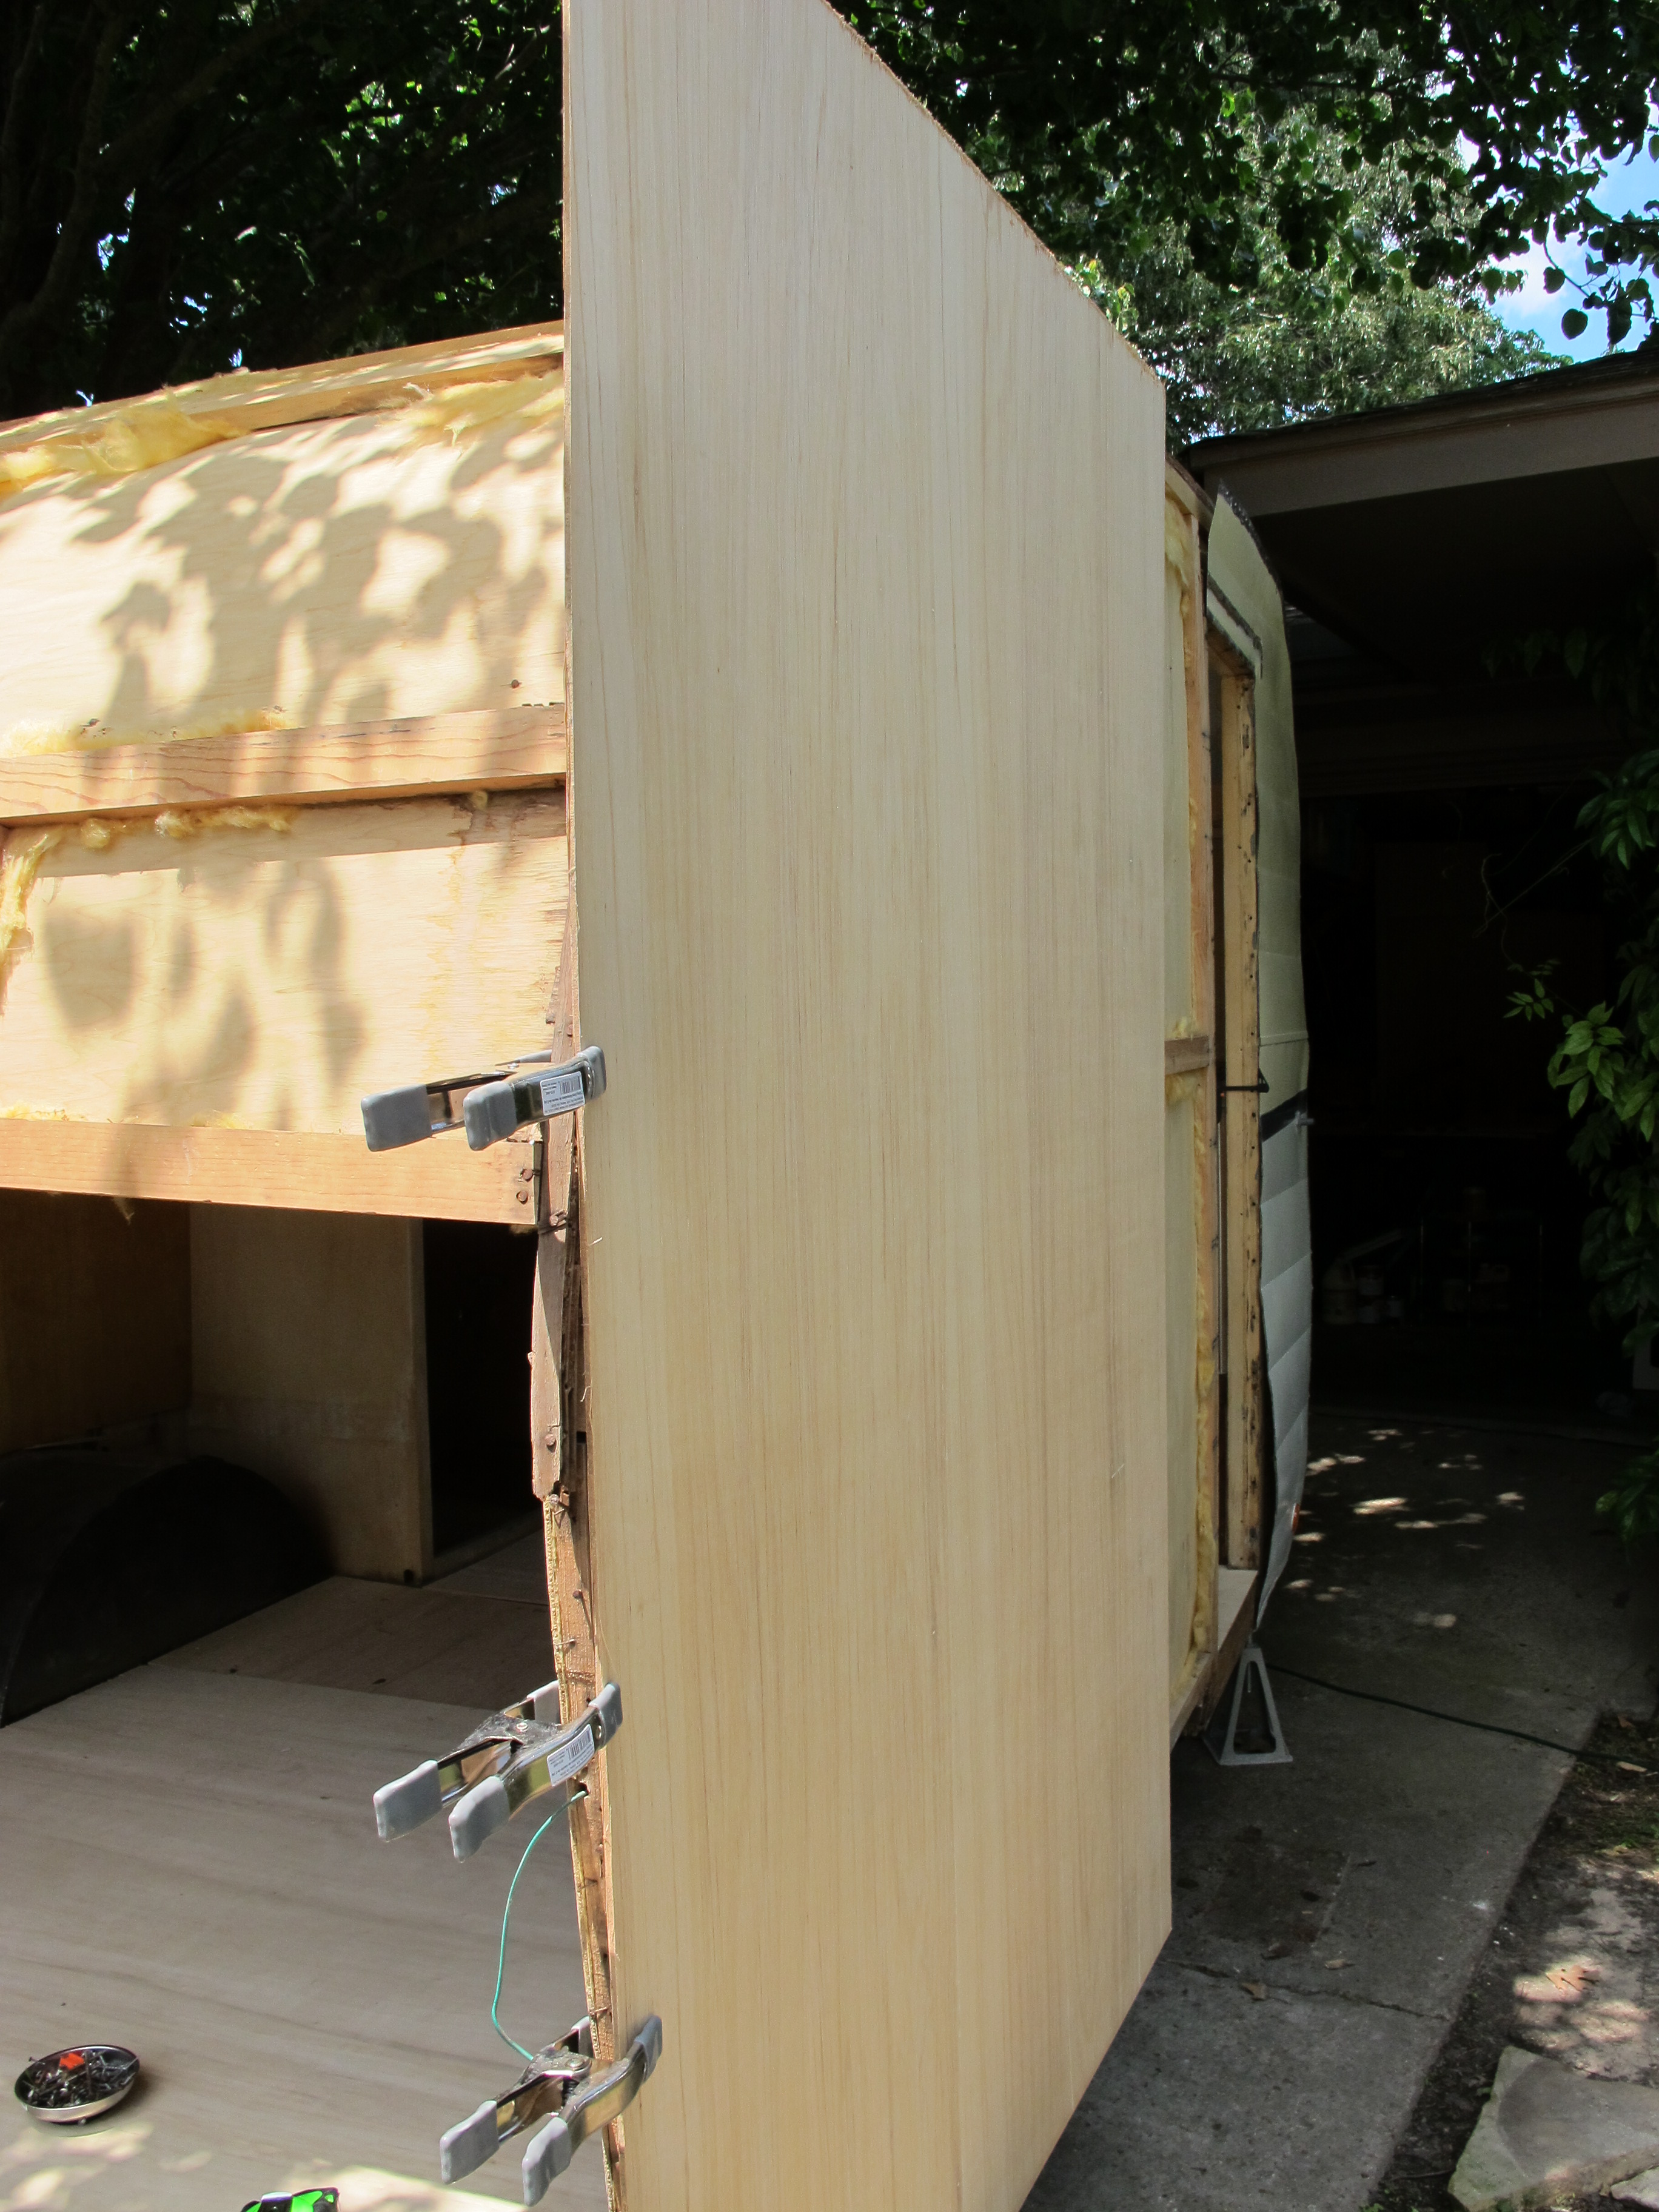
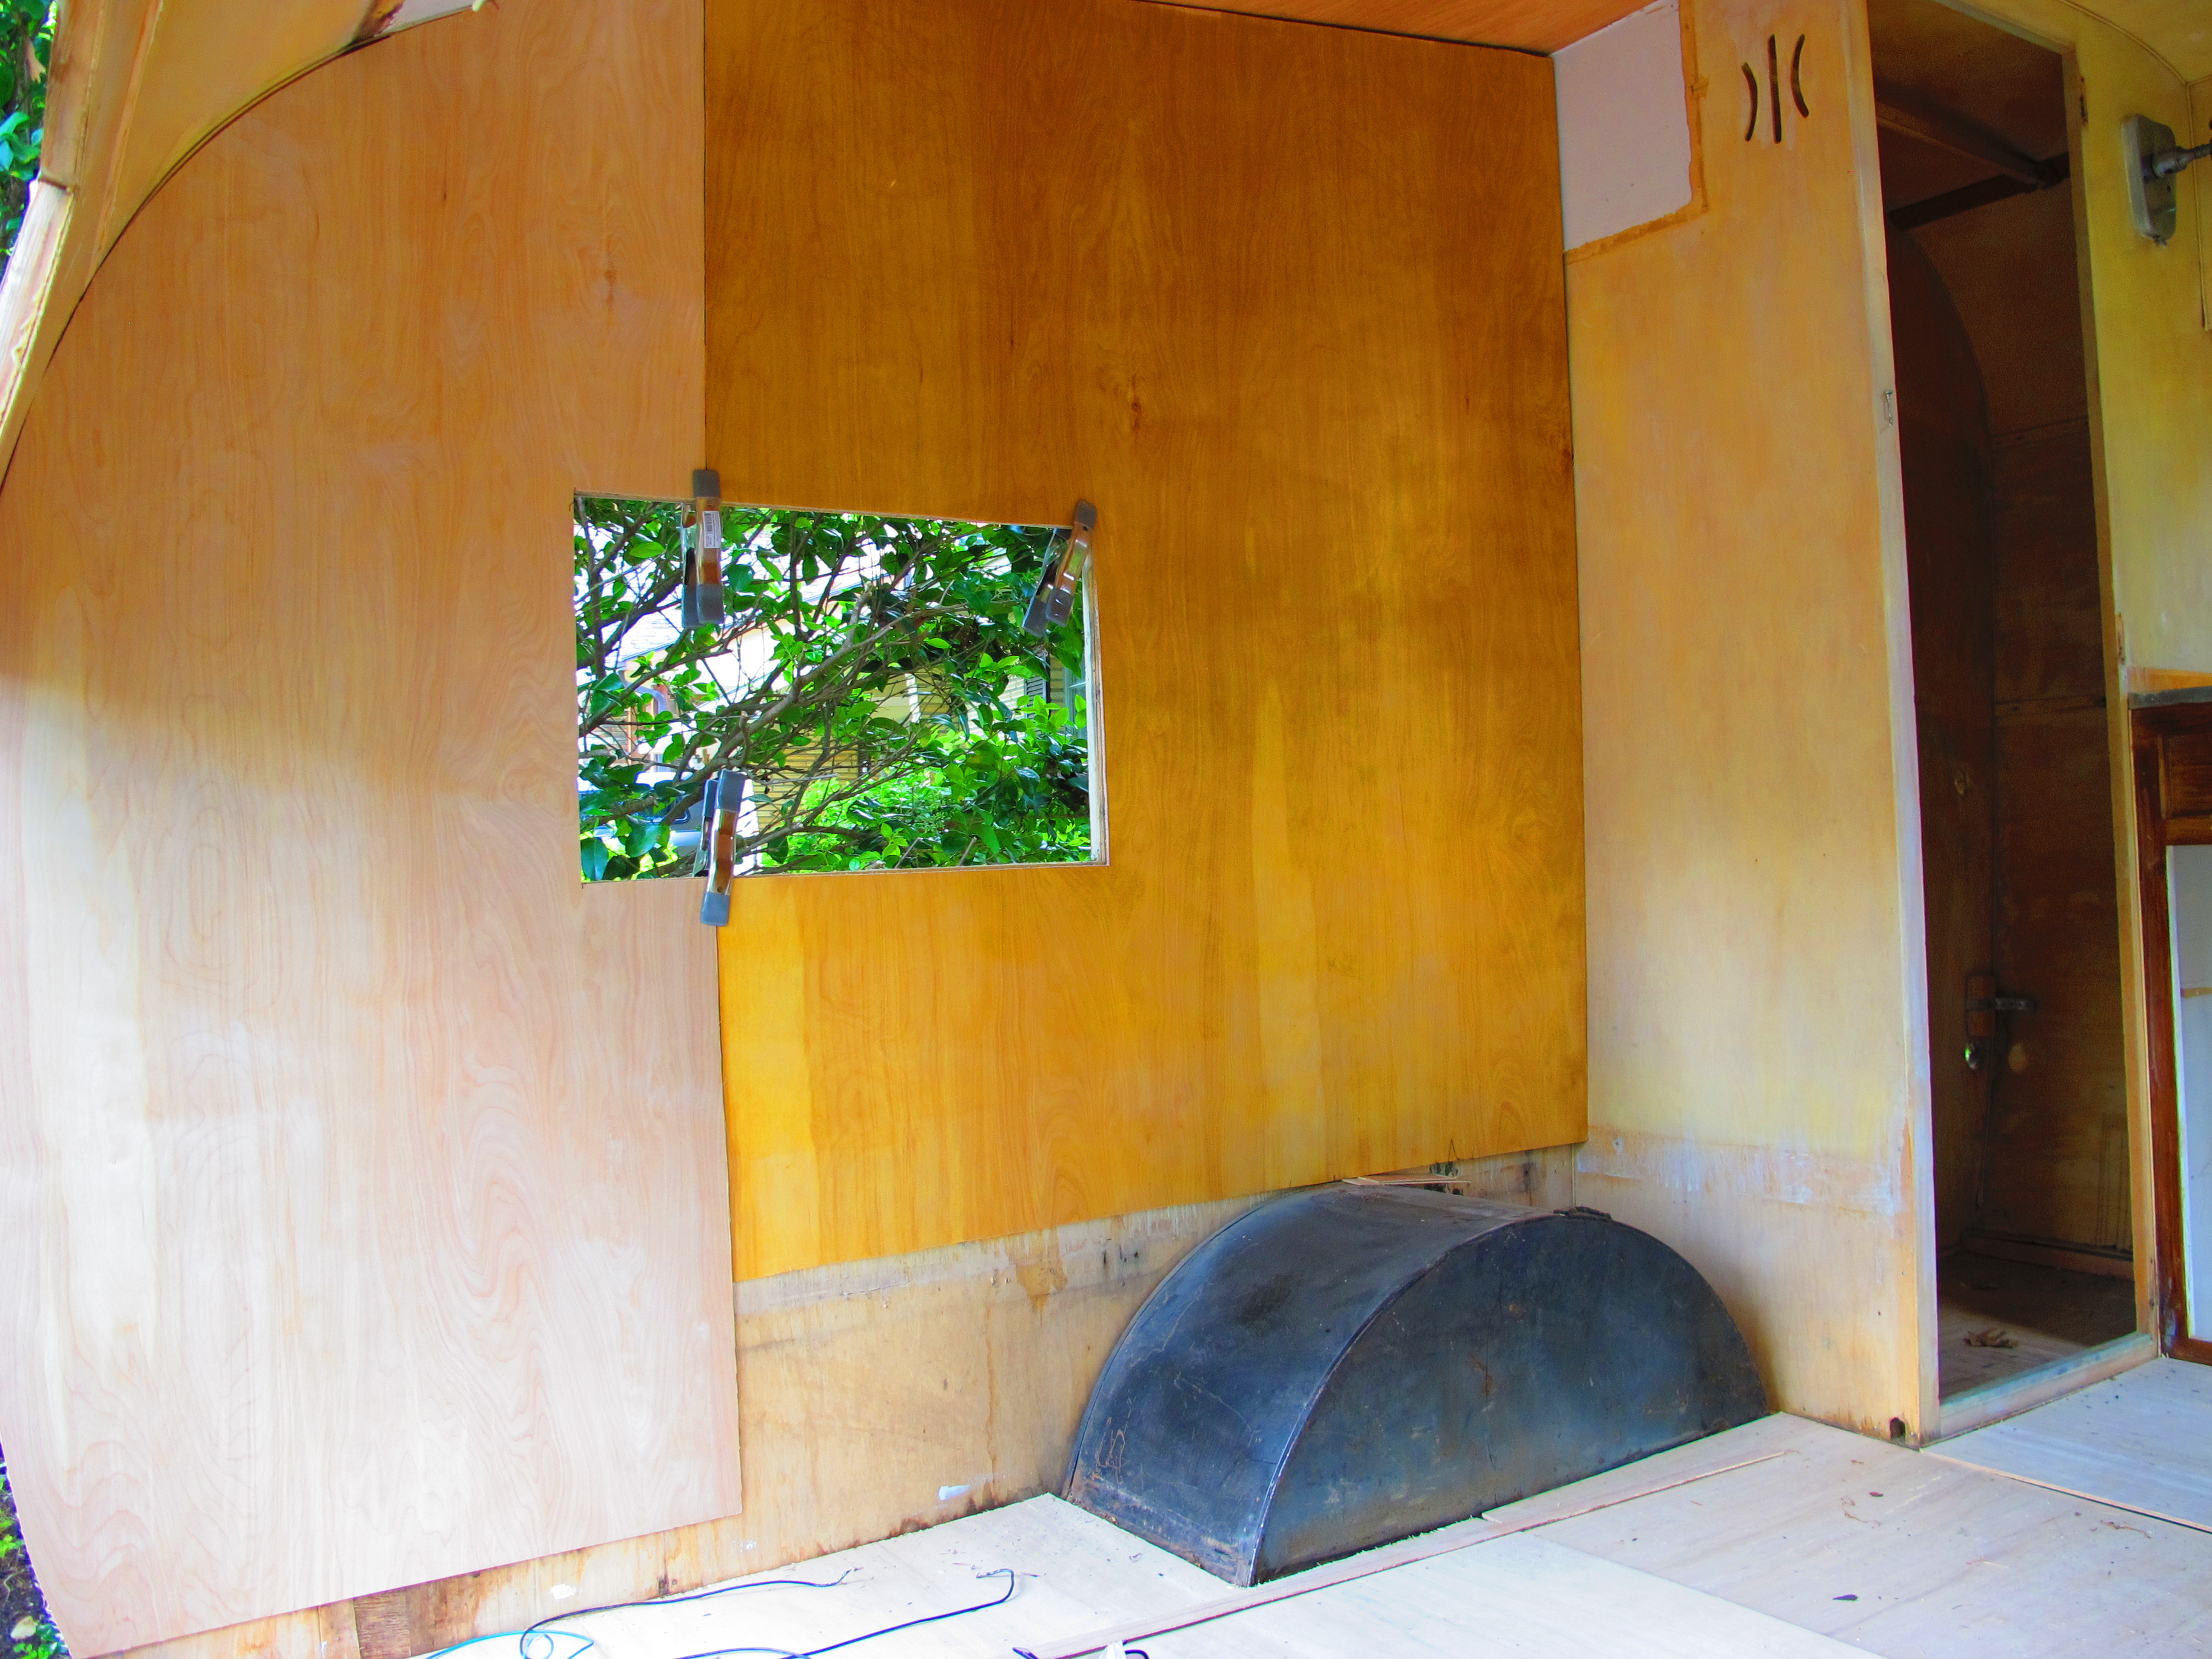
Then I screwed in all of the new wall panels. I had already measured and cut the new birch panels a few weeks ago, so this task was pretty easy. I used my new electric staple gun to secure them where you couldn’t see the staples, and then I covered the staples with little strips of one inch thick birch plywood held in place with twist nails. I started drilling pilot holes for the twist nails and they aren’t such a pain anymore!
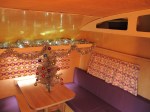
After that, I decided I really wanted to get all of my tiles laid out and cut to size. I followed the instructions that Larry shared on his website, http://www.cannedhamtrailers.com/, and it worked perfectly! I chose purple and white vinyl tiles since my theme is centered around purple. ![]()
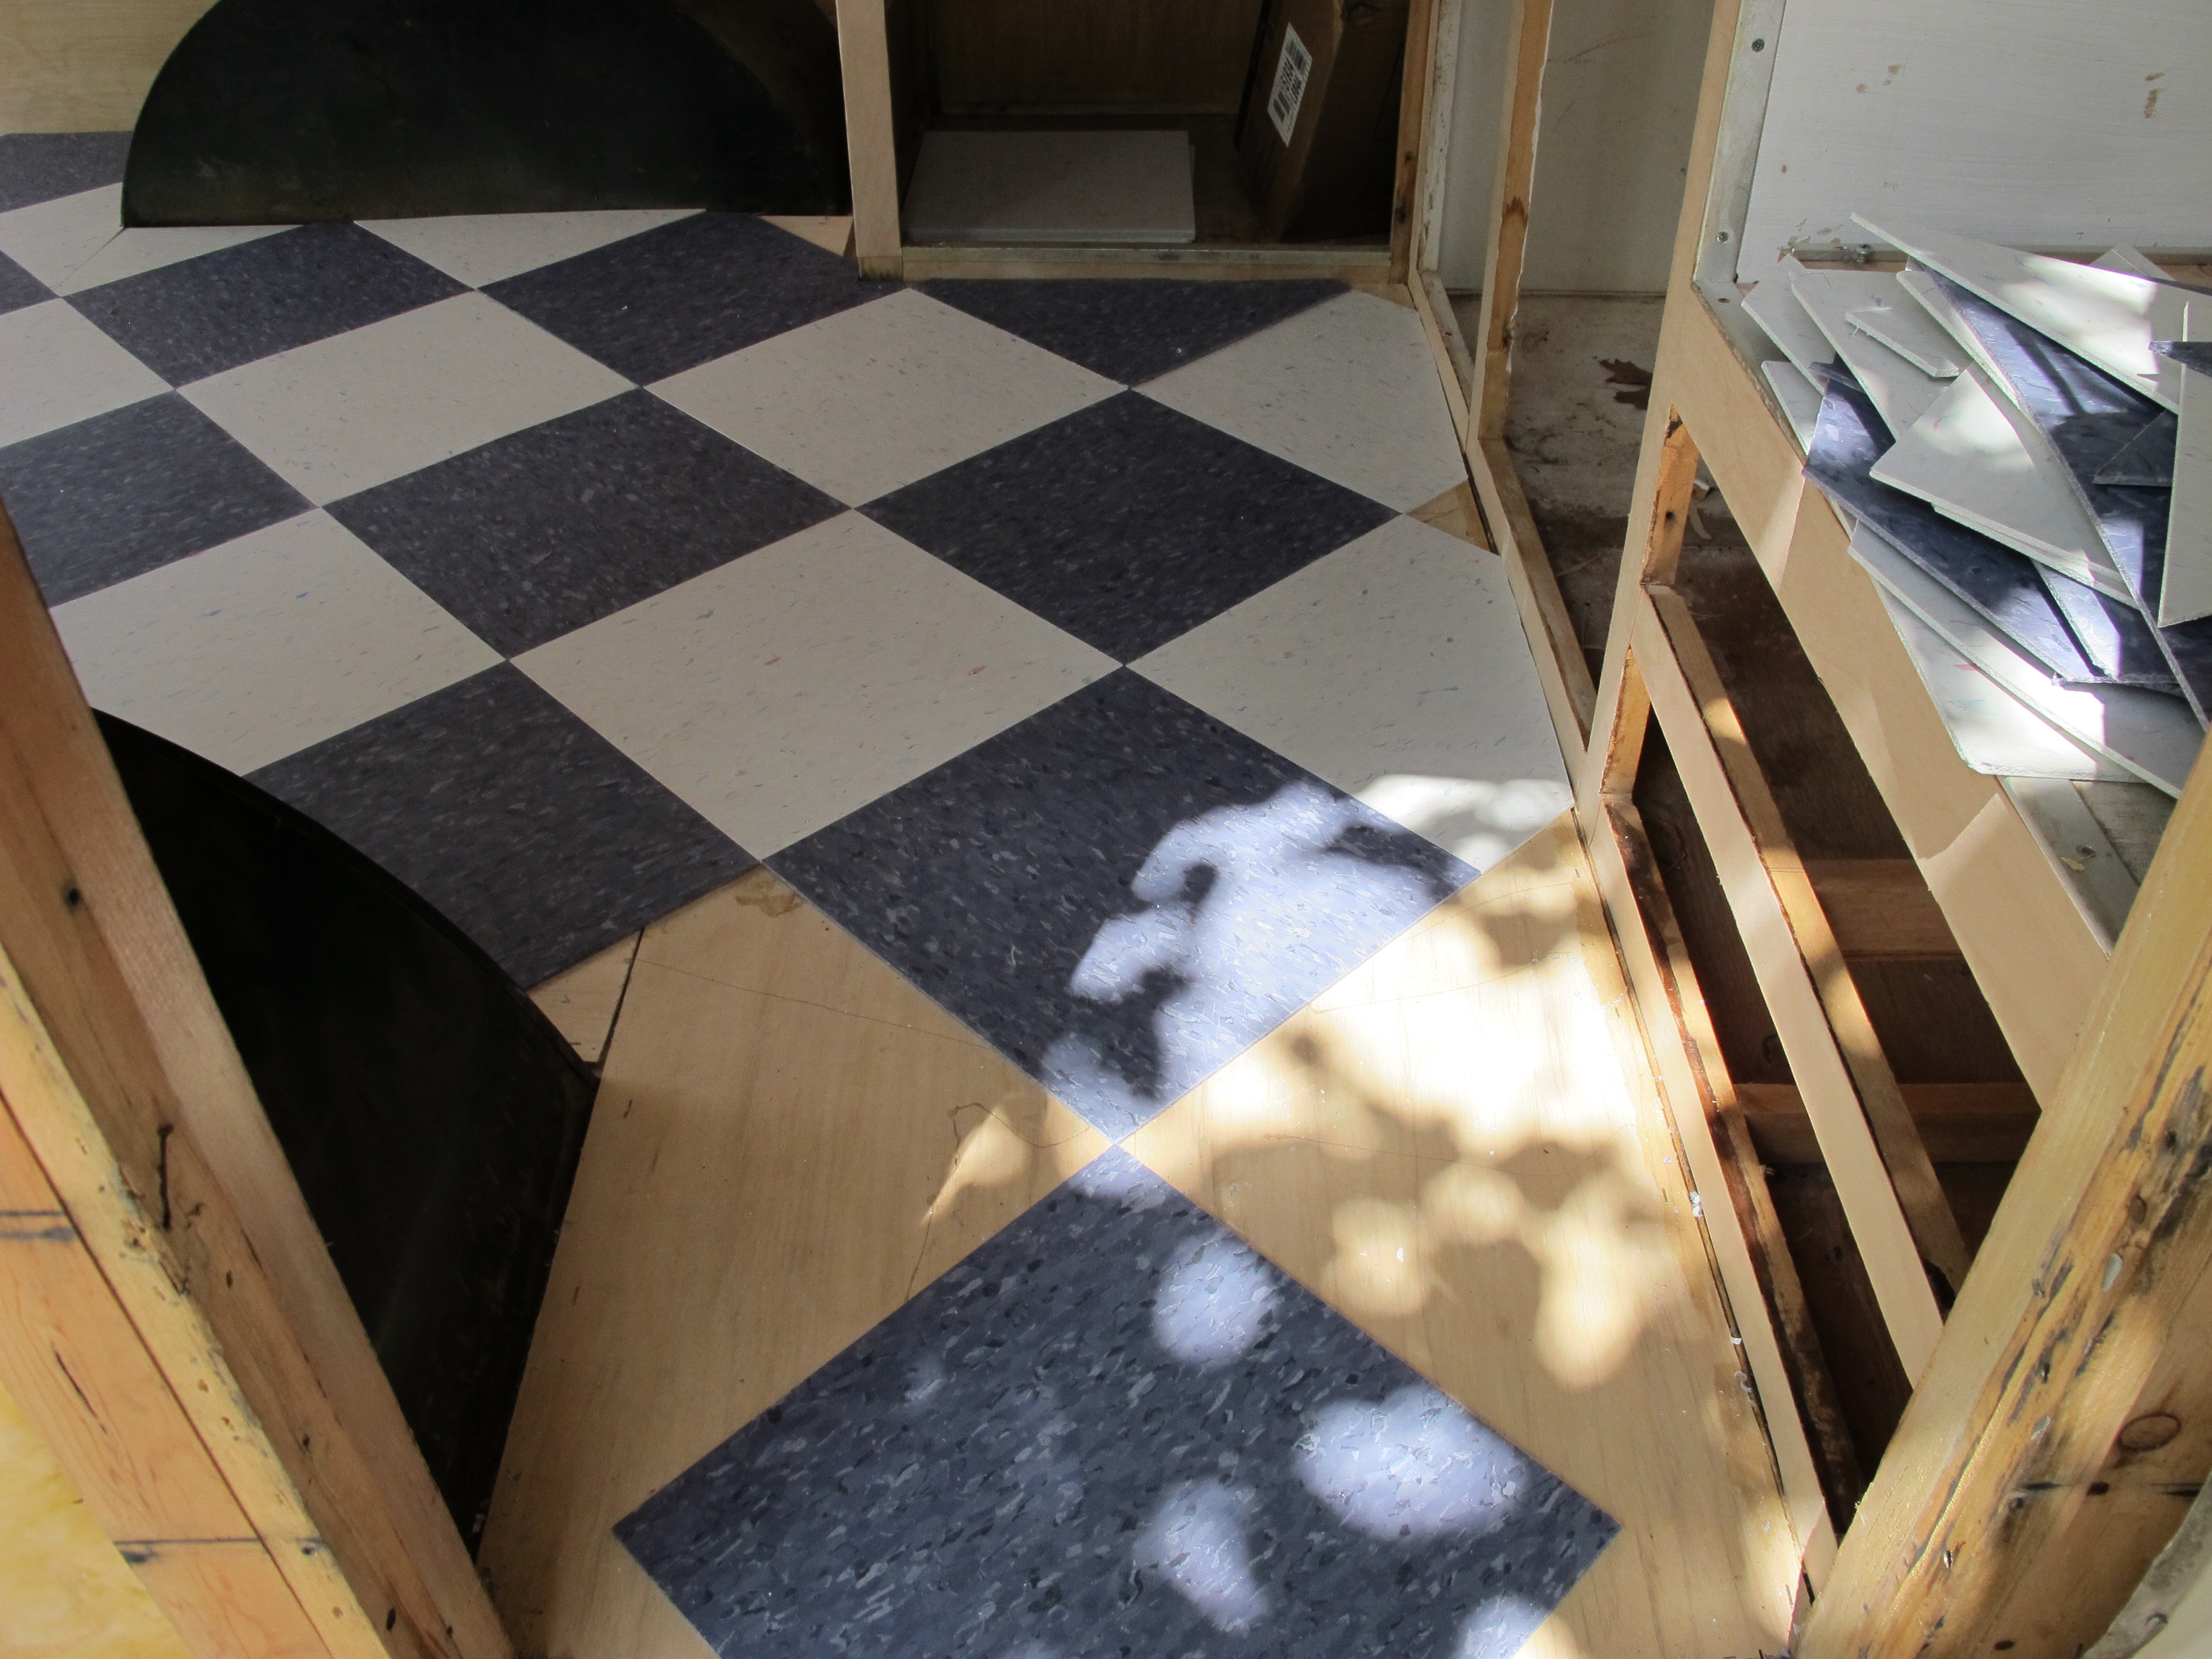
I am almost finished in this pic, I just had the doorway left. That was the hardest part though!
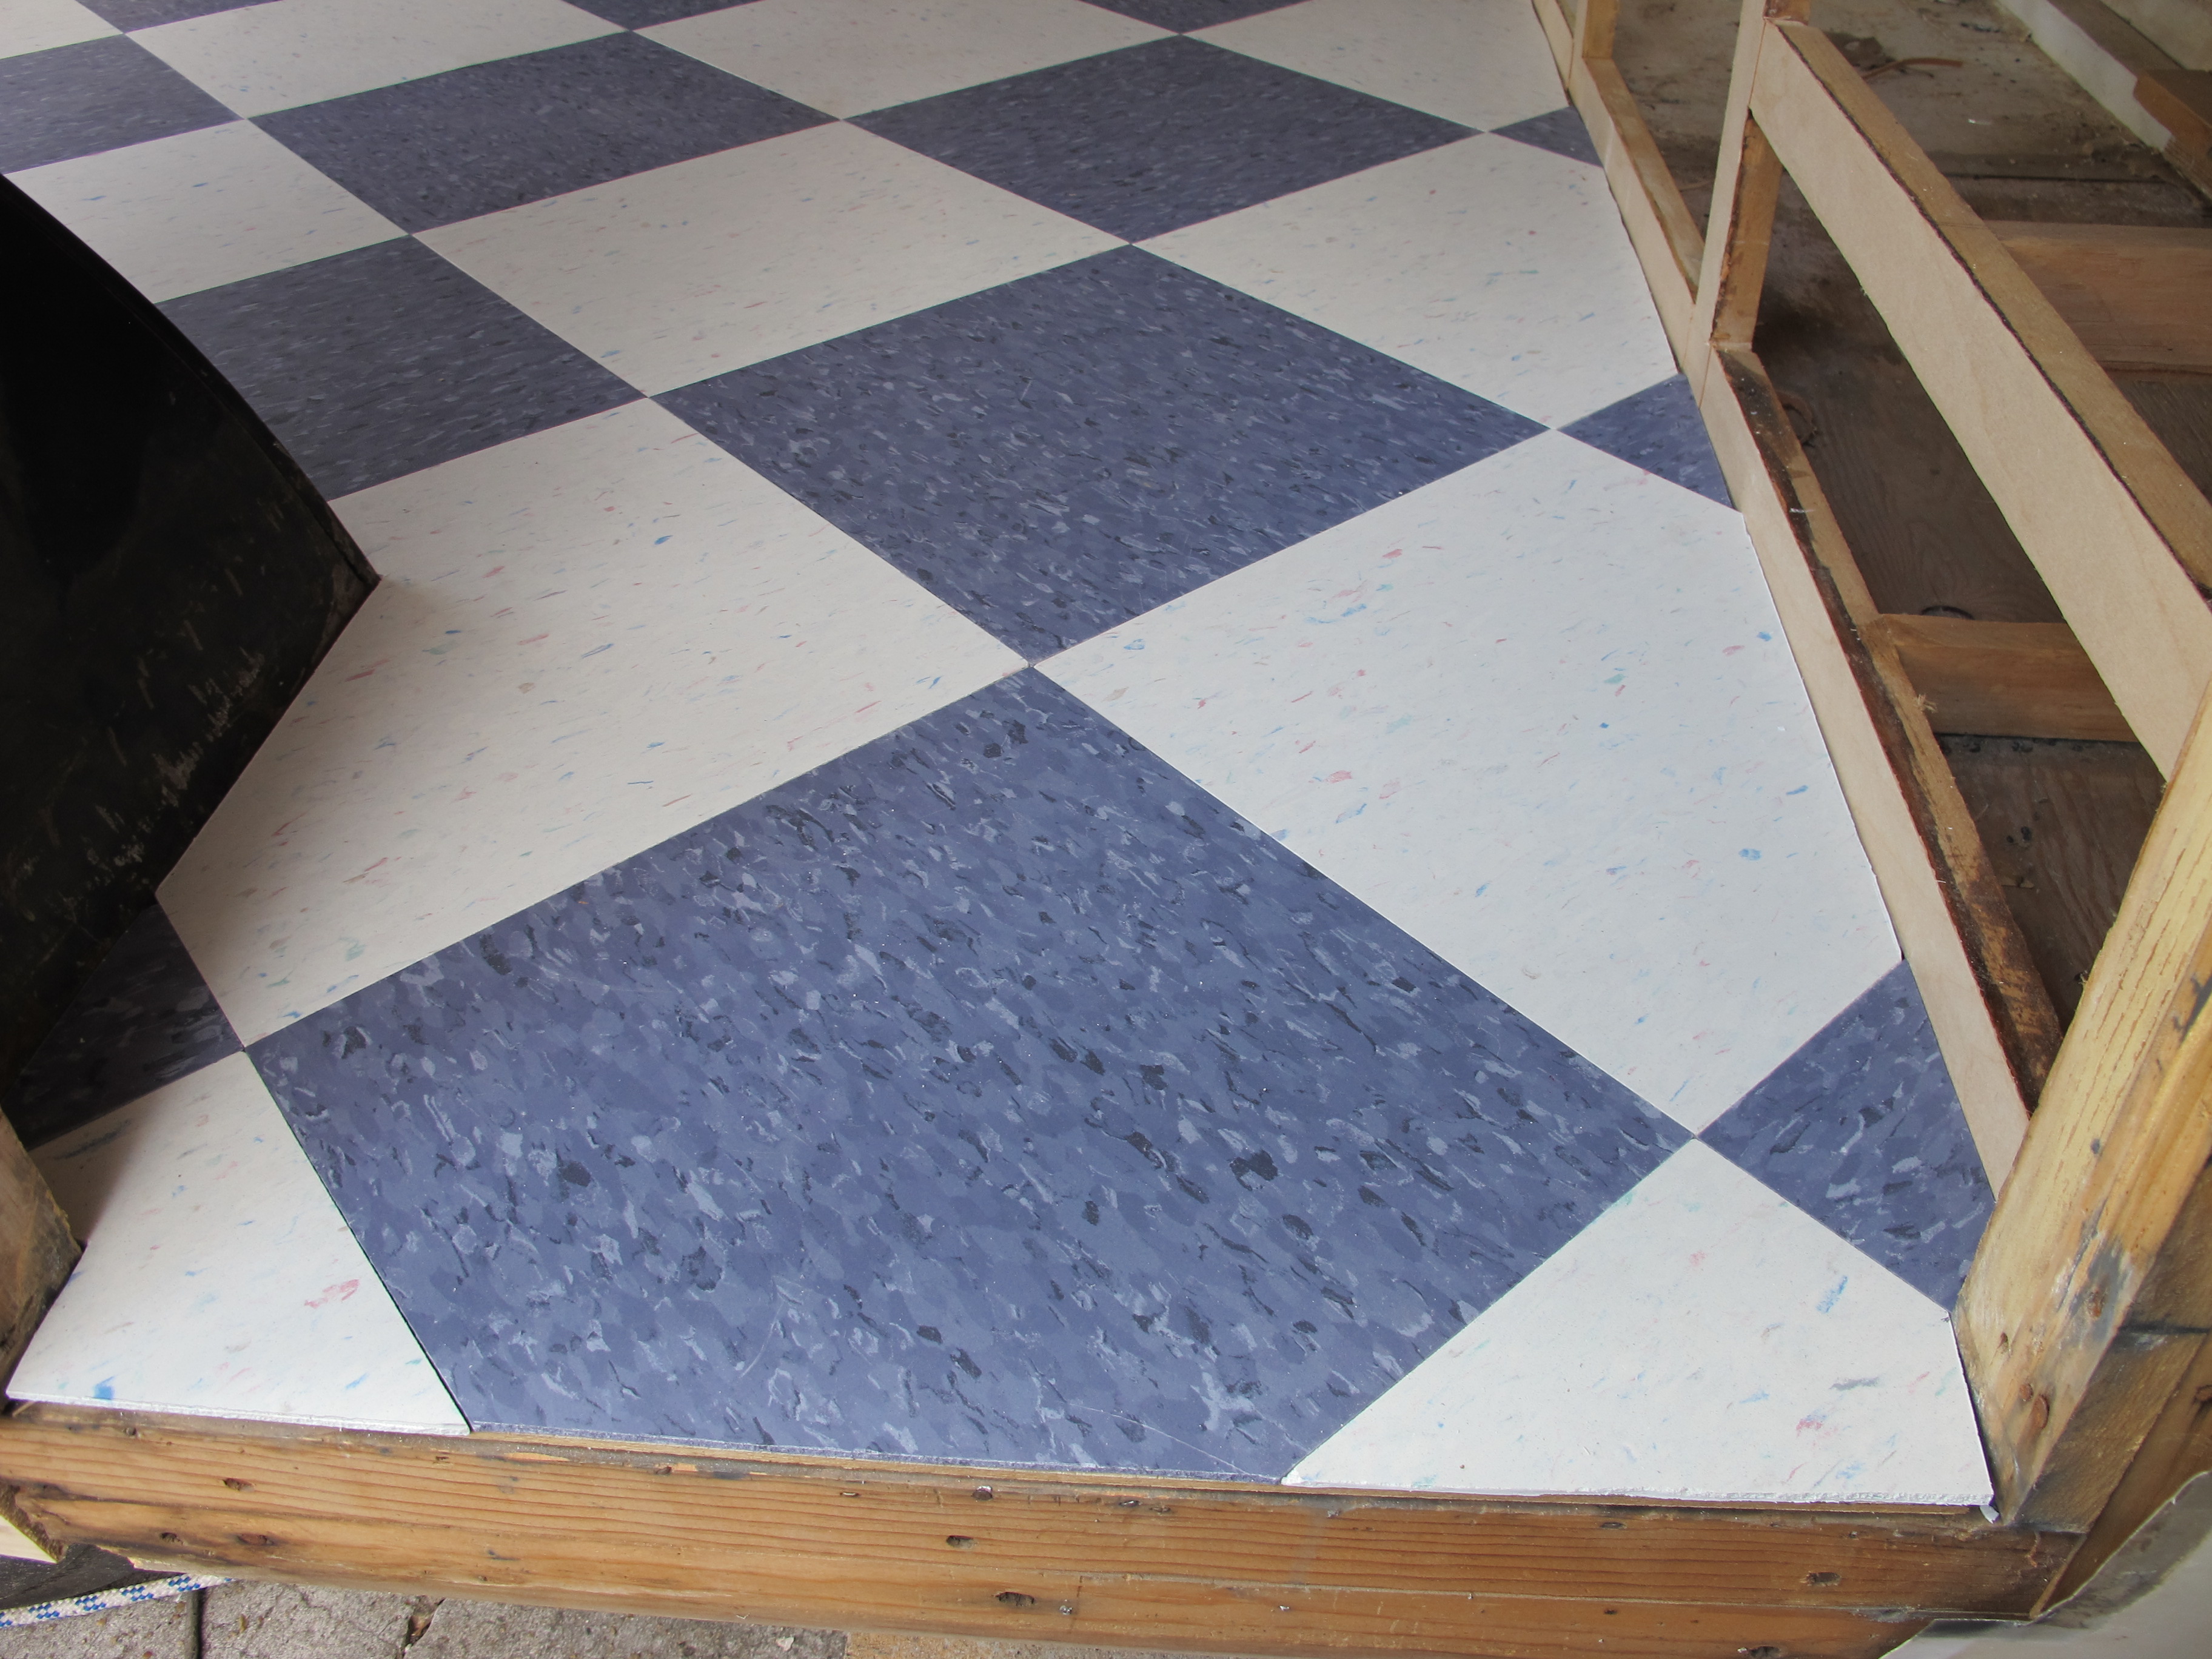
I’m so proud of how well this turned out!
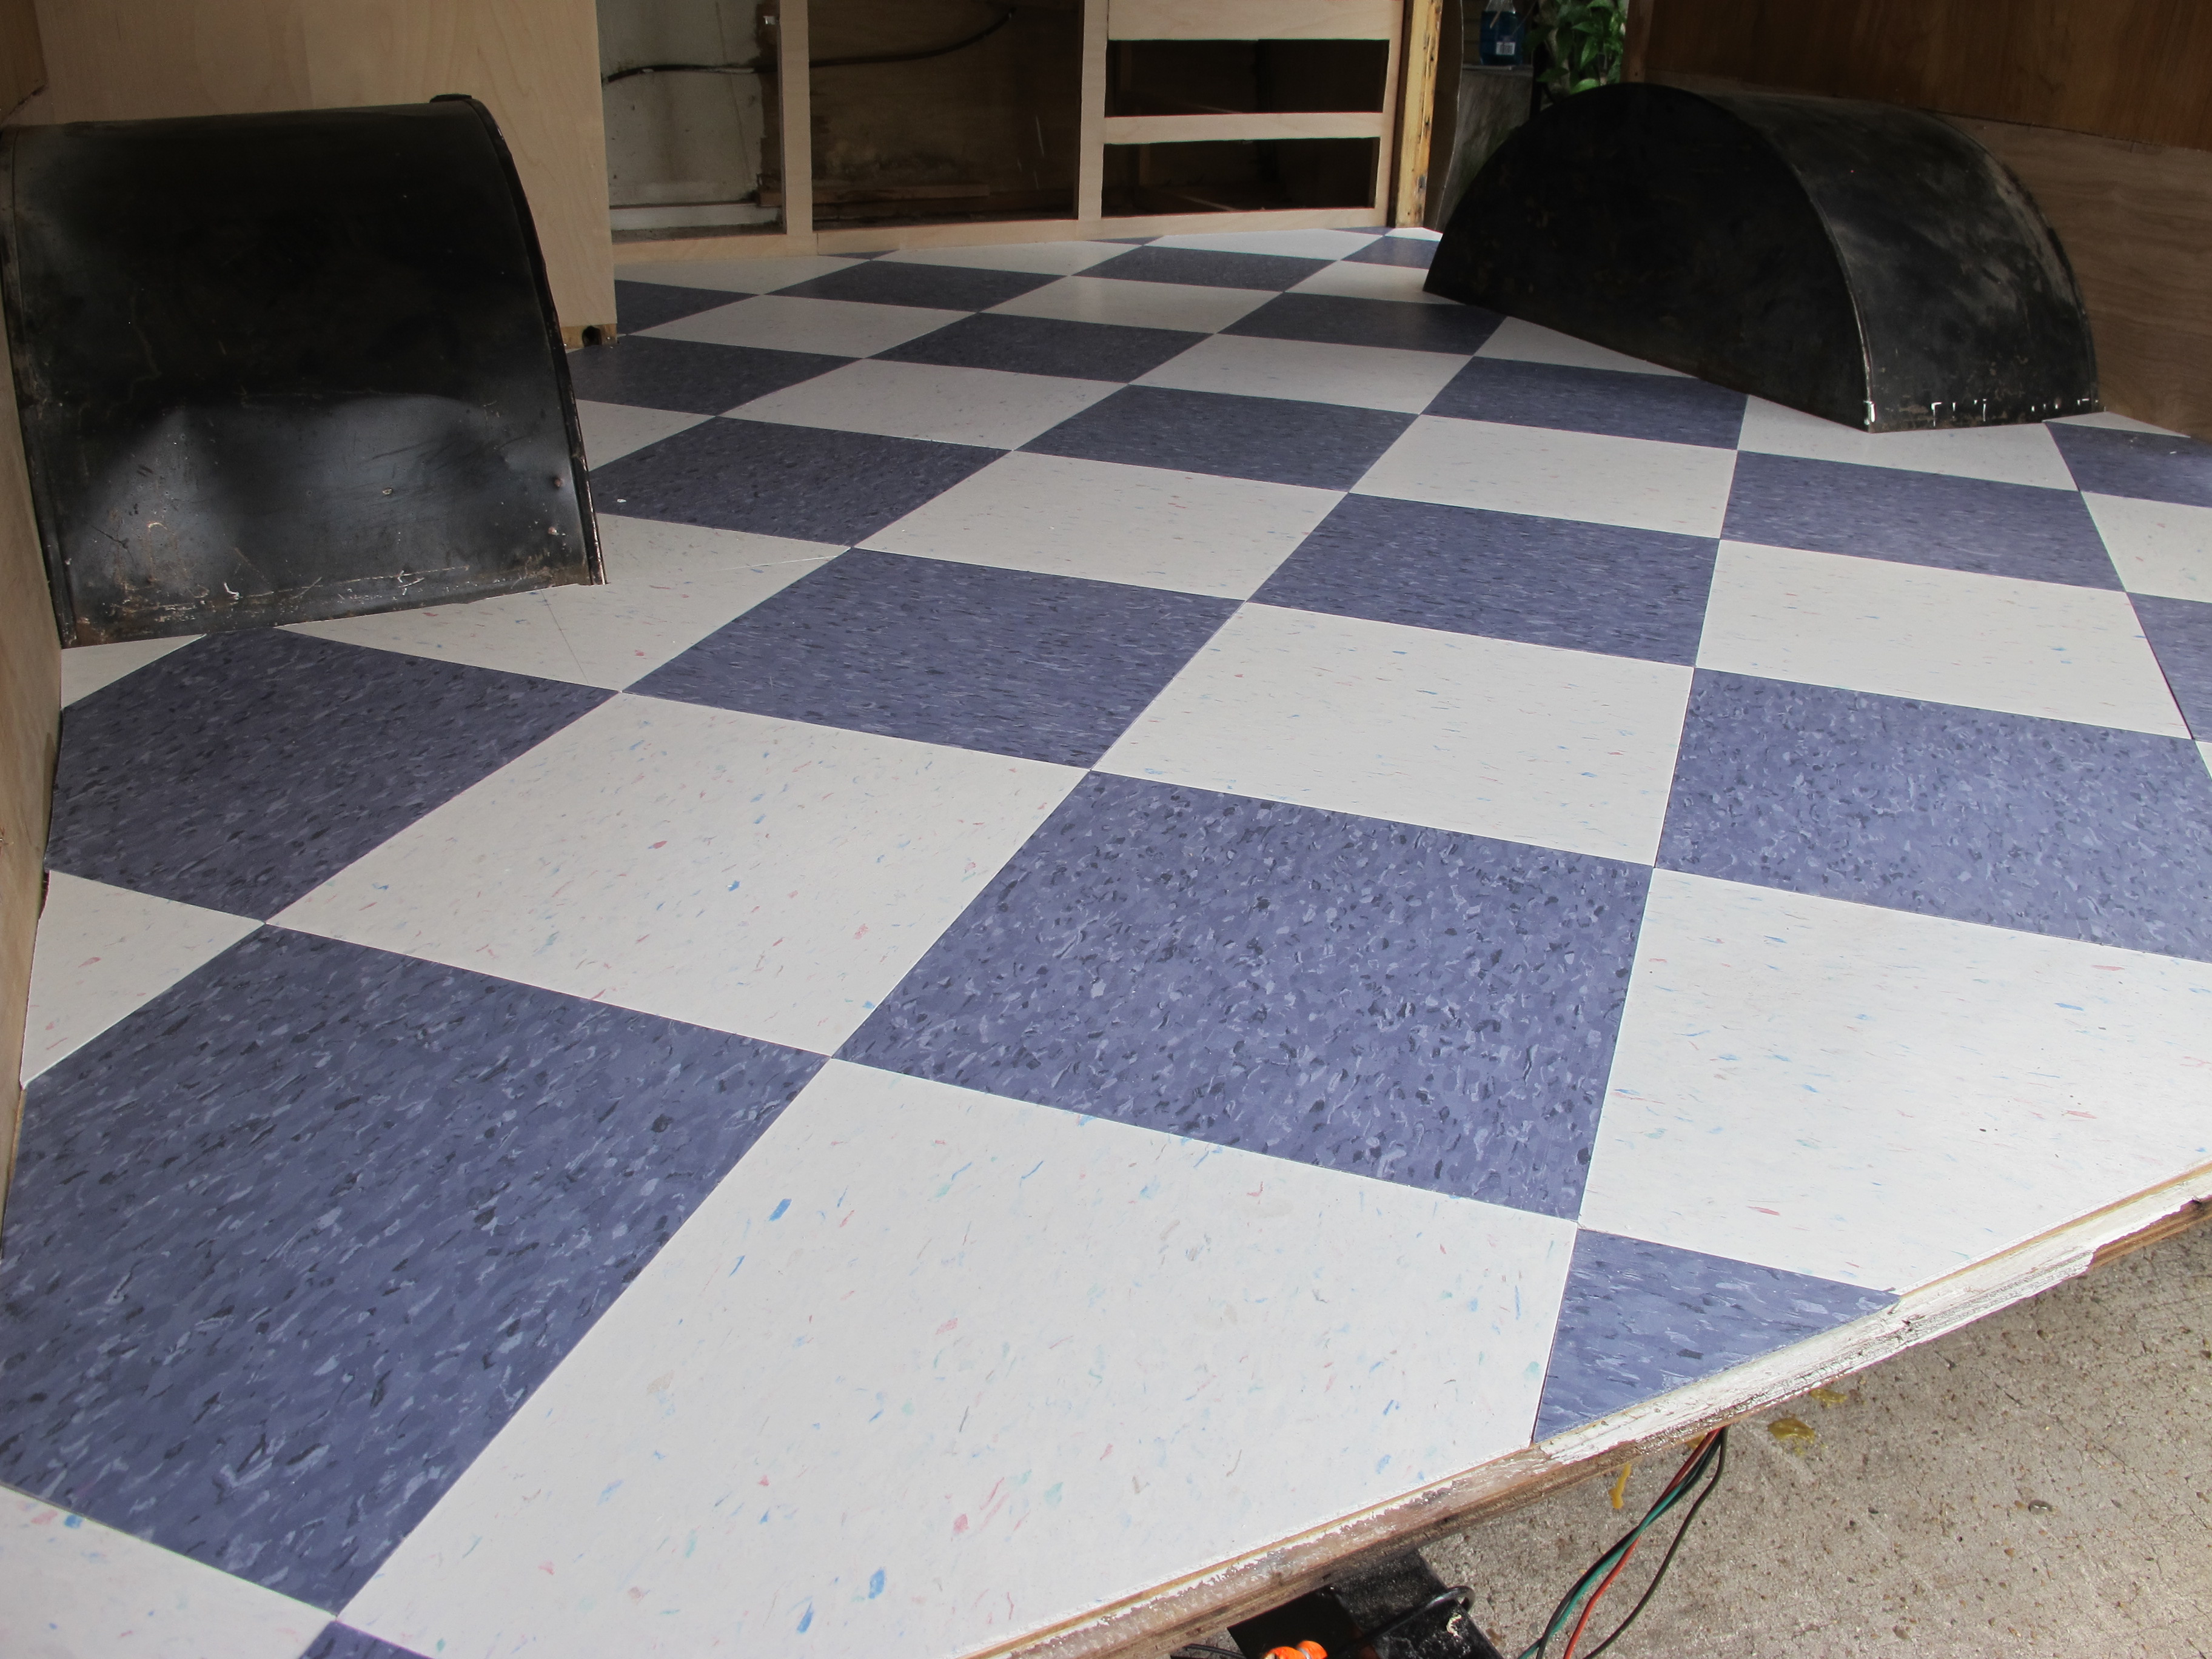
Another view from the rear.
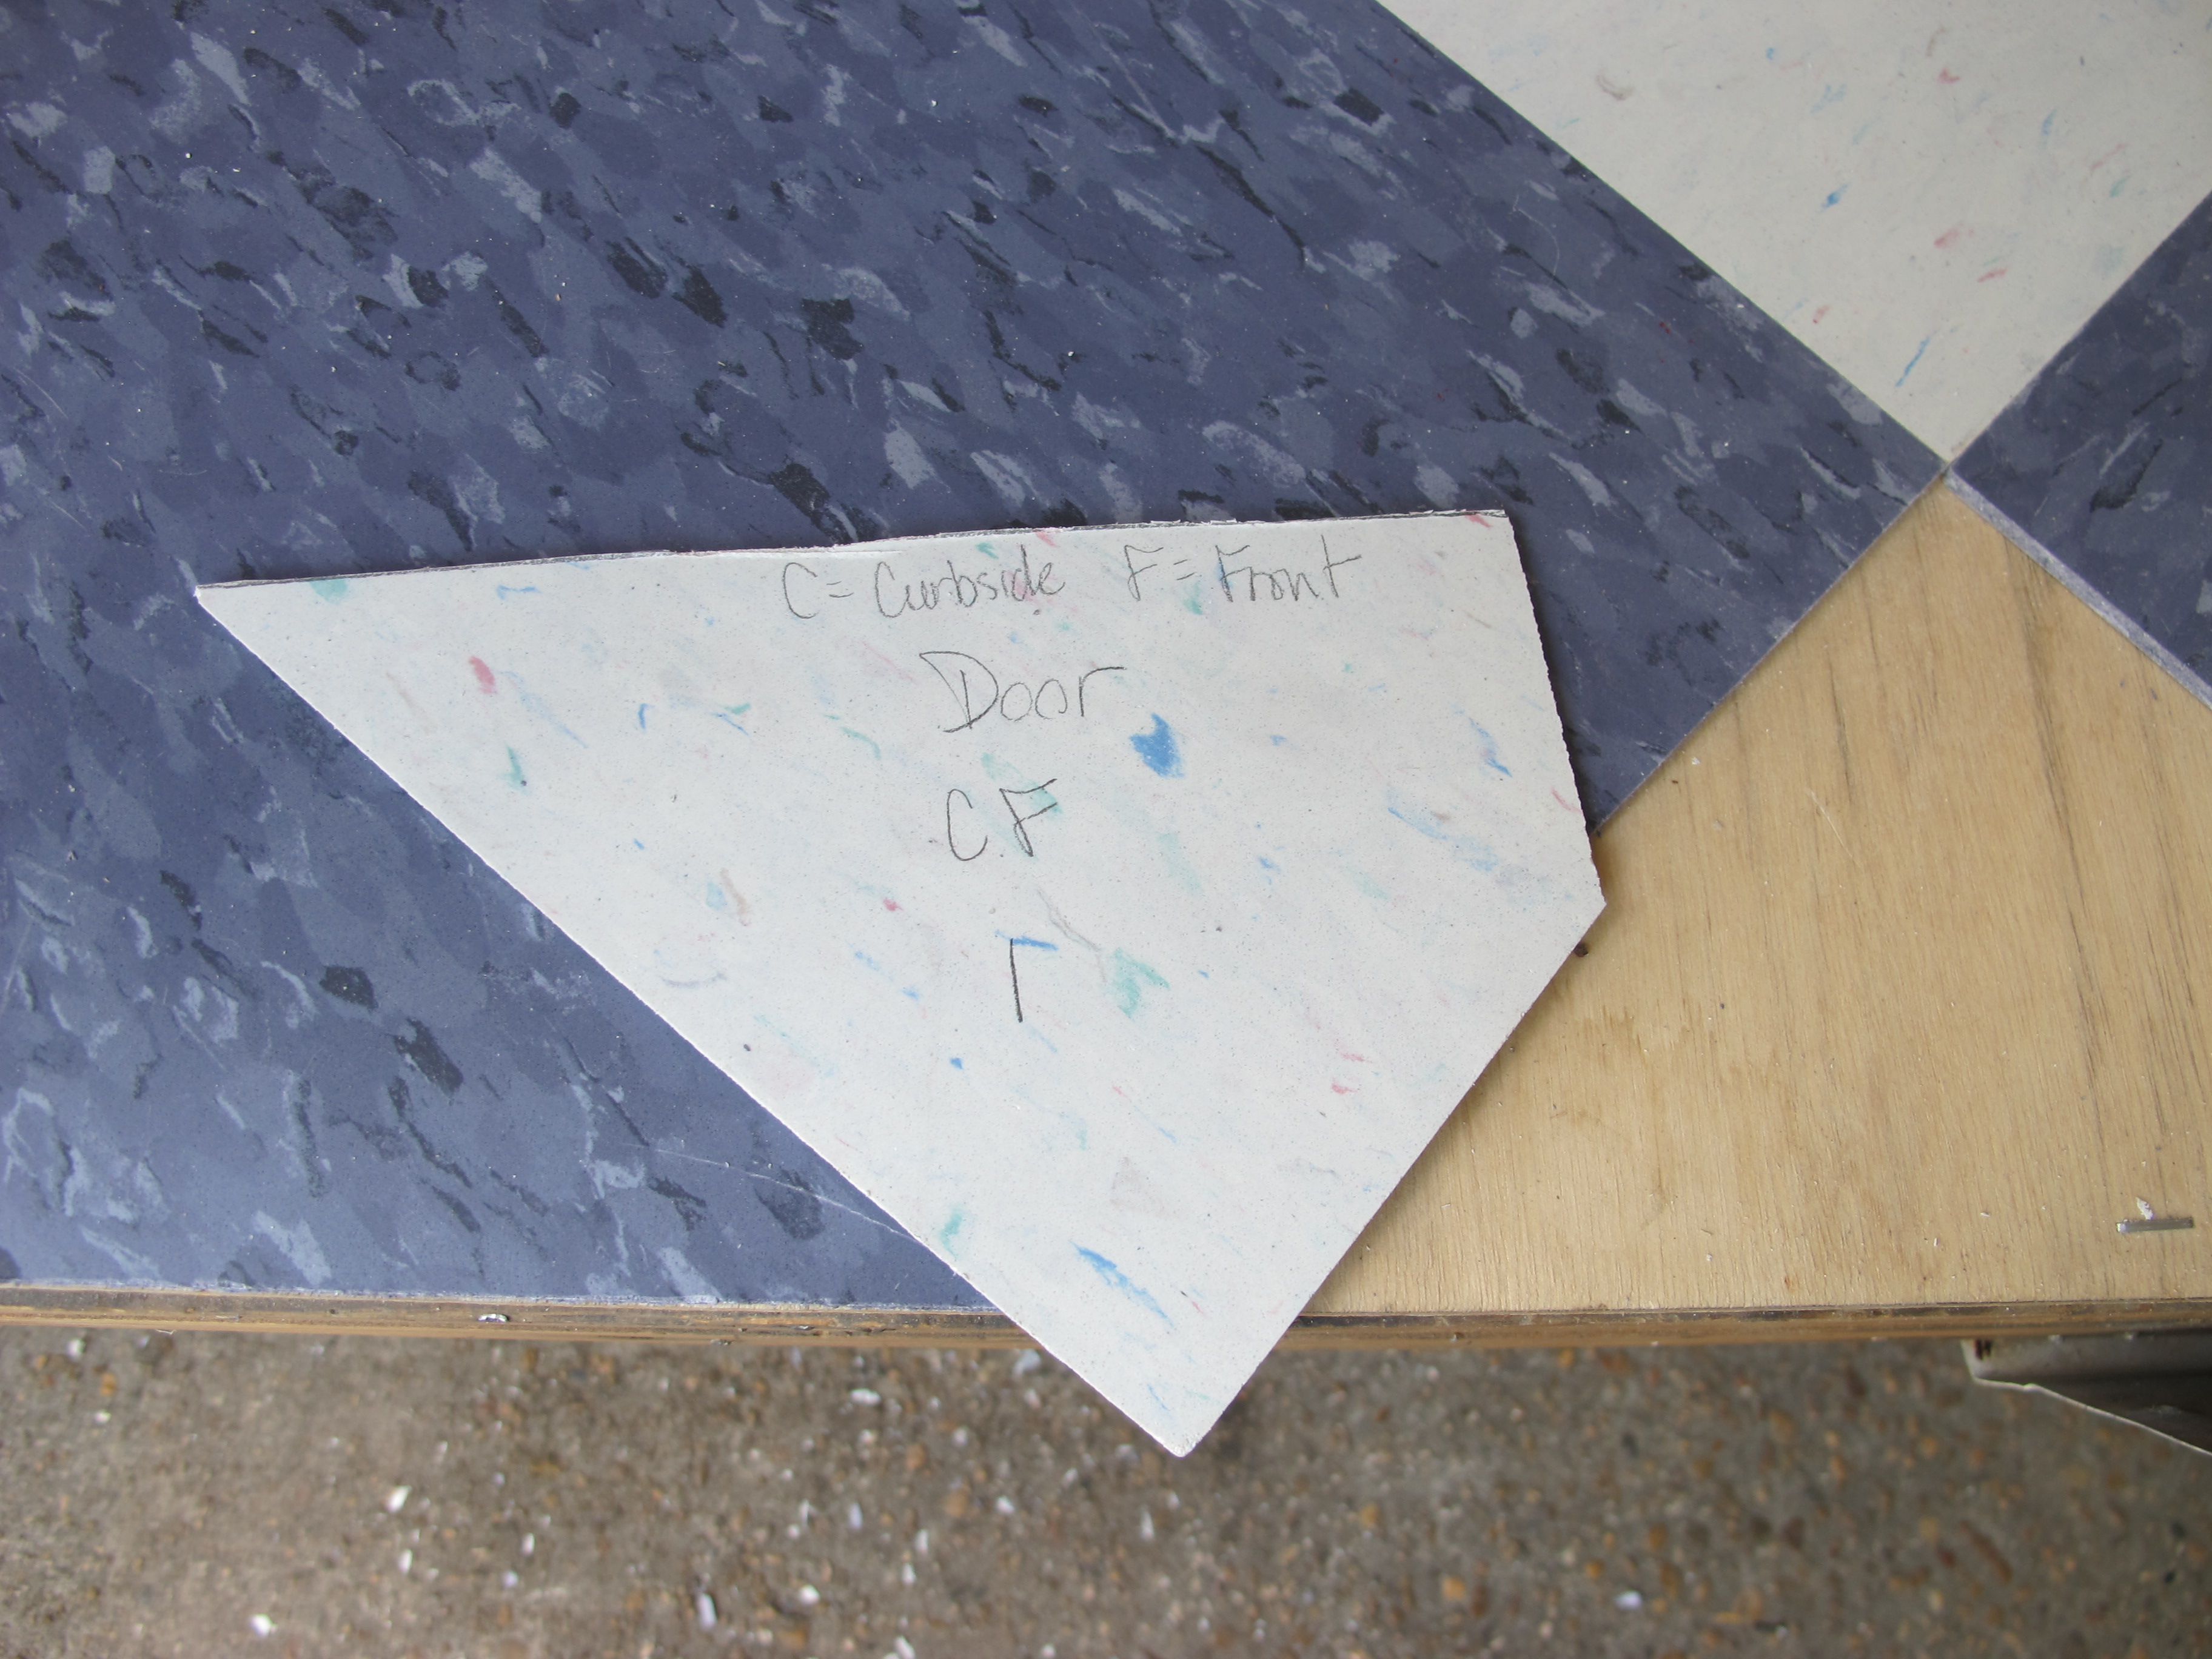
After I was done cutting the tiles to size, I had to remove them so I wouldn’t get shellac all over them. I wanted to label the edges so I could remember where they went when I got ready to glue them down. Hopefully this method will work! I’ll report back on that when I get to that step later.
Yesterday and today, I got to work shellacking the interior walls and cabinets. I started out trying to use my spray gun, but that turned out to be quite a mess. The problem with the paint sprayer is that it wastes a TON of shellac in the process!
I had fun with my painting outfit for a short while until I started sweating bullets in the thing.

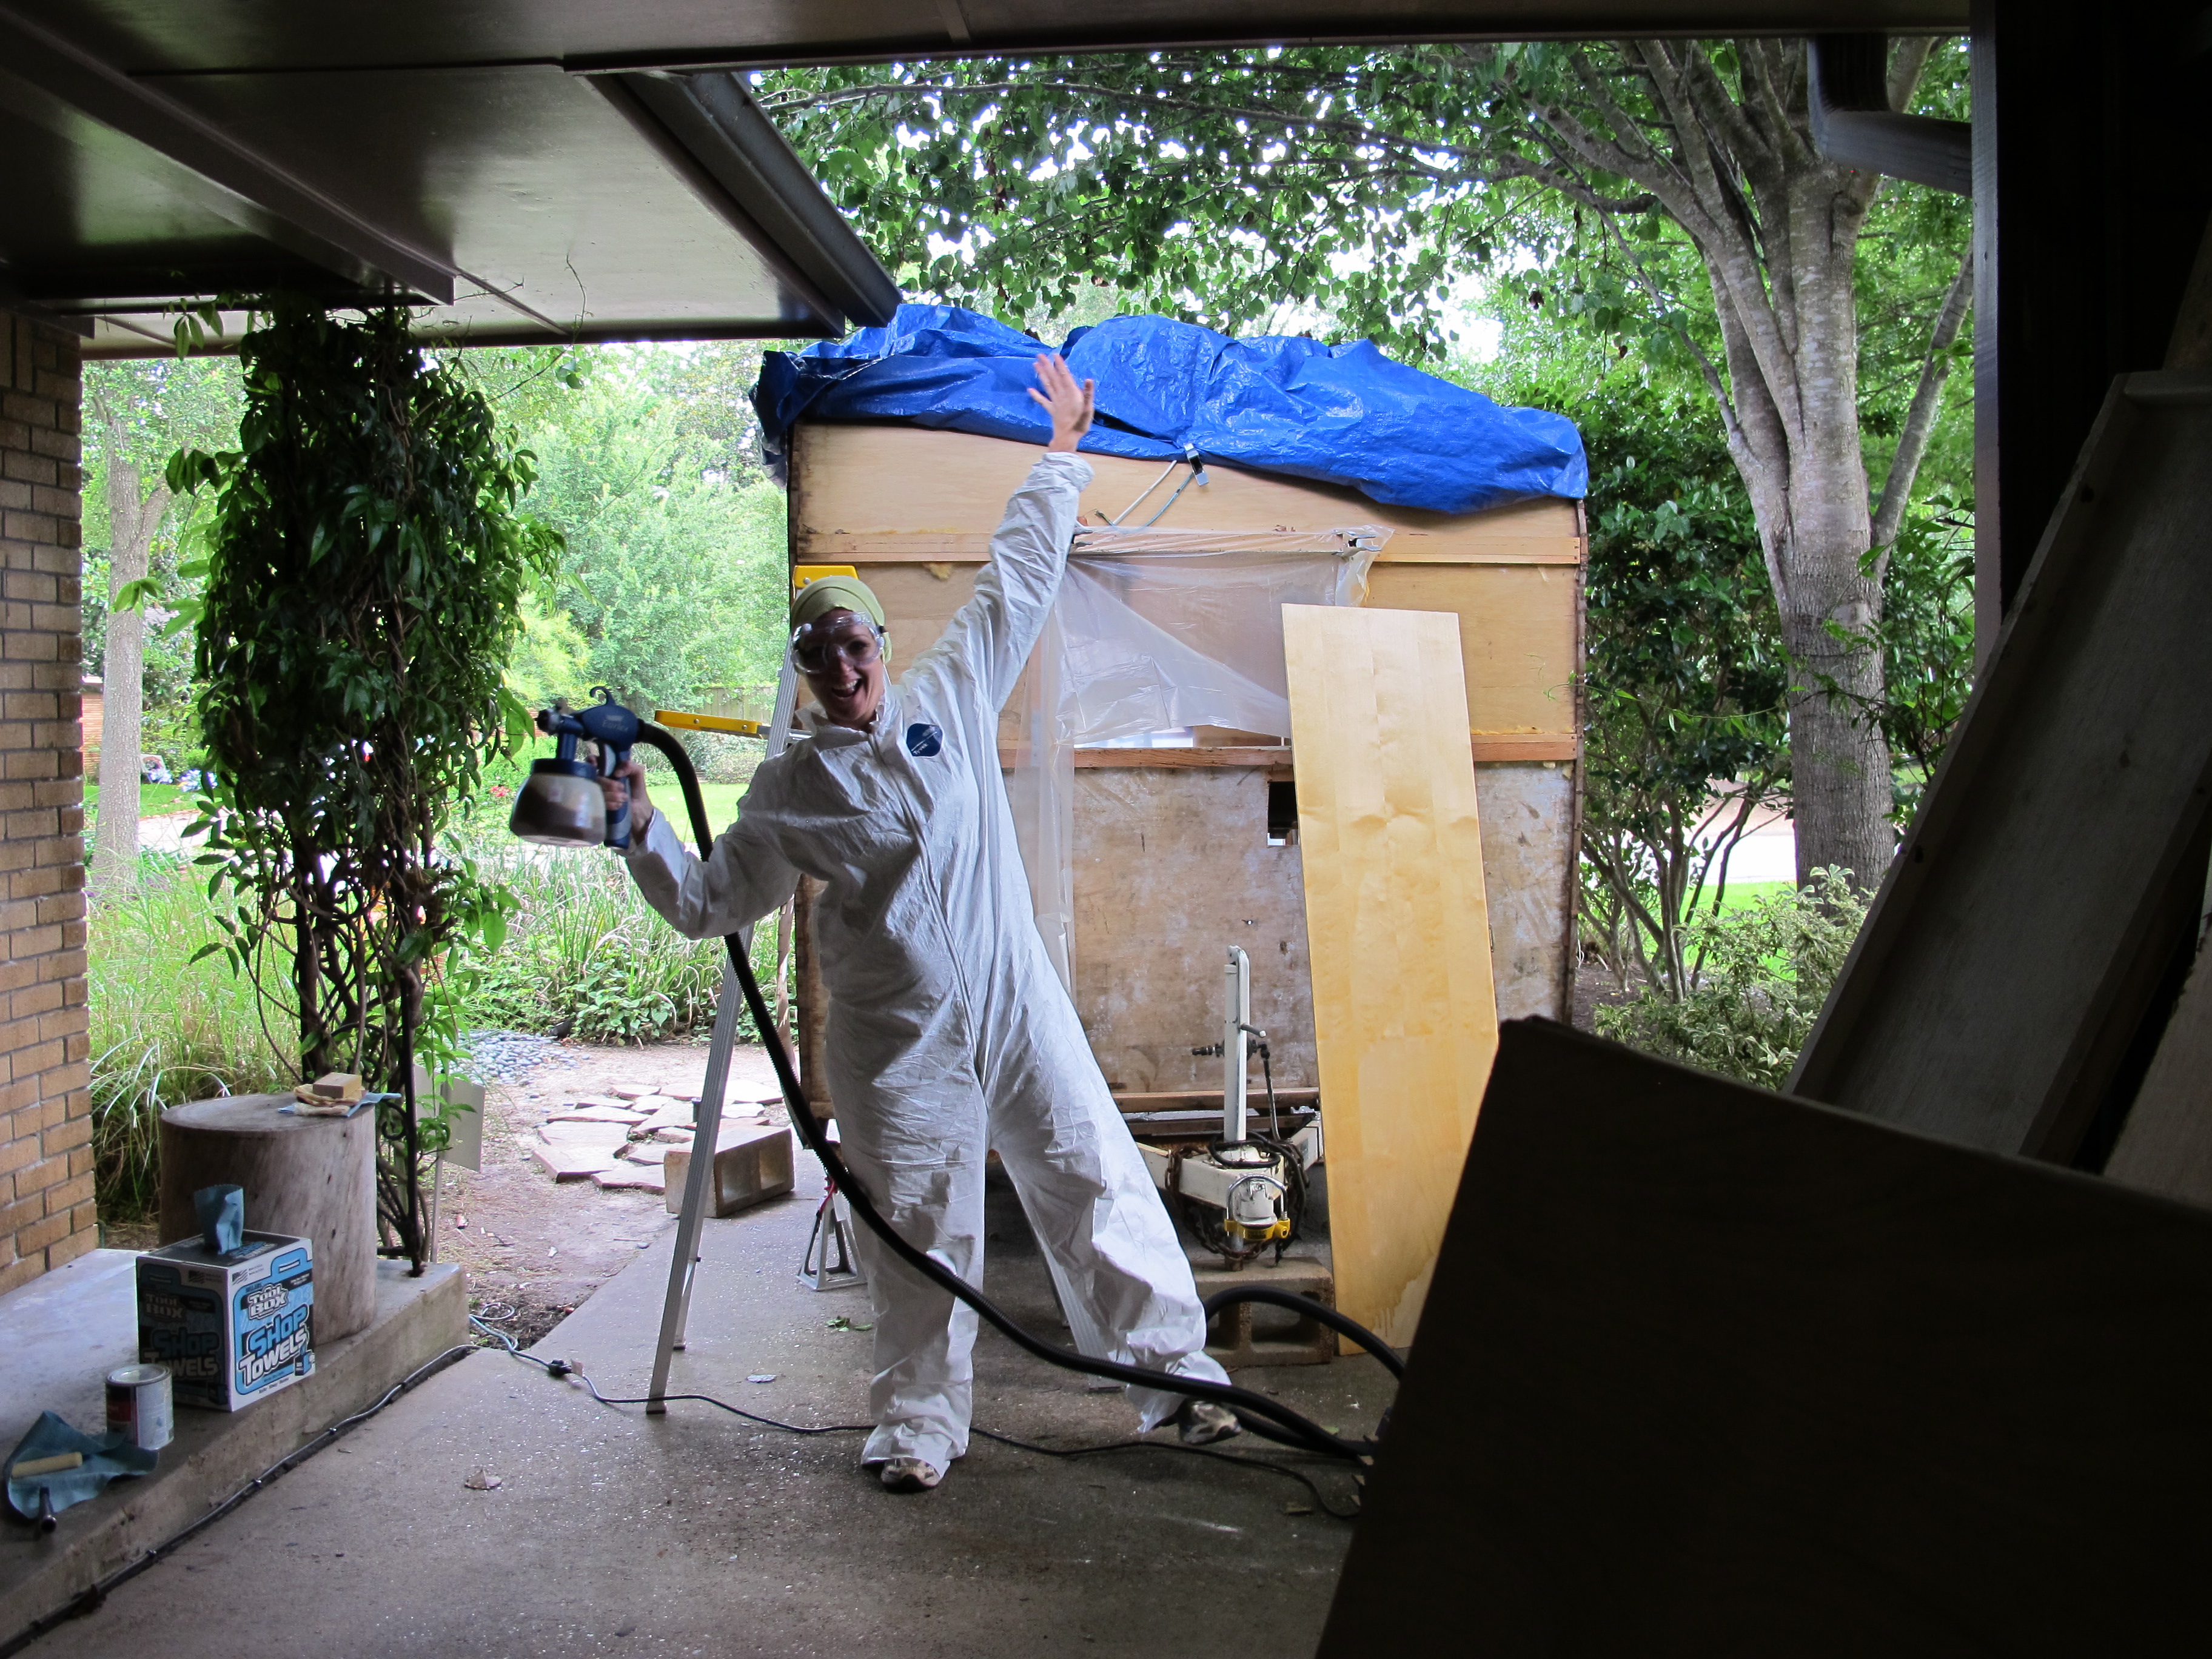
The paint sprayer kept leaving runs everywhere, so I decided I will save it for the clear shellac since runs aren’t as noticeable with the clear. I finished the amber shellacking with a brush. I’m very pleased with how it looks so far! The only thing that sucks is that the veneer keeps getting wrinkly at the edges due to all of the moisture. I’m hoping it won’t be too noticeable once everything is finished.
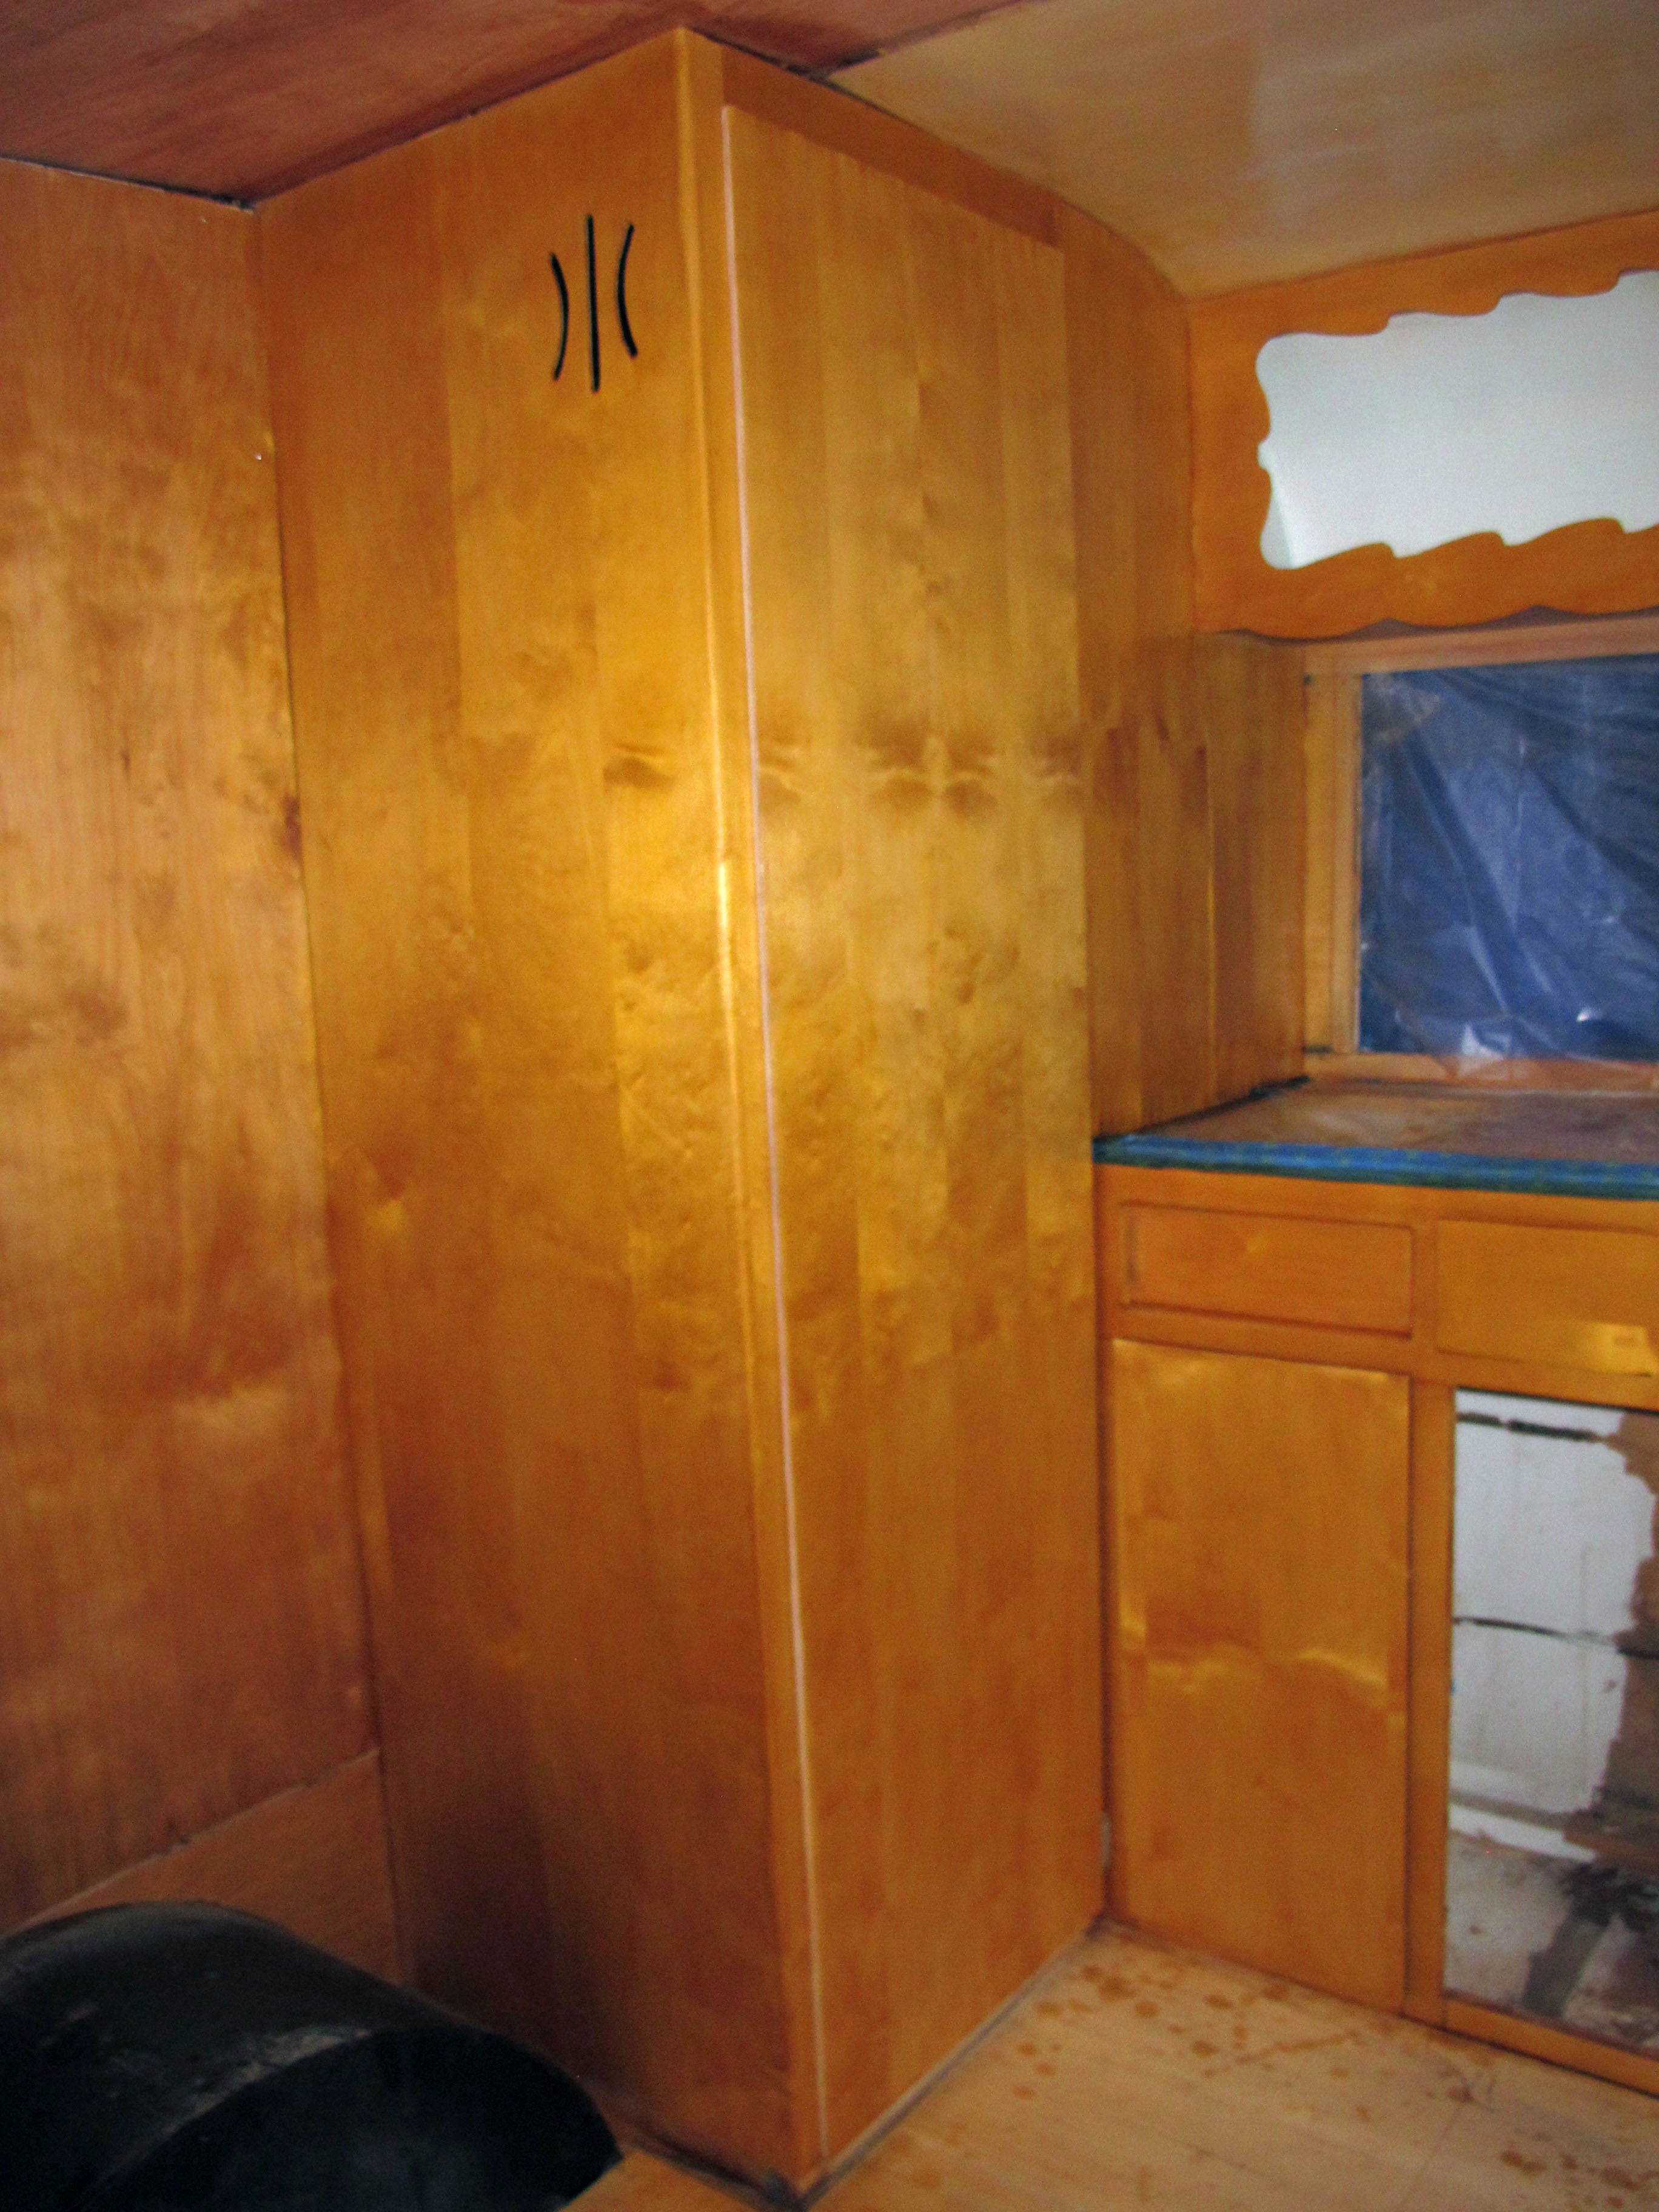
The veneer on the closet turned a beautiful amber color after 3 or 4 coats of the amber shellac.

The wood on the walls is darker, so I only put one coat of shellac on it. It’s not a perfect match but close.
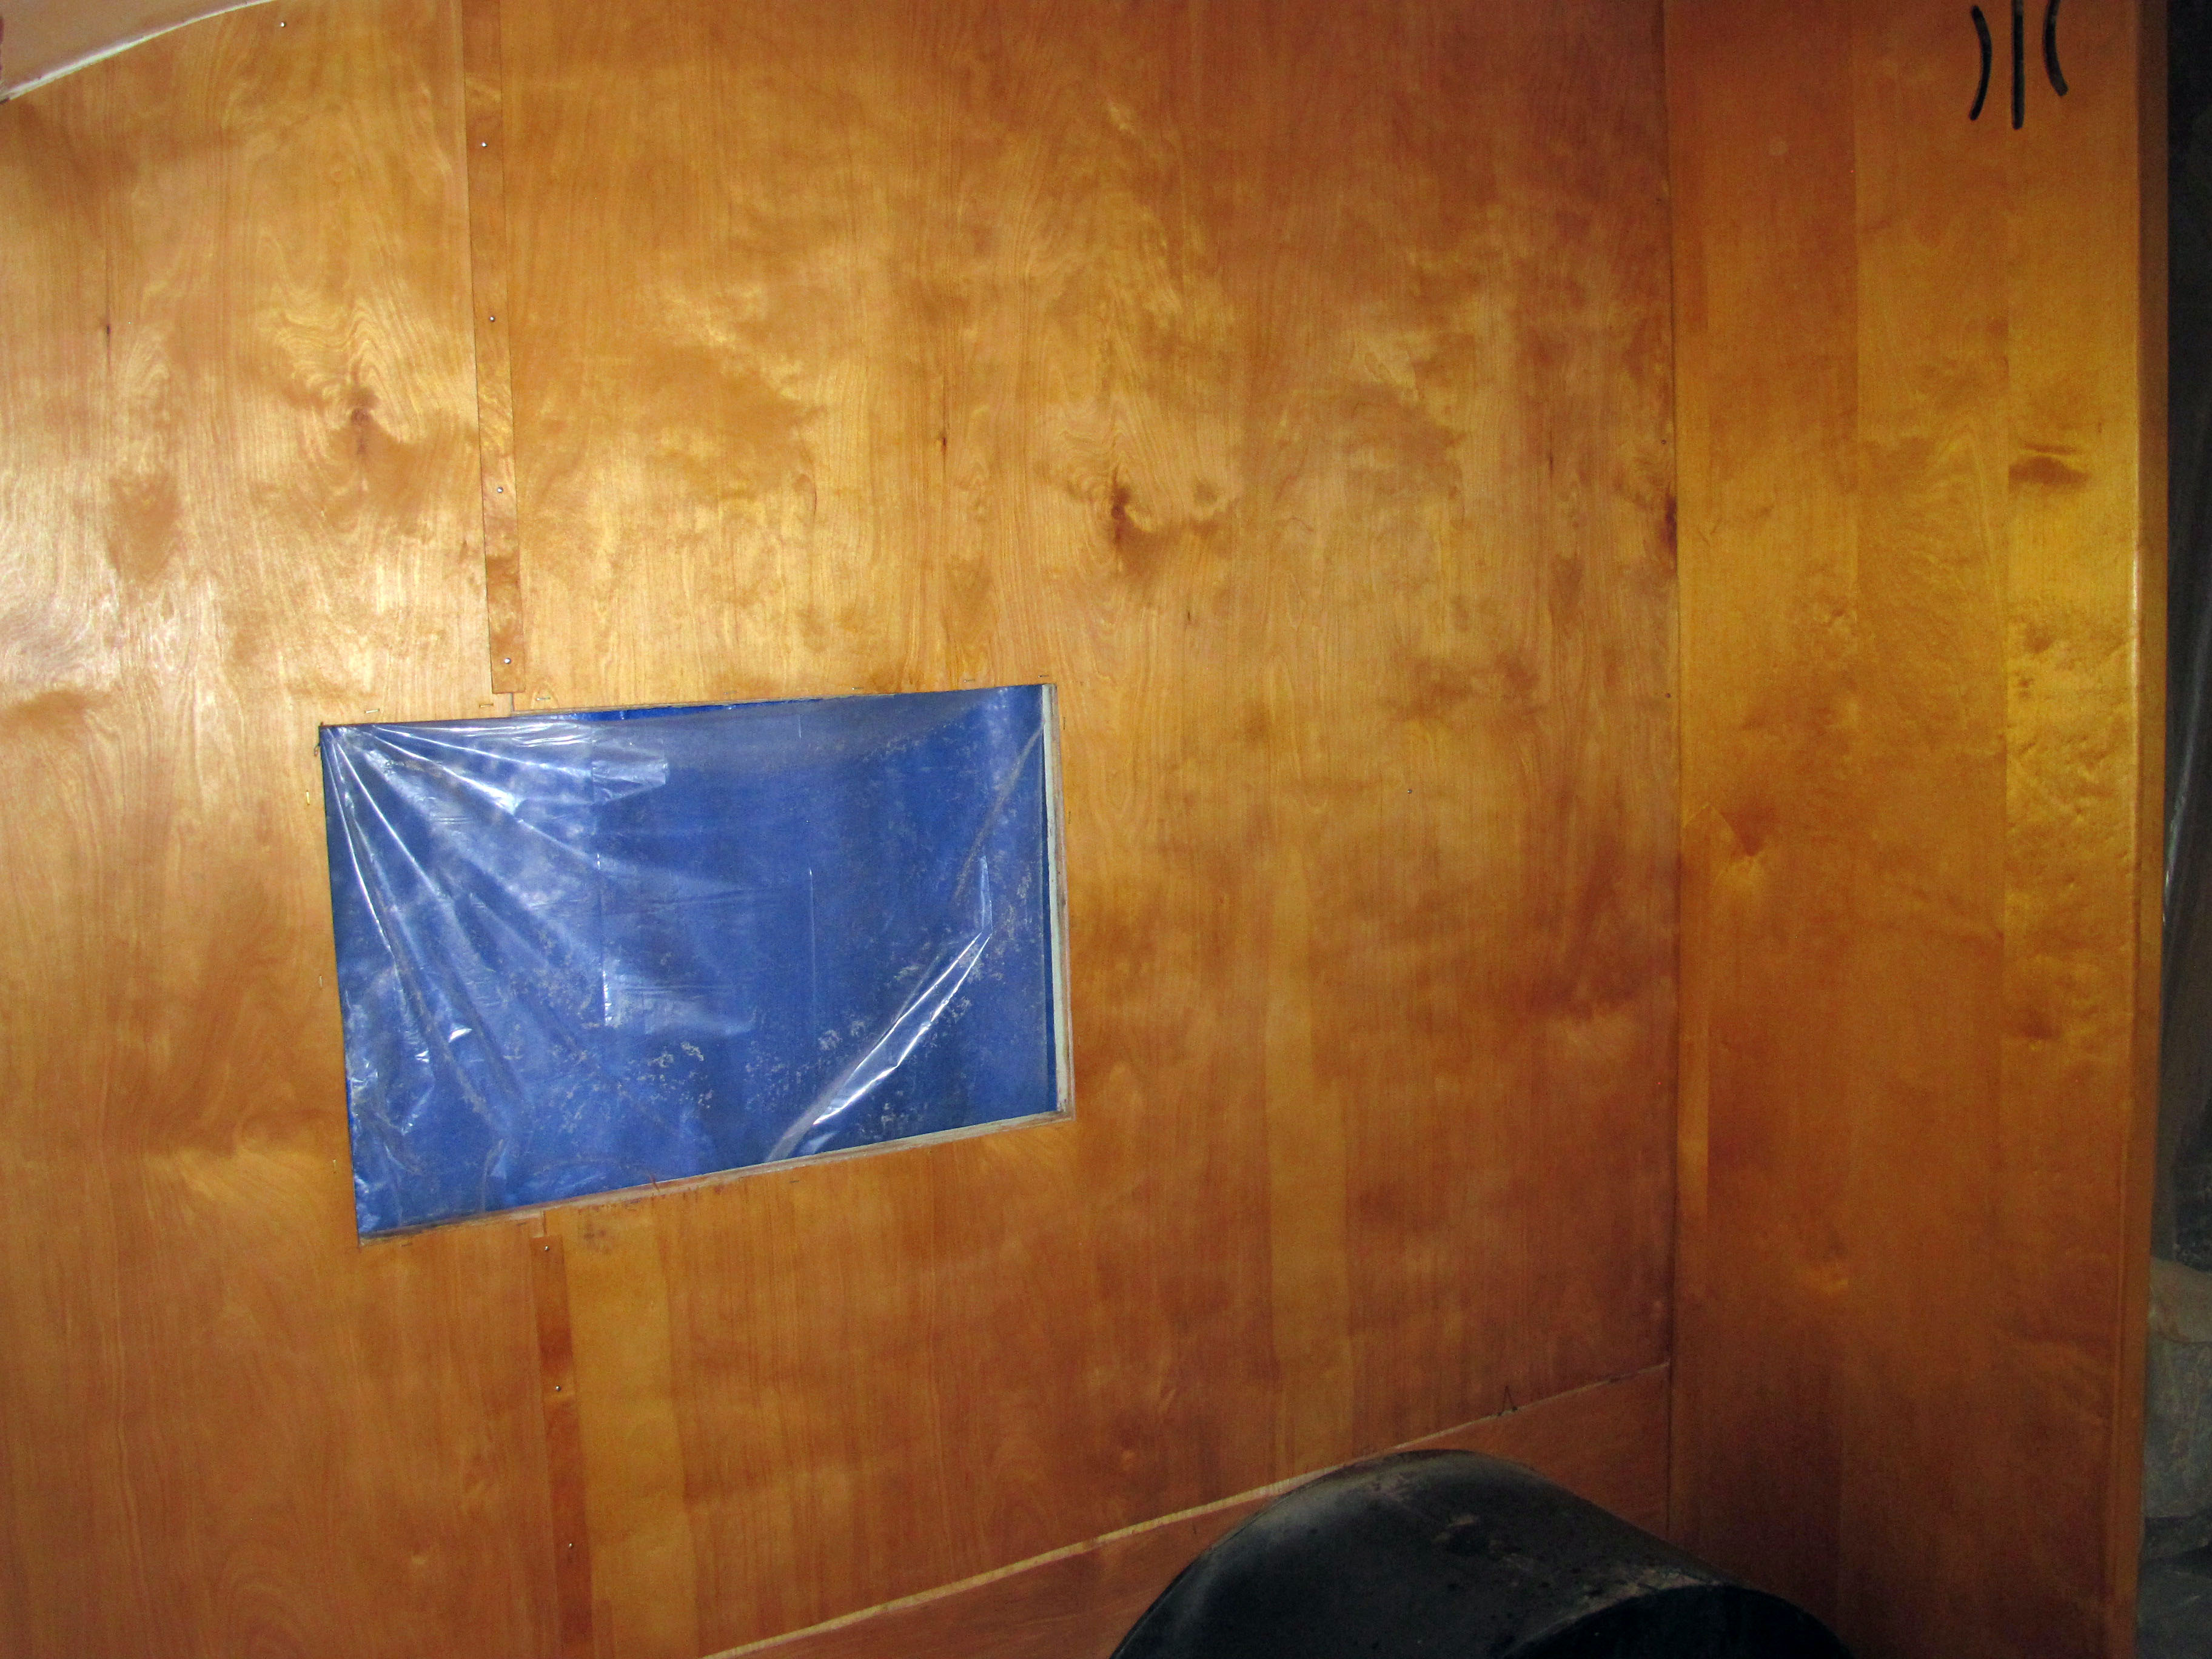
Here’s a pic of the street side wall.
After finishing this, I decided I wanted to go ahead and cut my new stainless steel backsplash to size. I had read some really complicated instructions online on how to cut stainless steel and was a little overwhelmed. I decided that I would just give it a go with my aluminum shears and see what happened. It wasn’t easy, but it worked in the end!
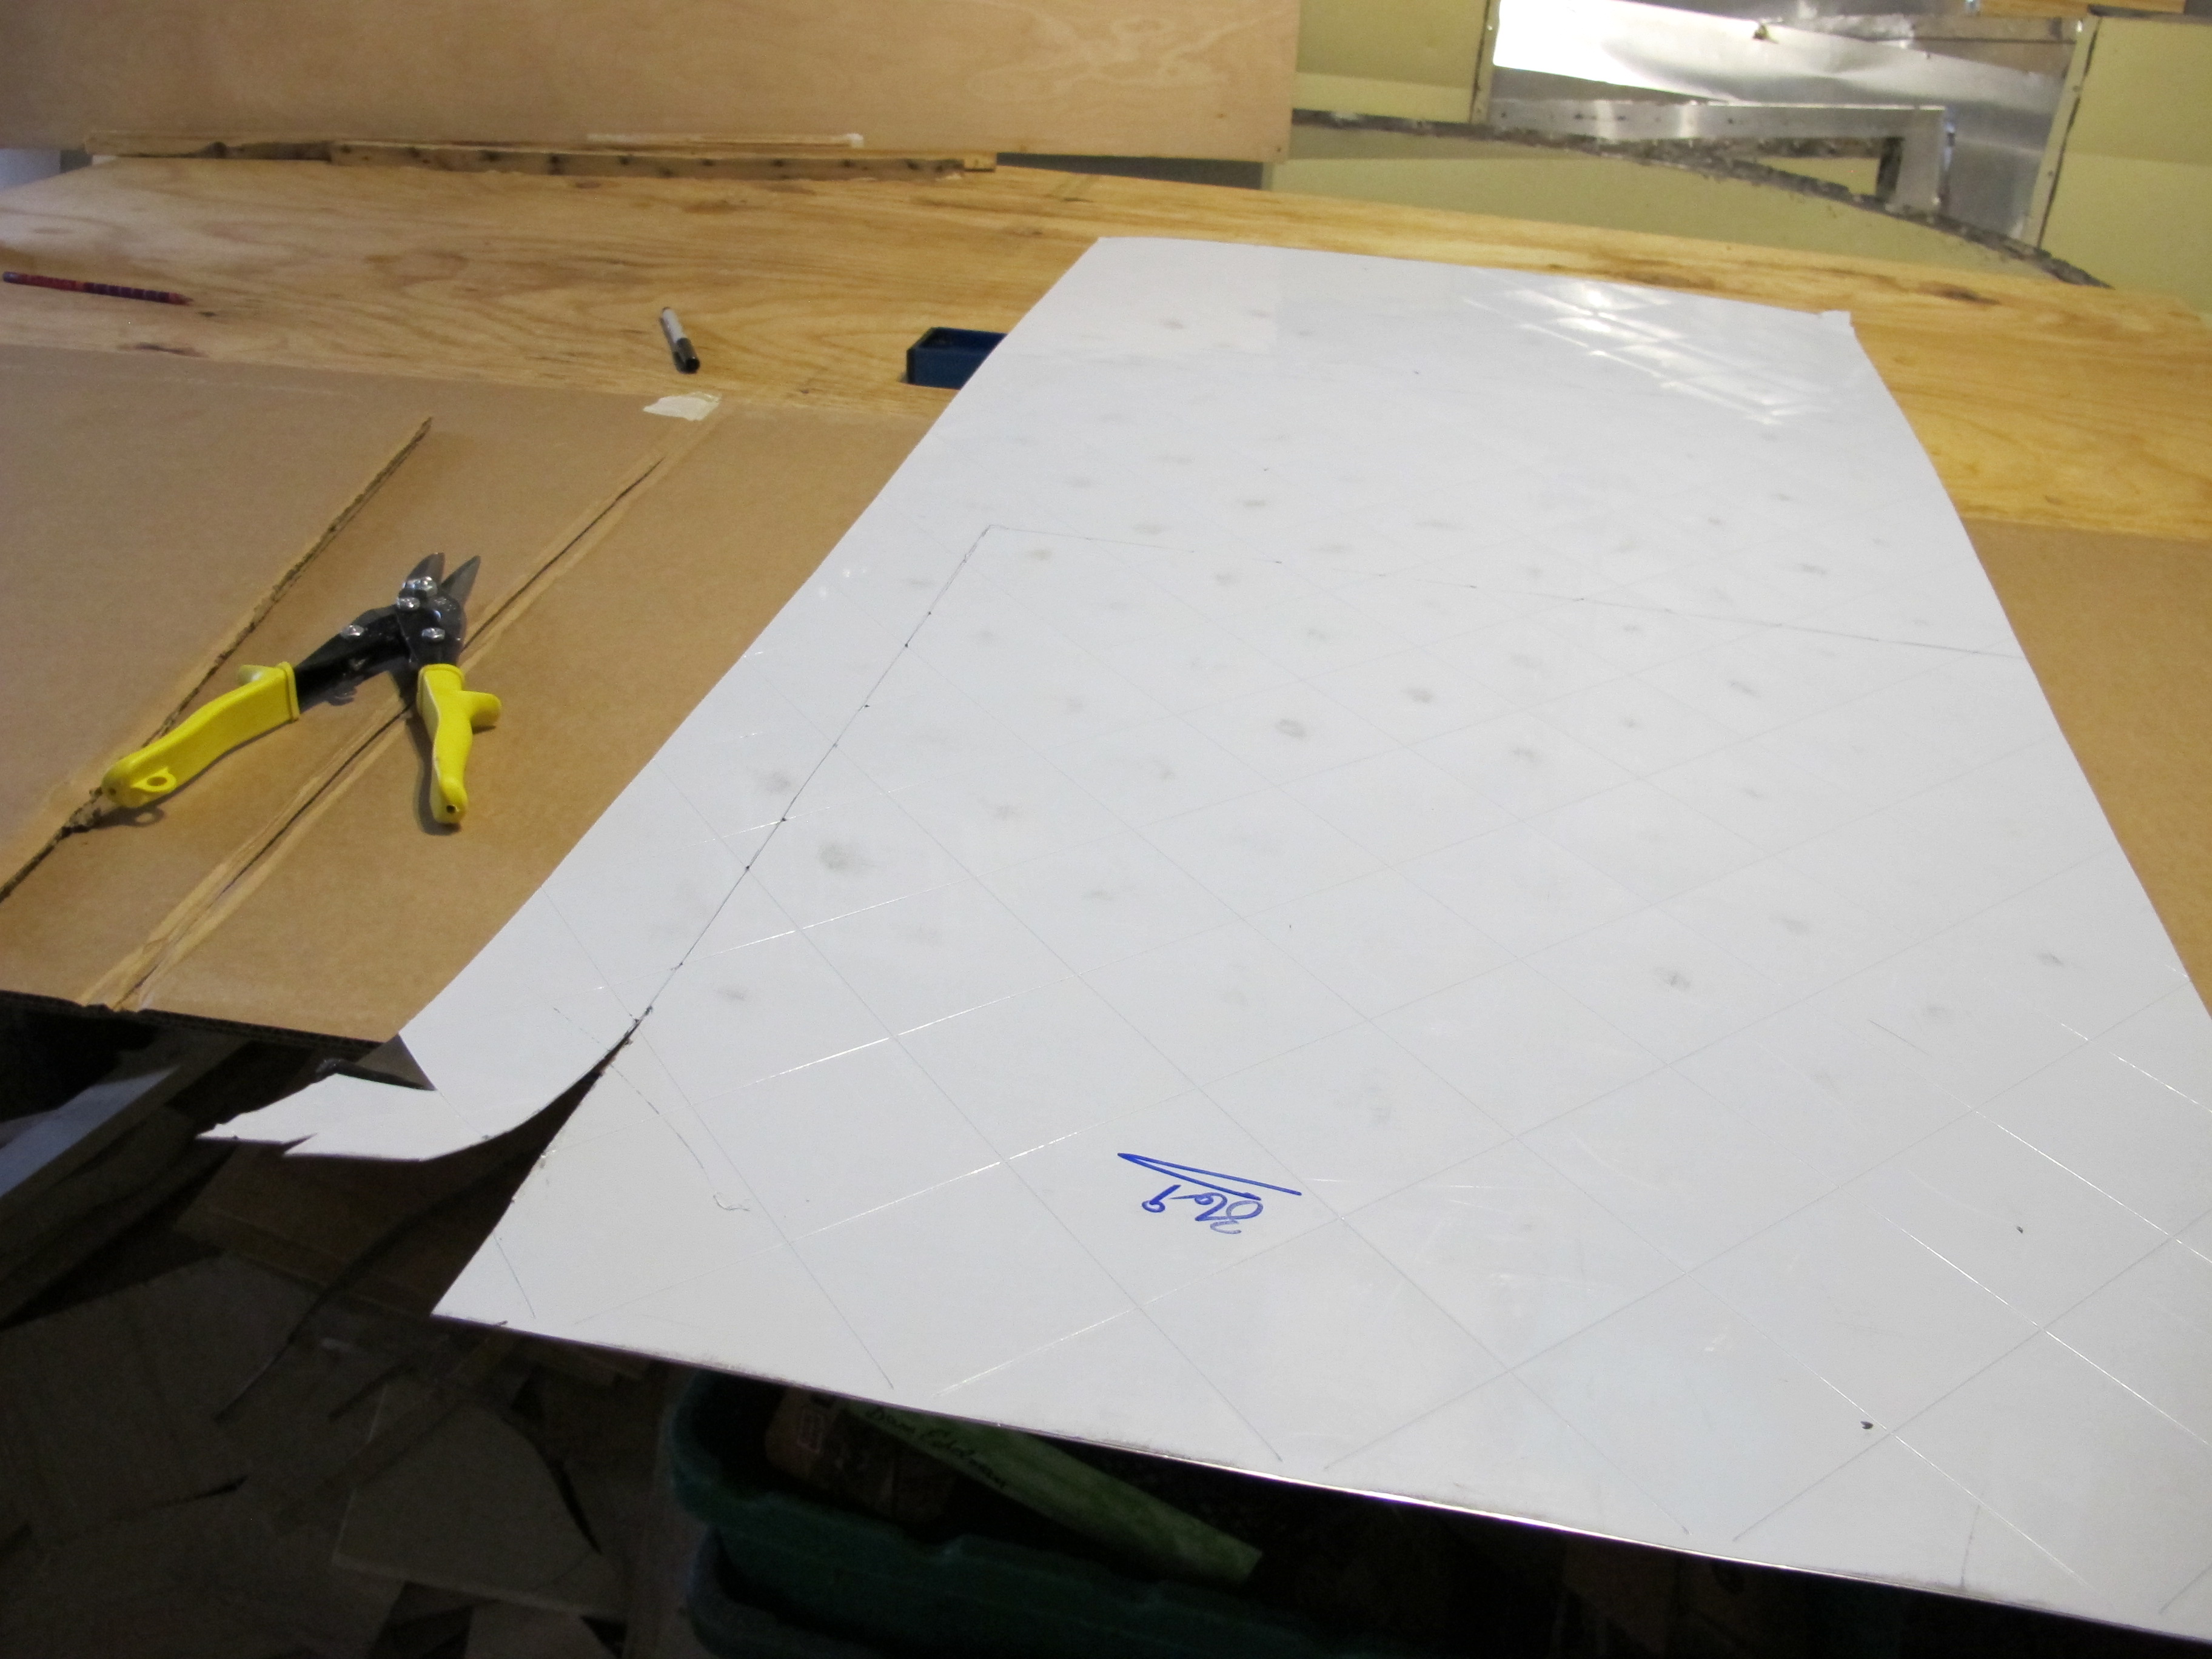

I haven’t installed the backsplash yet, the panels are just propped up to see how they will look. Once it’s installed, it will look better. I am excited at how pretty everything is looking so far!
Tomorrow, I’m planning to start spraying everything with lots of clear shellac. That will start to give it that beautiful shiny look that I’m going for. Everything is really starting to come together!