
I had a rough weekend. I didn’t even want to write a post yesterday because I was so frustrated, I just had to get away from it all. I tried for a good part of Saturday to get the electrical system to work, and I felt like I wasn’t getting anywhere. I didn’t want to get too far off track even though I couldn’t get the electrical system to work, so I still managed to cross a few other things off my list.
I had to run a few errands first. I needed to pick up some Dicor lap leveling sealant to go around the seams on the Fantastic Vent on the roof. Even though I sealed it first with putty tape, you still have to go over the top of that with the Dicor sealant to ensure it’s water tight. I also had some seams that were exposed because my j-rail wasn’t covering them all the way so I got some Sikaflex sealant to cover those. I don’t think it’s technically the way you’re supposed to do it, but I wanted the added protection since there were some areas exposed. I got it in grey, so it doesn’t look too bad. I still need to trim it in a few places where it got a little goopy.

Here’s a pic before adding the Dicor. It’s just got the putty tape between the vent and the roof.
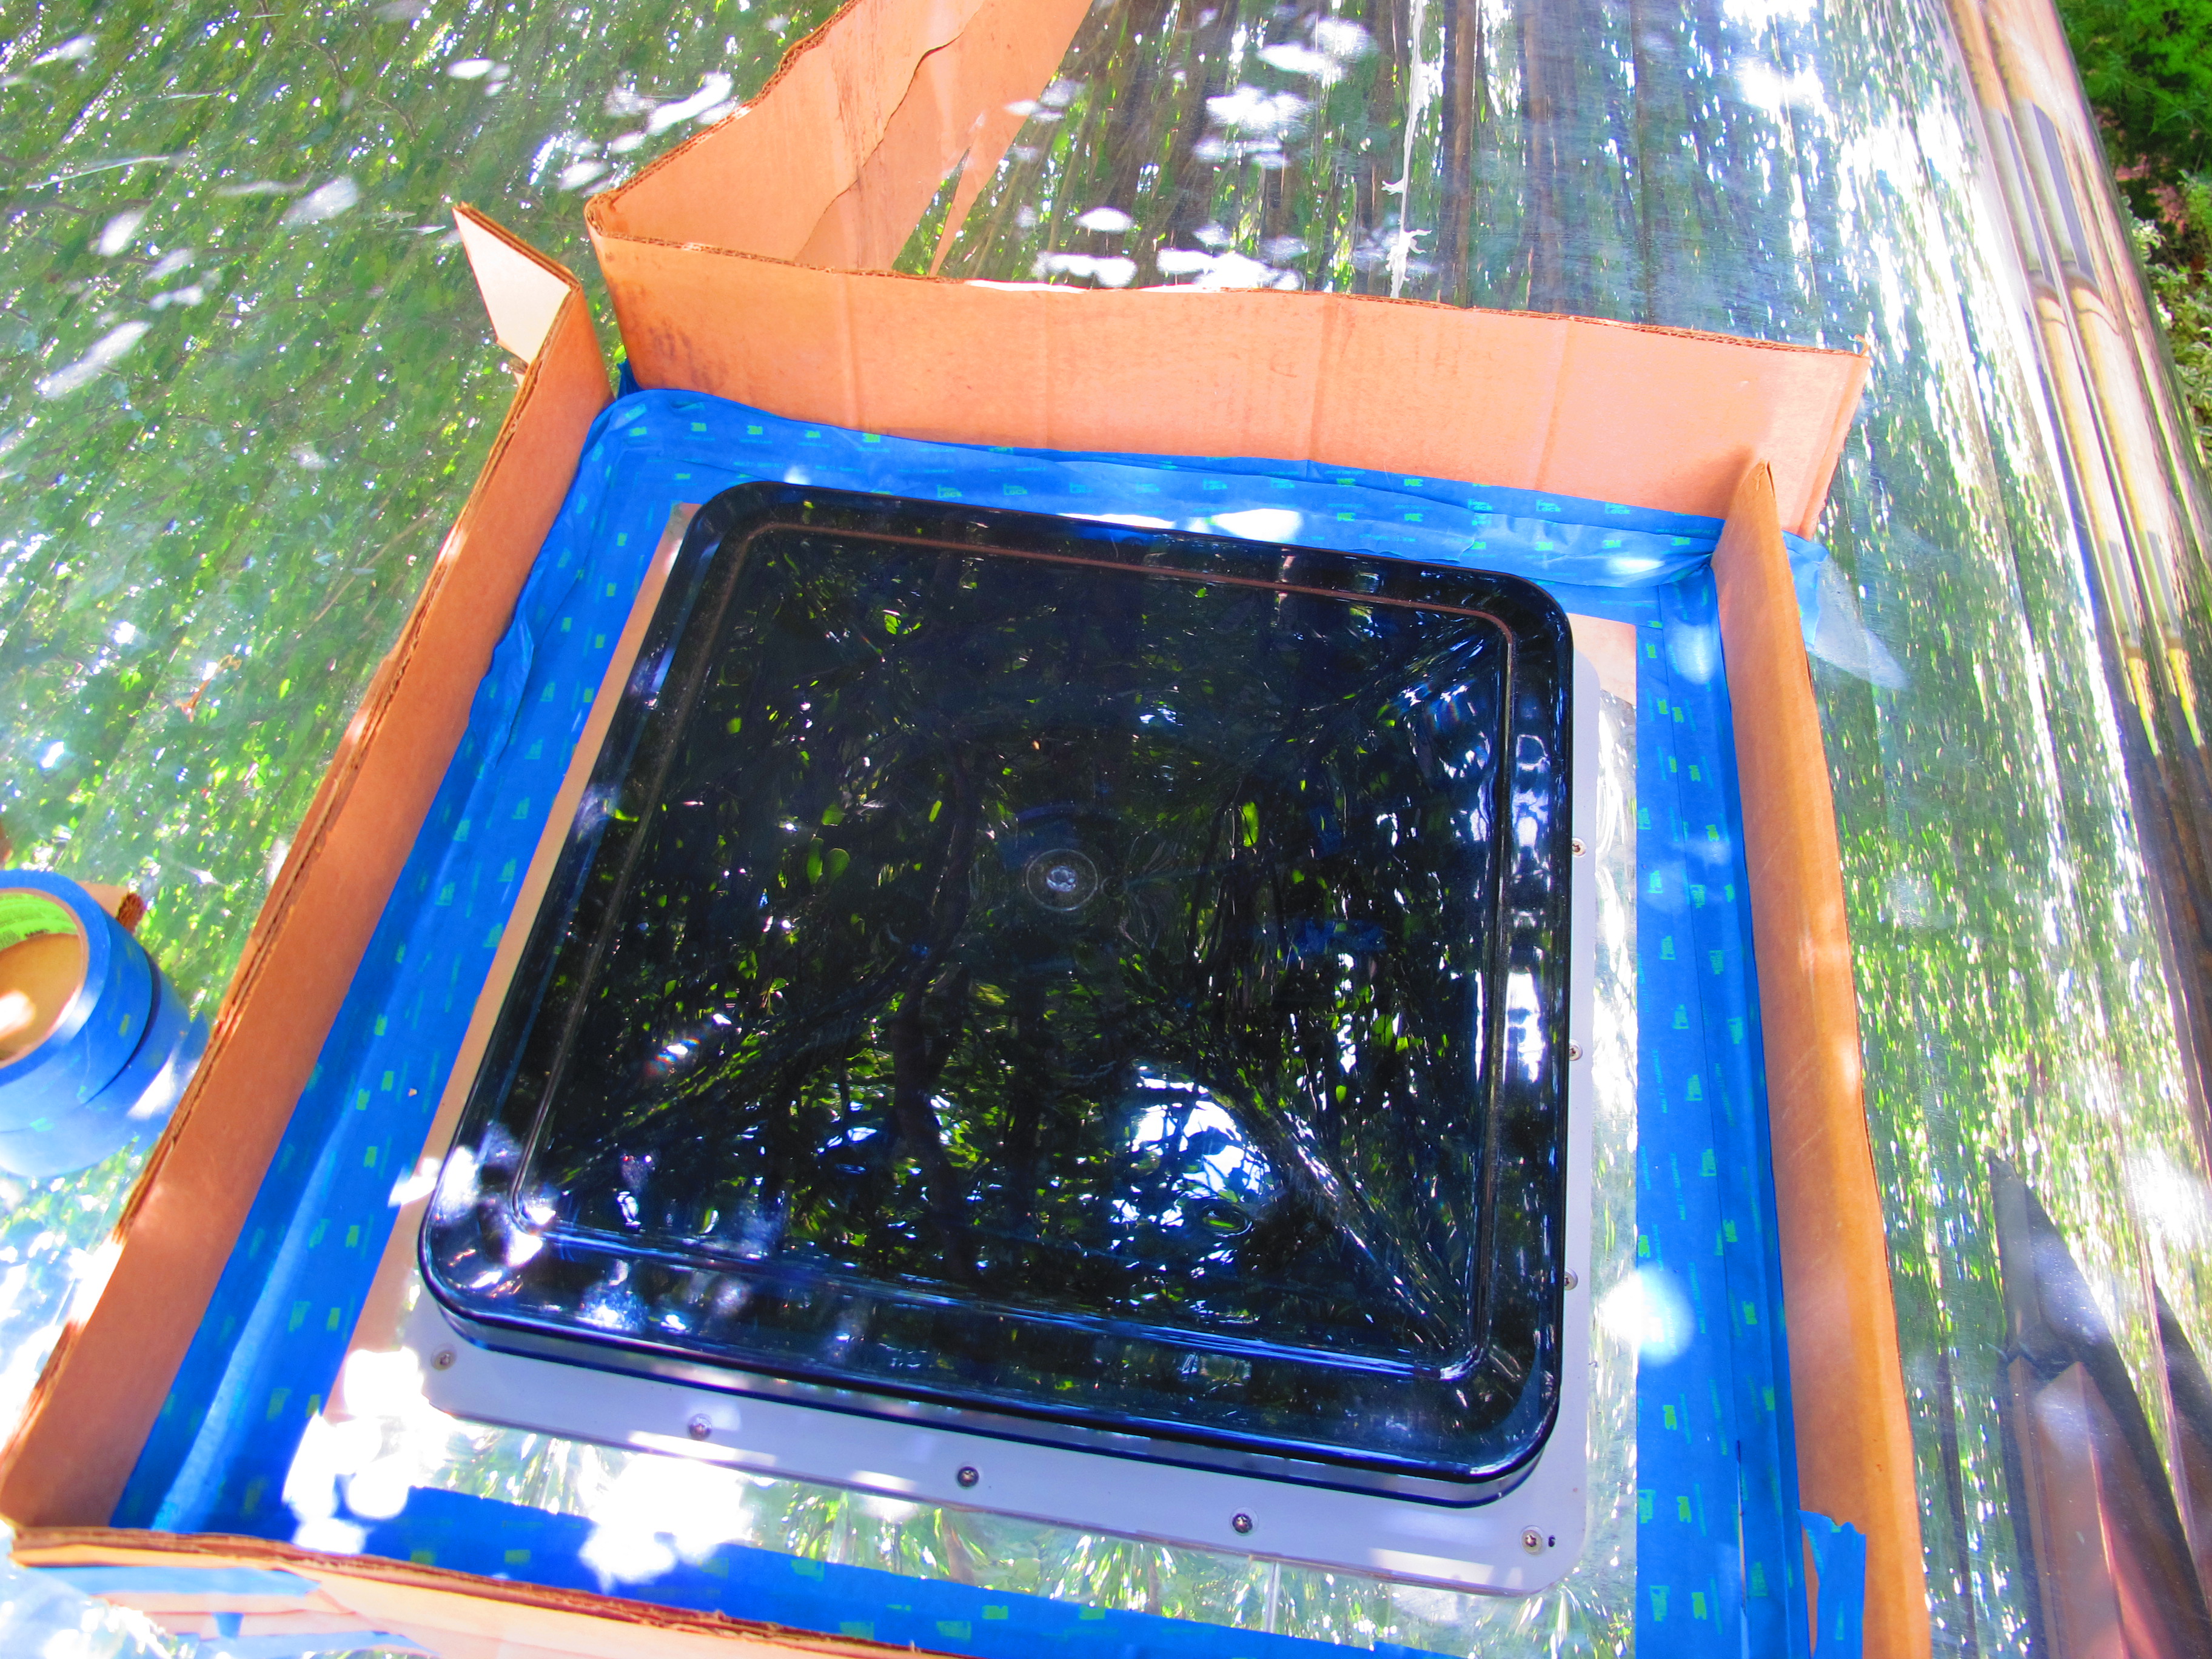
I made this barrier to go around the vent because I wasn’t sure how much the sealant was going to spread and I didn’t want it going all over the place.

Turns out I didn’t need the barrier. Oh well, better safe than sorry!
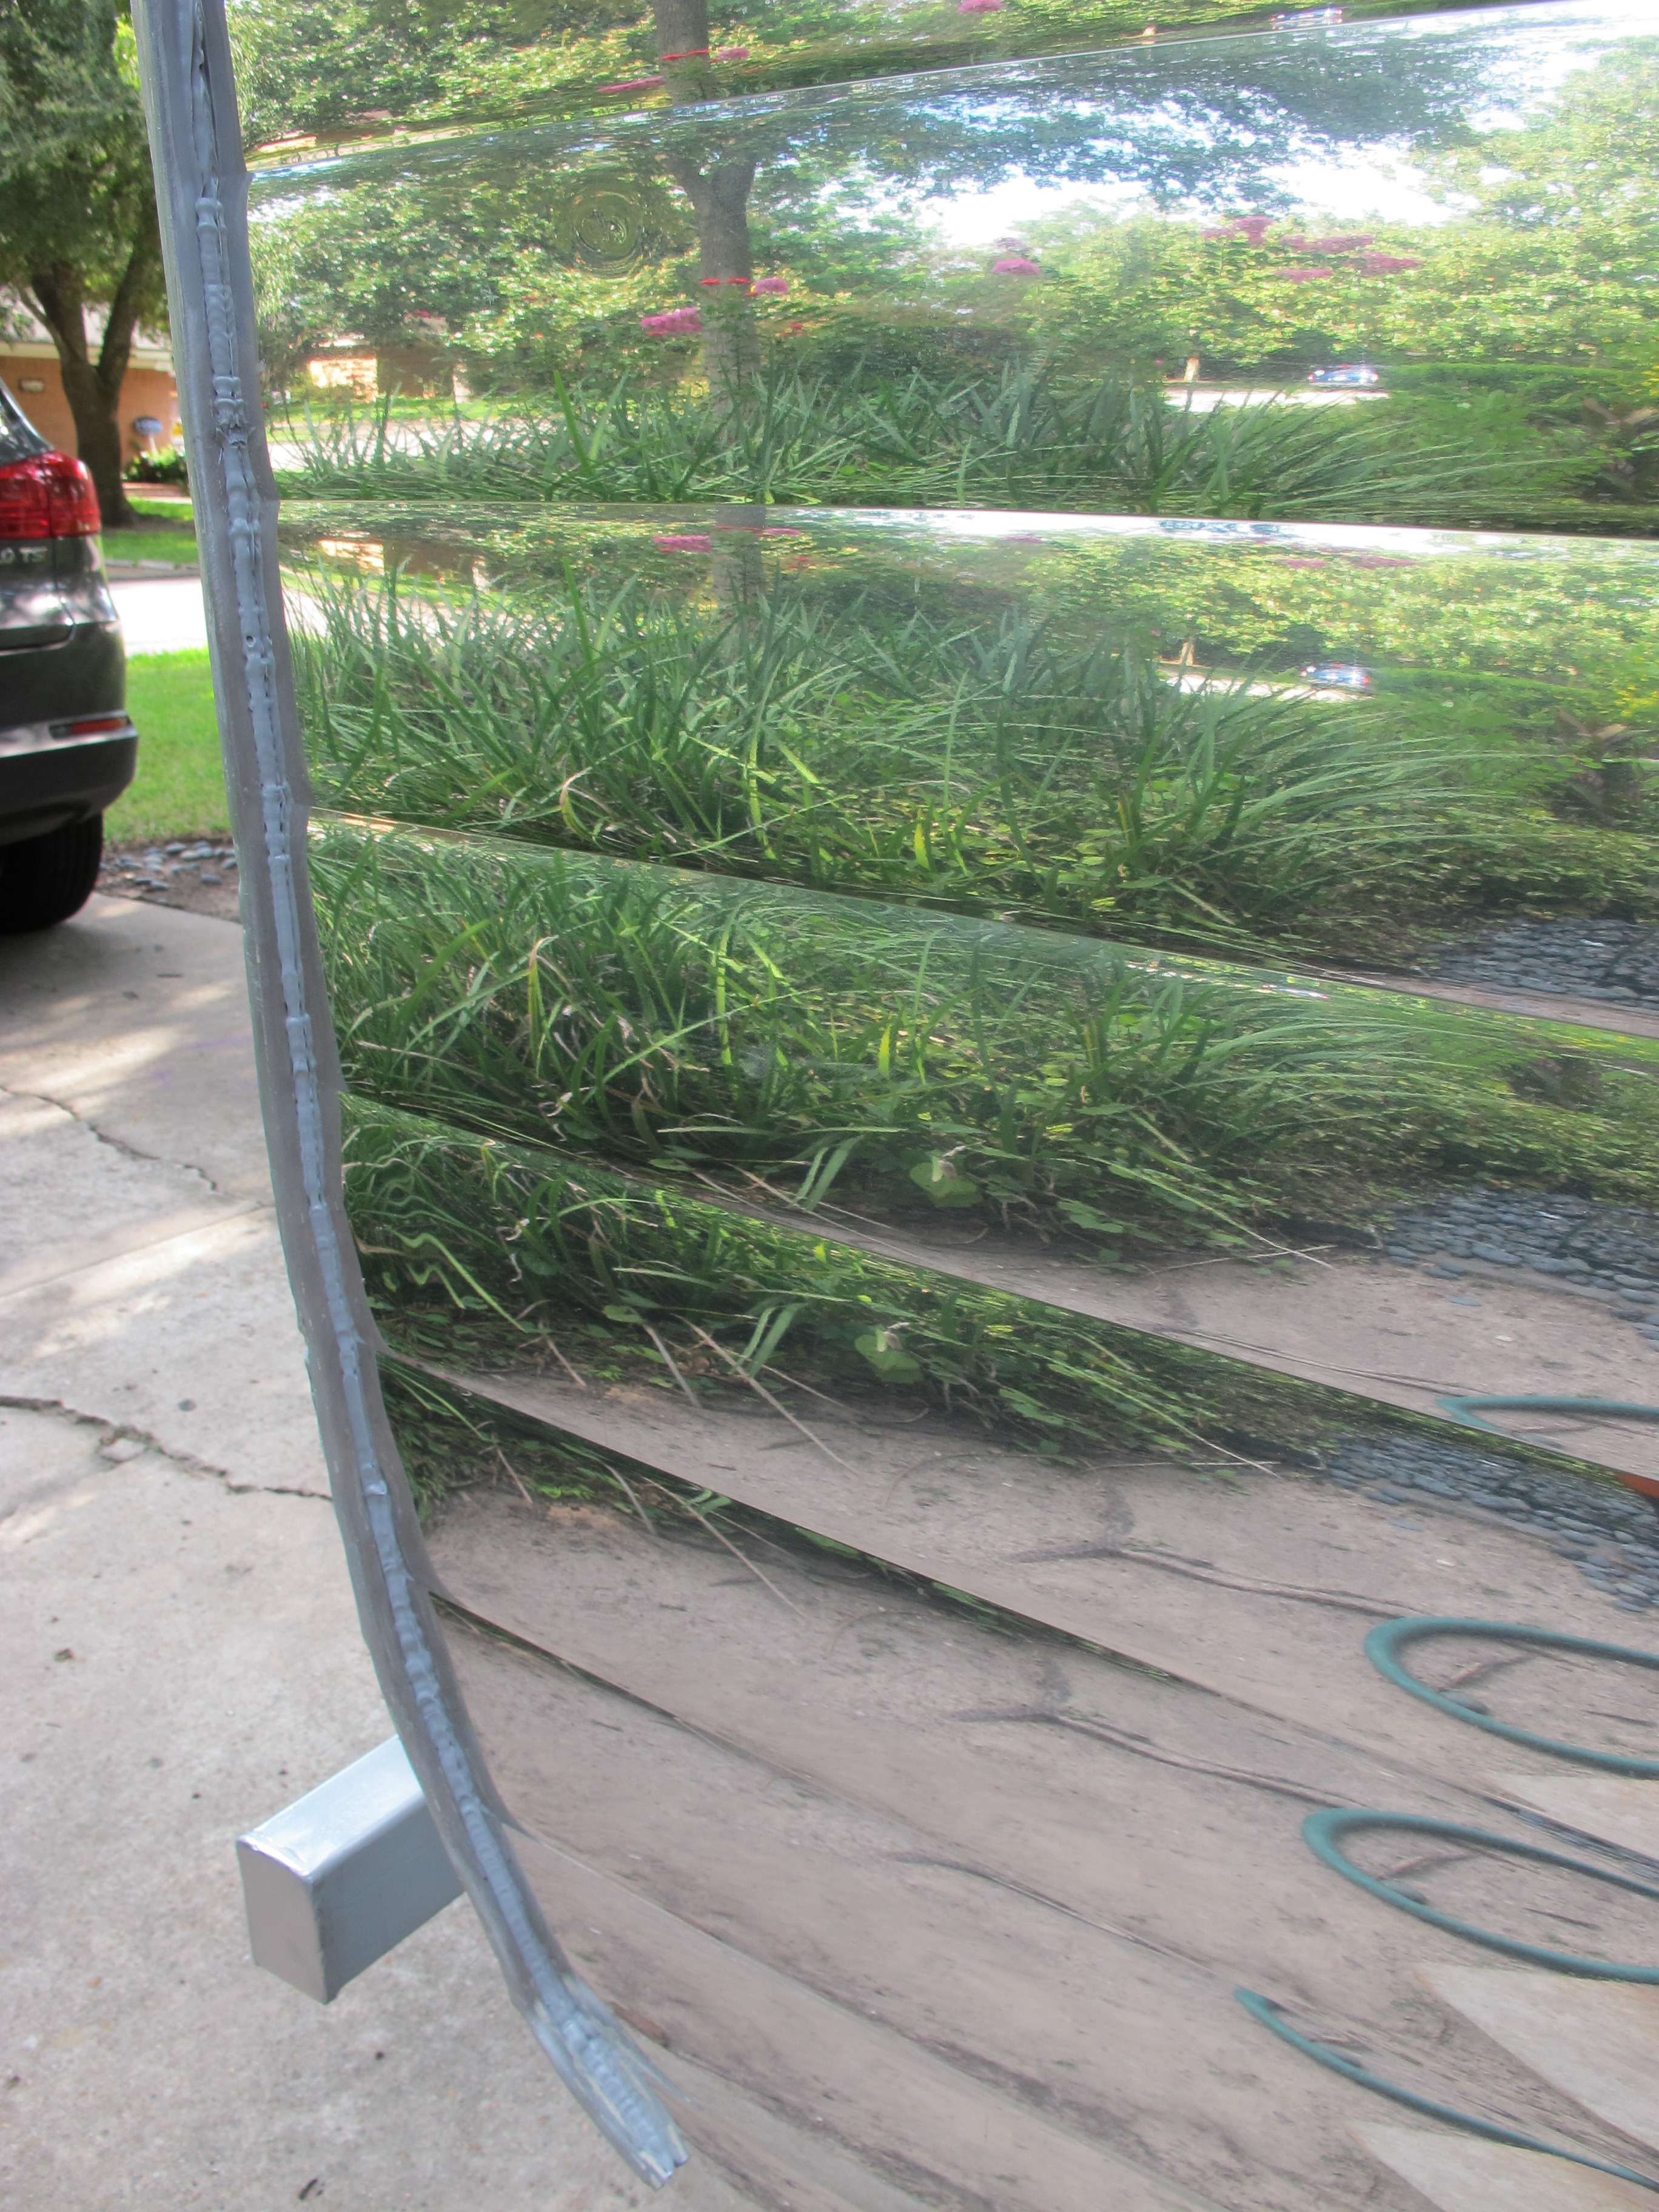
Here’s a pic of the Sikaflex sealant I applied in the cracks of the j-rail. The top of the j-rail had a better seal because it was completely covering the seams. It was just on this side in some places where I had folded the roof over too far. I think I’ll trim it a little but it doesn’t look too bad.
It poured down rain today and I let Junebug get rained on for the first time in a long time. I guess I figured I needed to test her seals out to see if anything leaked. From what I could tell, everything stayed bone dry, so that was awesome!
I decided yesterday that maybe I wanted to put the old light fixtures back in the camper instead of the new crappy ones I bought. I needed to clean up one of them because it had gotten rusty, probably due to getting wet because it was the one above the kitchenette. While I was messing with the rusty fixture, the neutral wire broke off of the light socket. ugh Rather than throw out this fixture, which I still think is better than the new one, I decided to buy a new light socket and install it in the old fixture. It worked great!

Both old fixtures. The one on the right is rusted because it had been in the kitchen.
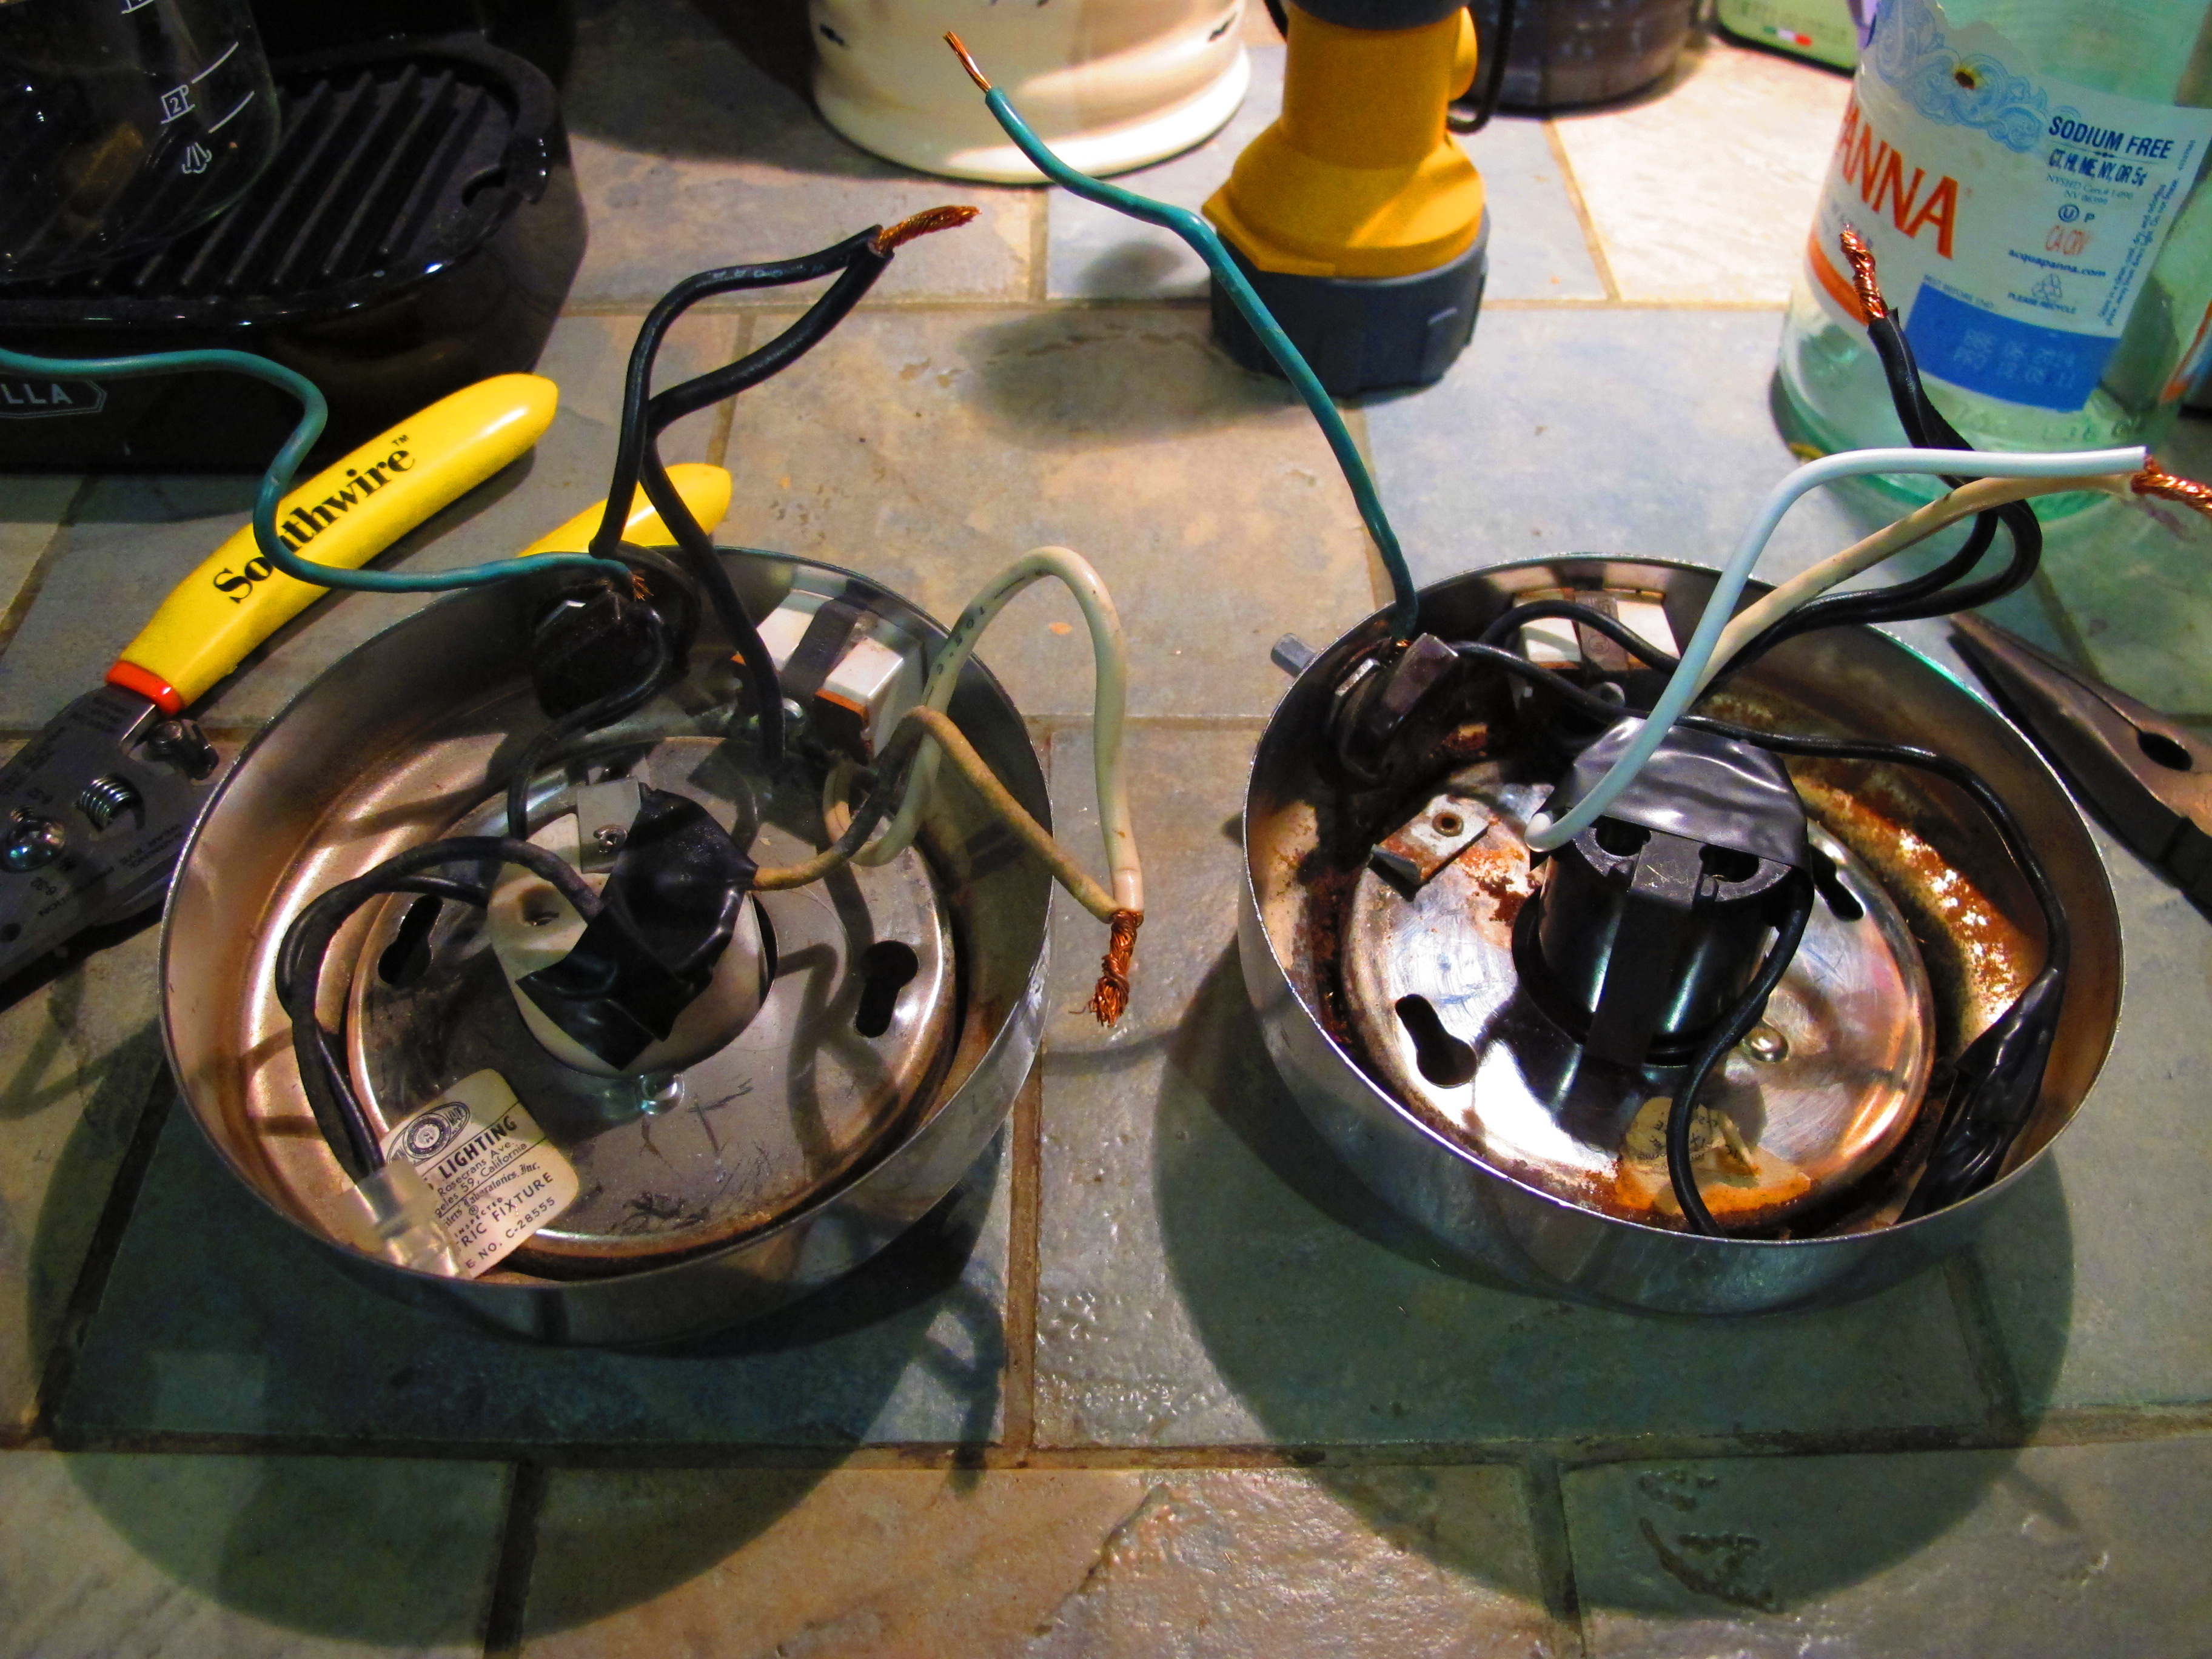
One of the fixtures now has a new light socket.
I thought maybe my ground wire wasn’t getting a good connection with the frame of the camper, so I removed it and used my wire brush attachment for my drill to scrape off all of the paint from the frame. I then reattached the ground to the frame and it didn’t help. I decided to give up on the electrical after that and try again on Sunday.
Today, the first thing I did was go to Home Depot to buy a multimeter so I could start testing every connection of the electrical system to find the problem. I didn’t want a really expensive one since this was probably the only time I would use it. I ended up getting a Klein http://www.homedepot.com/p/Klein-Tools-Electrical-Analog-Multimeter-Test-Kit-69149/204367271.
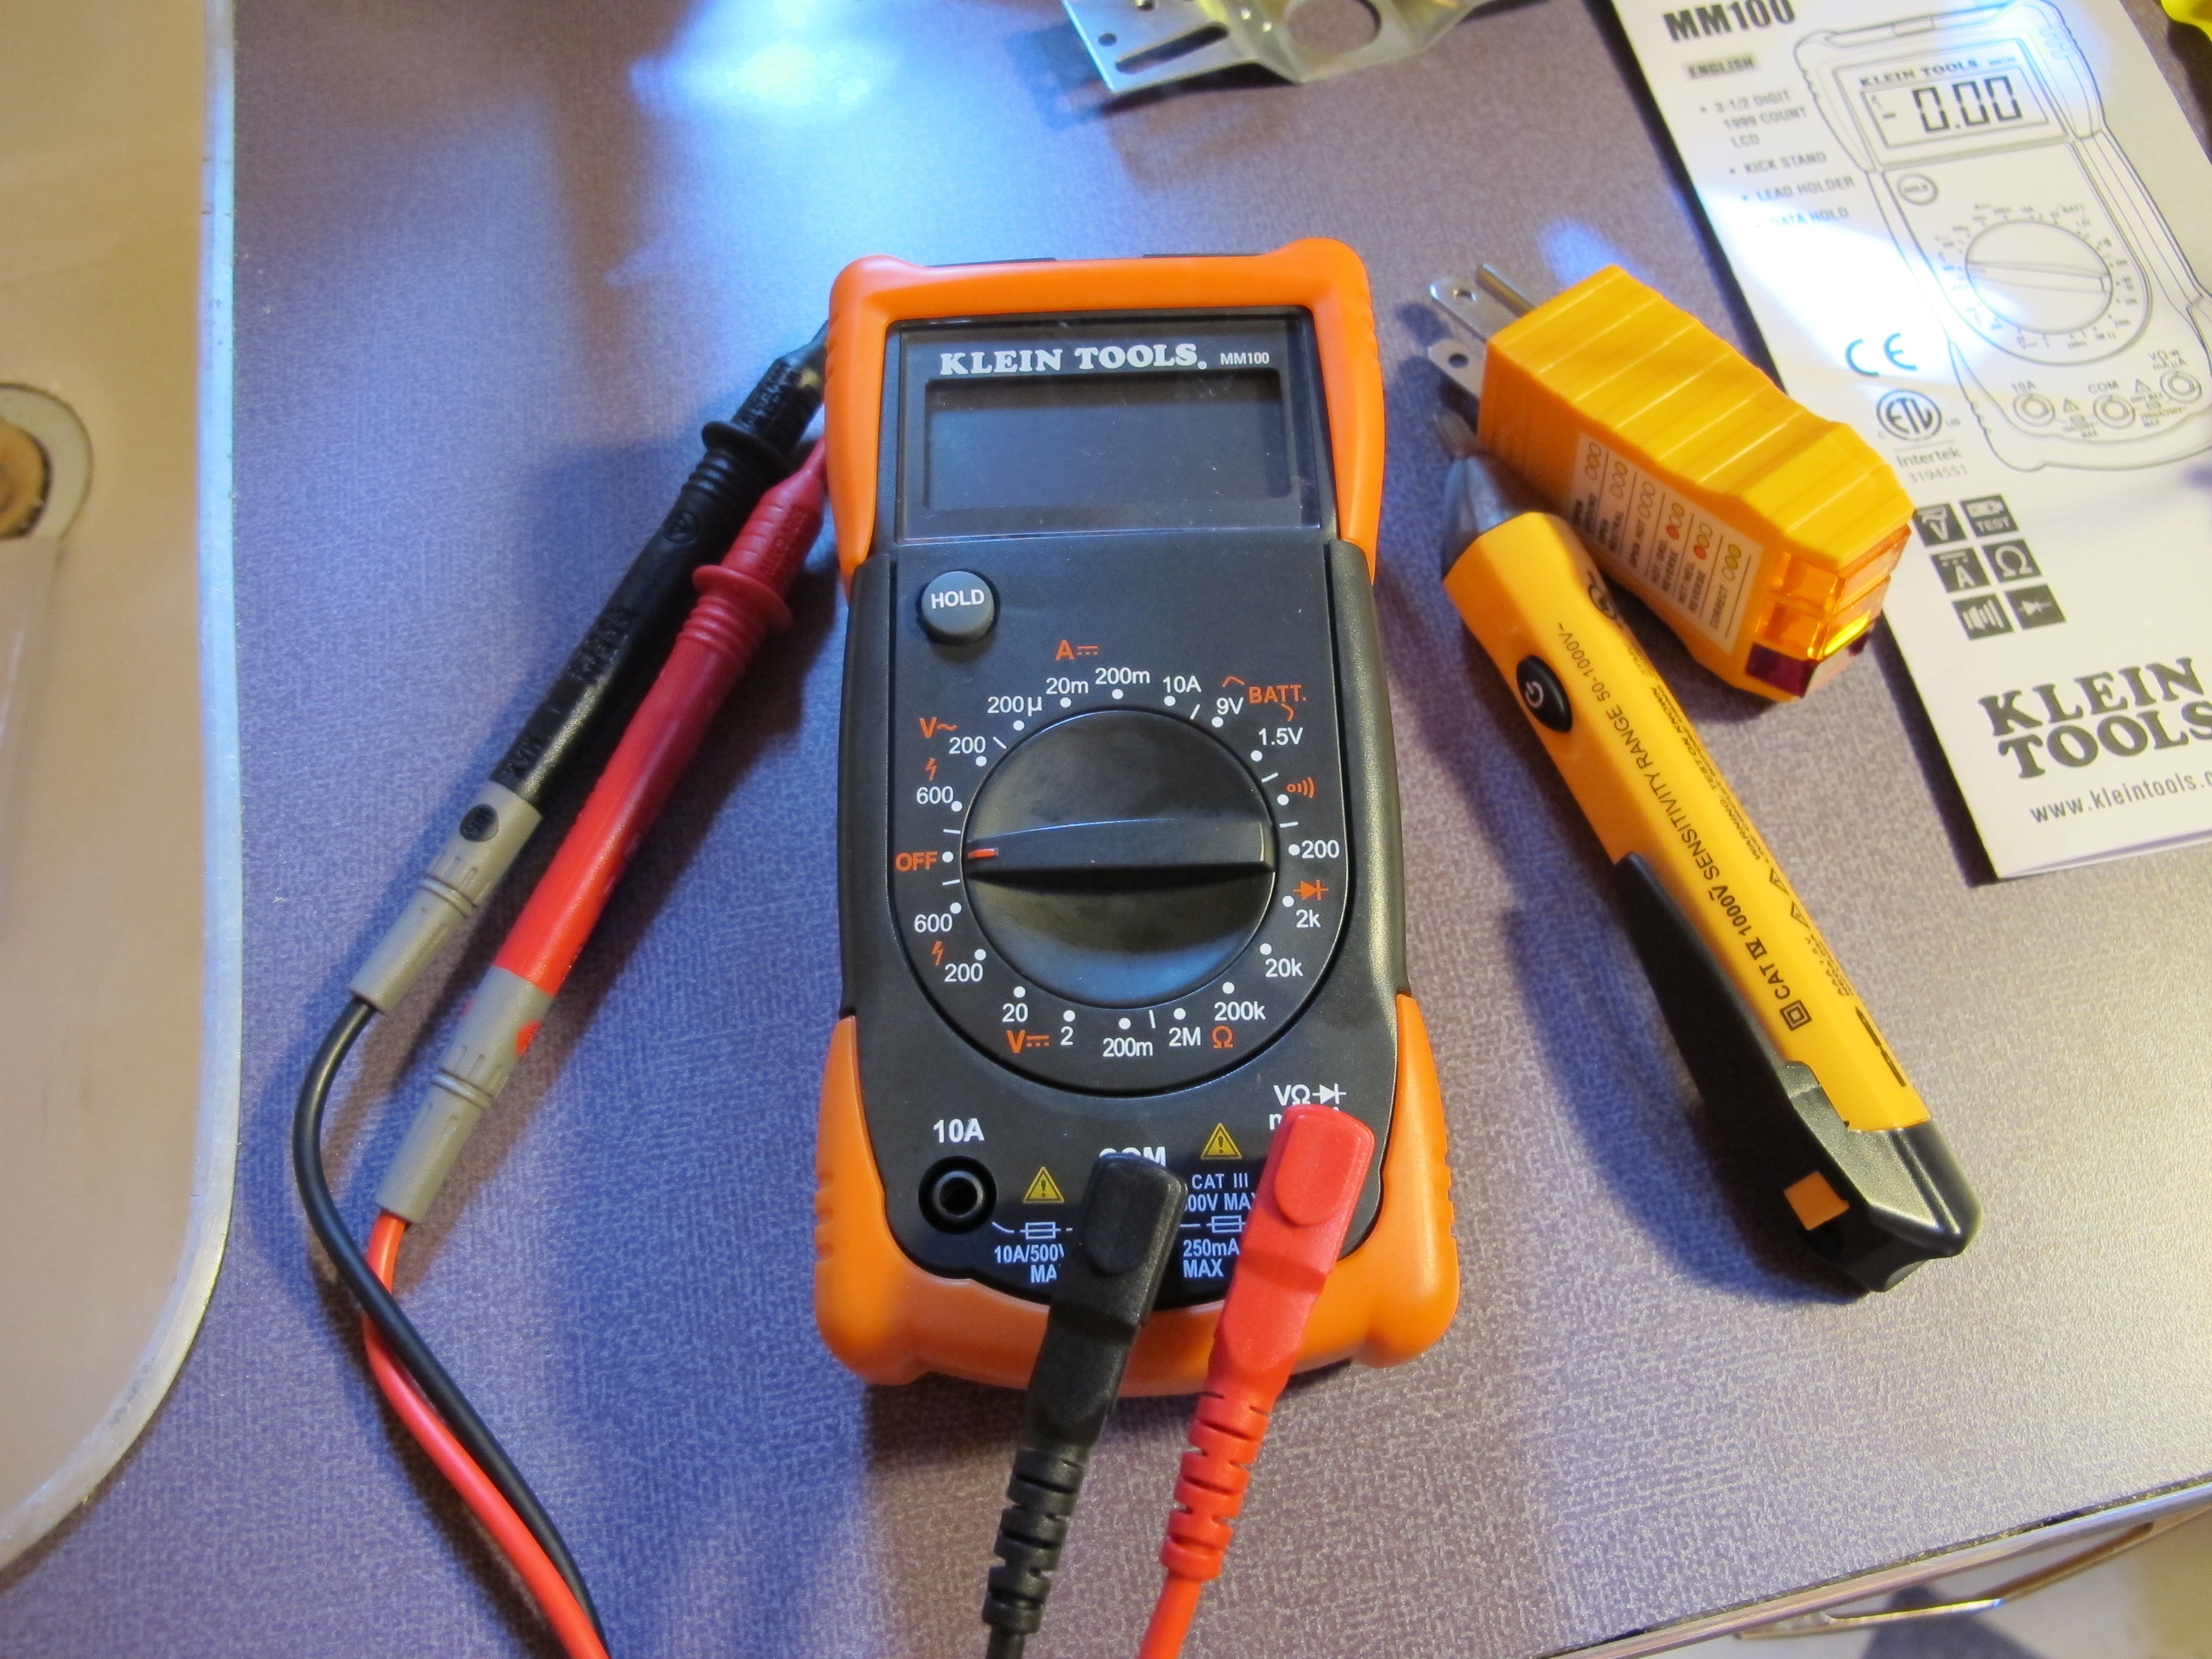
When I got home, I first tested the outlet in the garage that I was plugging the camper into. It tested 120v which was the right voltage. Then I went inside the camper and turned off both breakers inside the breaker box and tested the main power coming into the breaker box. It also tested 120v, so I knew it wasn’t the power inlet or the cord I was using. Since I have two circuits in the camper, one for the exterior plug and one for all of the interior wiring, I turned just the exterior plug breaker on first. It was simpler since it’s only one plug for the entire circuit. I did this on purpose because the AC will plug into this and it draws more power than anything else I will be using. I tested the exterior plug and it worked great, showing 120v. Next, I turned off that breaker and turned on the second breaker that powers the circuit for three outlets and two lights inside the camper. I knew the problem was somewhere along this circuit. I slowly went through the connections, one at a time, disconnecting the wires further down the circuit so I could isolate each one. About halfway through, my stupid multimeter broke!! At first I thought the outlet wasn’t working correctly, then I realized it was just the multimeter. ugh. I decided it was time for a lunch break so I could try to destress. After that, I went back to Home Depot and returned the Klein multimeter and bought an even cheaper one made by Commercial Electric. It worked just fine to finish the job.

After disconnecting and reconnecting everything, the lights worked!! I still don’t know exactly where the problem was. It could have been the cheap fixtures I had in the camper before. Or, it could have been a loose connection somewhere that I fixed when I reconnected everything. Either way, I was just so relieved that it finally worked!!
After that, I knew I still needed to do a few more things. I wanted to make a new garnish to go around the Fantastic Vent on the interior because I had done a crappy job trimming the plastic garnish that it came with. I think my new custom garnish turned out much nicer than the plastic one anyway!

I bought some nice birch wood for the screen door on Saturday, but I just didn’t have enough time to build it thanks to the stupid electric issues. Oh well, I can always get to that later.
I also wanted to polish the wings today and install those, but I didn’t have time before dark. Instead, I added a few more decorative items inside and then sat on the bed and had a glass of wine to celebrate.
These owl glasses are actually from the 1960s, I picked them up at a vintage shop and love them!
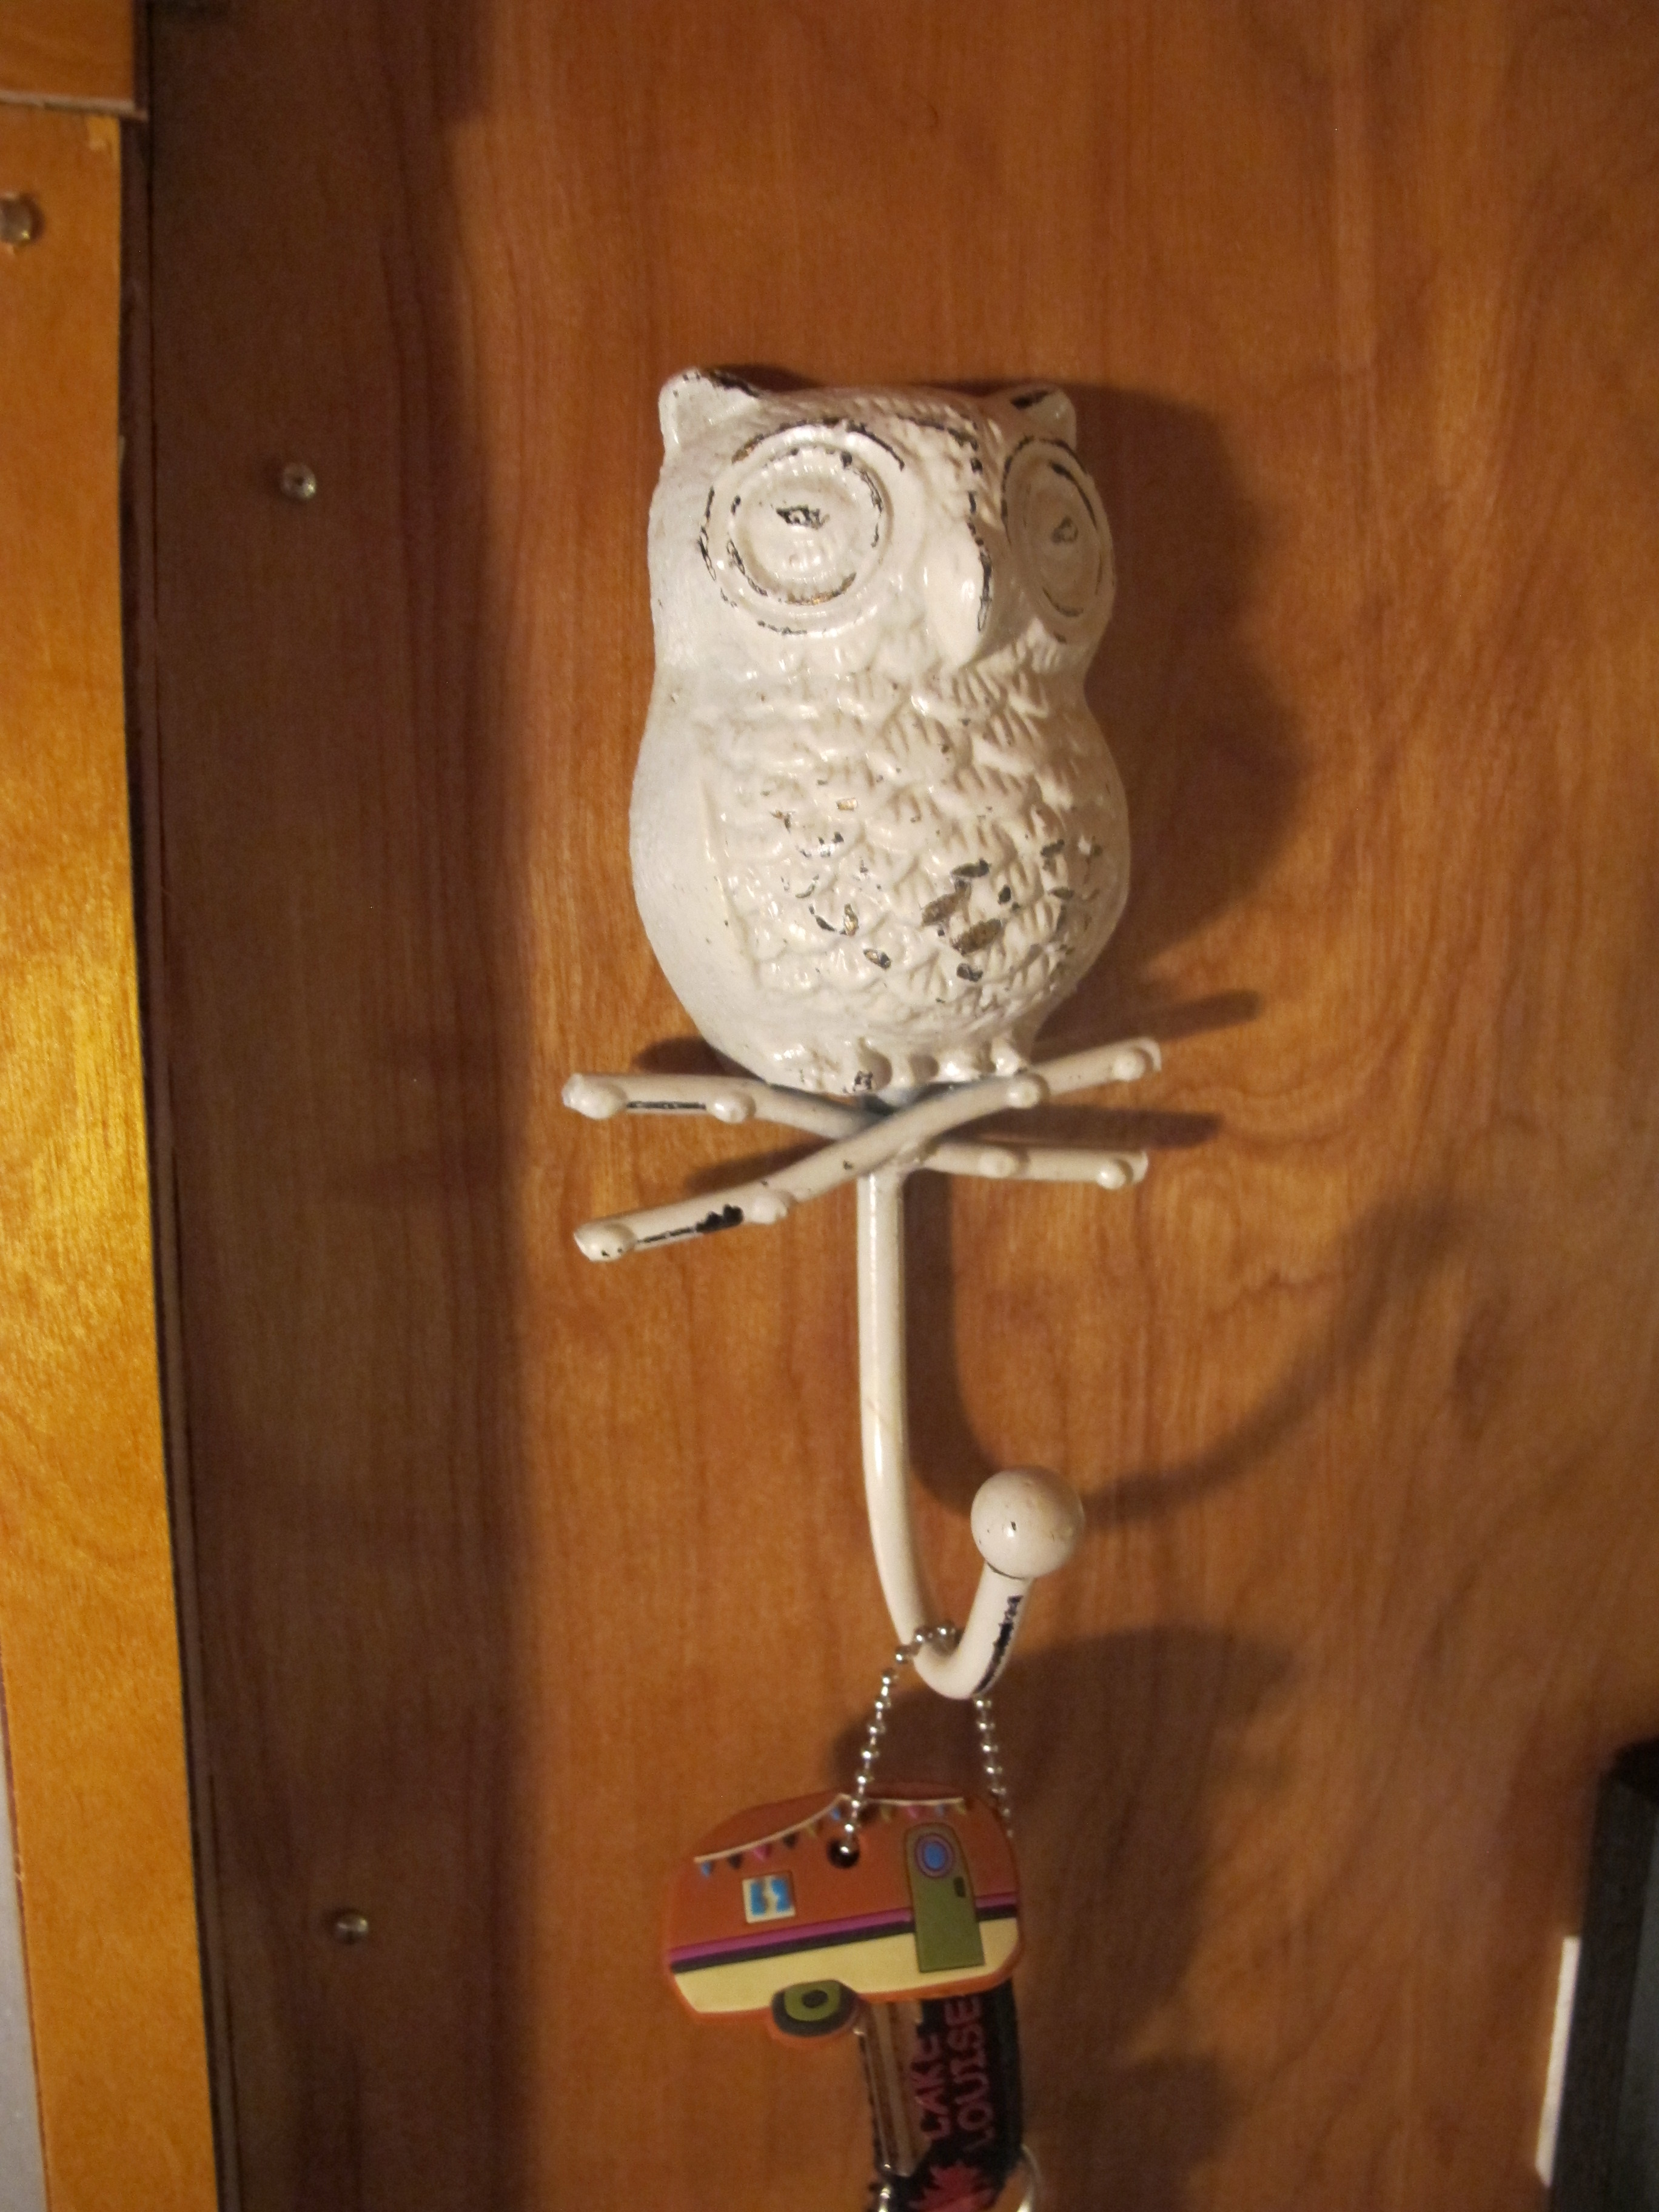
Owl never lose my keys again with this handy hook. 🙂

This came on the vintage camper mug that my mom gave me for Christmas. I thought it was cute too so I saved it so that it could have a permanent home inside Junebug.

I got this little sign when I was living in France. Since this is the bathroom (well…port-o-potty for nighttime emergencies only), I thought it was a cute little addition.
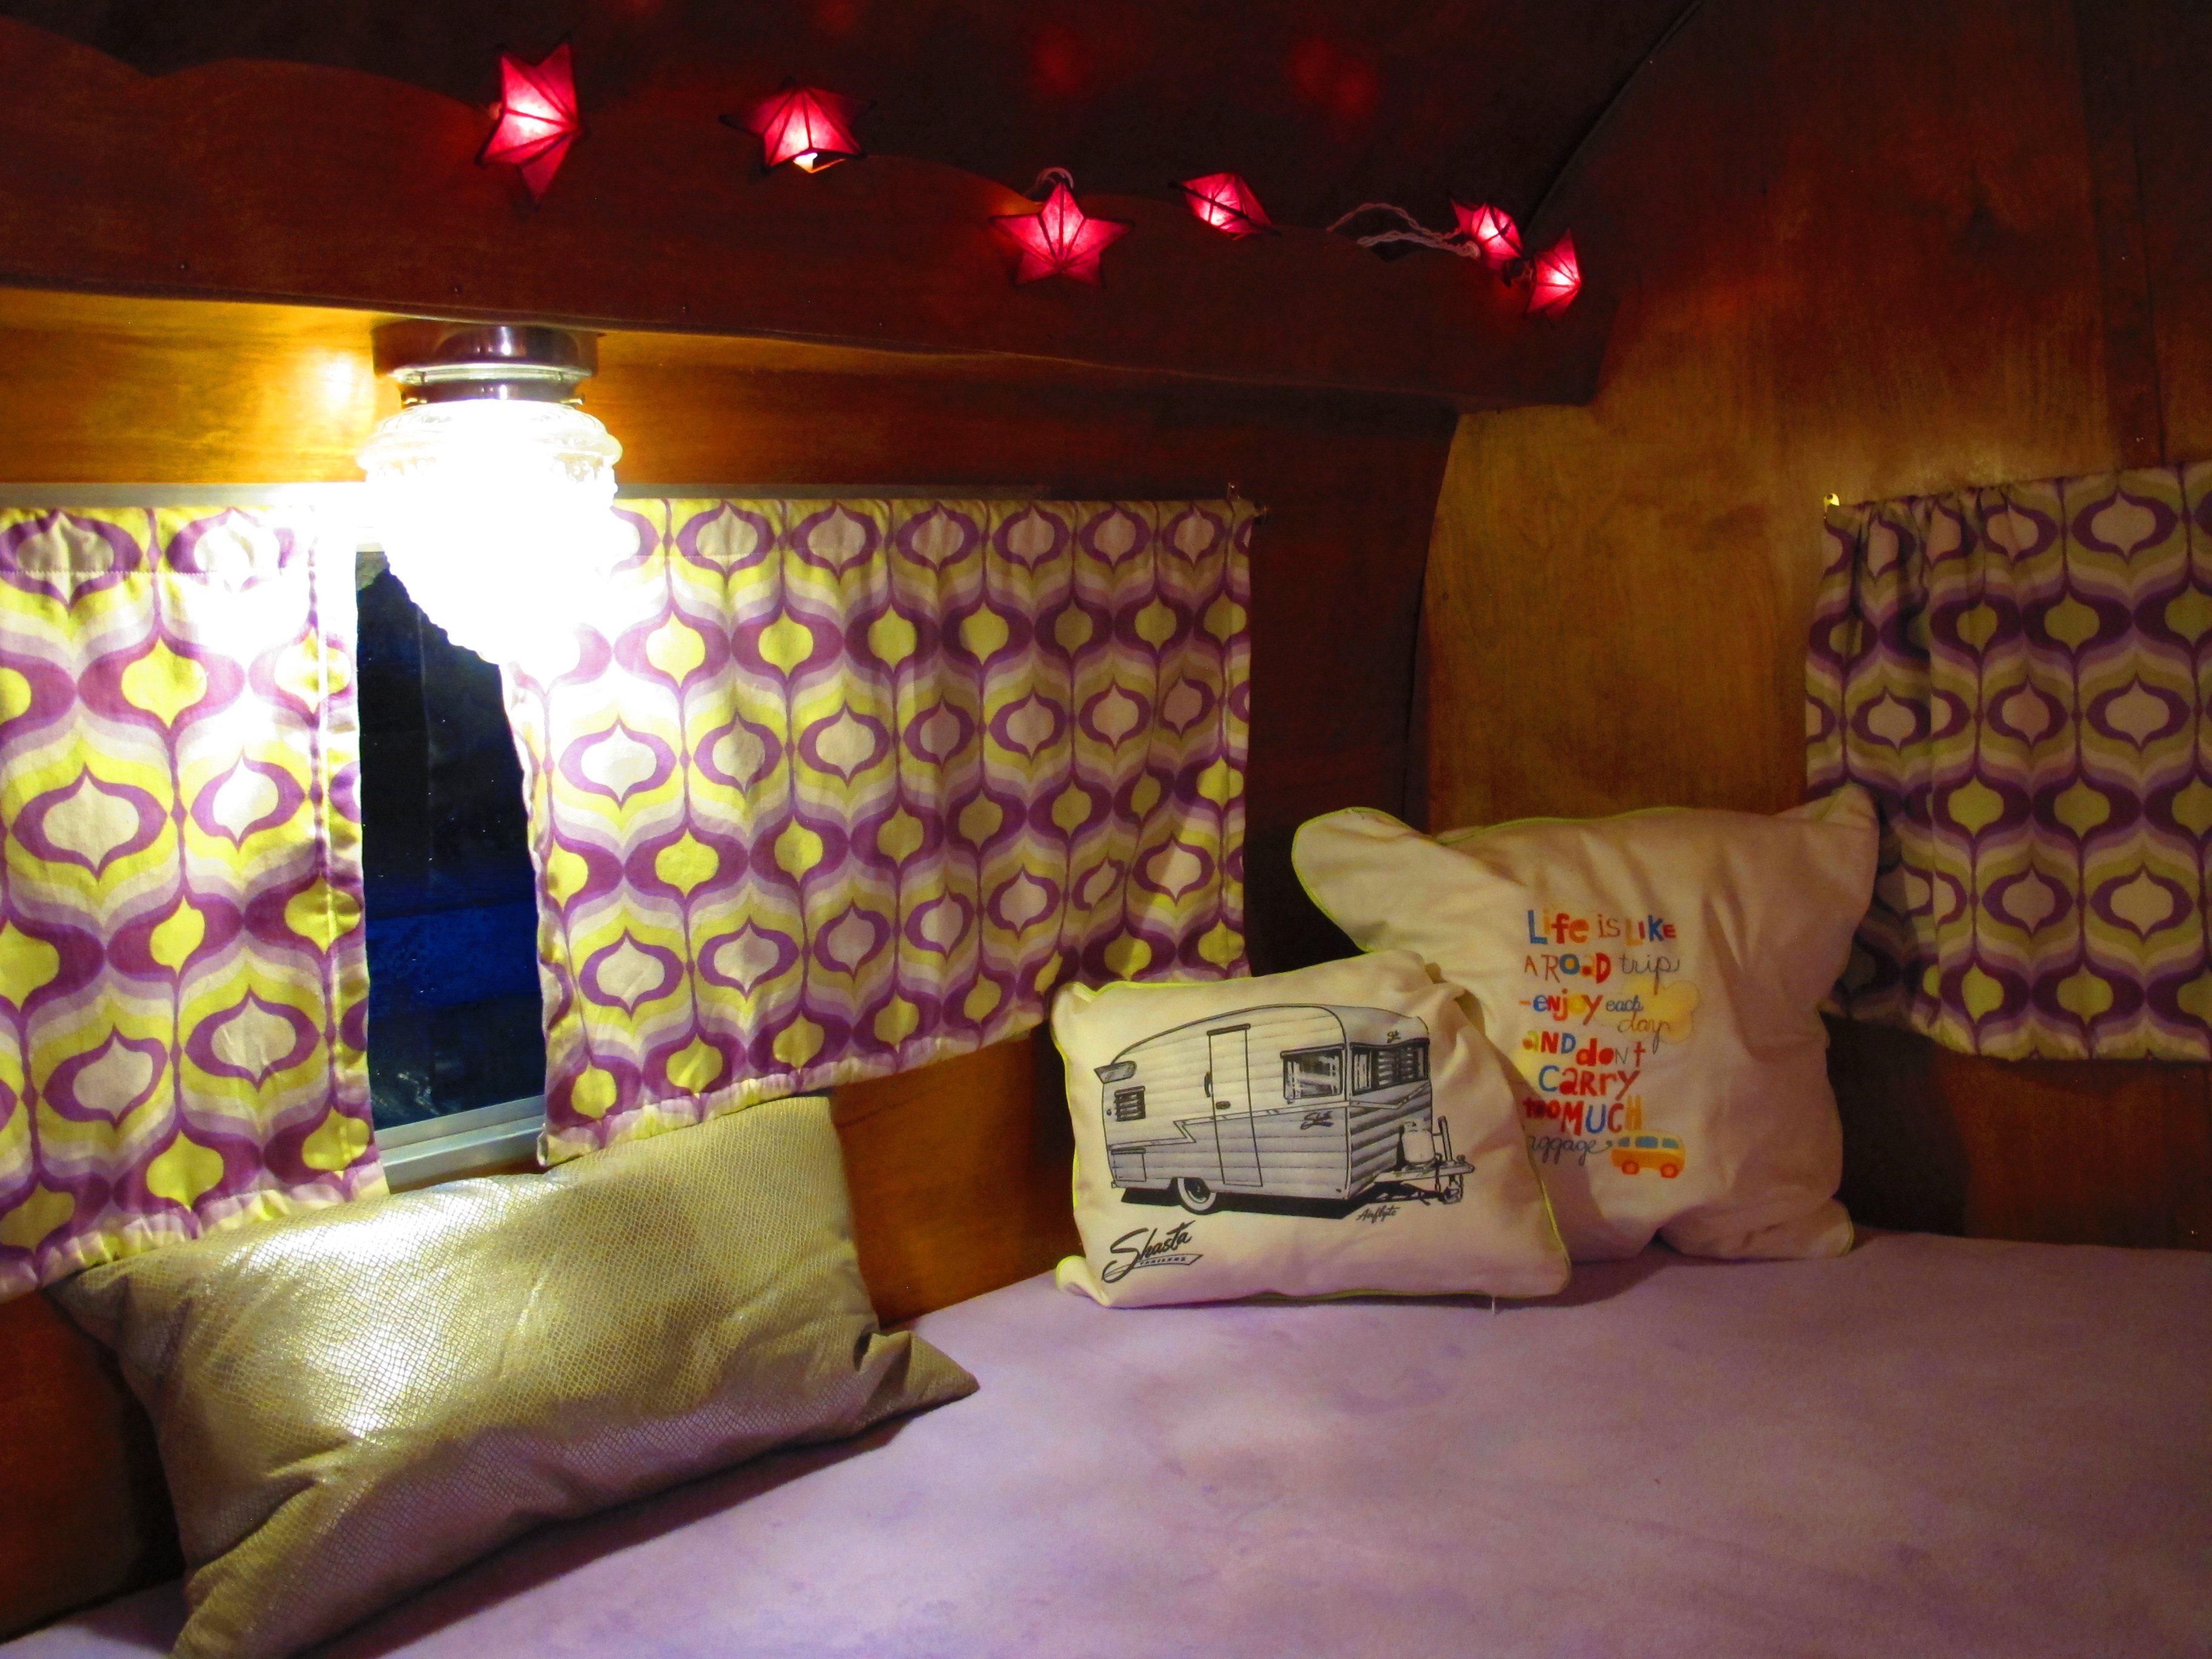
I added some purple star twinkle lights above the bed. It’s so cozy now! I can’t wait to spend the night in it.
Only a few more days until my big reveal party!! After that, I will post more pictures of the entire exterior and interior. I can’t wait to show off all of my hard work! ![]()

So glad the electrical is working! Your trailer looks beautiful and cozy. You’ve been such an inpiration for me! Thanks! (I did some demo that was scaring me today. It went FINE! I can DO this!)
Thanks Jenni! Yes, the demo stage can be scary because you just don’t know what you’ll find or how you’ll put it all back together again. haha You can do it! 🙂