Did I mention I love purple? hehe I couldn’t think of a good title for this post, so I figured I would just go with purple because it makes me happy. ![]()
I made a lot of progress today, but overall this weekend, I didn’t get quite as much done as I thought I might. Luckily, I made up for it today for the most part.
On Friday, I tried to get some things done, but it kept raining and messing up my productivity. I did manage to seal the tiles and put three coats of polish on them to prevent staining. I will add a few more coats once I’m a little further along. I also started to rebuild the door on Friday. I can’t finish it until the new skin arrives, but I can at least get it ready for the skin. I will need to do the same with the baggage door.
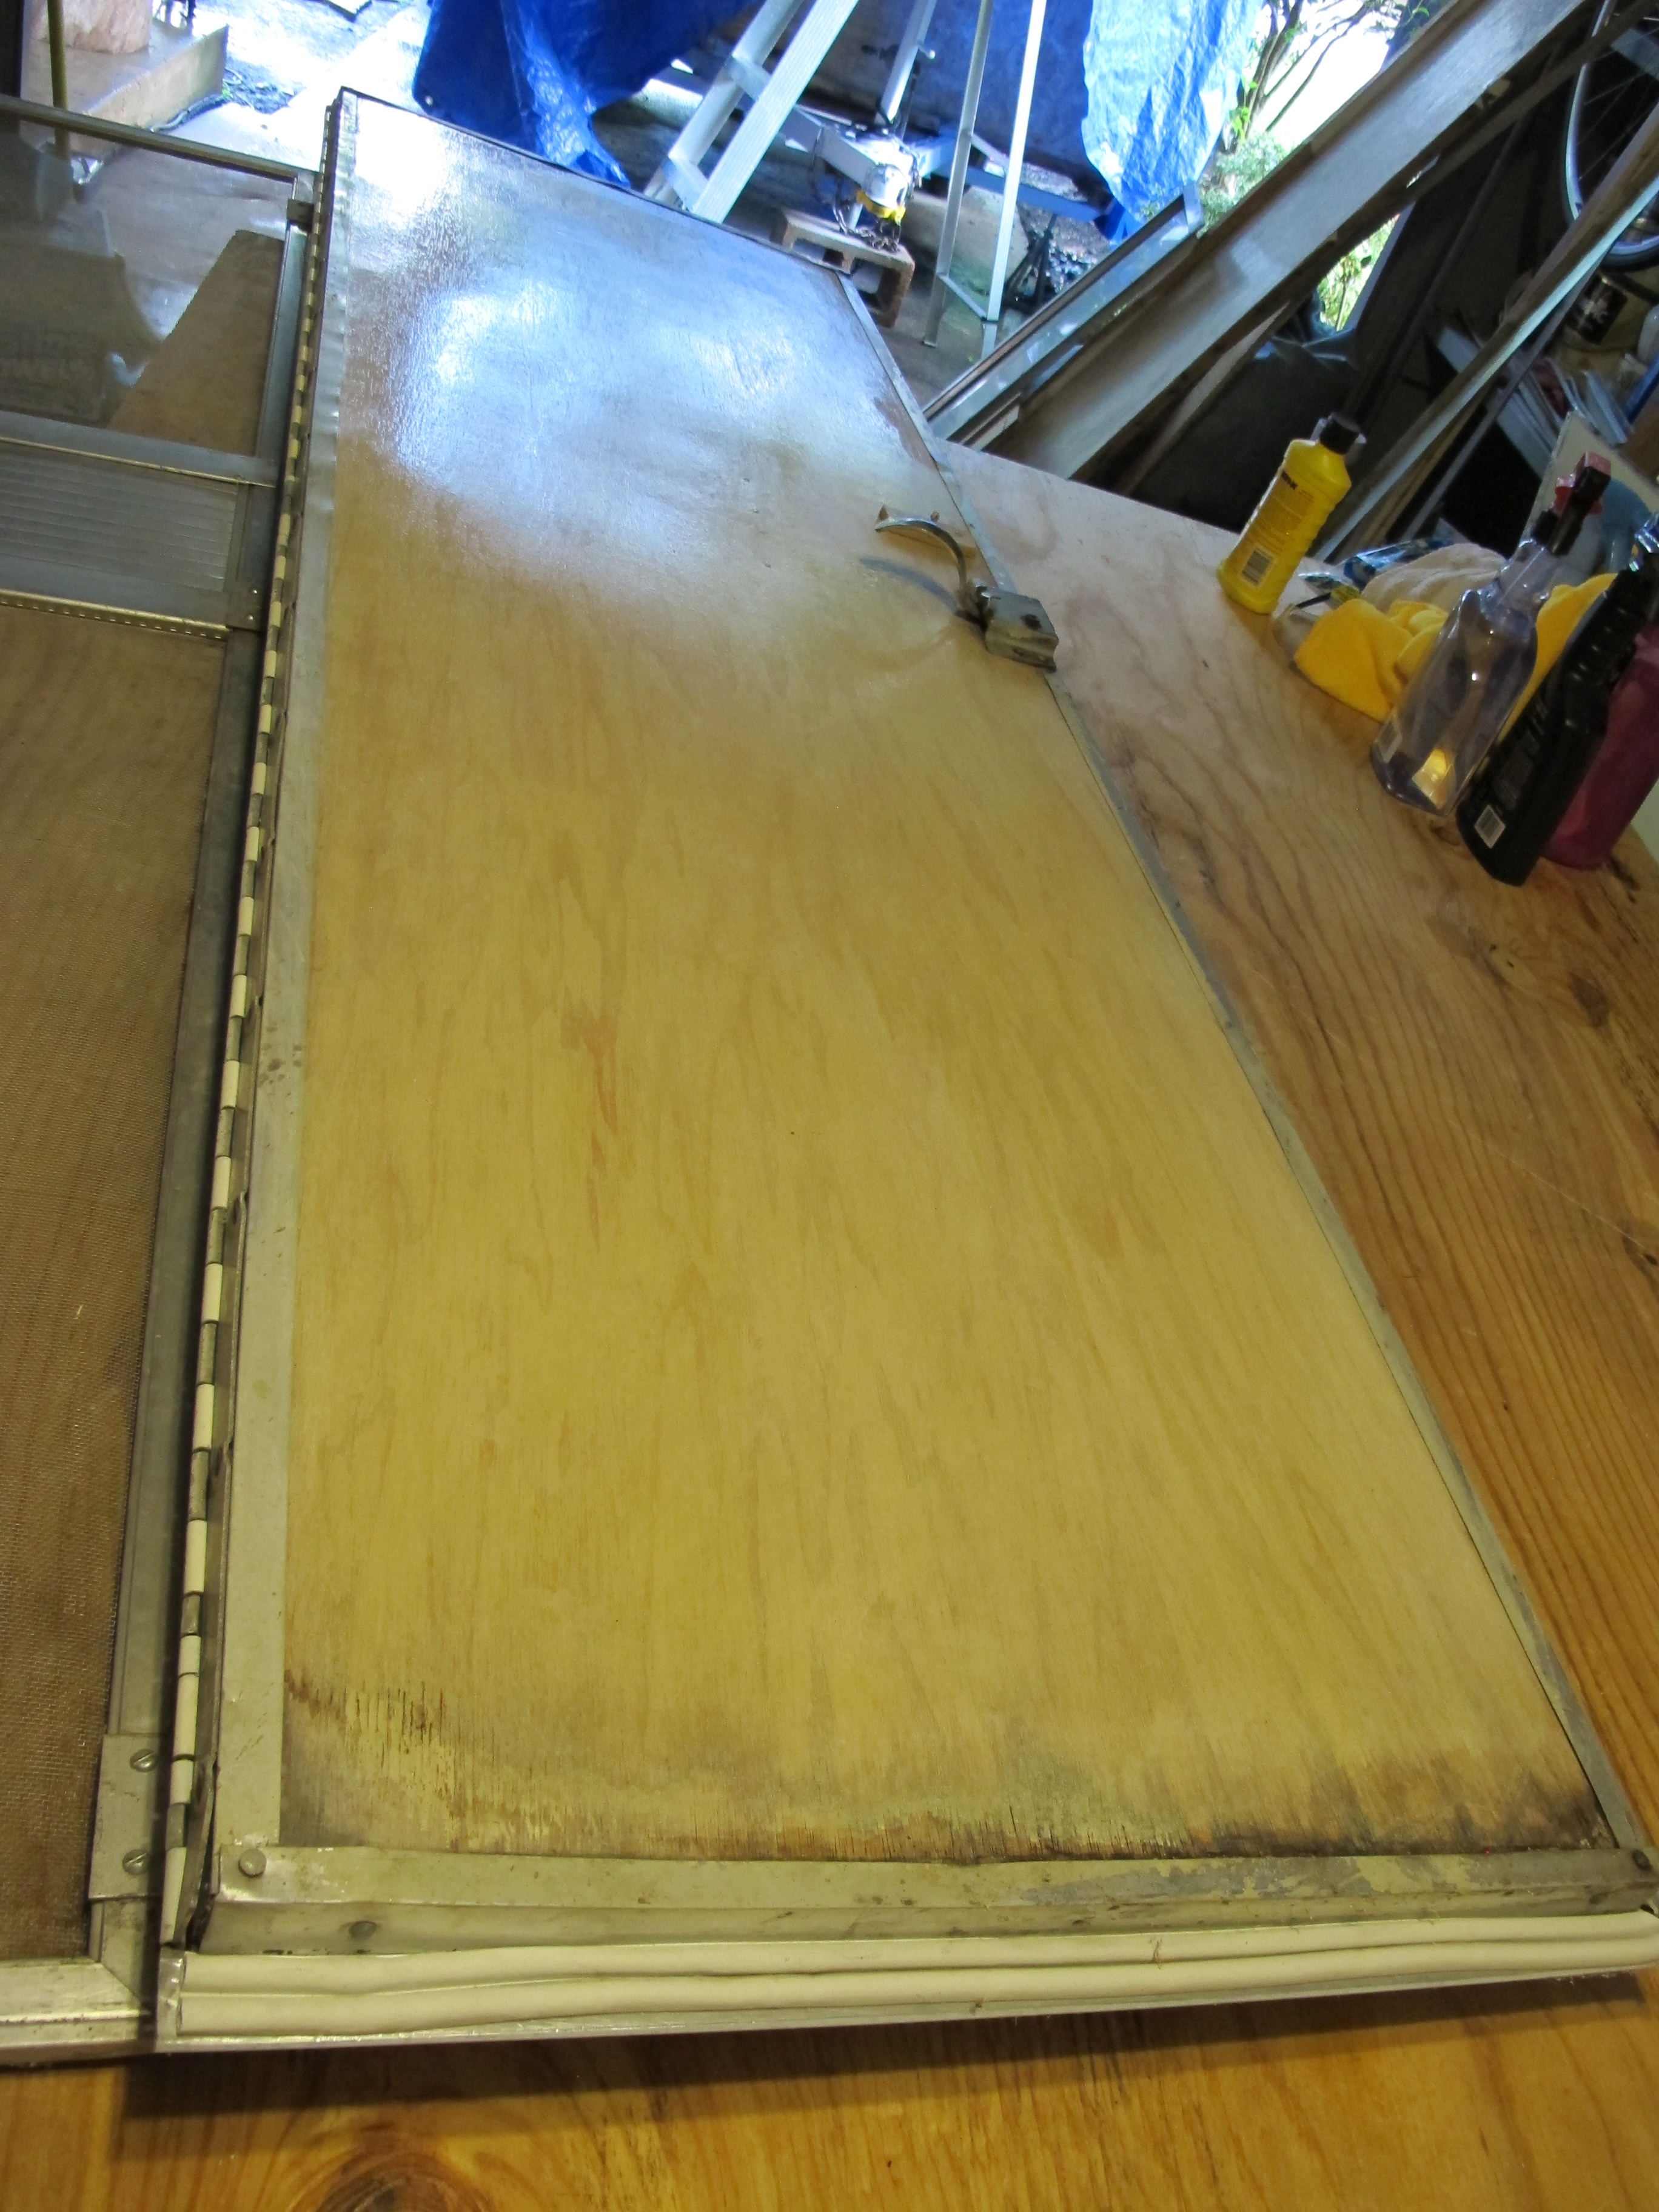
This is a picture of the door before I removed the metal frame, hinges, and other hardware. Pretty nasty!
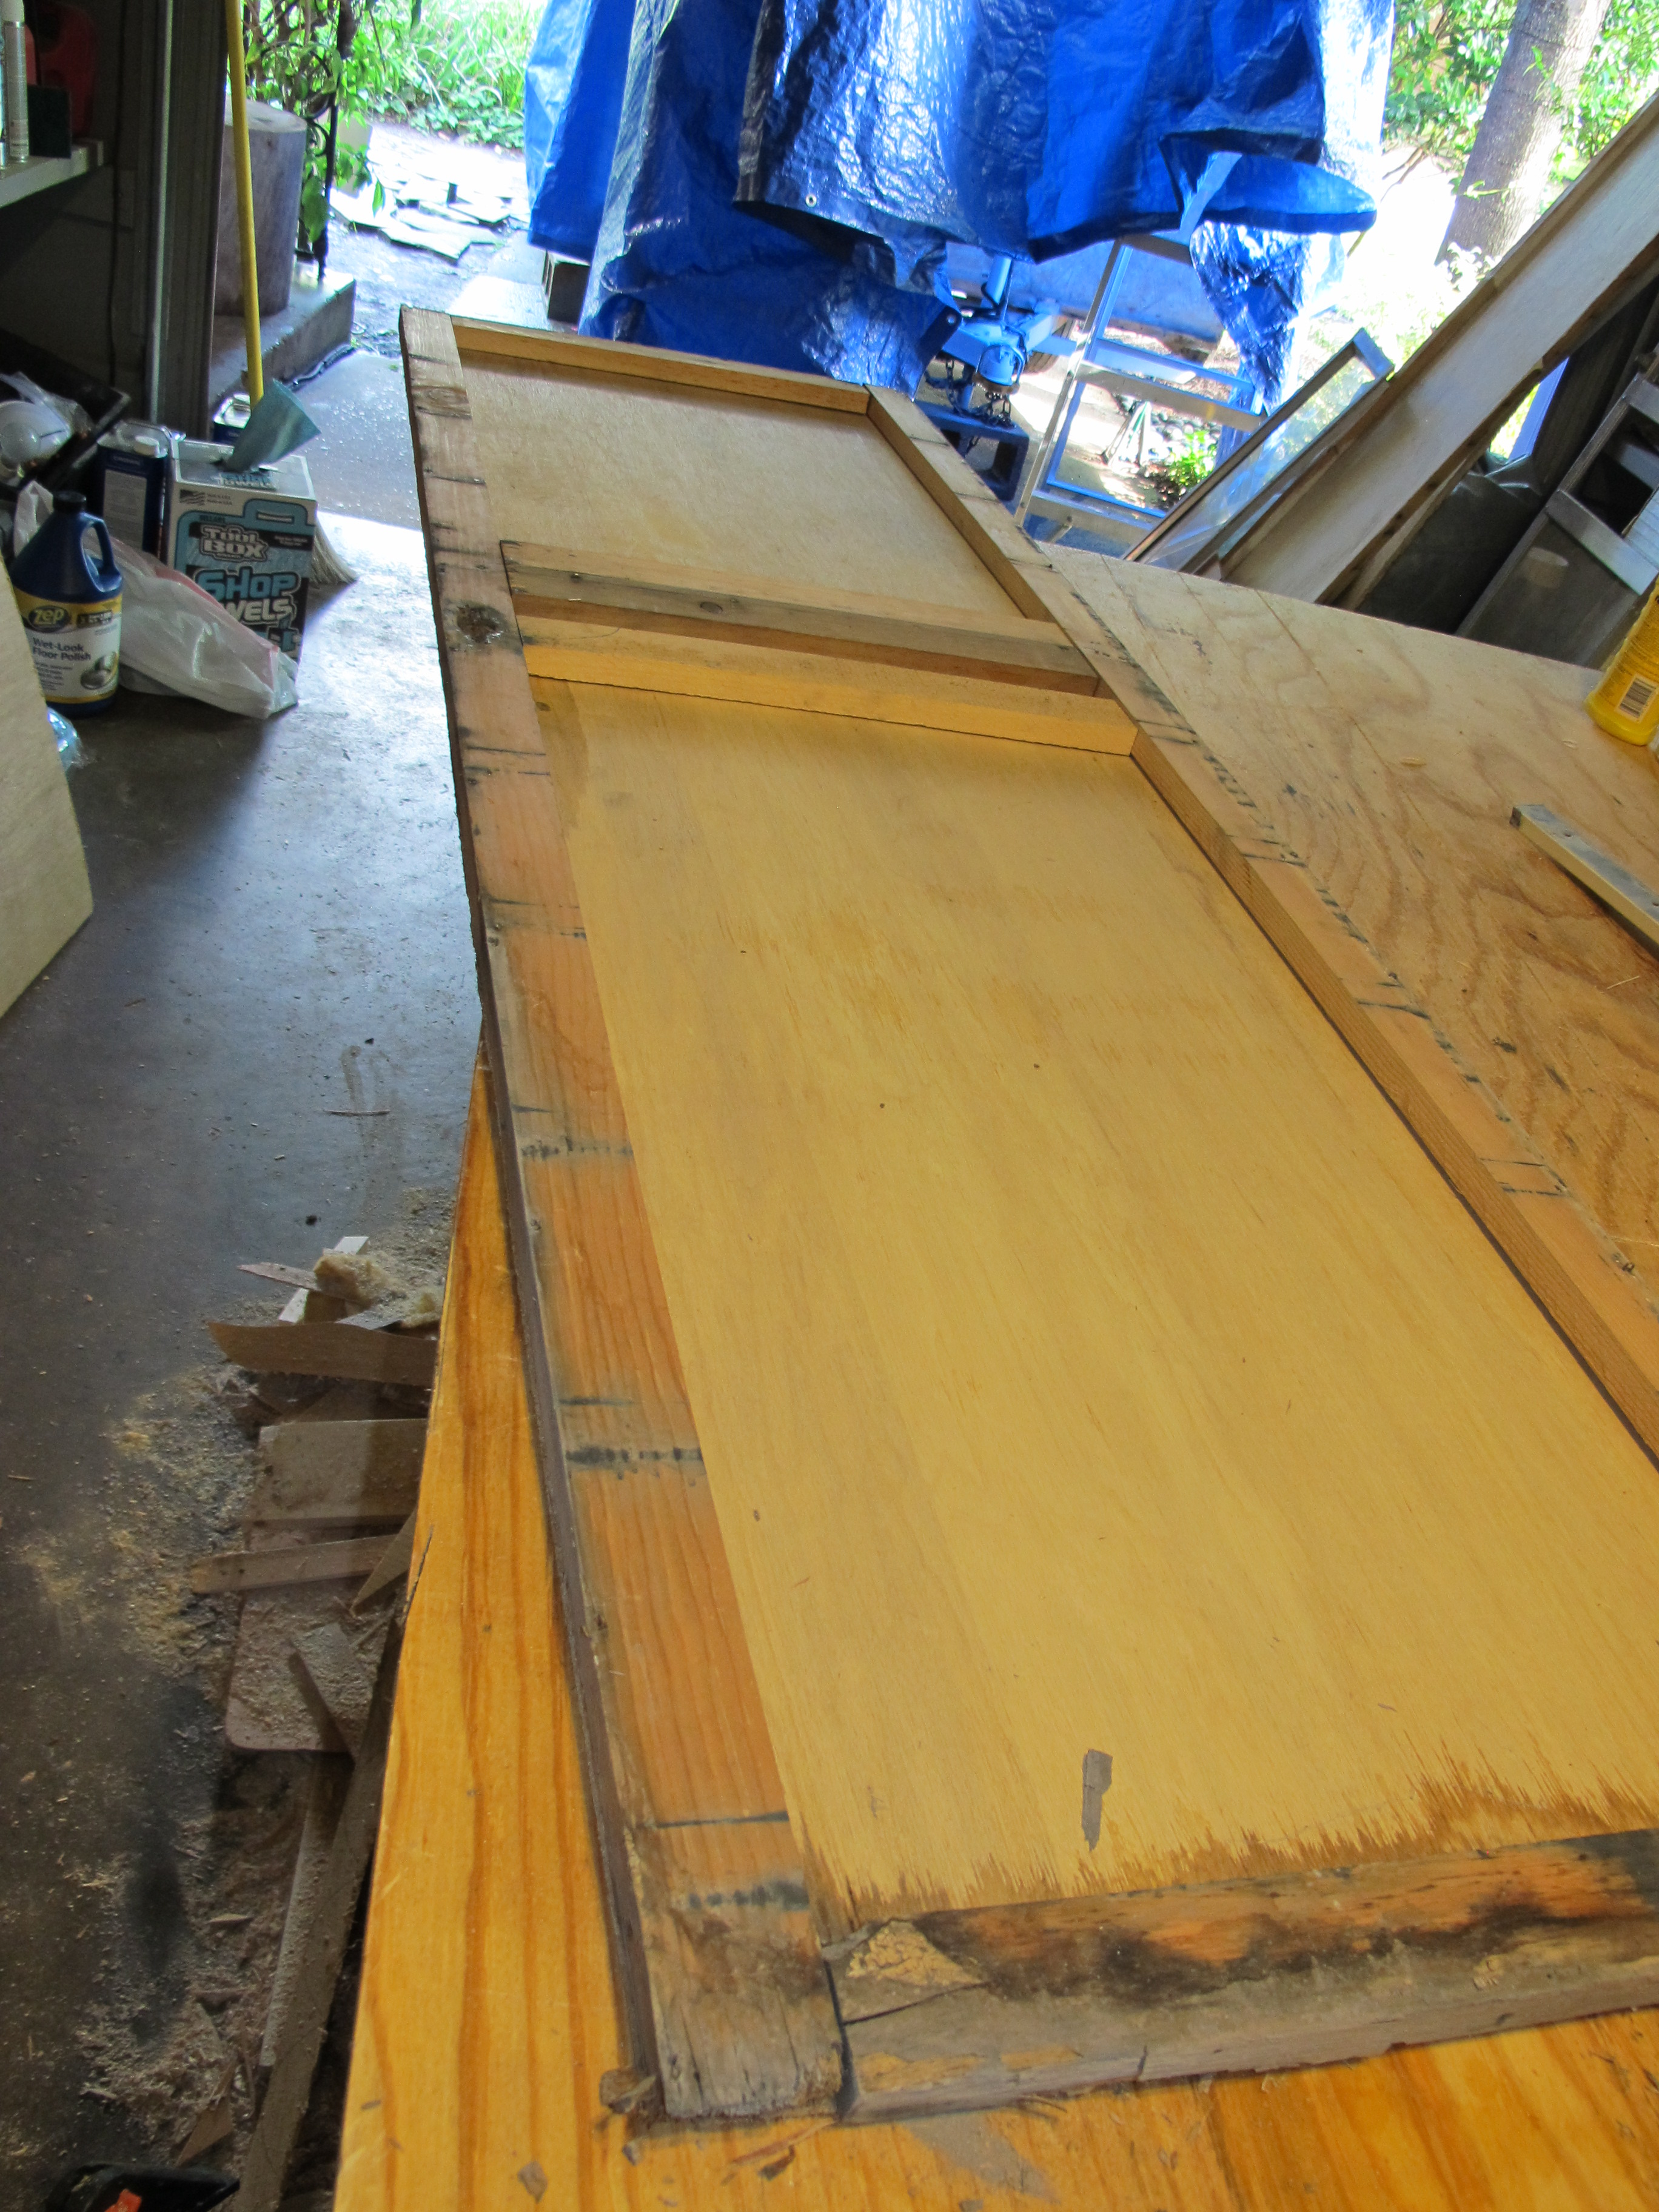
Here’s the inside of the door. I noticed that the wood along the bottom of the frame is totally rotted. It also didn’t have any insulation inside! I will be adding insulation to it before putting the new skin on.
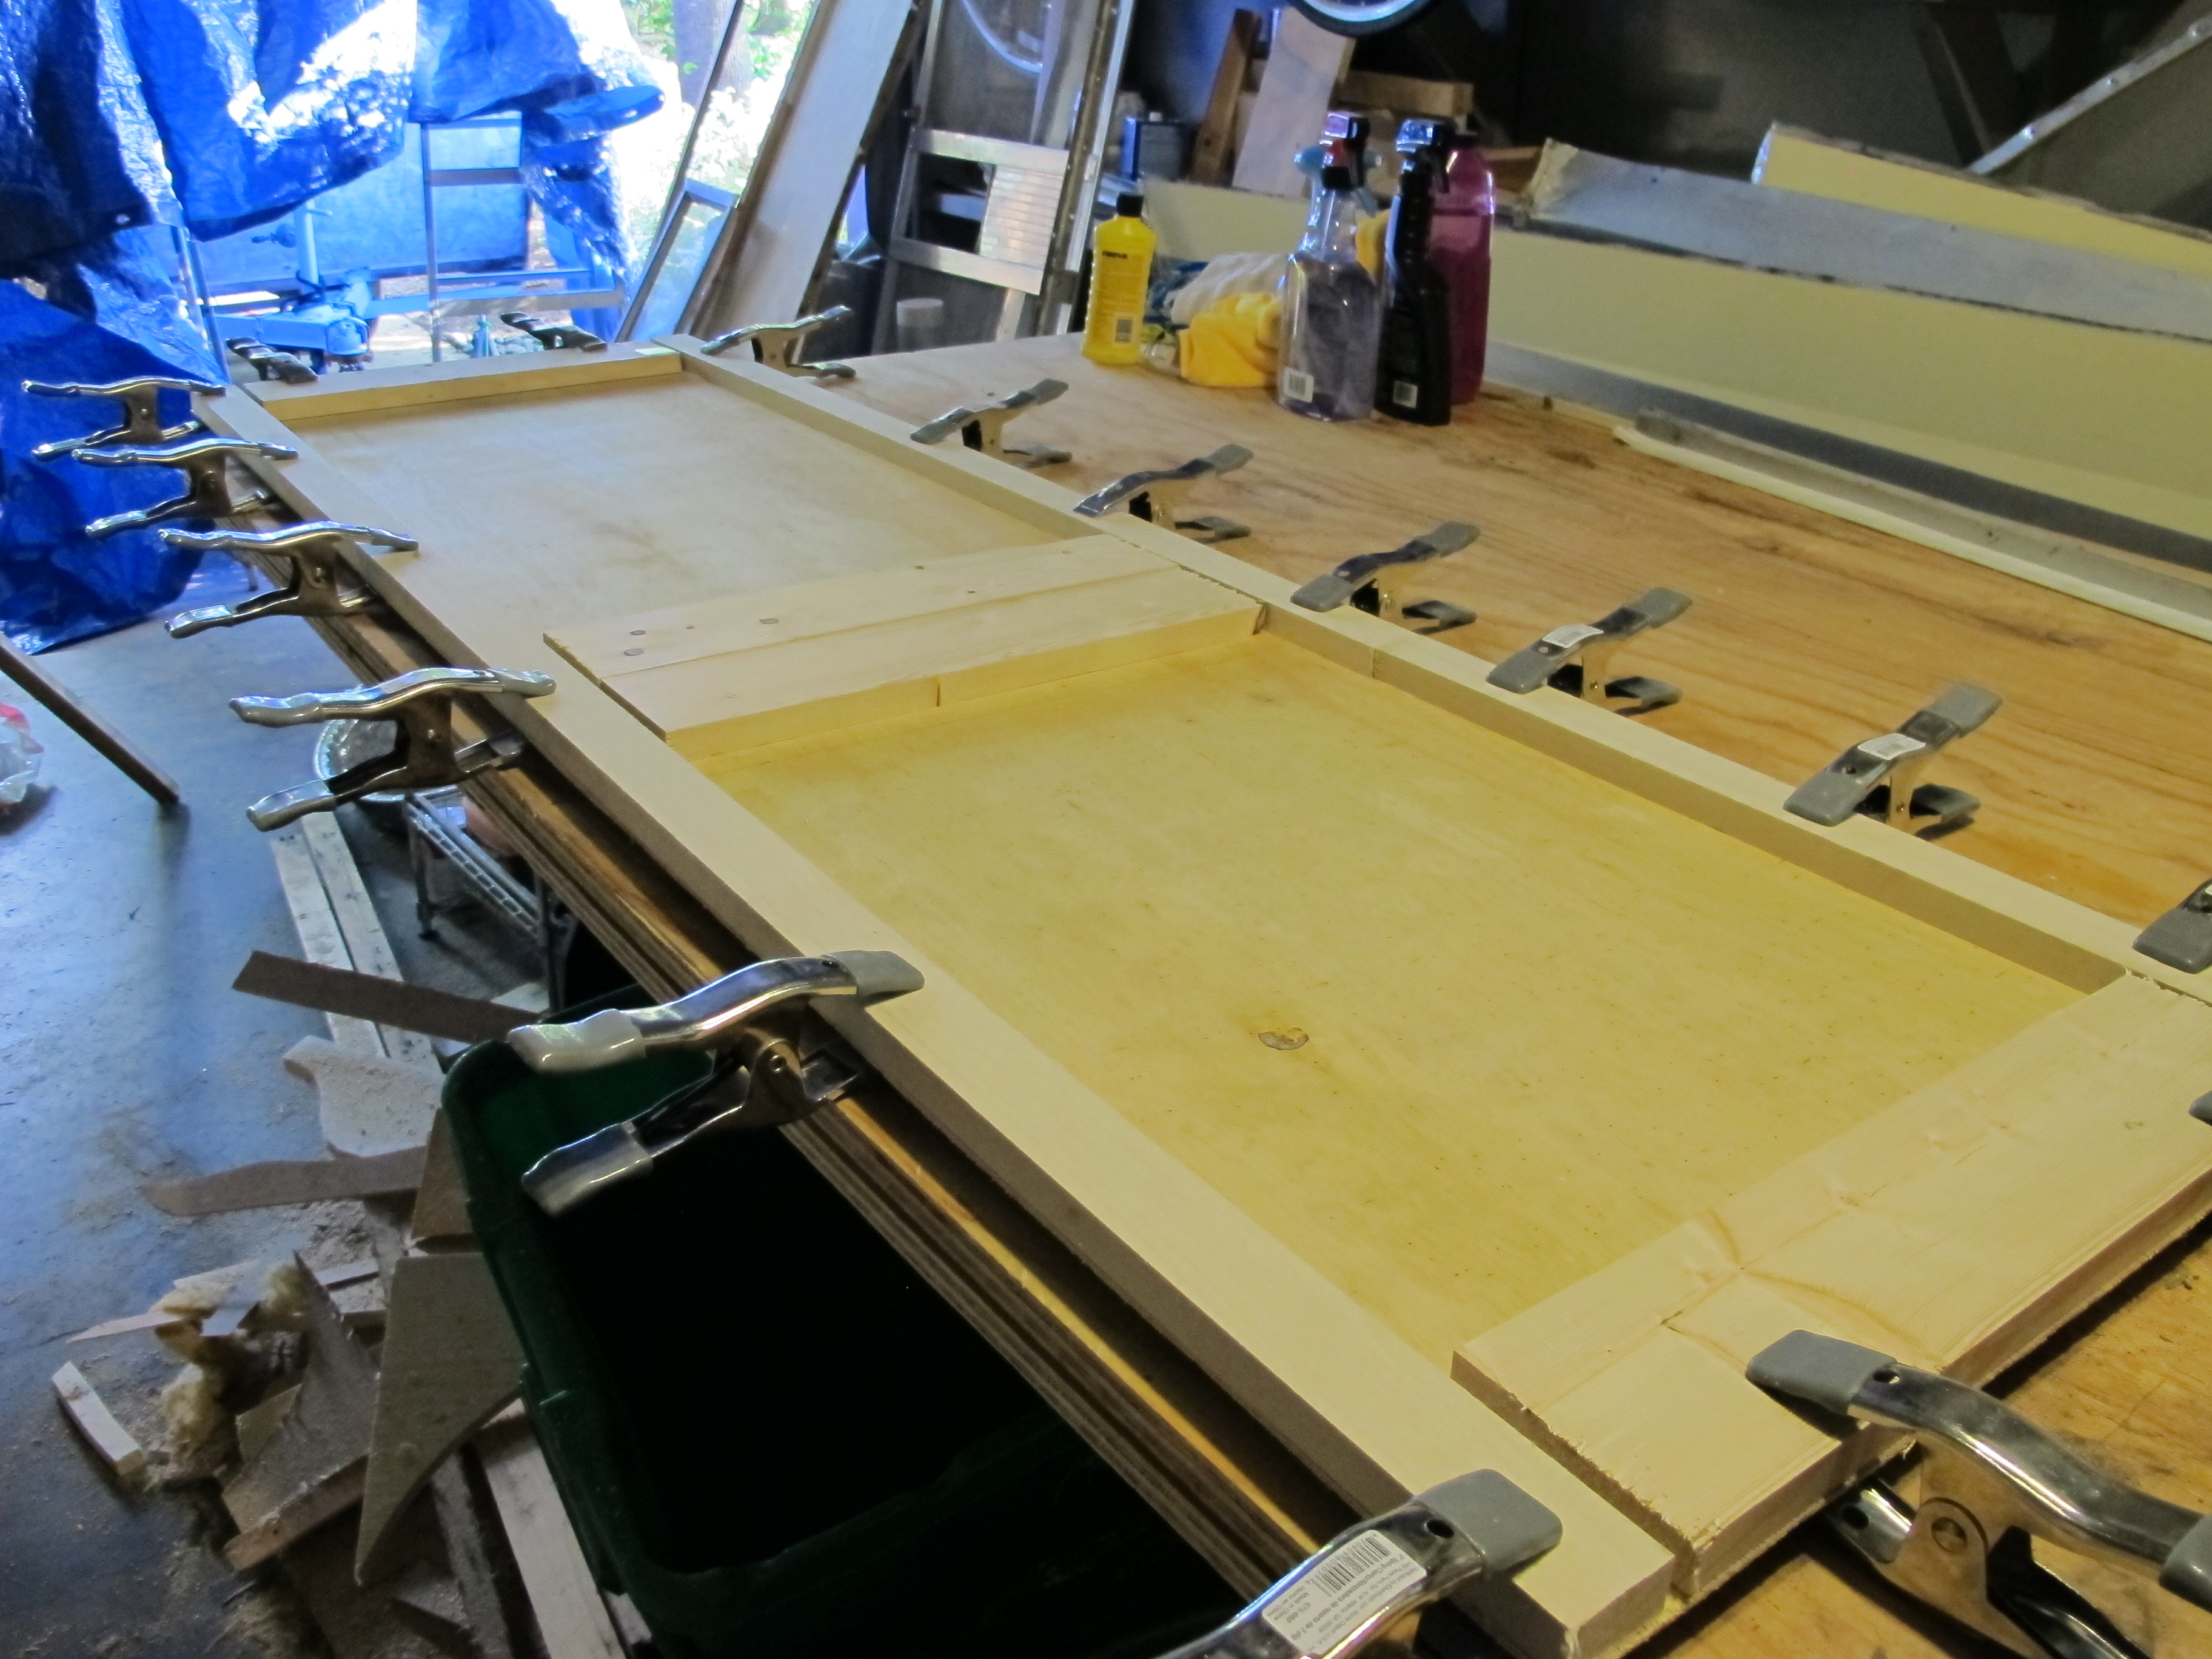
And here’s the new birch plywood with frame pieces glued down. I’ll add some twist nails to provide more support later and then shellac the other side.
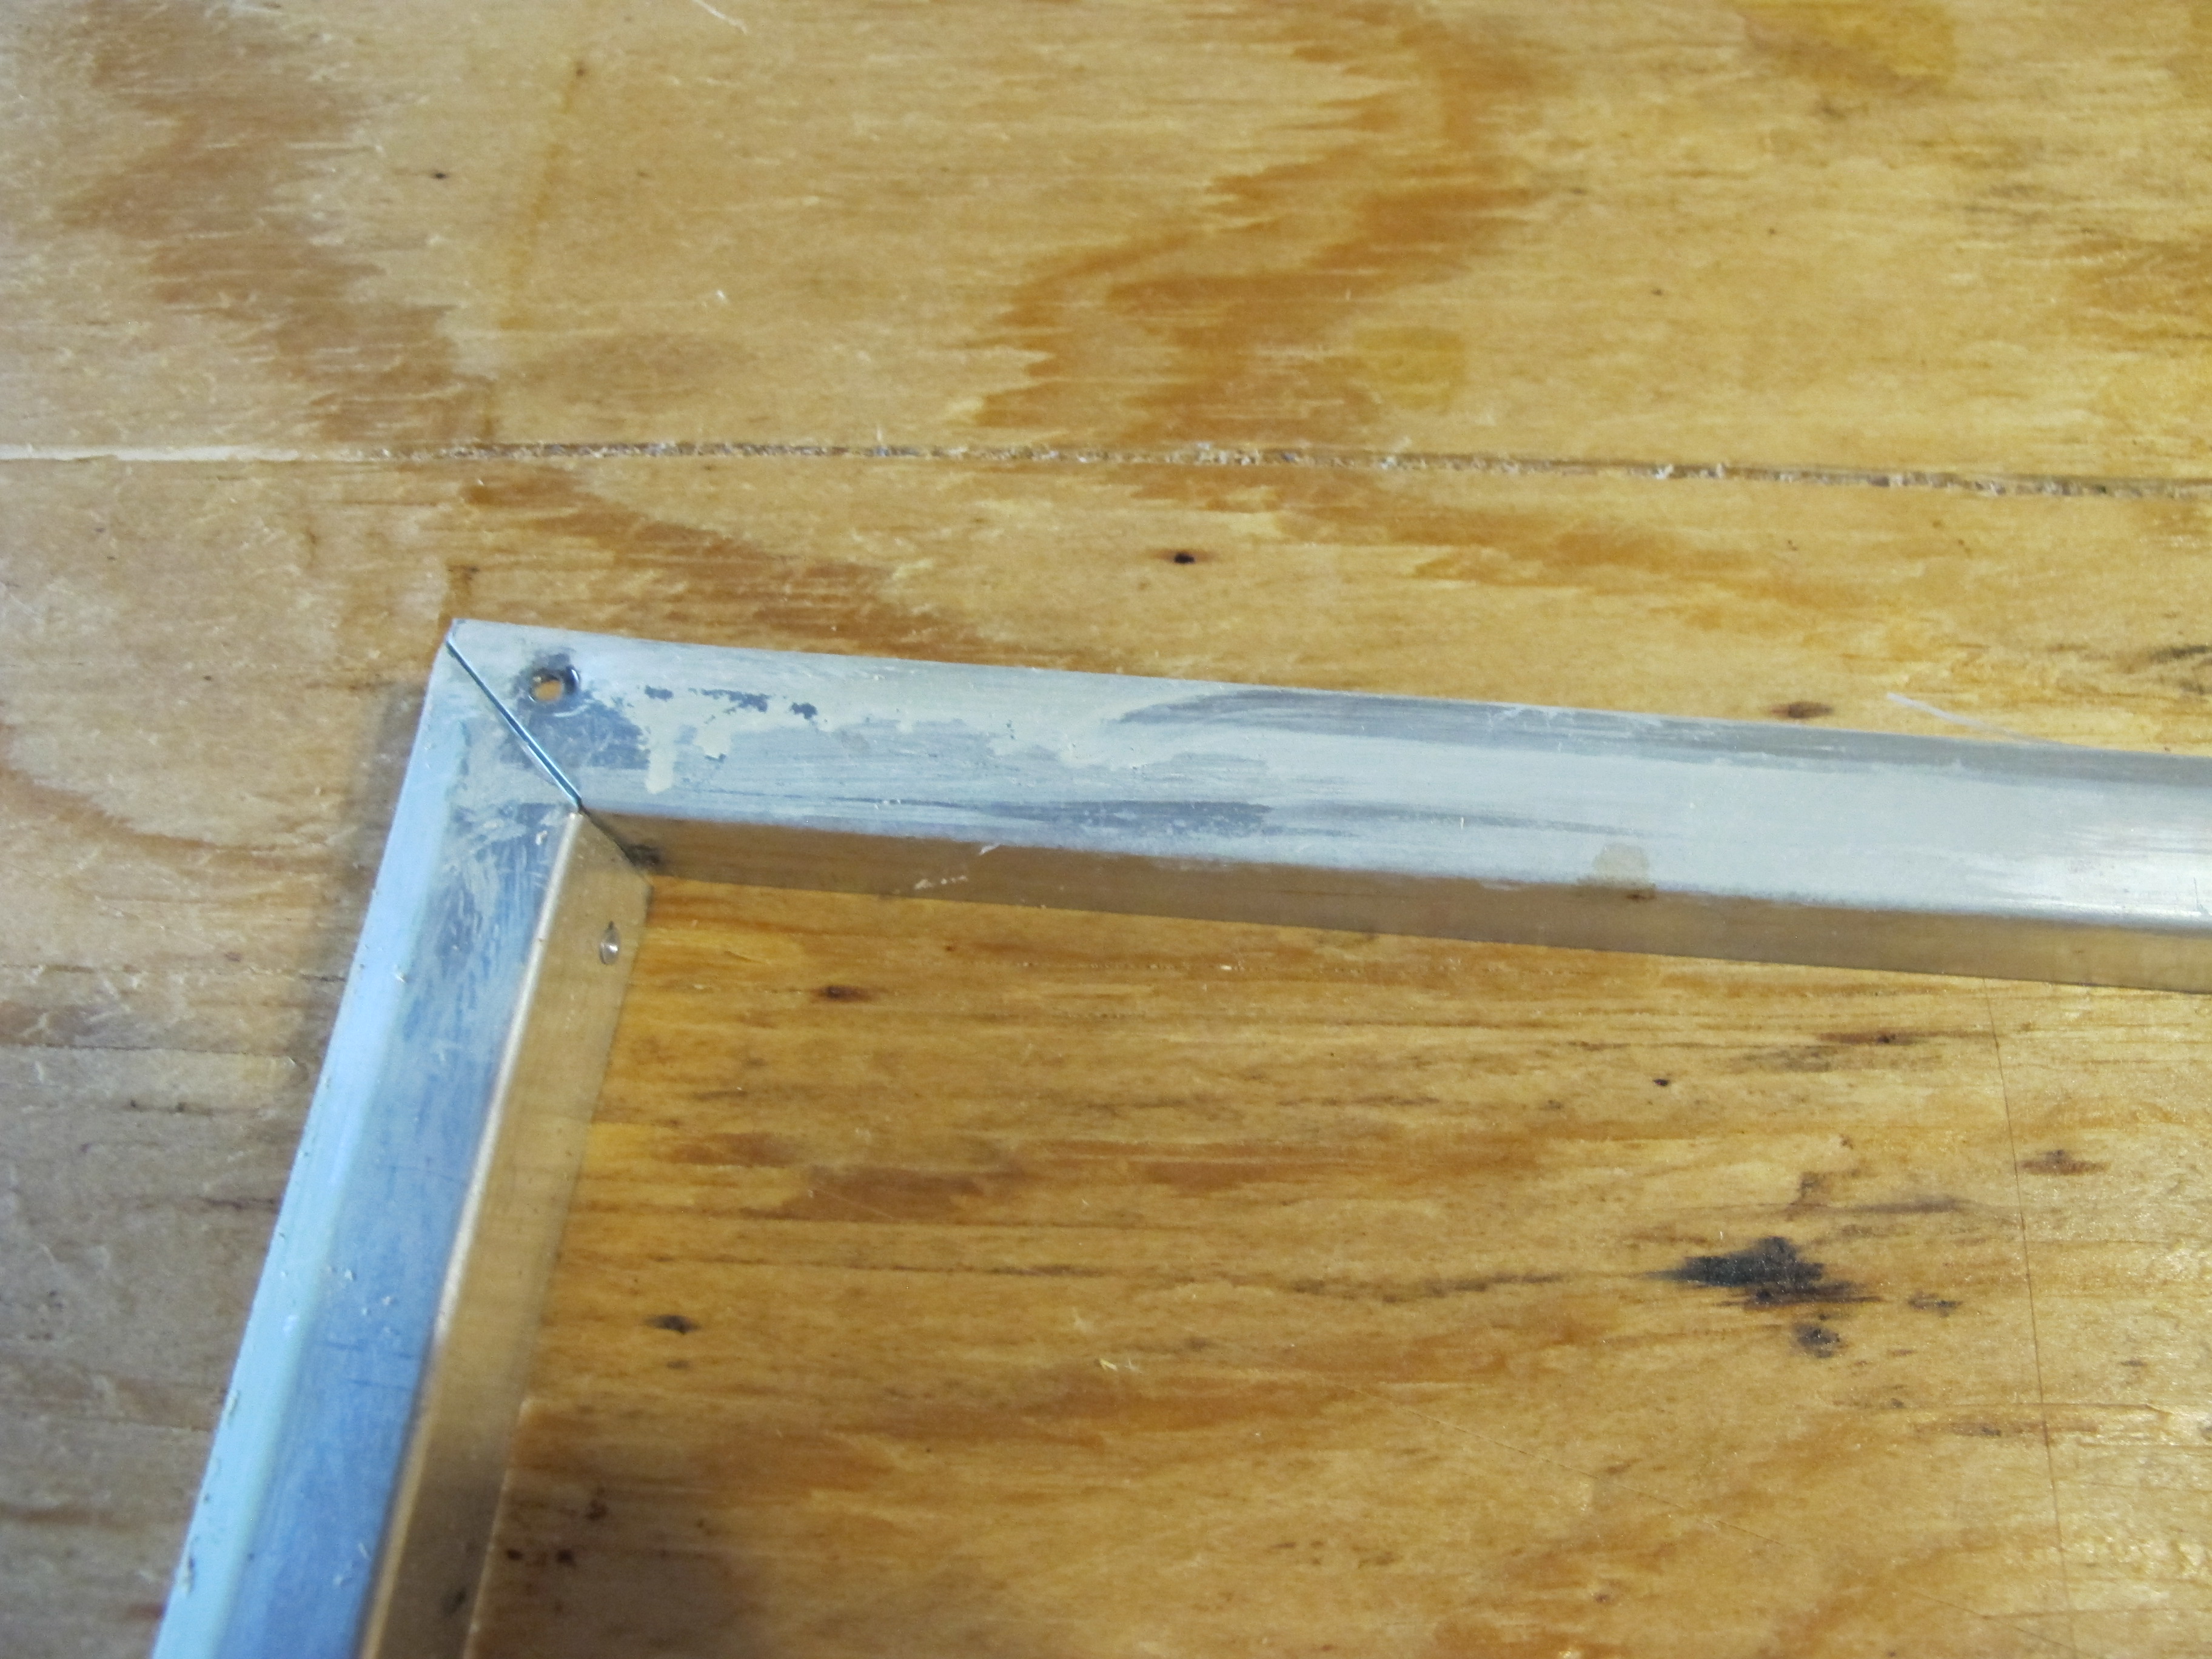
After that, I decided to try out my new metal polish on one of the window trim pieces. It works pretty well but I’m still not sure if it’s any better than just using Windex or something similar. The bulk of the work was done with my steel brush to get the old paint and grime off.
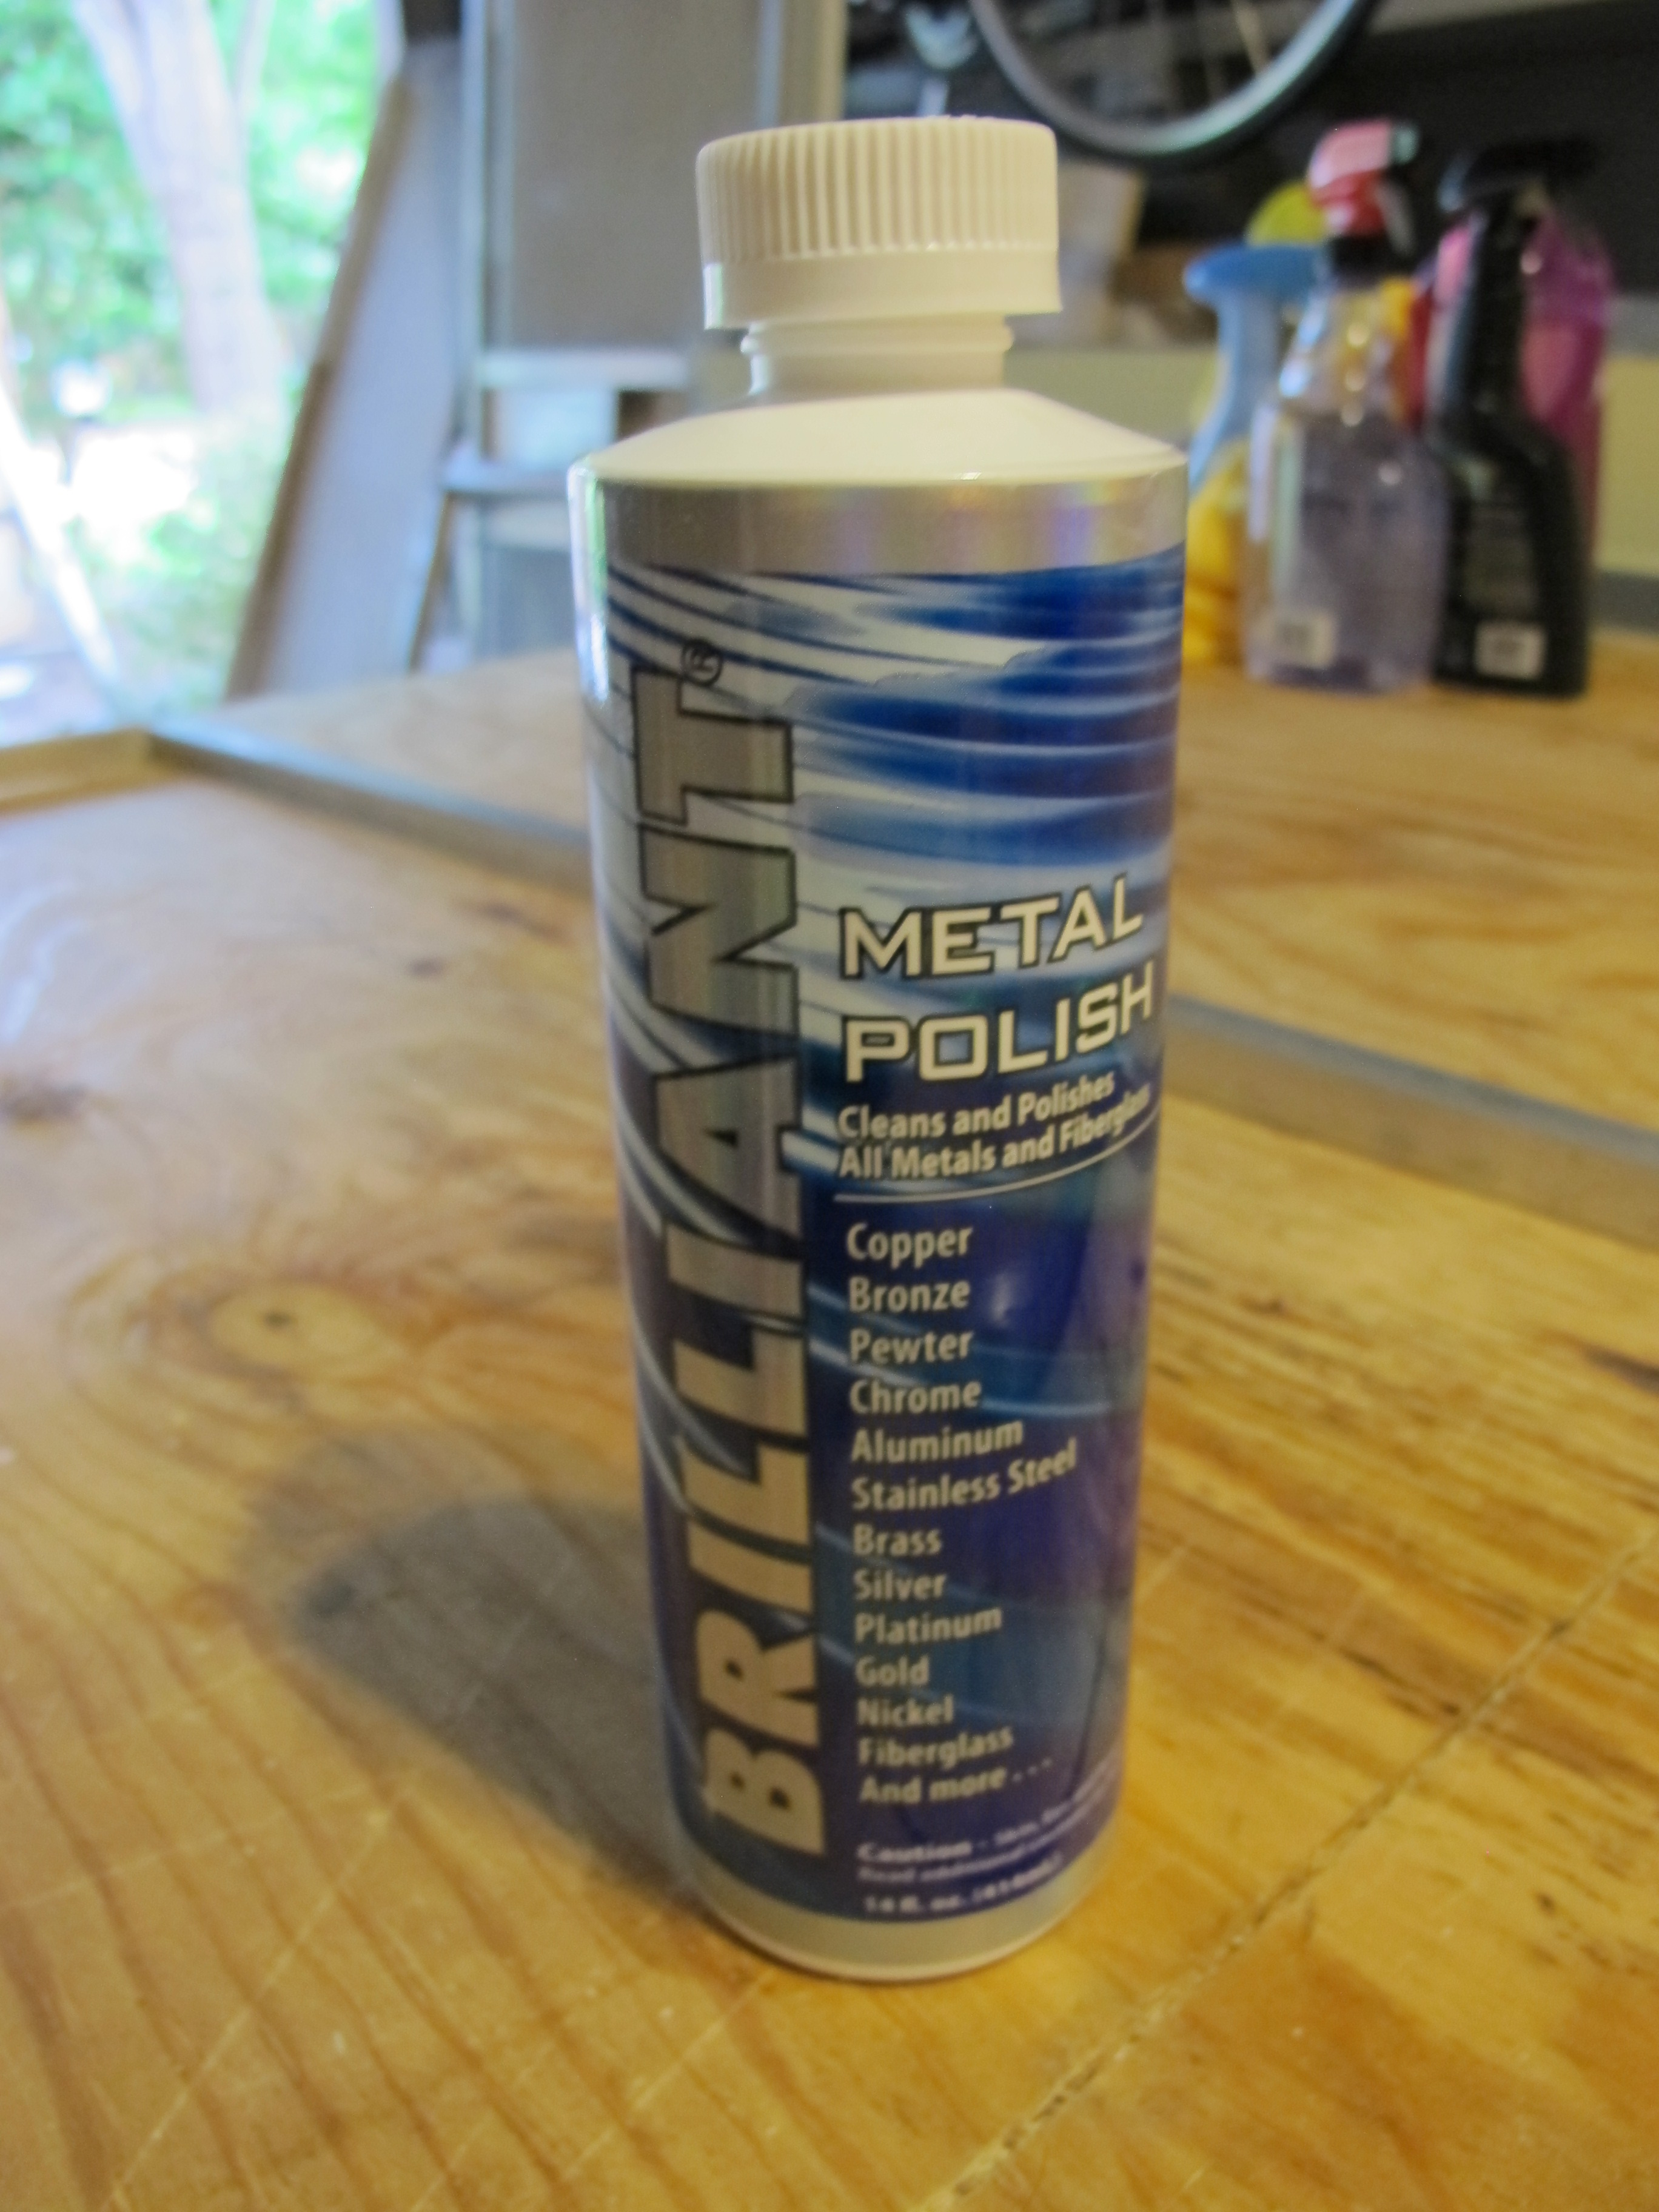
This is the brand of polish I got from Home Depot.
Before

After (this was after lots of scraping with the steel brush, it sounds like scratching on a chalkboard, not enjoyable!)
On Saturday, I did a bit of shopping and then went to my cousin’s house for her son’s 5th birthday party. I didn’t get anything done on Junebug that day unless you count the cute drawer pulls I picked up from Anthropologie that I will be adding to Junebug’s cabinets.

The owls are for the cabinet above the kitchenette and the sparkly one is for the little door that I’m going to build for underneath the bed.
Today, I was pretty productive. The first thing I did was go to Lowe’s to pick up some more wood, a spade drill bit (for drilling bigger holes), and some more stainless steel wood screws for the frame.
When I got back from Lowe’s, I decided to pull out the old countertop so that I could replace it with a new one. It proved to be very difficult to remove, thanks to the fact that they glued it to the frame. I finally pried it loose after a lot of sweating and cursing (and help from my neighbor). haha

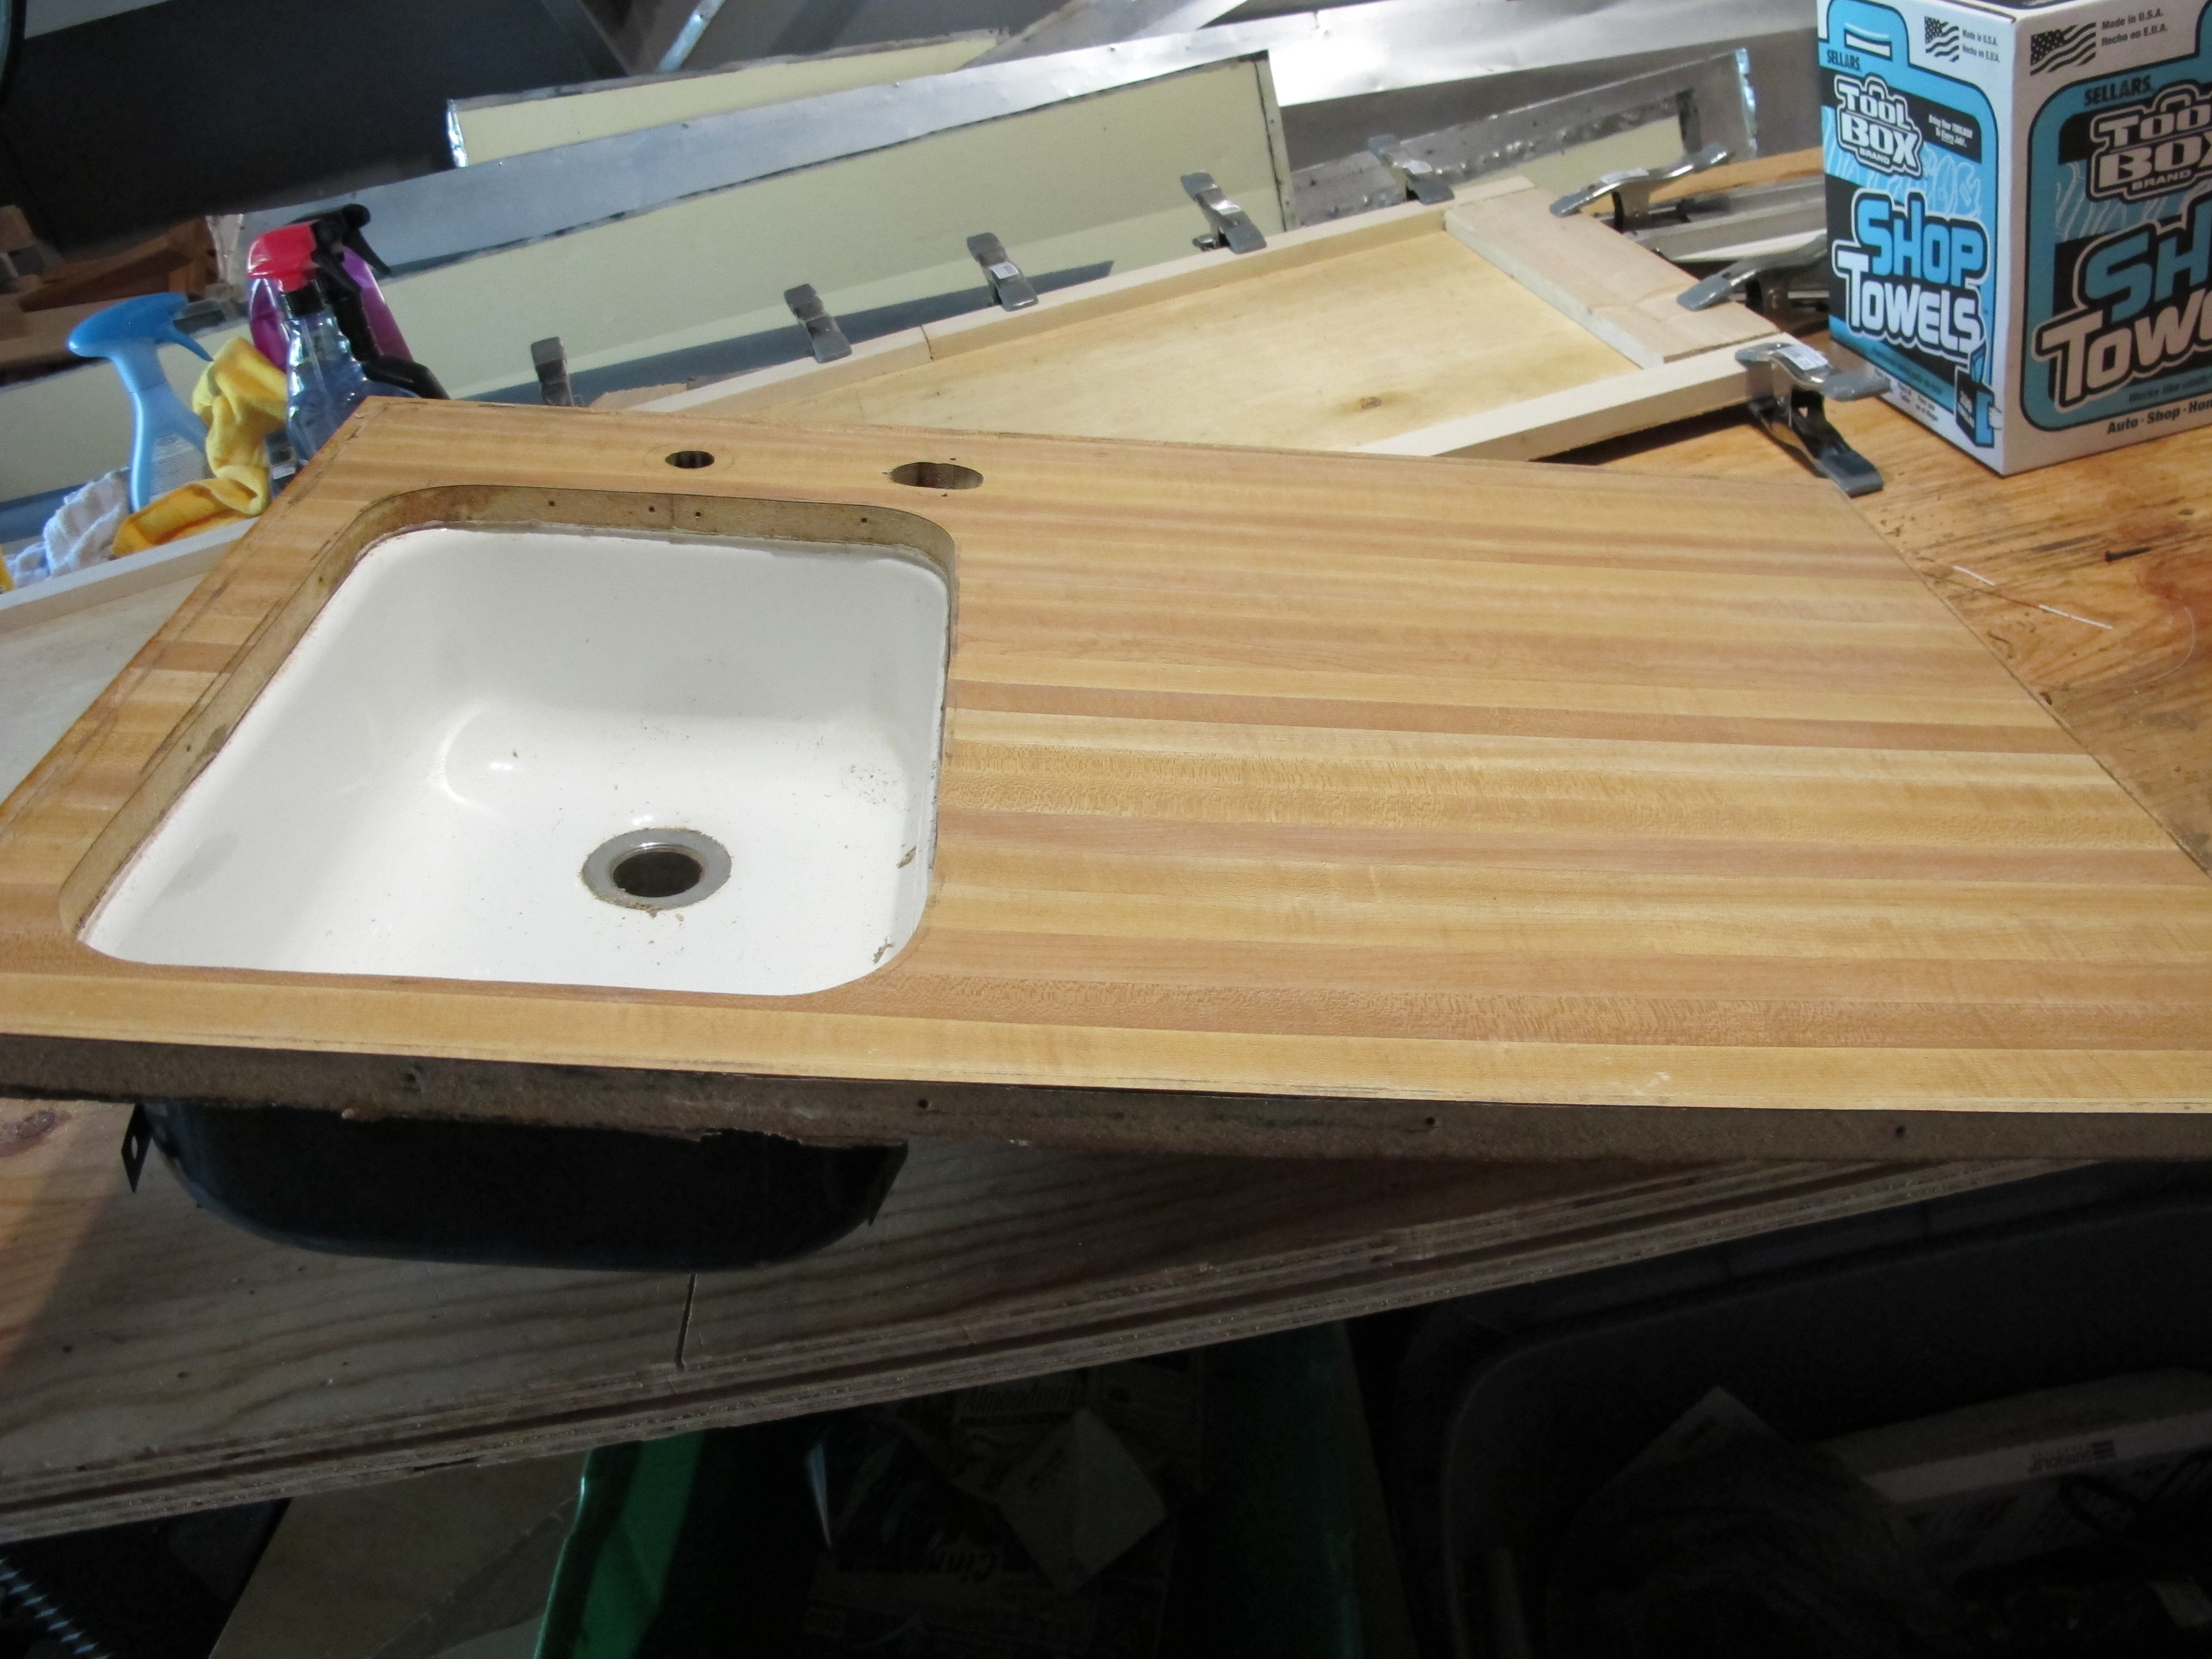

I had to use the chisel to remove the sink since it was stuck as well.
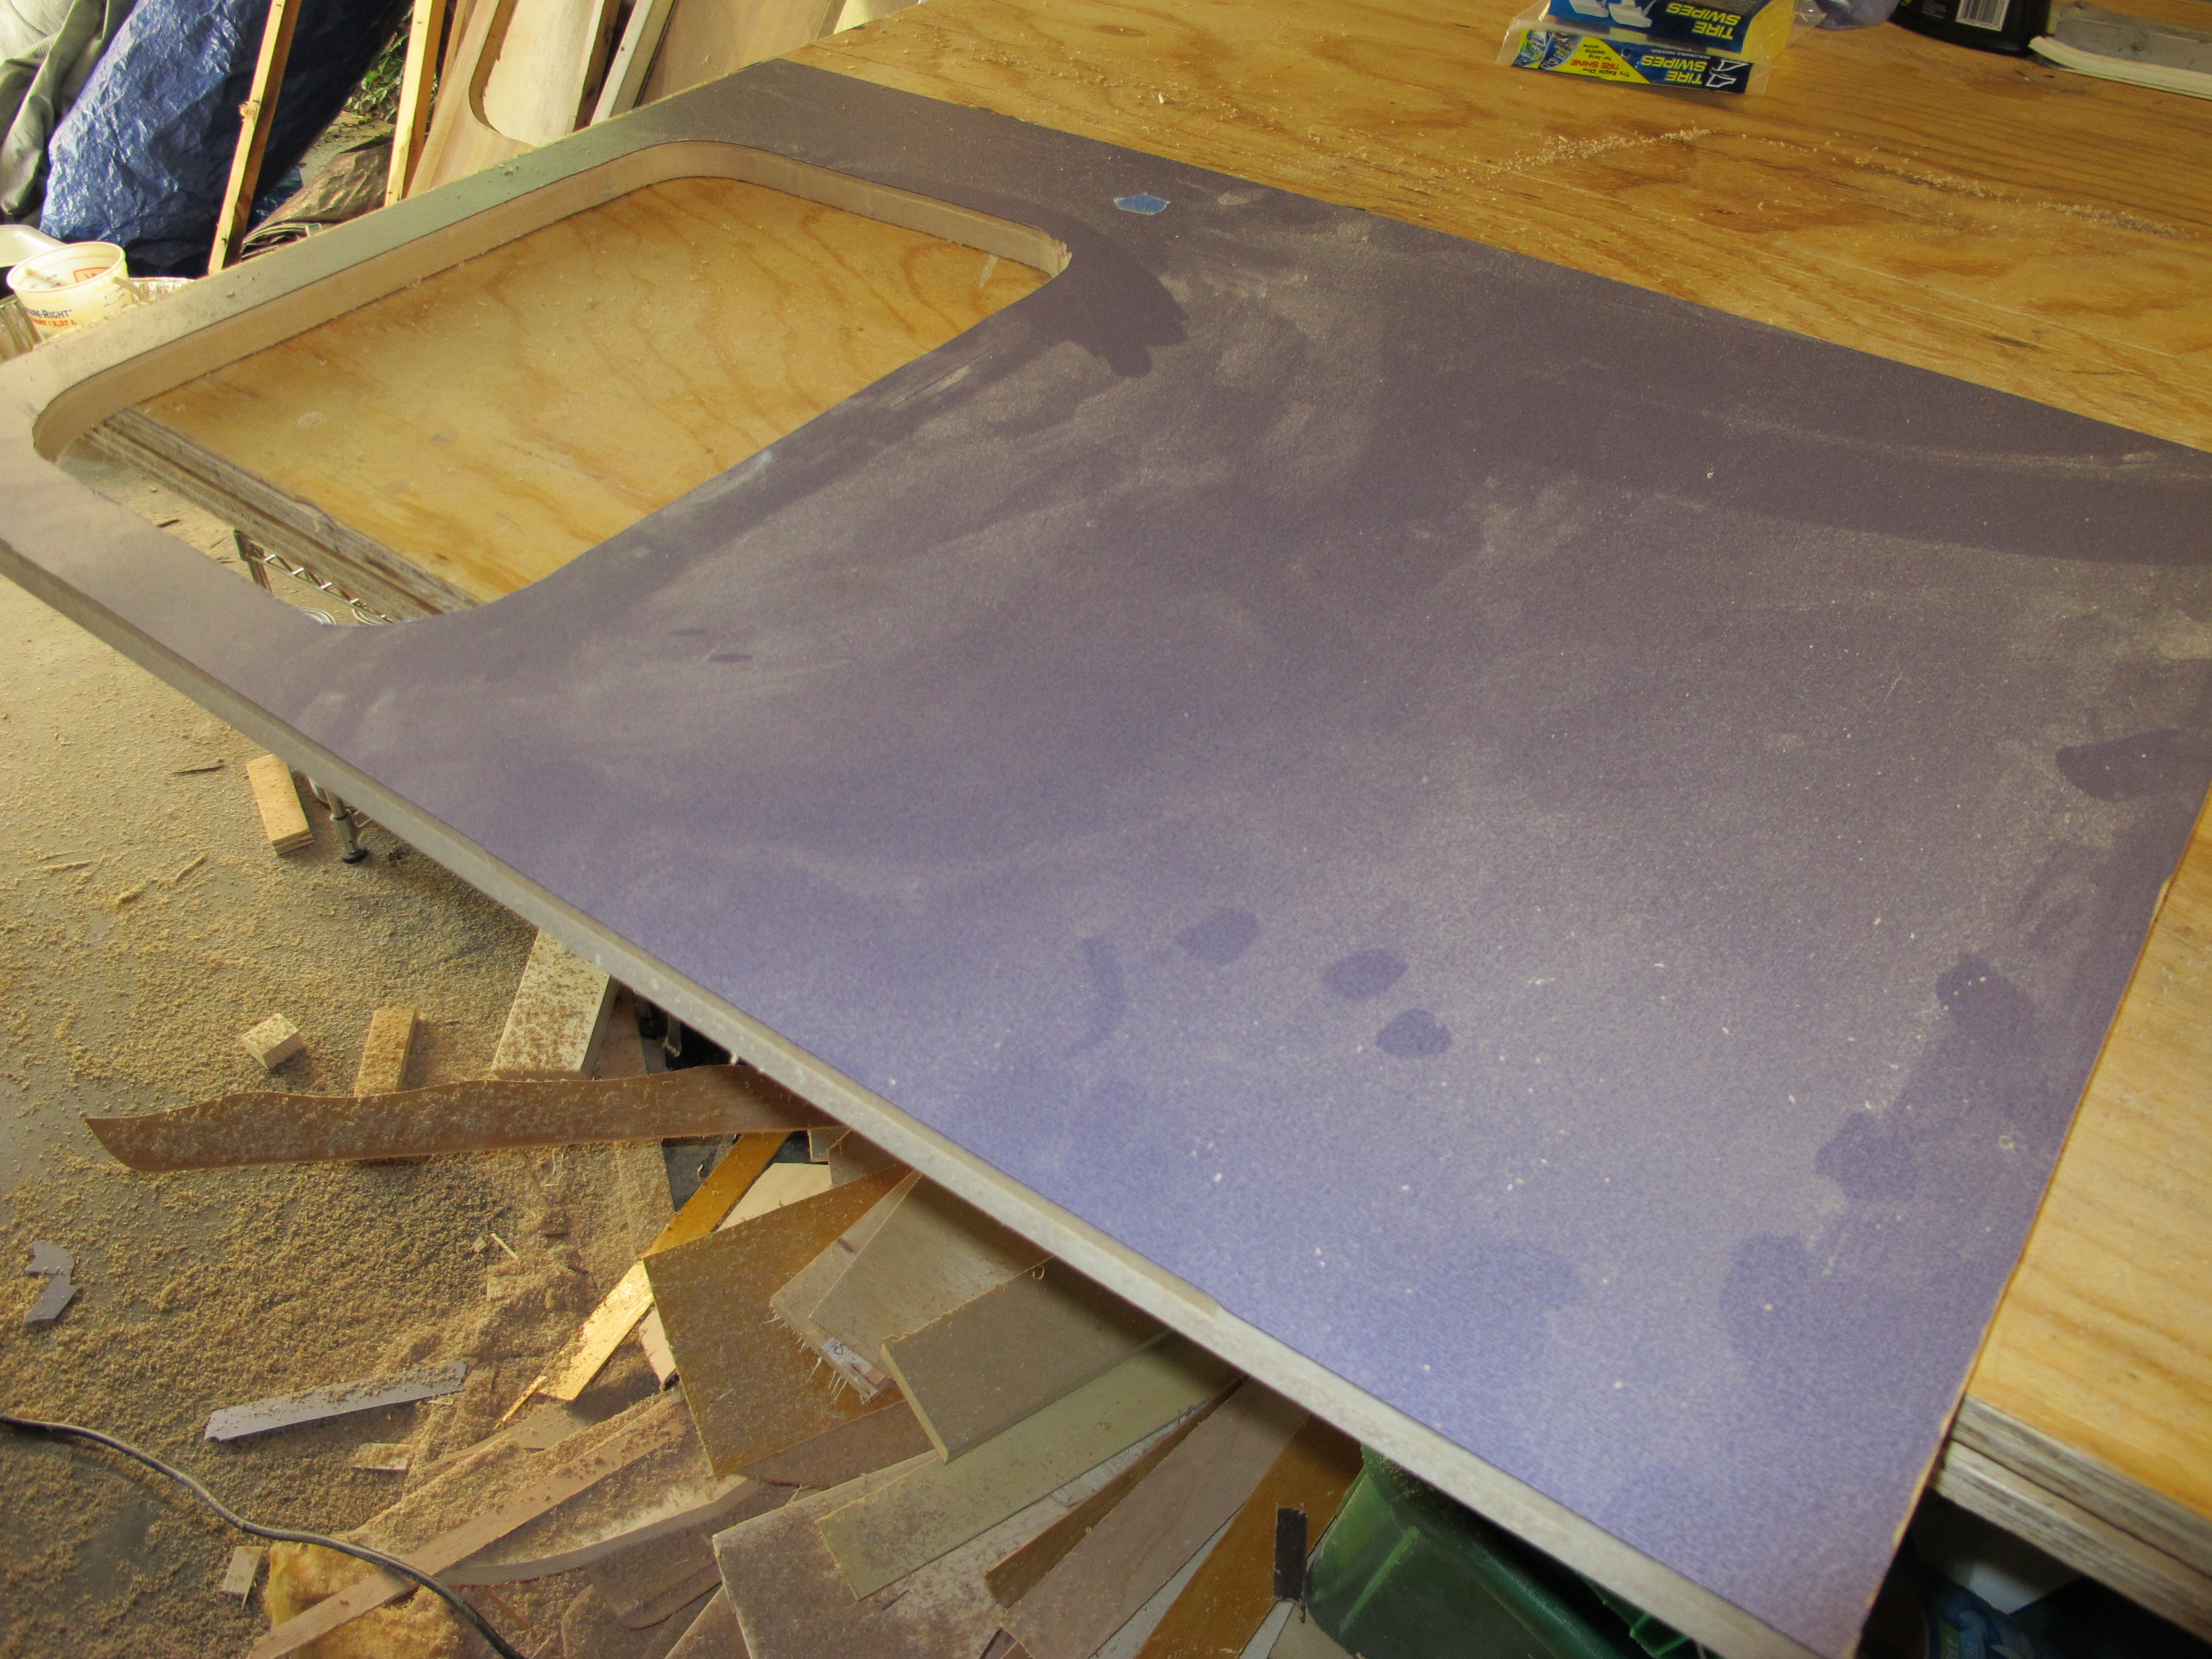
I used the old countertop as a template for cutting the new countertop.
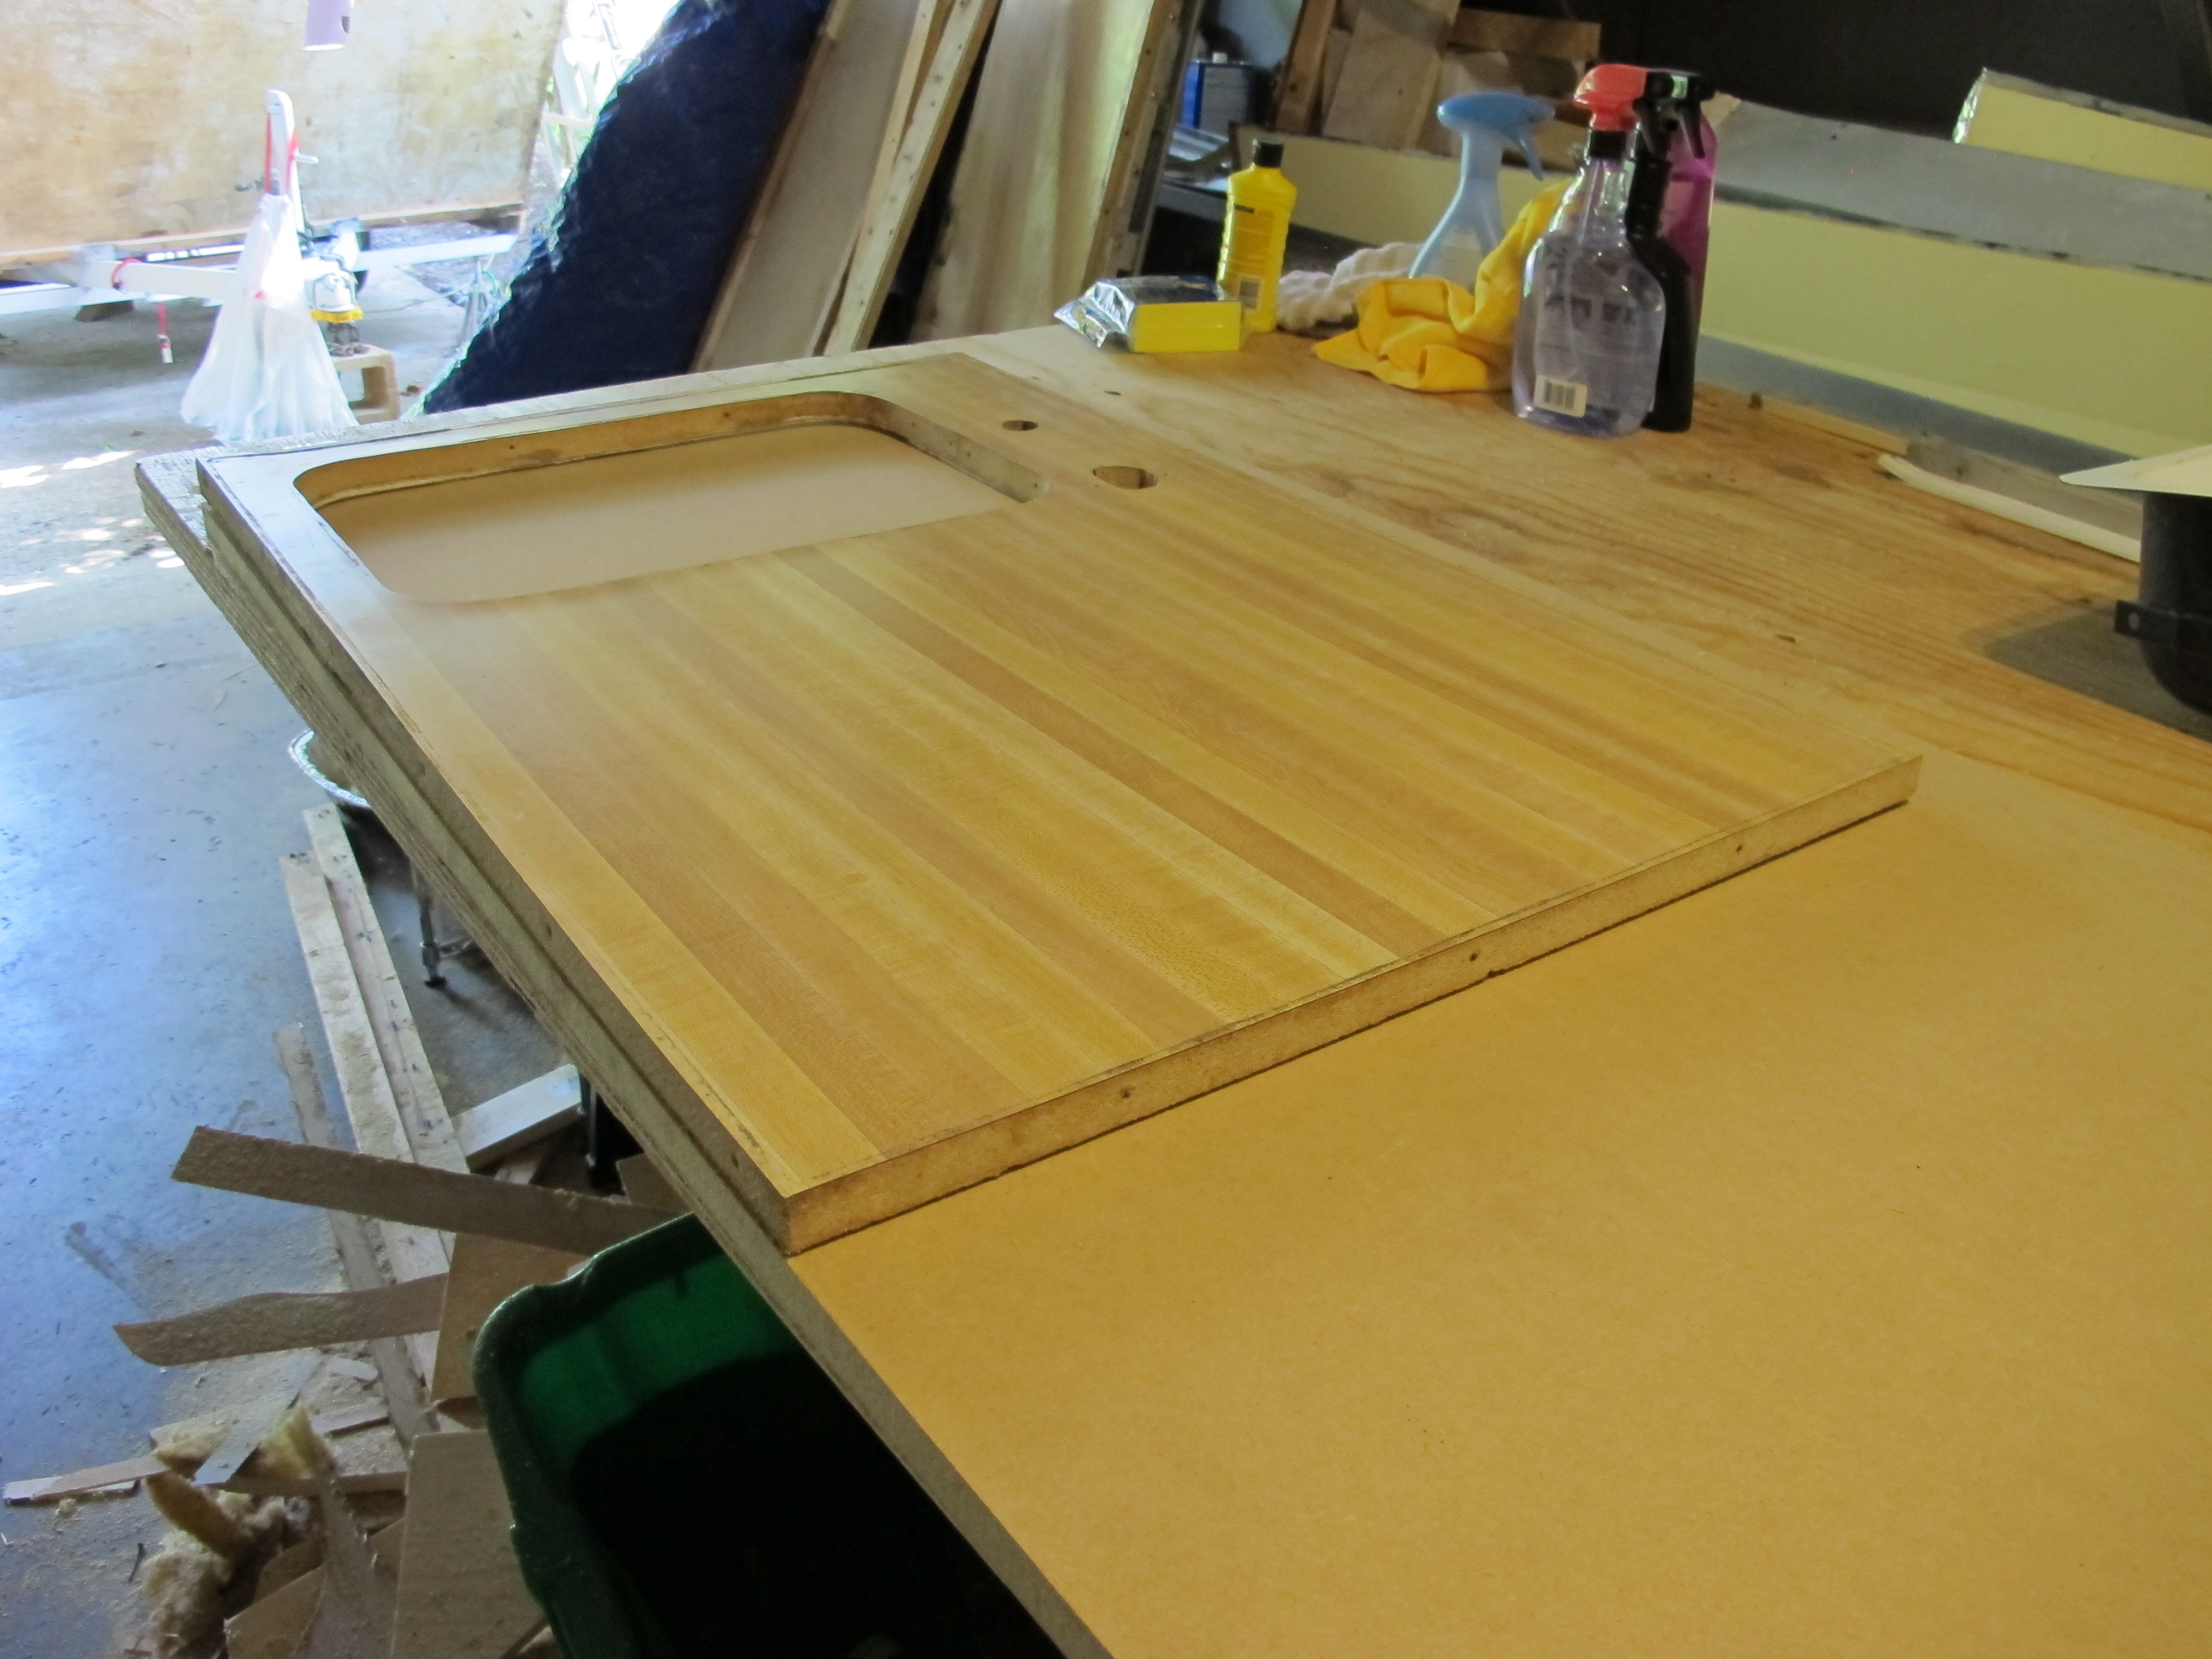
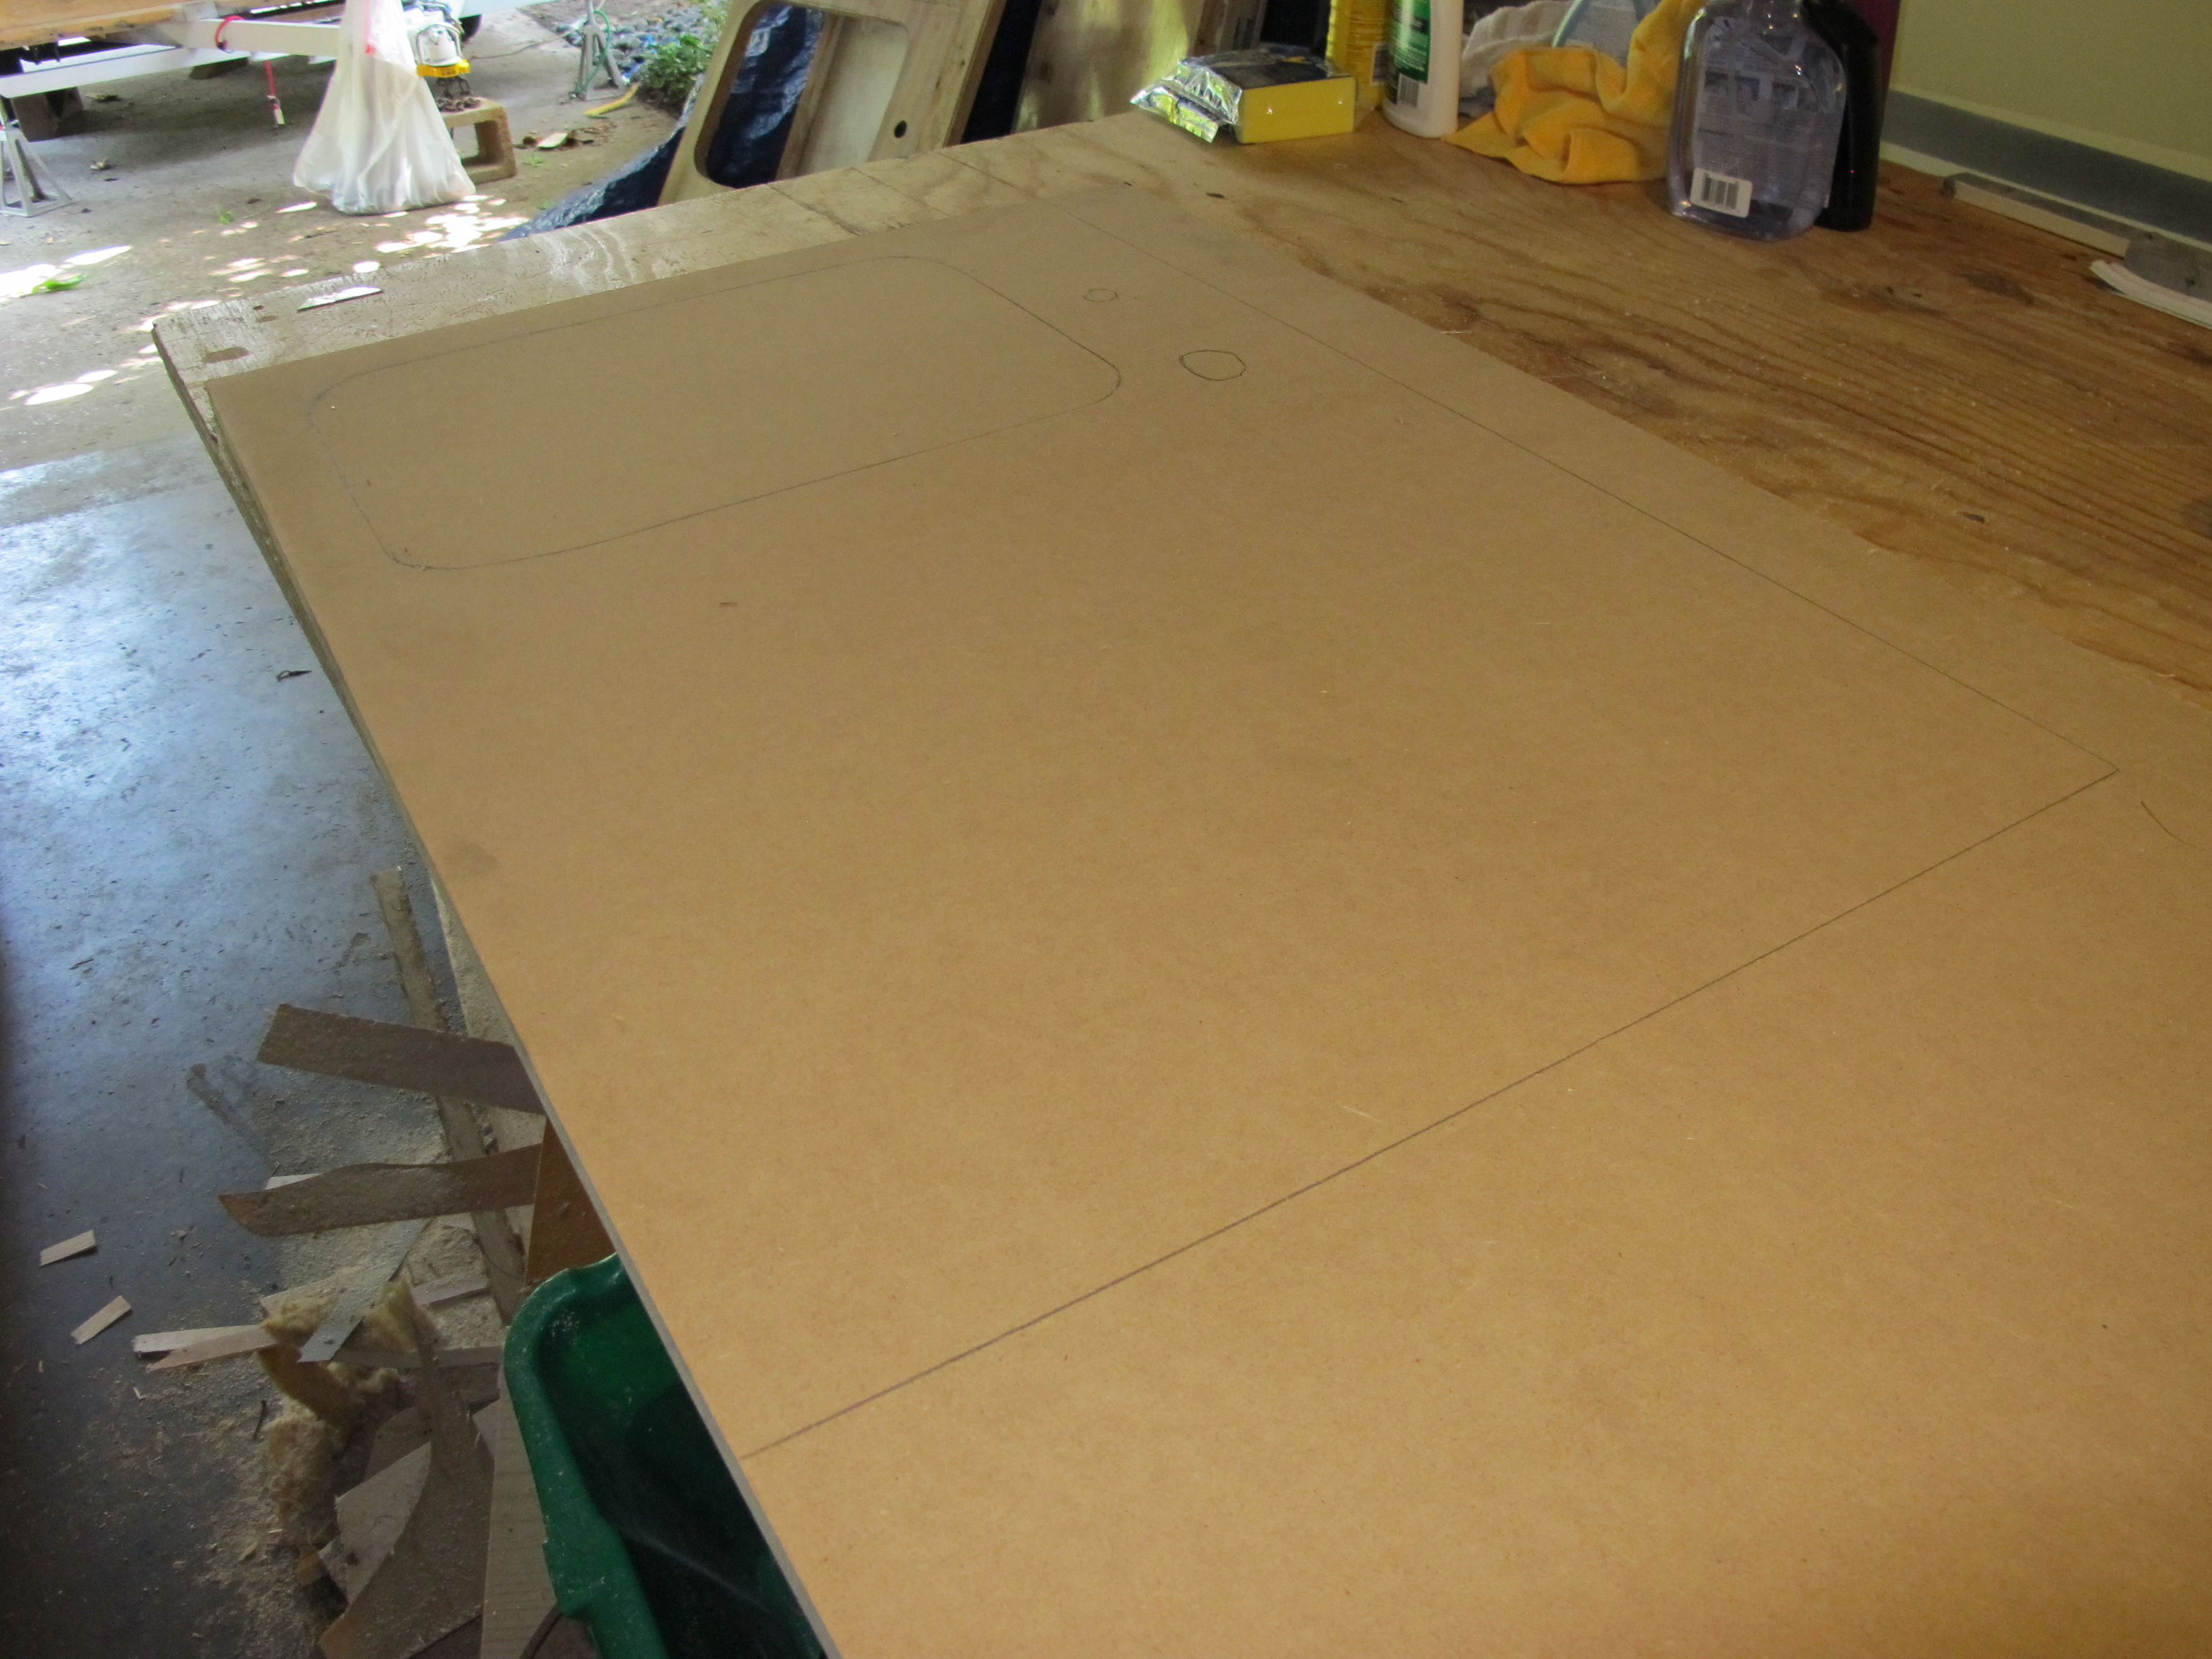
I then used my spade bit to drill a starter hole in the sink cutout so that I could finish the cut with my jigsaw.
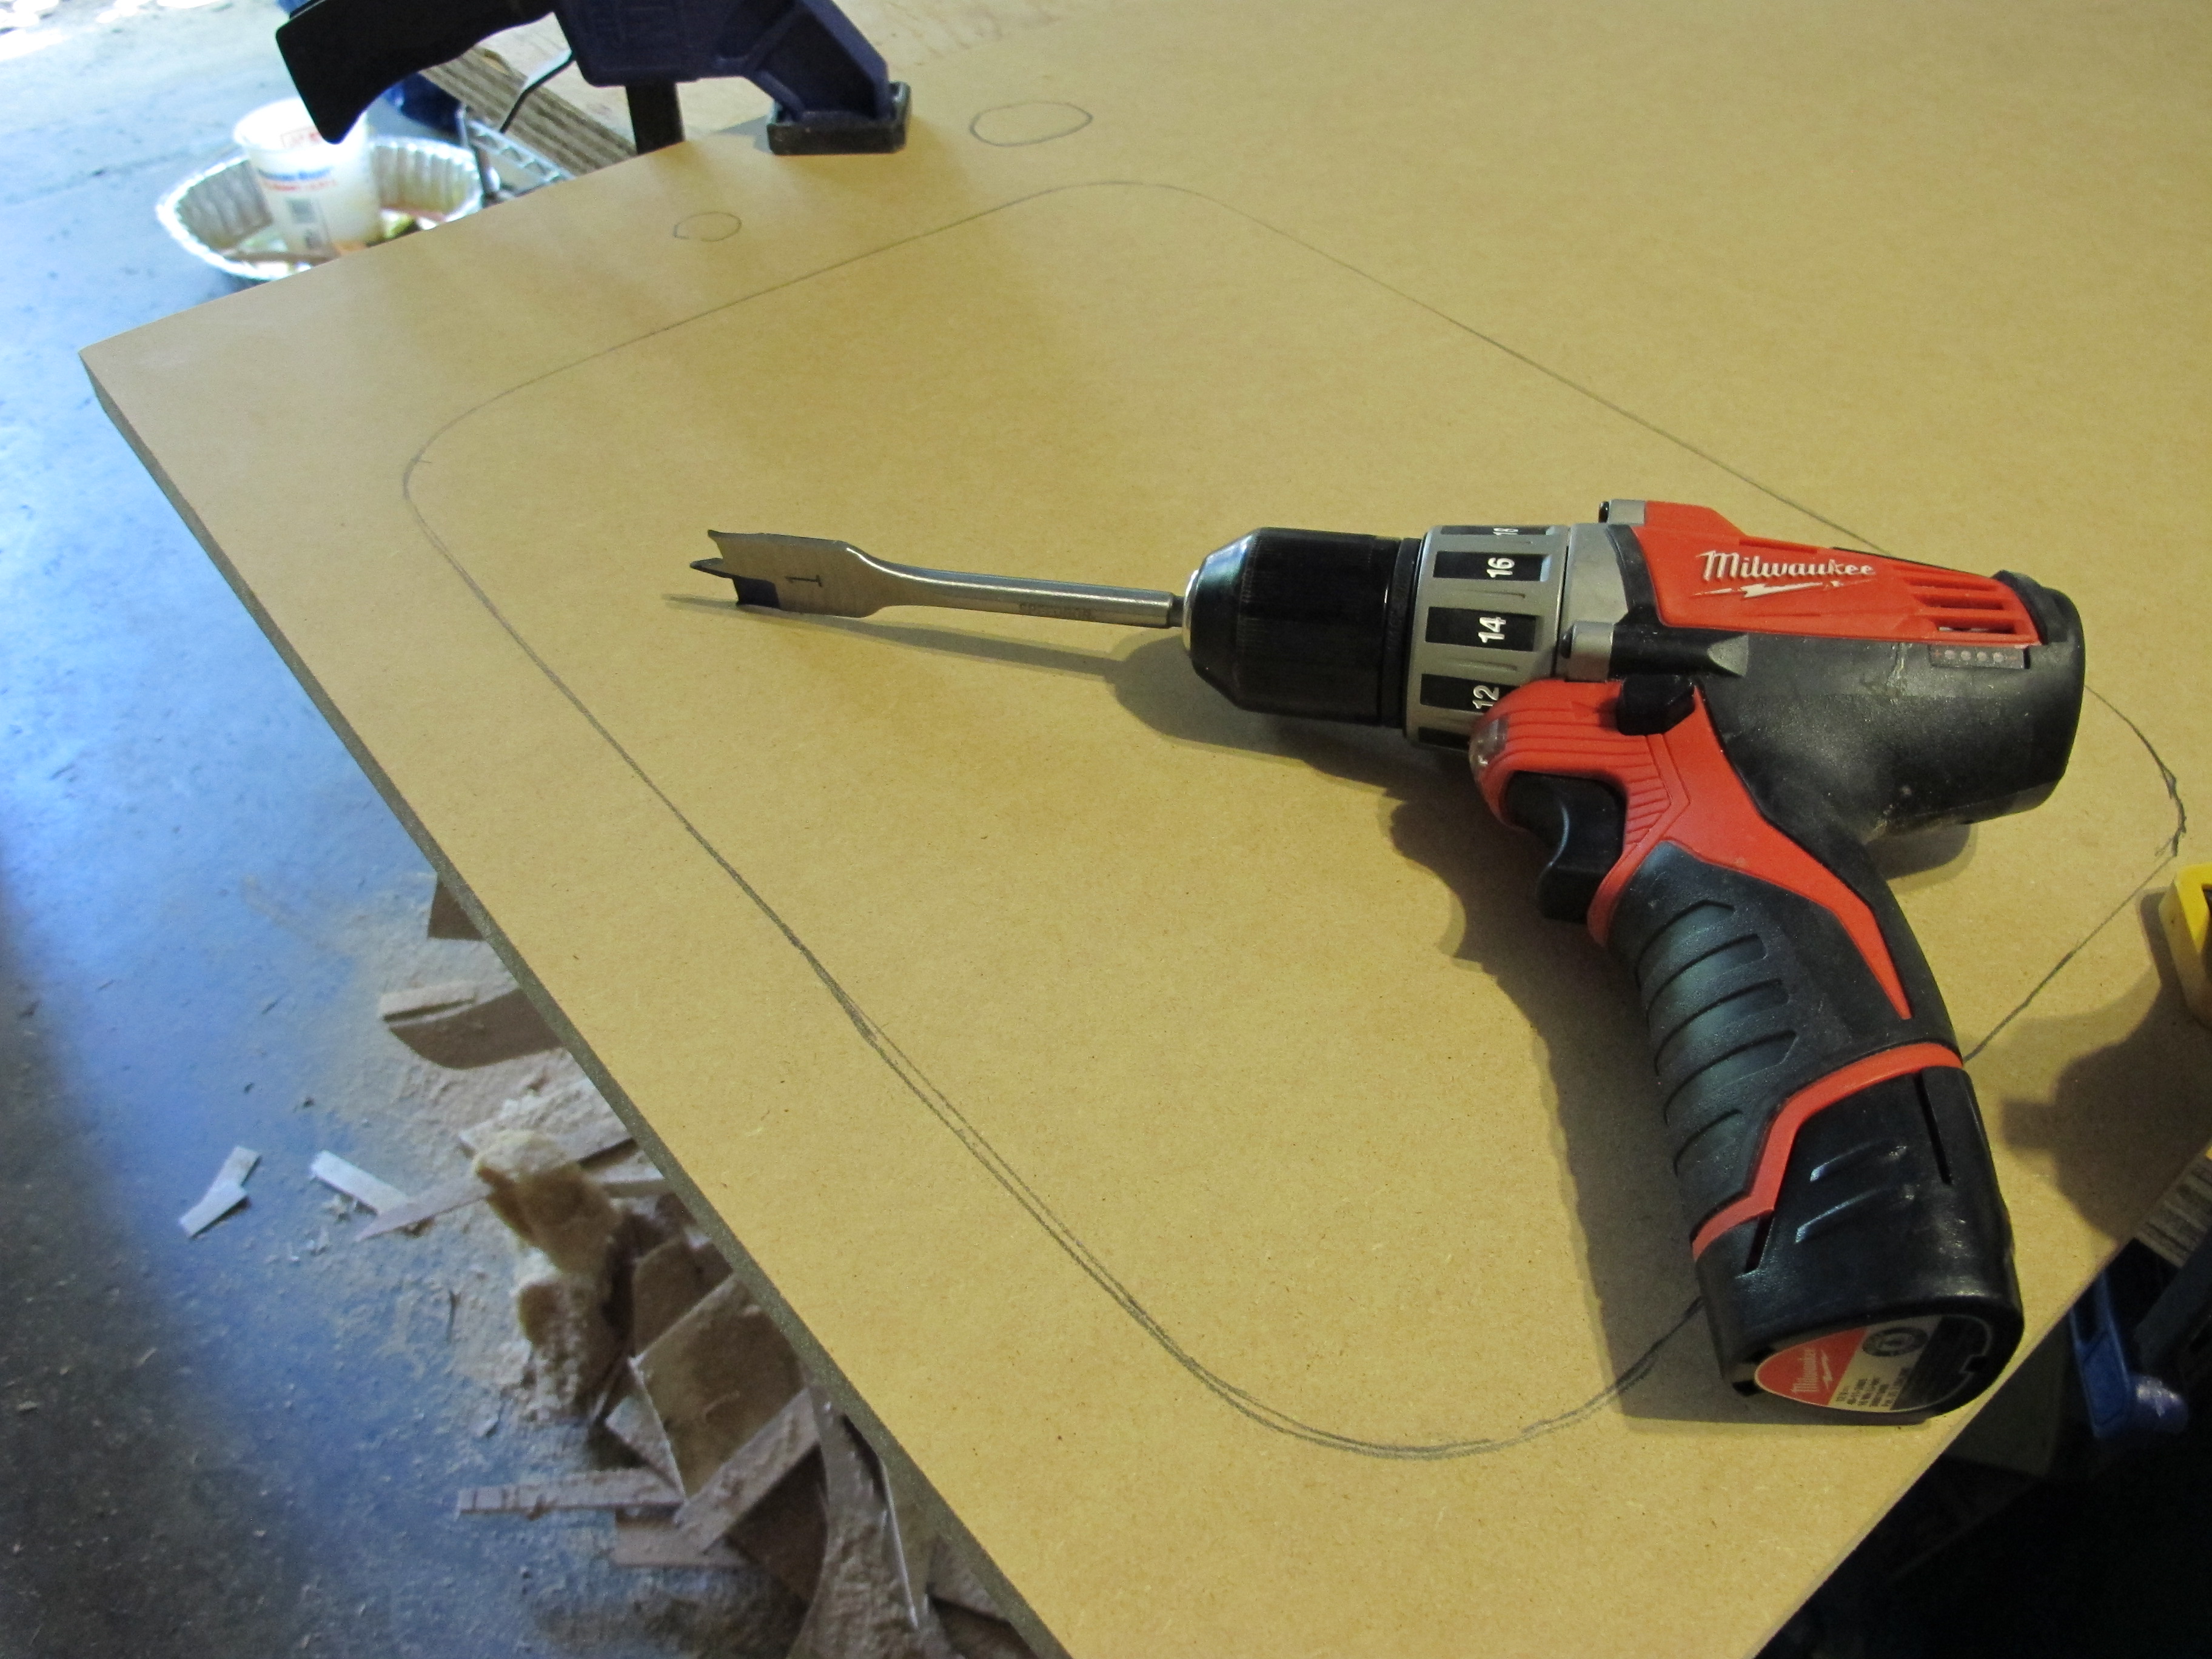


This MDF (micro density fiberboard) is super messy!

Done with the cutouts!
Next, I applied the contact cement and then let it set for 20 minutes.
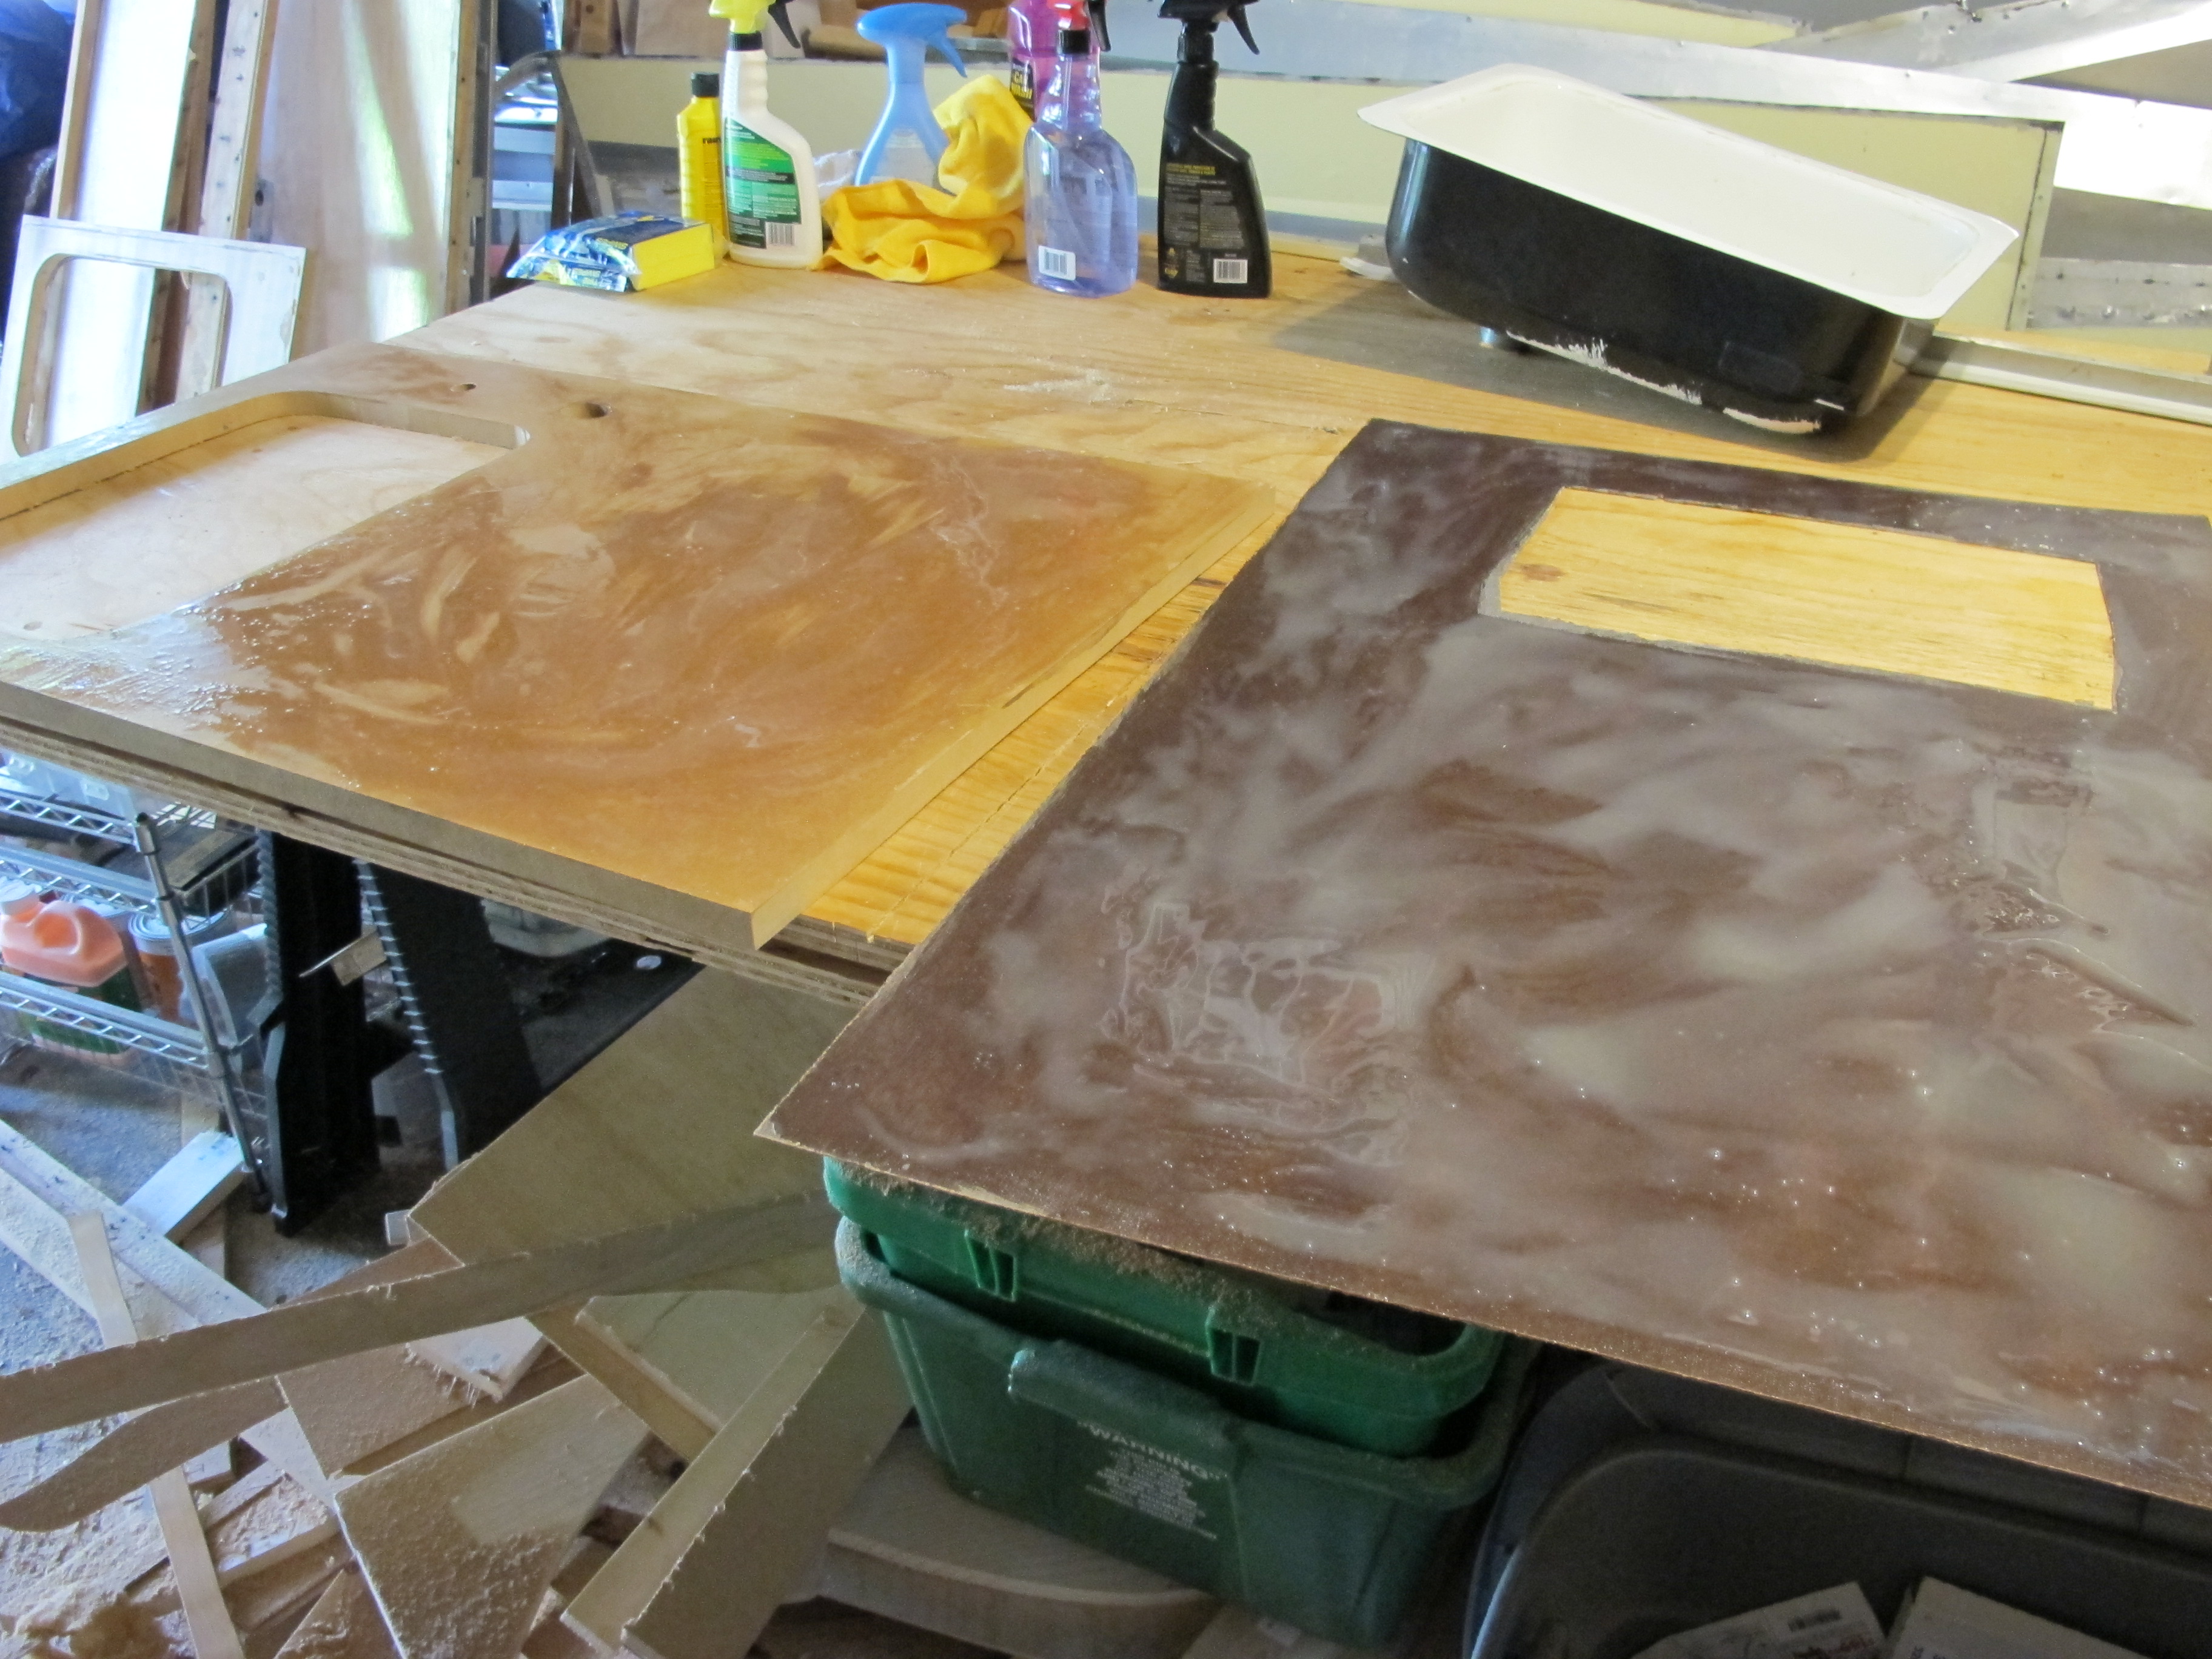
After 20 minutes, I put some wood strips over the MDF so that I could be sure the positioning was correct for the laminate before it permanently stuck to the board.
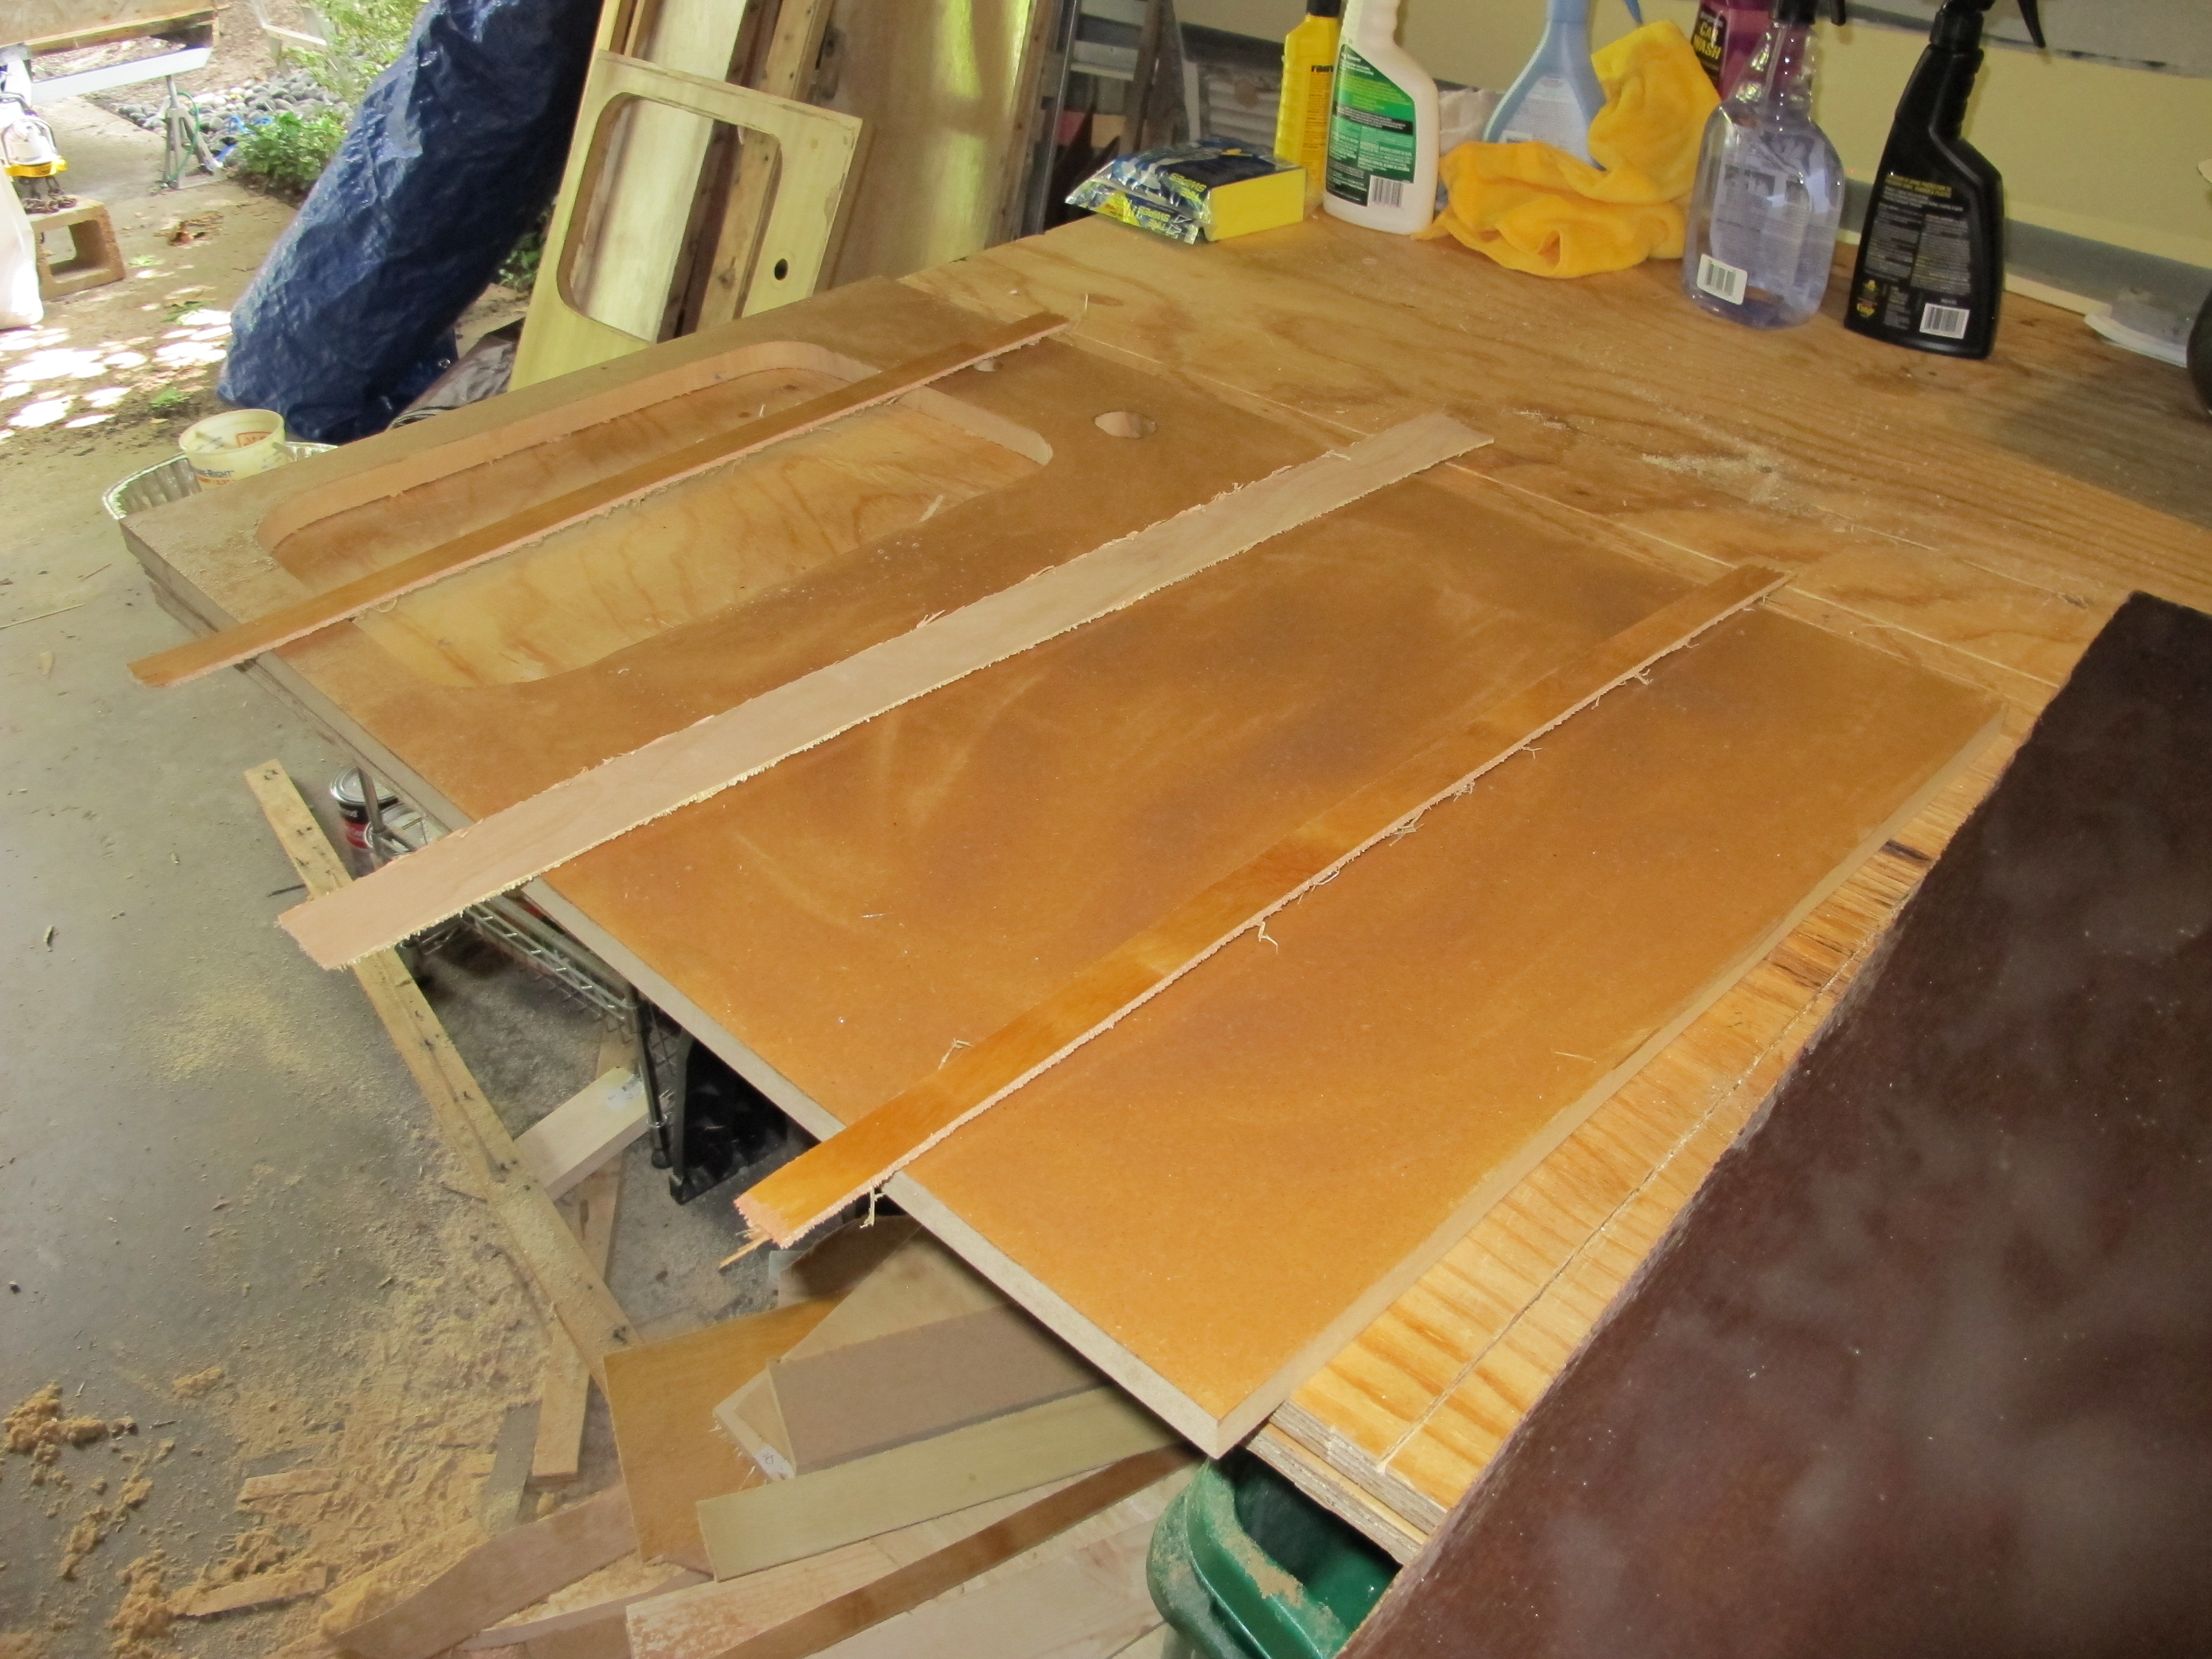
Once it was positioned correctly, I removed the strips and applied pressure.
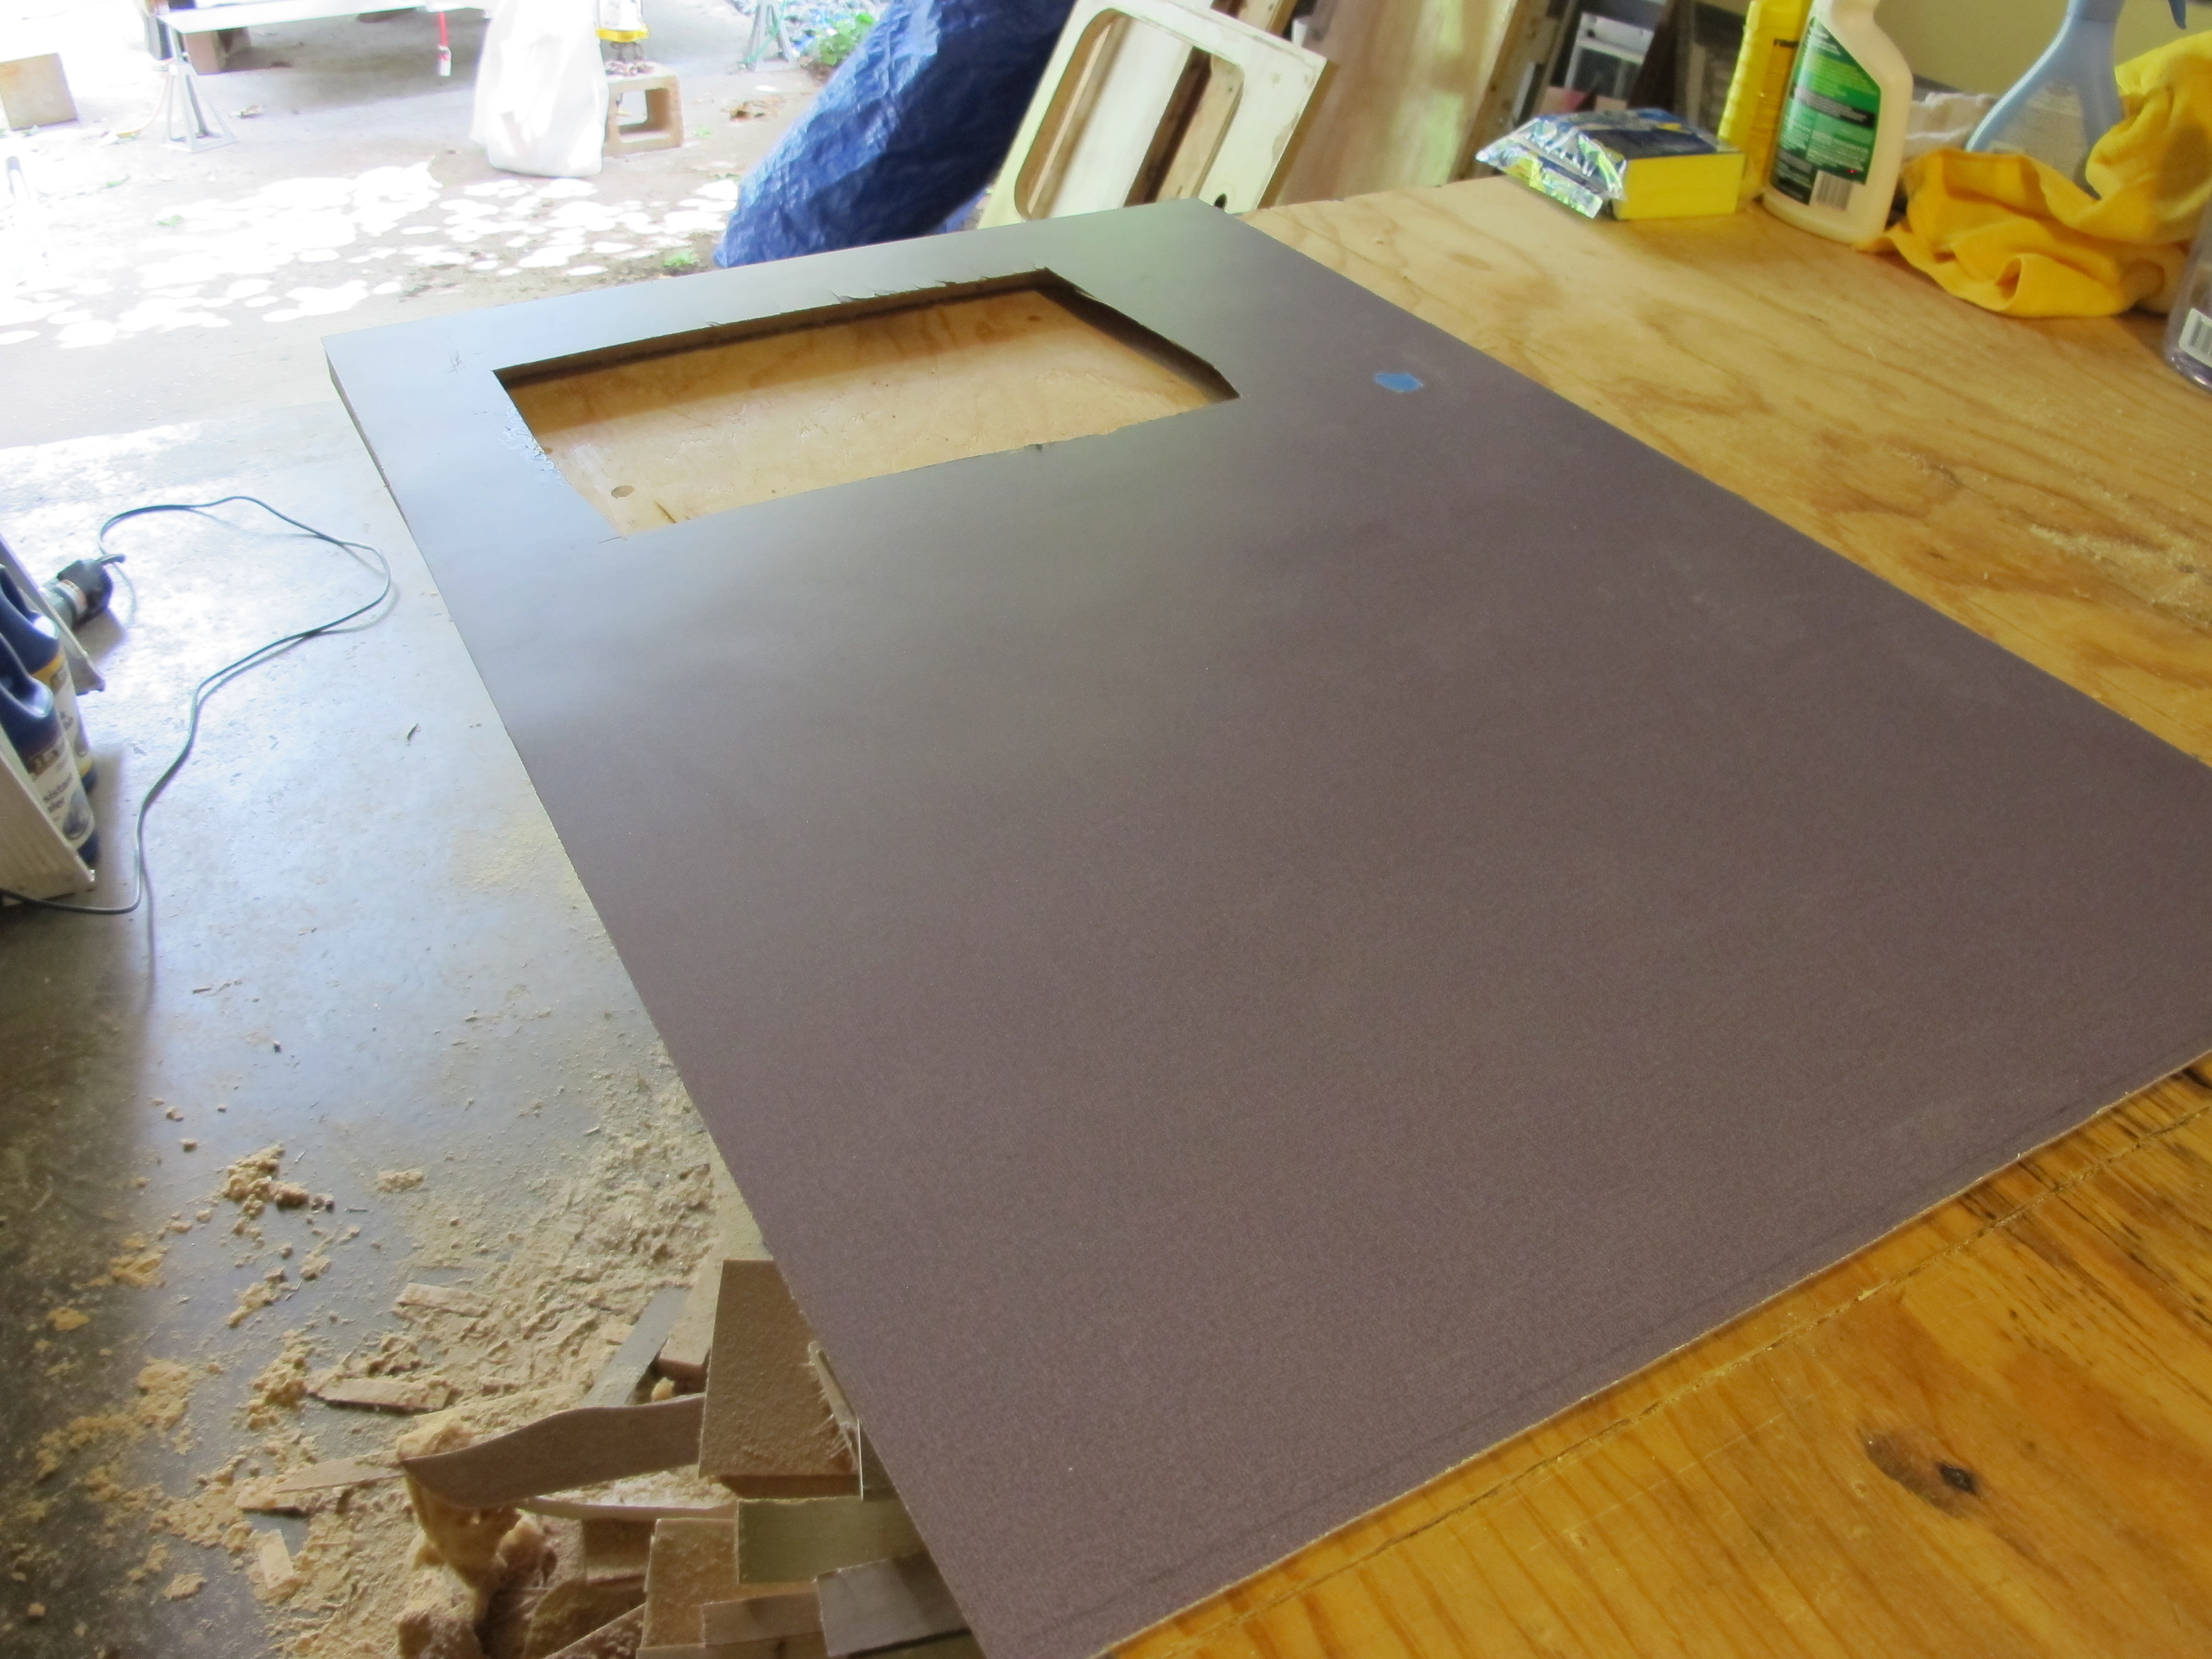
And now it’s time for the router to do its job!
This is after I trimmed the edges and around the hole for the sink with the router. It didn’t do a perfect job, but any blemishes can luckily be covered up with the trim.
Next, I added some more support boards across the rear and attached the rear panel. 

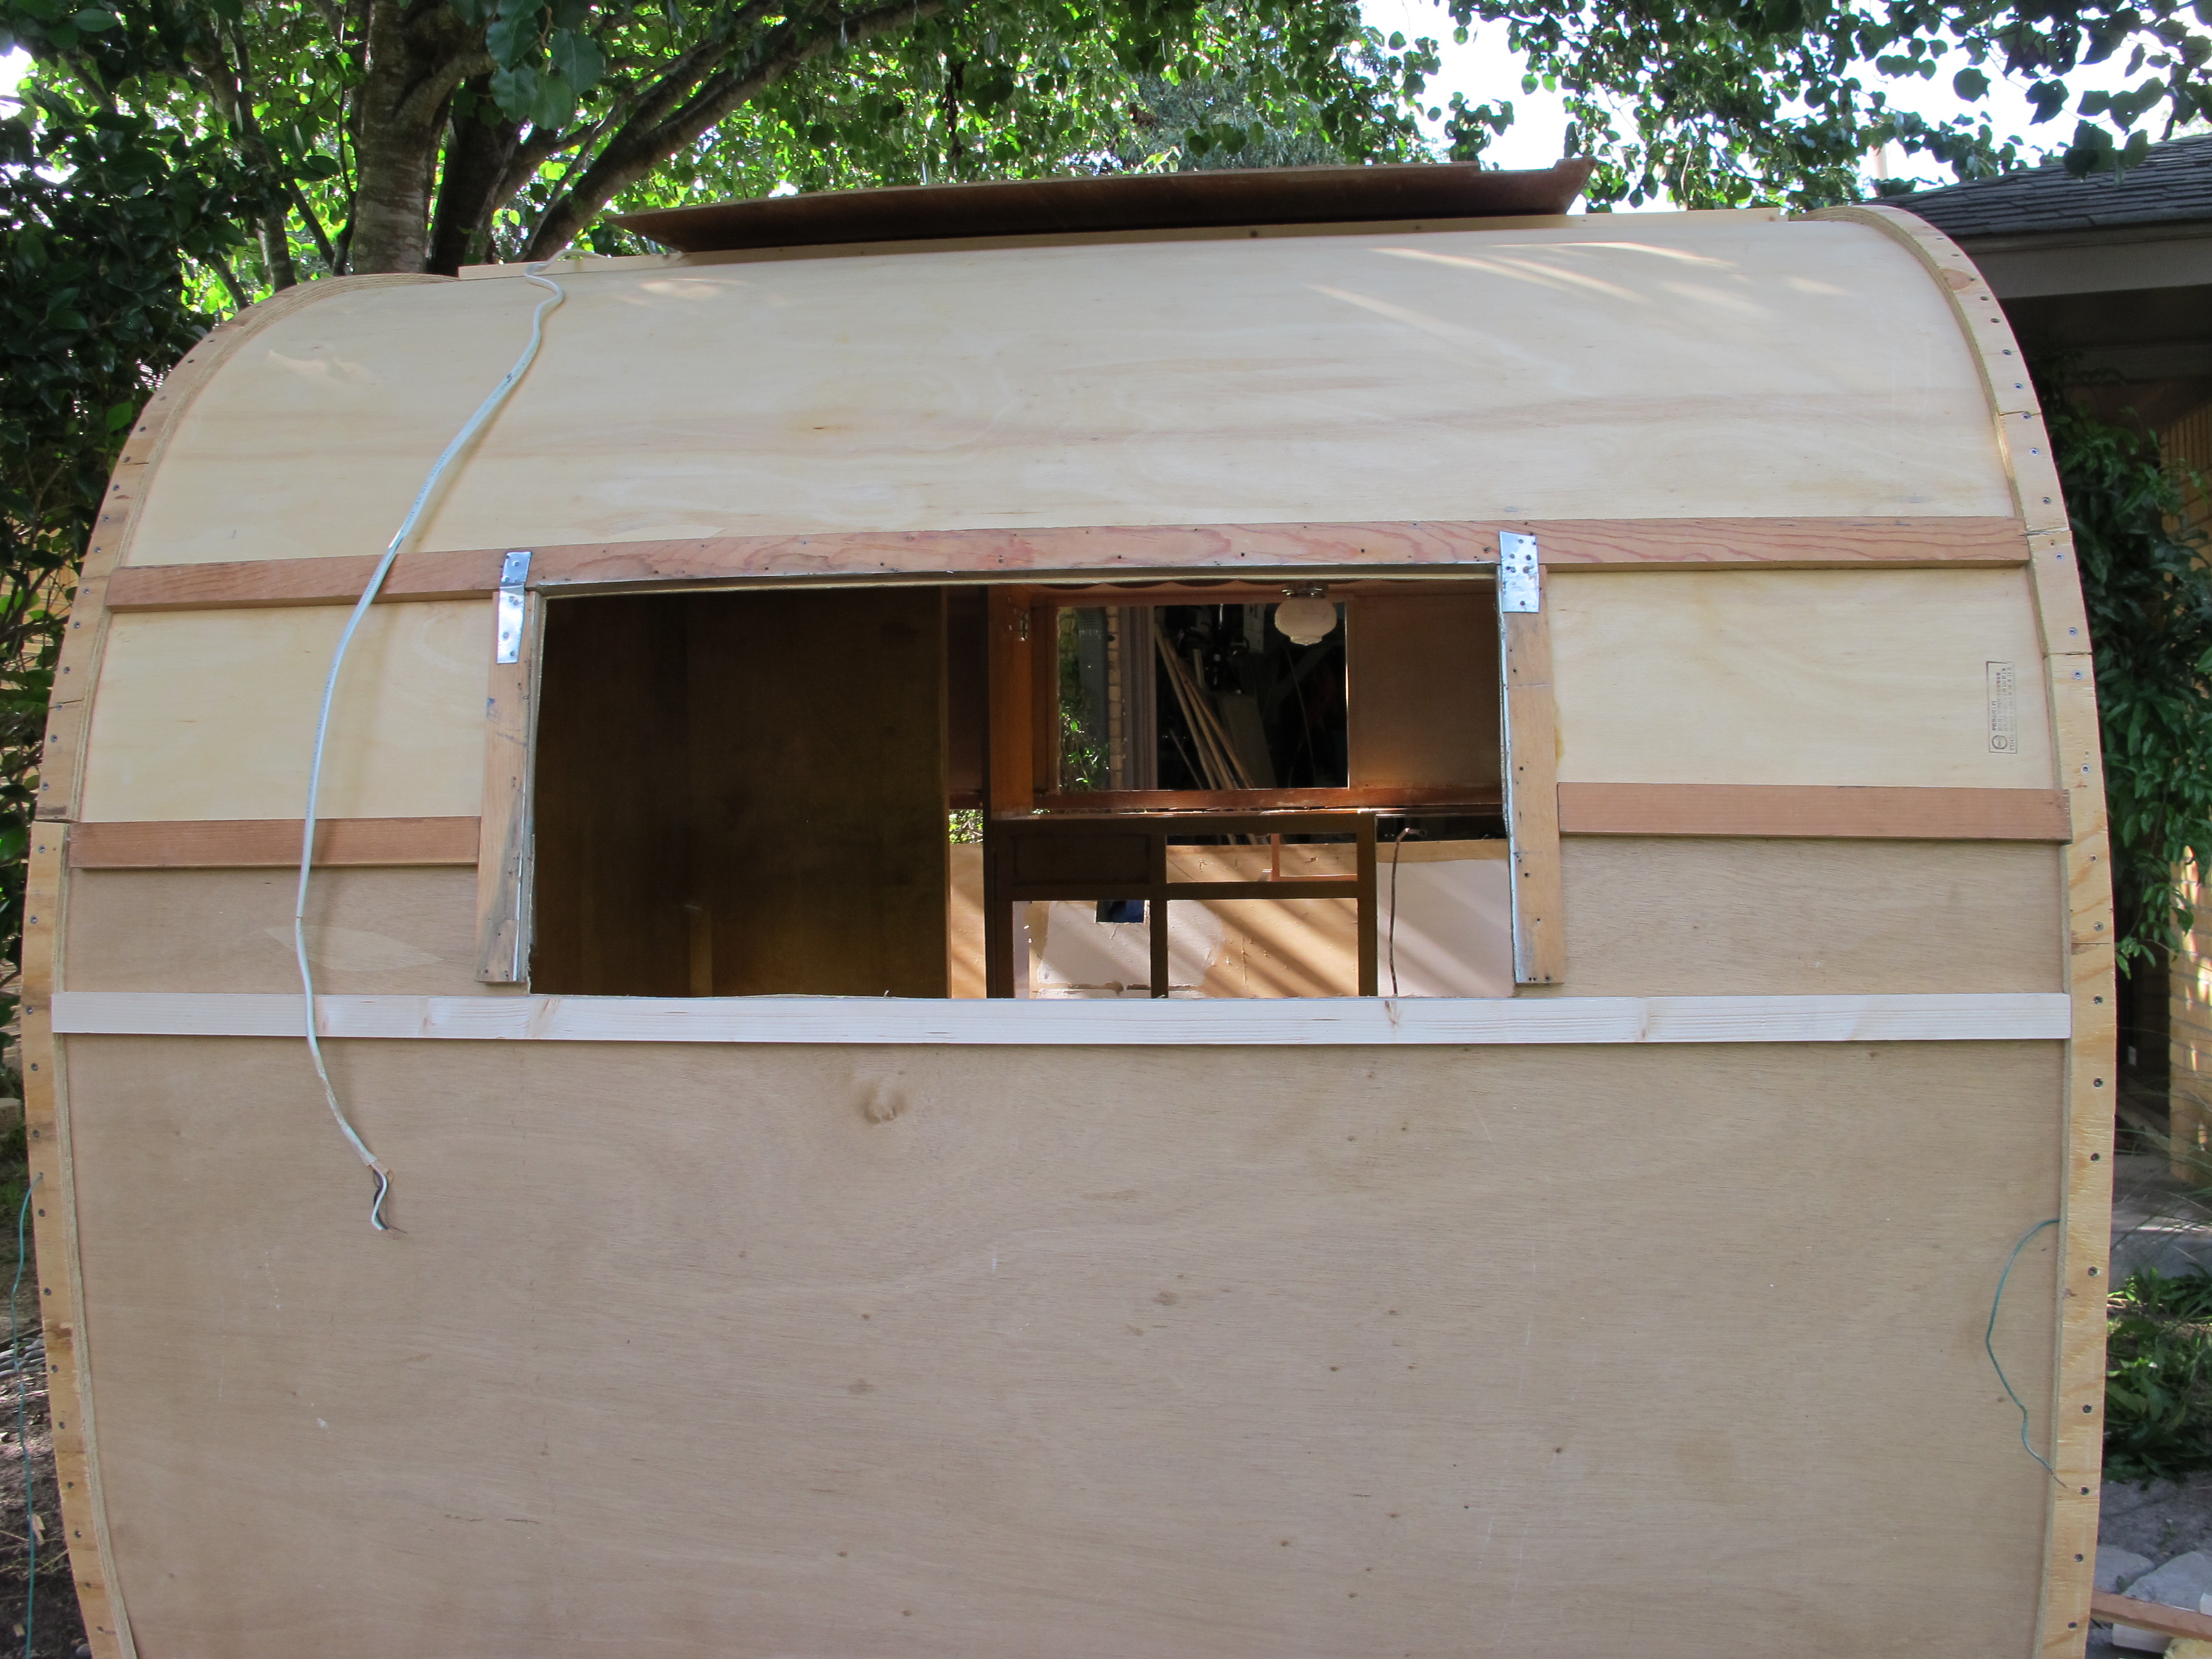
All ready for the wiring, insulation, skin, and then the window! I will probably add at least one more piece of wood across for extra support.
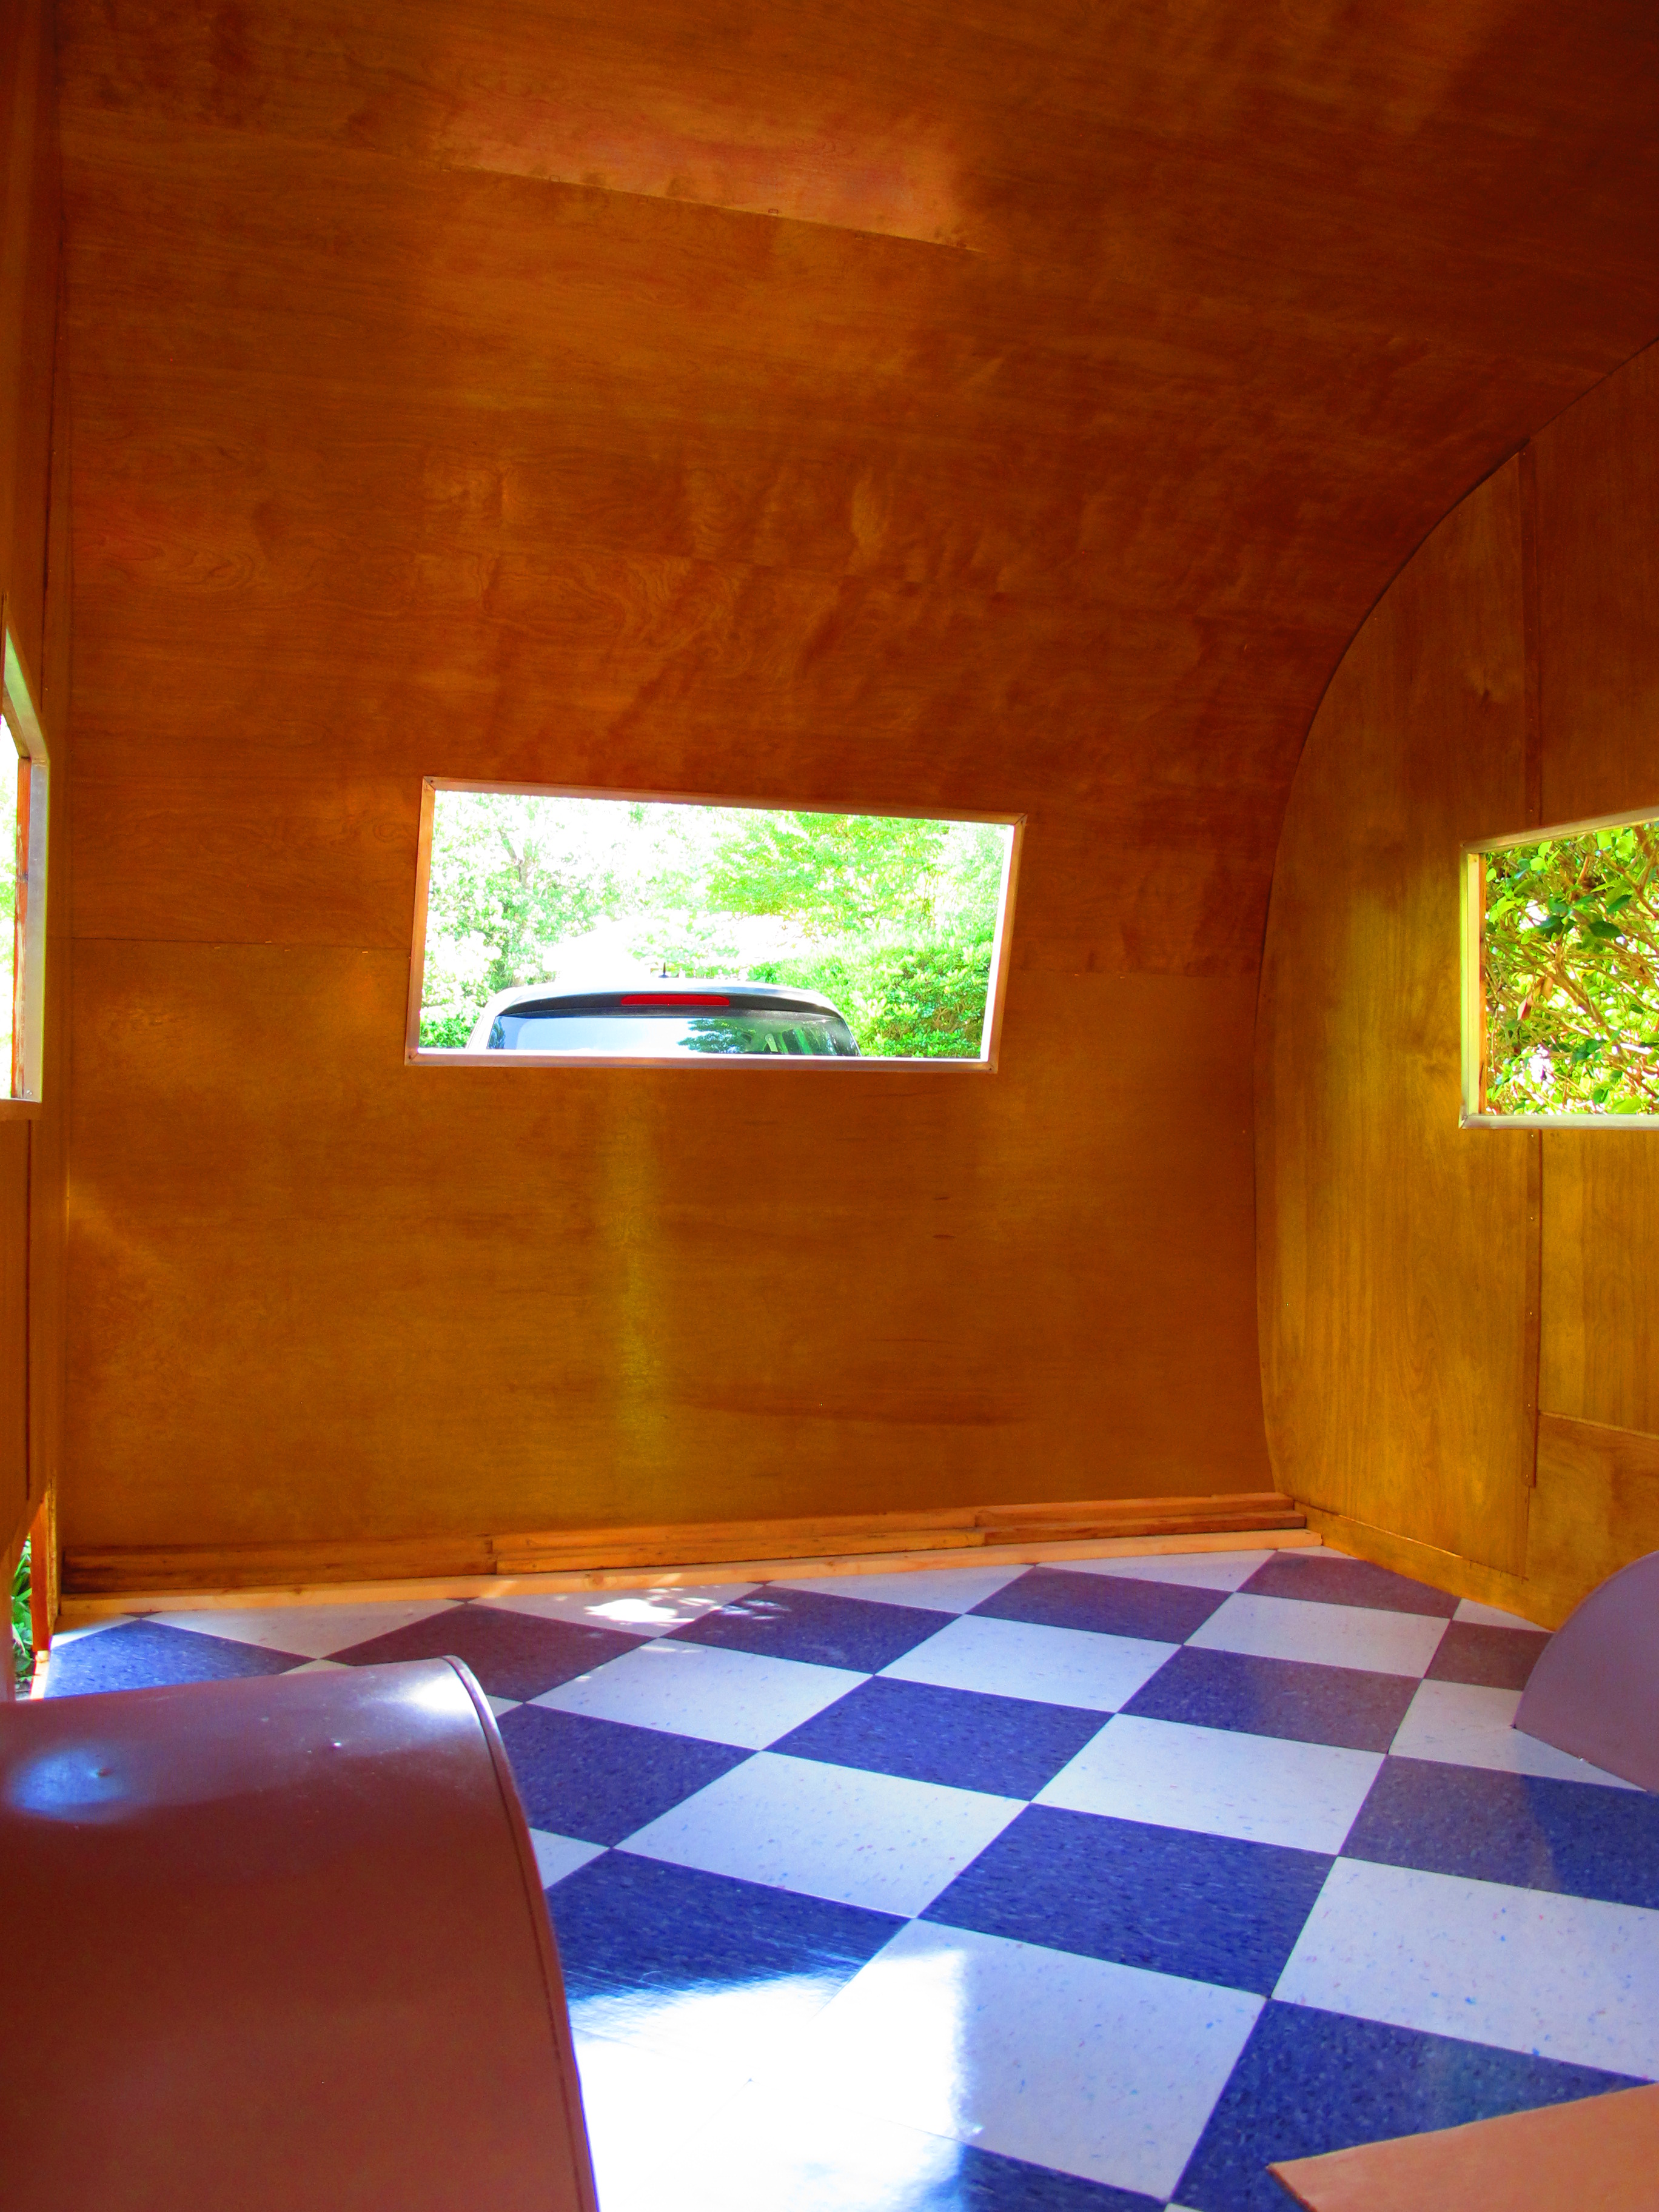
Interior pic. Now you can see how shiny the floors are after sealing and polishing! Almost a mirror finish!
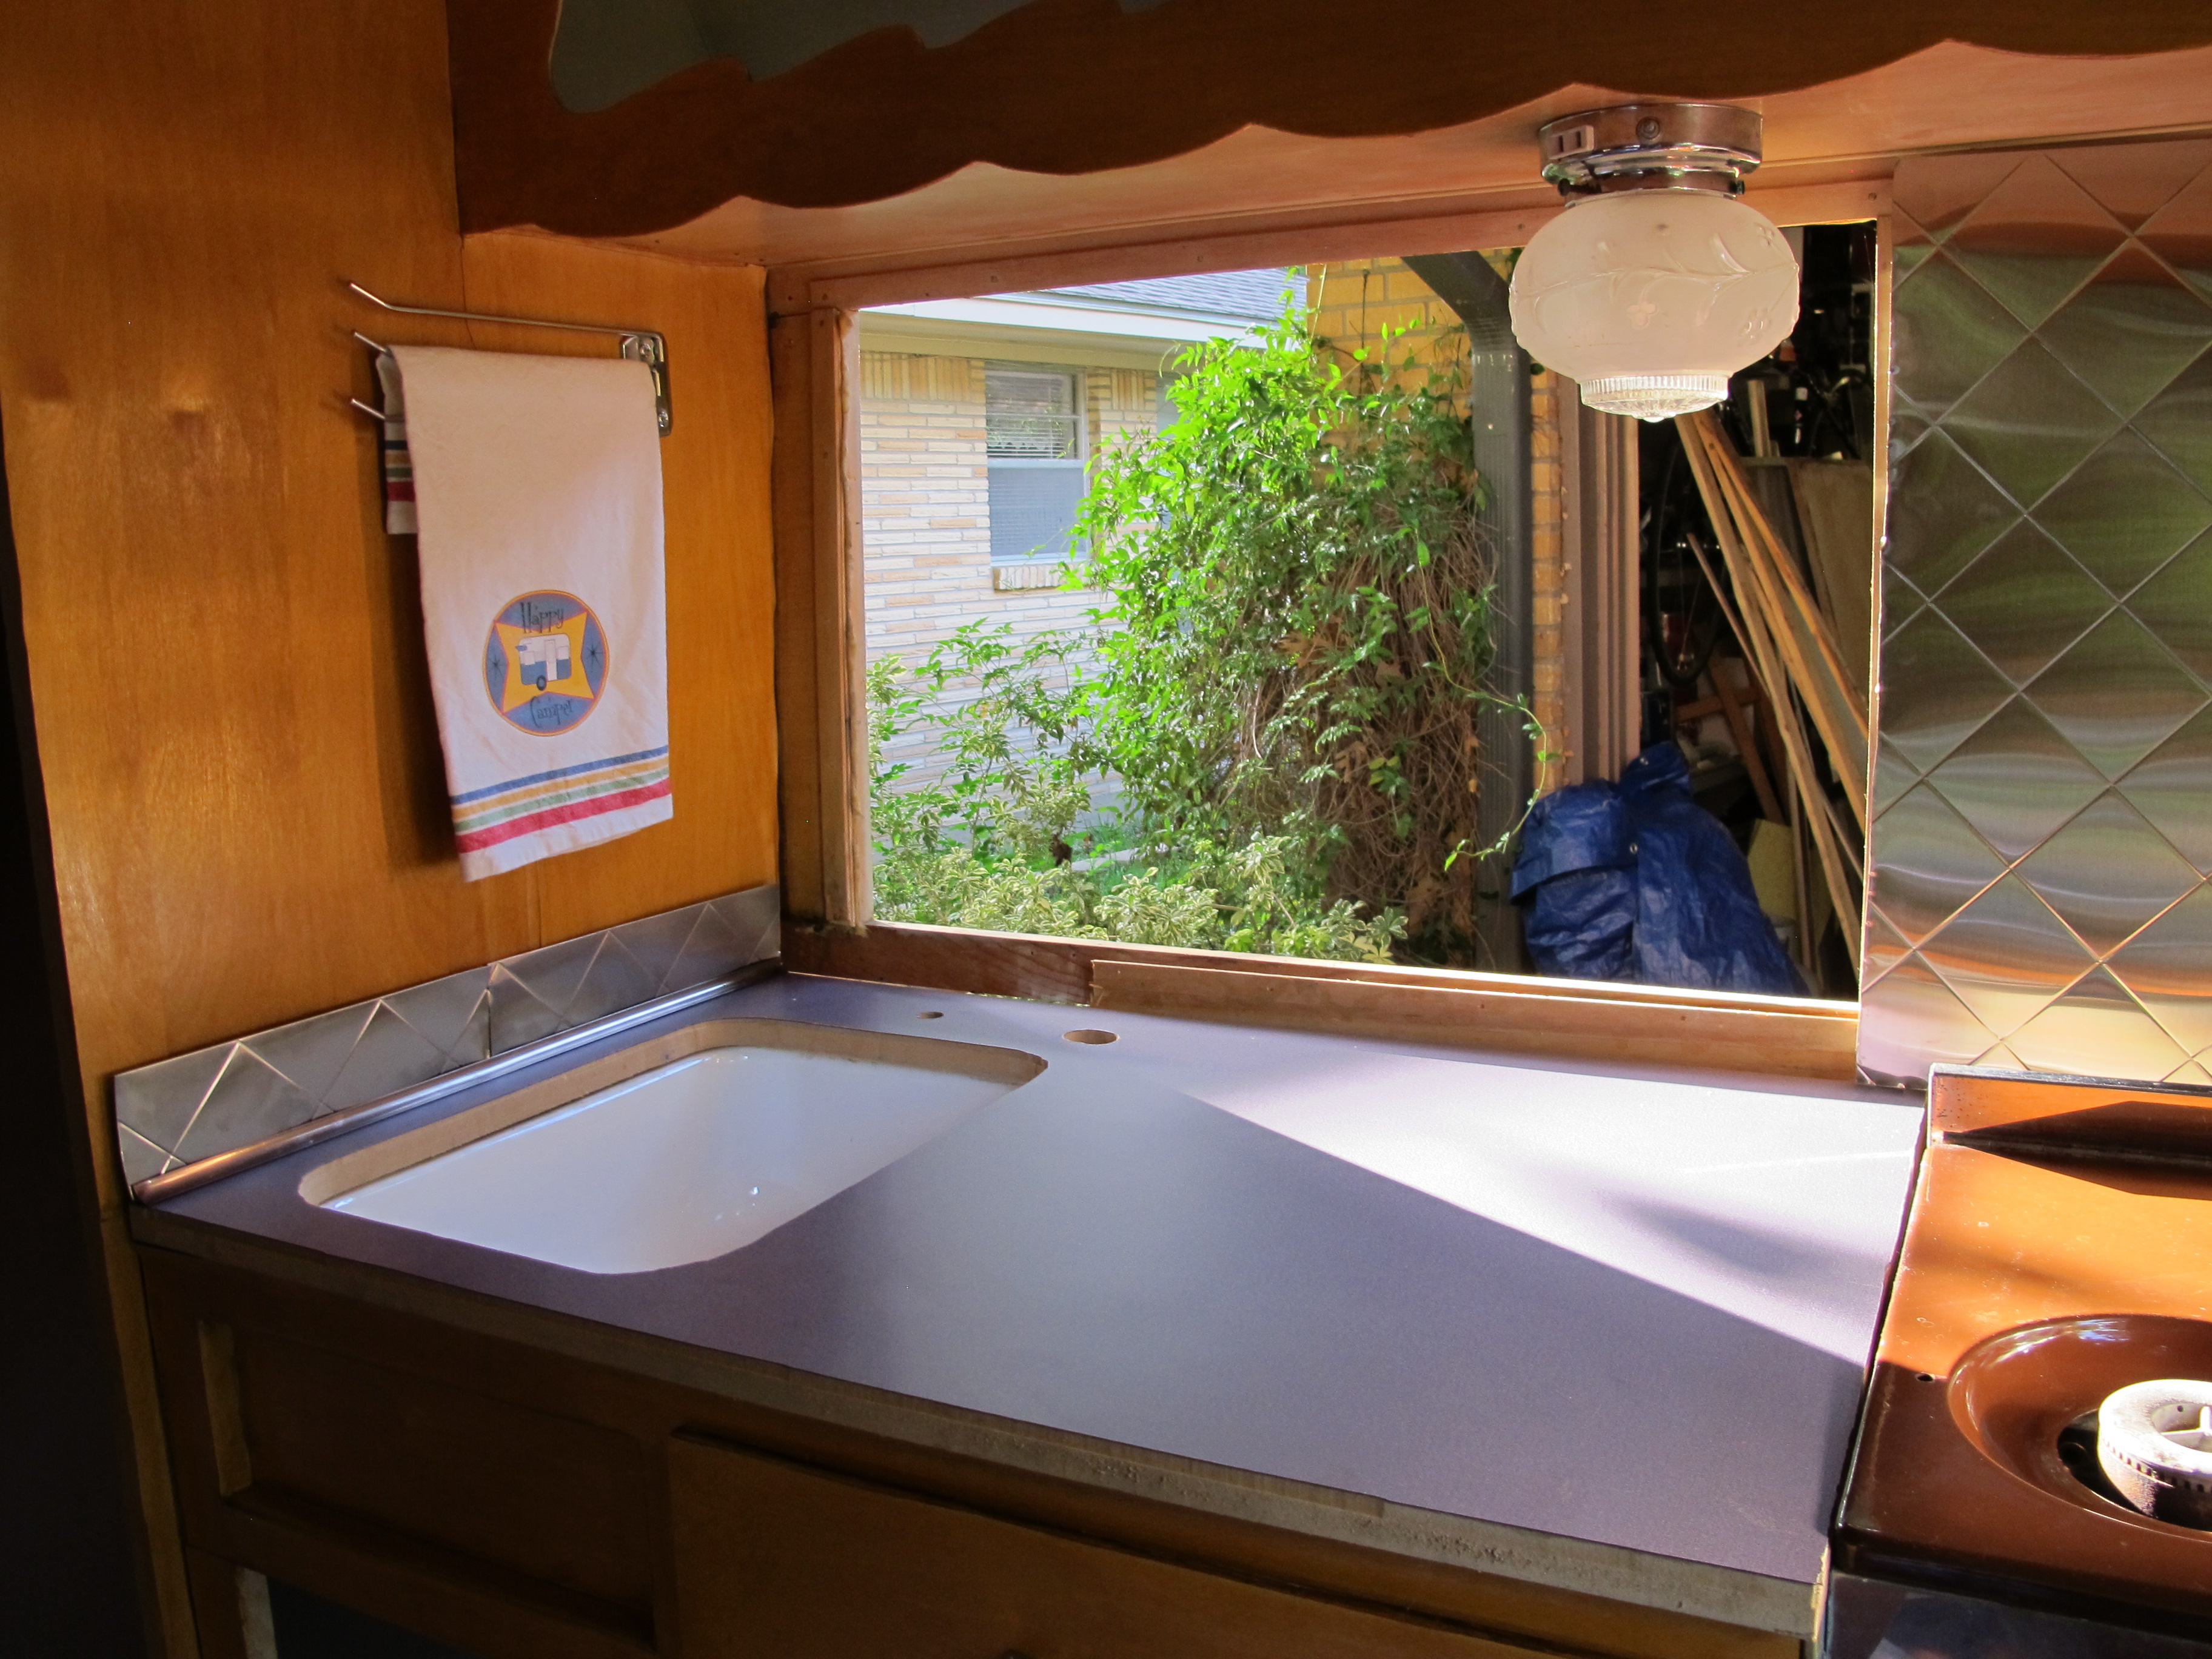
New countertop as well as towel rack. I also put some leftover stainless steel along the edge to see how it would look. I have another piece that’s one continuous piece that I think I might use. I got my trim pieces in the mail, so that will give it a more professional look once i get ready to fully install the backsplash and any other pieces.

The oven is back in! I haven’t finished with the countertop yet, it still needs to be screwed in and then trim added.
Overall, I’m pretty pleased with everything I got done this weekend. I still need to order a new router bit to cut the groove in the new countertop for the new trim. Unfortunately that’s going to cost me around $50. Too bad I didn’t already have all these tools to begin with! That’s about half the cost since I’m starting from scratch. Oh well, after this I’ll be equipped to do any kind of woodworking project! Now it’s time to relax and finish doing laundry so I’m ready for work tomorrow. See you next weekend!
