It’s that time of year again in Houston, the time when you must be crazy to work outside all day. It was ONLY 90 degrees today, and by Houston standards that’s not too bad, however I was sweating bullets most of the day and my neighbor stopped by to inquire how in the world I could stand to be outside. What can I say, I’m not going to let a little heat get in the way of my camper obsession! I even had a random guy stop by today to ask what I was doing. The first thing he says is, “What is that, an Airstream?” Why is it that the only vintage camper most people can think of is an Airstream?? I love Airstreams, don’t get me wrong, but I am getting rather tired of people asking me if Junebug is an Airstream. She looks nothing like an Airstream. Geez. I know I’m being unreasonable, I guess one of my vices is that I get annoyed too easily. I’m now on a mission to educate the world of people who don’t know about vintage campers one person at a time. haha
I thought it was going to rain today, but I lucked out and it was nice and sunny all day. I was able to lay the tile today as well as continue repairing some of the exterior framing. I also had fun painting the wheel wells and part of the closet purple, my favorite color! I think I’m going to use the same shade for the lower half of the exterior of Junebug later down the road.
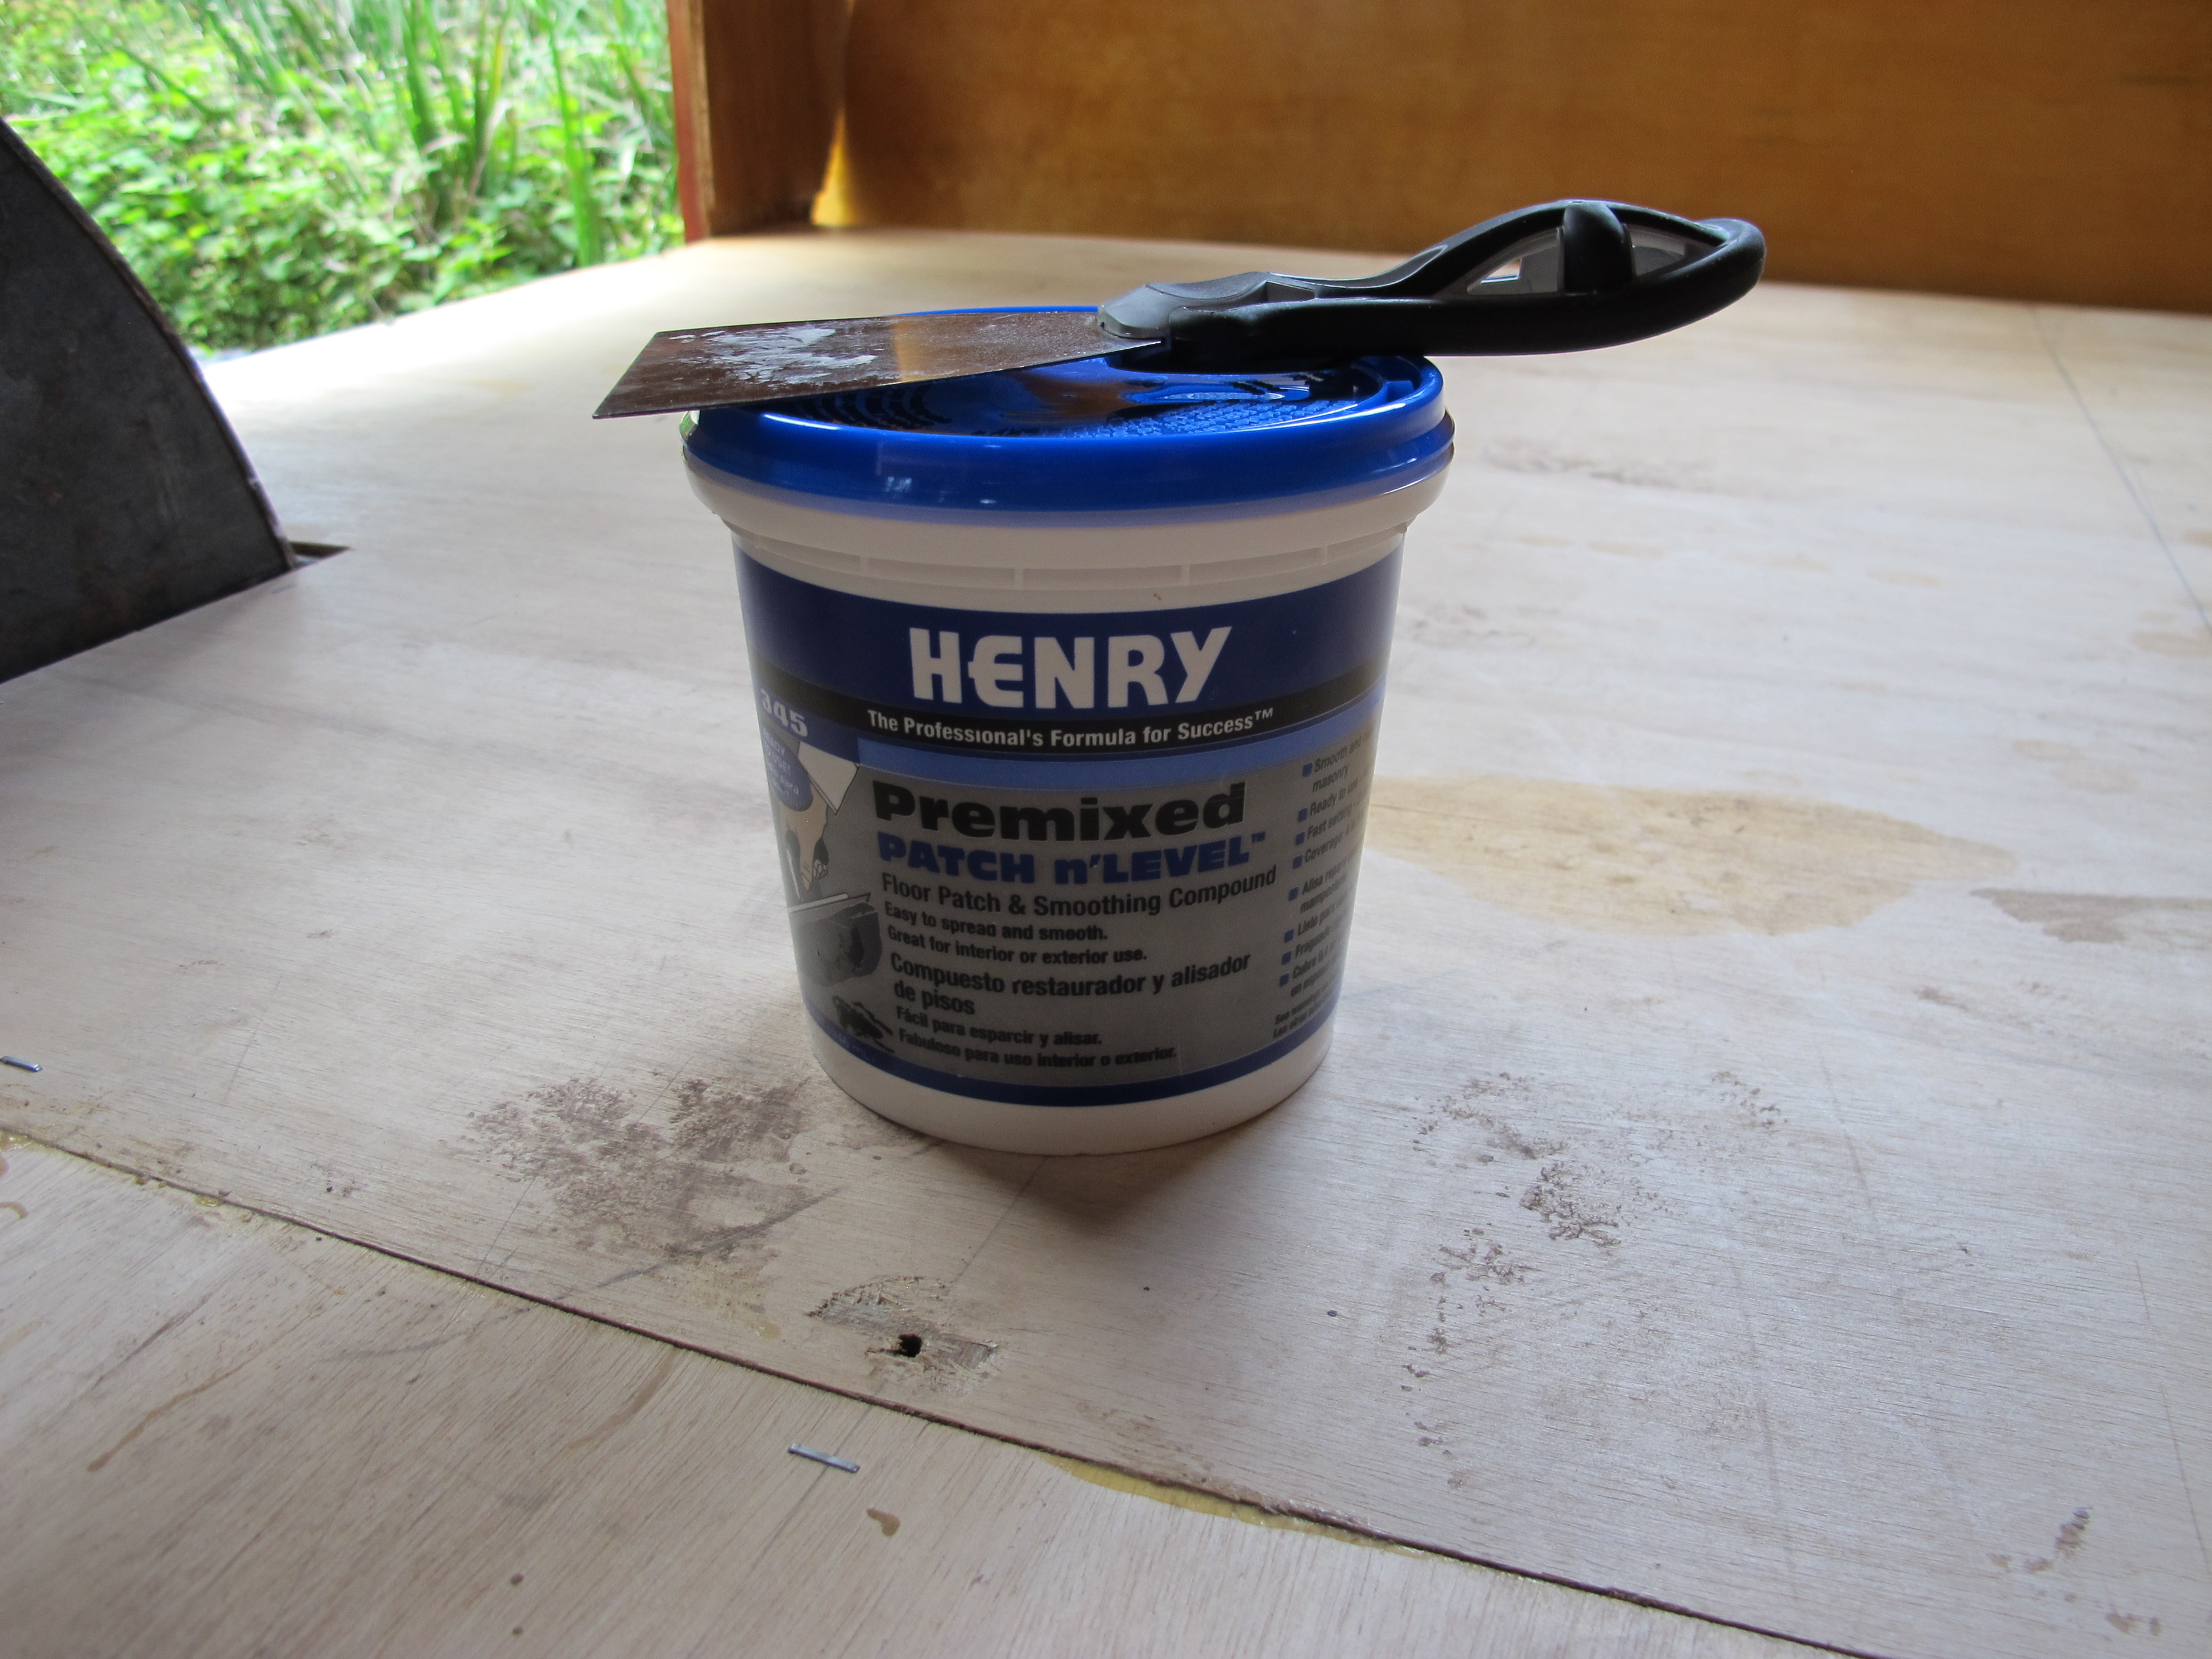
Before putting down the tile adhesive, I had to fill in a few cracks around the edges with this sealant.

After filling in the cracks, I painted the wheel wells purple. They look so much prettier now! It doesn’t matter that no one will see them. haha
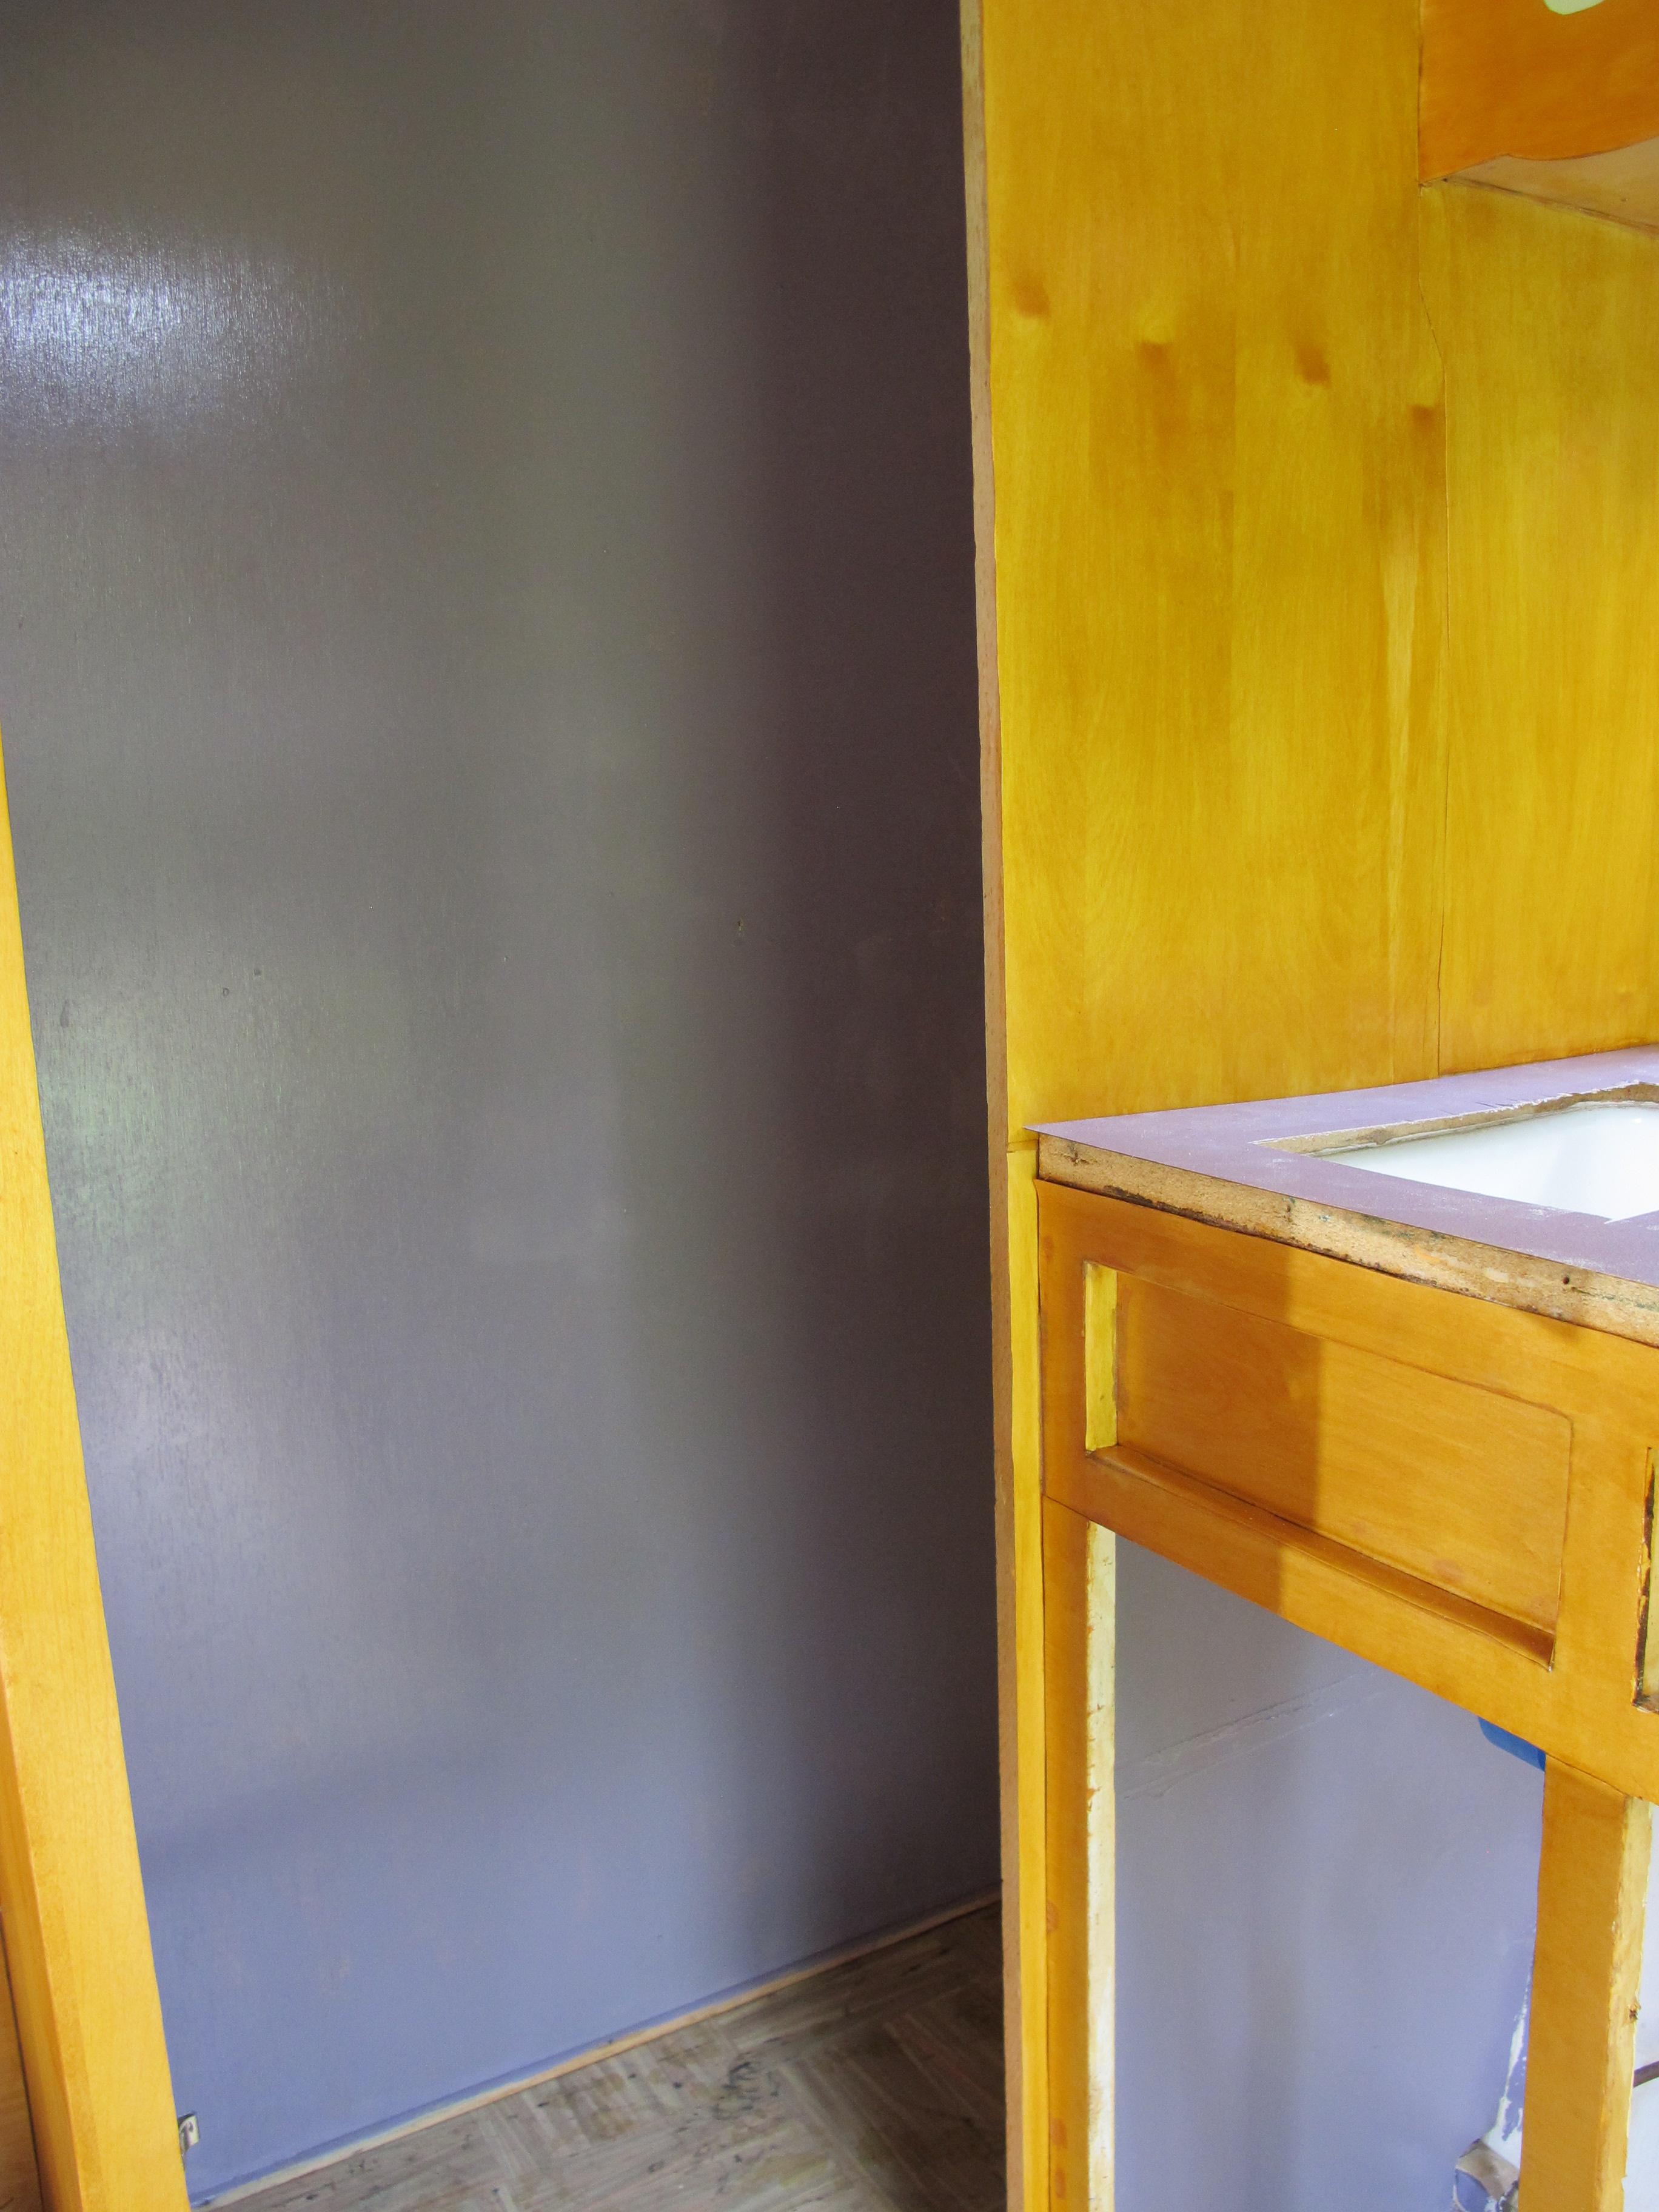
I had some paint leftover in my little pan so I started painting the closet (bathroom) as well. Eventually I will paint all of it and then add some silver starburst accents. 🙂
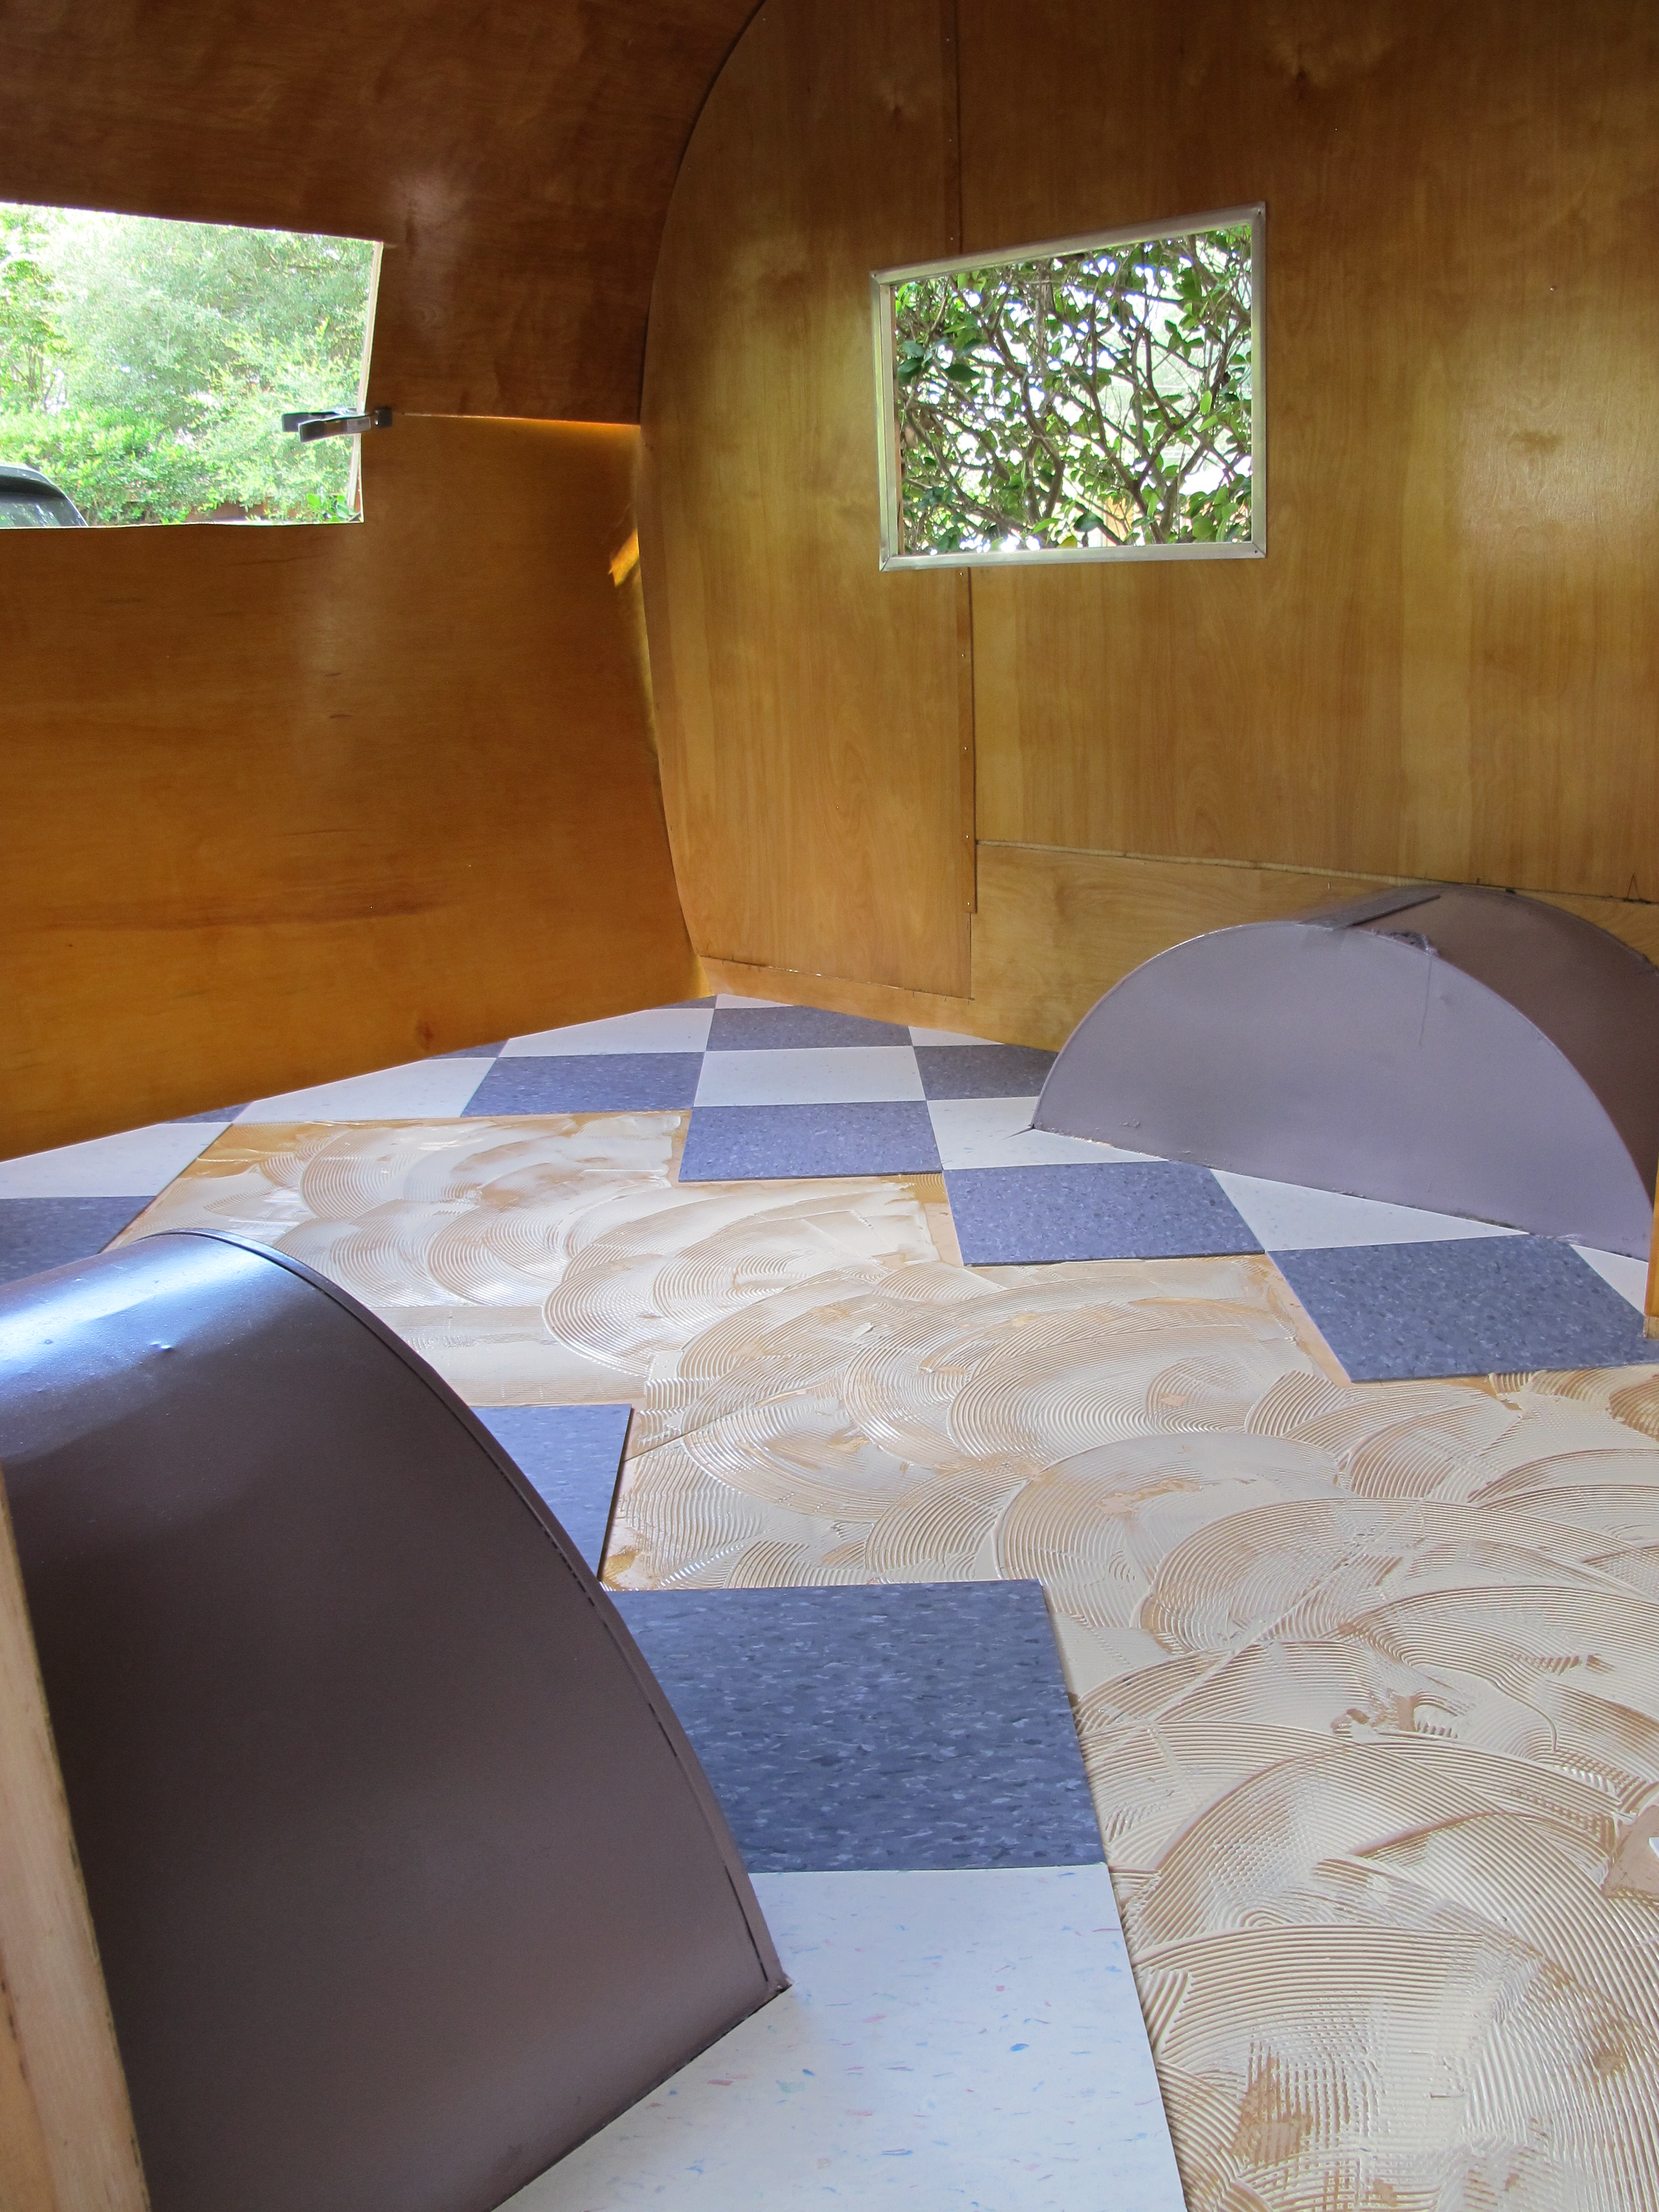
Tiling in progress. I had already cut the edges to size, so I layed those down first. It took me a minute to remember the order I had gone in, and I was a little worried at first that I would mess it up!
I got some adhesive on my fingers and shoes during this process and then I was sticking to everything! I finally got the adhesive off using some denatured alcohol and then washing my hands with soap.
In the end, I had to trim the last tile because it was slightly too large due to a slight misalignment. I don’t think anyone will notice though. They turned out quite nice!
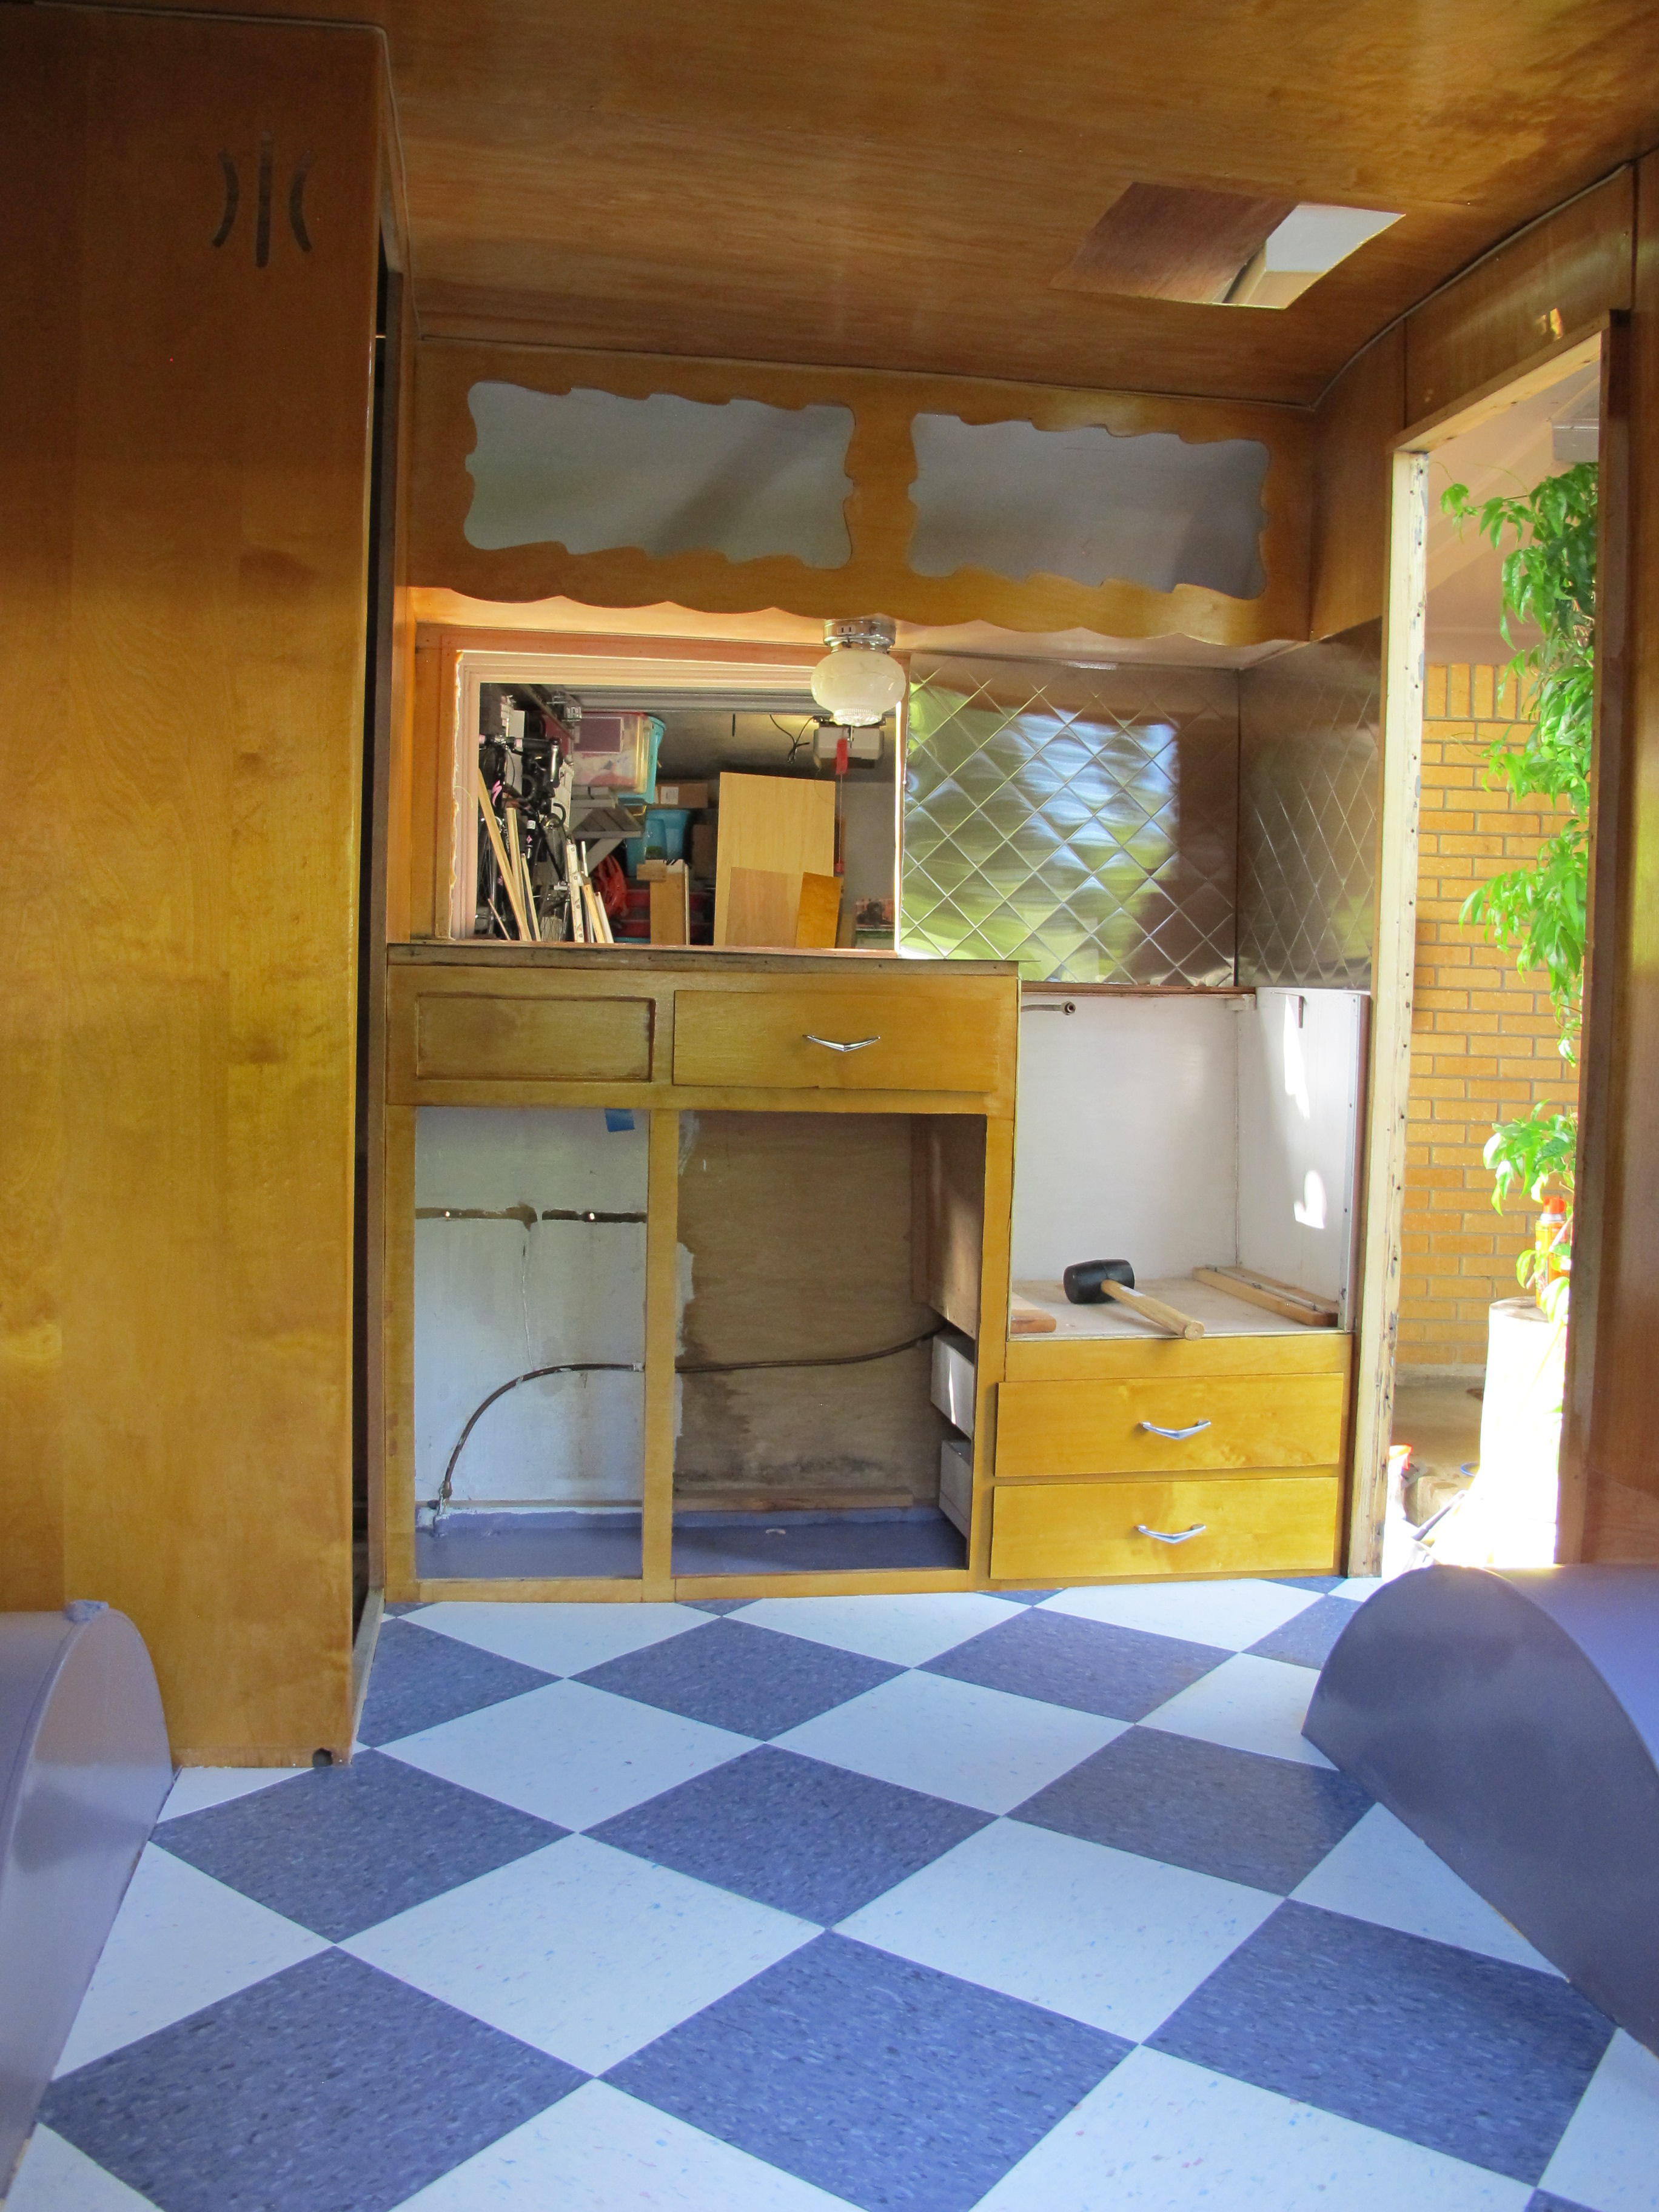
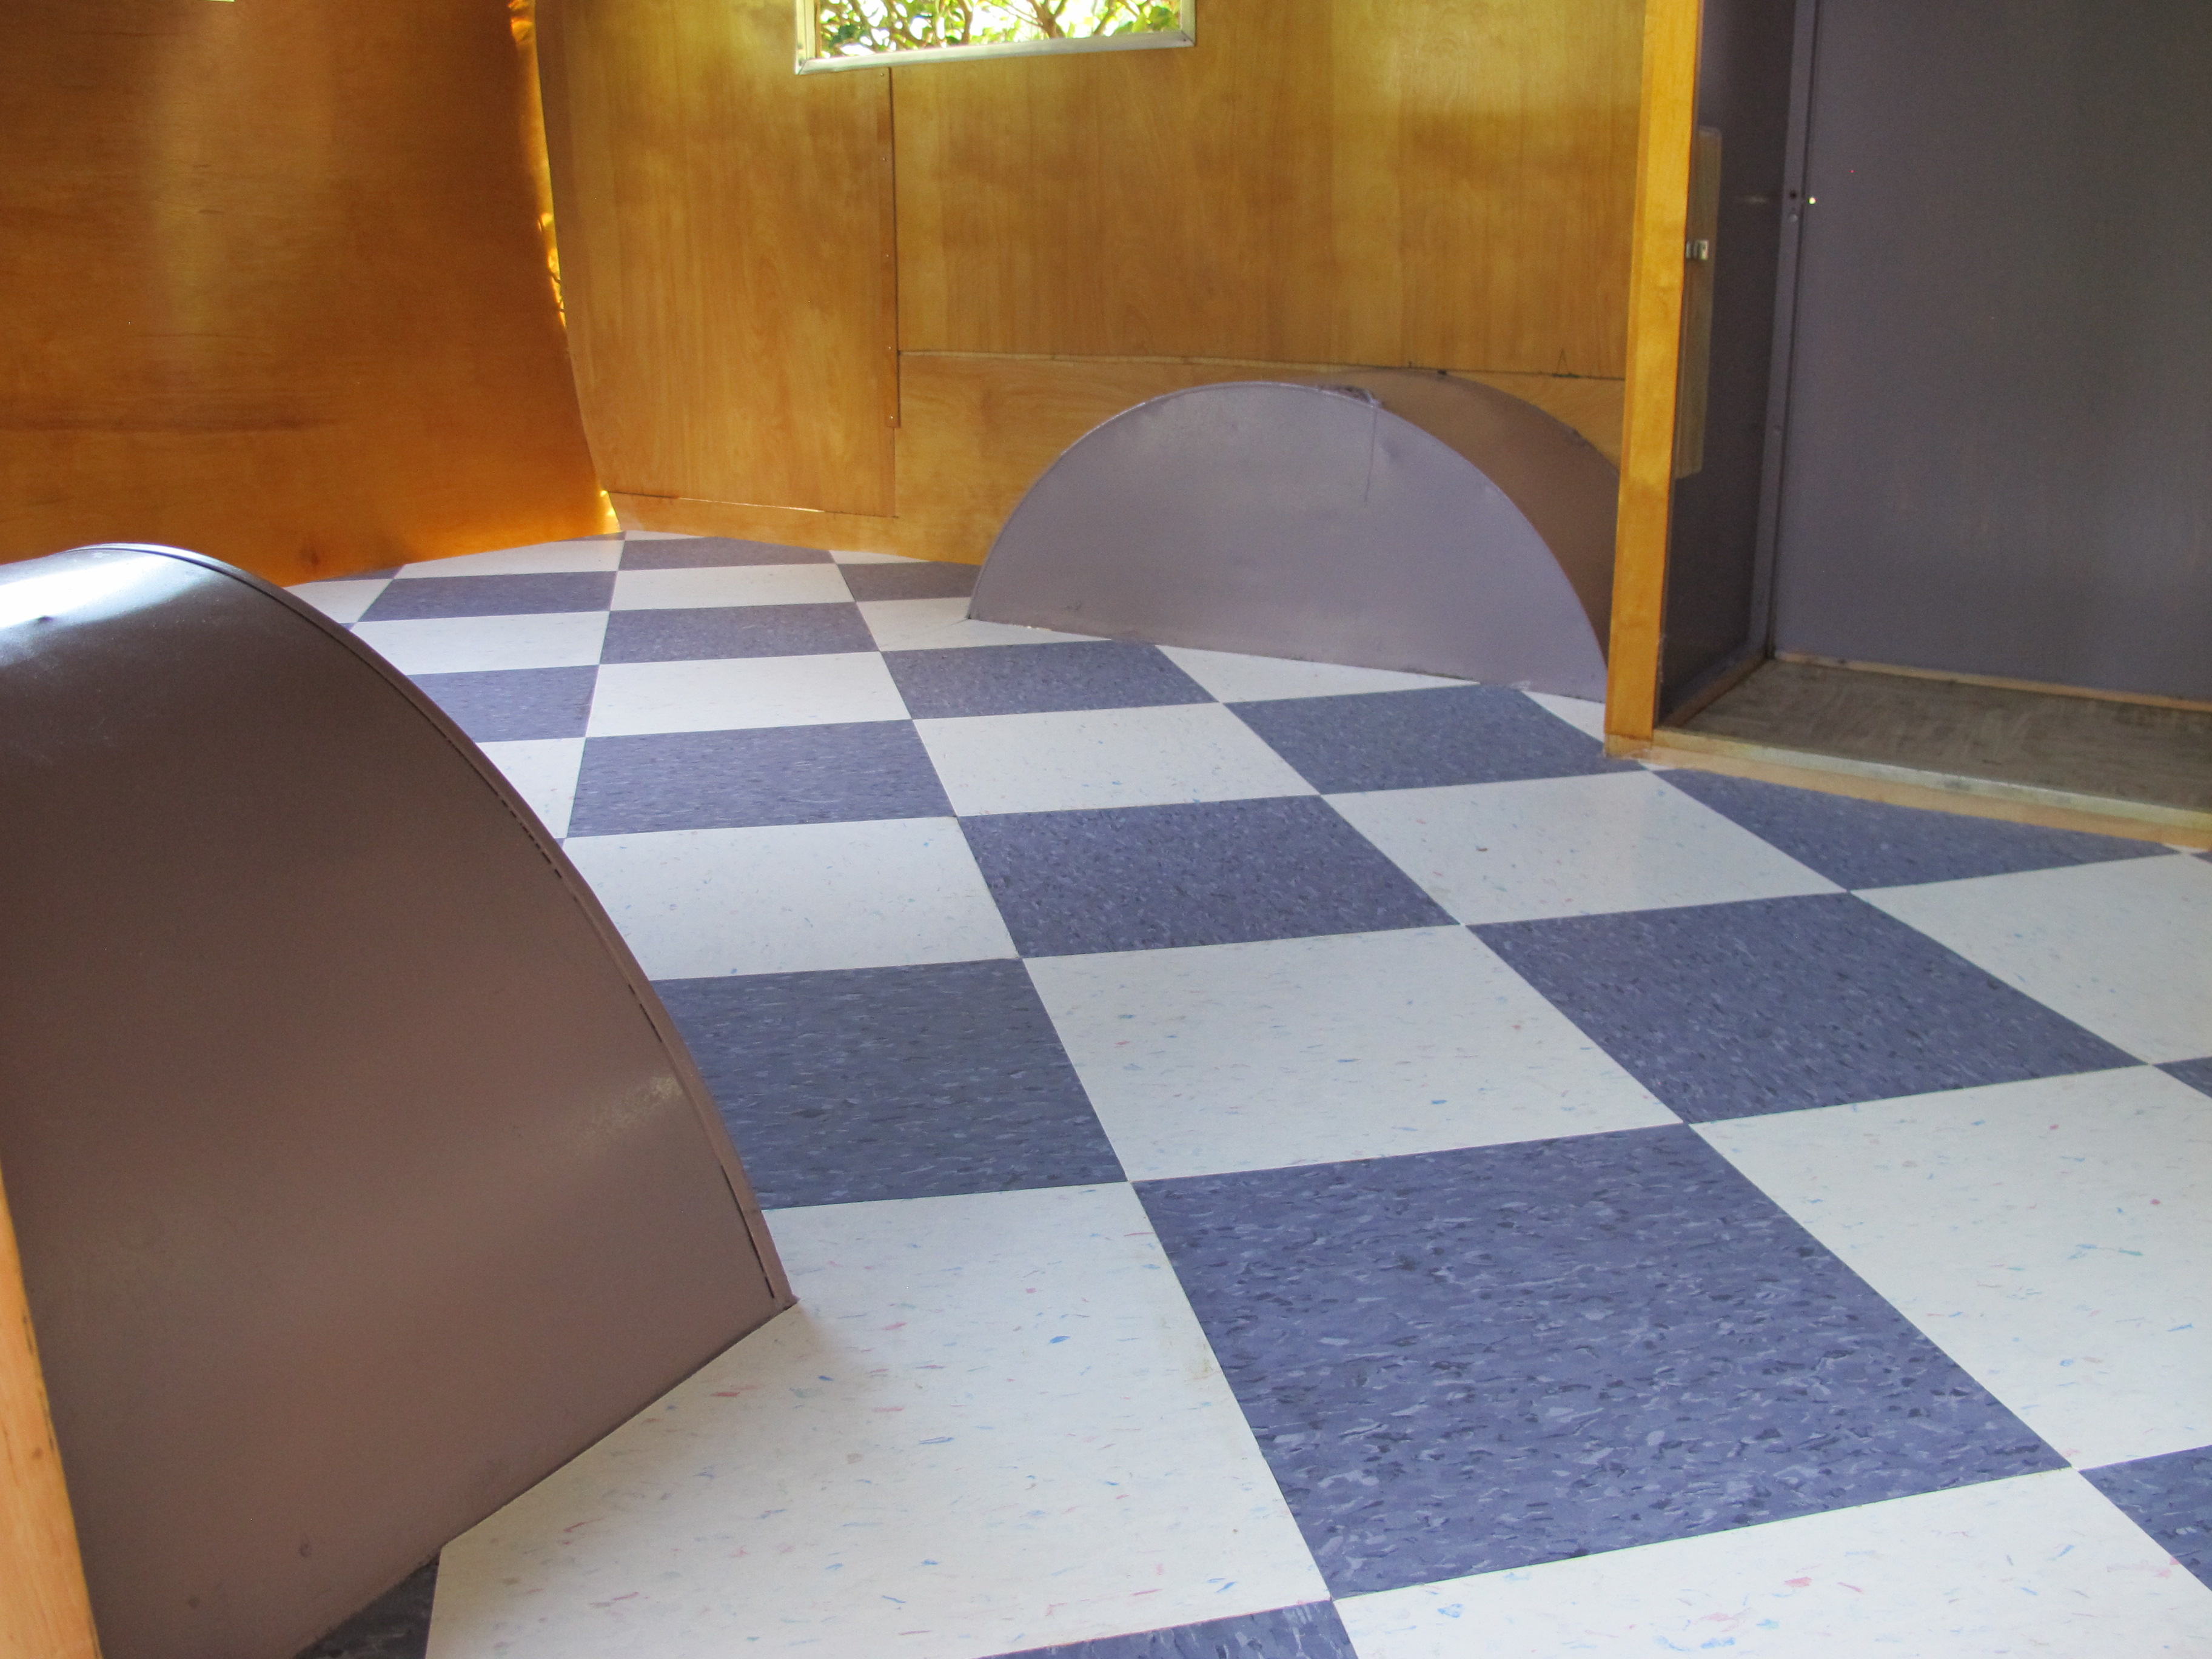
Another view. Next step will be to secure the rear wall panel now that the tile is in place.
After laying the tiles, I decided to spray some primer on the frame. I will later paint it silver, but I didn’t get to that part today.
Before
After primer
Next, I got out my trim router that I bought for only $30 at Harbor Freight. I didn’t want to get a more expensive one because I wasn’t sure if I would ever use it again after this project. The drill bit I had to buy to go with it cost half of that! After at least 30 minutes of messing with it, I finally figured out how to use it. This tool is awesome! I can’t wait to see what other things I can cut with it. I didn’t get to trim the laminate today, but that’s what I’ll be using the router for when I get ready. I did manage to find one use for it today, I used it to trim the last piece of vinyl tile. I should have used it when I was cutting the tile a few weeks ago, it was so easy!
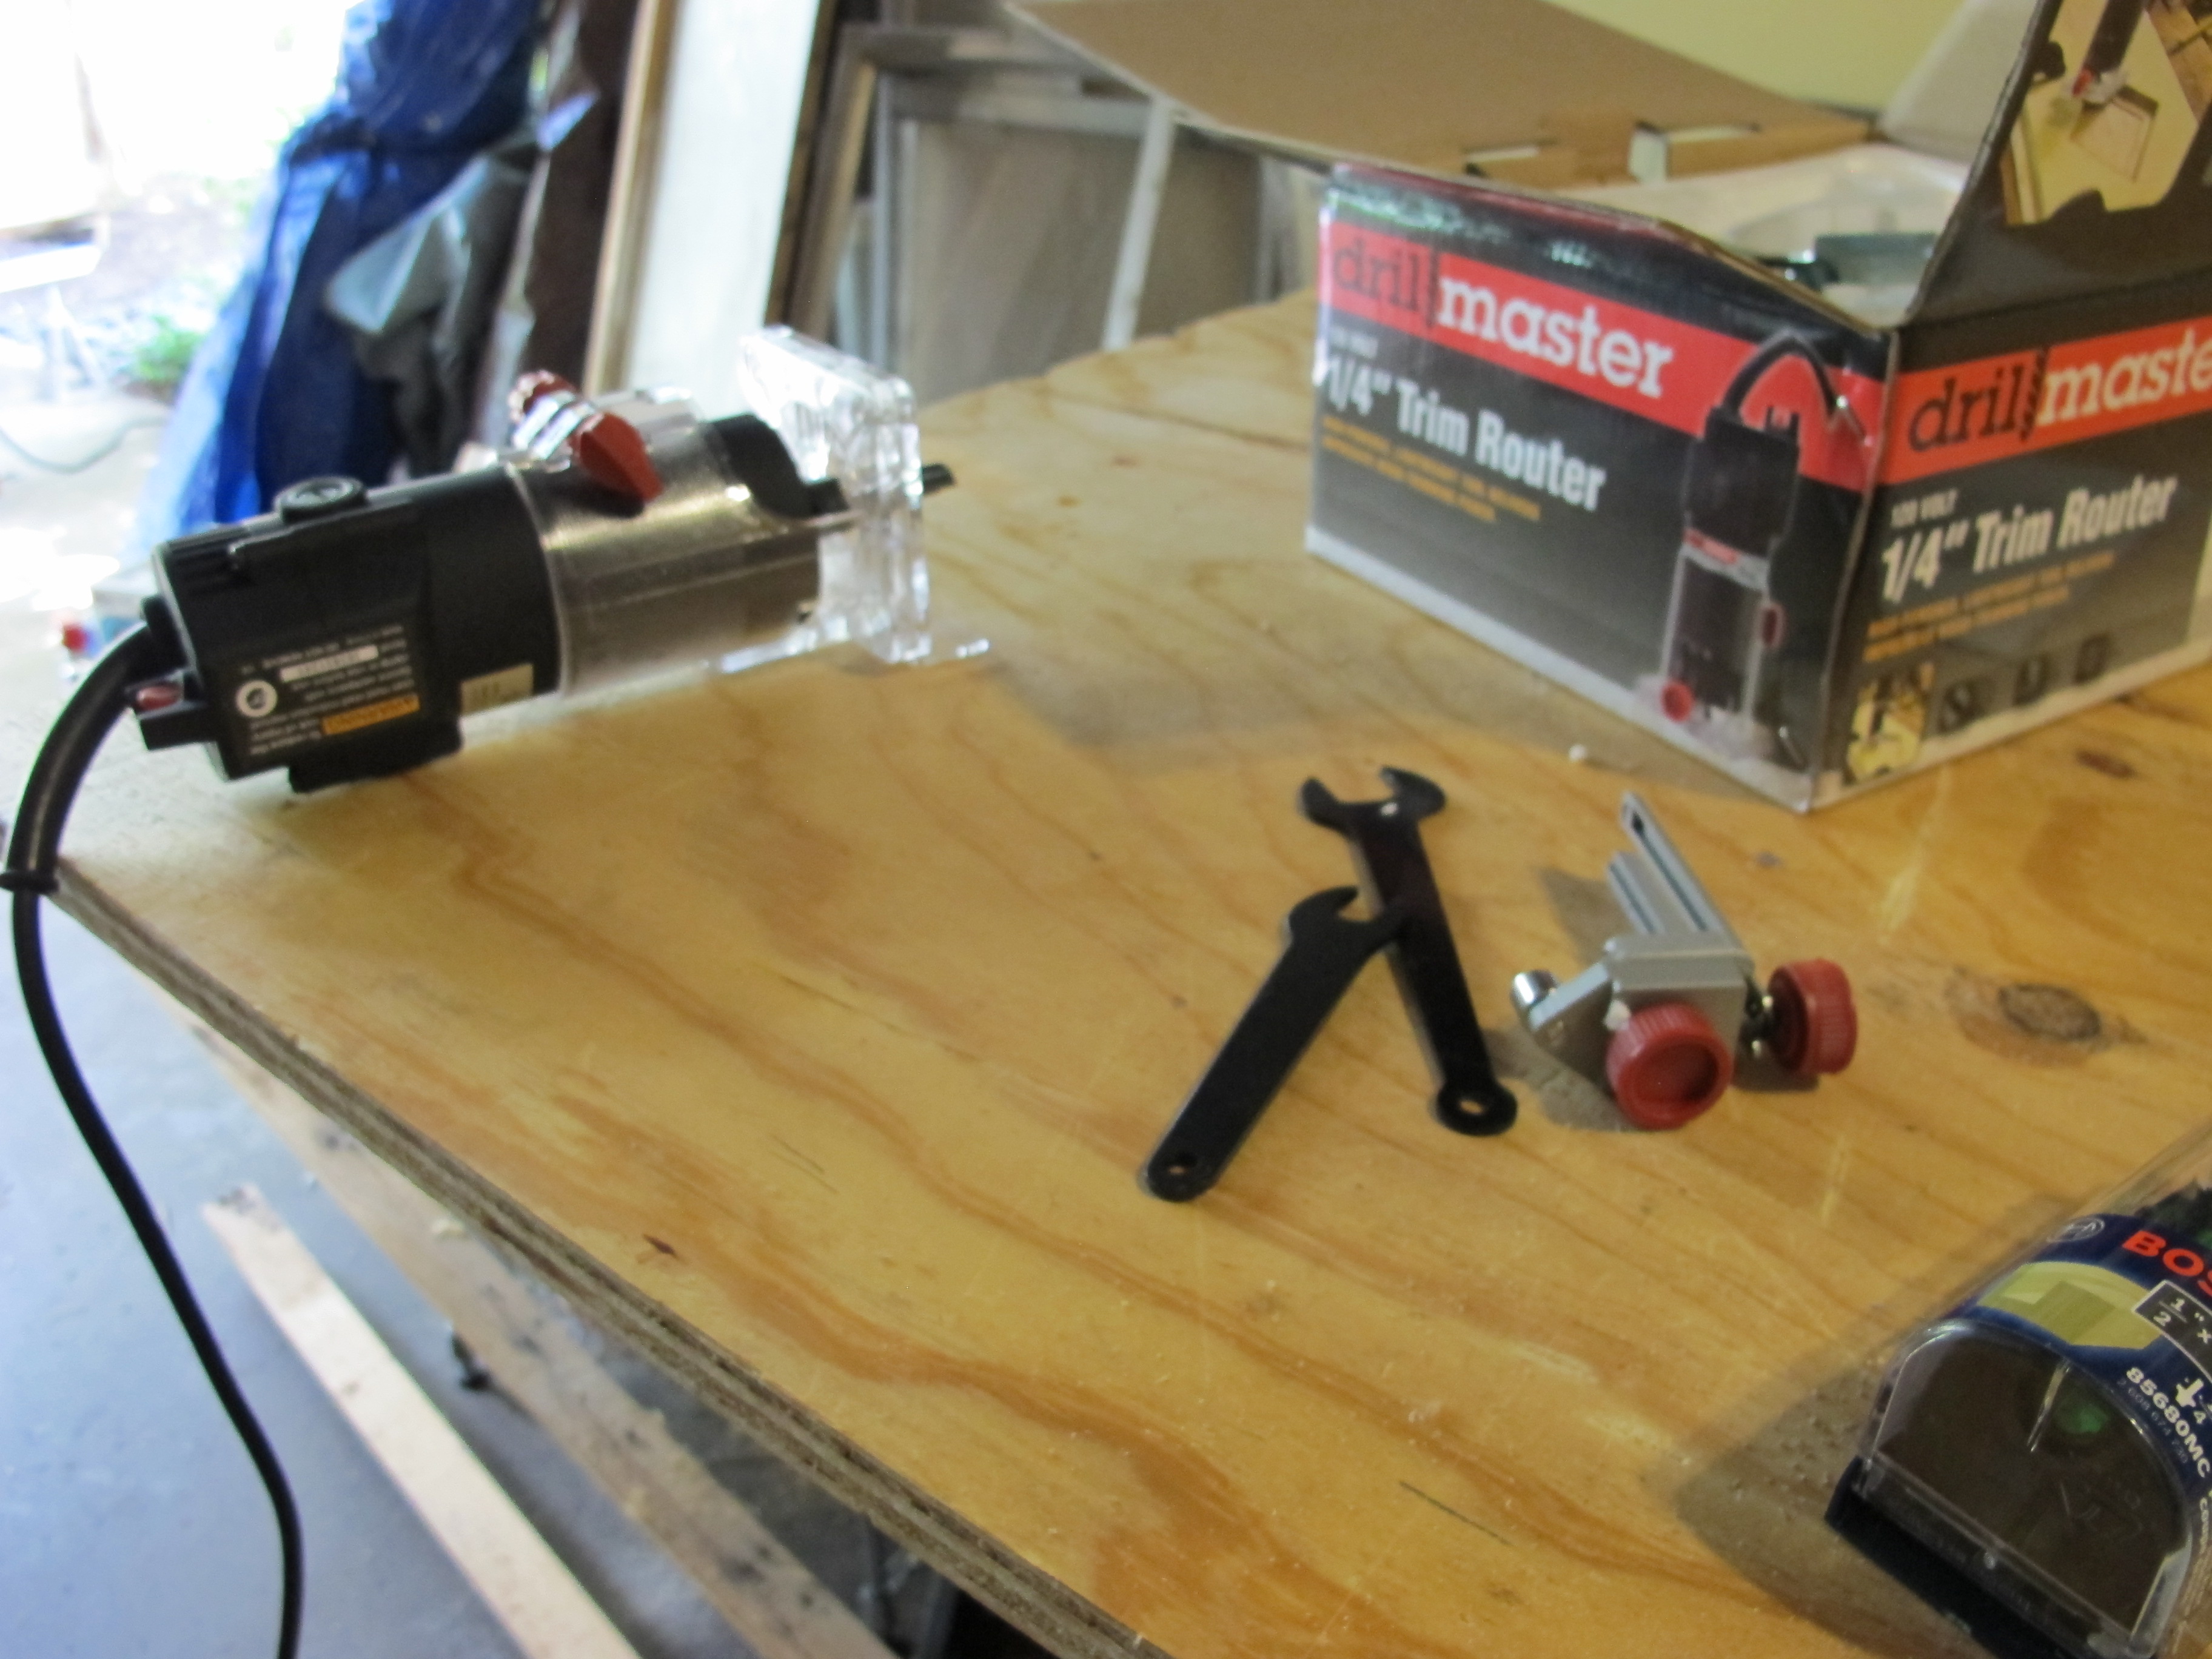
Trim Router
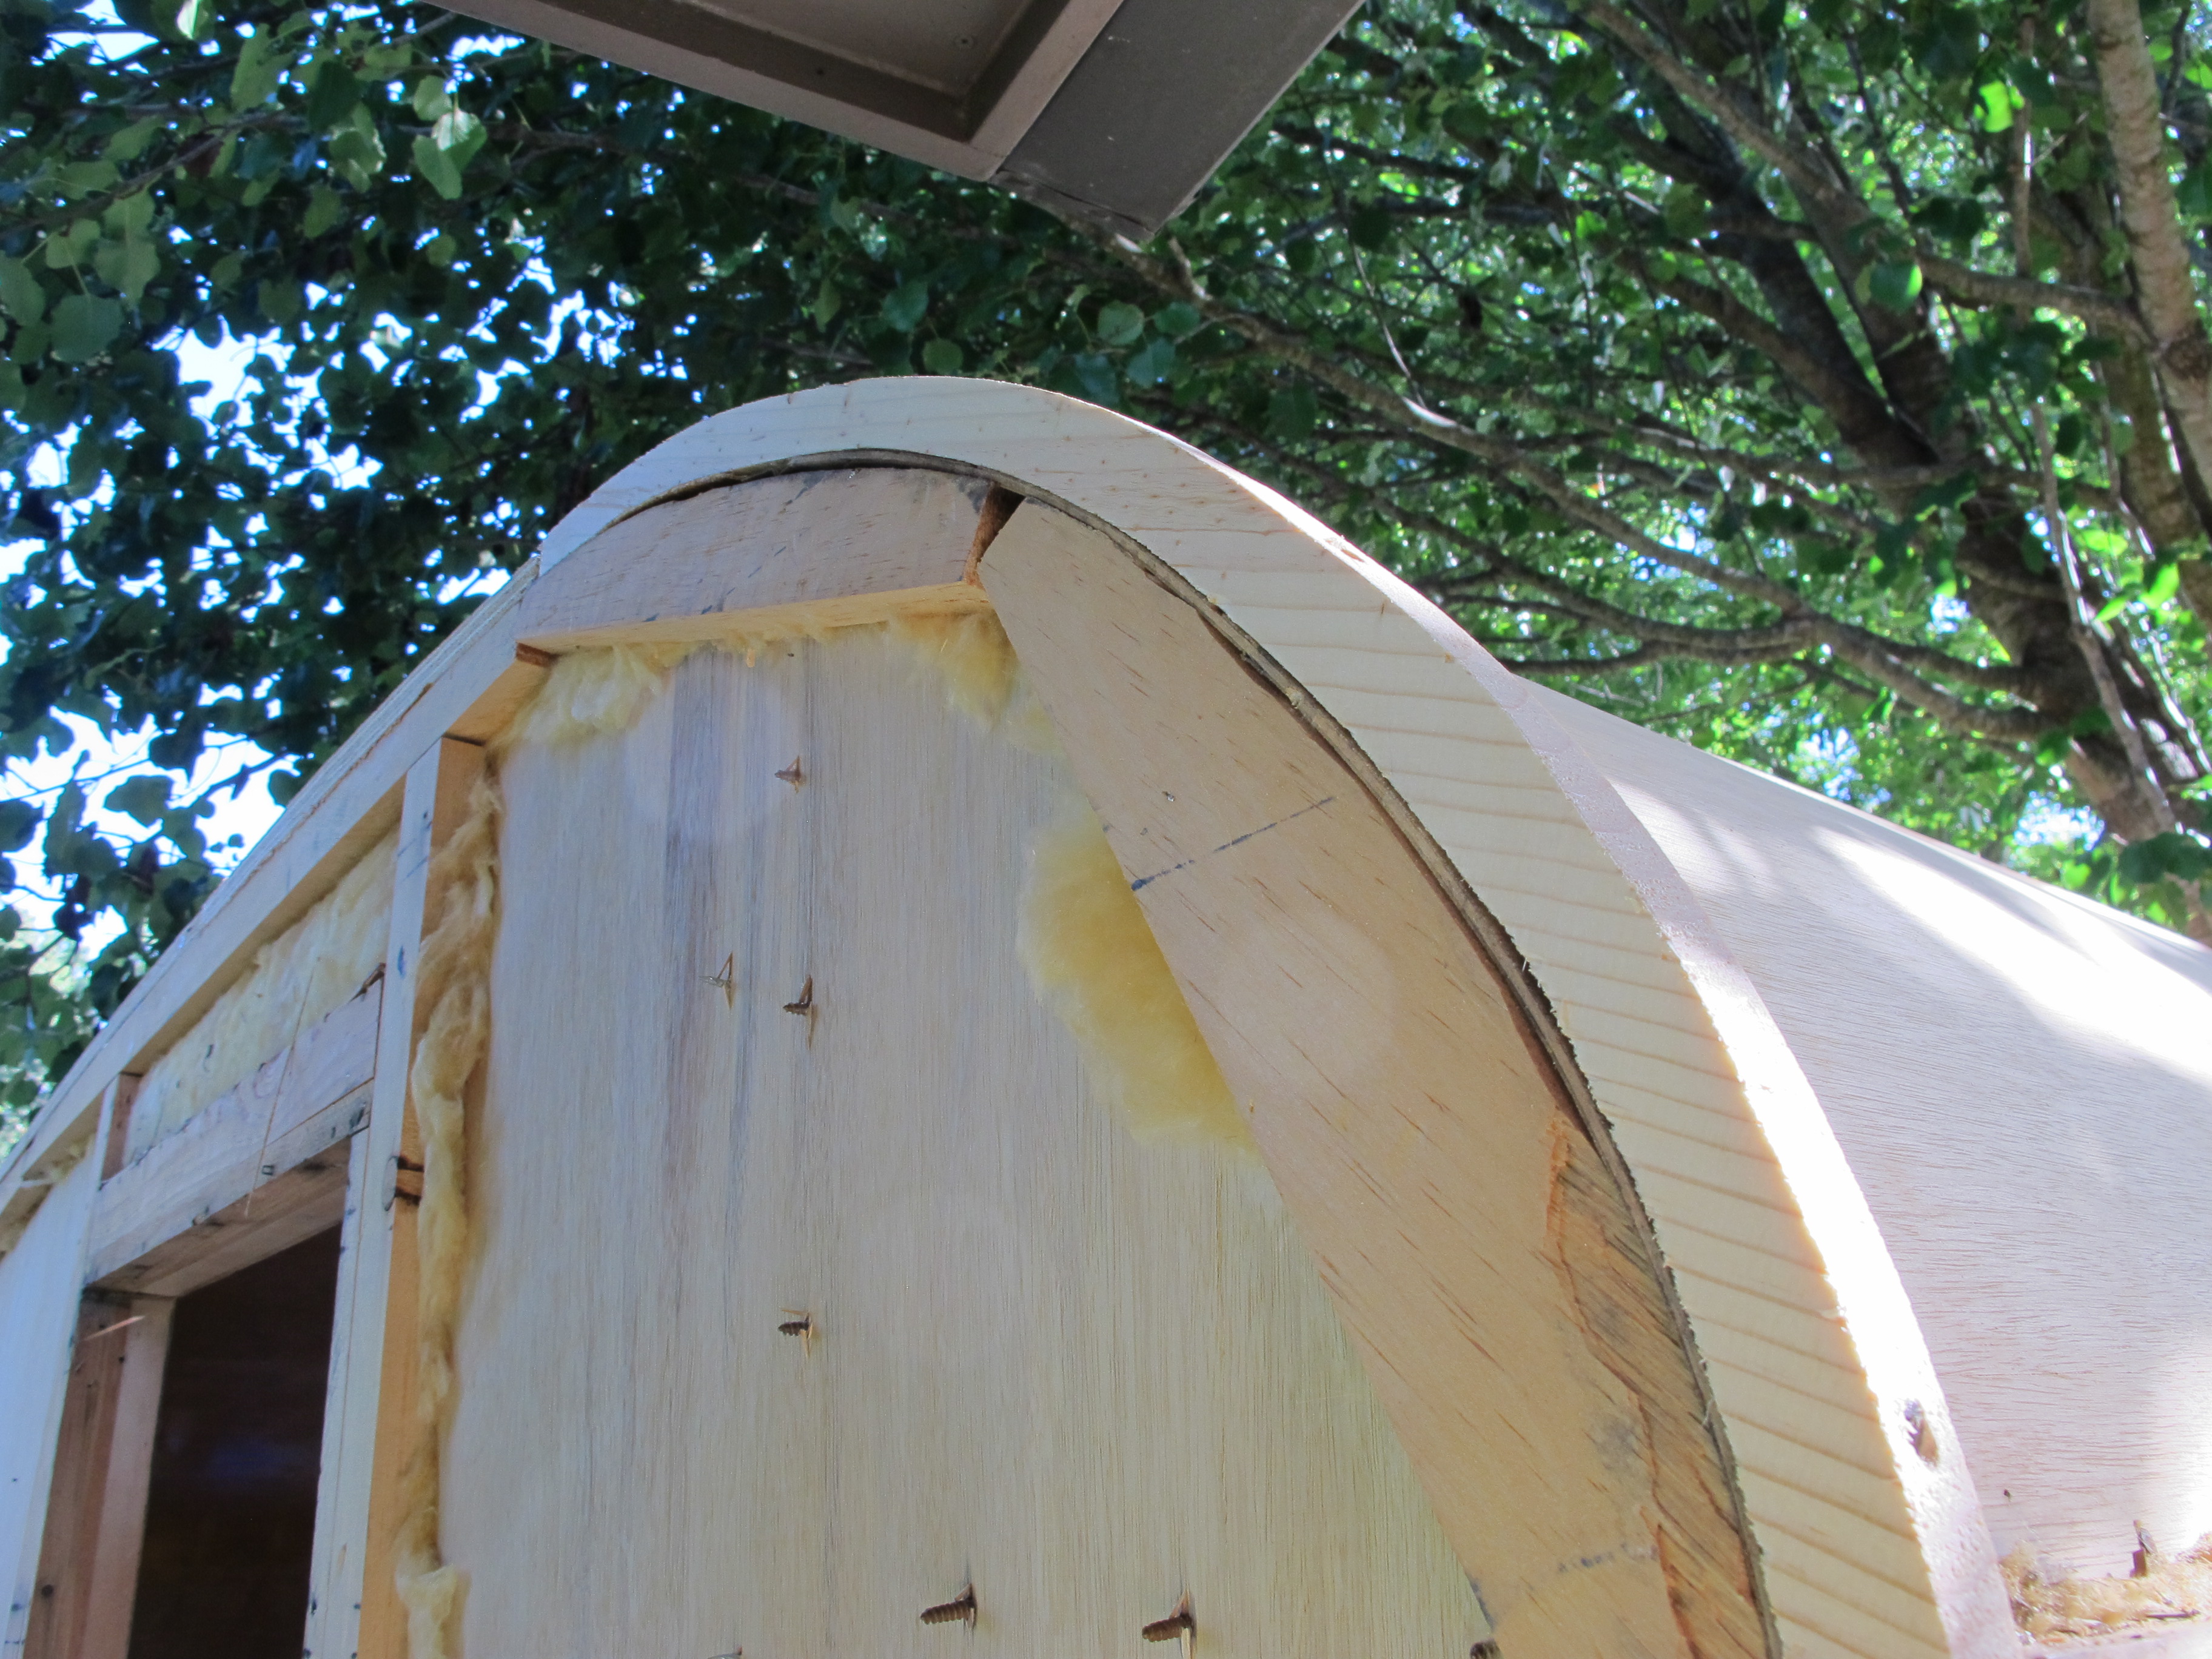
My last task of the day was to cut some curved pieces of wood to replace the rotted plywood around the edges of the roof frame.

Old rotted edges
I decided that I would use a solid piece of wood and trace the line around the curve so that it would be sturdier. I then used my jigsaw to cut it to 1″ thickness. My jigsaw vibrated a LOT trying to cut through this wood, I think it’s poplar. It must be very dense, or maybe I just didn’t have it secured as tightly as I should have while cutting. Either way, I was quite happy with the result! I’m still using plywood strips for most of the edges but this edge piece will hold up nicely. ![]()
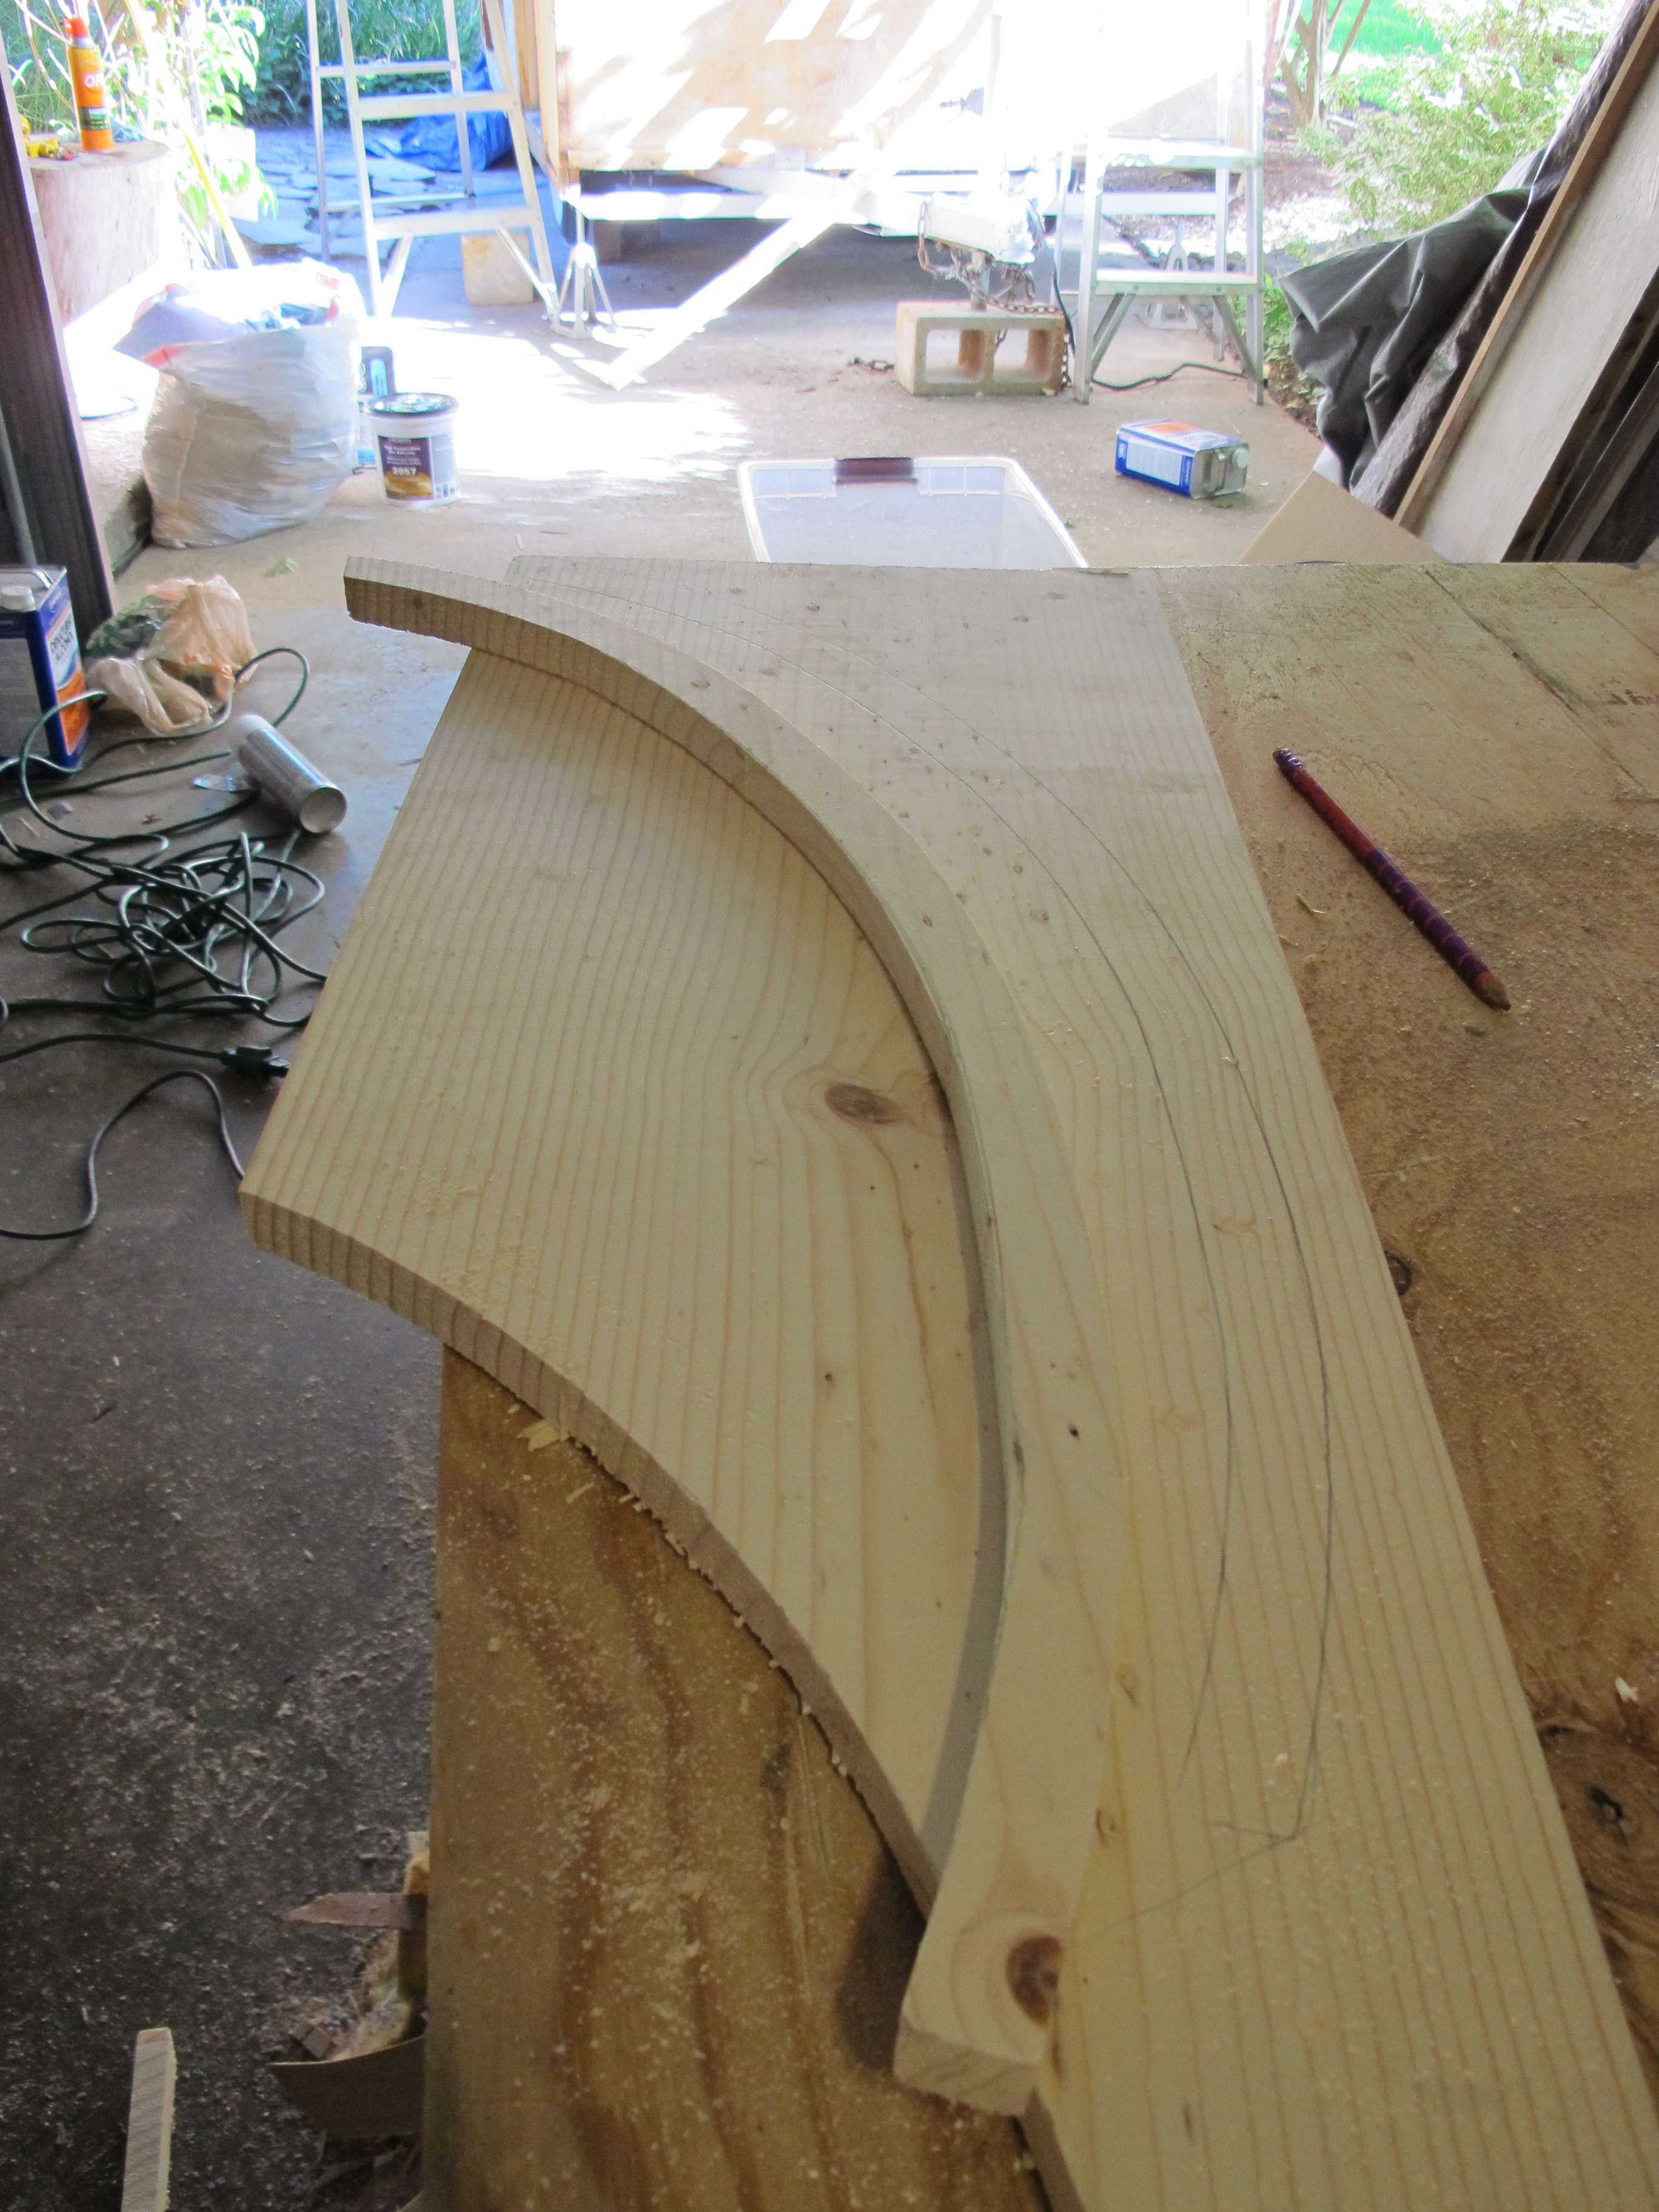
One piece cut and one to go for the other side.
Done!
Next weekend is my Friday off, so I’m hoping to make some more good progress. Next steps will be to secure and trim the laminate and start to install plumbing. I have a new plastic fresh water tank that will need to be installed with pipes leading to the hand pump. I also need to install the city water connection with a hose that will go to the faucet for the sink as well as another outlet for the tankless hot water heater that will be installed in the bathroom. I’m hoping the PEX pipe will be as easy to install as it looks in other people’s videos…
Here’s a list of everything left to do that I can recall at the moment:
- Glue down laminate countertop and trim edges.
- Install fresh water tank and pipes for hand pump, city water, and hot water heater.
- Finish installing stainless steel backsplash once my trim pieces come in the mail.
- Install shelf along rear wall and secure rear wall panel.
- Reinstall oven, then replace front wall panel (waiting to do this until all plumbing is installed but need to remember to put oven back in its place first because it’s too big to fit through the doorway)
- Finish rebuilding shelves along side walls then install.
- Purchase mini fridge that is the right size, might need to adjust the cabinets a bit.
- Call electrician to come out and check wiring for lights, run new wires for additional plugs. Thinking of adding a plug on exterior under camper to run strings of lights as well as additional plug for fridge.
- Use leftover laminate to cover doors that go in shelf over kitchenette
- Paint undercarriage with fence paint or other type of sealant.
- Build new frame for bed and benches.
- Build table and use leftover laminate for table top.
- Modify old cushions to fit new layout – full size bed across rear and two single seats in front of it.
- Order air conditioner (www.climaterightair.com) and figure out how to install air vents in the appropriate locations.
- Order new pre-polished aluminum skin from Hemet Valley RV.
- Install new skin (this is a big one, will definitely need to call in reinforcements for this task)
- Re-install windows with new putty tape and stainless steel screws as well as j-rail and eyebrows.
- Rebuild door and re-install. At some point I’d like to build a new screen door out of birch, but depending on time, I might save that for a later date.
- Add finishing touches on interior like hanging curtains, pictures, add mattress and bedding, etc.
- Have unveiling party for Junebug and invite all of my friends and family who wonder where I’ve been all this time and are starting to worry about my obsession.
- Go to first vintage camper rally in Lake Charles, LA the weekend of September 20-21!!
Phew, that’s a lot to do in the next three months. I’m getting exhausted just looking at that list. I think I’ll go to bed now..

Once again Kudos to you for all the great workmanship! One question kind of off topic? Did you replace your axle and springs? If you dont mind me asking how much did that set you back if you did? Im contemplating that for my 65 Shasta. Seems someone at somepoint replaced the original axle with one from an Airstream I believe. It has 6 lug 15″ split rims and they def. have to go. Thanks and have fun with Junebug!
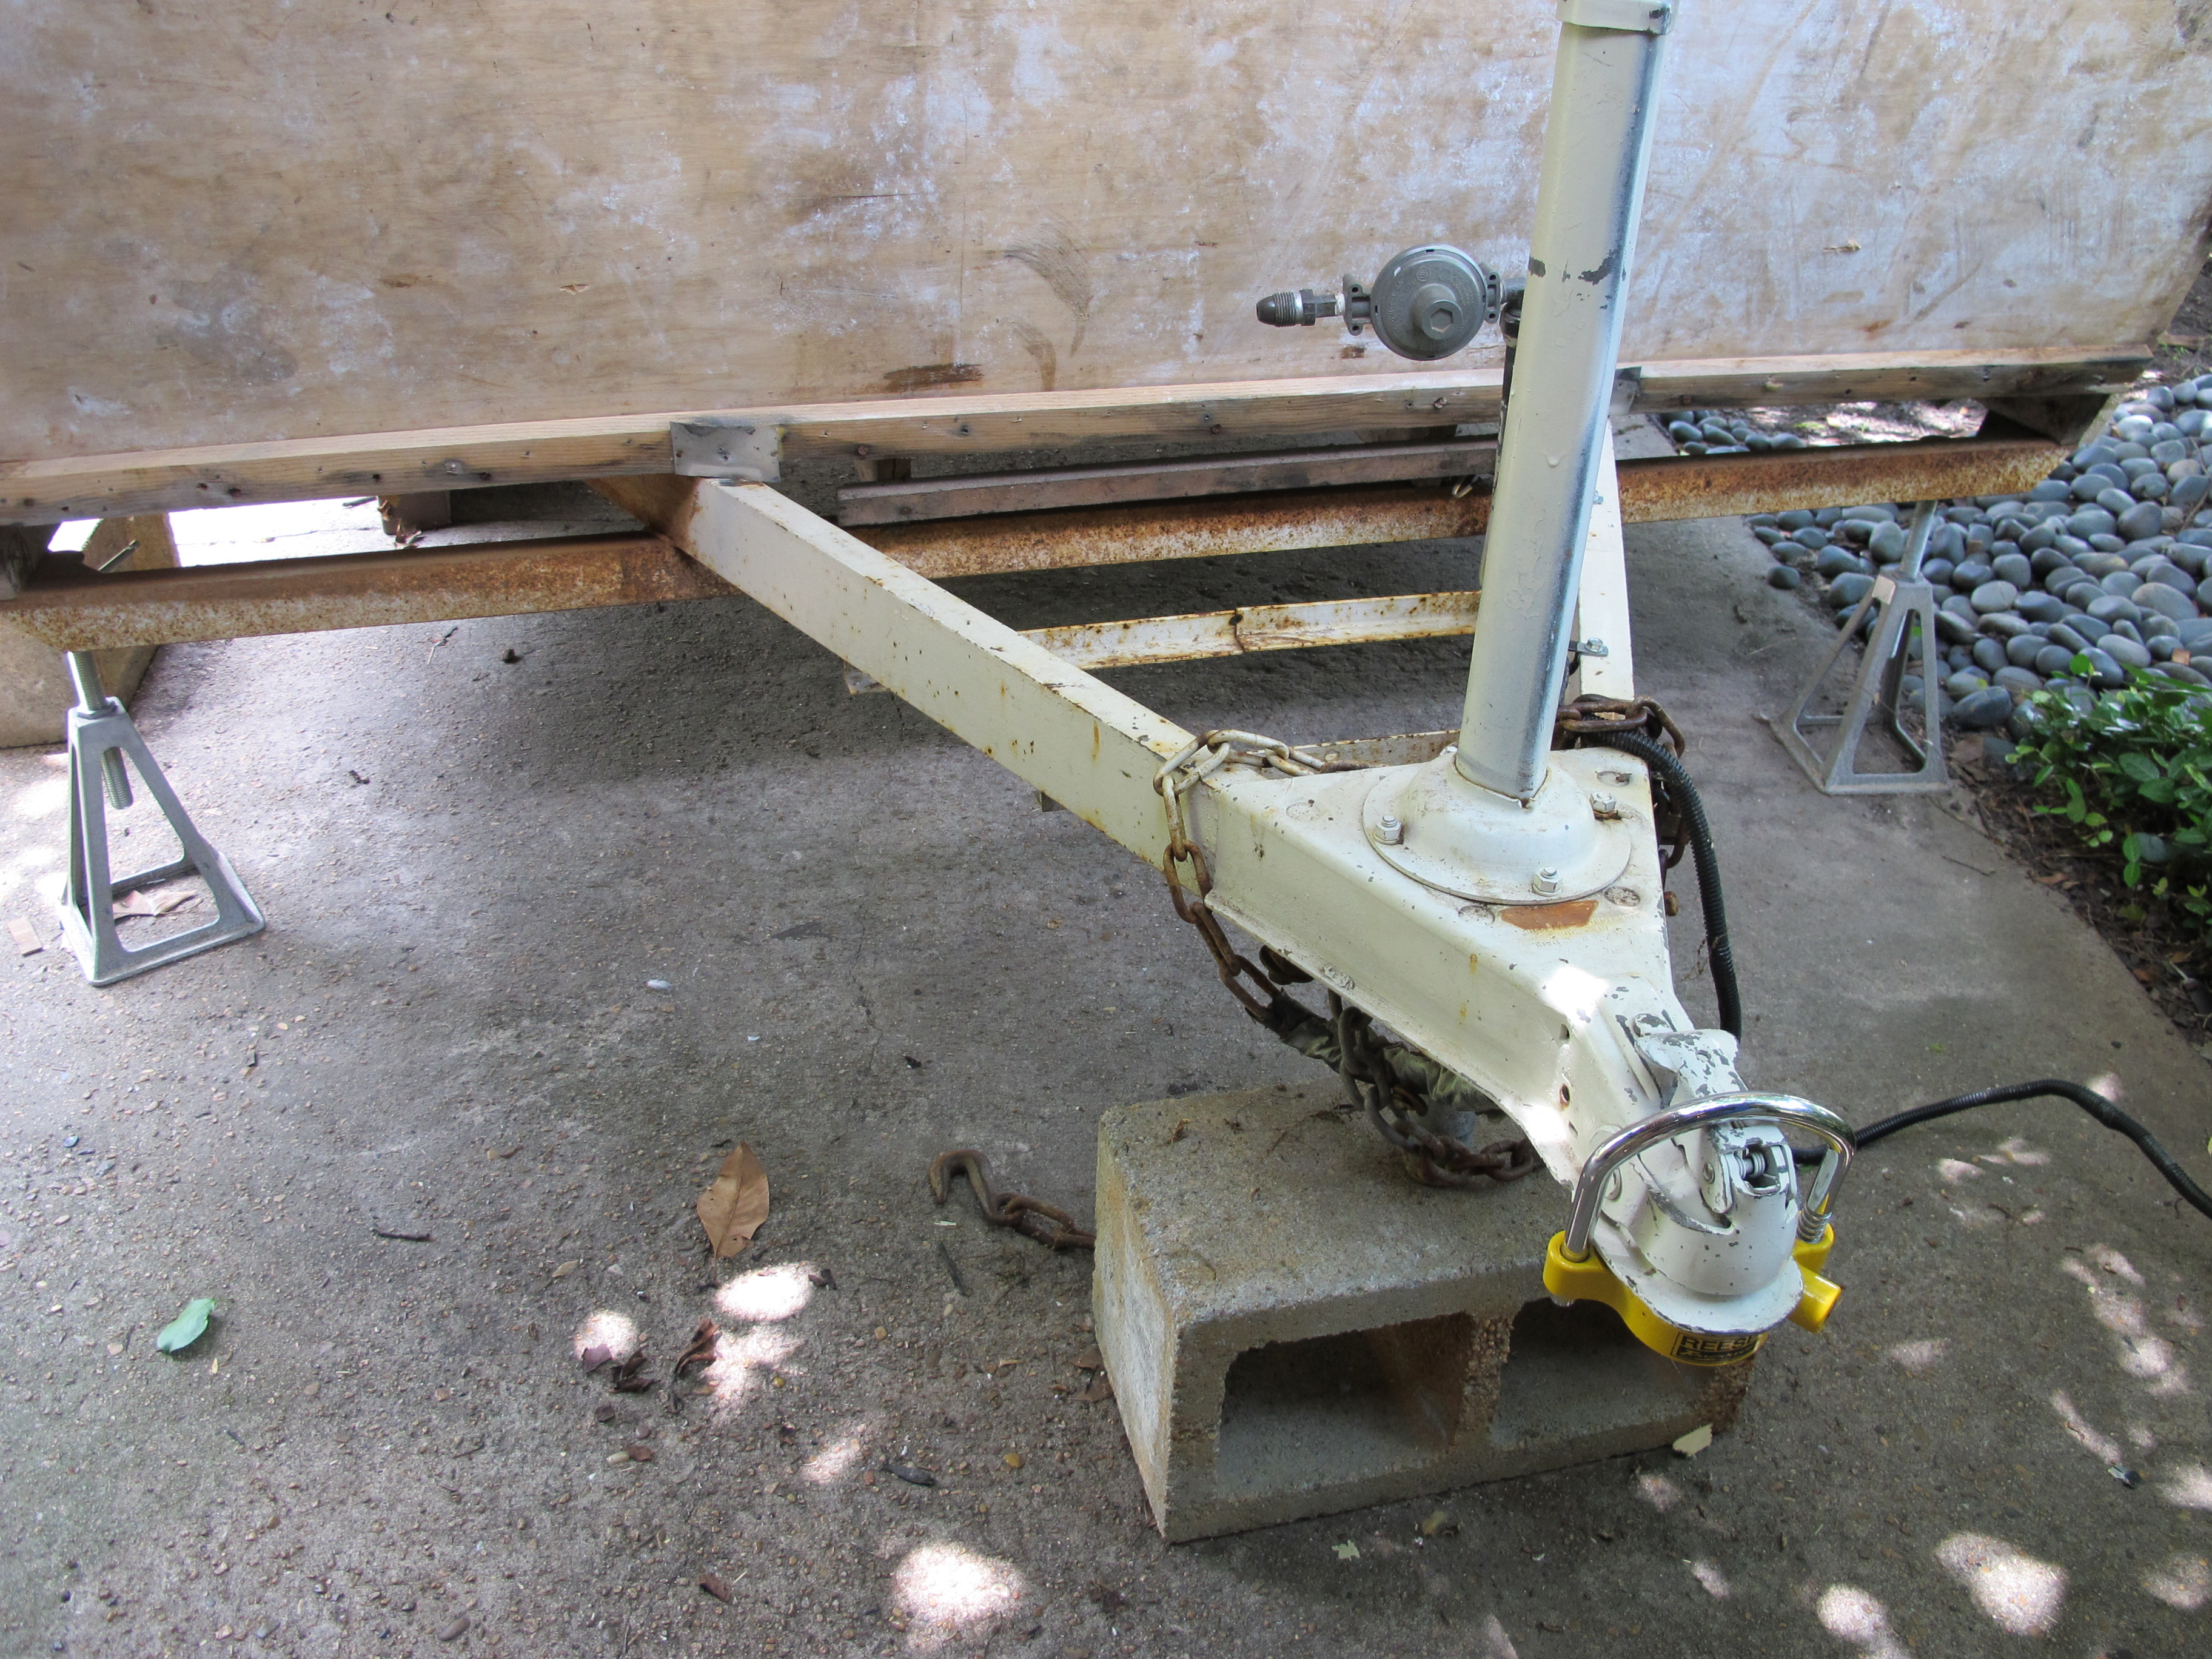
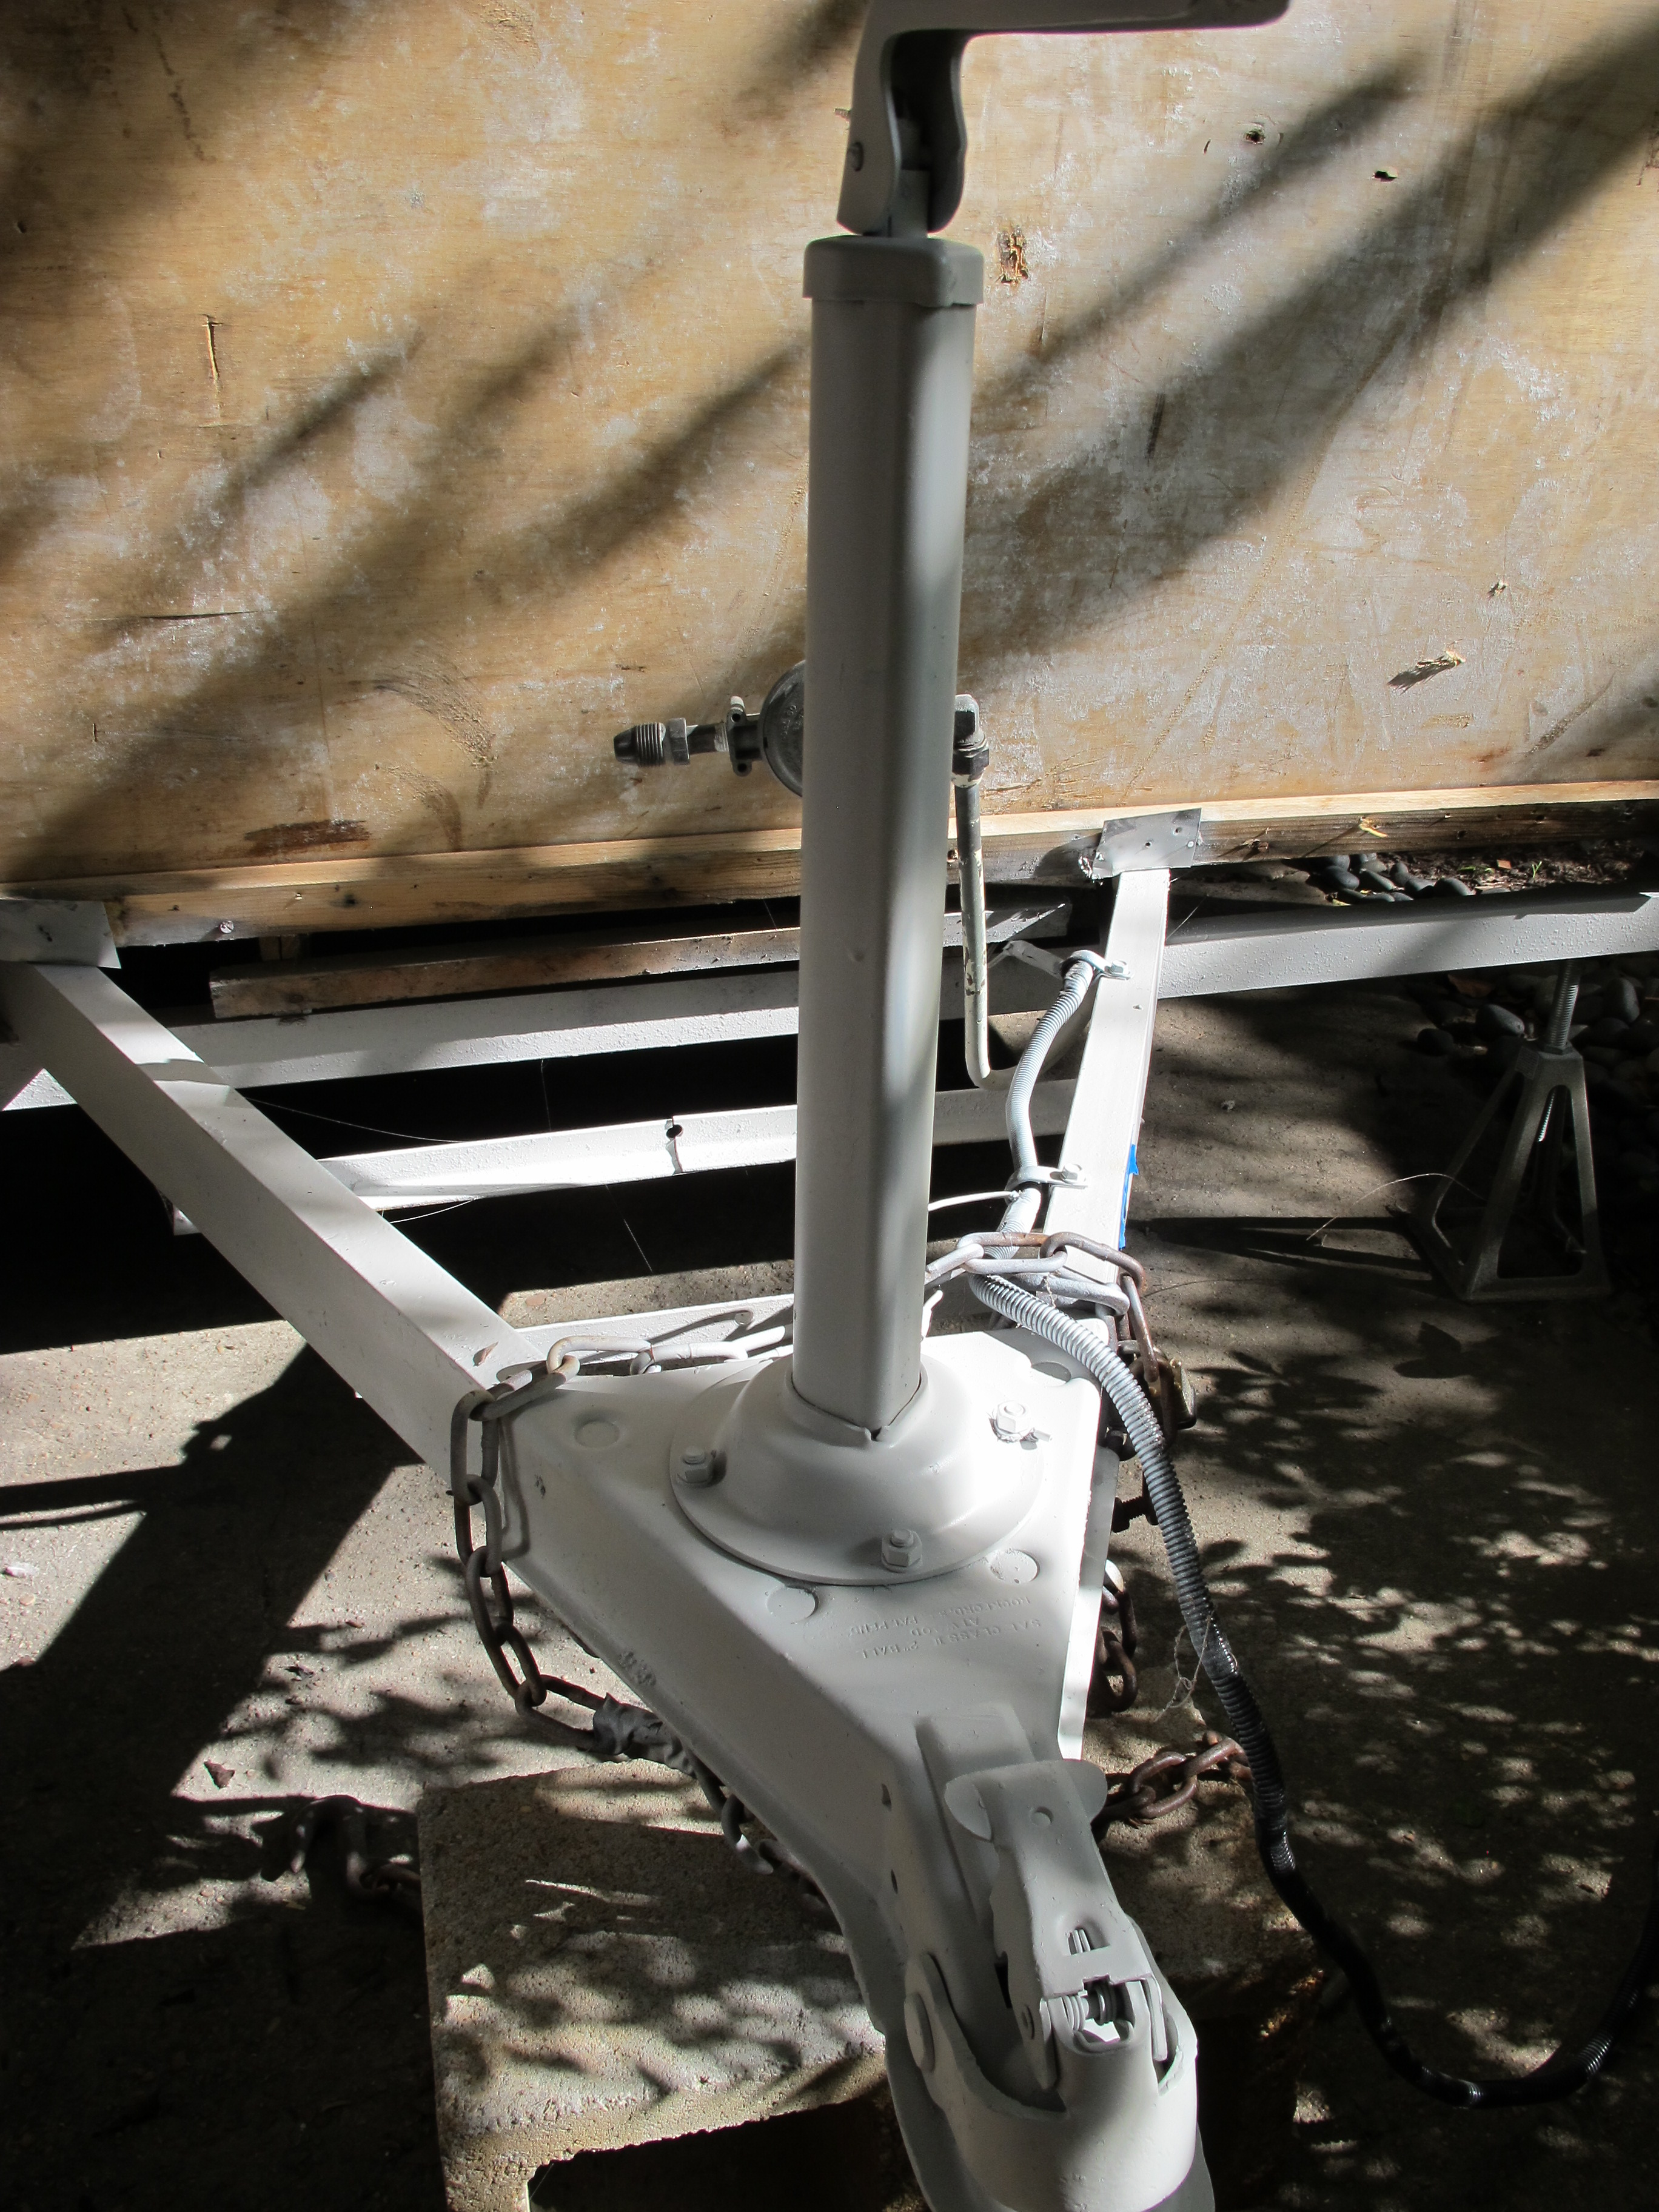
Thanks Erik! To answer your question, I did replace the leaf springs but not the axle. I had a similar discovery in that someone replaced one of my leaf springs with one the wrong size so when I first brought Junebug home, she was leaning to one side. Don’t ask me why they did that! The frame was slightly bent too, as if they had hit something. I took Junebug to a local trailer place and got both leaf springs replaced. I later had a welder come out and weld a replacement cross beam onto the frame and remove the bent piece. He also added a couple more steel beams coming out to the rear so that I can attach a bumper to them and also add more floor support.
Thanks for the info Jannica!
You’re welcome! I just realized that I didn’t answer your question on the cost. When I had the leaf springs replaced, they also checked the wiring for the tail lights and noticed it was backwards, so they repaired that. That cost $300 total. The welder who came to my house and made a new cross beam and added two new steel beams to extend off the back charged me $250. He said it would be about $100 to come back and add the bumper when I’m ready. I think what I paid was a pretty fair price considering he came to my house to do the work. Doesn’t get more convenient than that!
Thanks jannoca! That gives me a good idea of what Im in for. I decided that for this year I am going to restore my axle and braking system. (new bushings and shackle bolts) Since my “tin can” is a model 20 (20 footer and scales out at about 3000 lbs), it needs brakes which it presently doesnt have. I pull mine with an Expedition so where I live (Delaware =FLAT) I could probably get by but I want to venture west in the not too distant future, and dont want to have any nightmares along the way. Thanks again! (Bows) Your craftsmanship is amazing! I cant get over how beautiful Junebug is becoming!
Sorry I fat fingered it…. Jannica… not Jannoca…whoops! 😦
Haha that’s ok. And thanks again for the compliments! I am happy that it’s finally starting to come together!