Ok, so I know the statement in my title is incorrect (I sure hope so!), but at the rate I’m going it feels that way, and I was just trying to think of some silly way to incorporate owl into the title. ![]() I have some good news to share, my backyard is now home to three Eastern Screech owlets and two proud parents! I’m so excited to have a little owl family sharing my backyard with me. They are ridiculously cute, and the first thing I do when I wake up is look out the window to see if the owlets are poking their heads out of the owl house.
I have some good news to share, my backyard is now home to three Eastern Screech owlets and two proud parents! I’m so excited to have a little owl family sharing my backyard with me. They are ridiculously cute, and the first thing I do when I wake up is look out the window to see if the owlets are poking their heads out of the owl house.
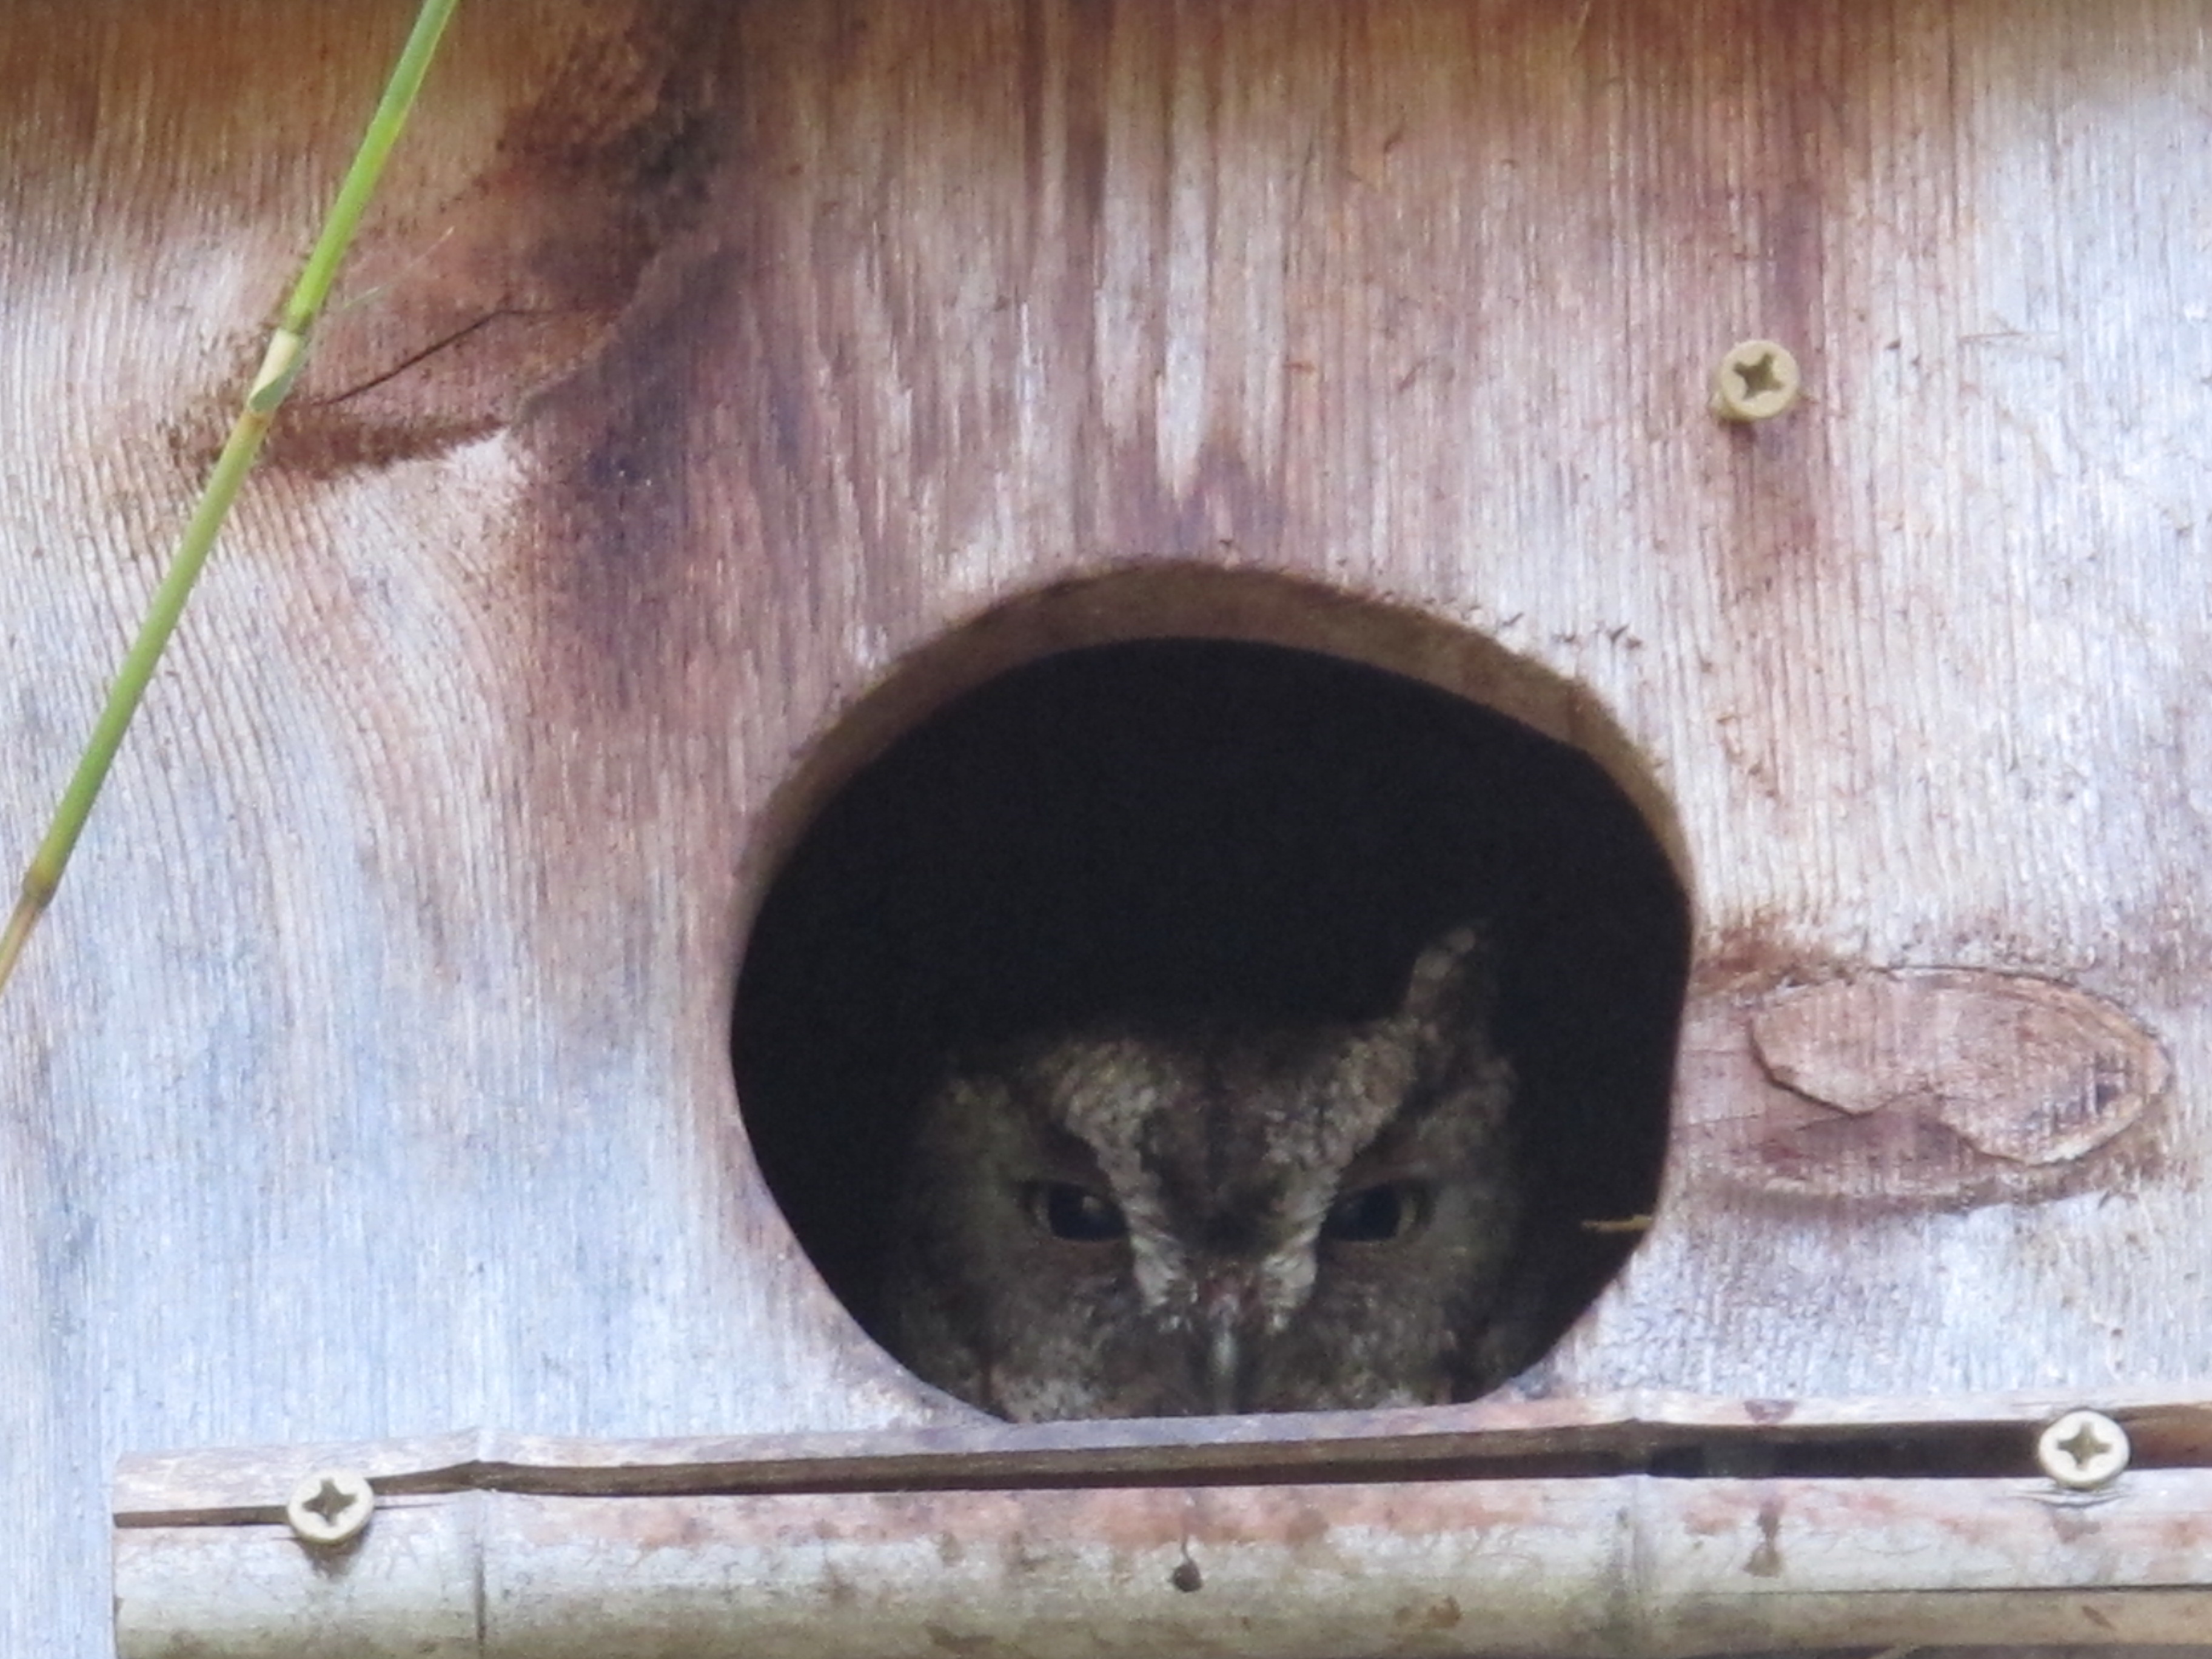
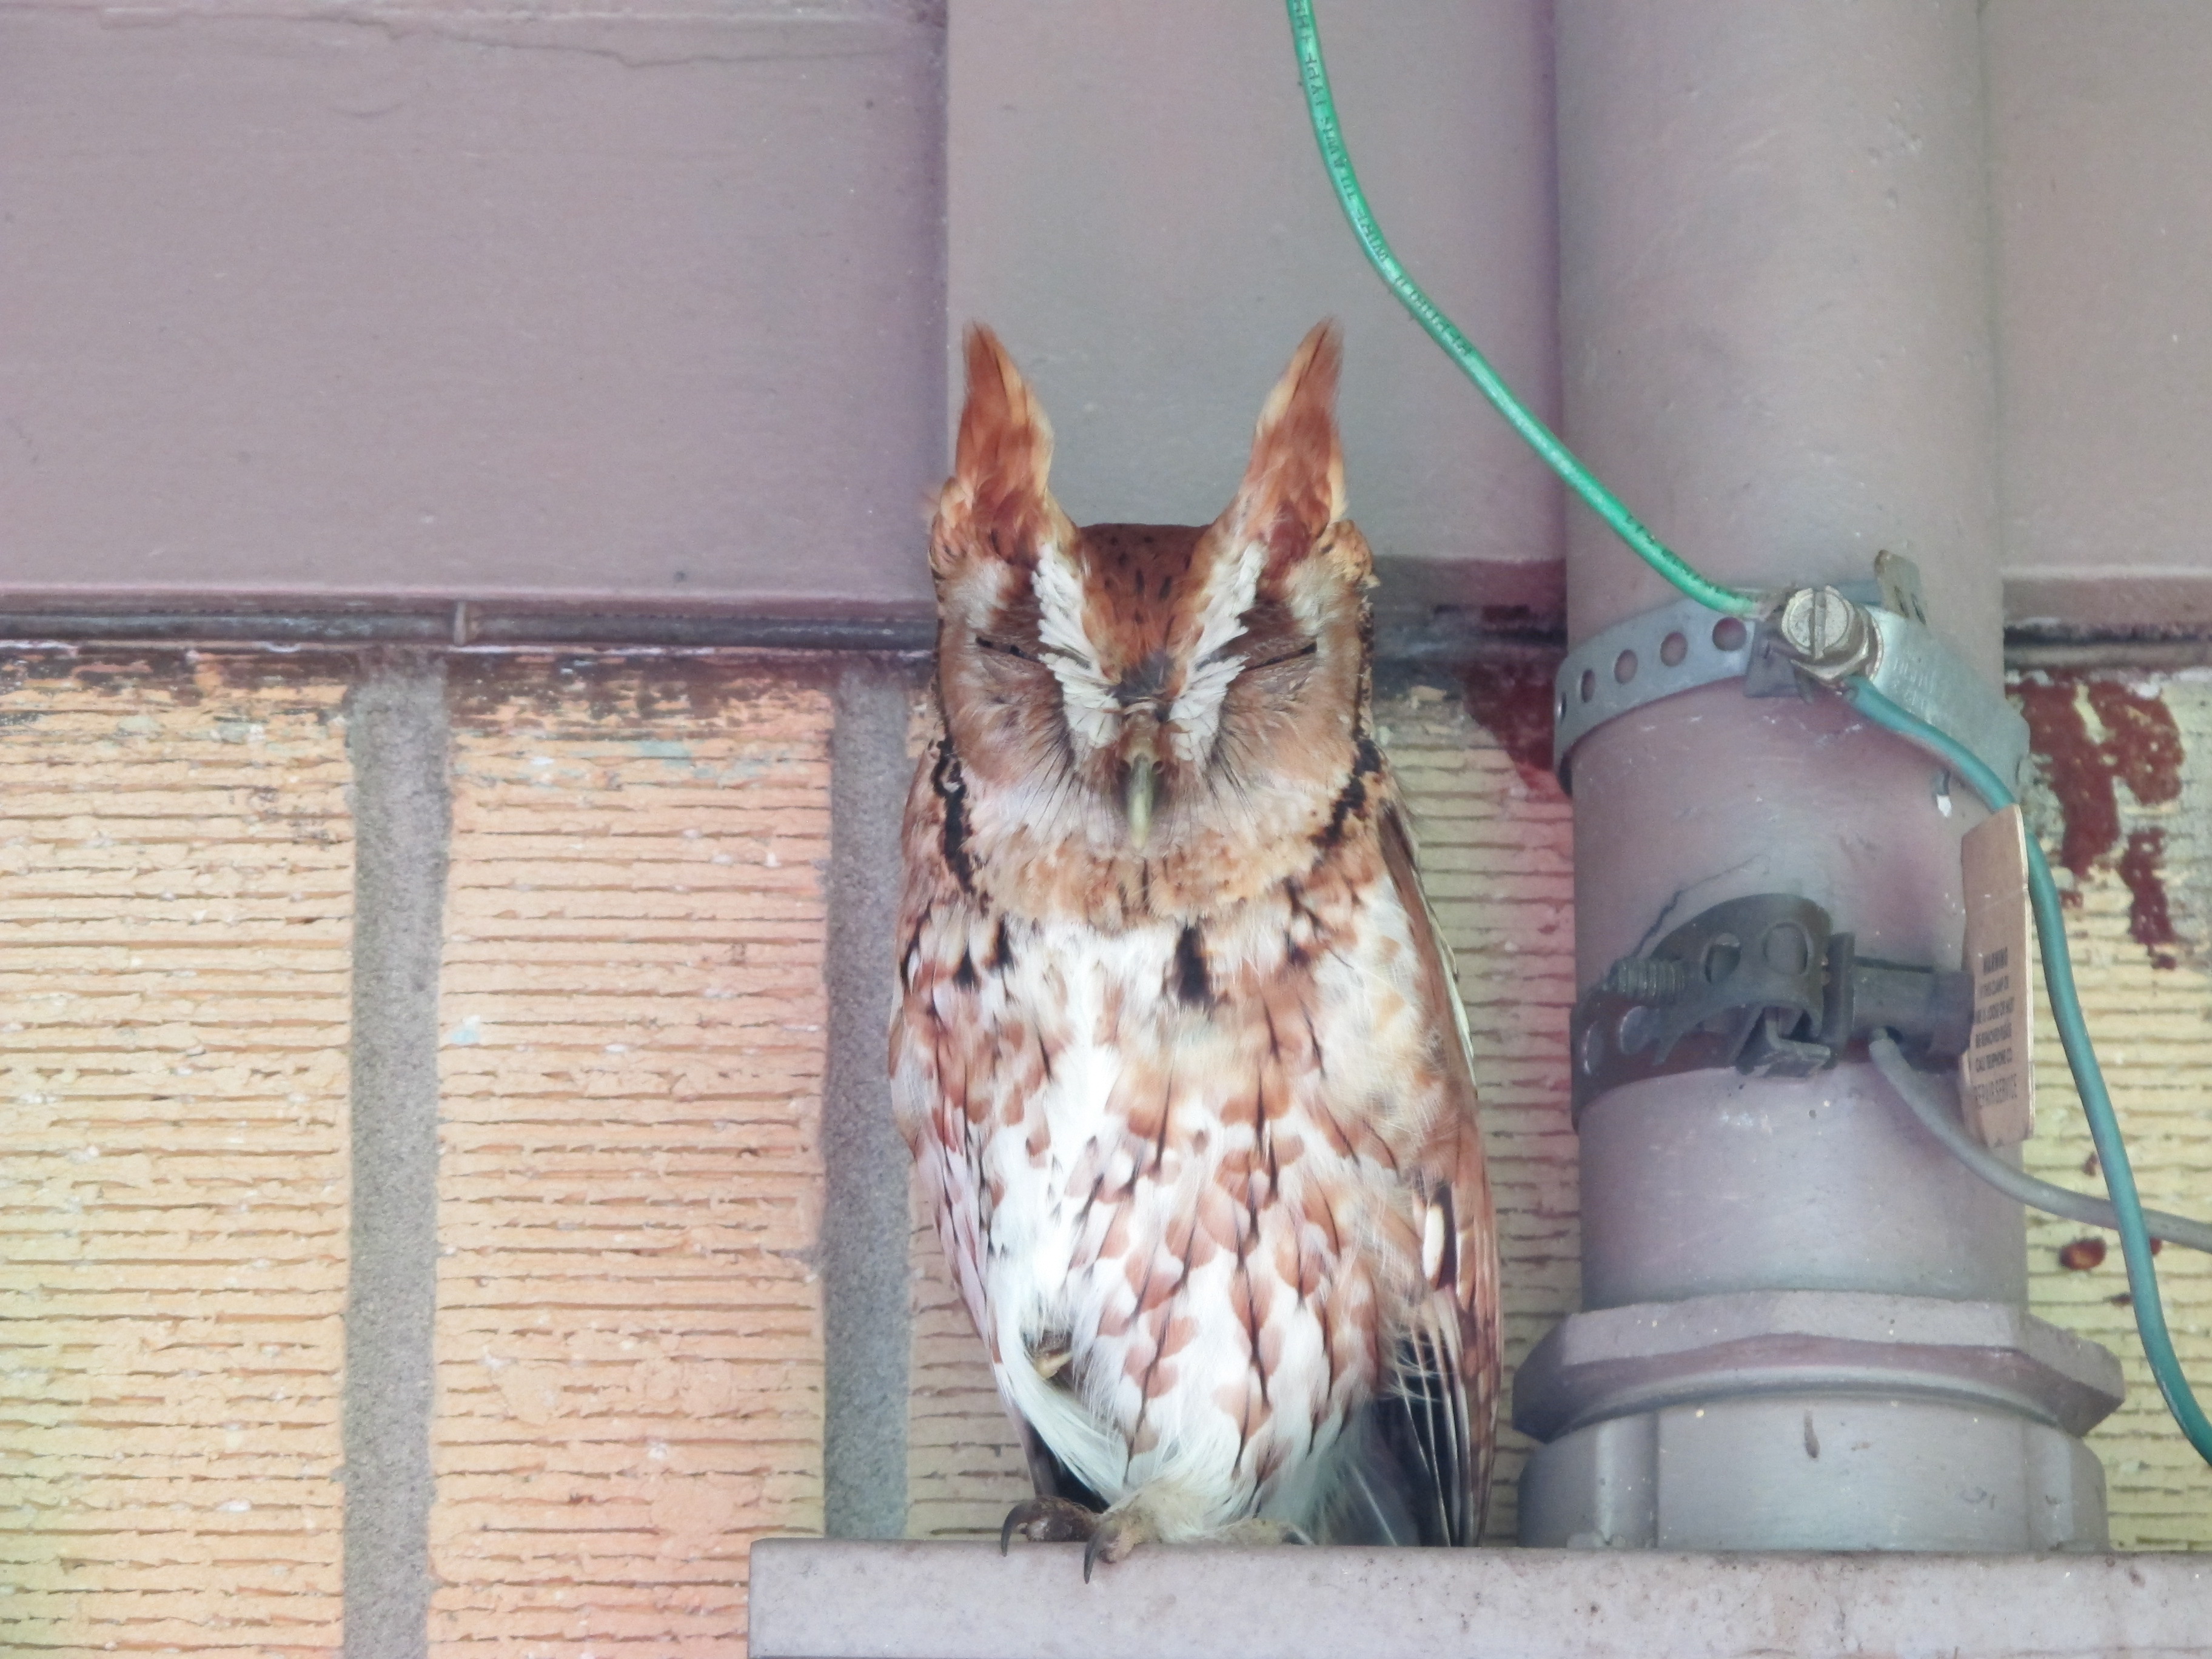
It all started a couple of weeks ago when I discovered that my two adult owls had returned from wherever they had been hiding since sometime last year. Then, last weekend, one of them was occupying the owl house (thanks previous owners of my house for building it!), and she was not at all pleased that I was planting some flowers near her house. You can see that she is being very protective in the picture below. I was a little worried she might swoop down and attack my head!

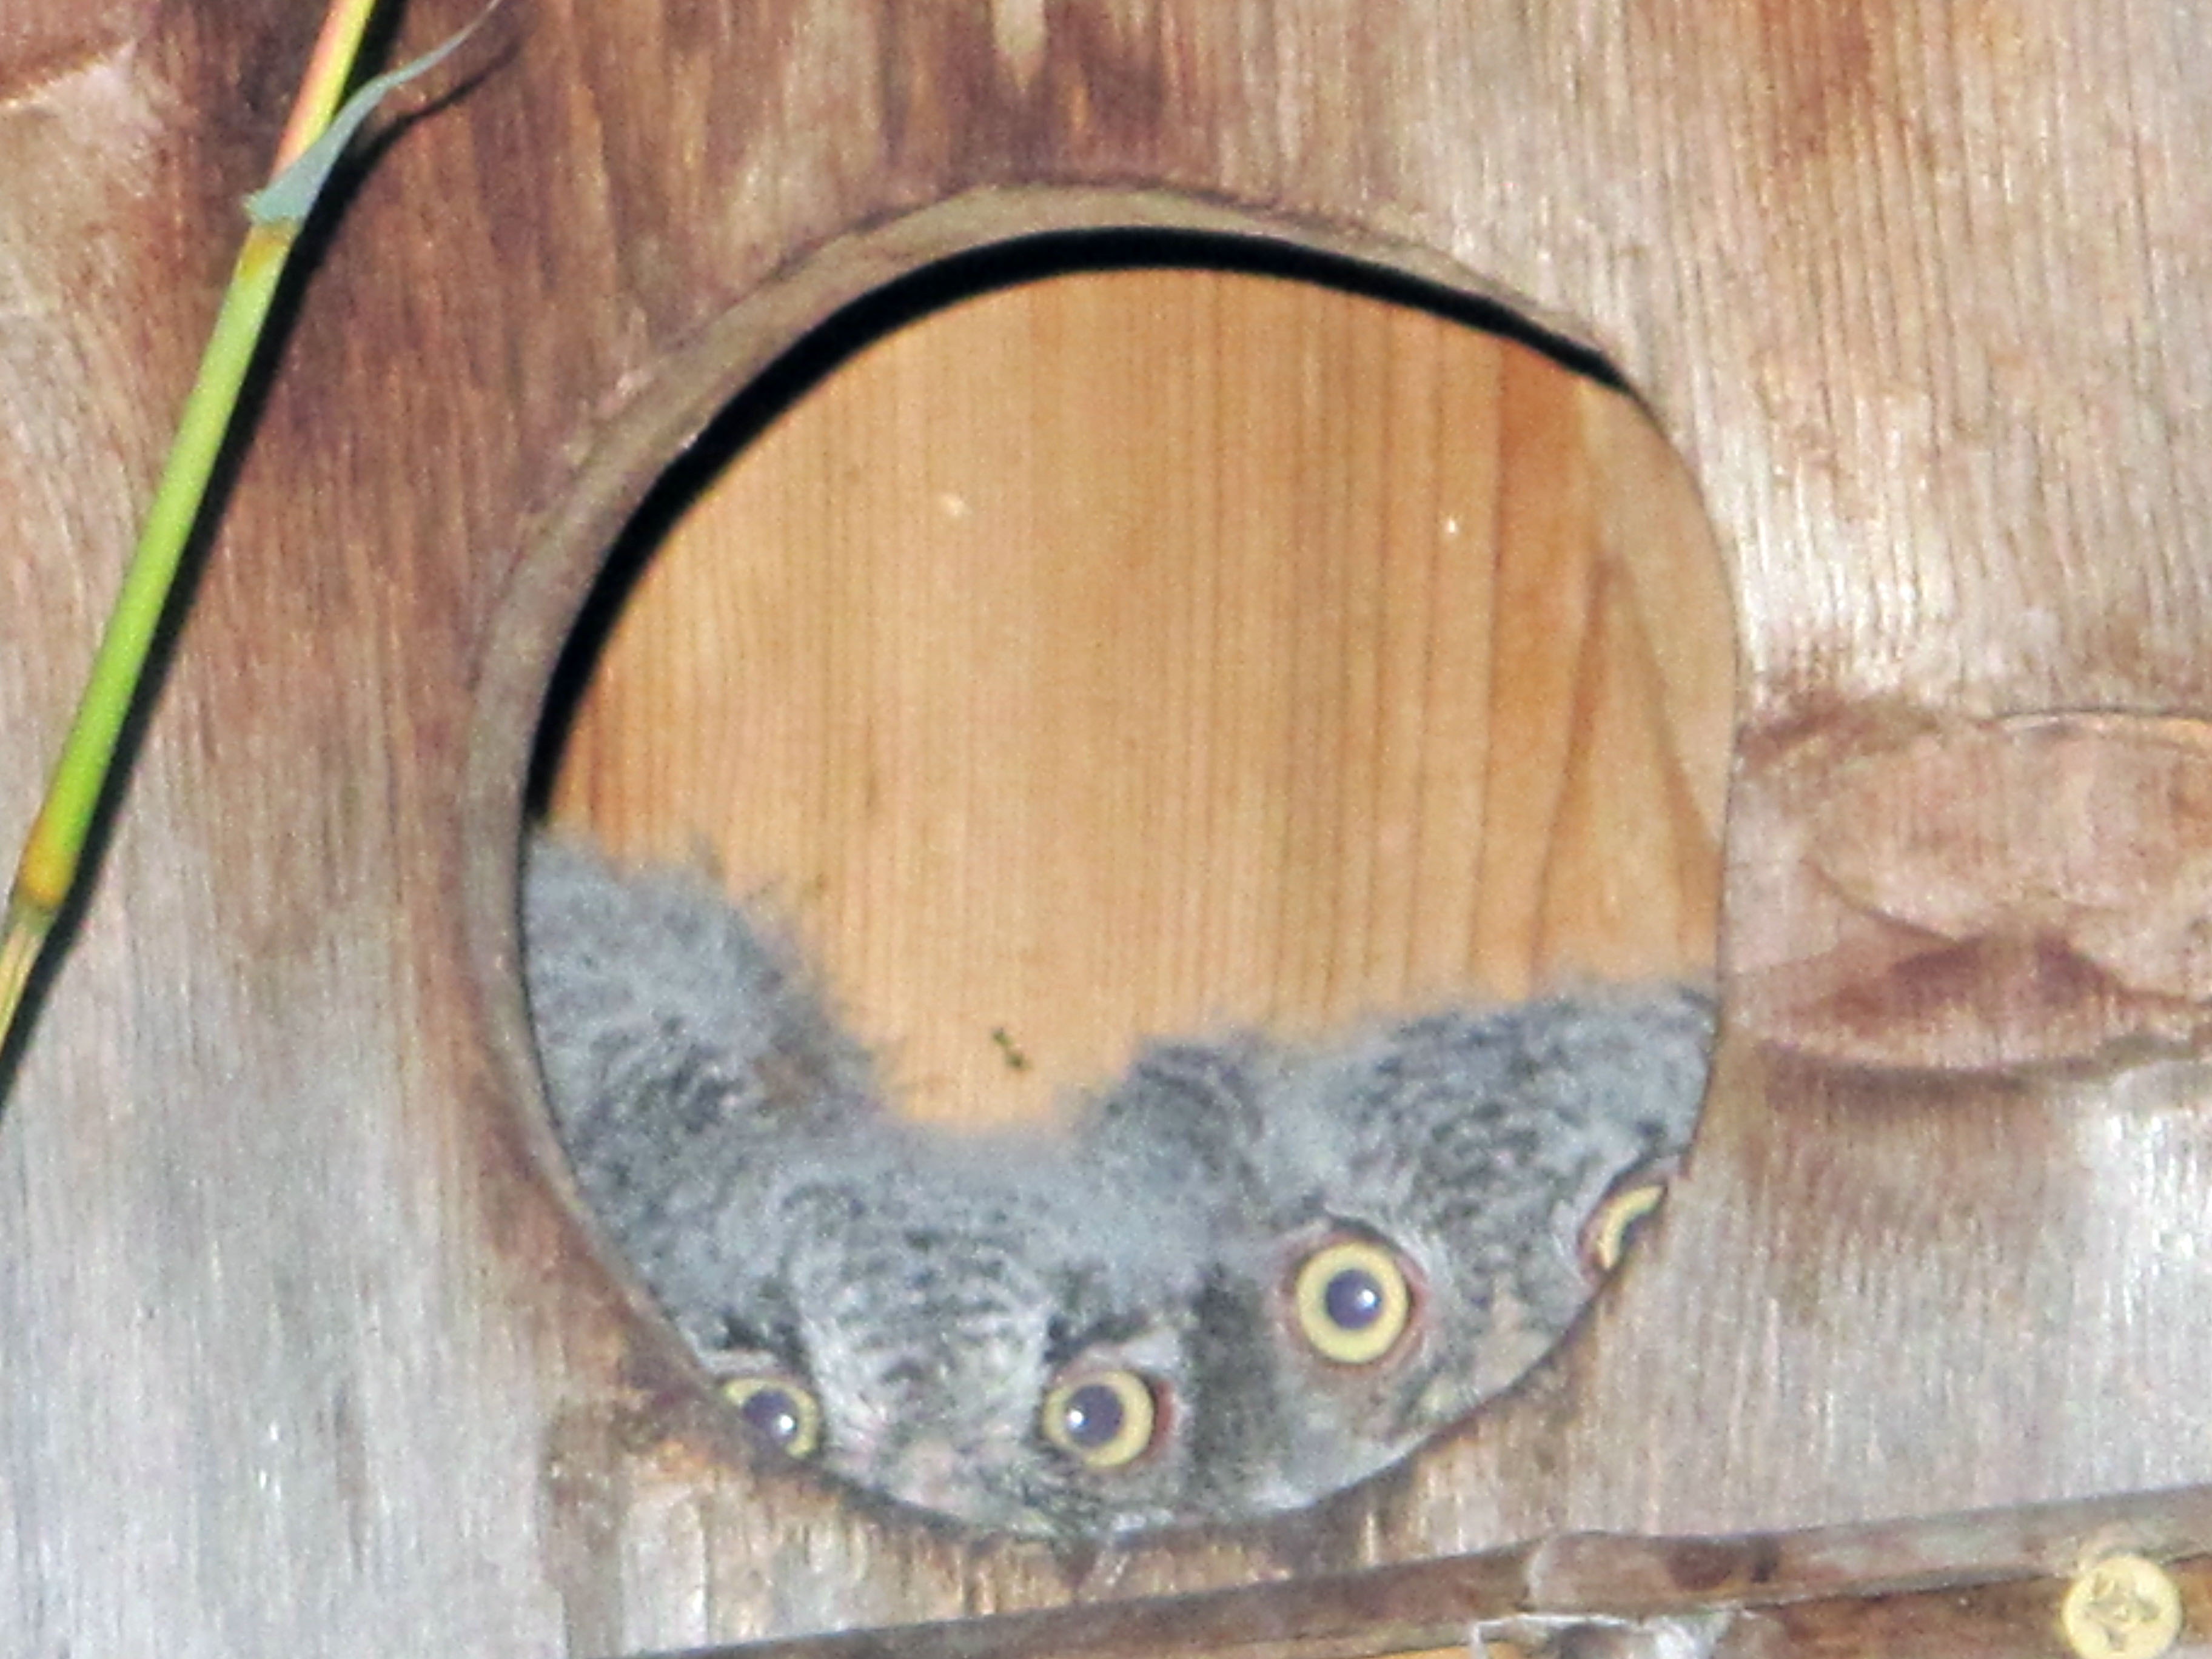
Little did I know, there were eggs in the house that she was guarding! A few days later, I noticed a little head poking its way out of the entrance to the owl house and much to my surprise, there were three owlets inside! I was so excited!
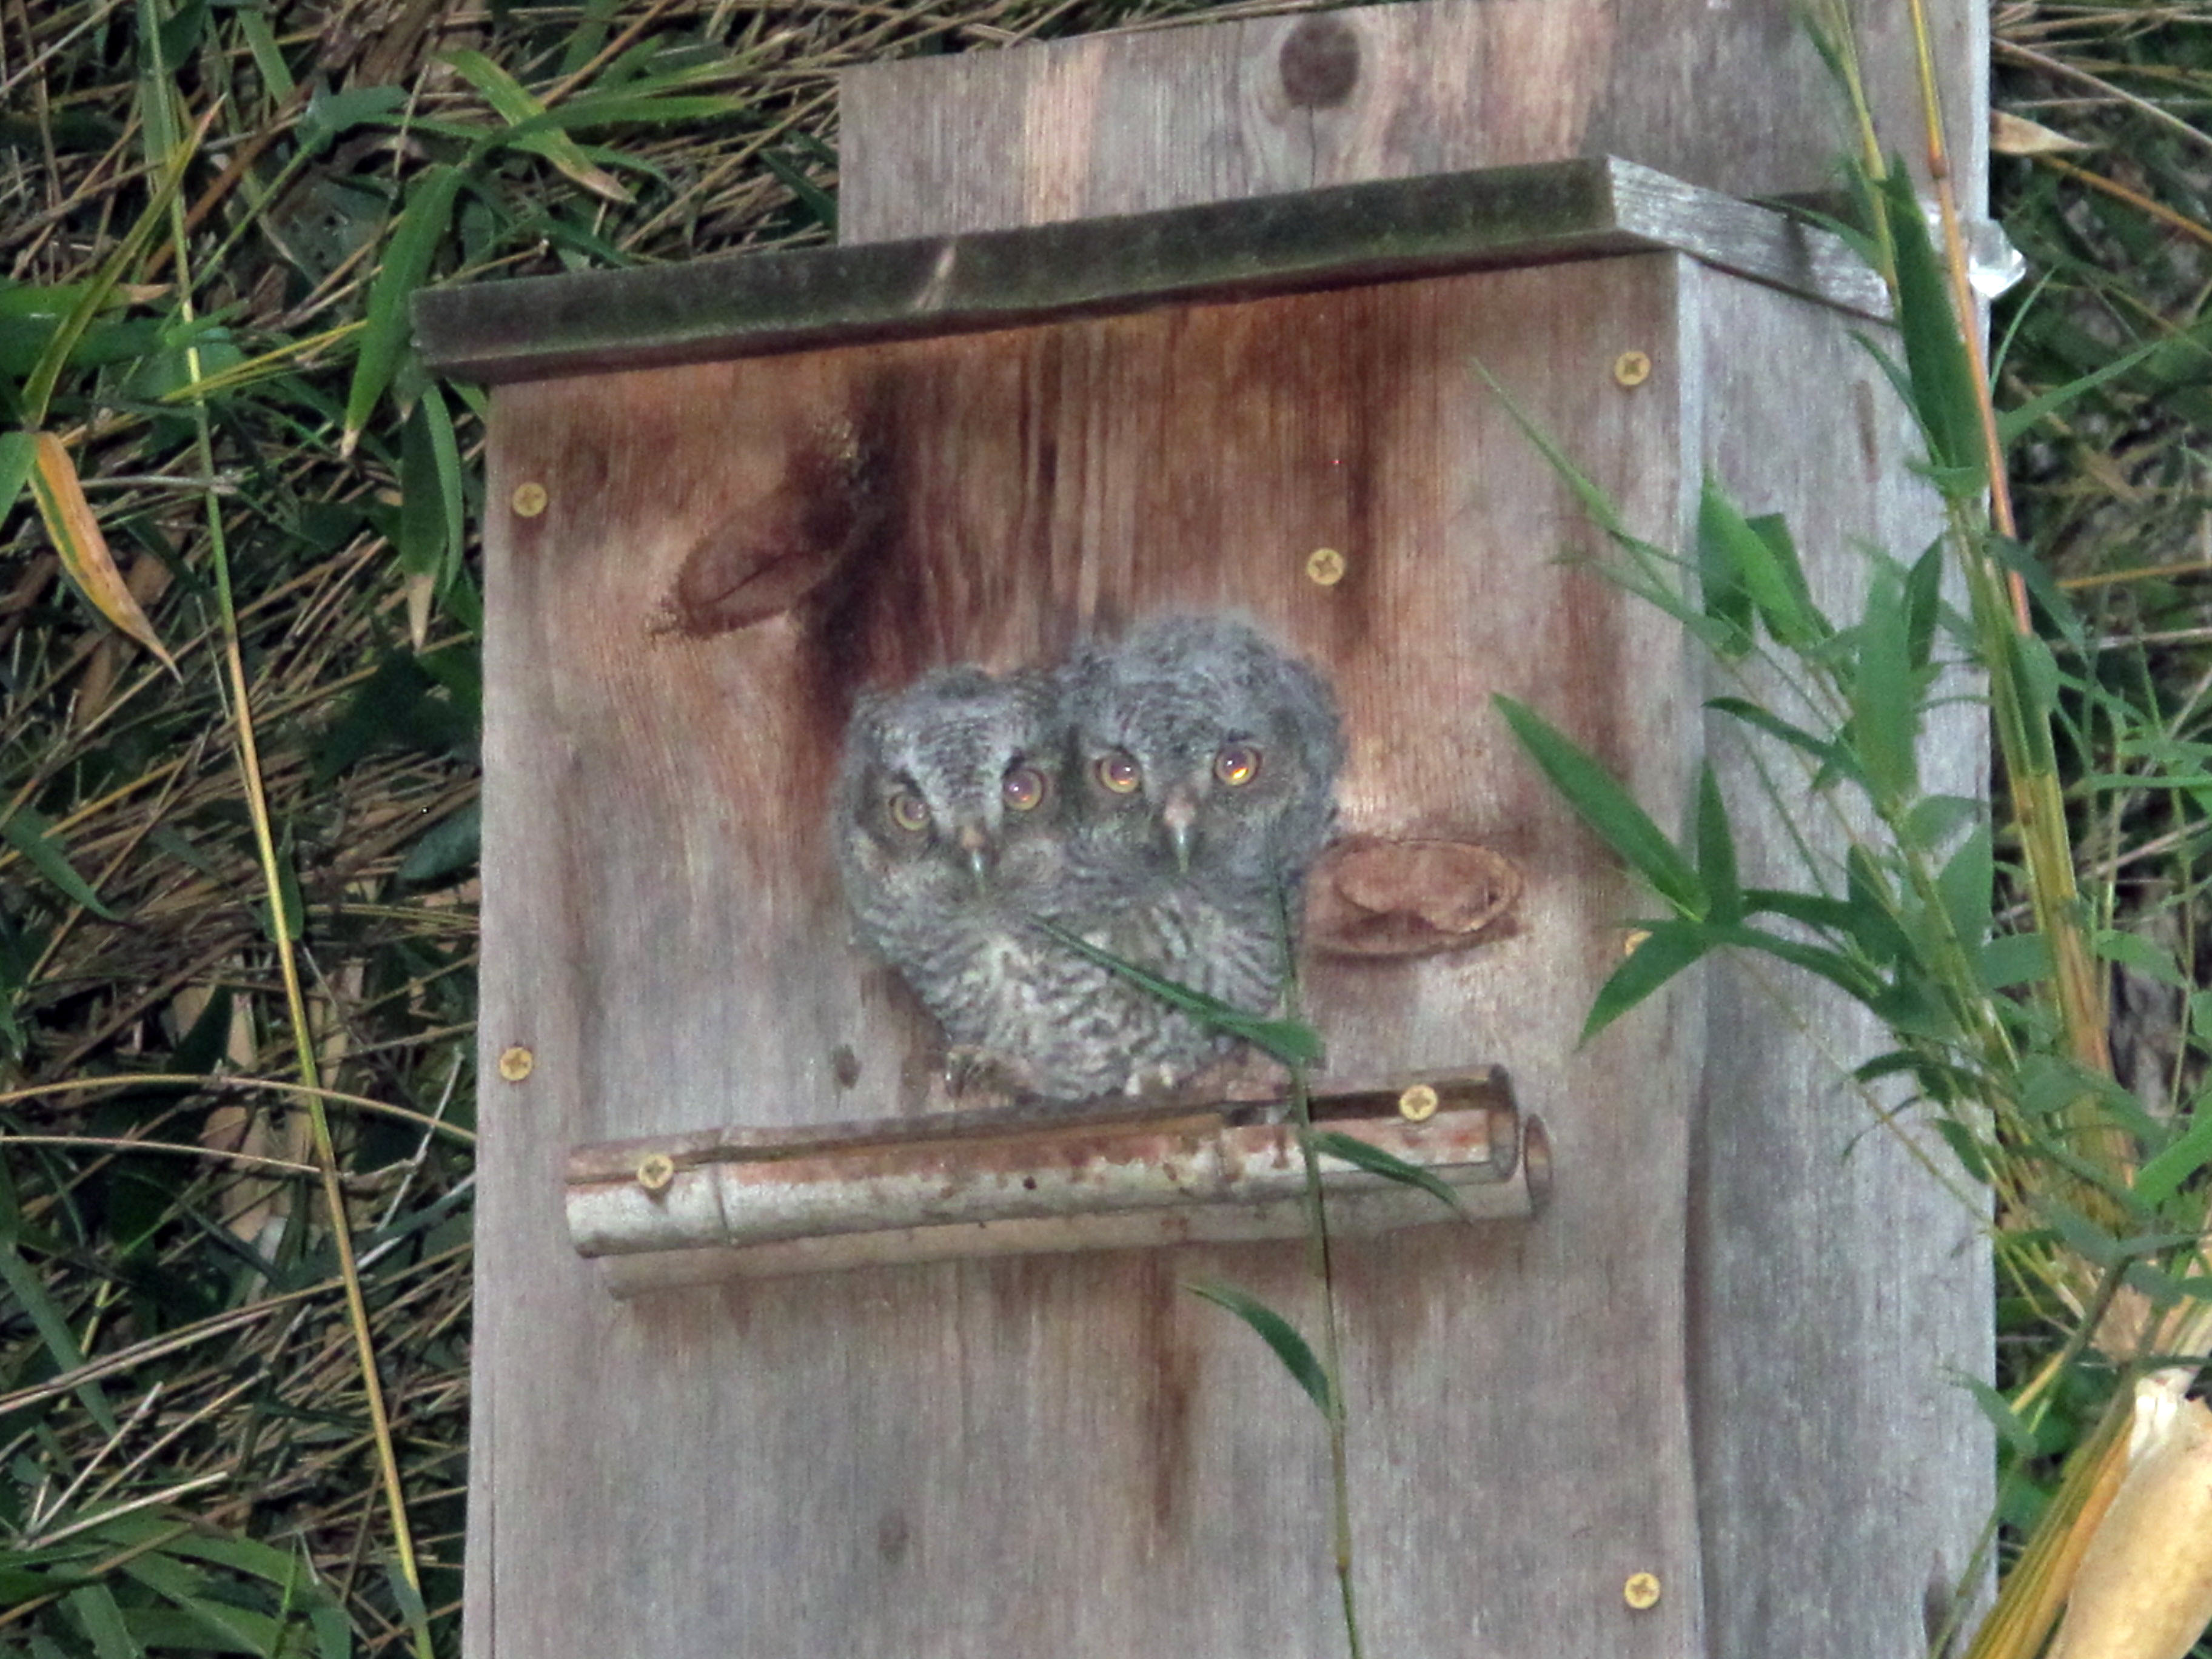
Since then, I have been outside every day to monitor their progress and try to snap a few photos without scaring them too much. Below, they are trying to squeeze out of the door of their house at the same time. I love how their bodies make a heart shape. ![]()
They are growing up fast! 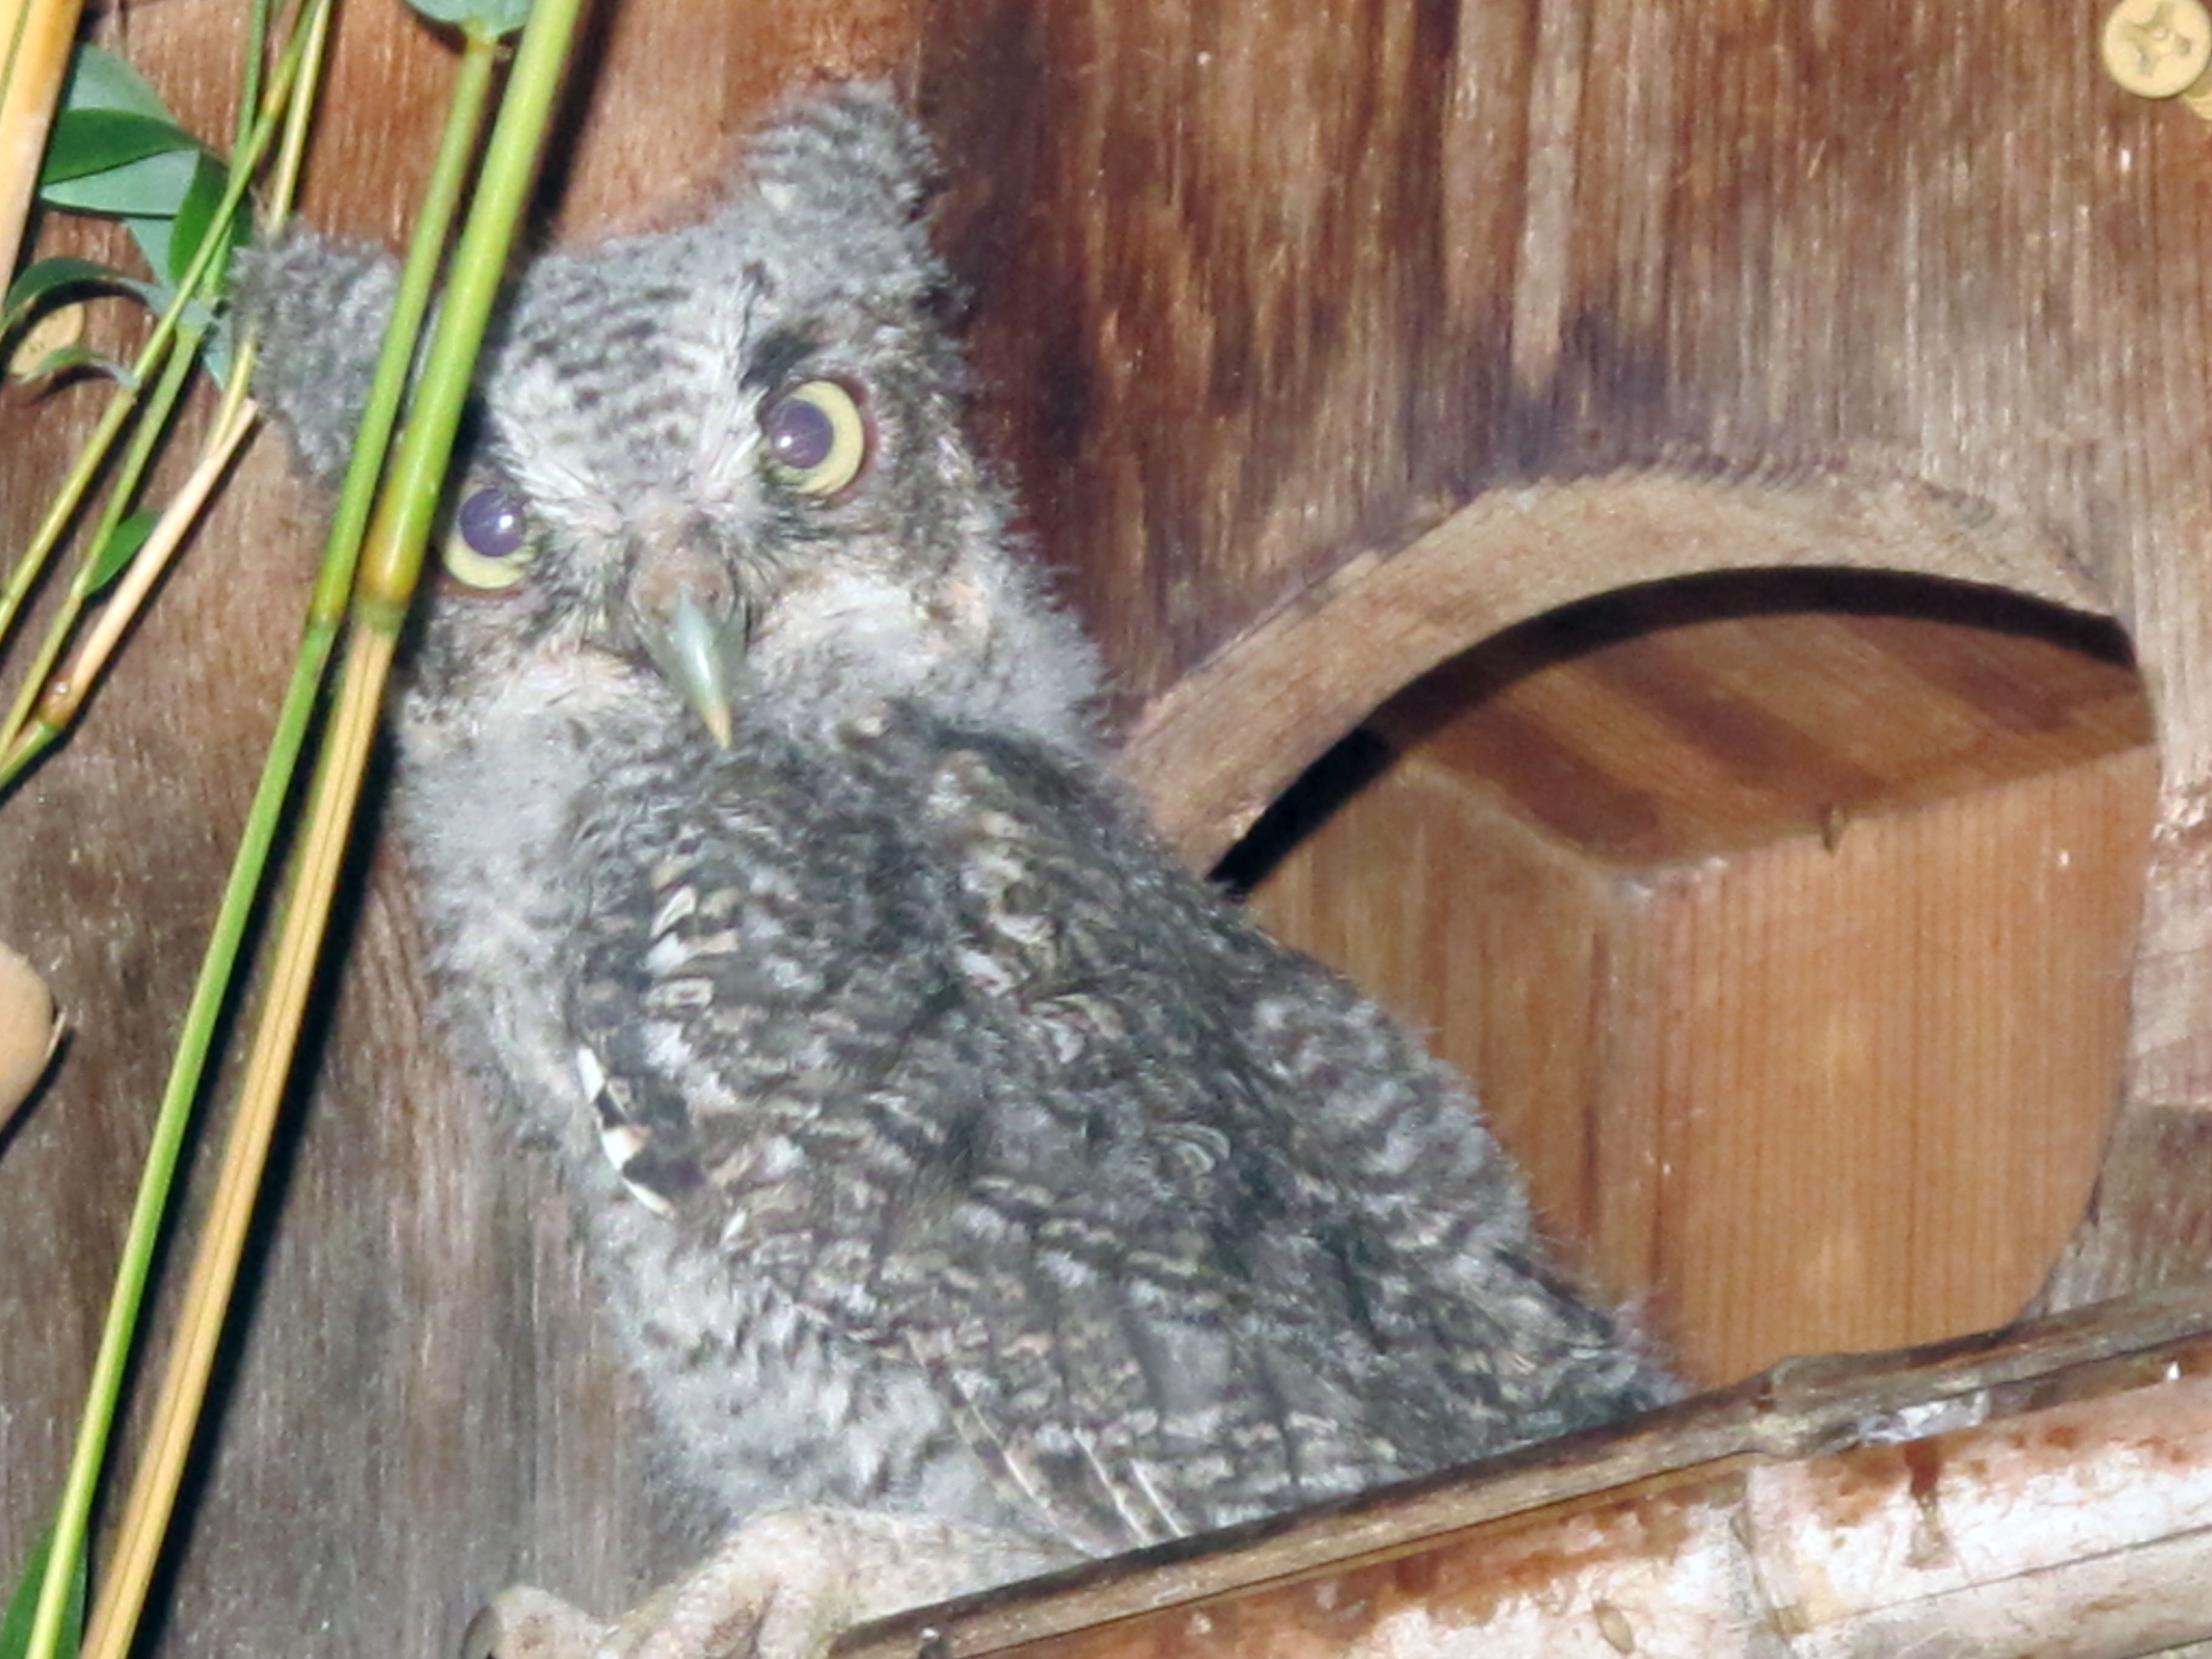
Now that I’ve overloaded you with cuteness, I will get to my updates on Junebug’s restoration. I definitely made some more progress last weekend and today. Last weekend, I bought a paint sprayer. What a great invention! I wish I would have purchased it a while ago because it made shellacking a breeze! The only drawback was the light coating of shellac that is now all over the garage. That can be easily prevented by hanging some drop cloths, but I was being lazy because it was clear shellac. If I use the sprayer for colored paint, I will be more careful.
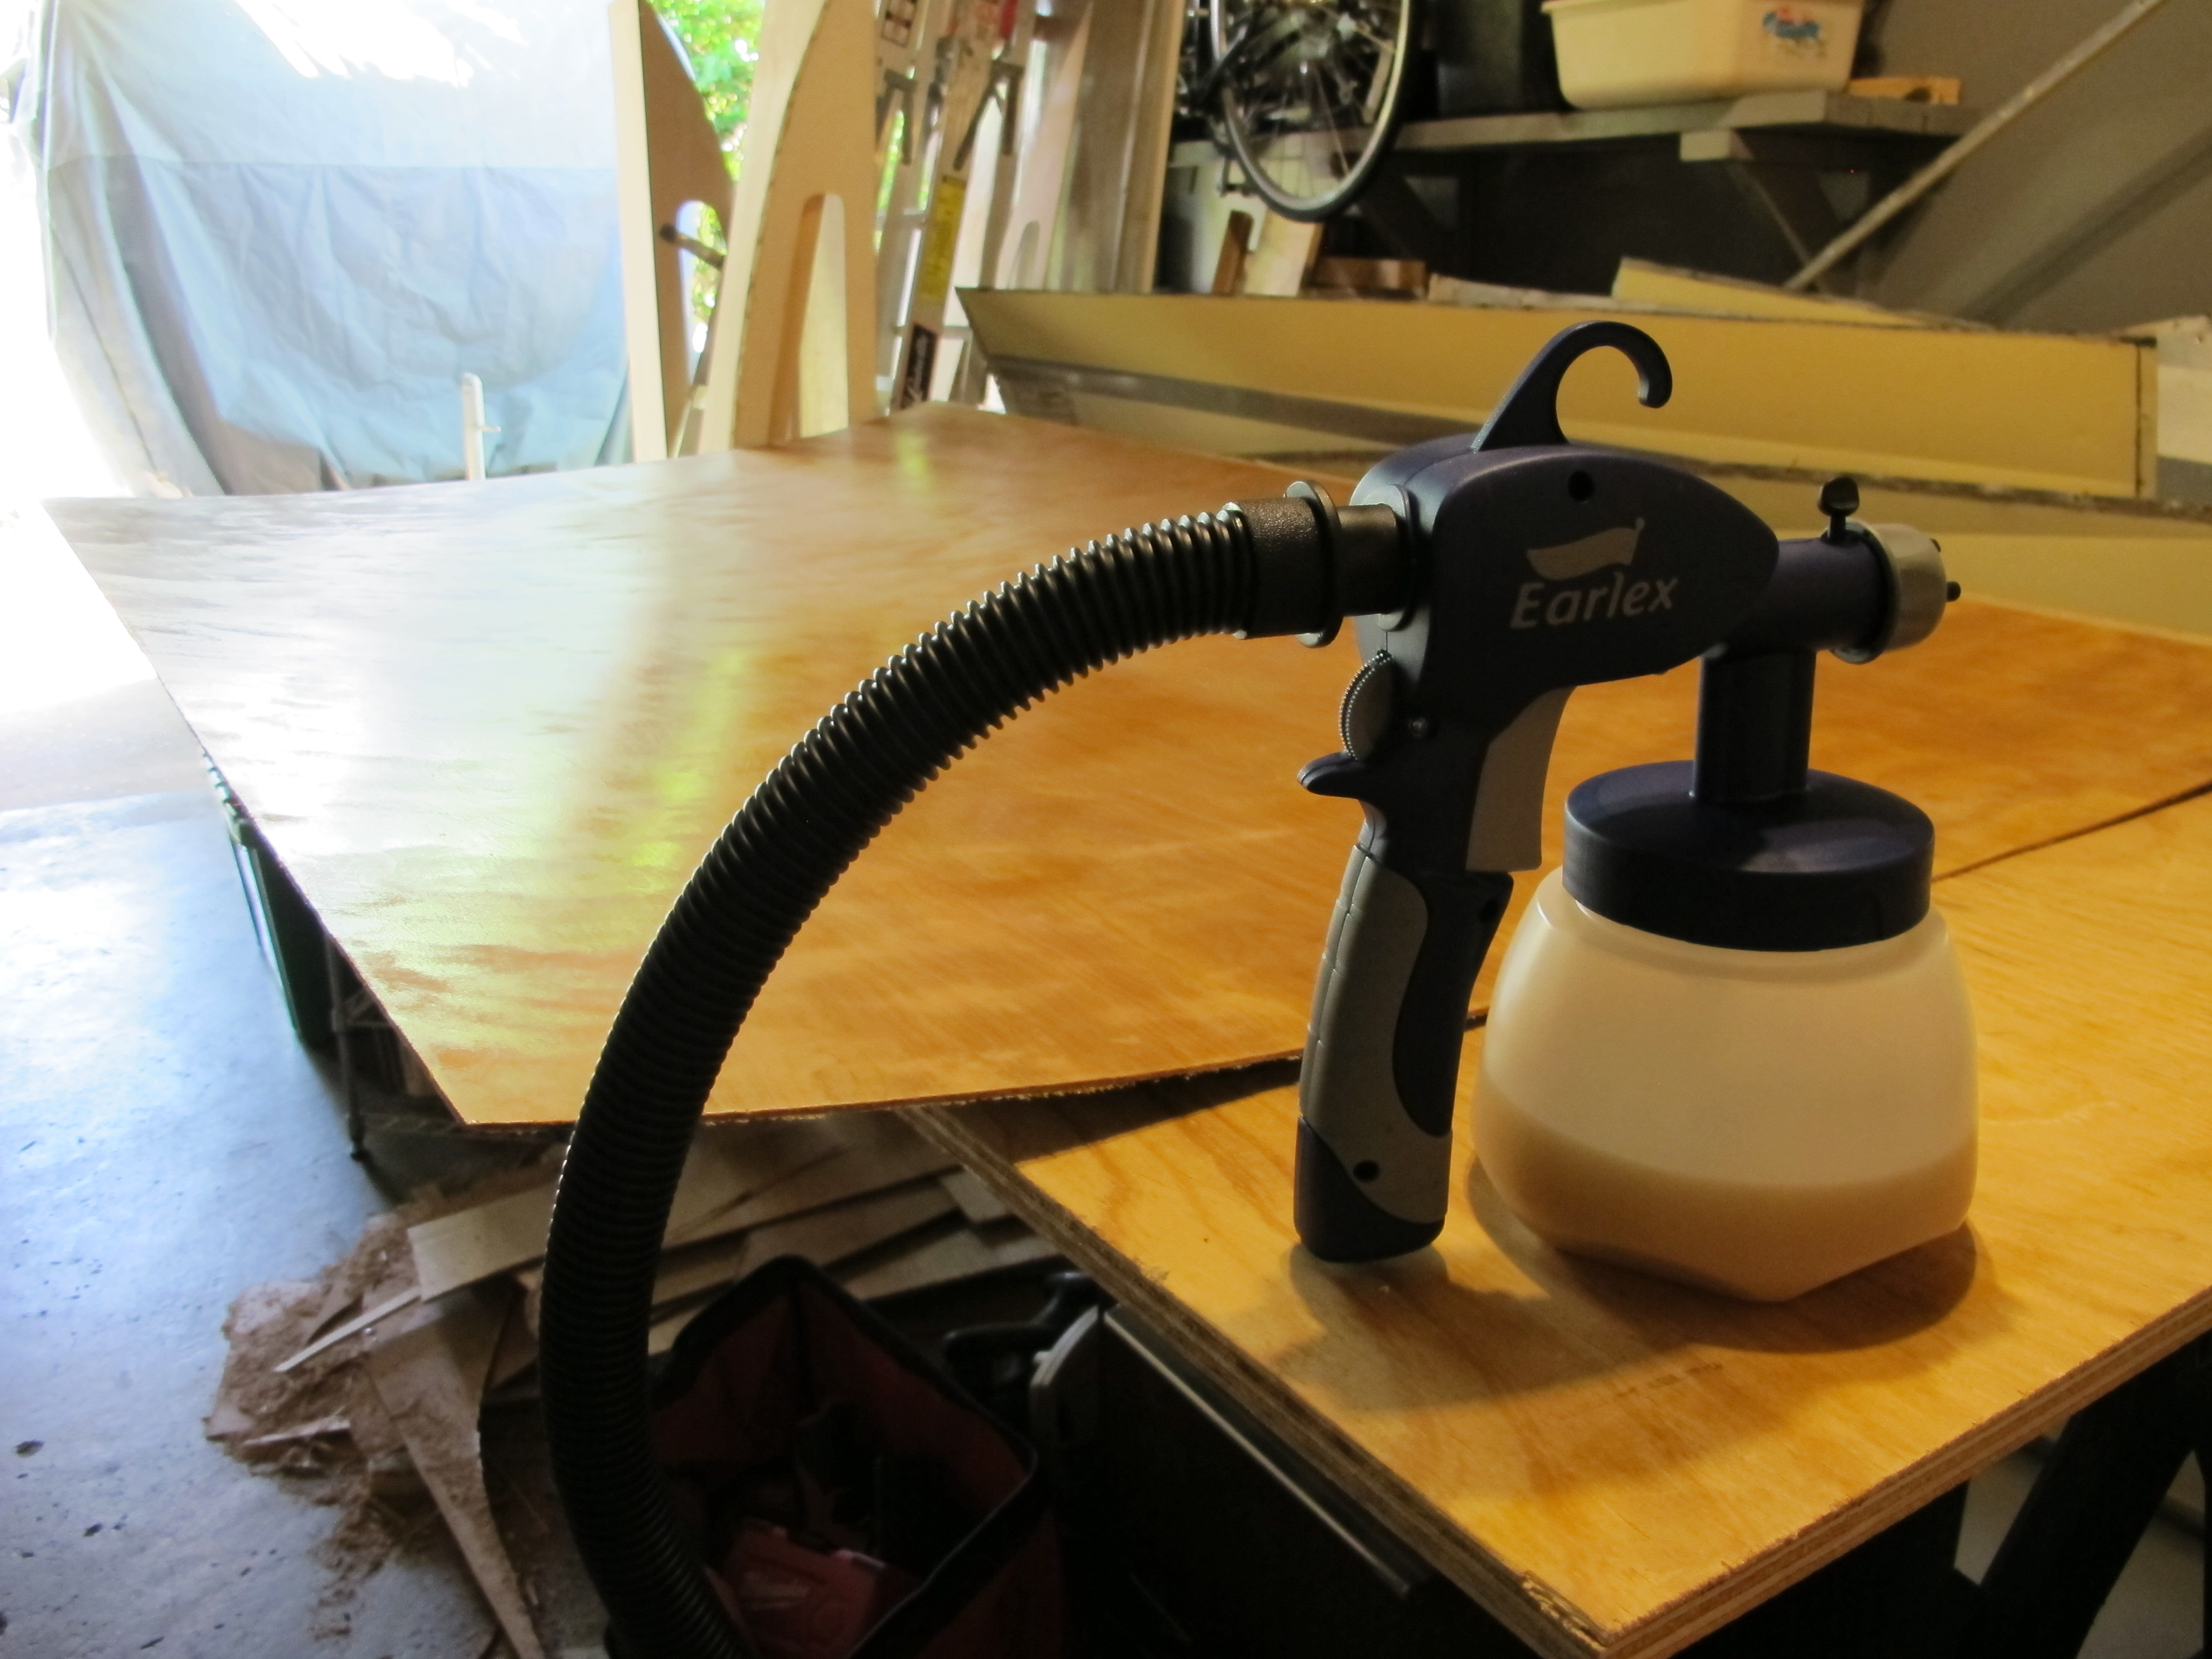
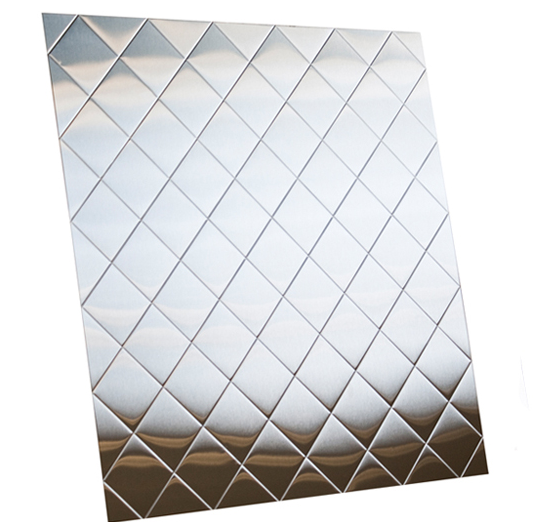
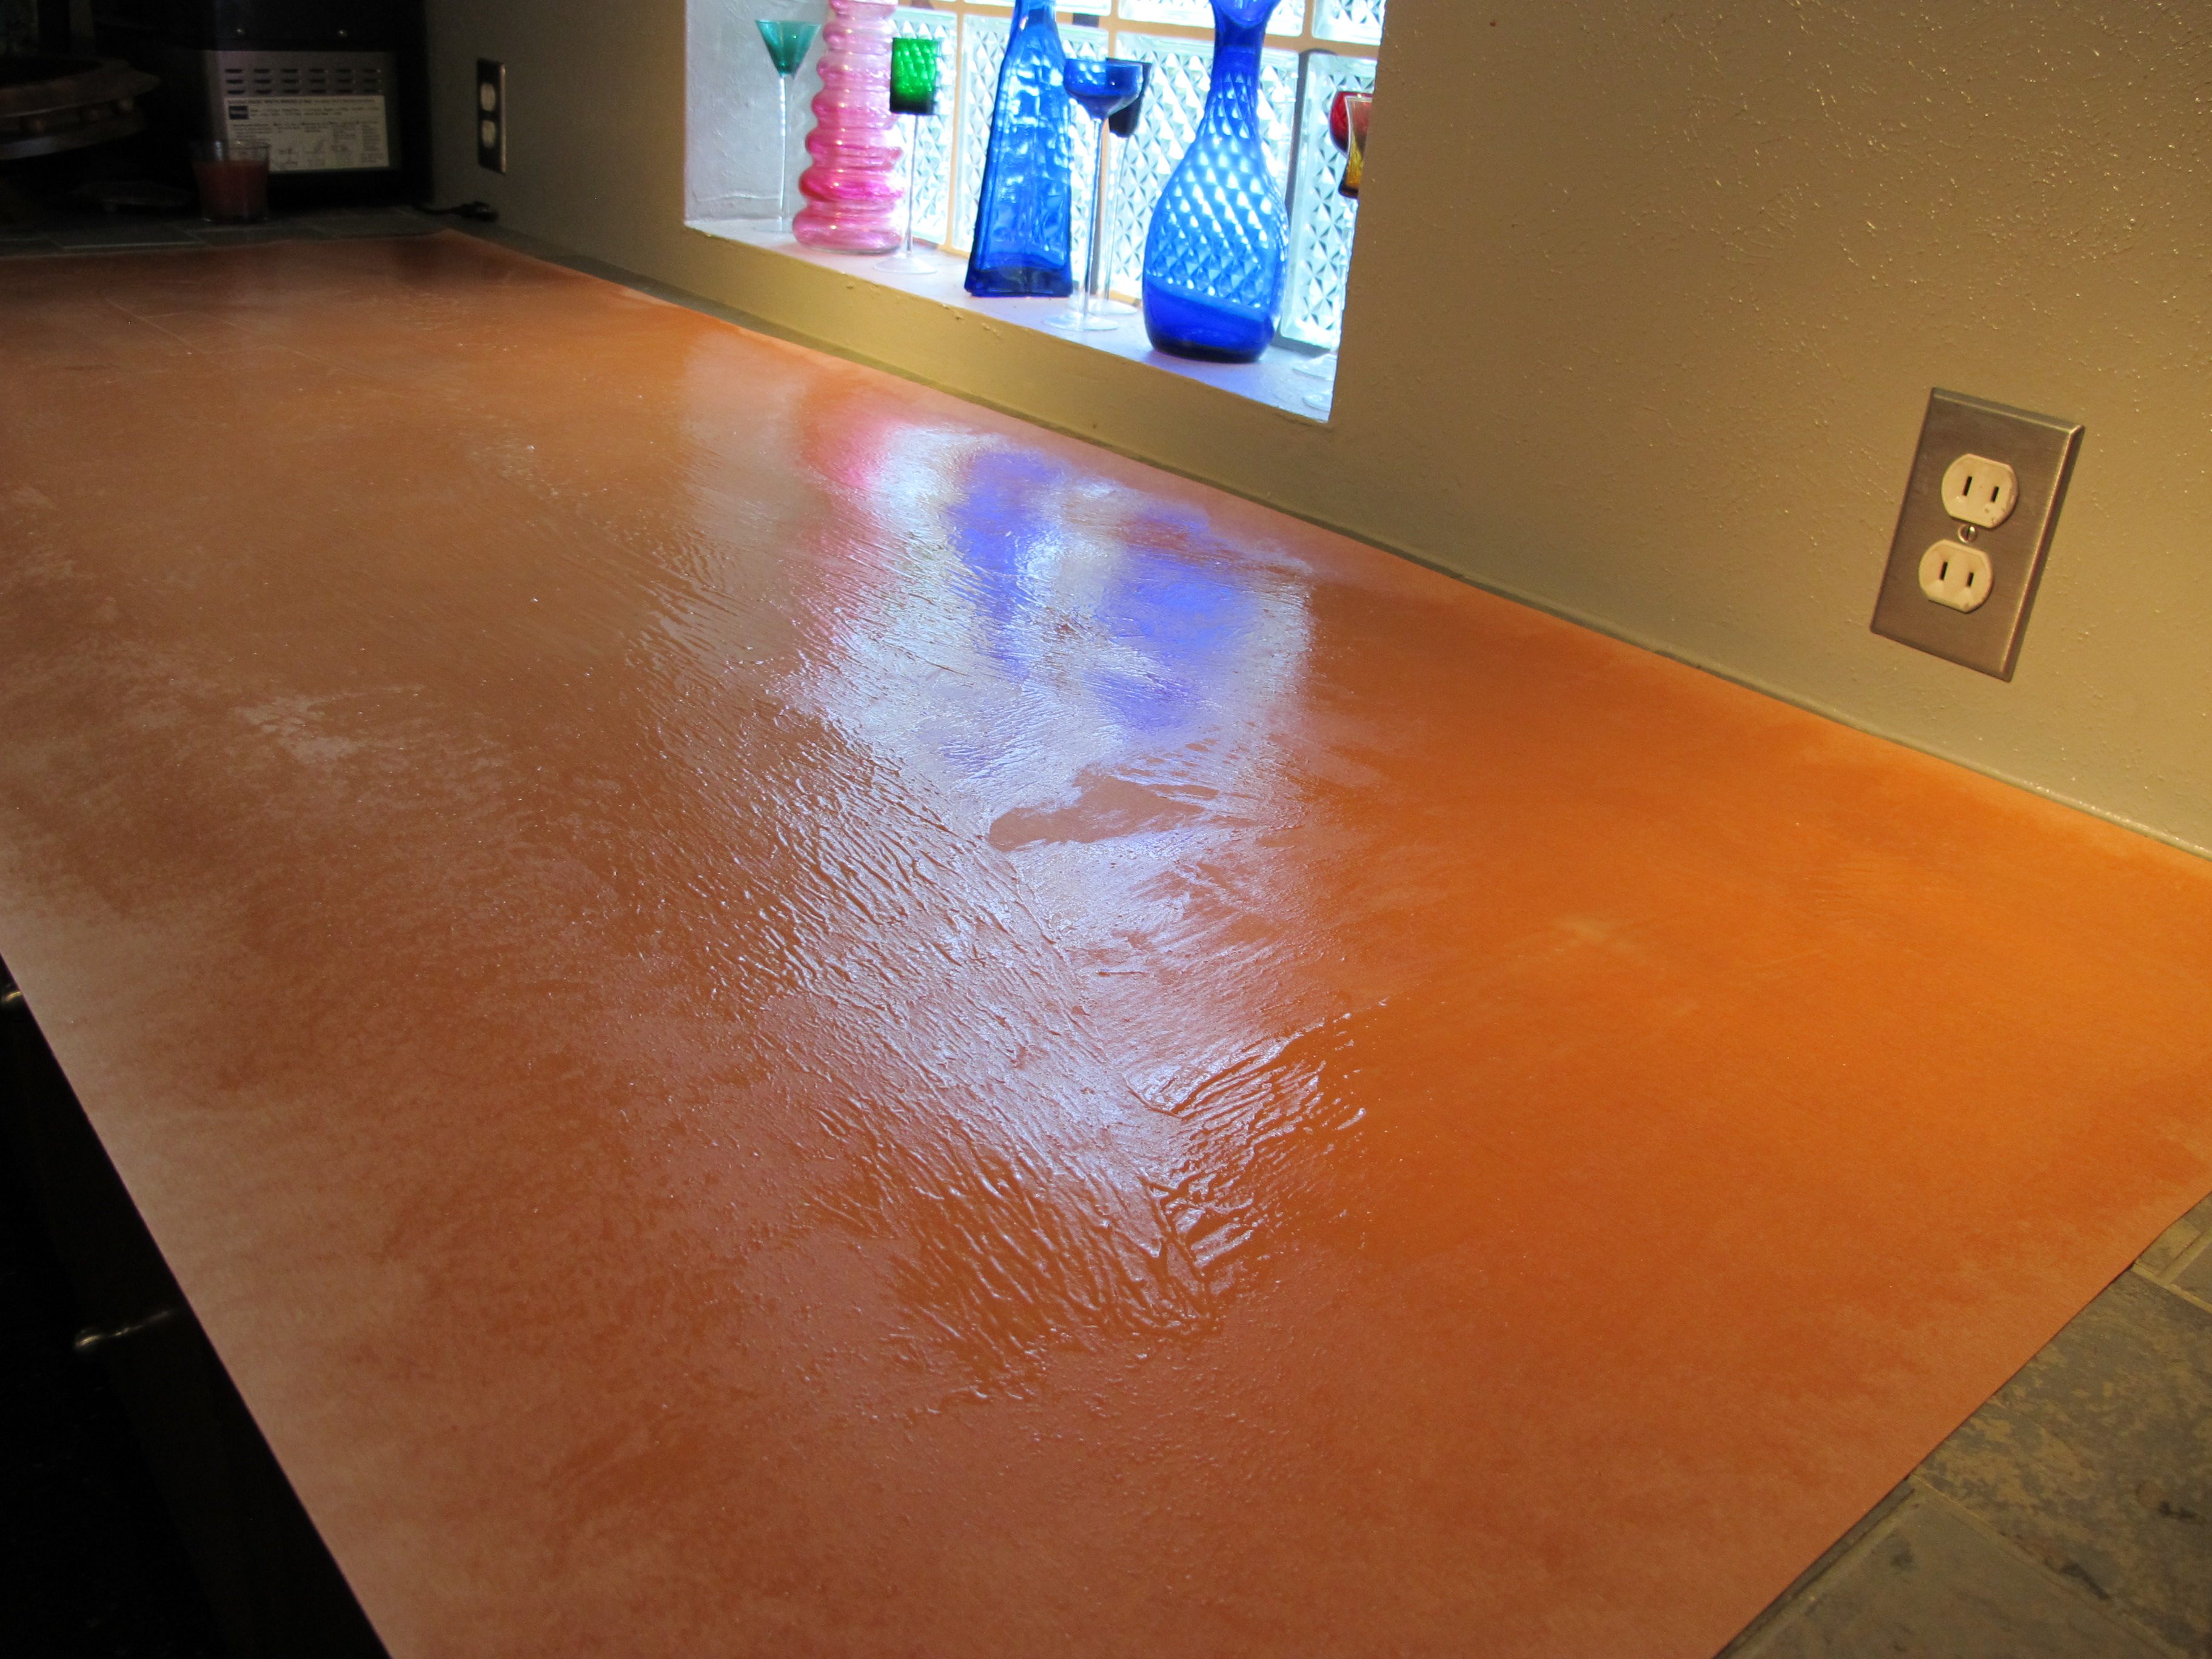
Just look at the result! So shiny and beautiful. 🙂 This is after three coats of amber shellac (with a brush) and then four coats of clear shellac with the sprayer. It almost has a mirror finish. I couldn’t be more pleased. 
This weekend I had a helper! It was nice to have a friend come to help me. He helped me get the stubborn sink faucet unscrewed so that I can repair it since it was leaking. I needed to remove it anyway since I will be replacing the laminate on the kitchen countertop.
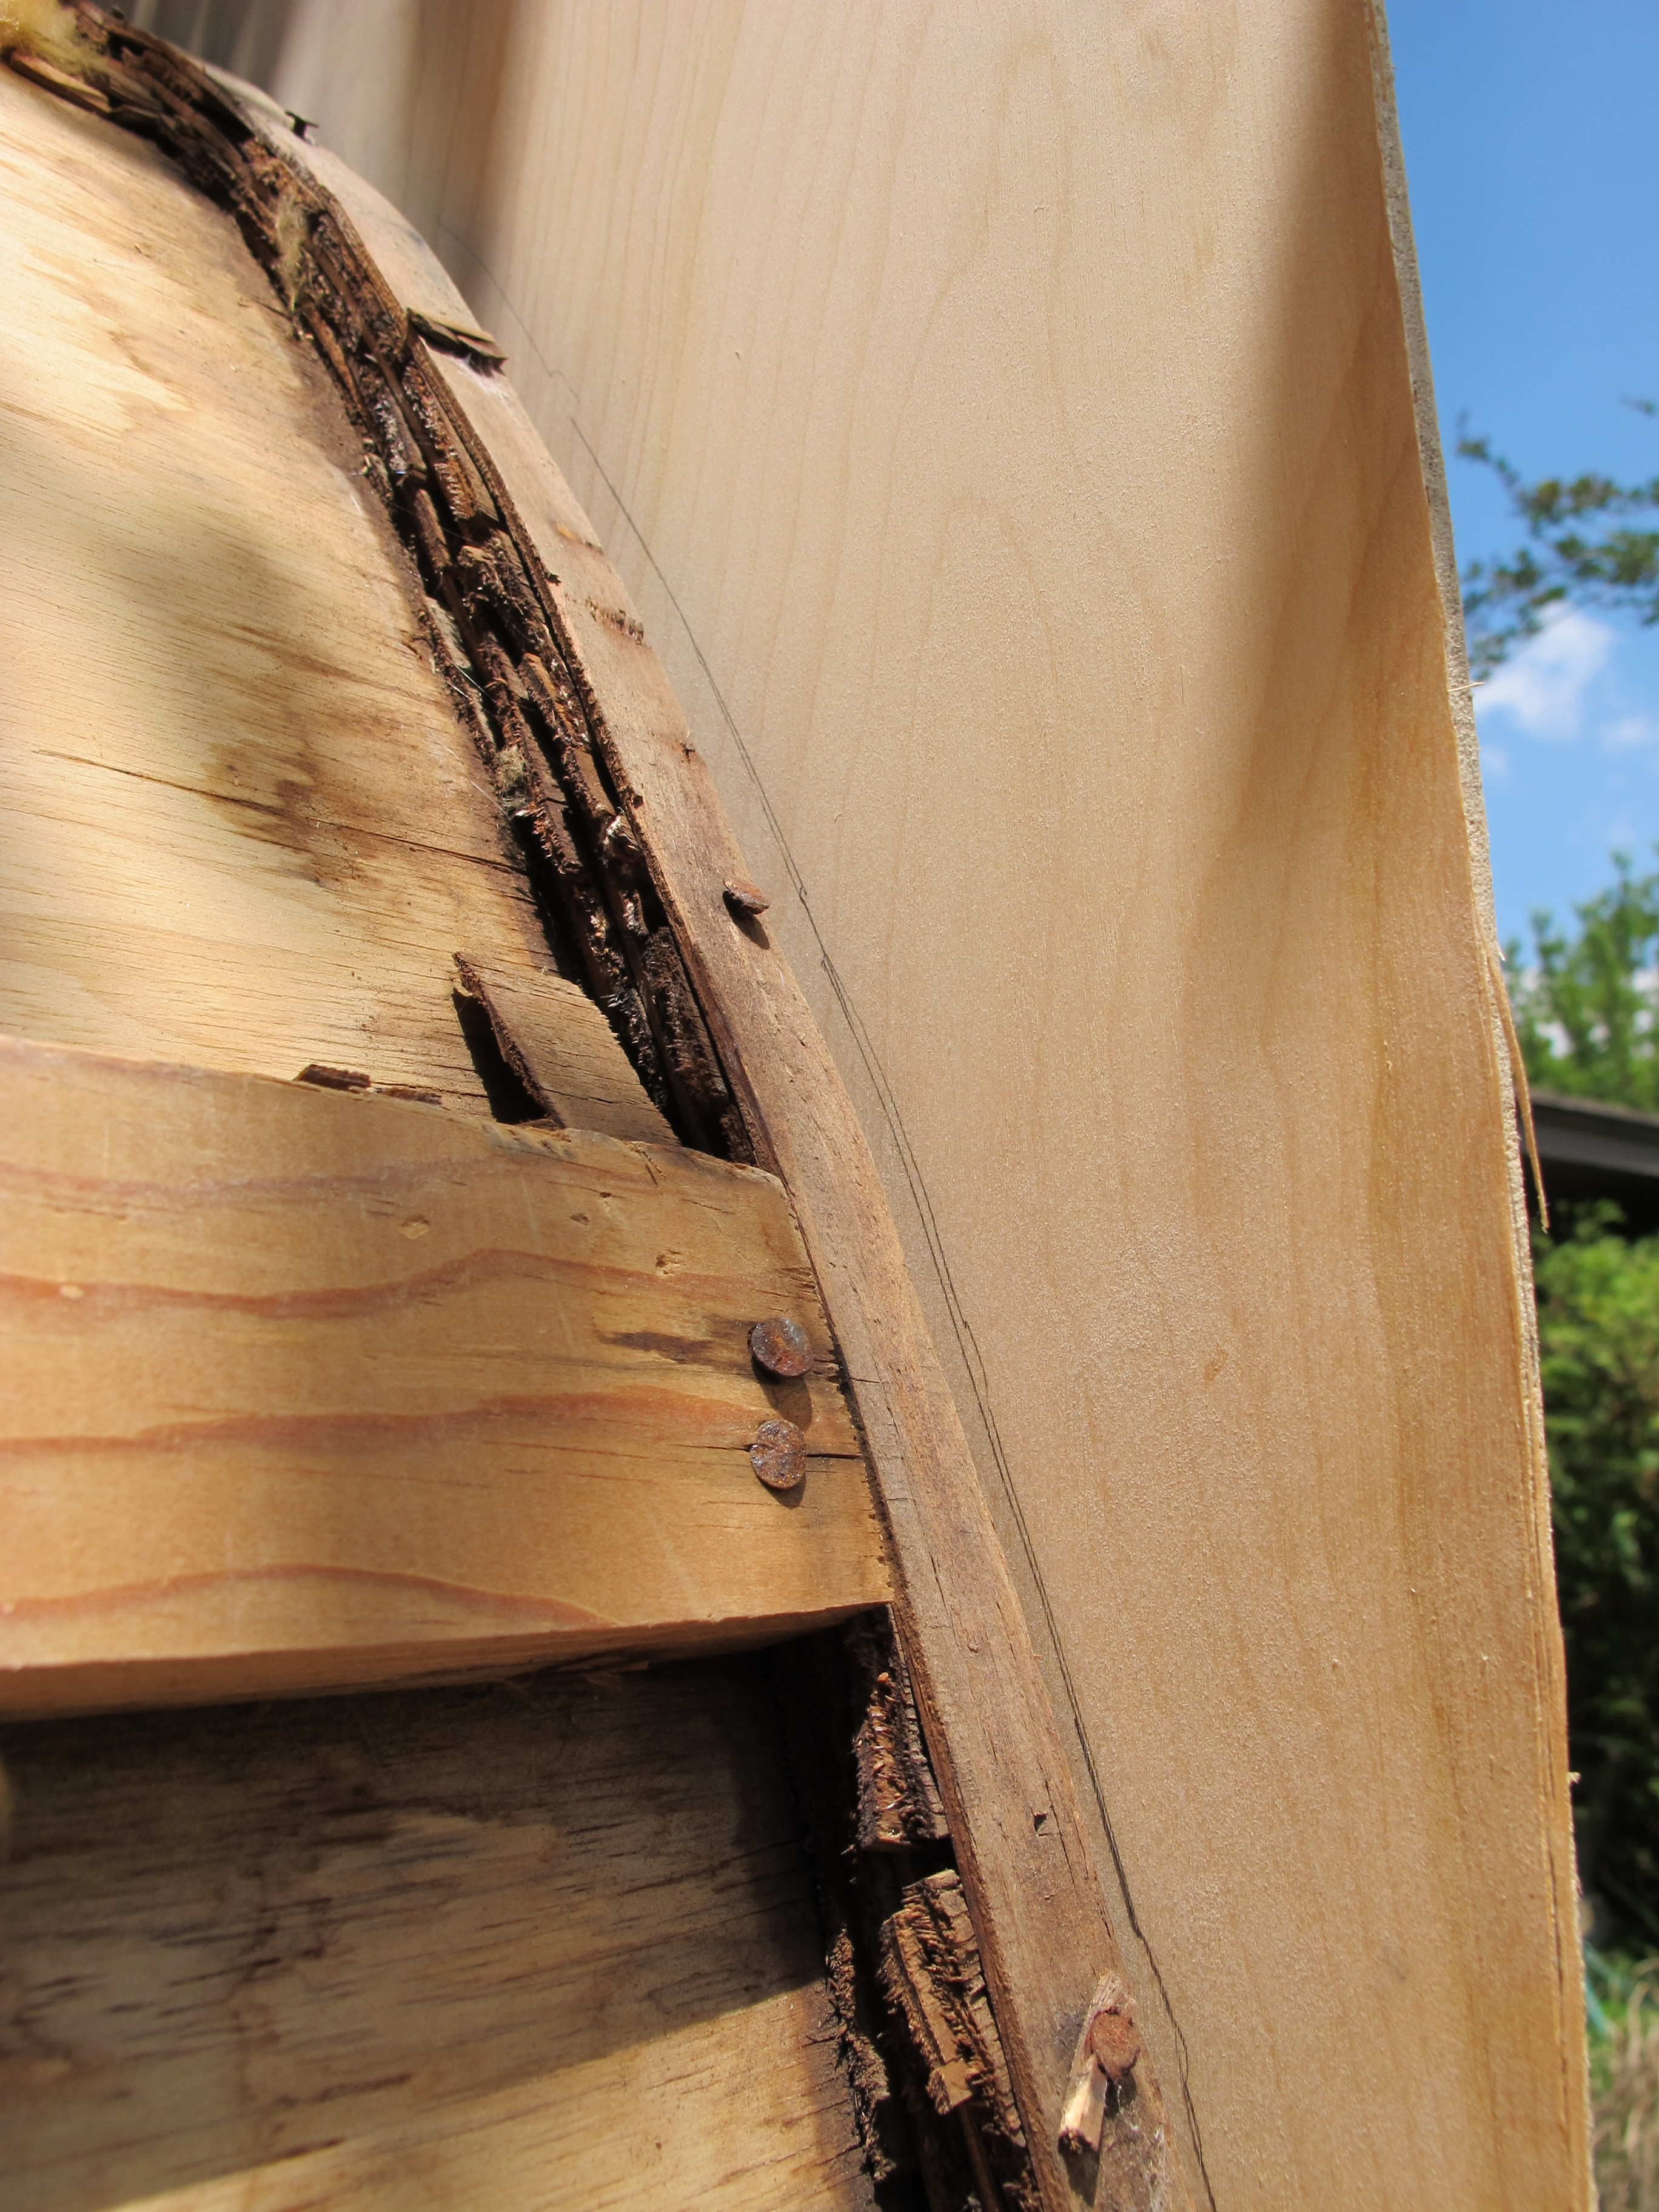
My friend and I also removed one of the support beams from under the camper and placed a new 2×4 there to replace it. I had to borrow my neighbor’s drill bit again because I didn’t have one long enough to drill through the 2×4 in order to put the carriage bolt through to secure the beams and subfloor to the frame. It’s all secure now!
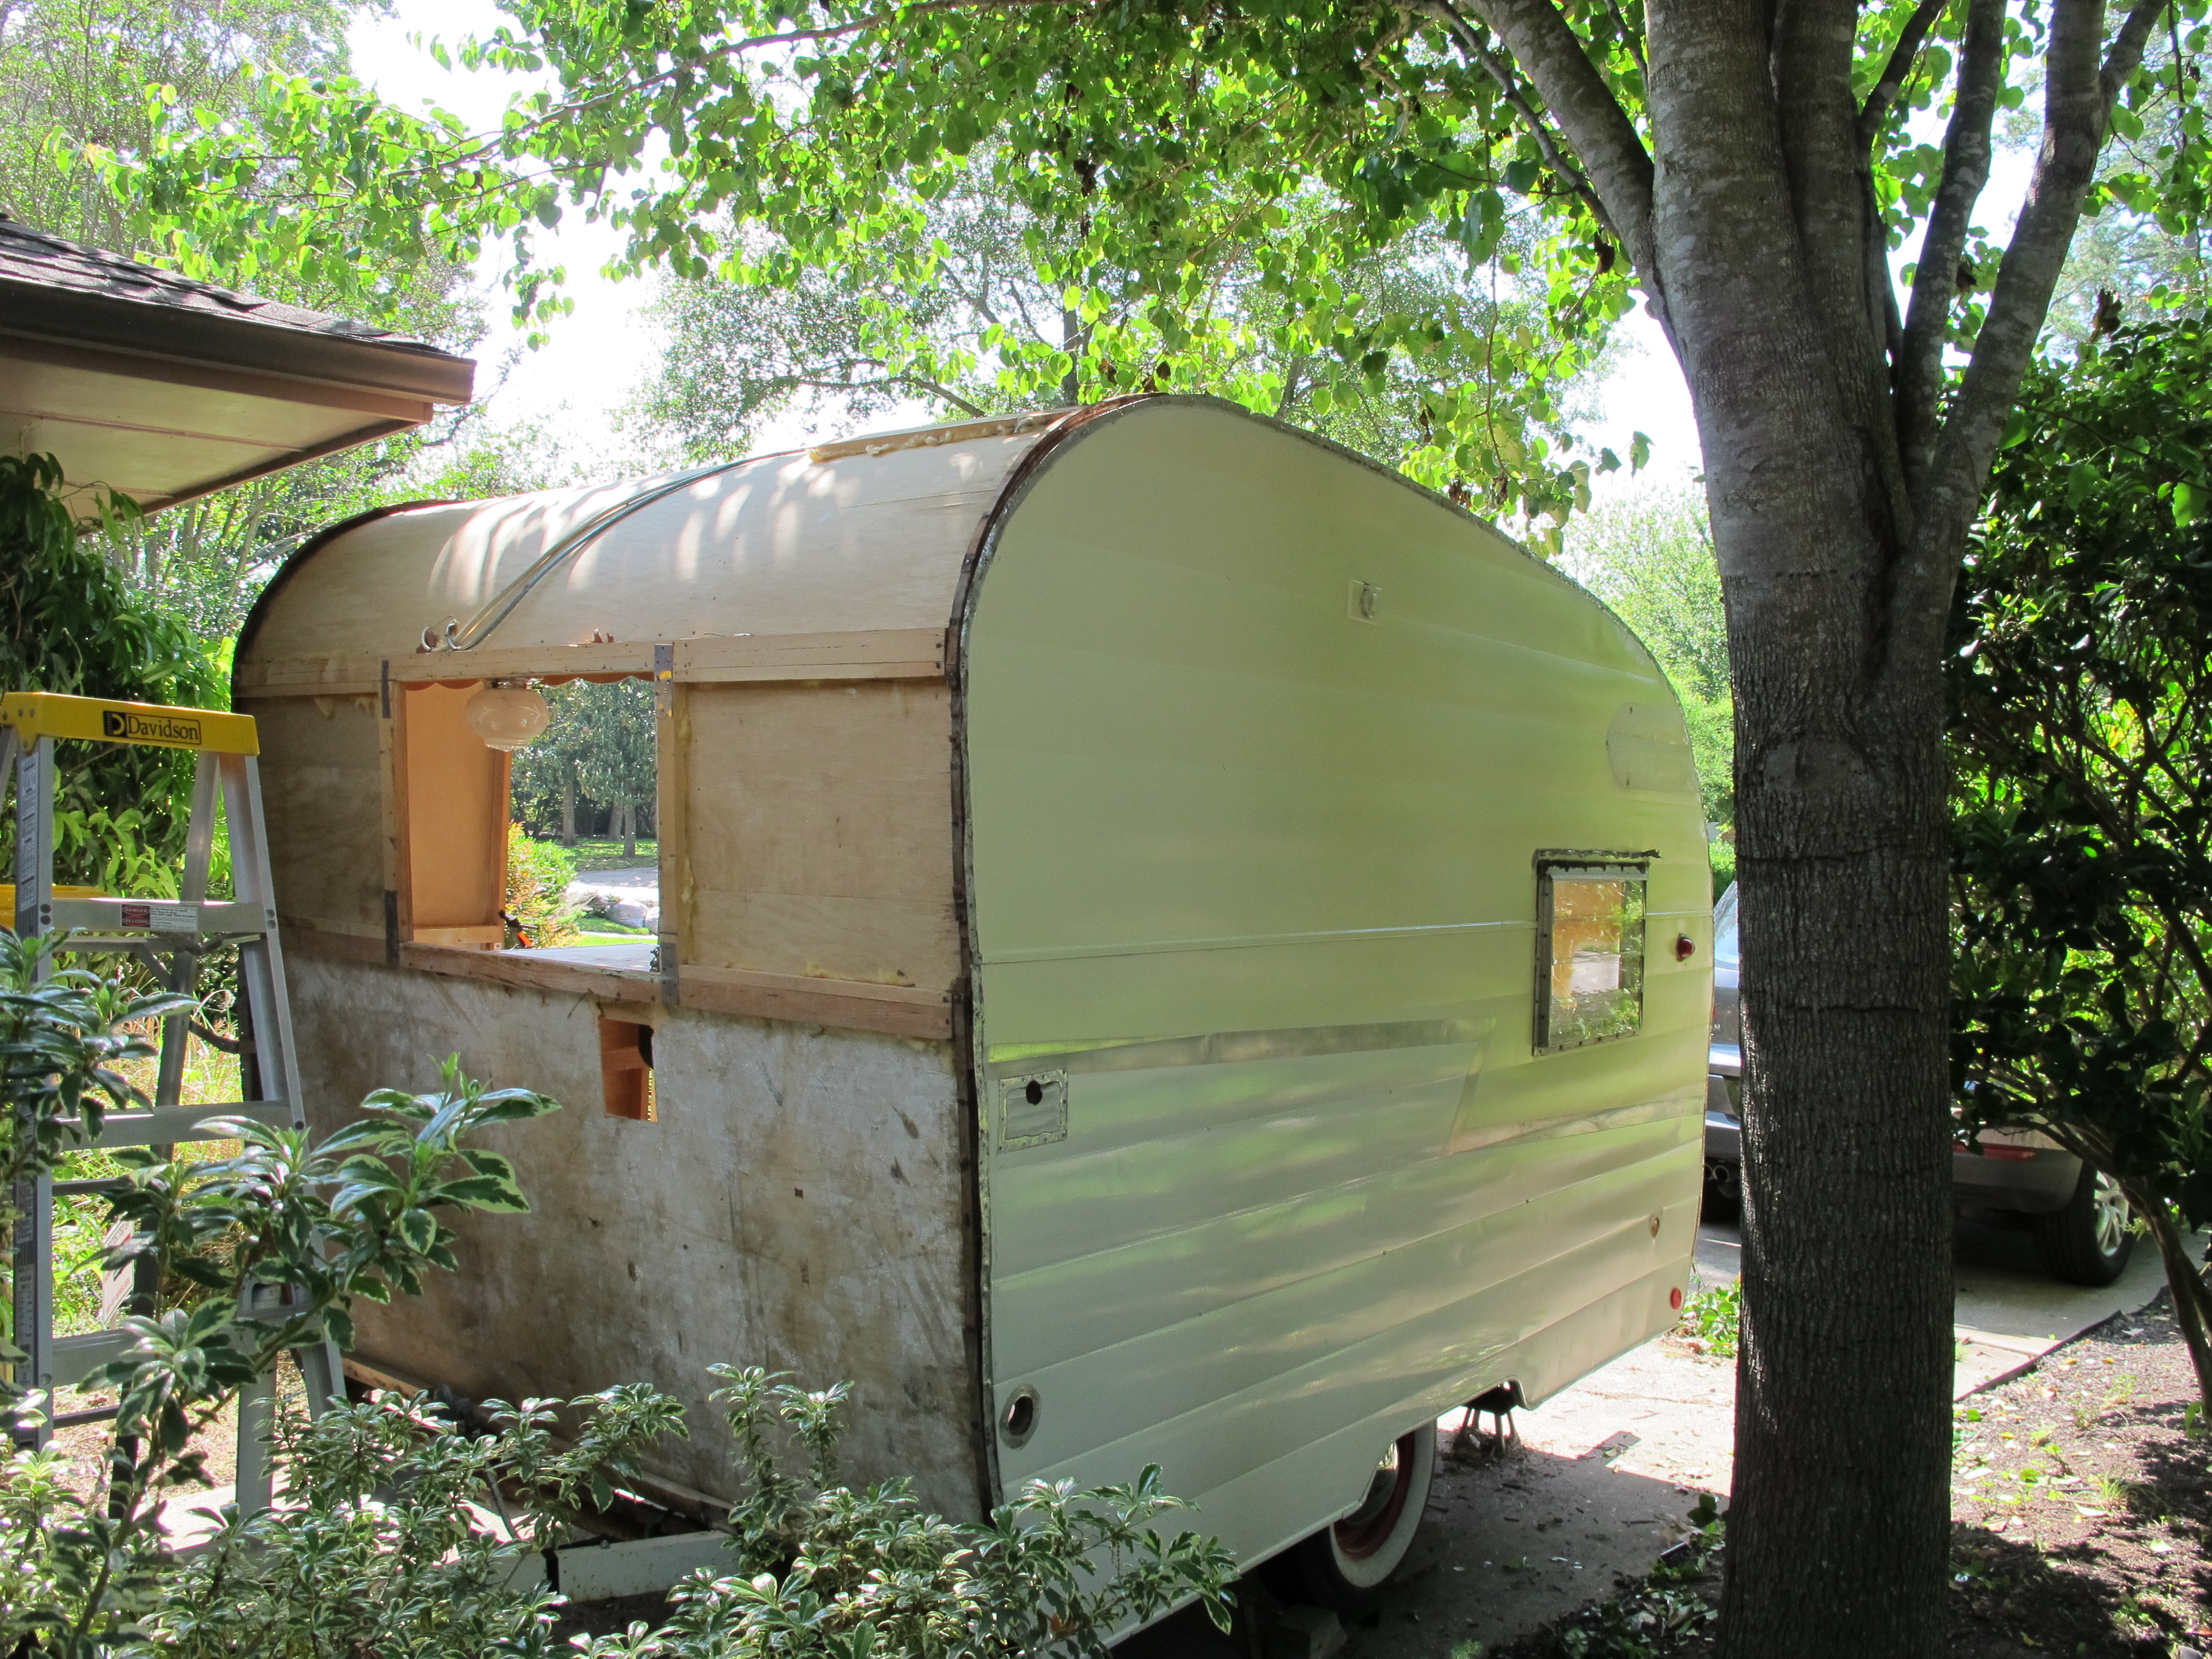
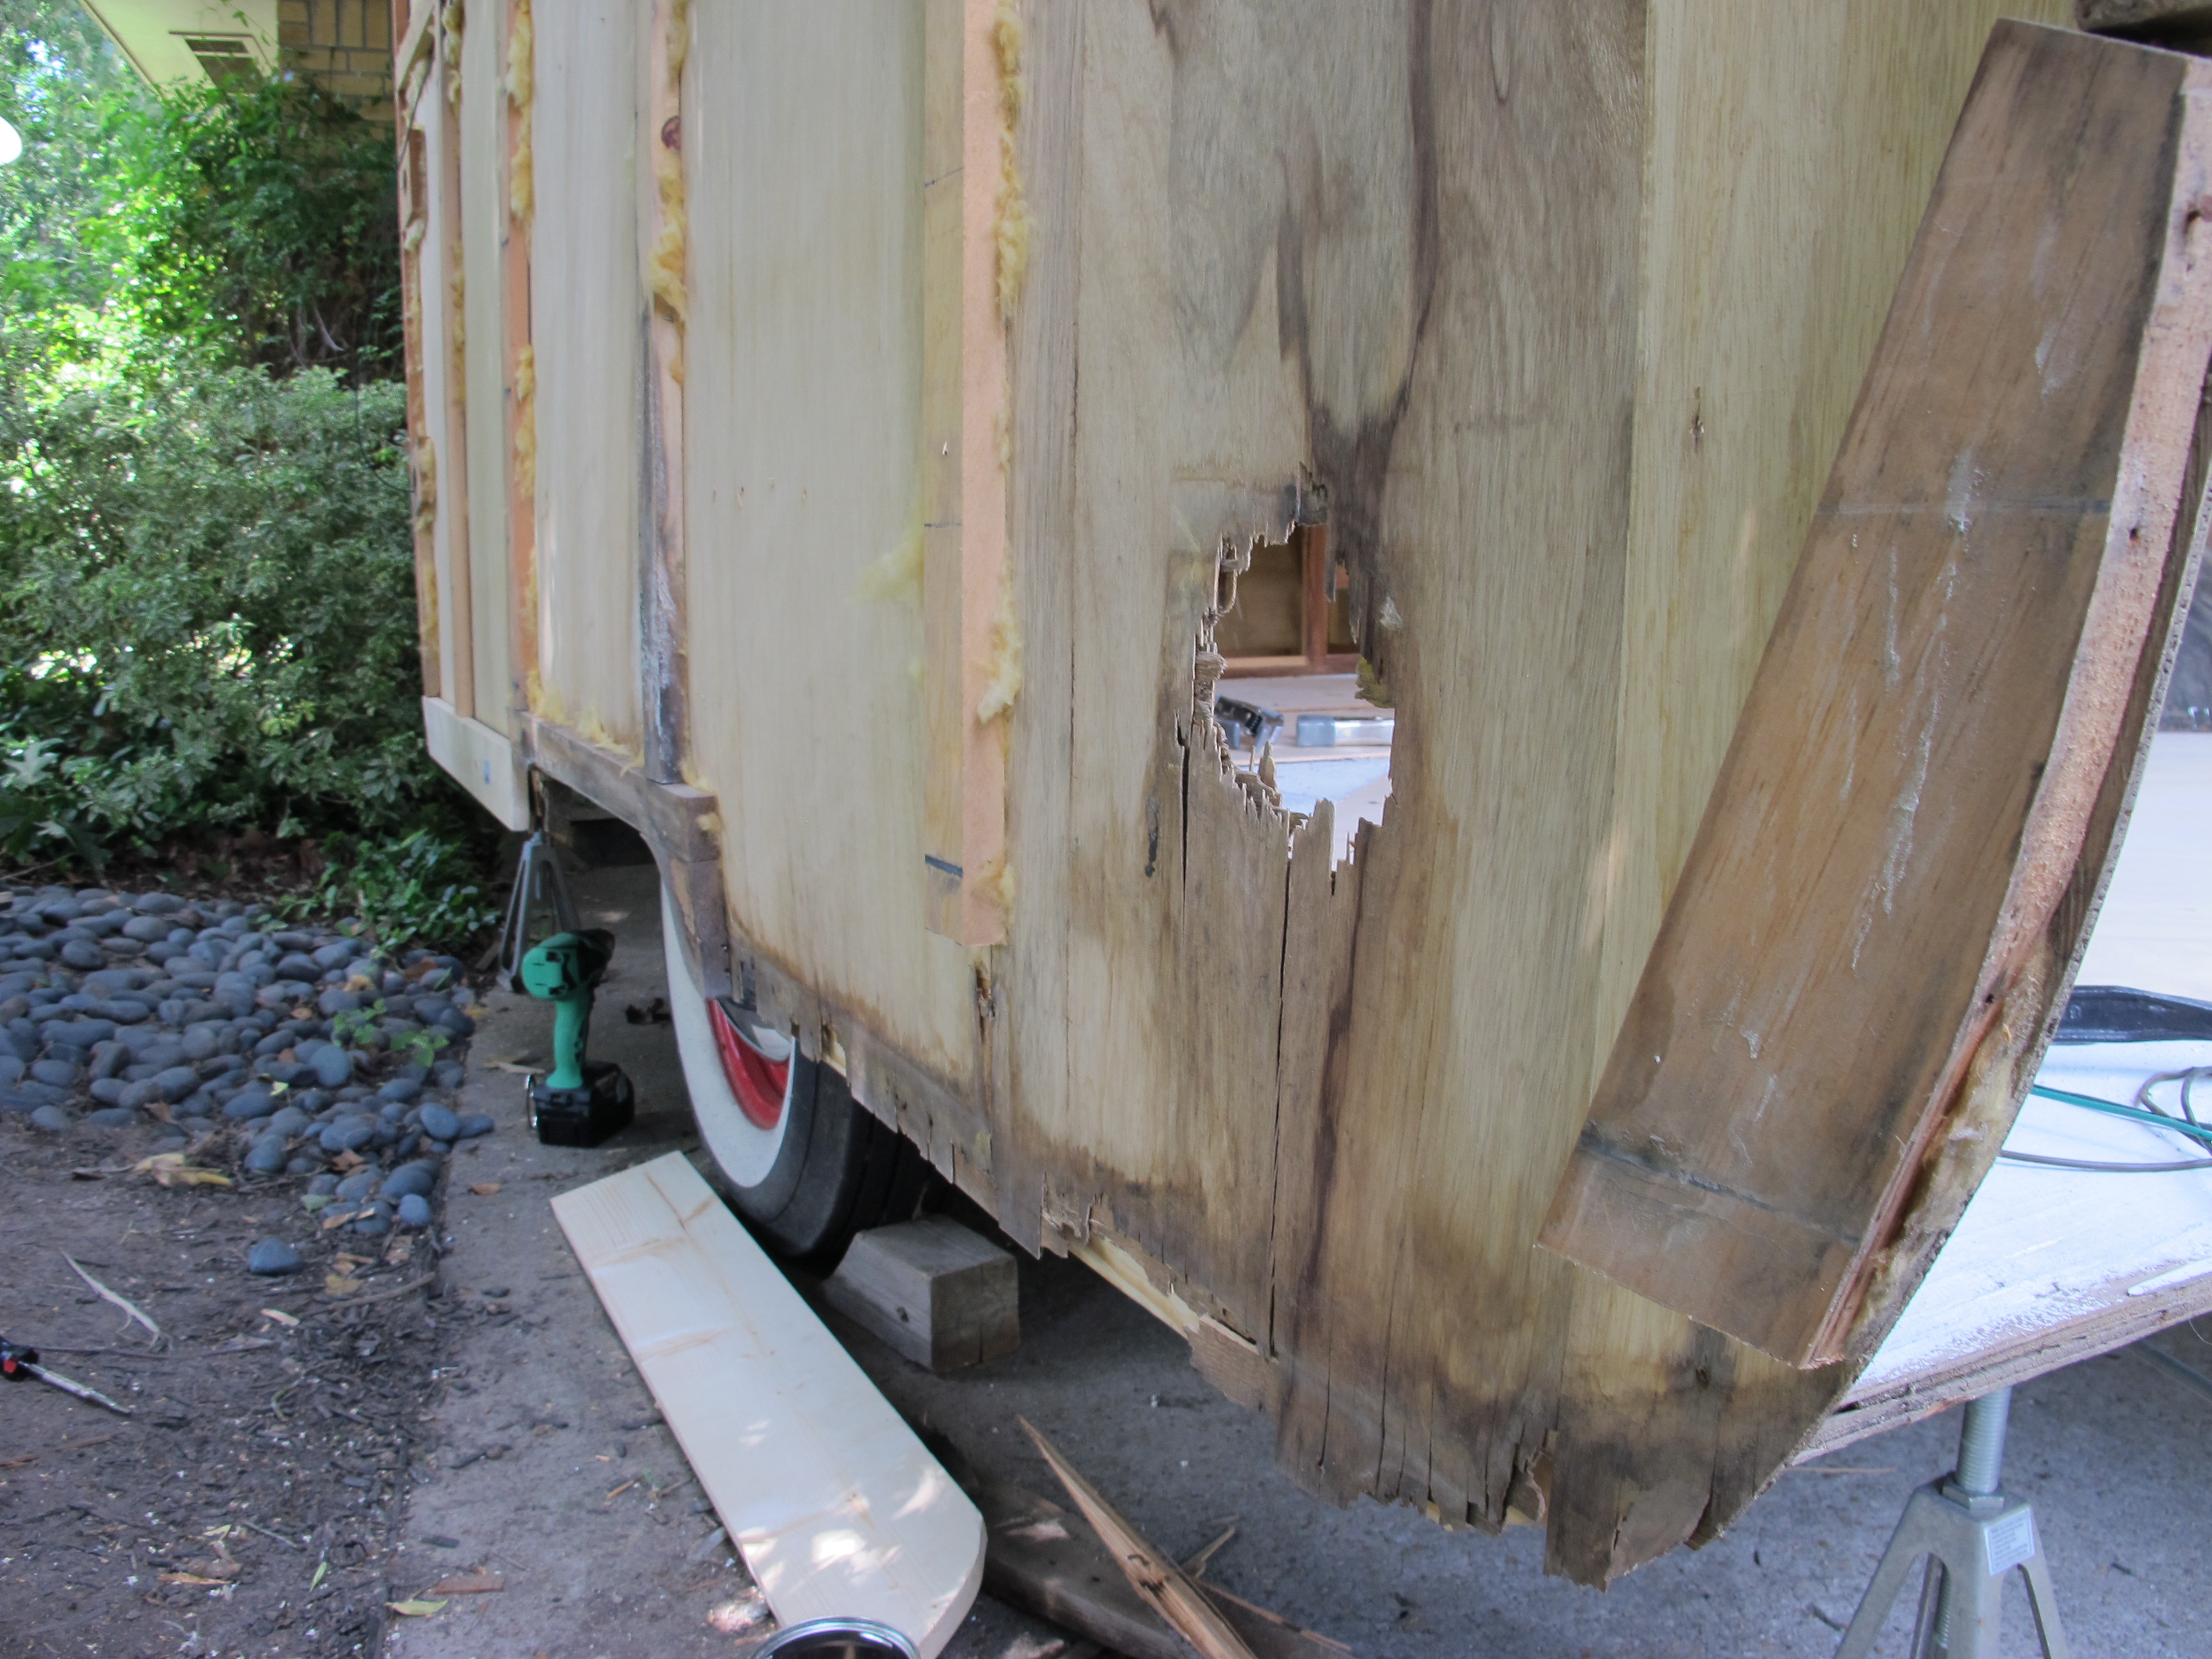
Here’s my friend cutting some of the wood for the frame. Here’s the before picture.
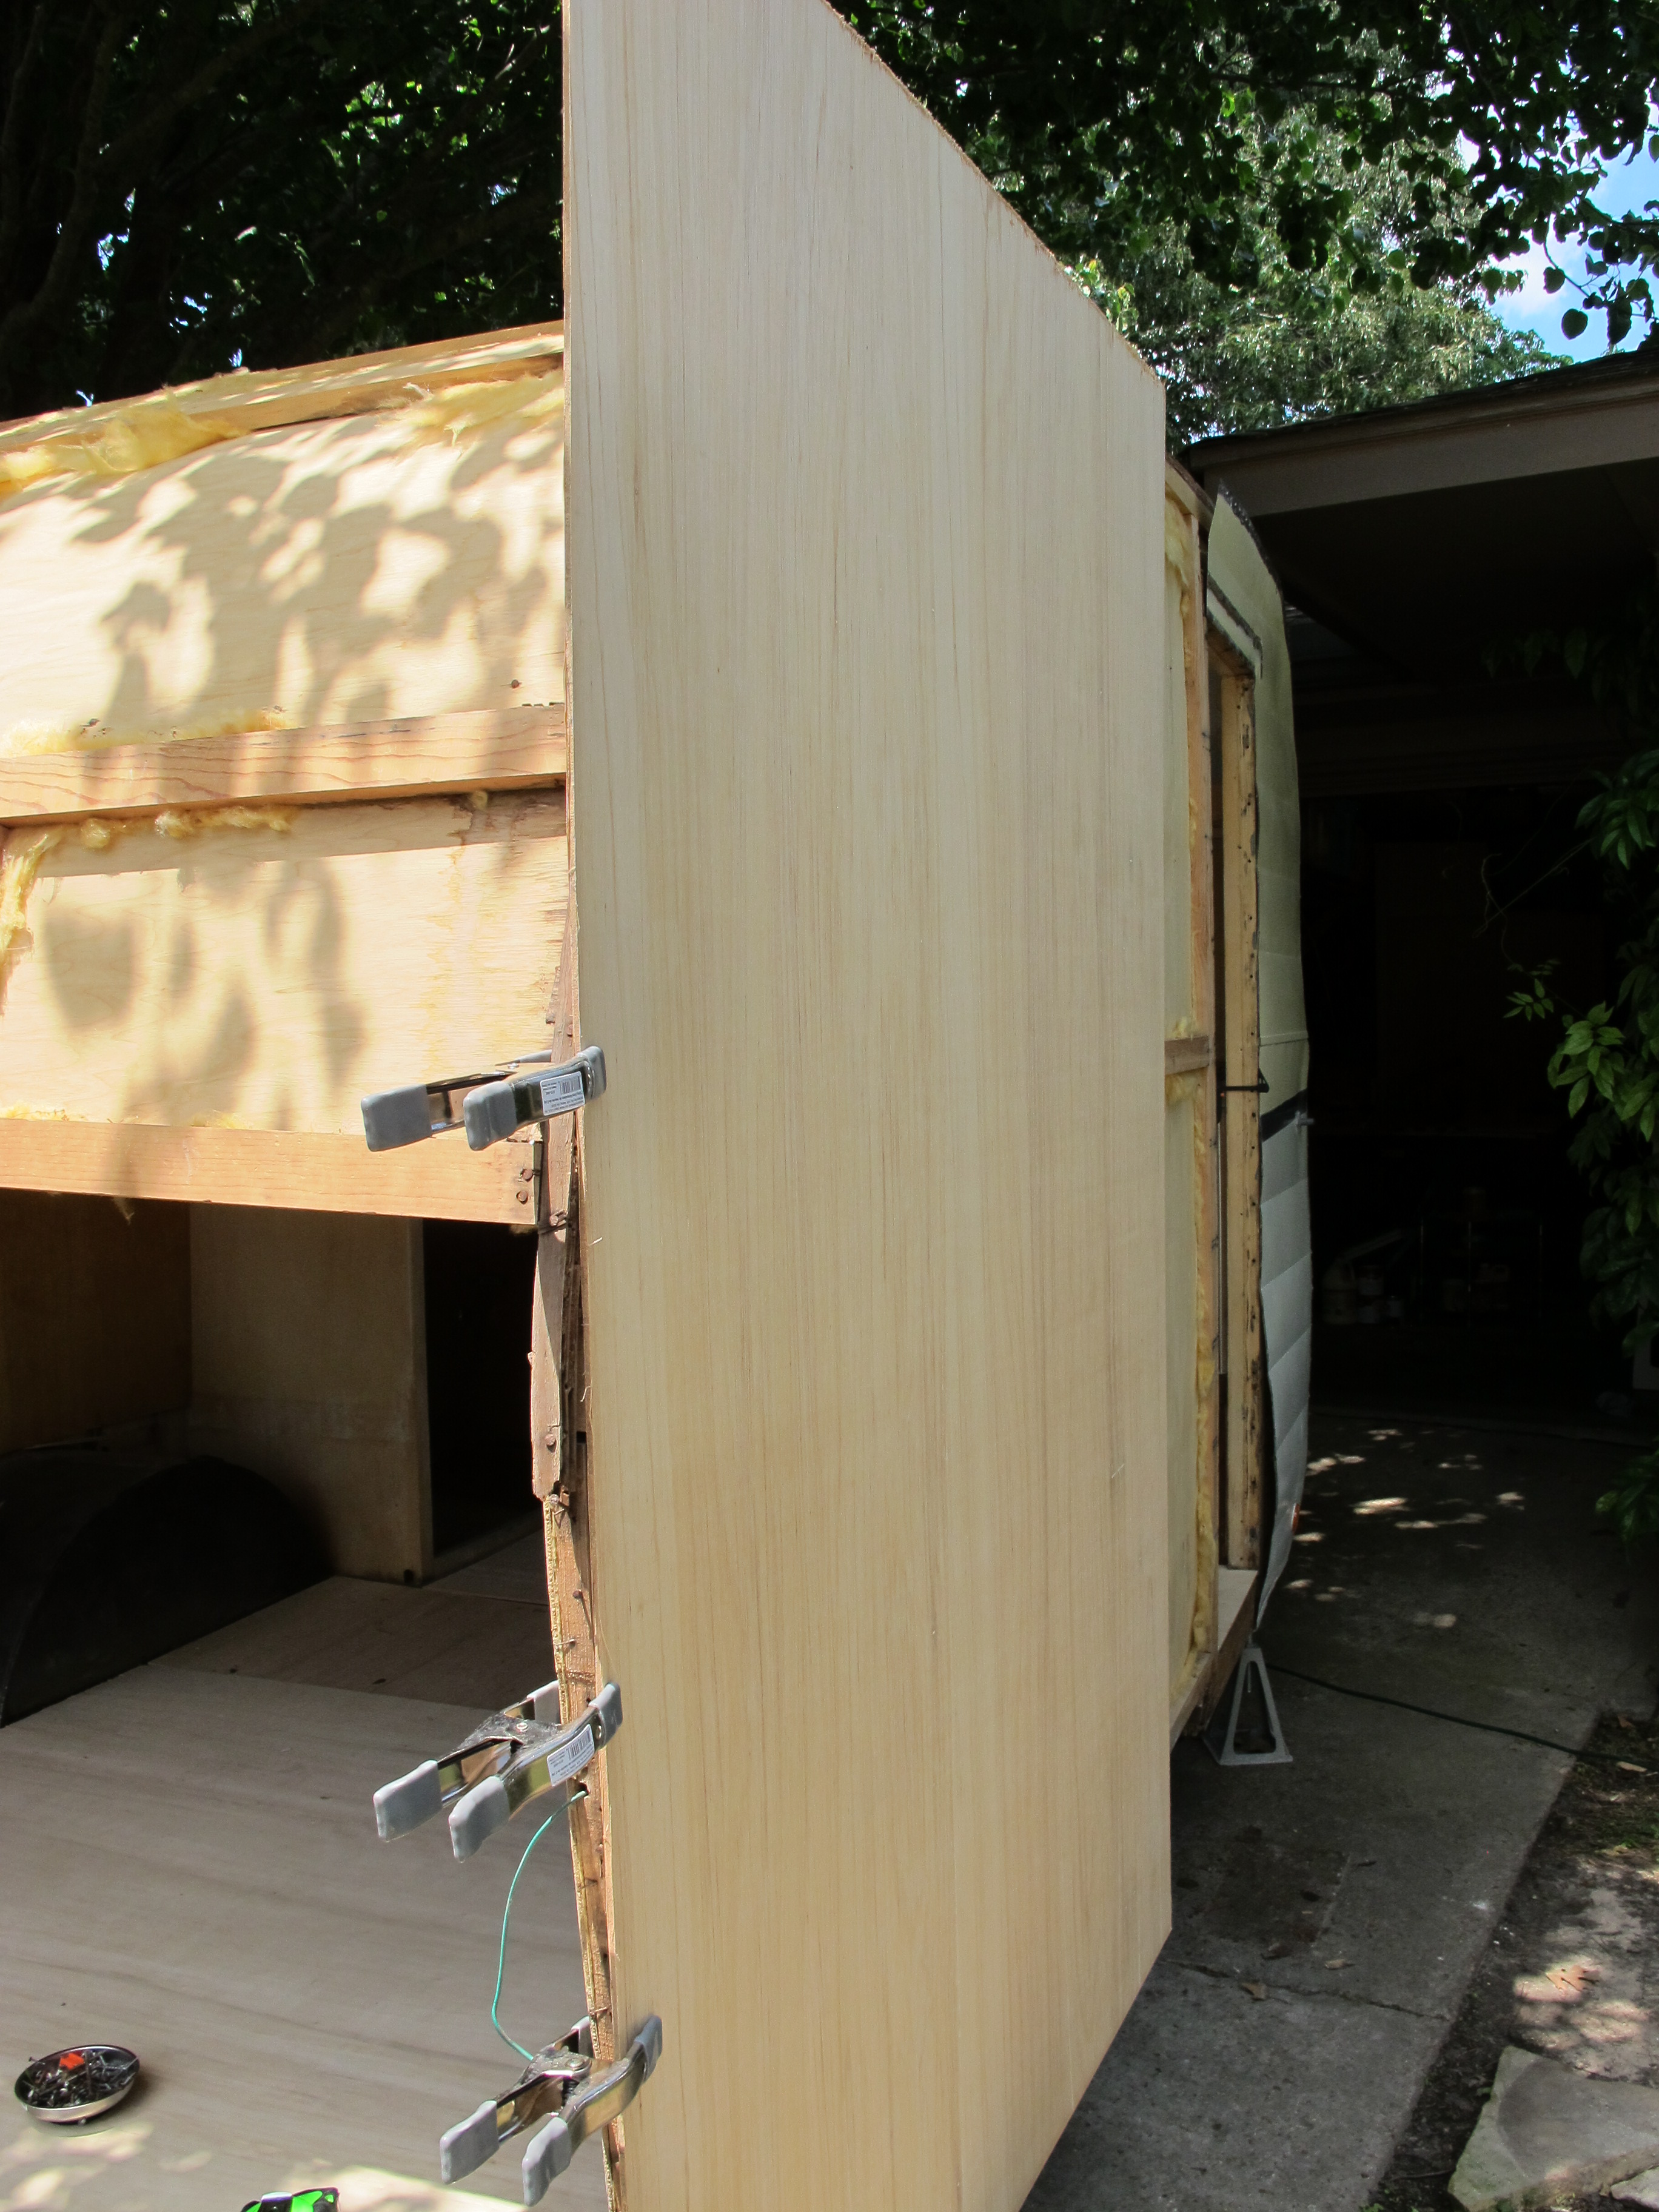
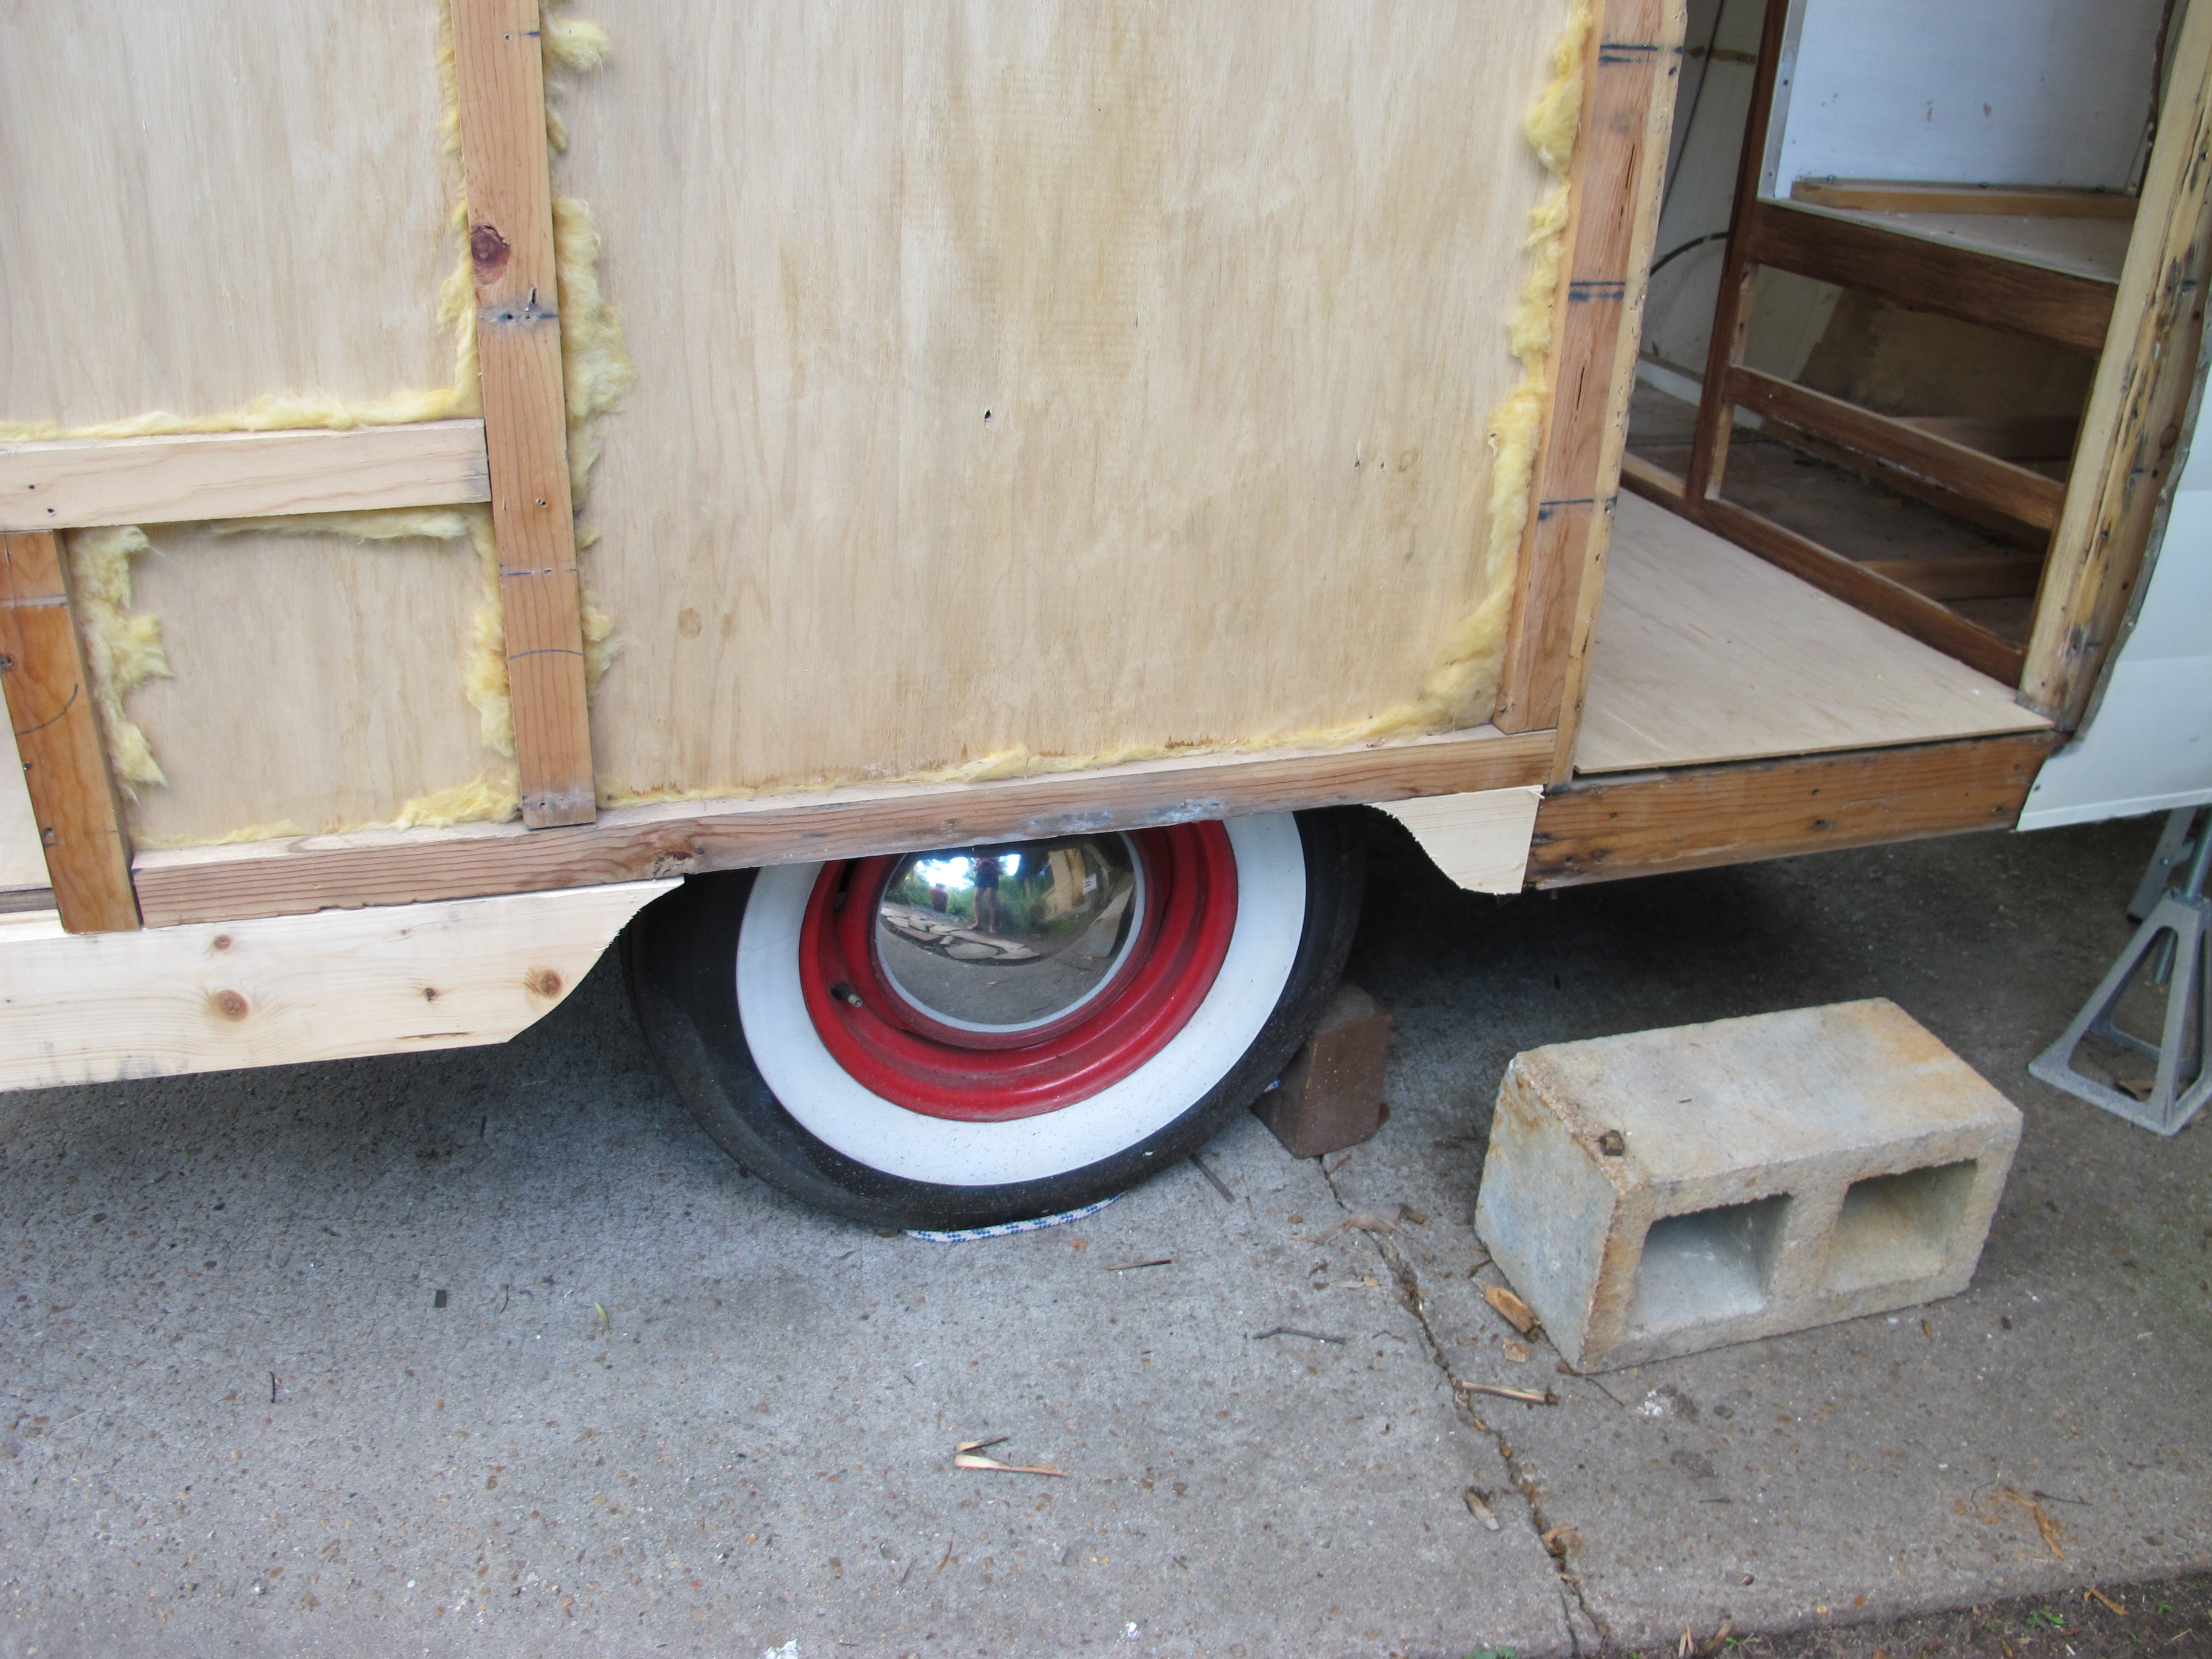
 And after! I still need to replace the paneling here, but you get the idea. I haven’t secured it yet, it’s just clamped in place. I had to run to the store to get stainless steel screws. I will not be buying any non-stainless steel screws in order to avoid any future rusting.

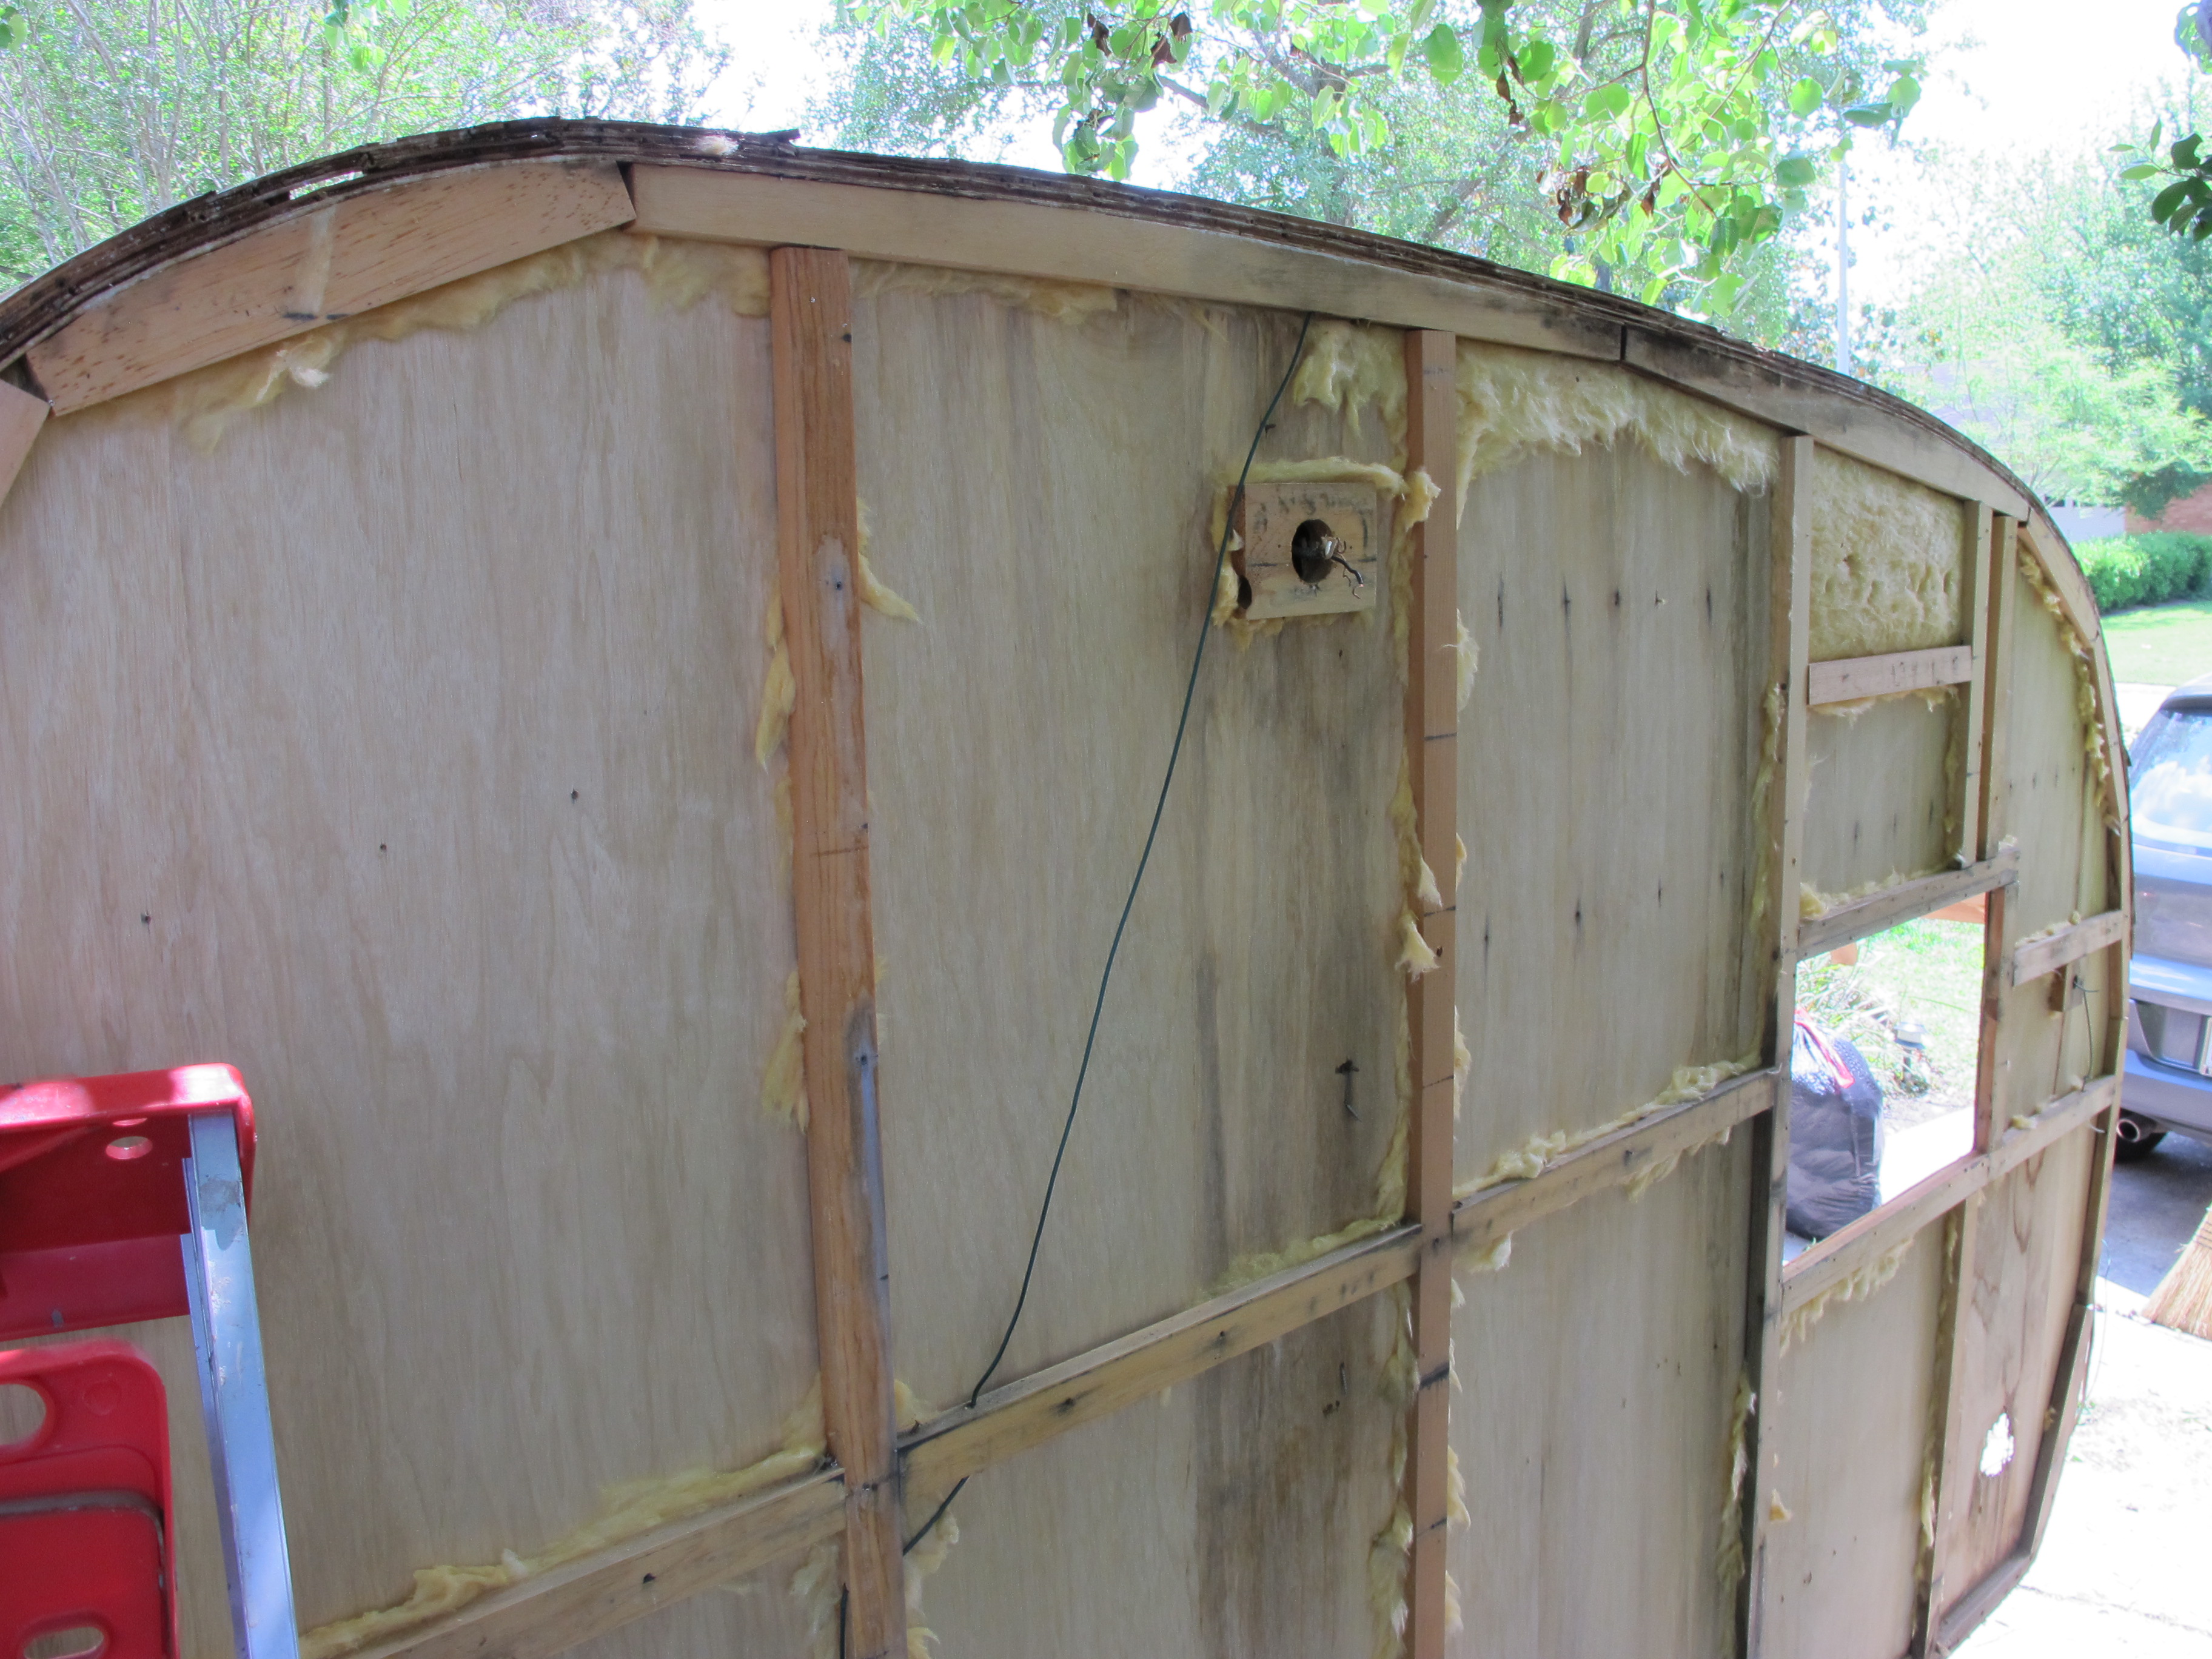
Here’s a pic of the other side of the wheel. I also cut new wood pieces to replace the old frame here because it was rotted. Looks so much better!

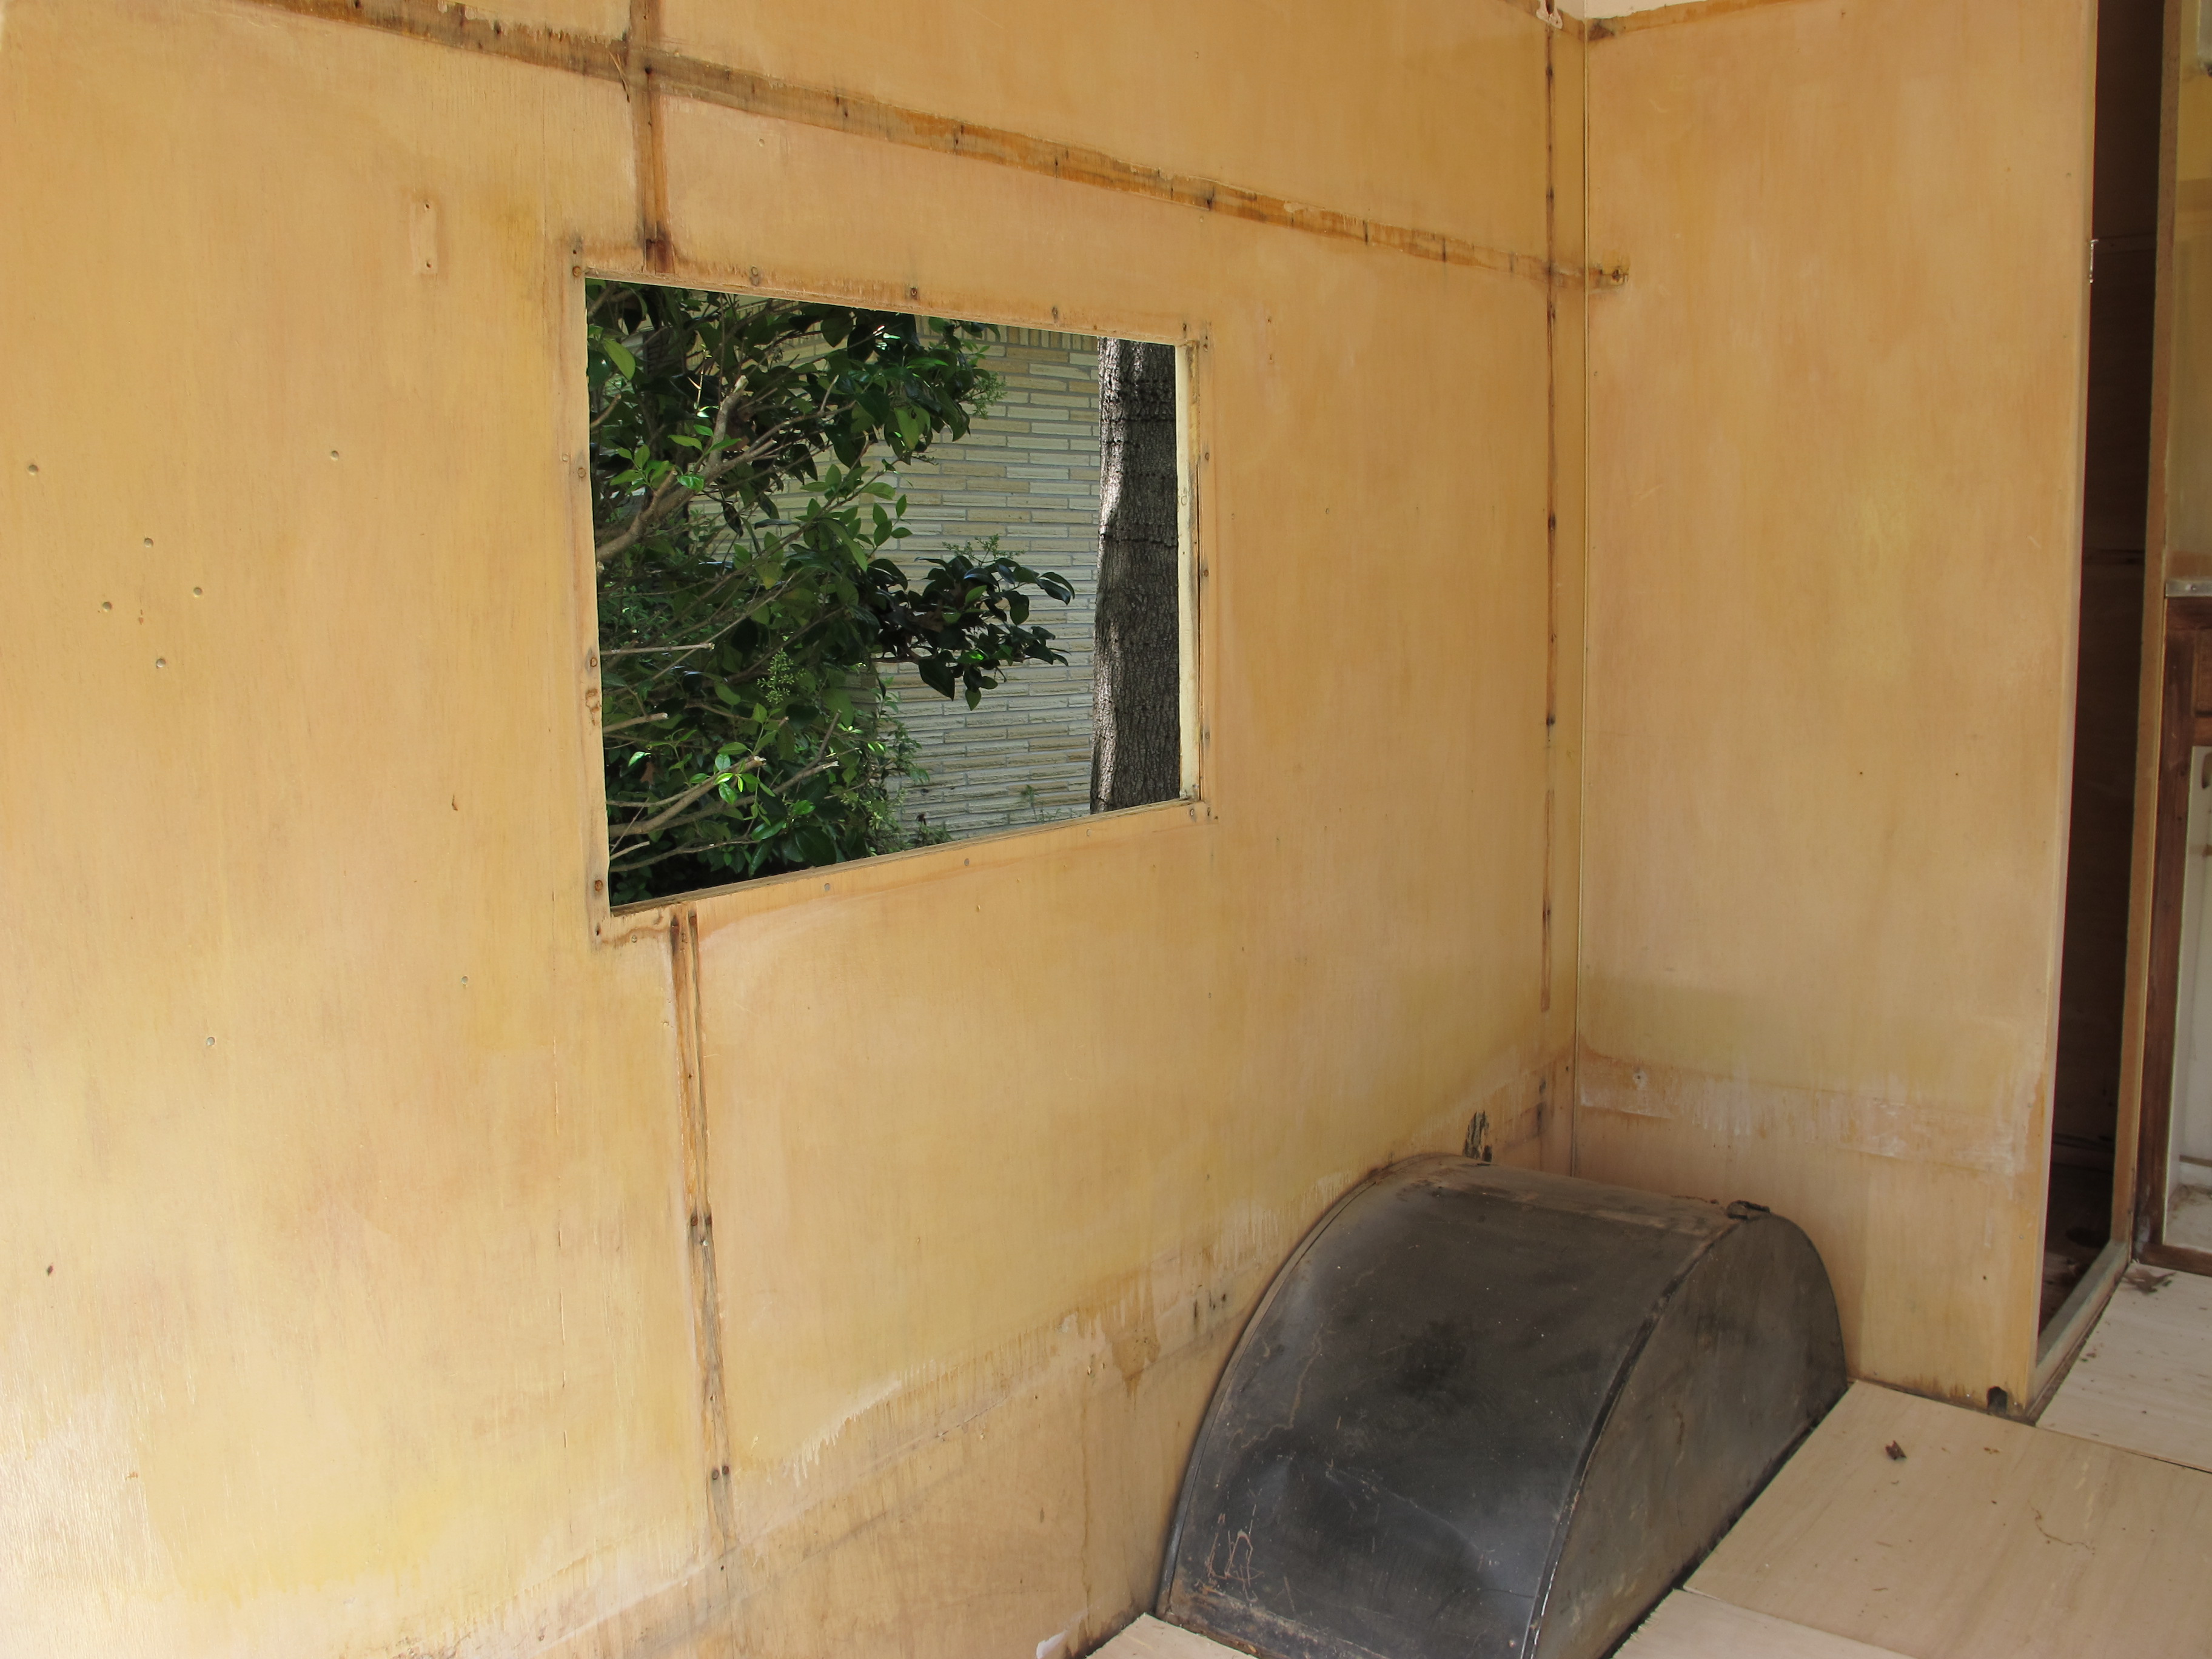
This is the curb side of the camper. I cut a new little piece here as you can see on the right to replace some additional rotted wood. Things are really starting to shape up!
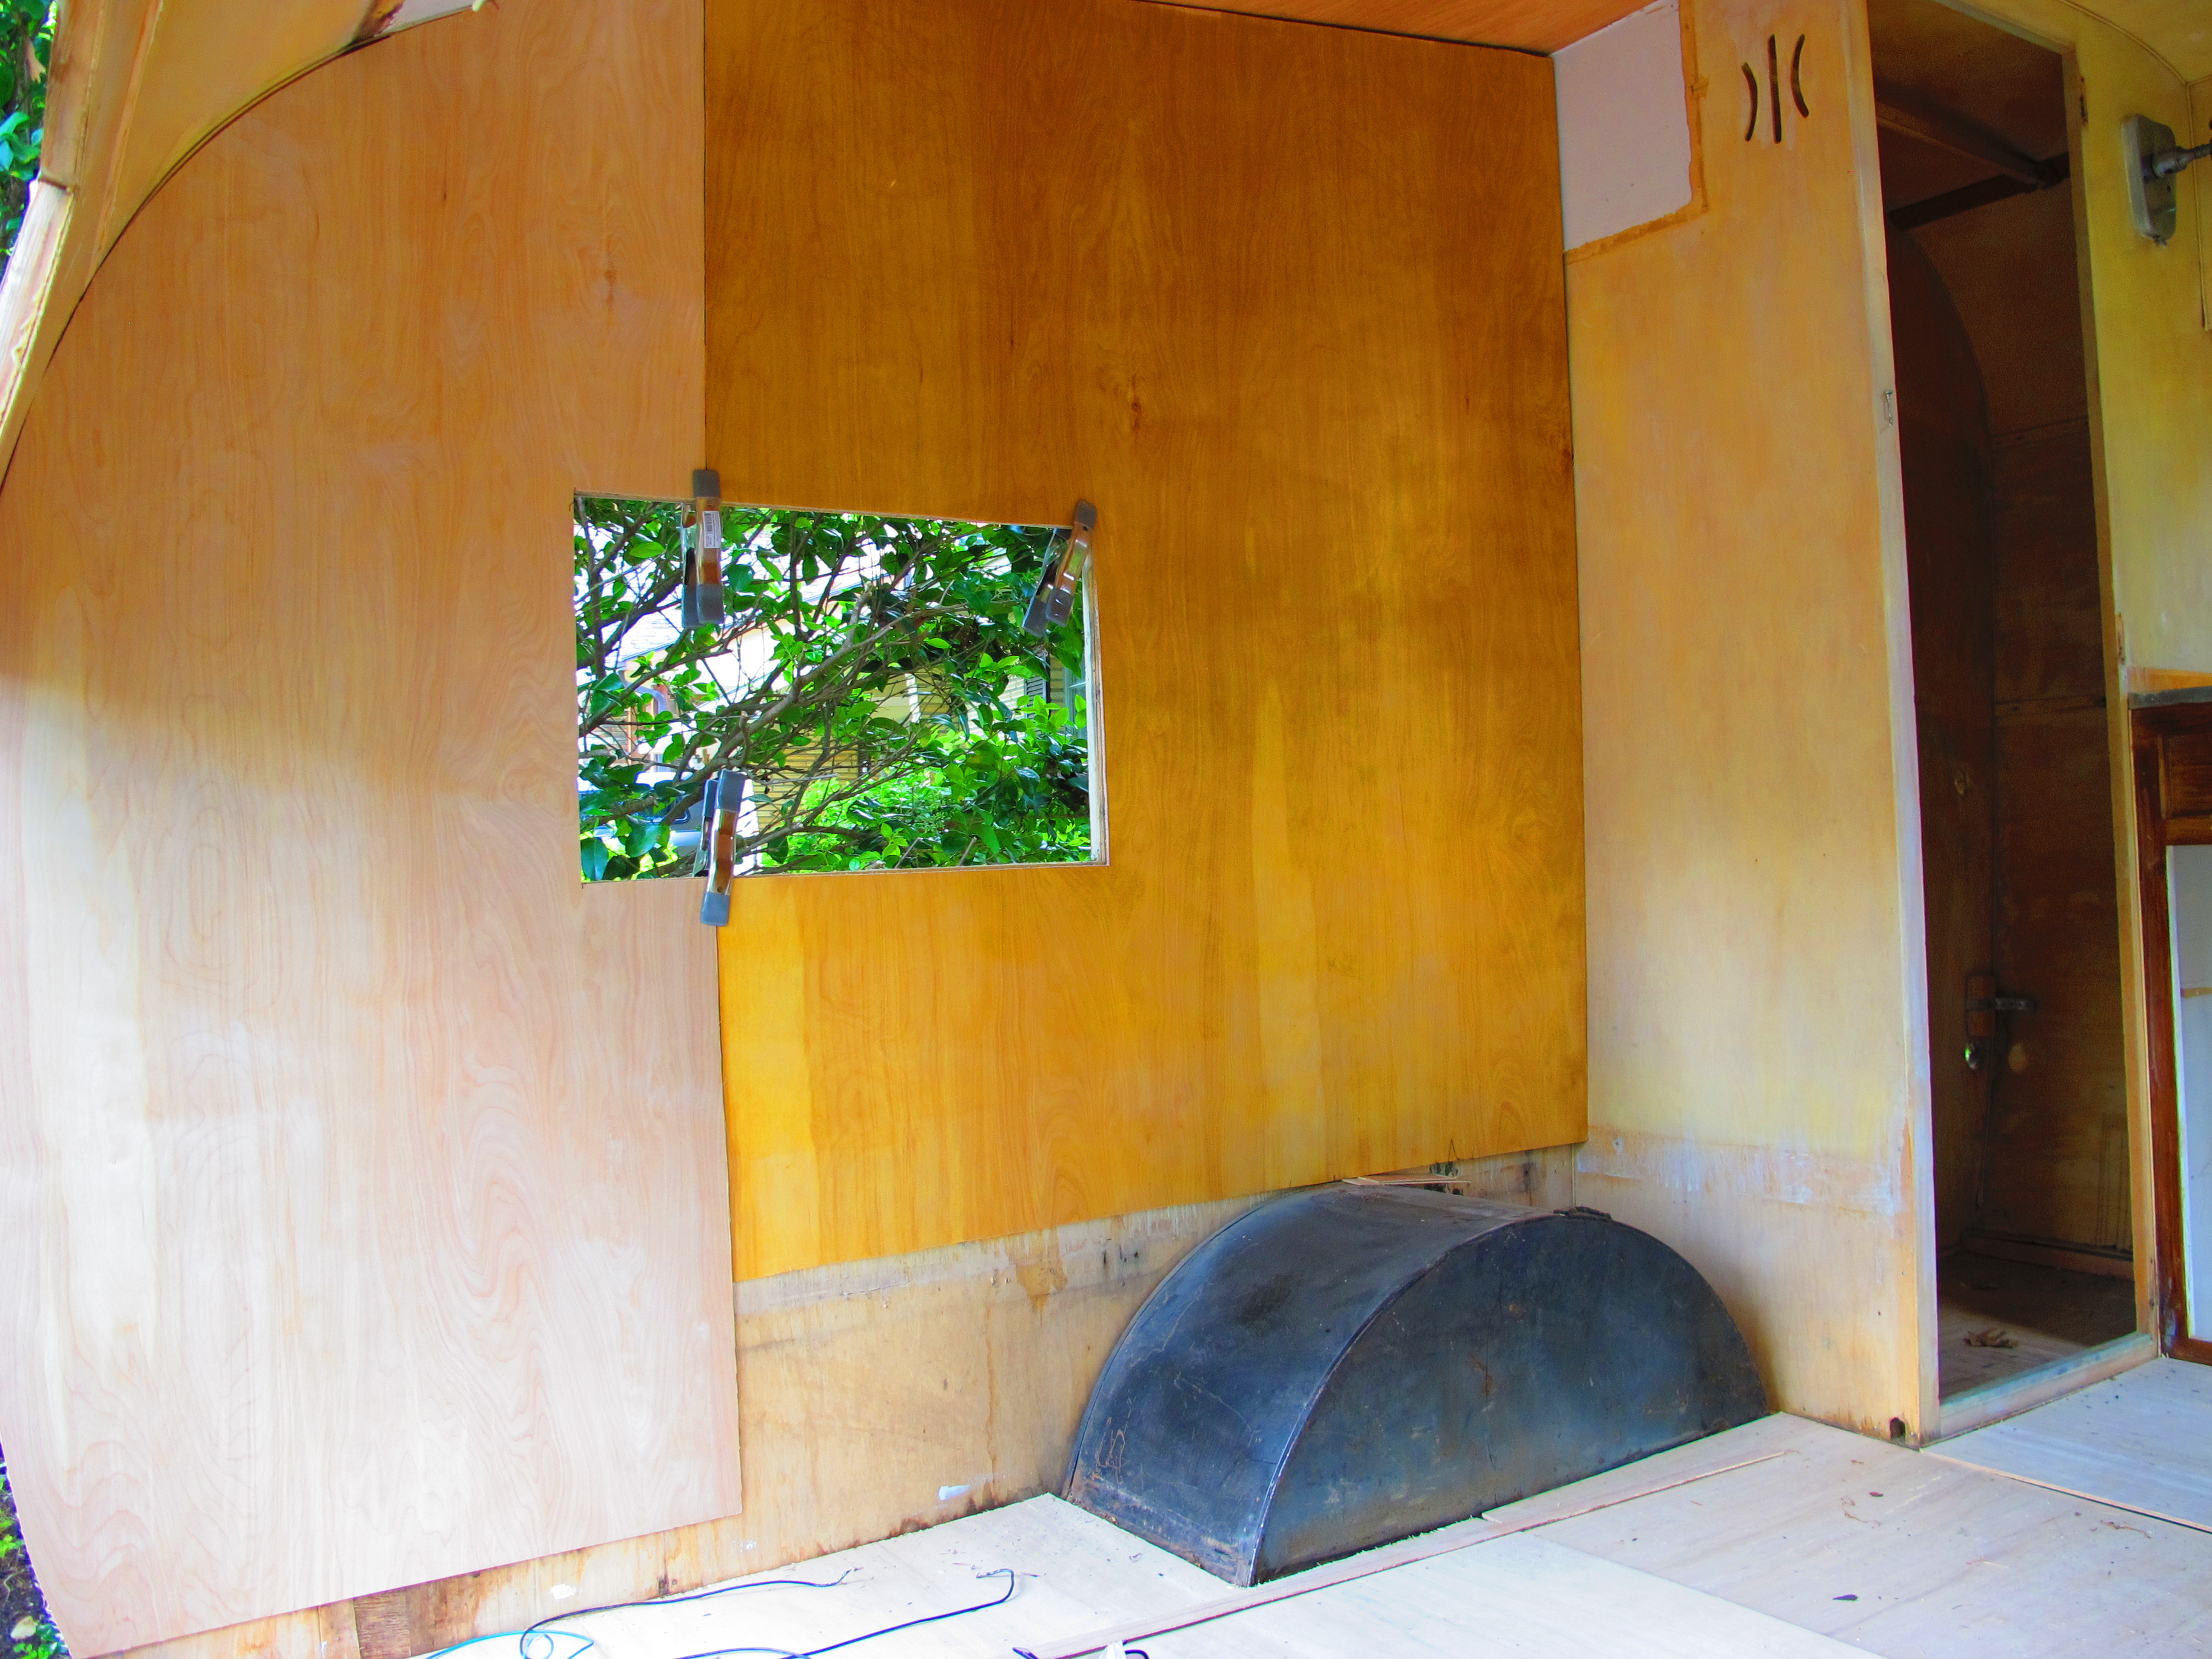
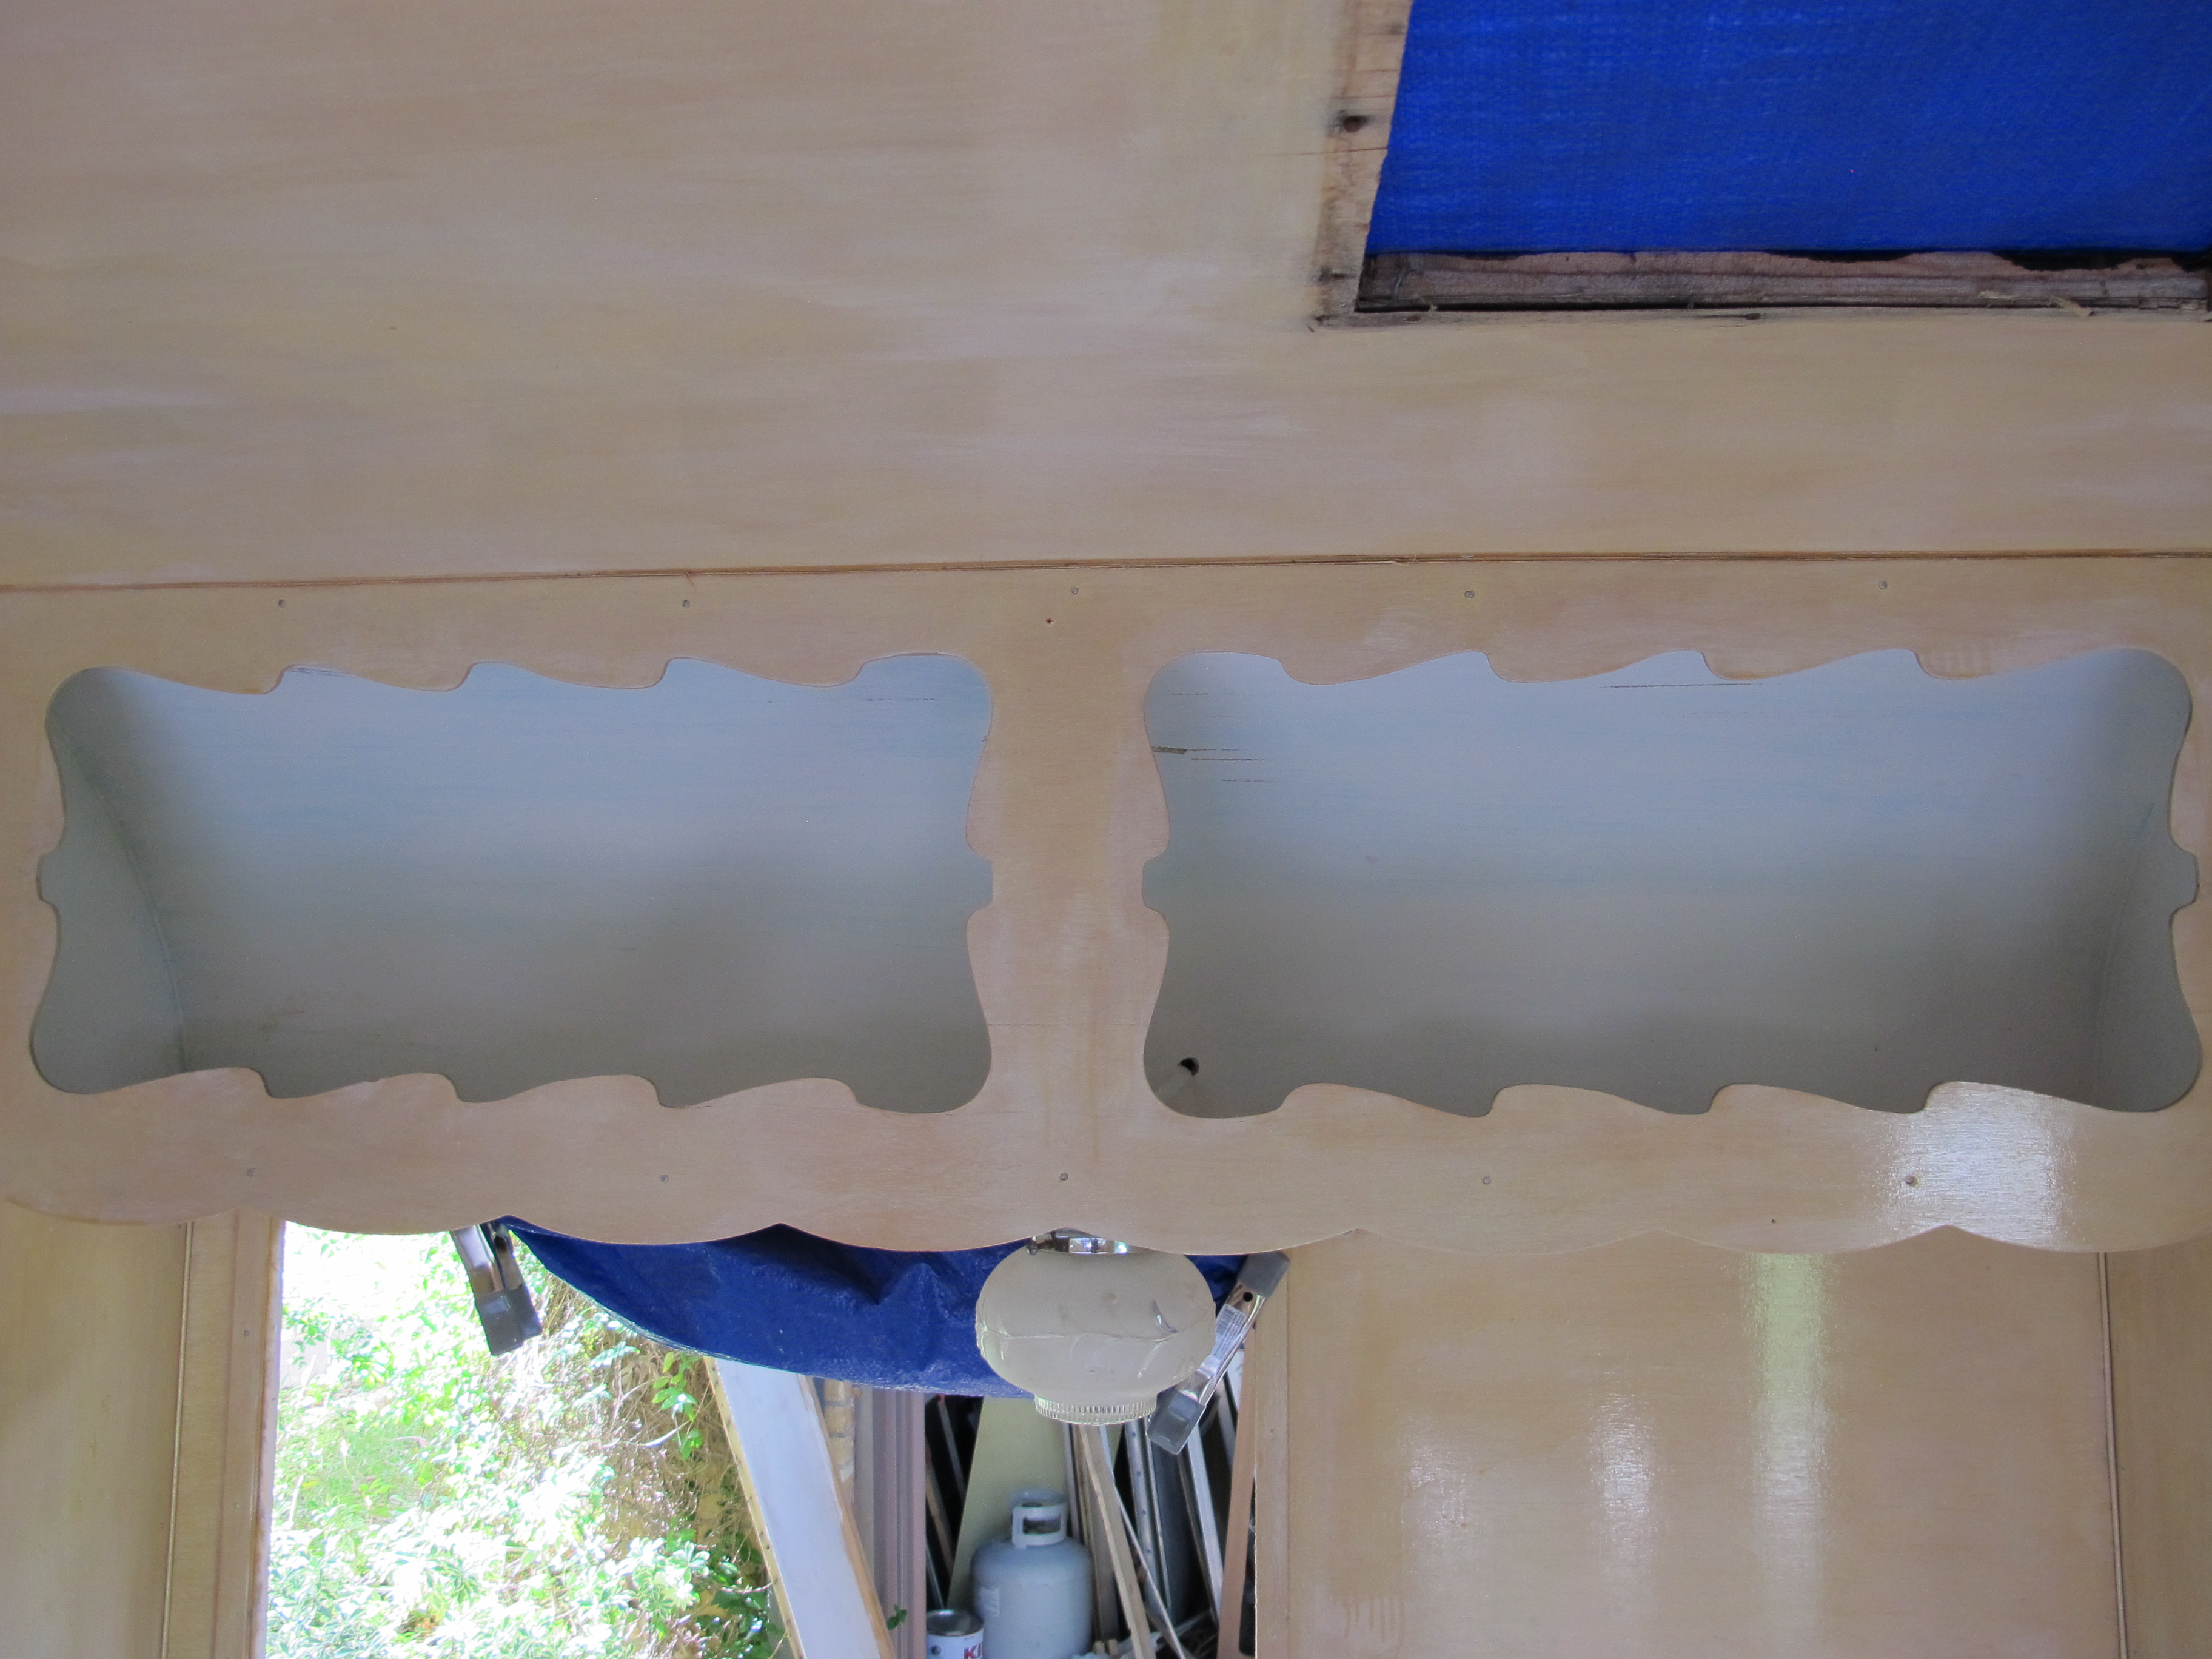
After my friend left, I got to work on my next task, applying birch veneer to the closet wall and one of the shelves that I decided I didn’t feel like removing. Below are the before pictures.

I used Weldwood Contact Cement and a little roller. You apply a coating of contact cement to the veneer and the wood and allow to sit for 20 minutes. Then you put the two together and it works like a dream! If you don’t get it lined up correctly though, you’re in big trouble. Unfortunately, that happened with my shelves. Luckily I was able to cut a small sliver of veneer to fill in the spot where I was out of alignment, so hopefully no one will really notice my mistake.
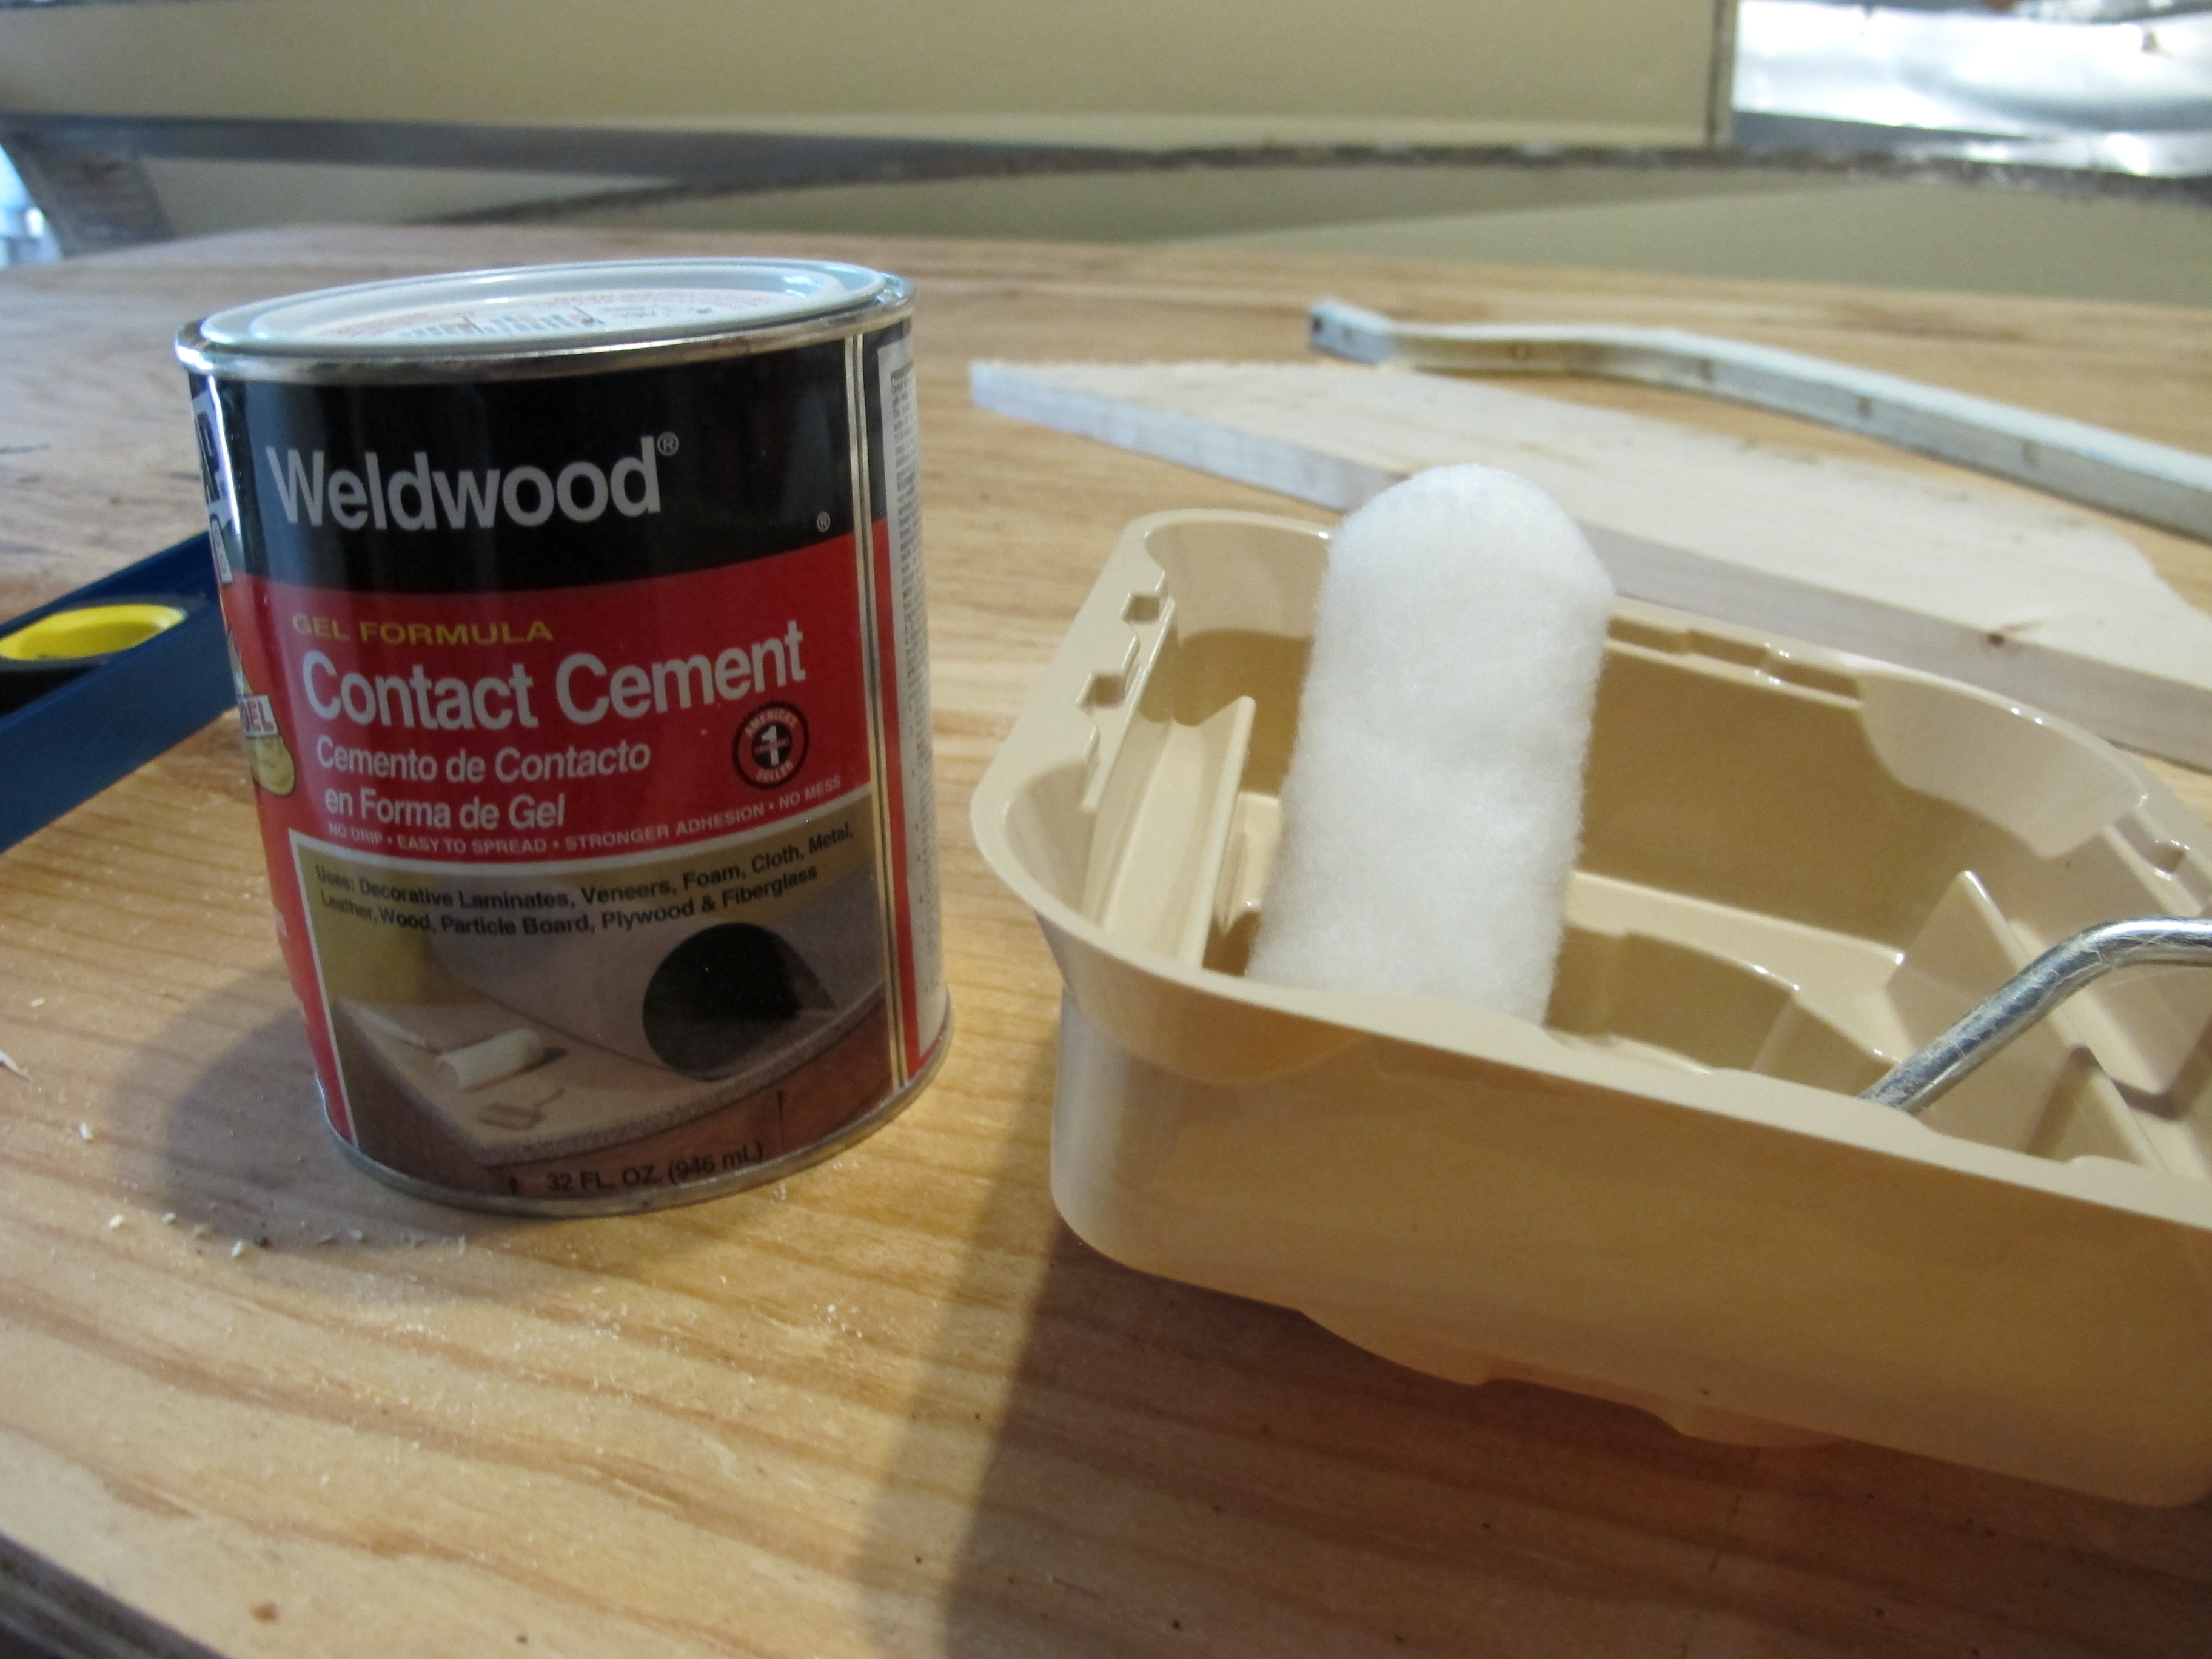
Here’s the veneer with lots of contact cement on it. I wanted to make sure I had plenty so it would hold up in this Houston heat and humidity.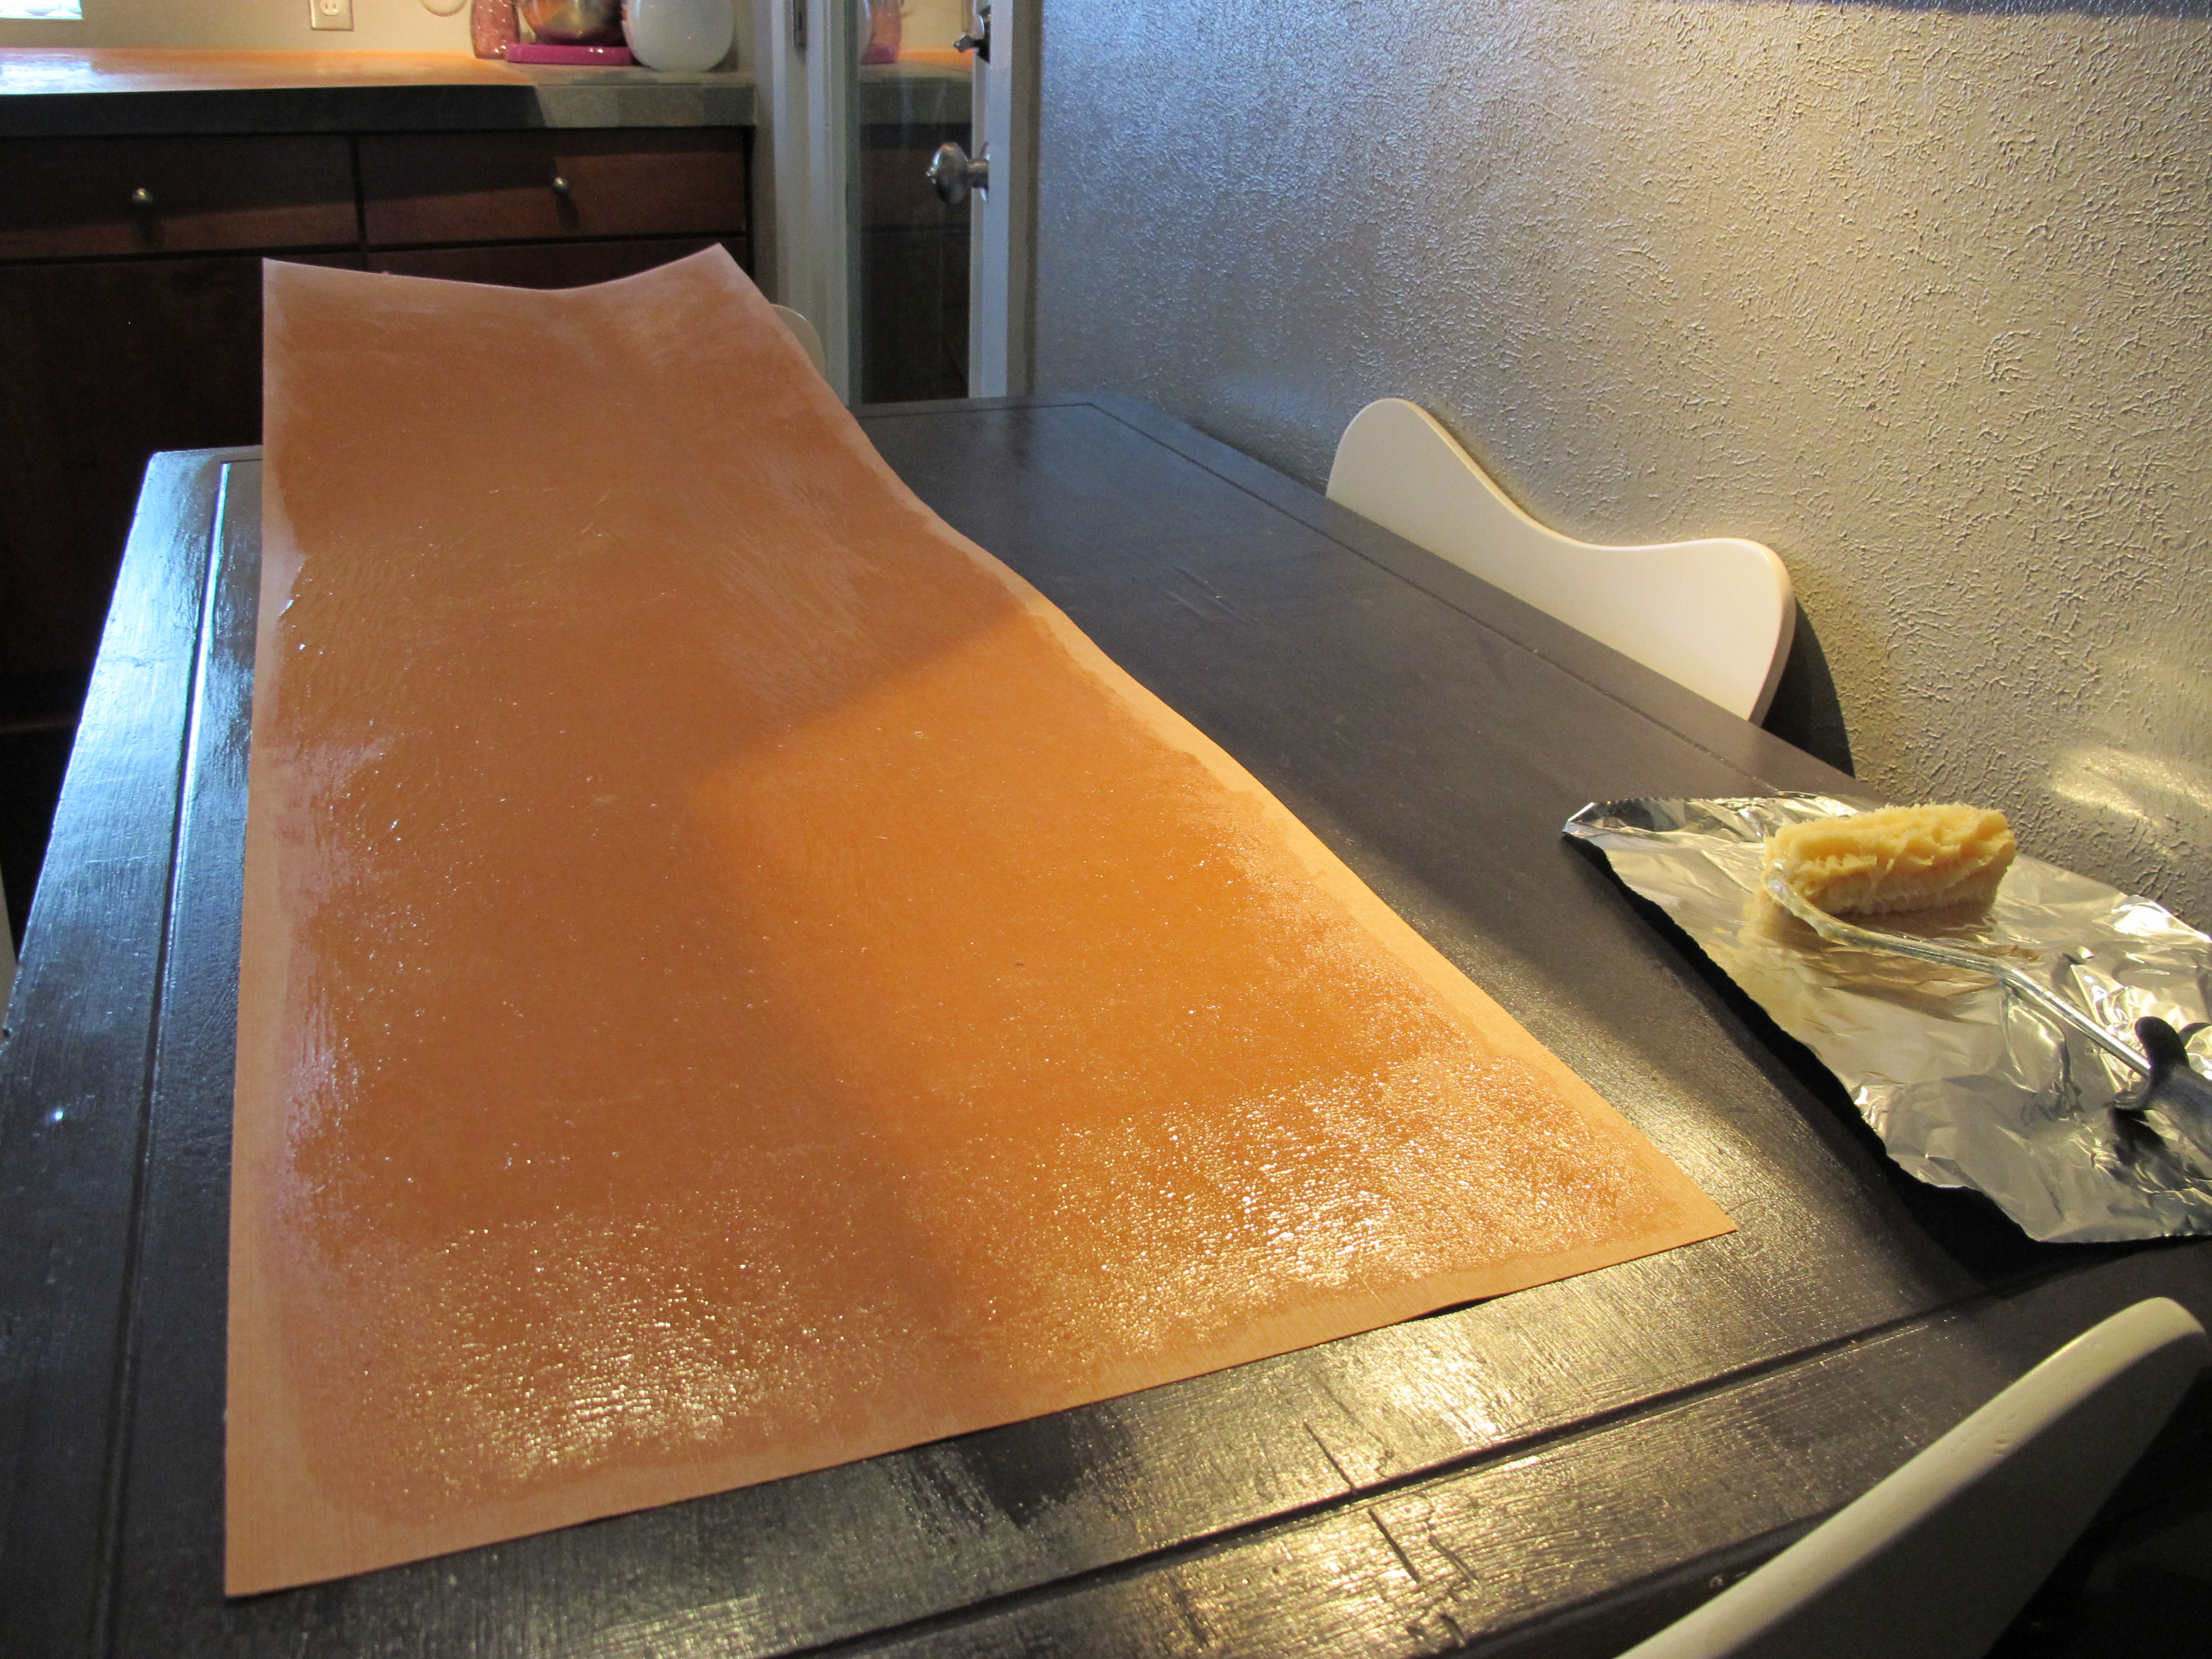
And here is the finished product!
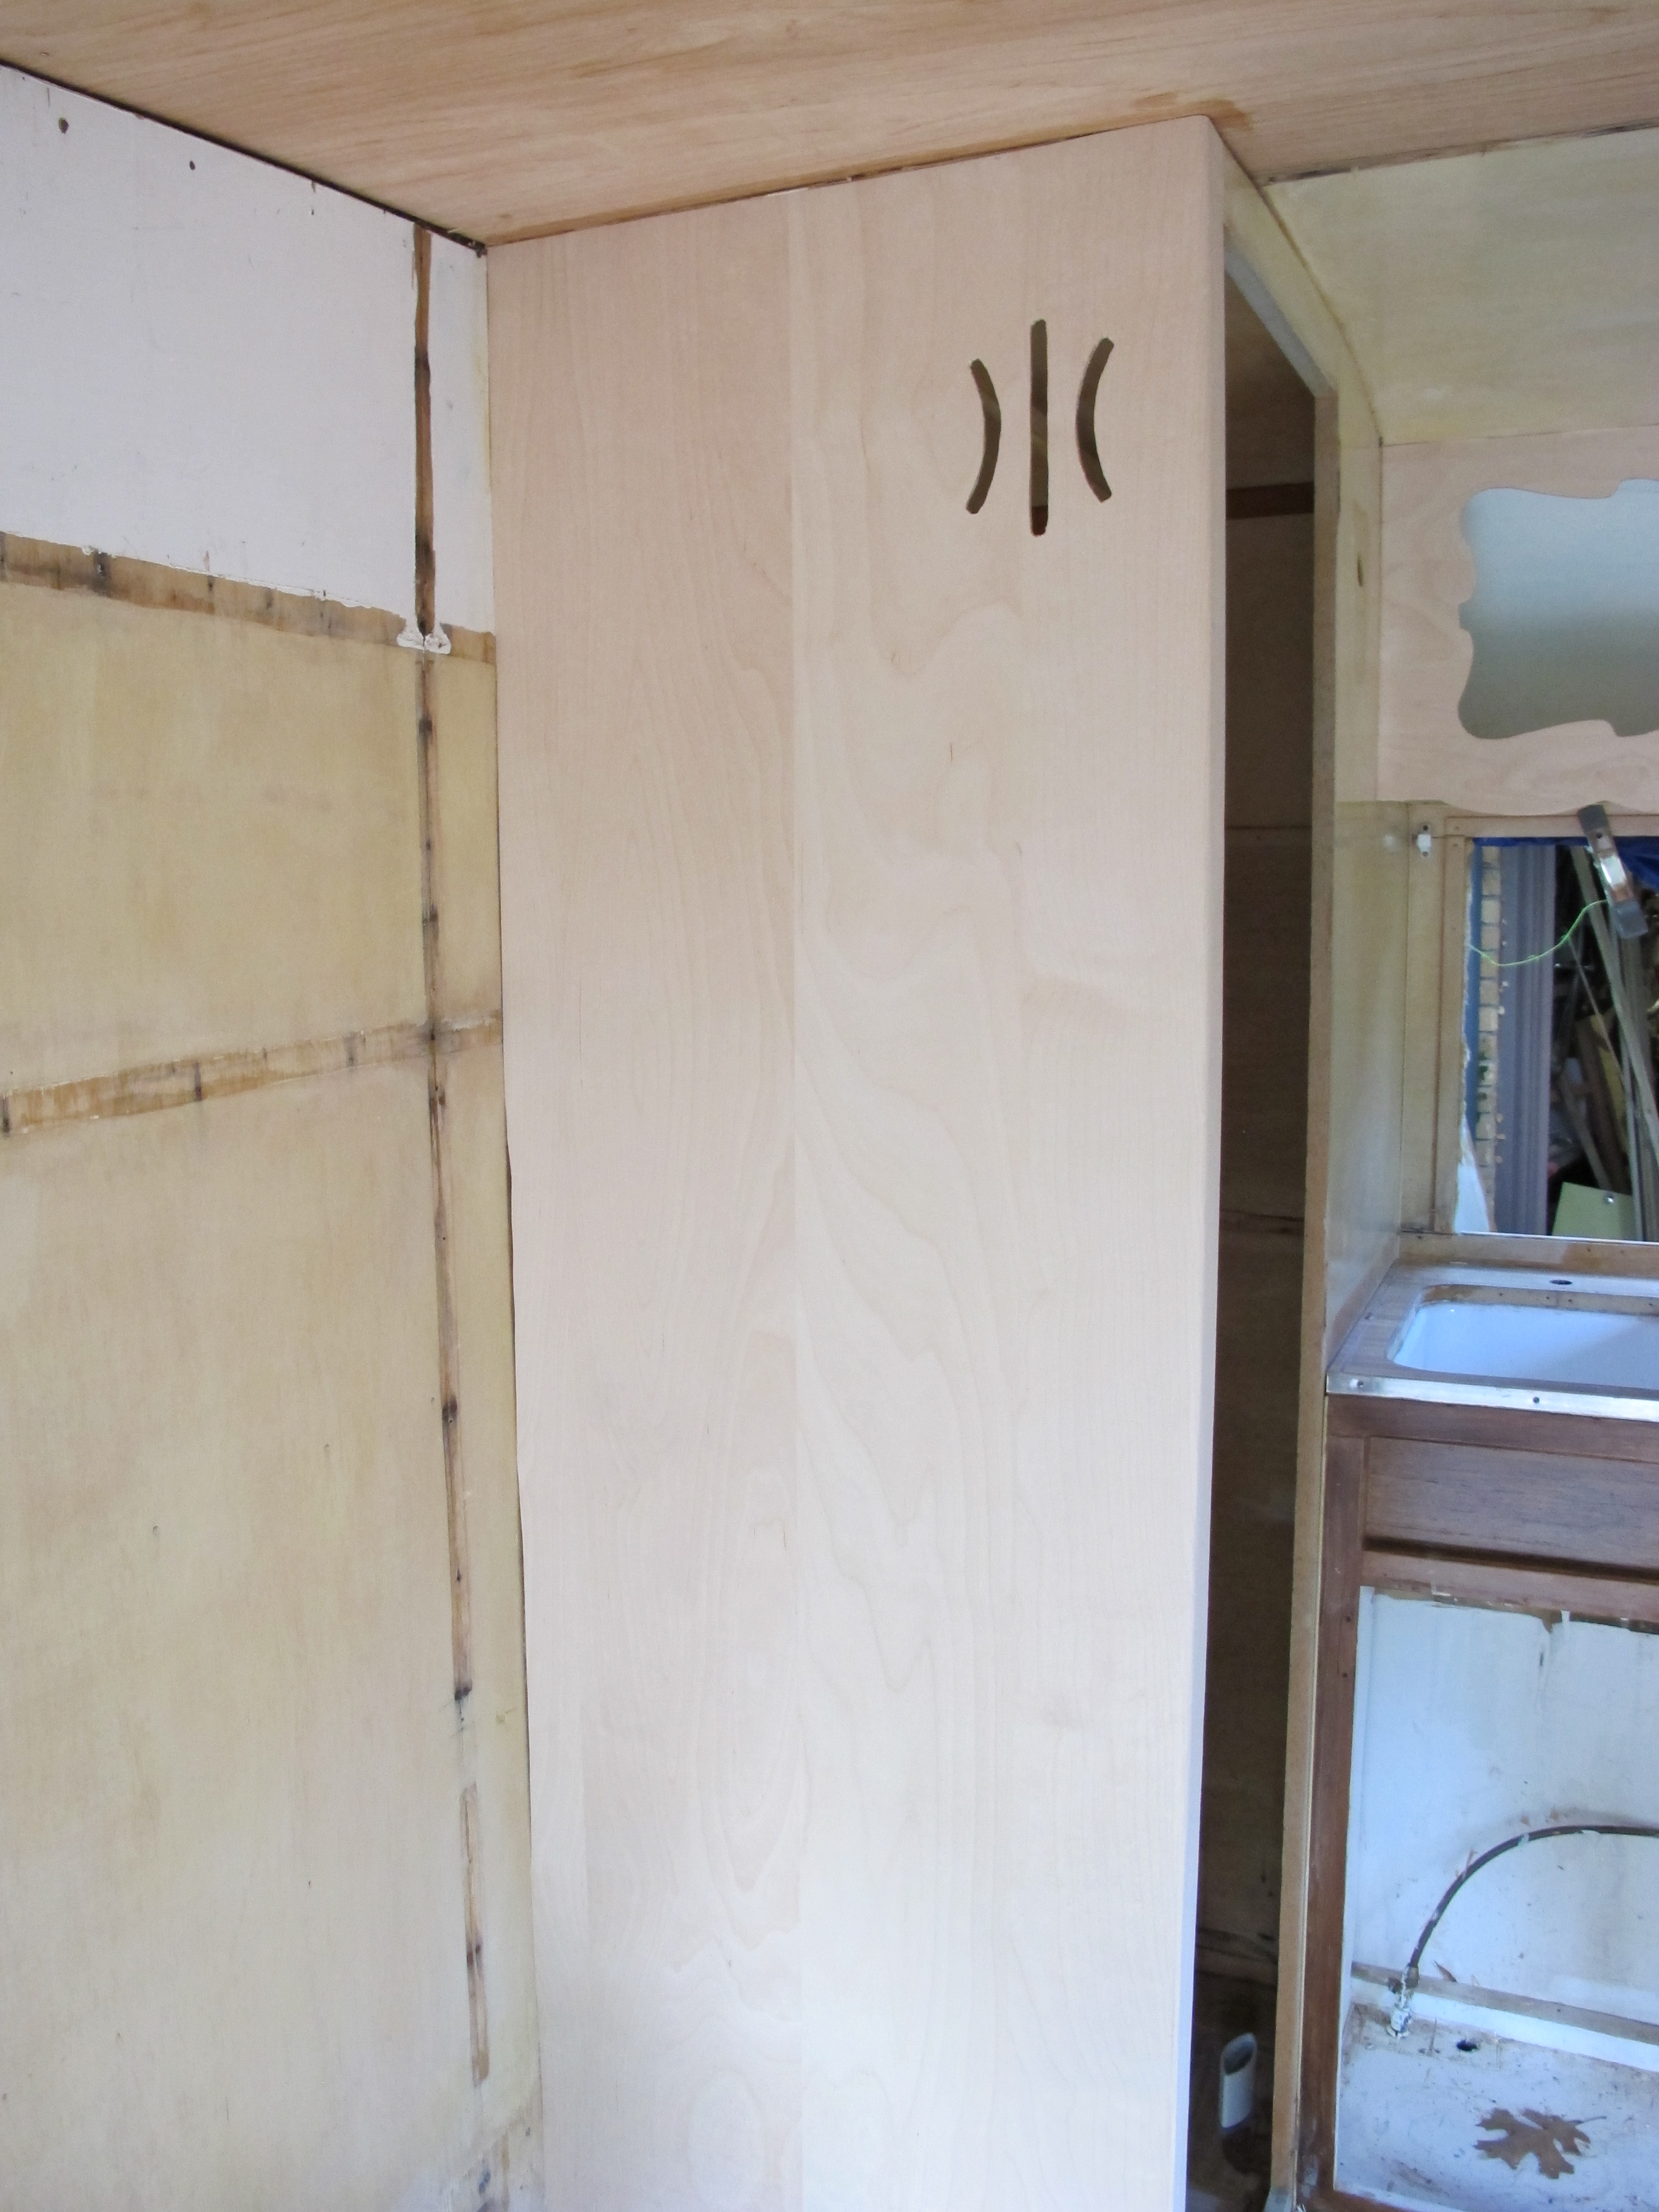

Please ignore the other wood around it. That will all be covered or replaced in due time. I’m quite proud of the result here! I put a light behind the veneer in order to see where I needed to cut to trace the outline of the shape. The veneer is thin enough that you can see the light through it and cut to shape with a razor blade. It took a little time to complete, but it wasn’t too difficult and the result was worth it!
So overall, I feel like I got quite a bit accomplished today. I’m still wondering when exactly I’ll be done with this lengthy project. I’m really hoping it’s sometime this year, fingers crossed! I hope everyone reading this is enjoying their weekend! It’s a beautiful weekend here in Houston. I’ll see you all when I have more updates to share. ![]()