Today is Sunday, and I am planning to rest (for the most part) and prepare myself mentally for my return to the daily grind tomorrow. This week off (minus Wednesday) has been very productive for my project but also physically and mentally exhausting. I have had a series of highs and lows, but overall I’m feeling pretty good about everything I got accomplished this week. I’m not feeling good about two things though, 1. the electrical system in my camper and 2. the major screw up I caused on the upper edge of the street side siding due to getting carried away with my metal shears.
Yesterday, I had two major meltdowns. The first one was when I cut the side edge on the street side of the camper too short because I didn’t have any staples along the edge in that spot to guide me and I couldn’t see the edge on the other side of the excess aluminum I was trimming.  I ended up going at an angle too sharp, and cut it about 2 inches too short along a section of about 5 or 6 inches. I panicked because once I did that, there was no going back. That piece had to be installed in the exact spot it was in, so I couldn’t move it a little upward to cover my mistake. I am still not fully recovered and don’t know exactly what I’m going to do to hide my horrible mistake and still keep the camper leak-proof. I had two of my friends over yesterday to help me, Jennifer and her boyfriend, Ayk. Ayk finally told me to just get over it because if this was the worst thing that ever happened to me, my life would be pretty good. haha I can understand that from his perspective it wasn’t a big deal, but I don’t think he understood just how devastating it was for me at that moment. I’ve been working so hard on this project and the new skin cost me $1600, not to mention all of the other things I paid a lot for, so to screw it up like that, well, let’s just say I could not “just get over it”. I’m sure I’ll figure something out, but it’s not going to be perfect like I had envisioned and that makes me angry since the mistake could have been easily avoided.

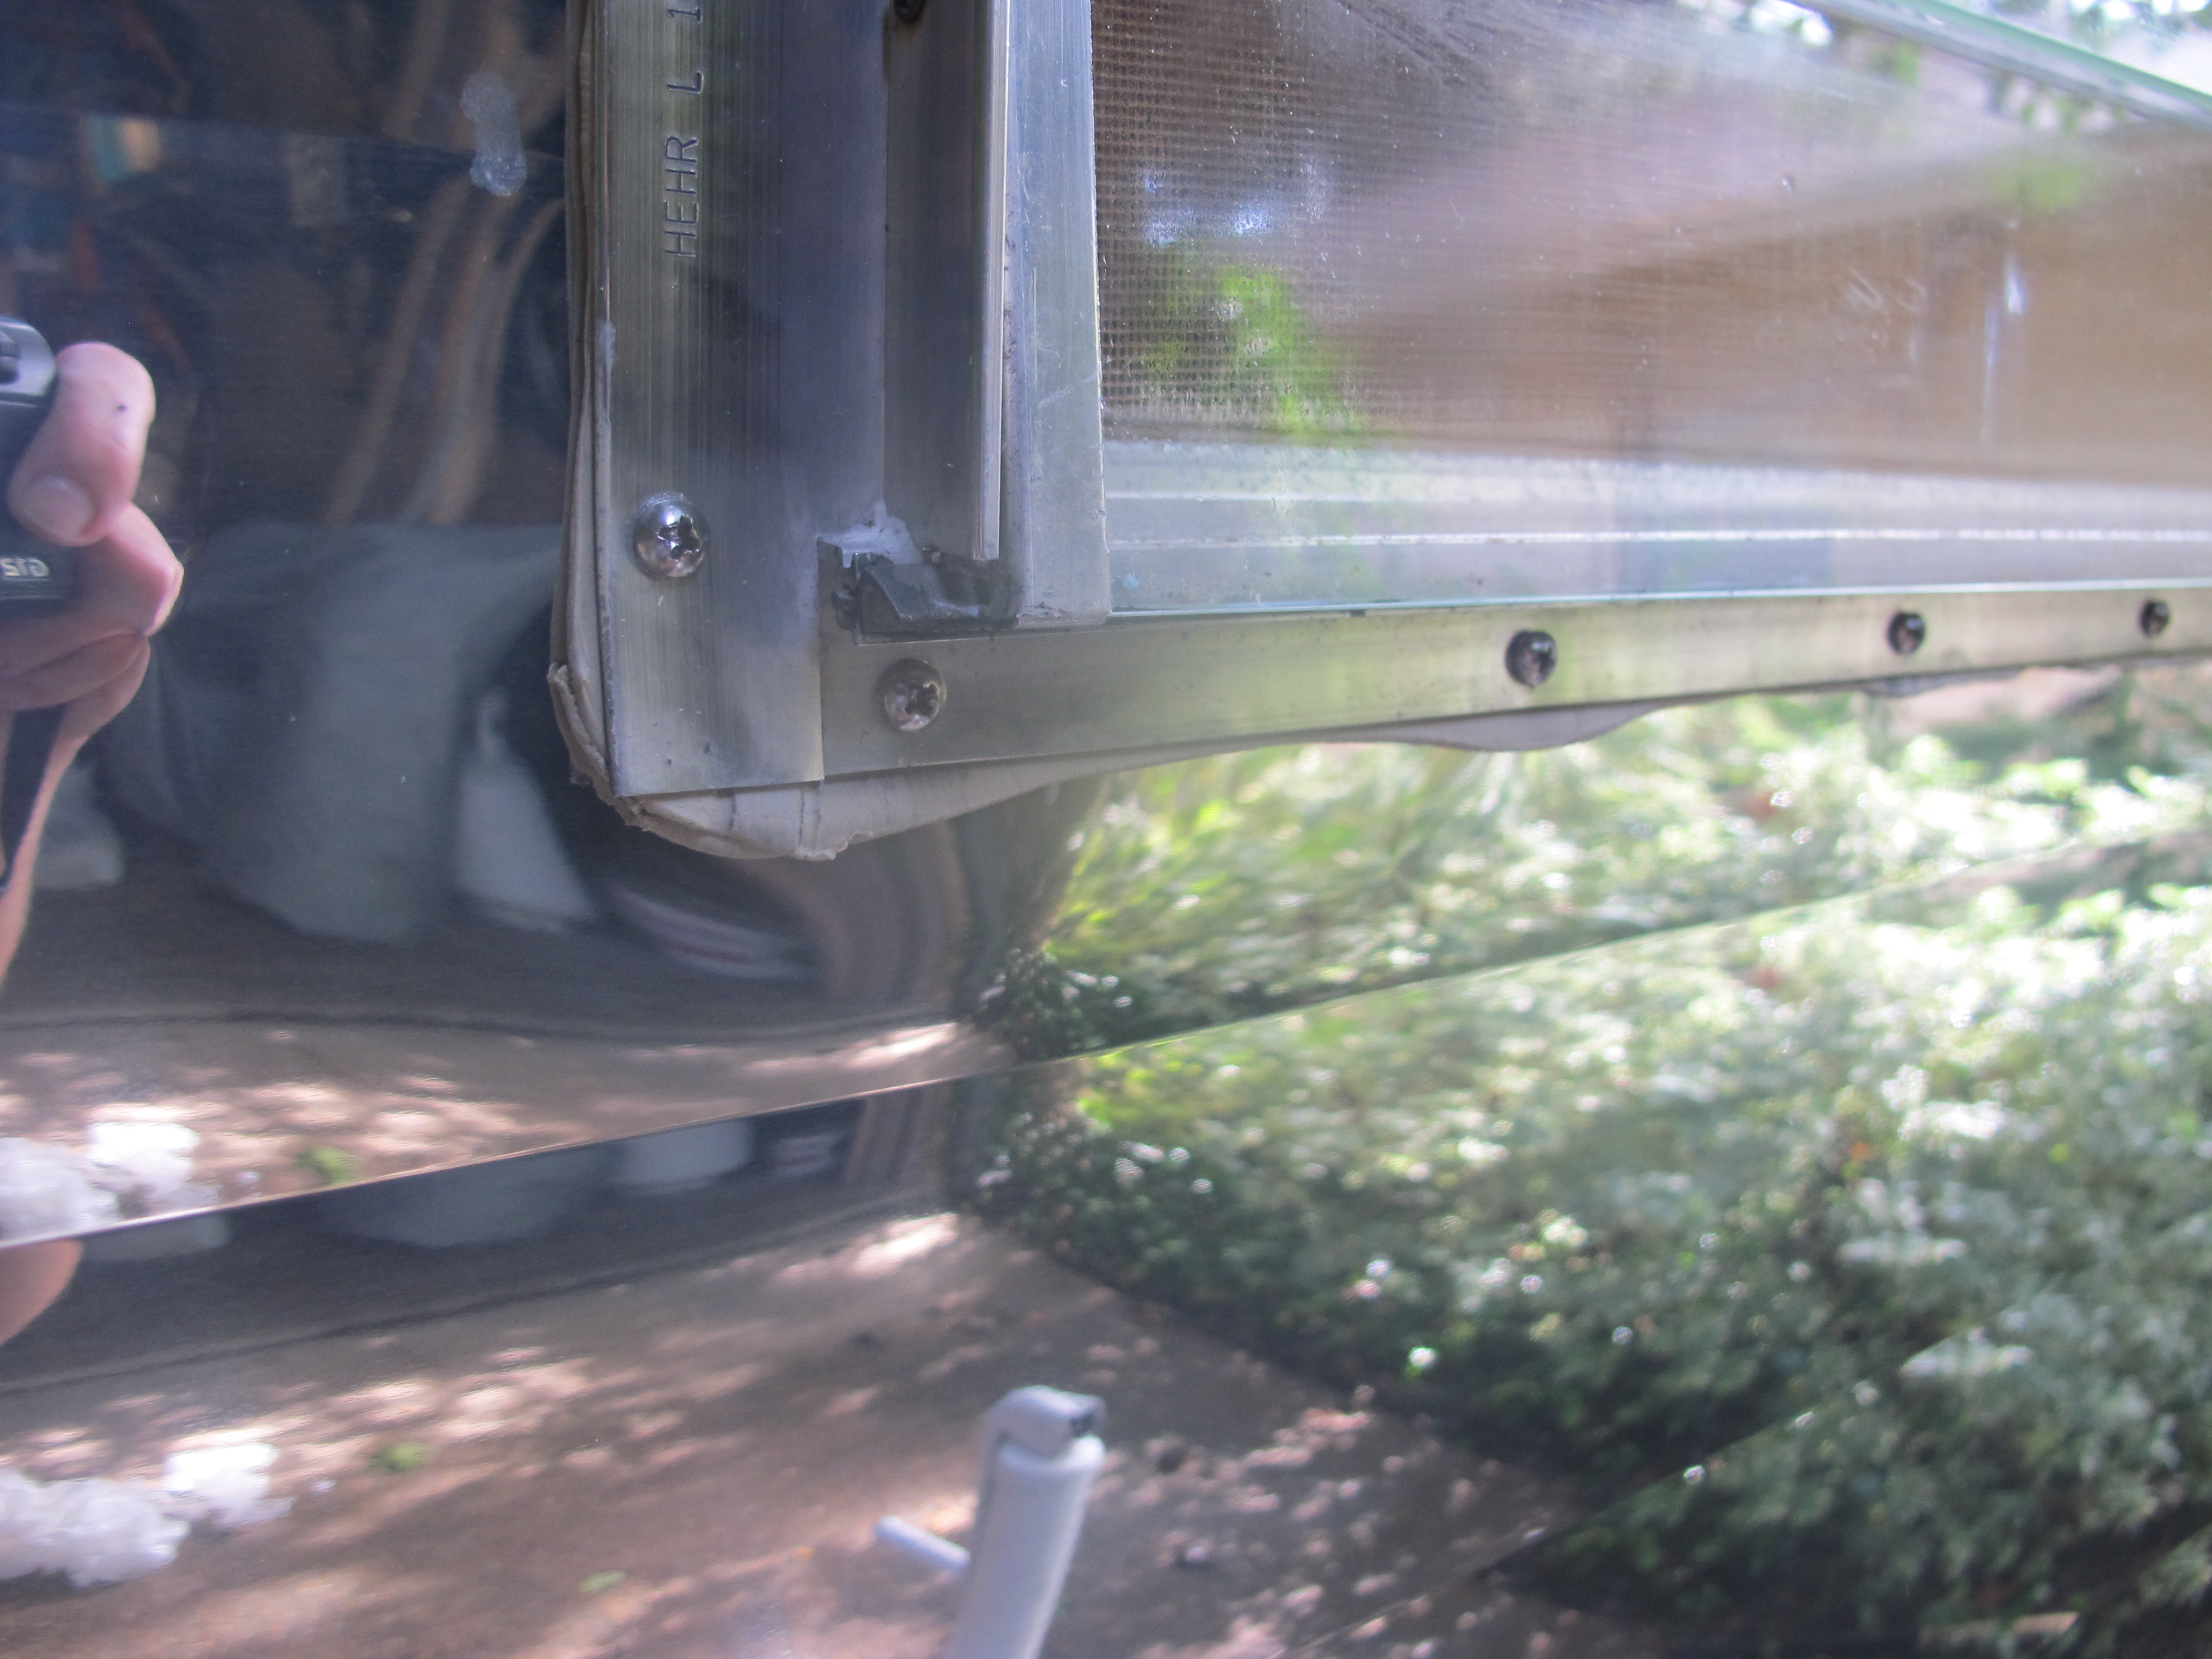
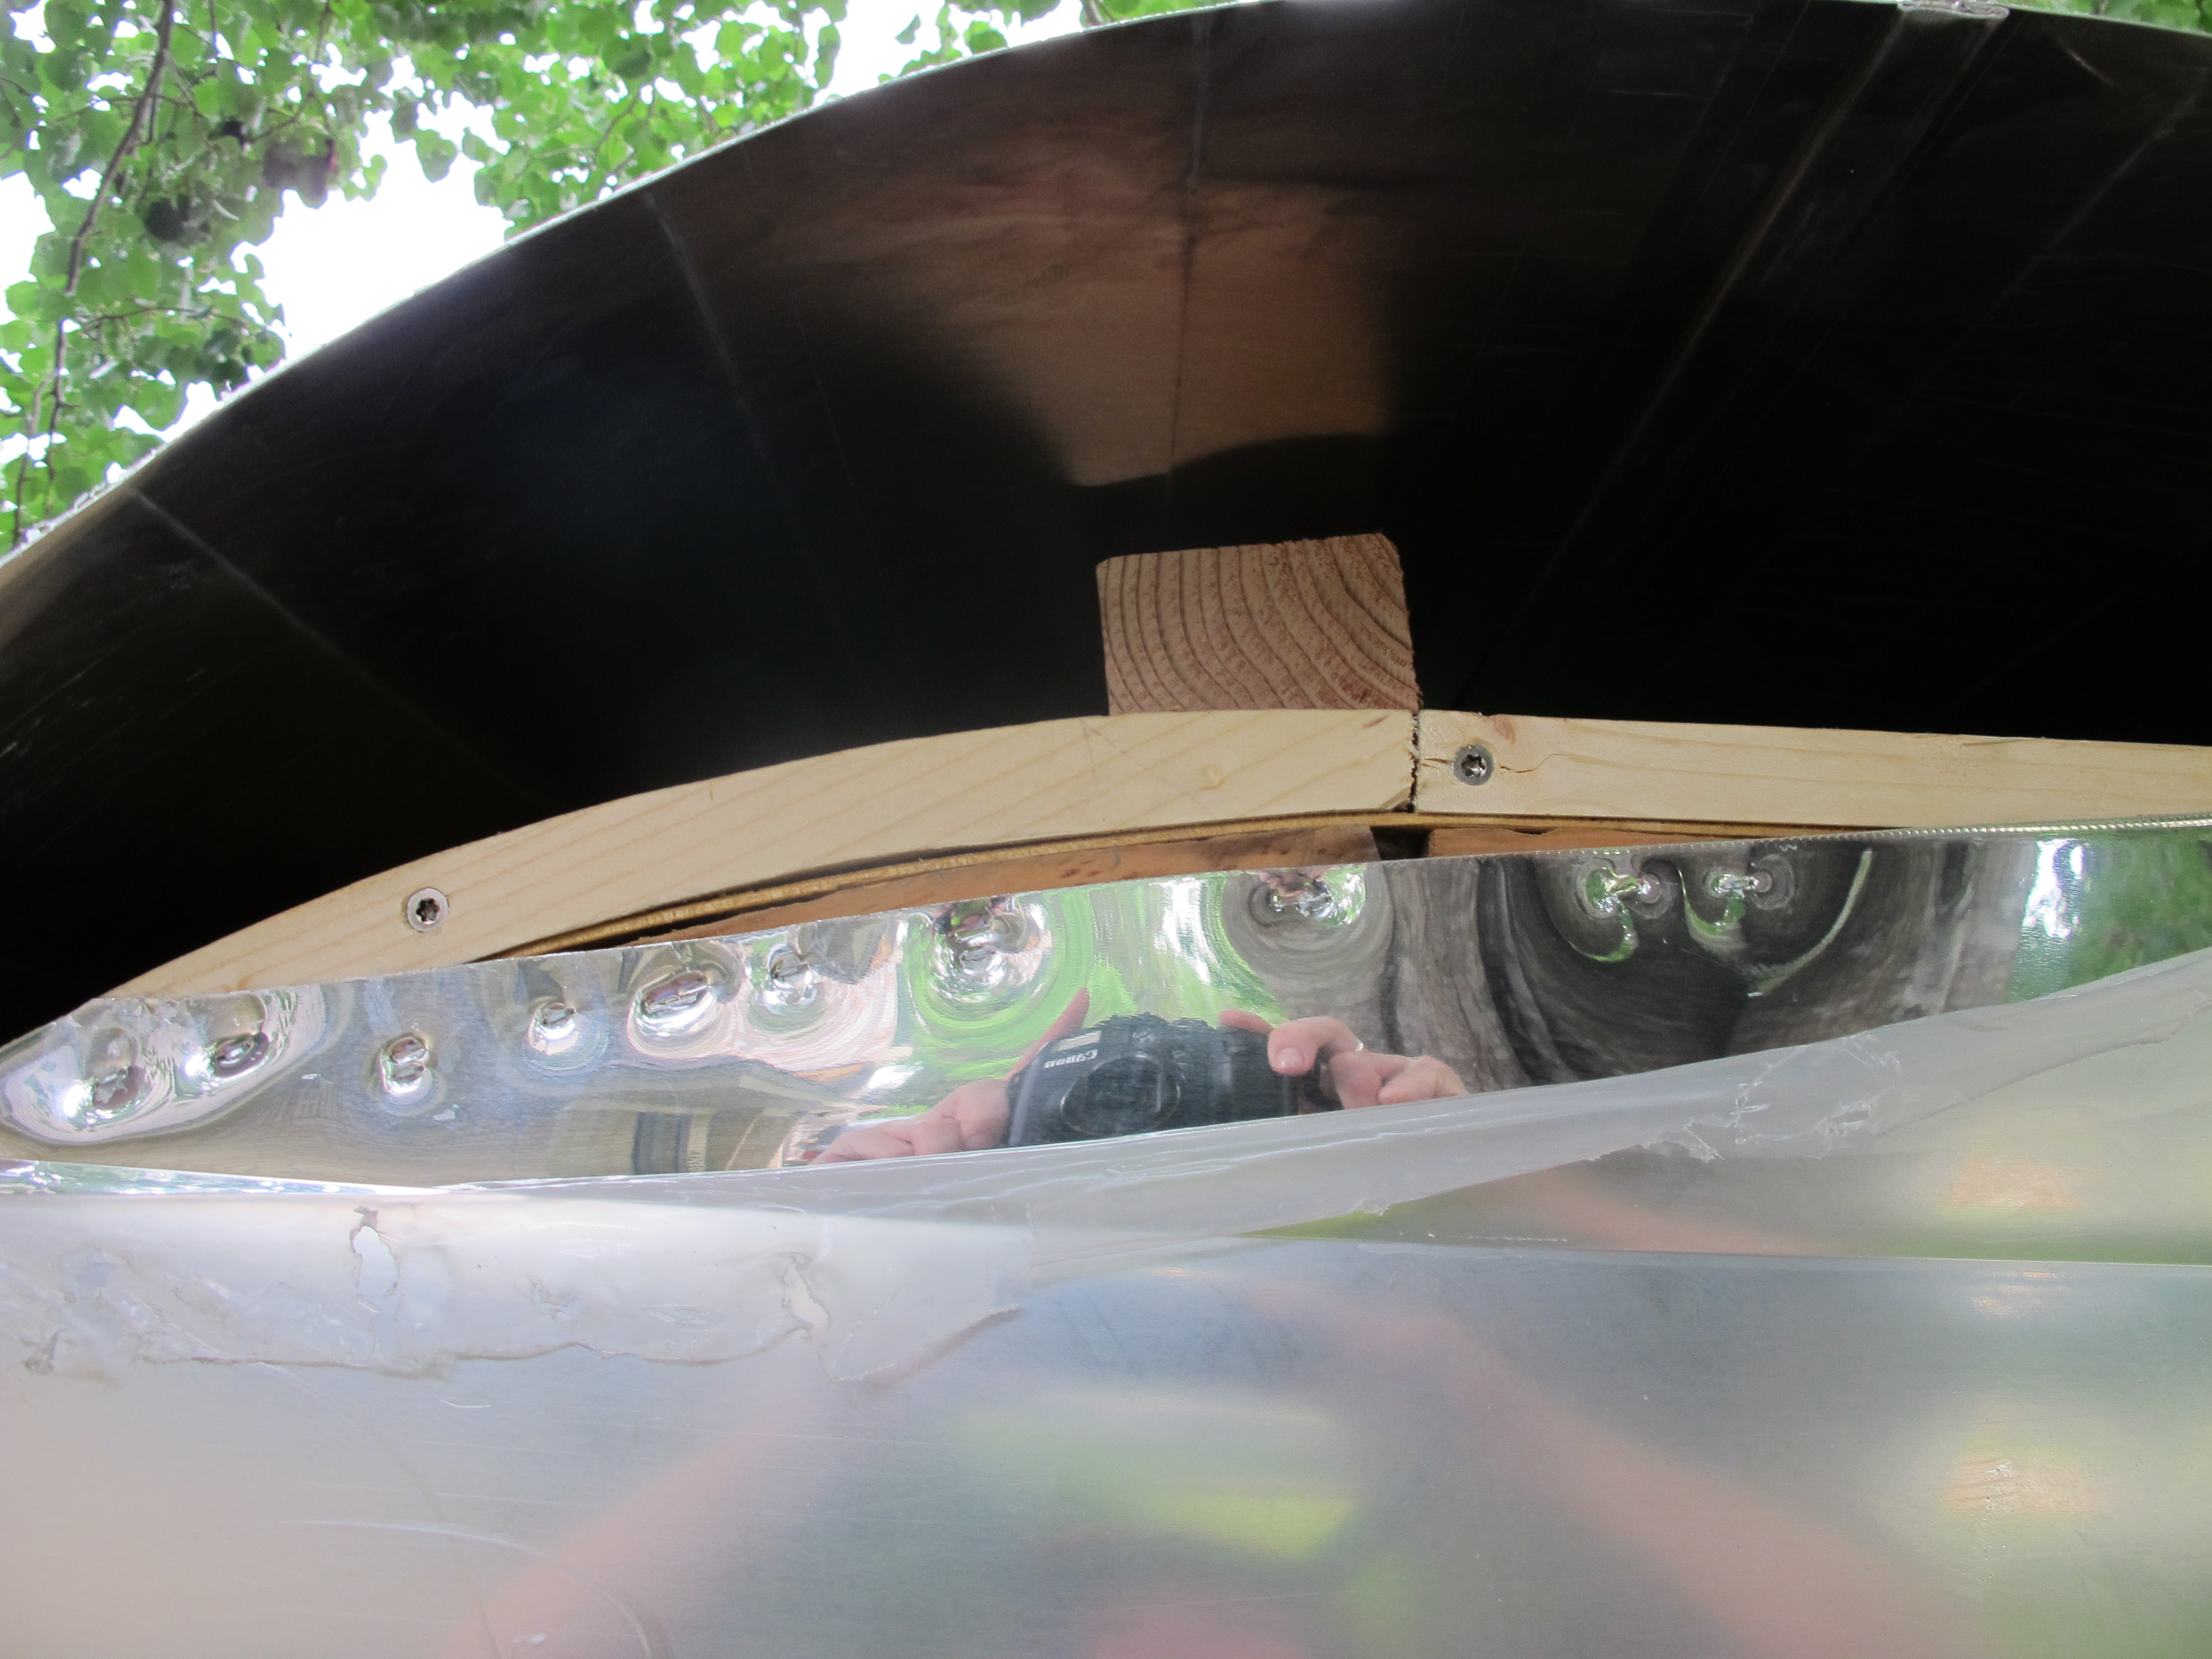
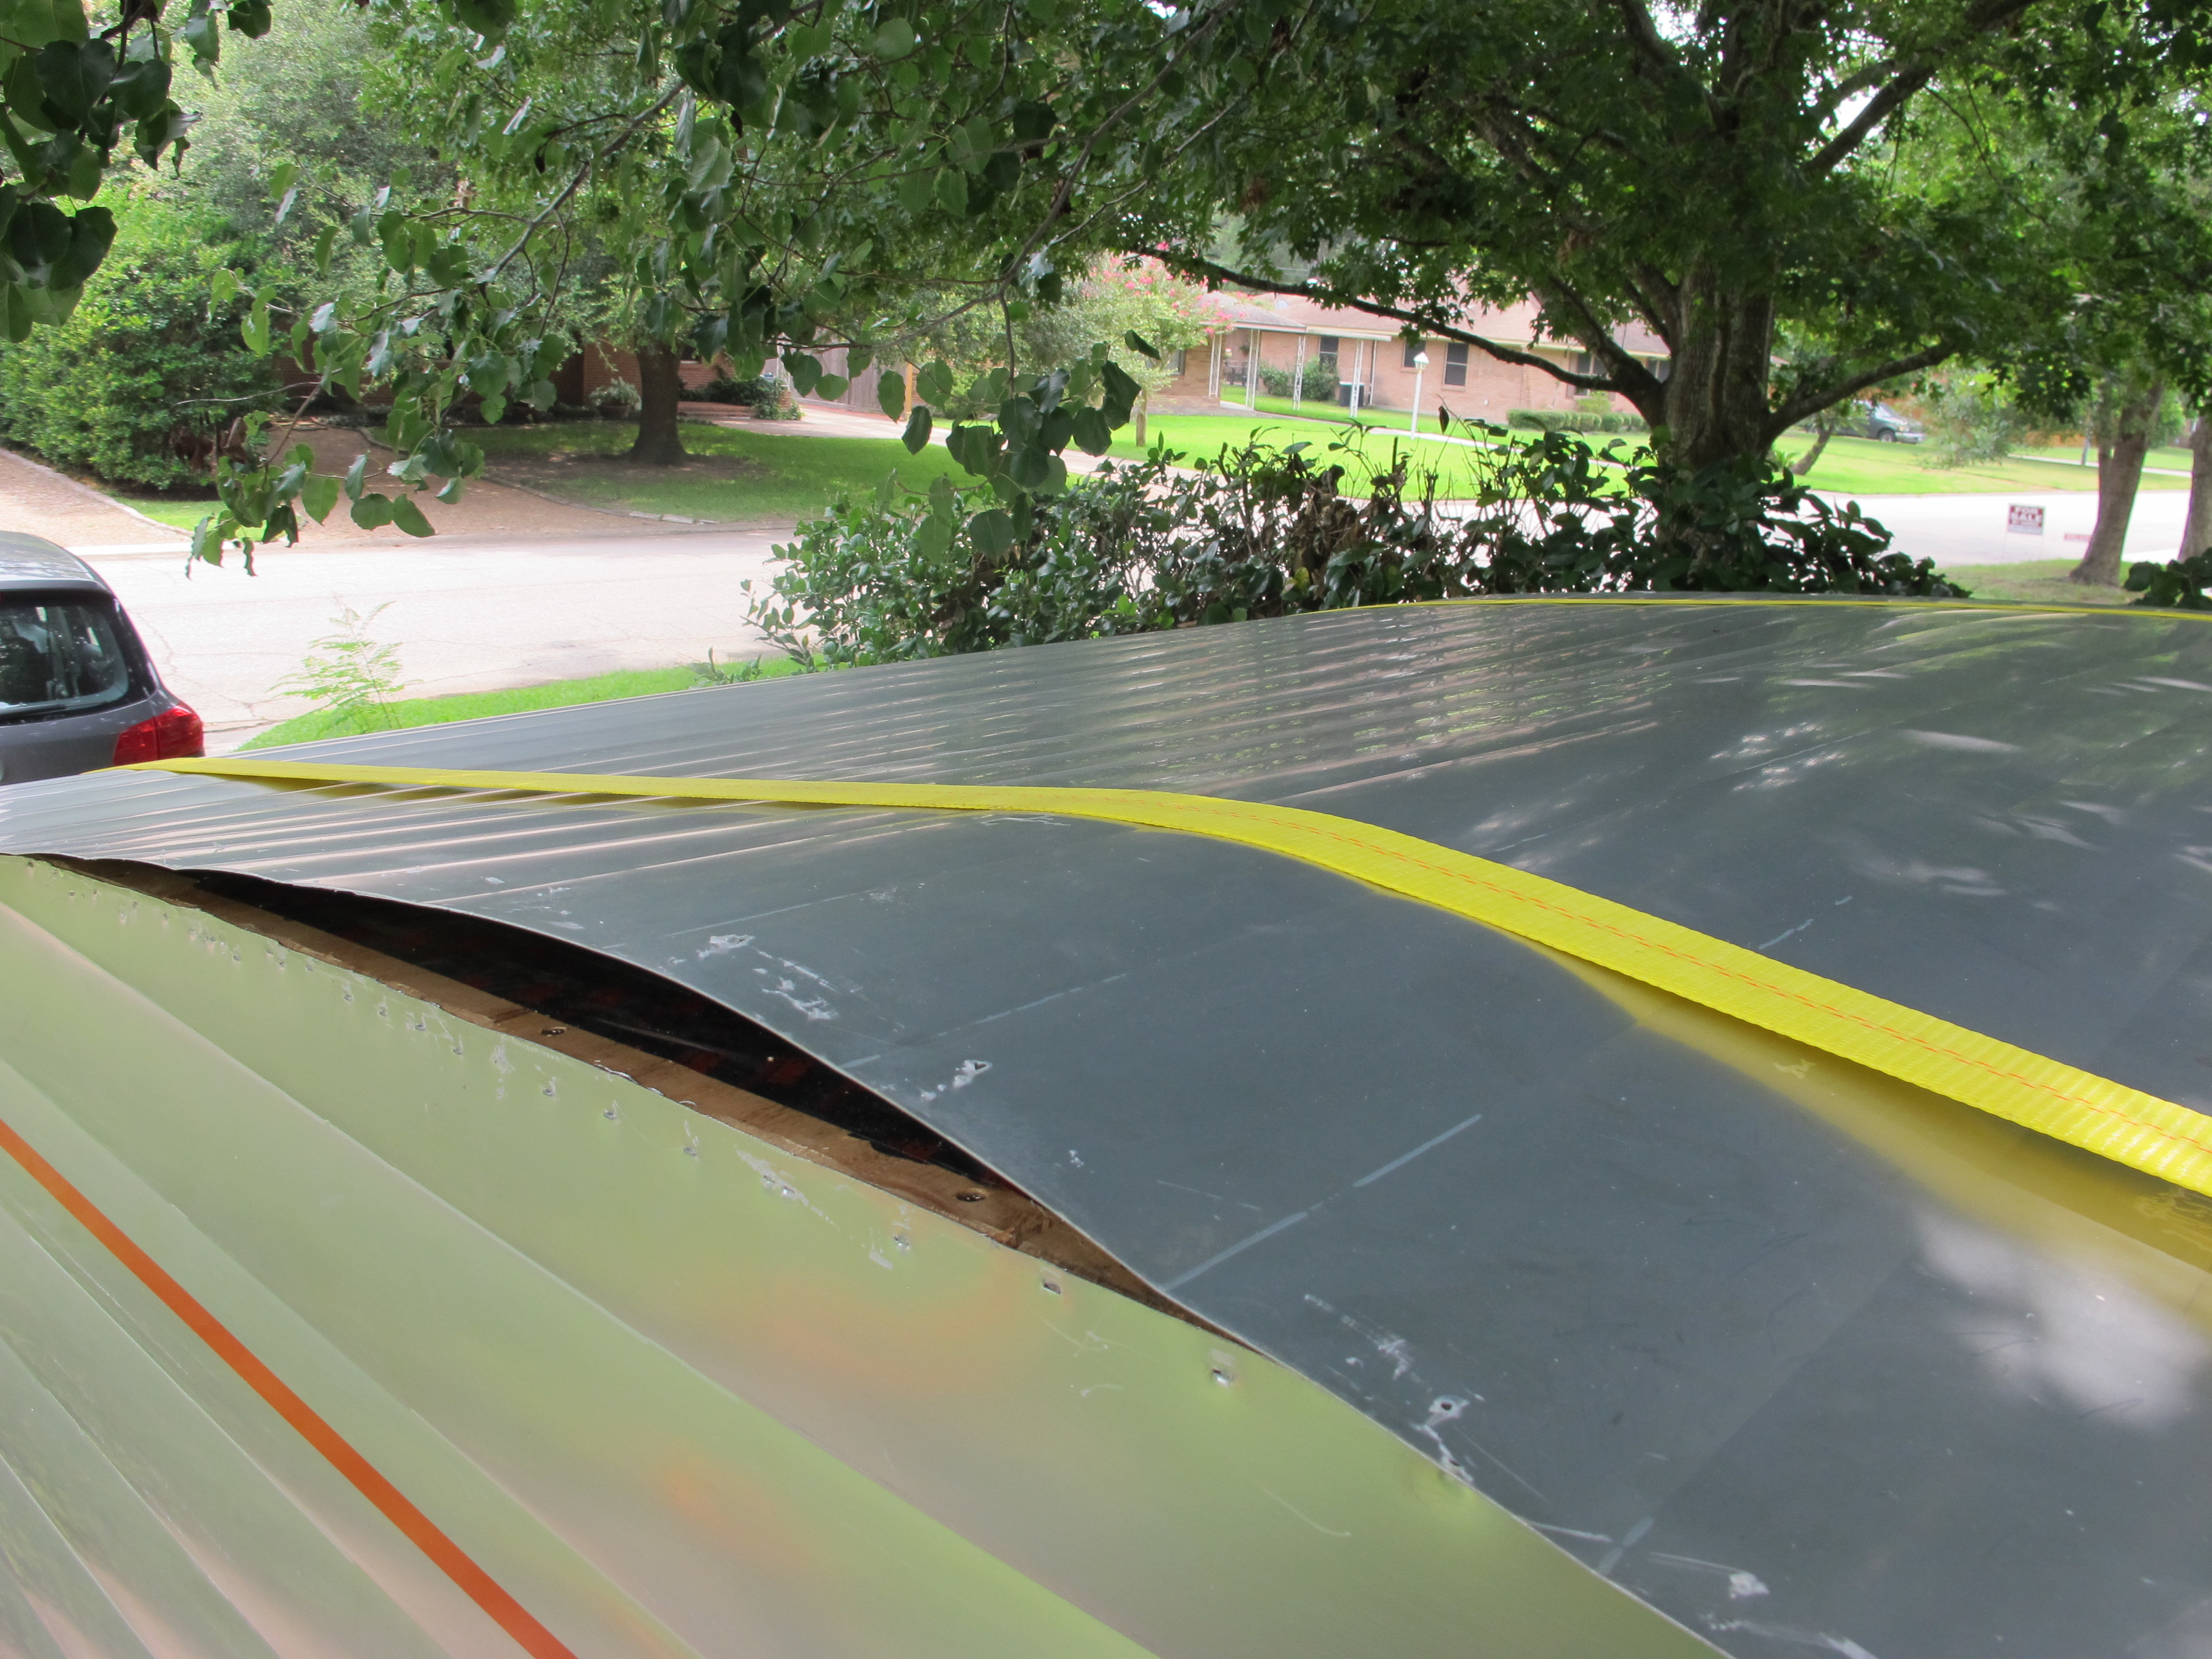
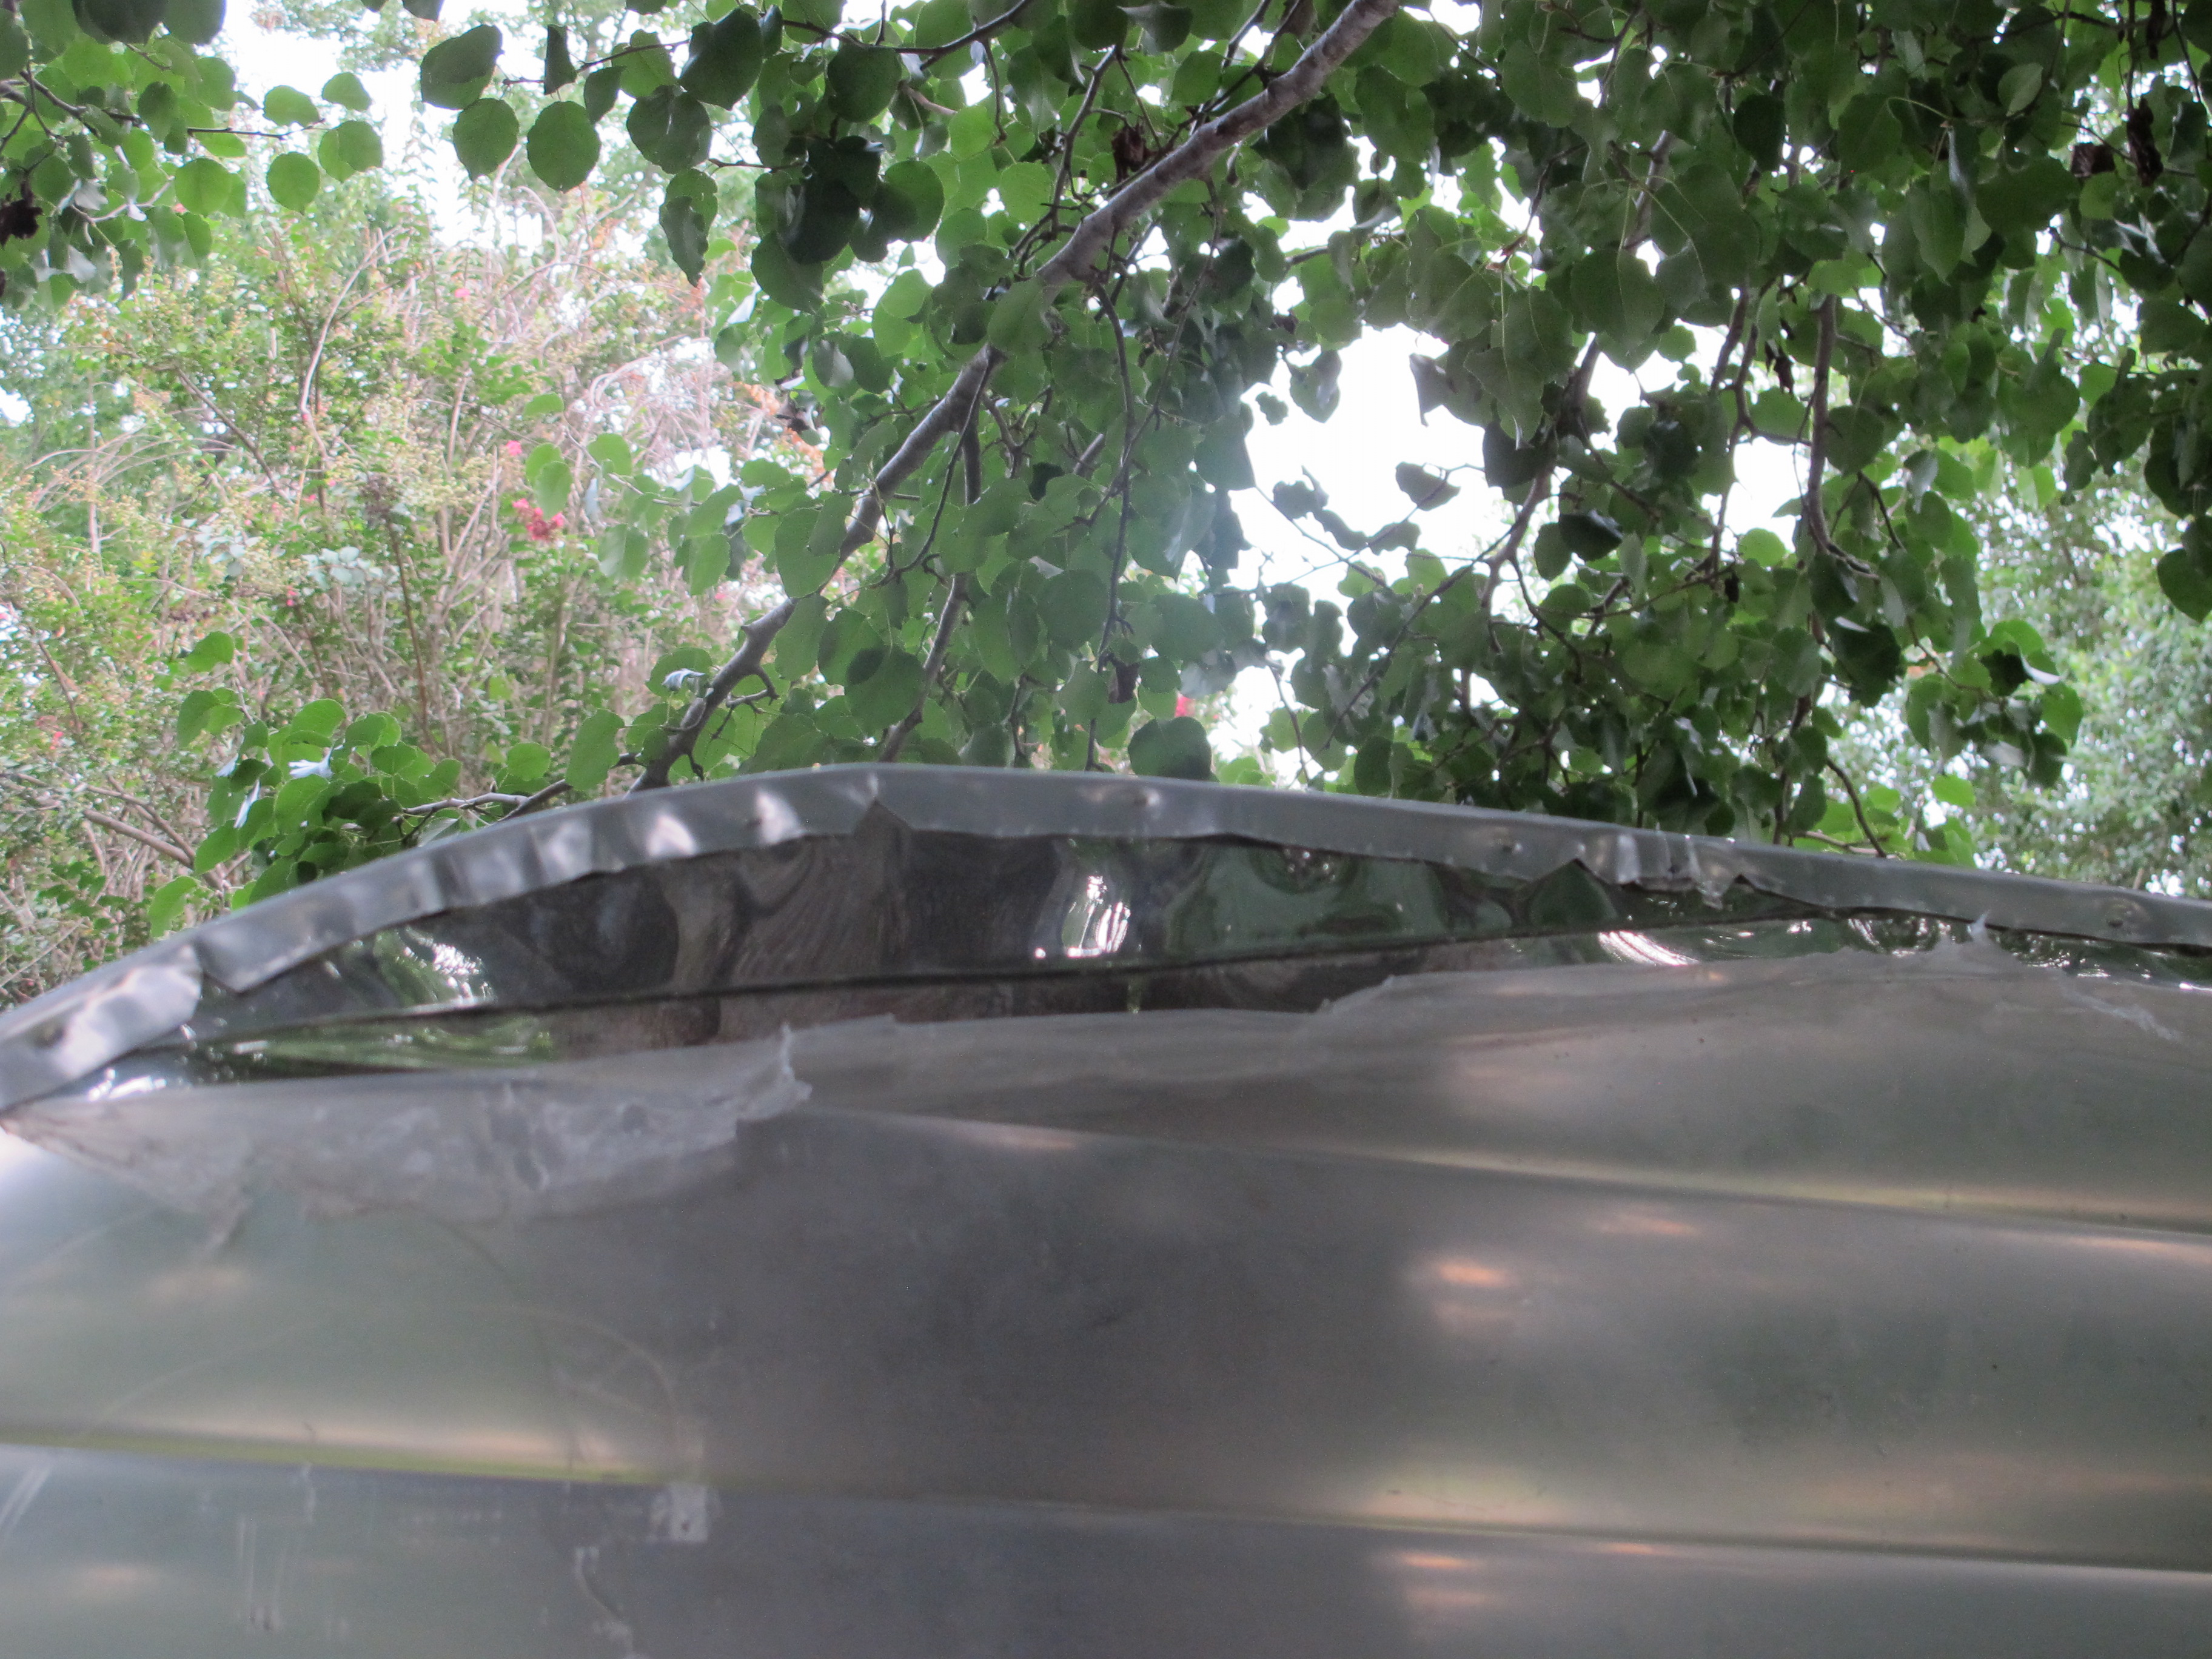
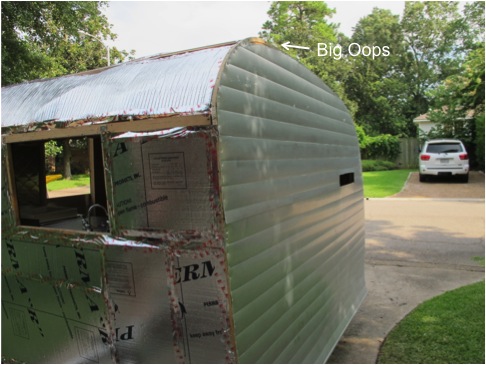
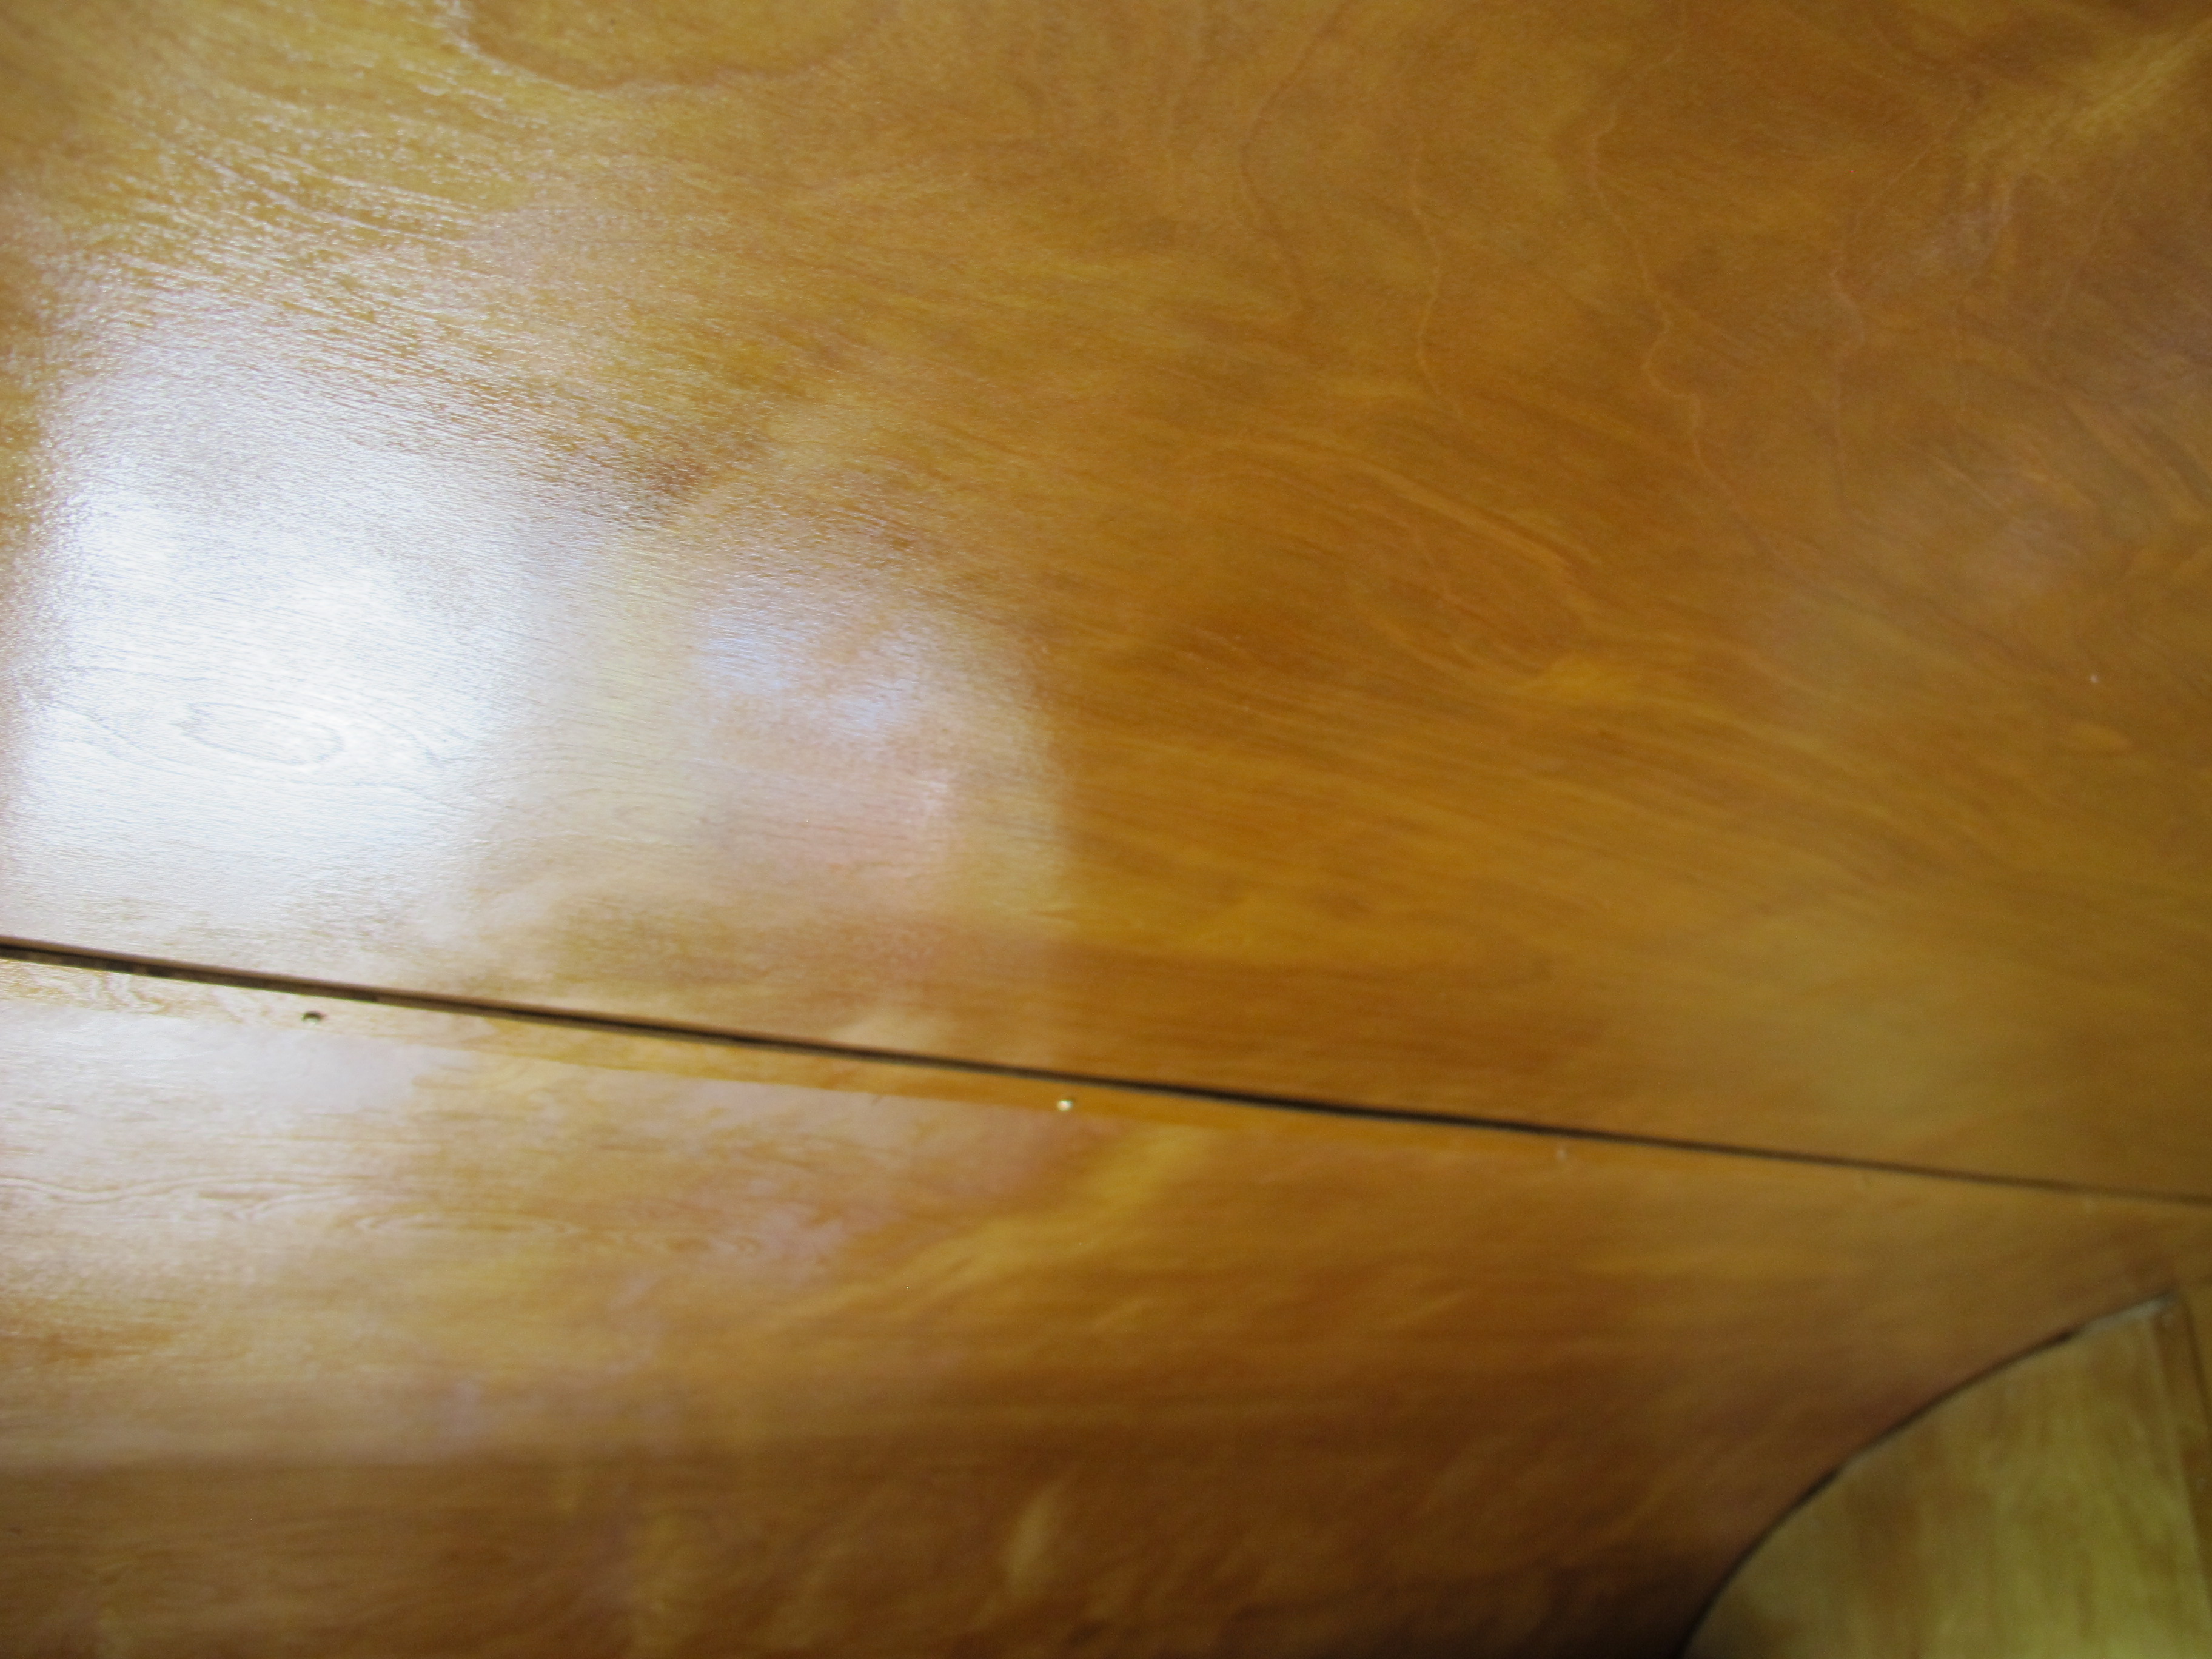
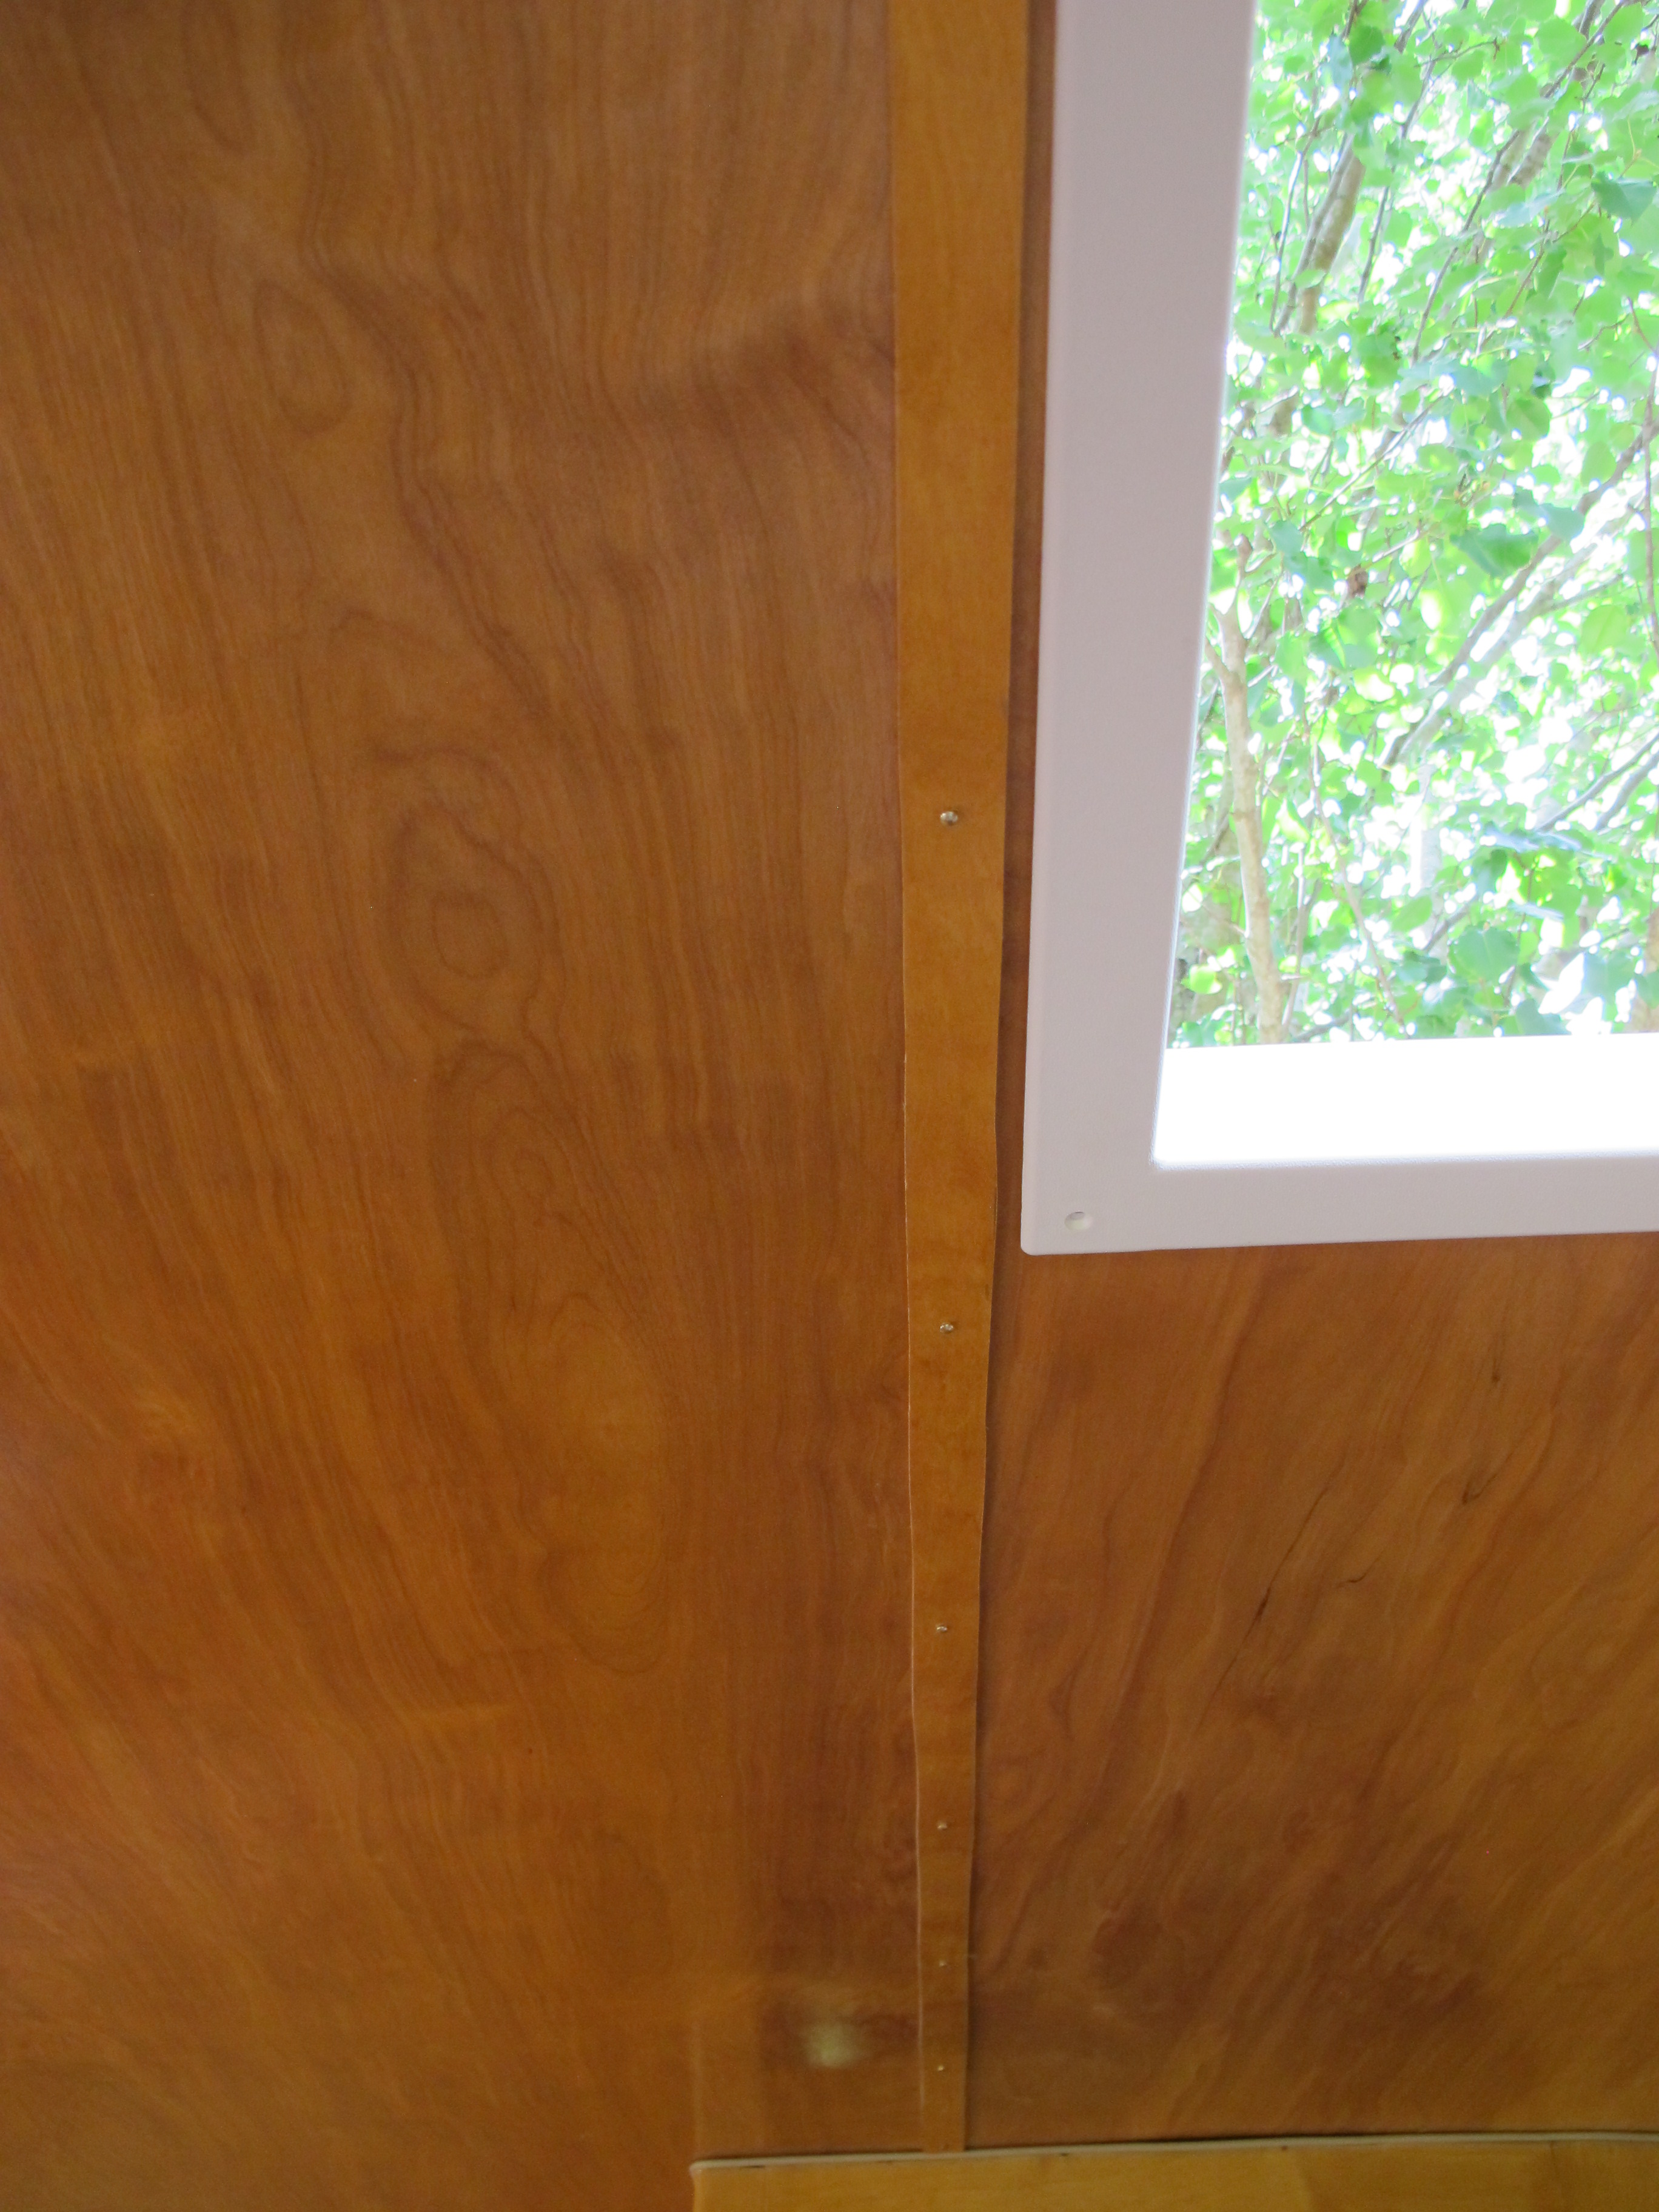
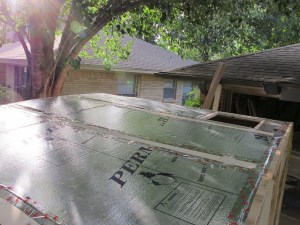
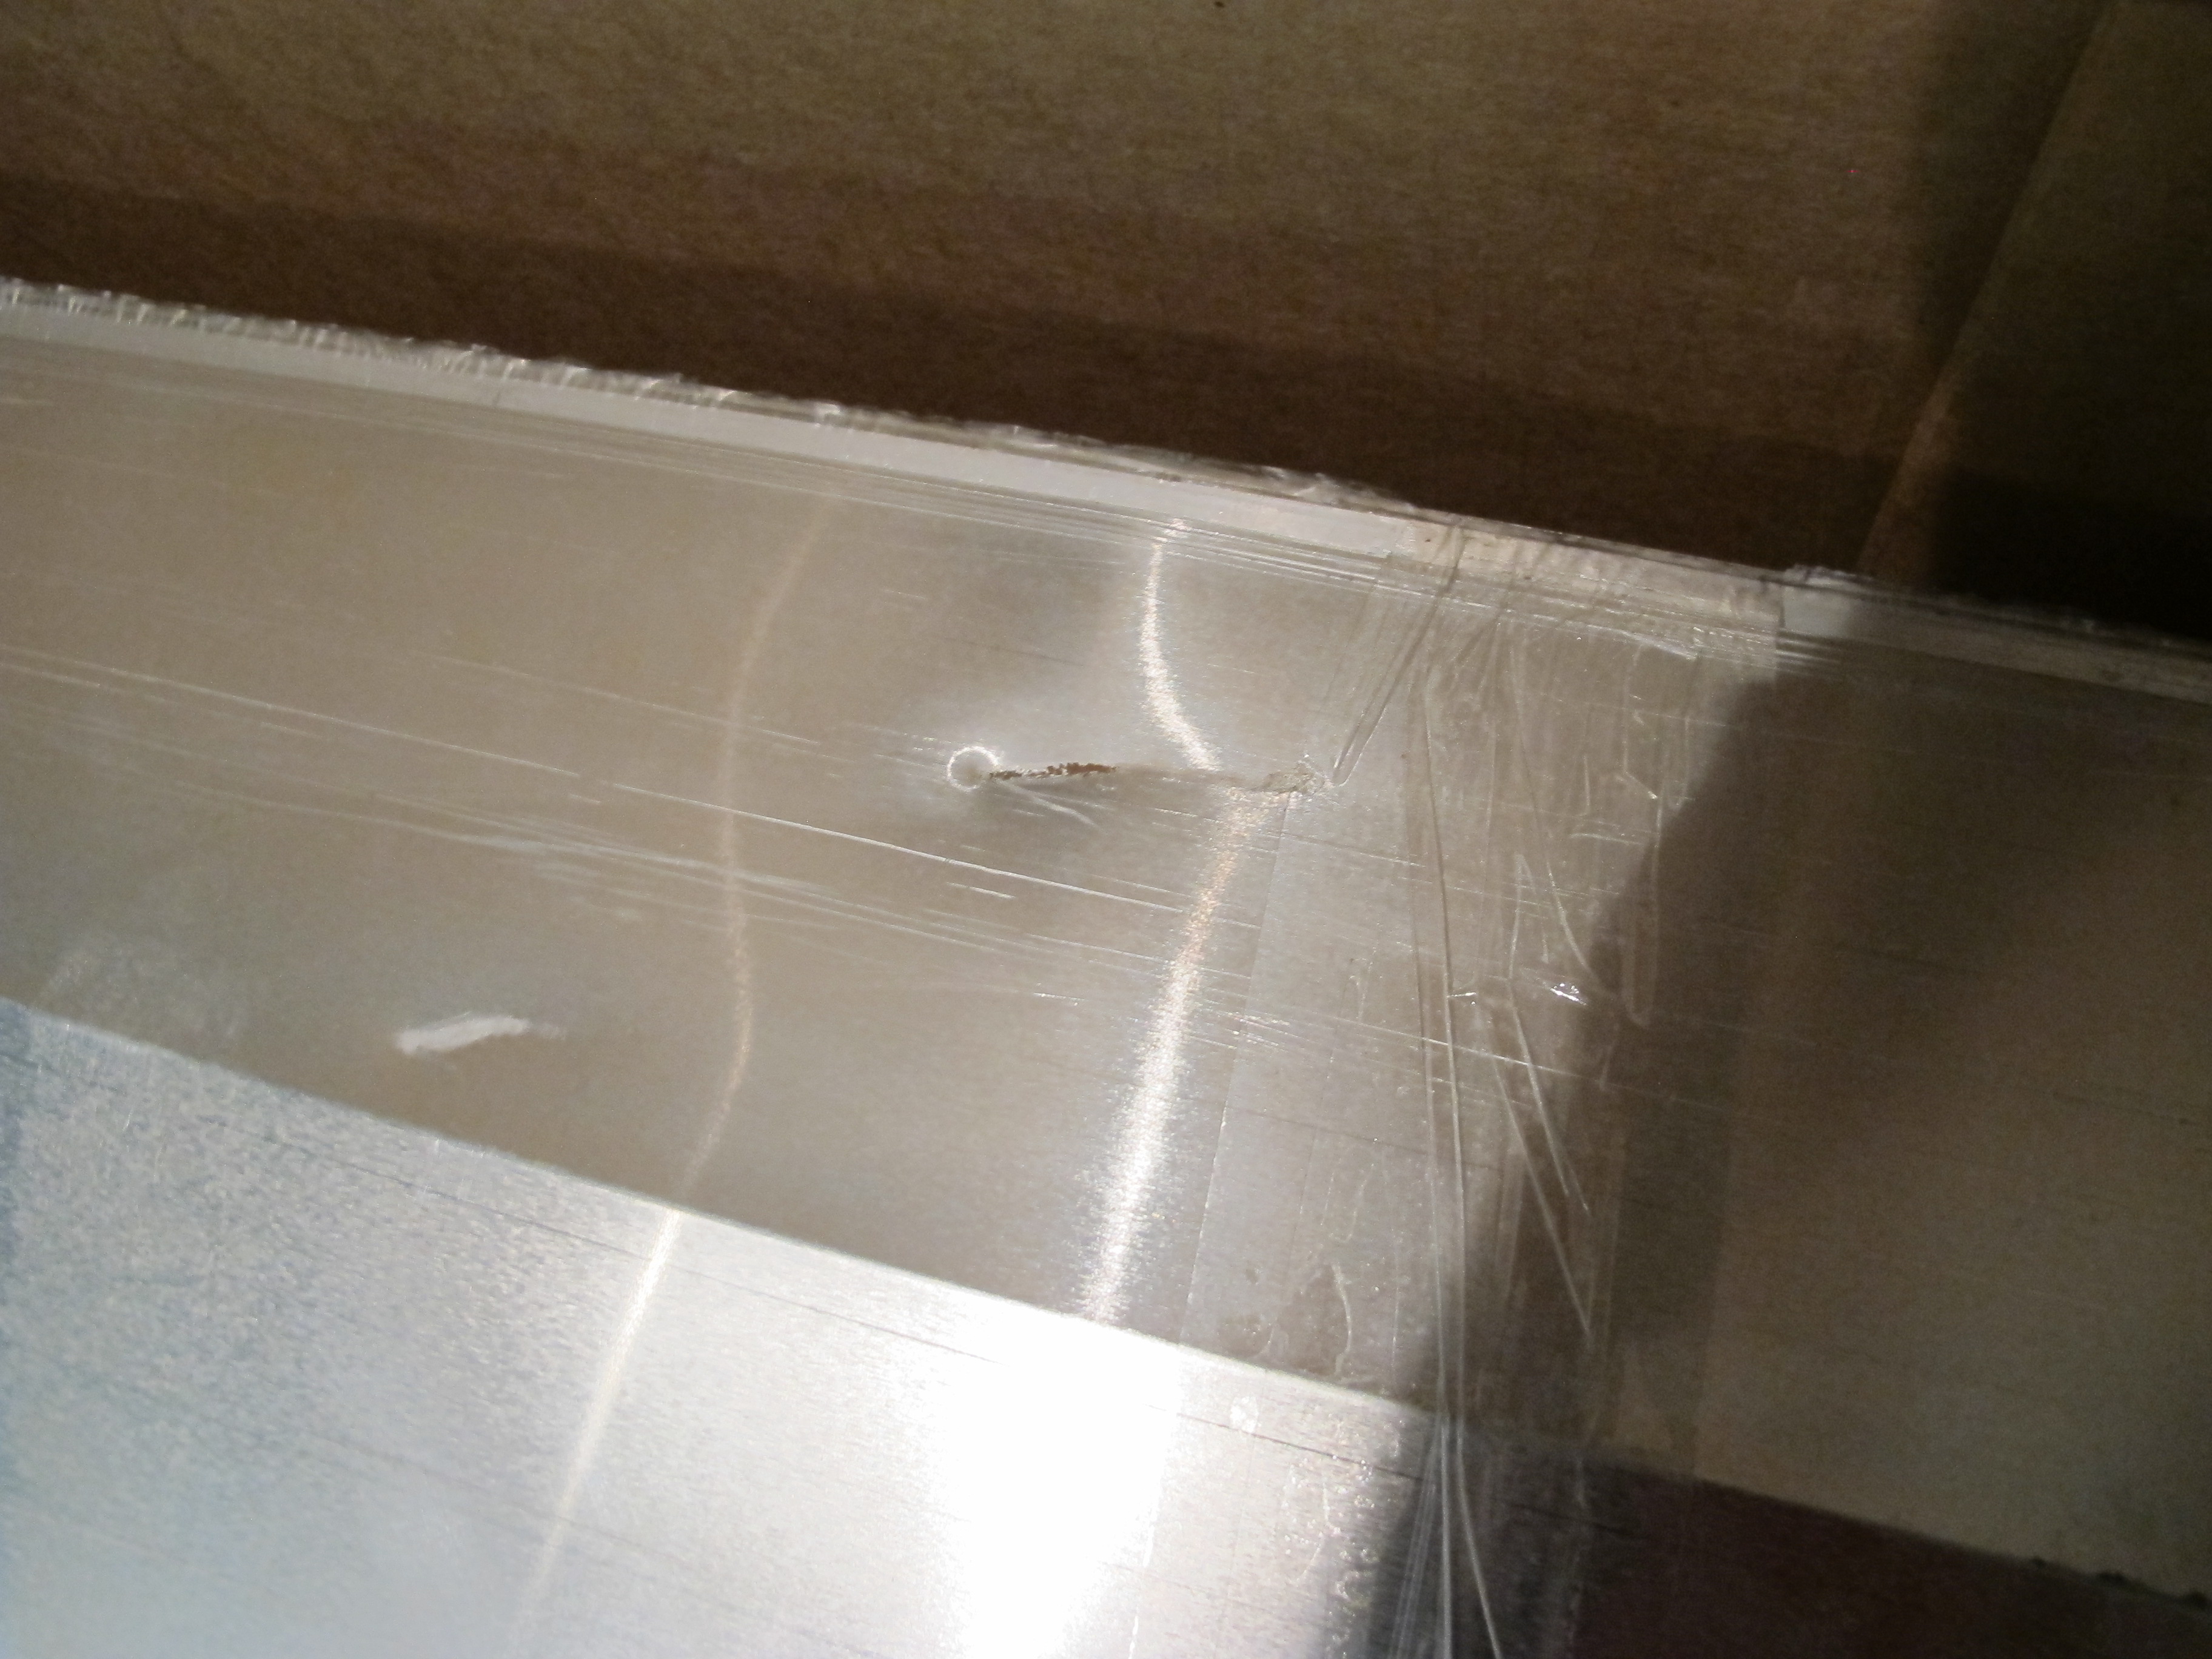
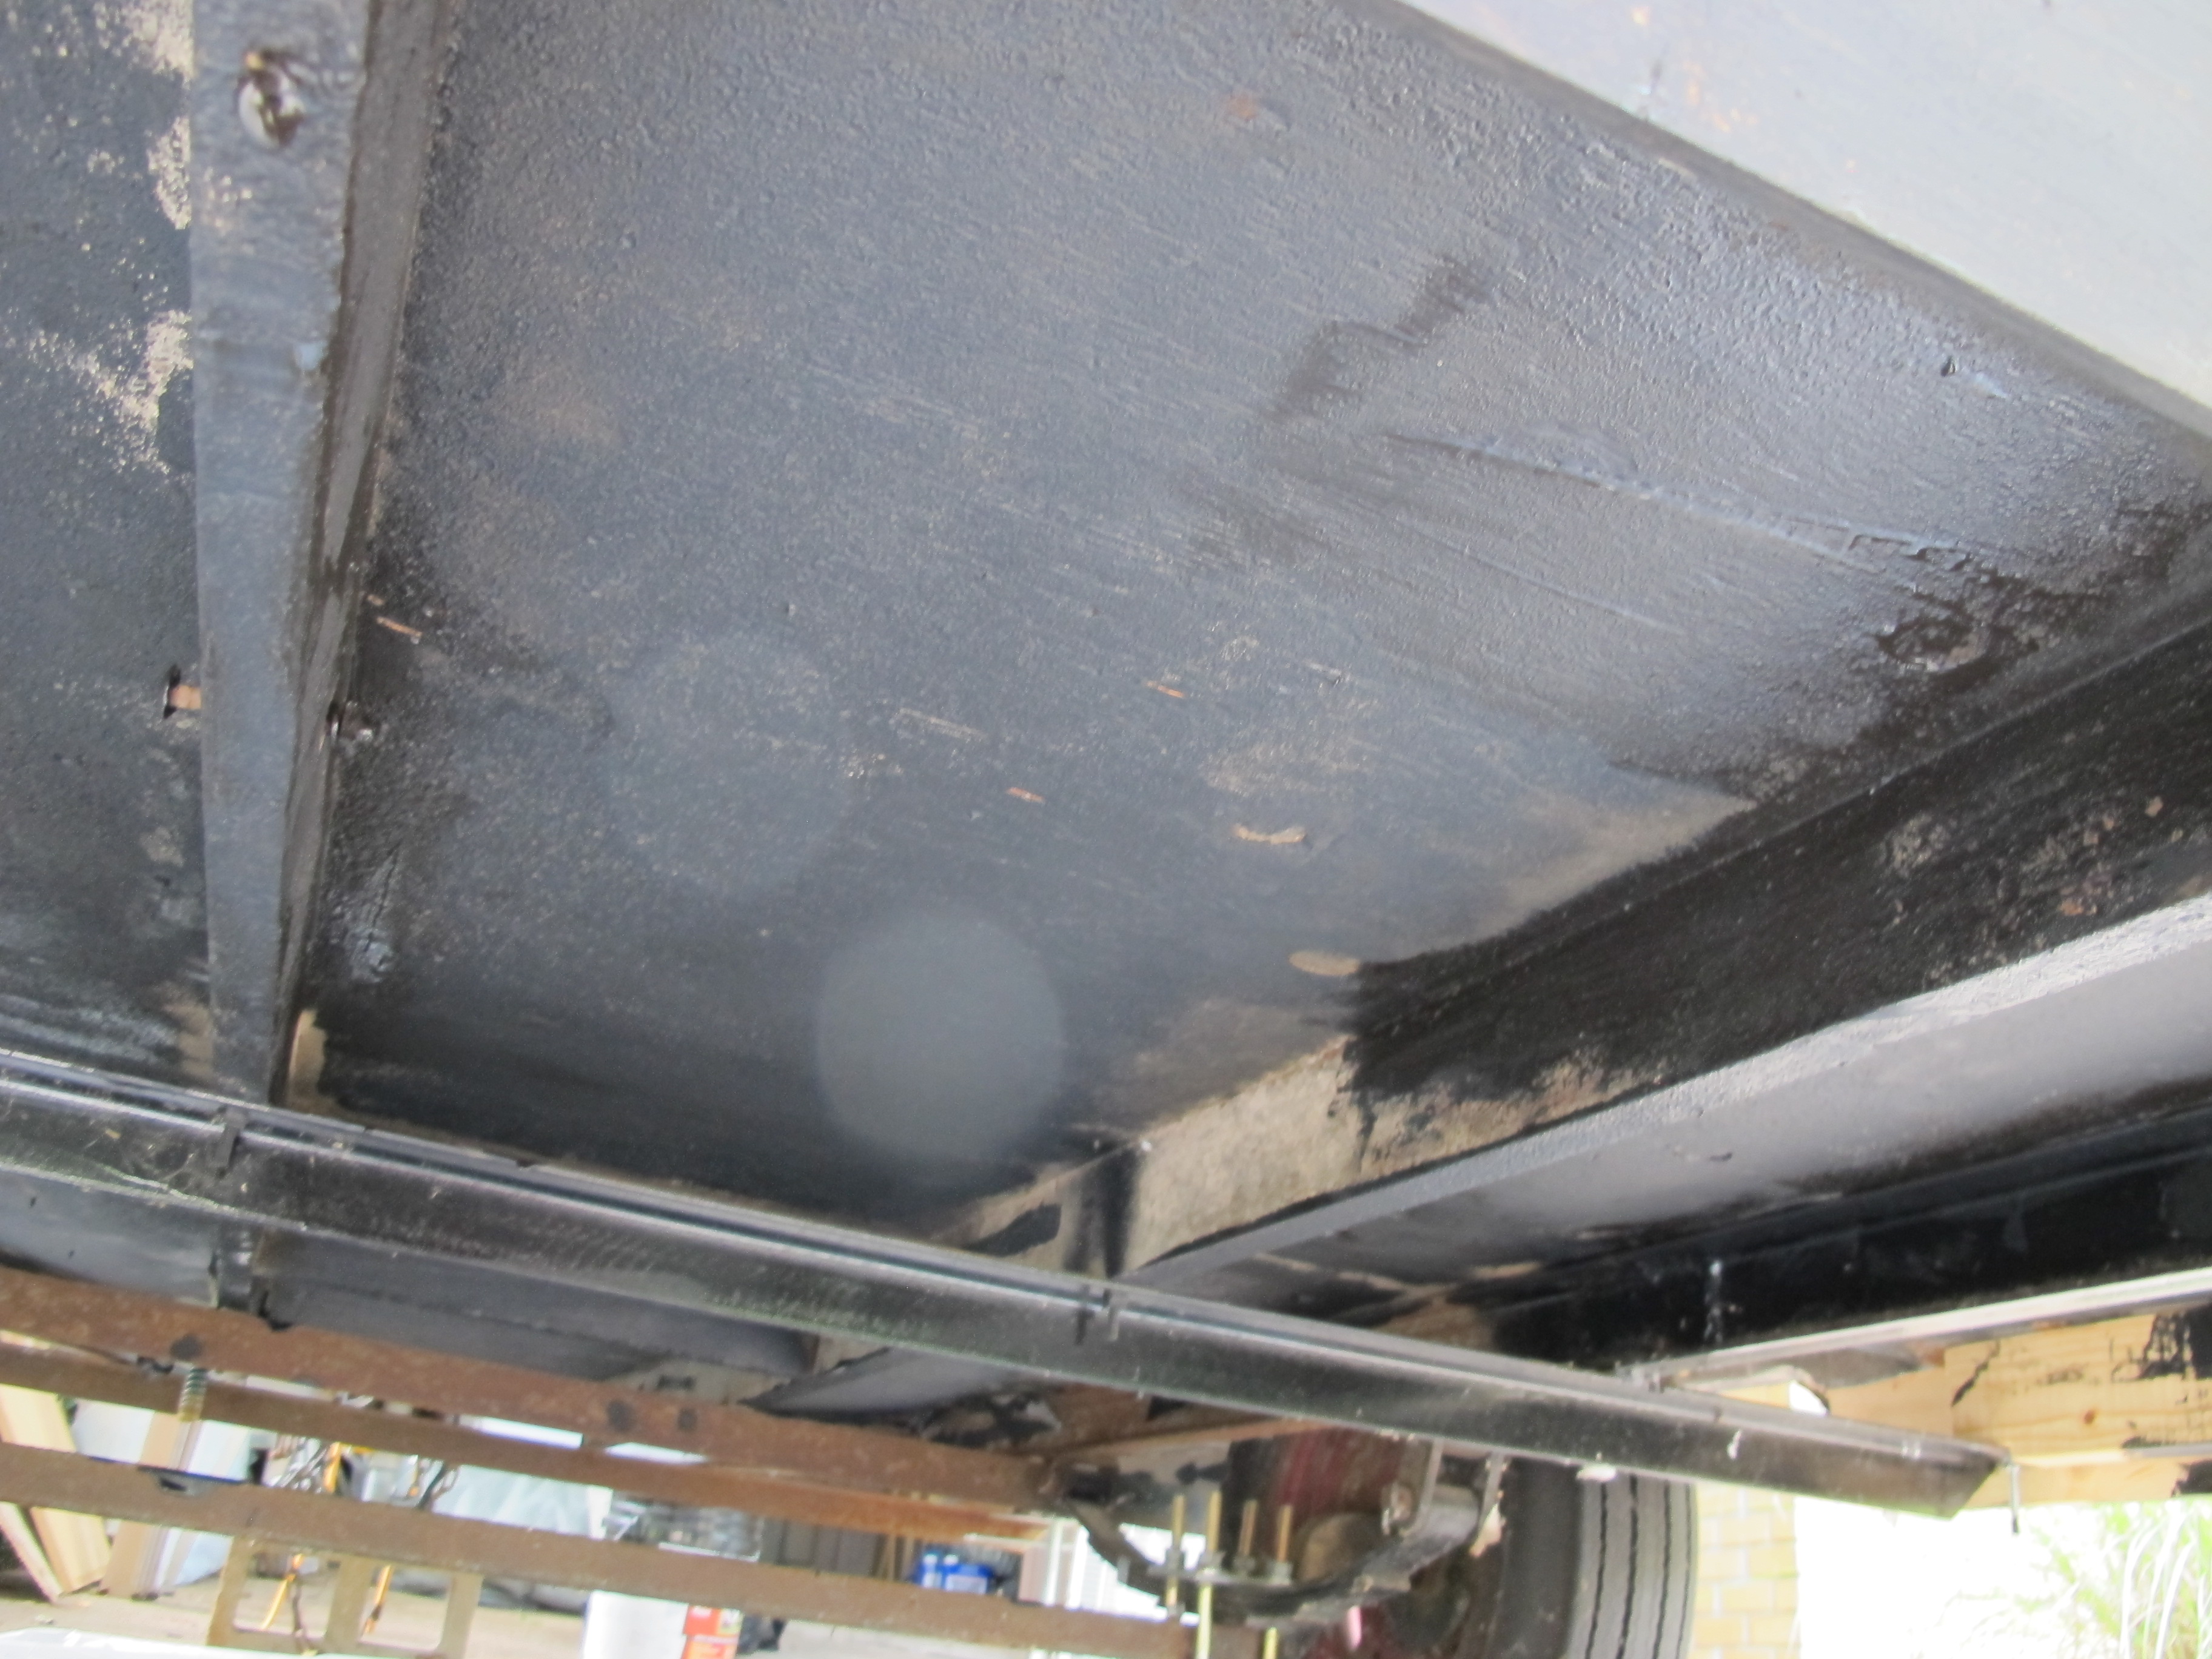
This is what I’m talking about. It doesn’t look as bad from here, but even if I fold the roof skin over further to cover it, it will still be difficult to cover up the seam because it’s too big of a gap for the drip rail to cover unless I move it down an inch and then it won’t be flush with the roof. I may end up doing that anyway, we’ll see.
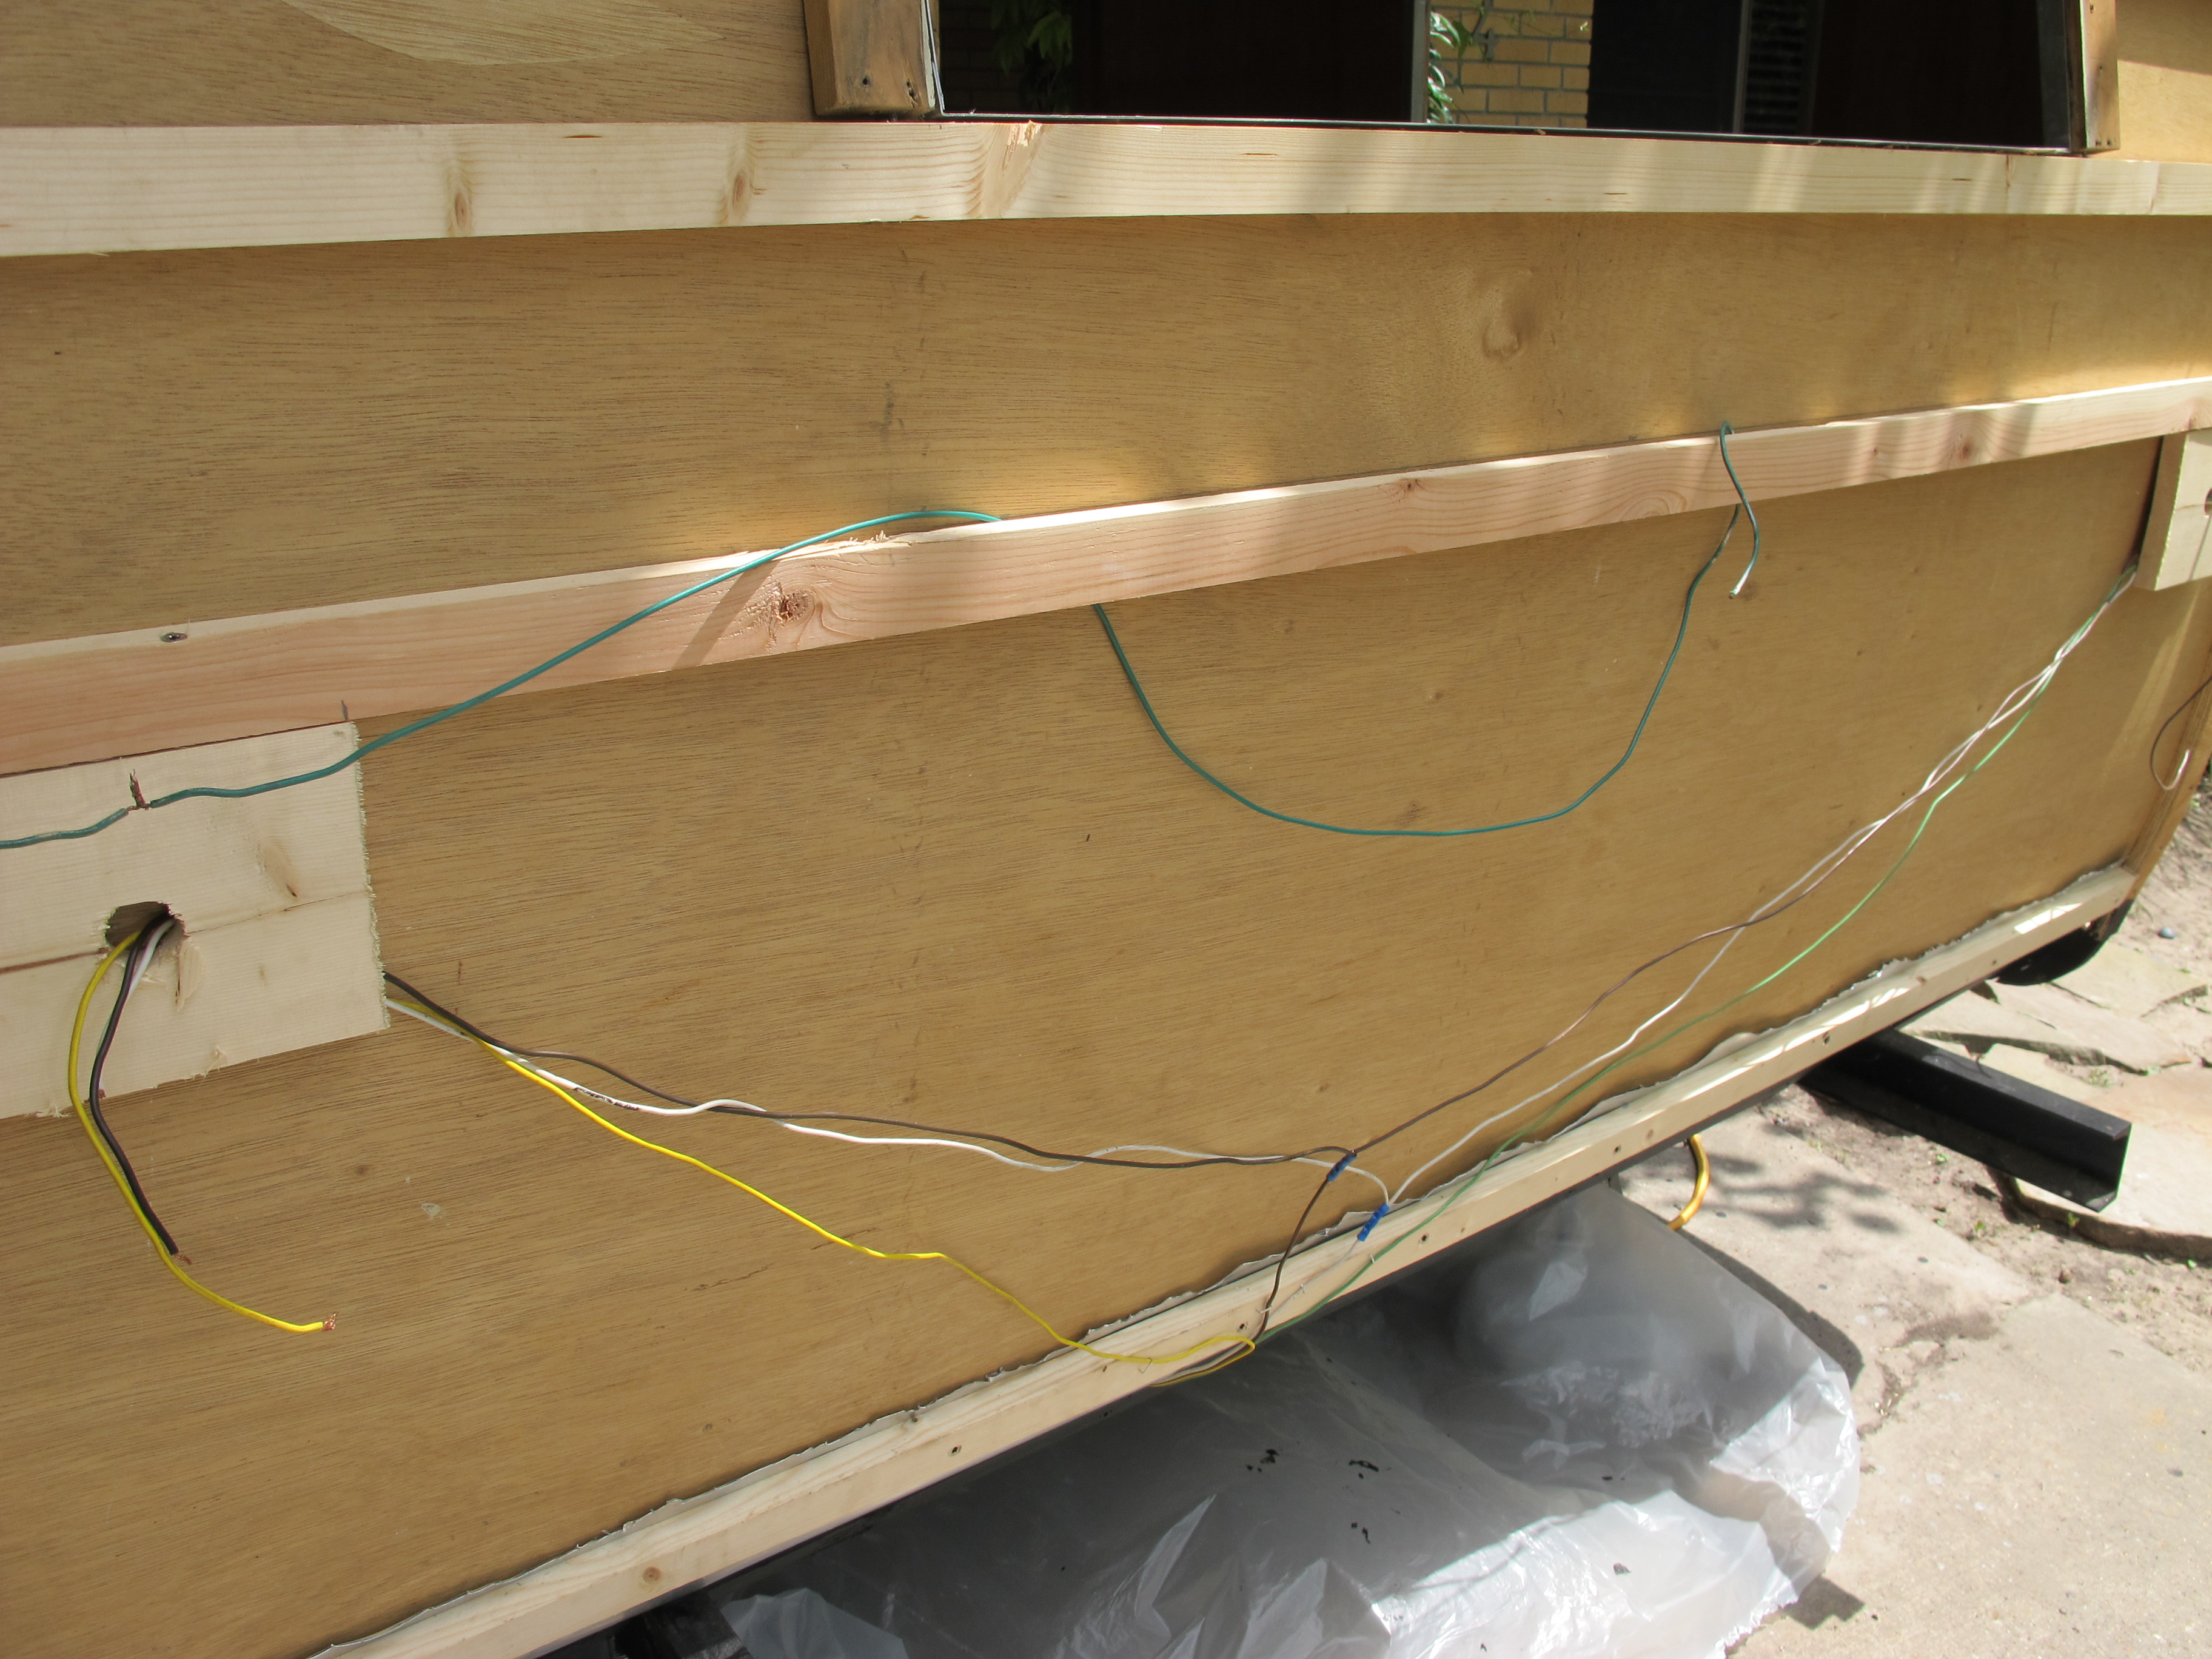
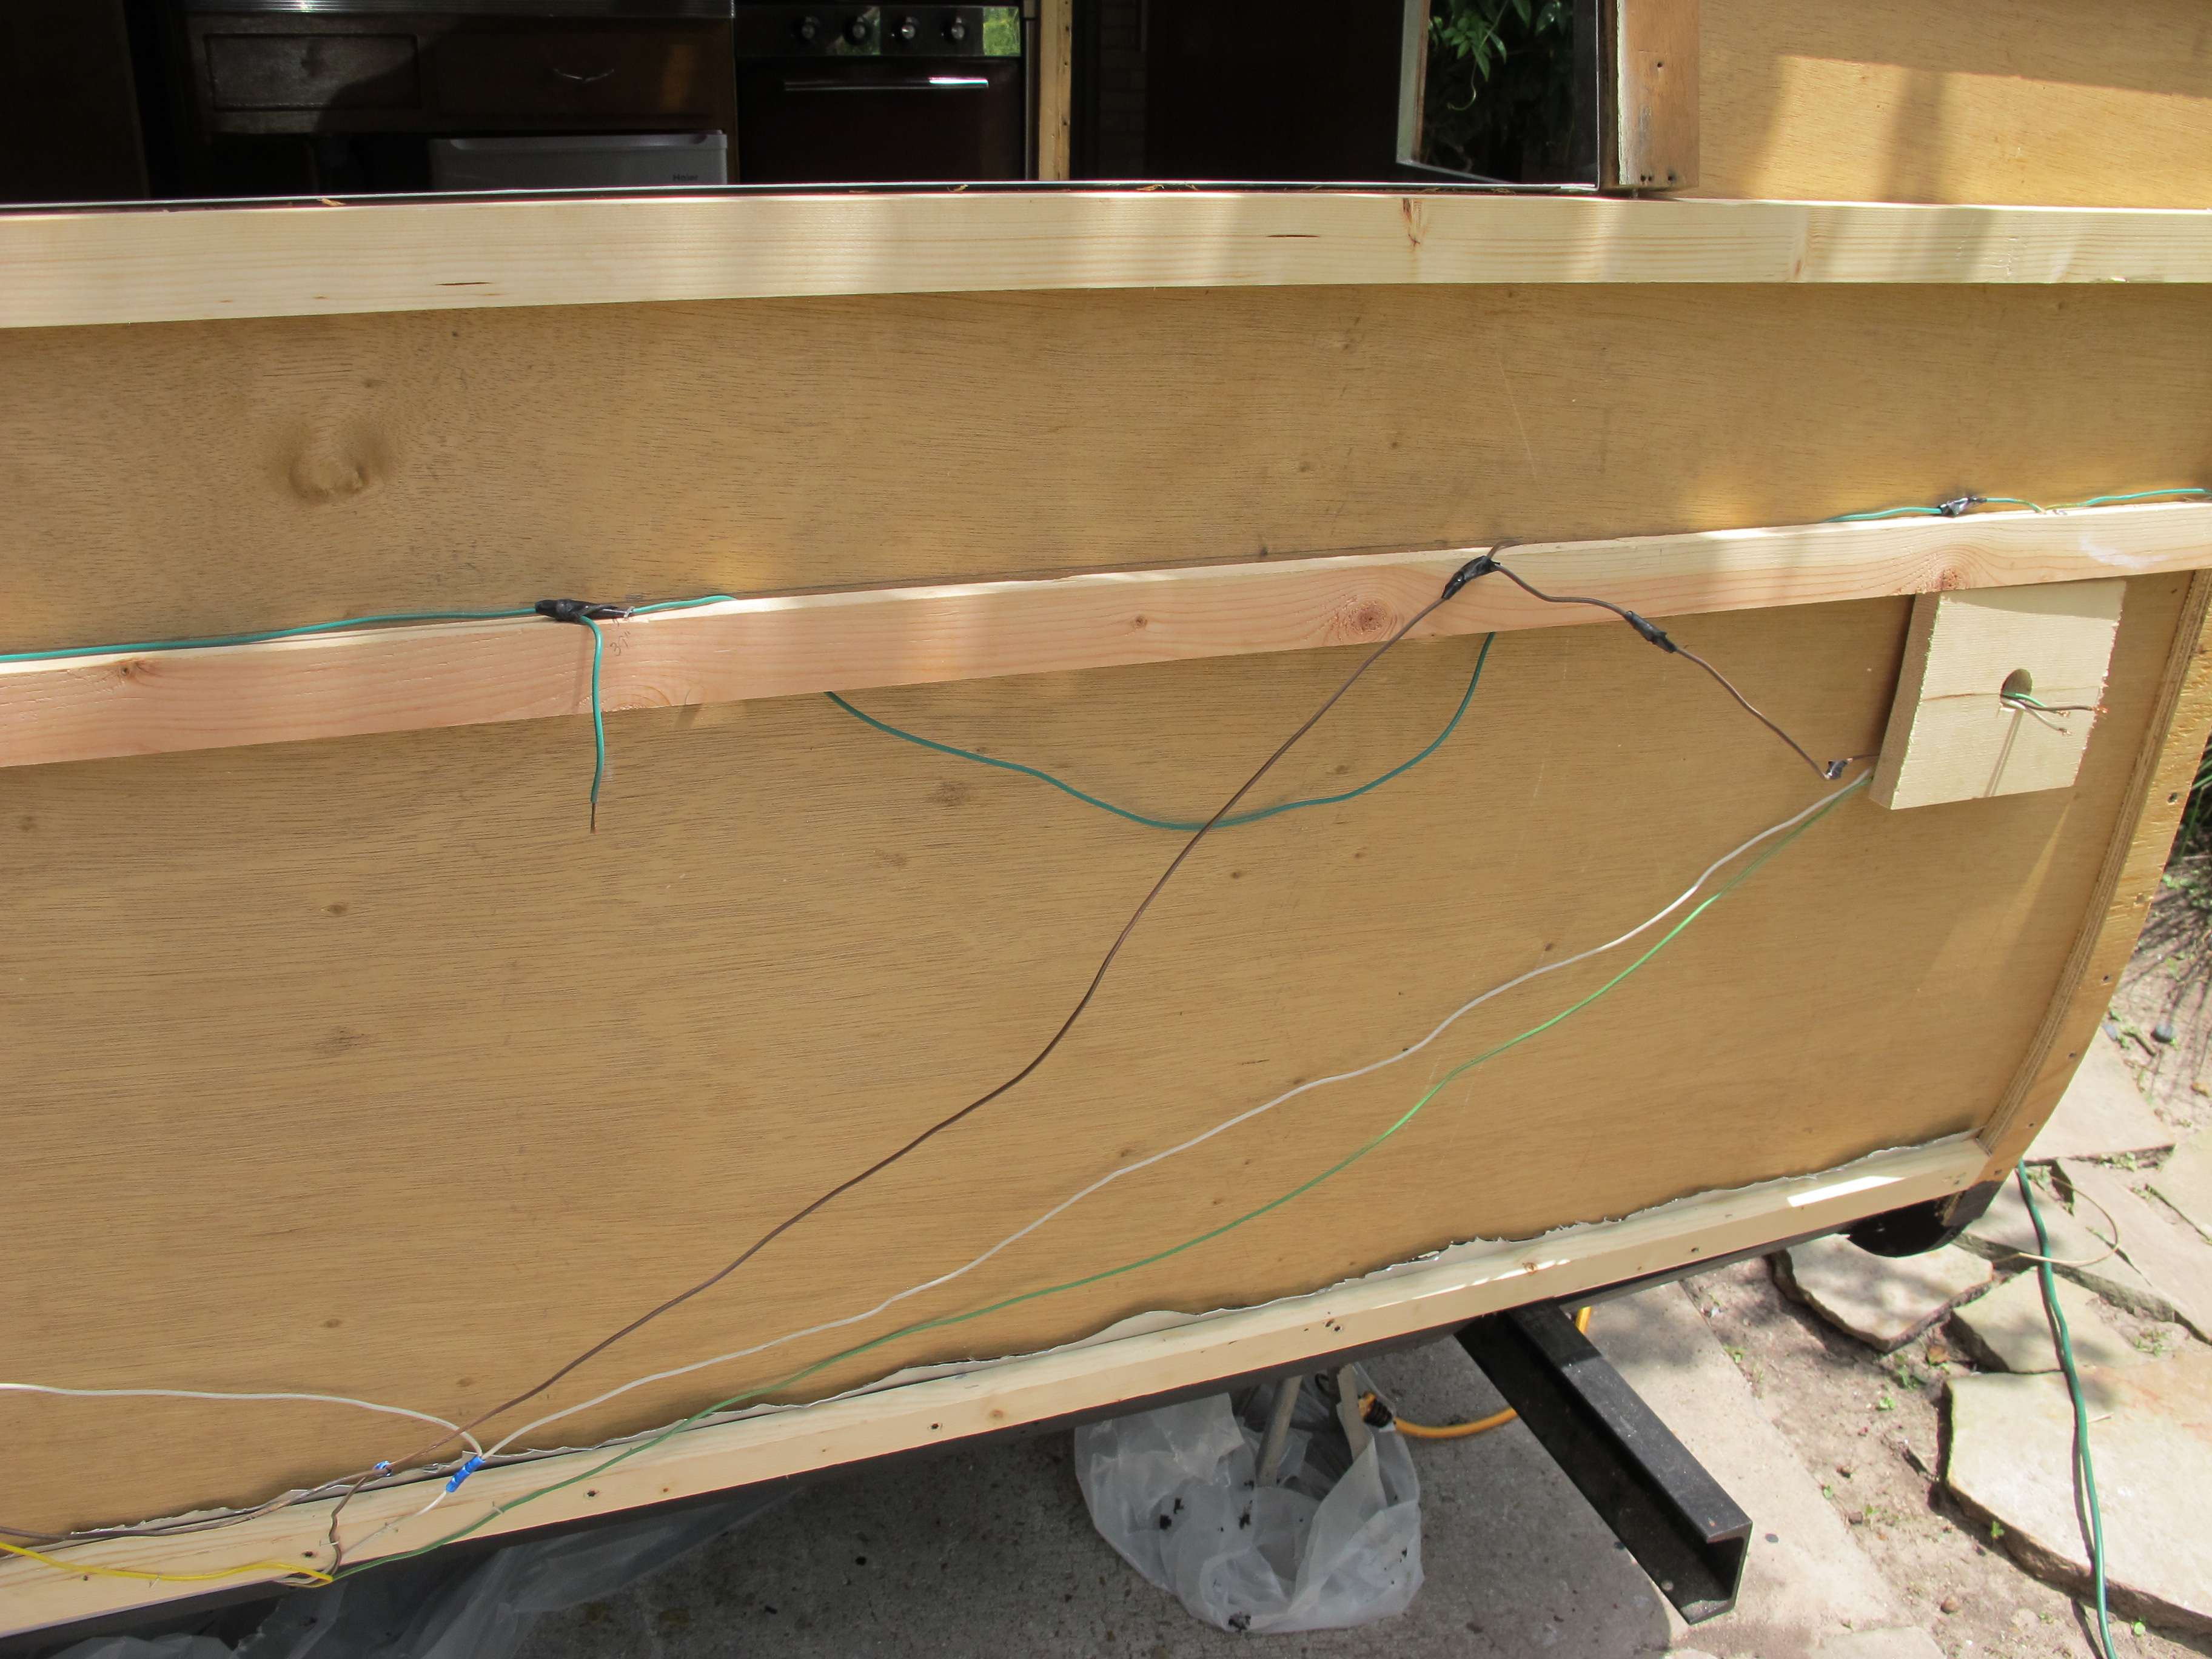
I’ll get to the second major meltdown shortly, but first I will go through the day’s events in chronological order. I was planning to get up really early yesterday to finish installing the insulation before my friends came over, but I was so tired and sore yesterday morning that I slept in until 8am. That still wasn’t too bad, but by the time I went by the tool rental place to pick up the crown stapler and then went to Lowe’s to buy a few more supplies, it was already 10am. I got to work quickly after that finishing the insulation. It still took me forever to finish the street side. My friends showed up around 11:30am, and we moved the camper so that I could hook up the tail lights to my car to see if they all worked. If you recall, the welder had come over and replaced all of the wiring earlier in the week. For some reason, he didn’t finish running new wires for the side running lights and the license plate light, but he told me I could use any of the leftover wire and hook it up myself to the hot wire, which was the brown one. I did that the other day and wanted to test it out. Well, sure enough, the blinkers and the brake lights worked when I hooked it up but not the running lights. I was so annoyed because this was the part I hooked up and it wasn’t that difficult so I don’t know how I screwed it up. I called Oscar (the welder) and he said he would try to stop by later to check it out. So… I forgot about that for the time being and we got started installing the side skin.
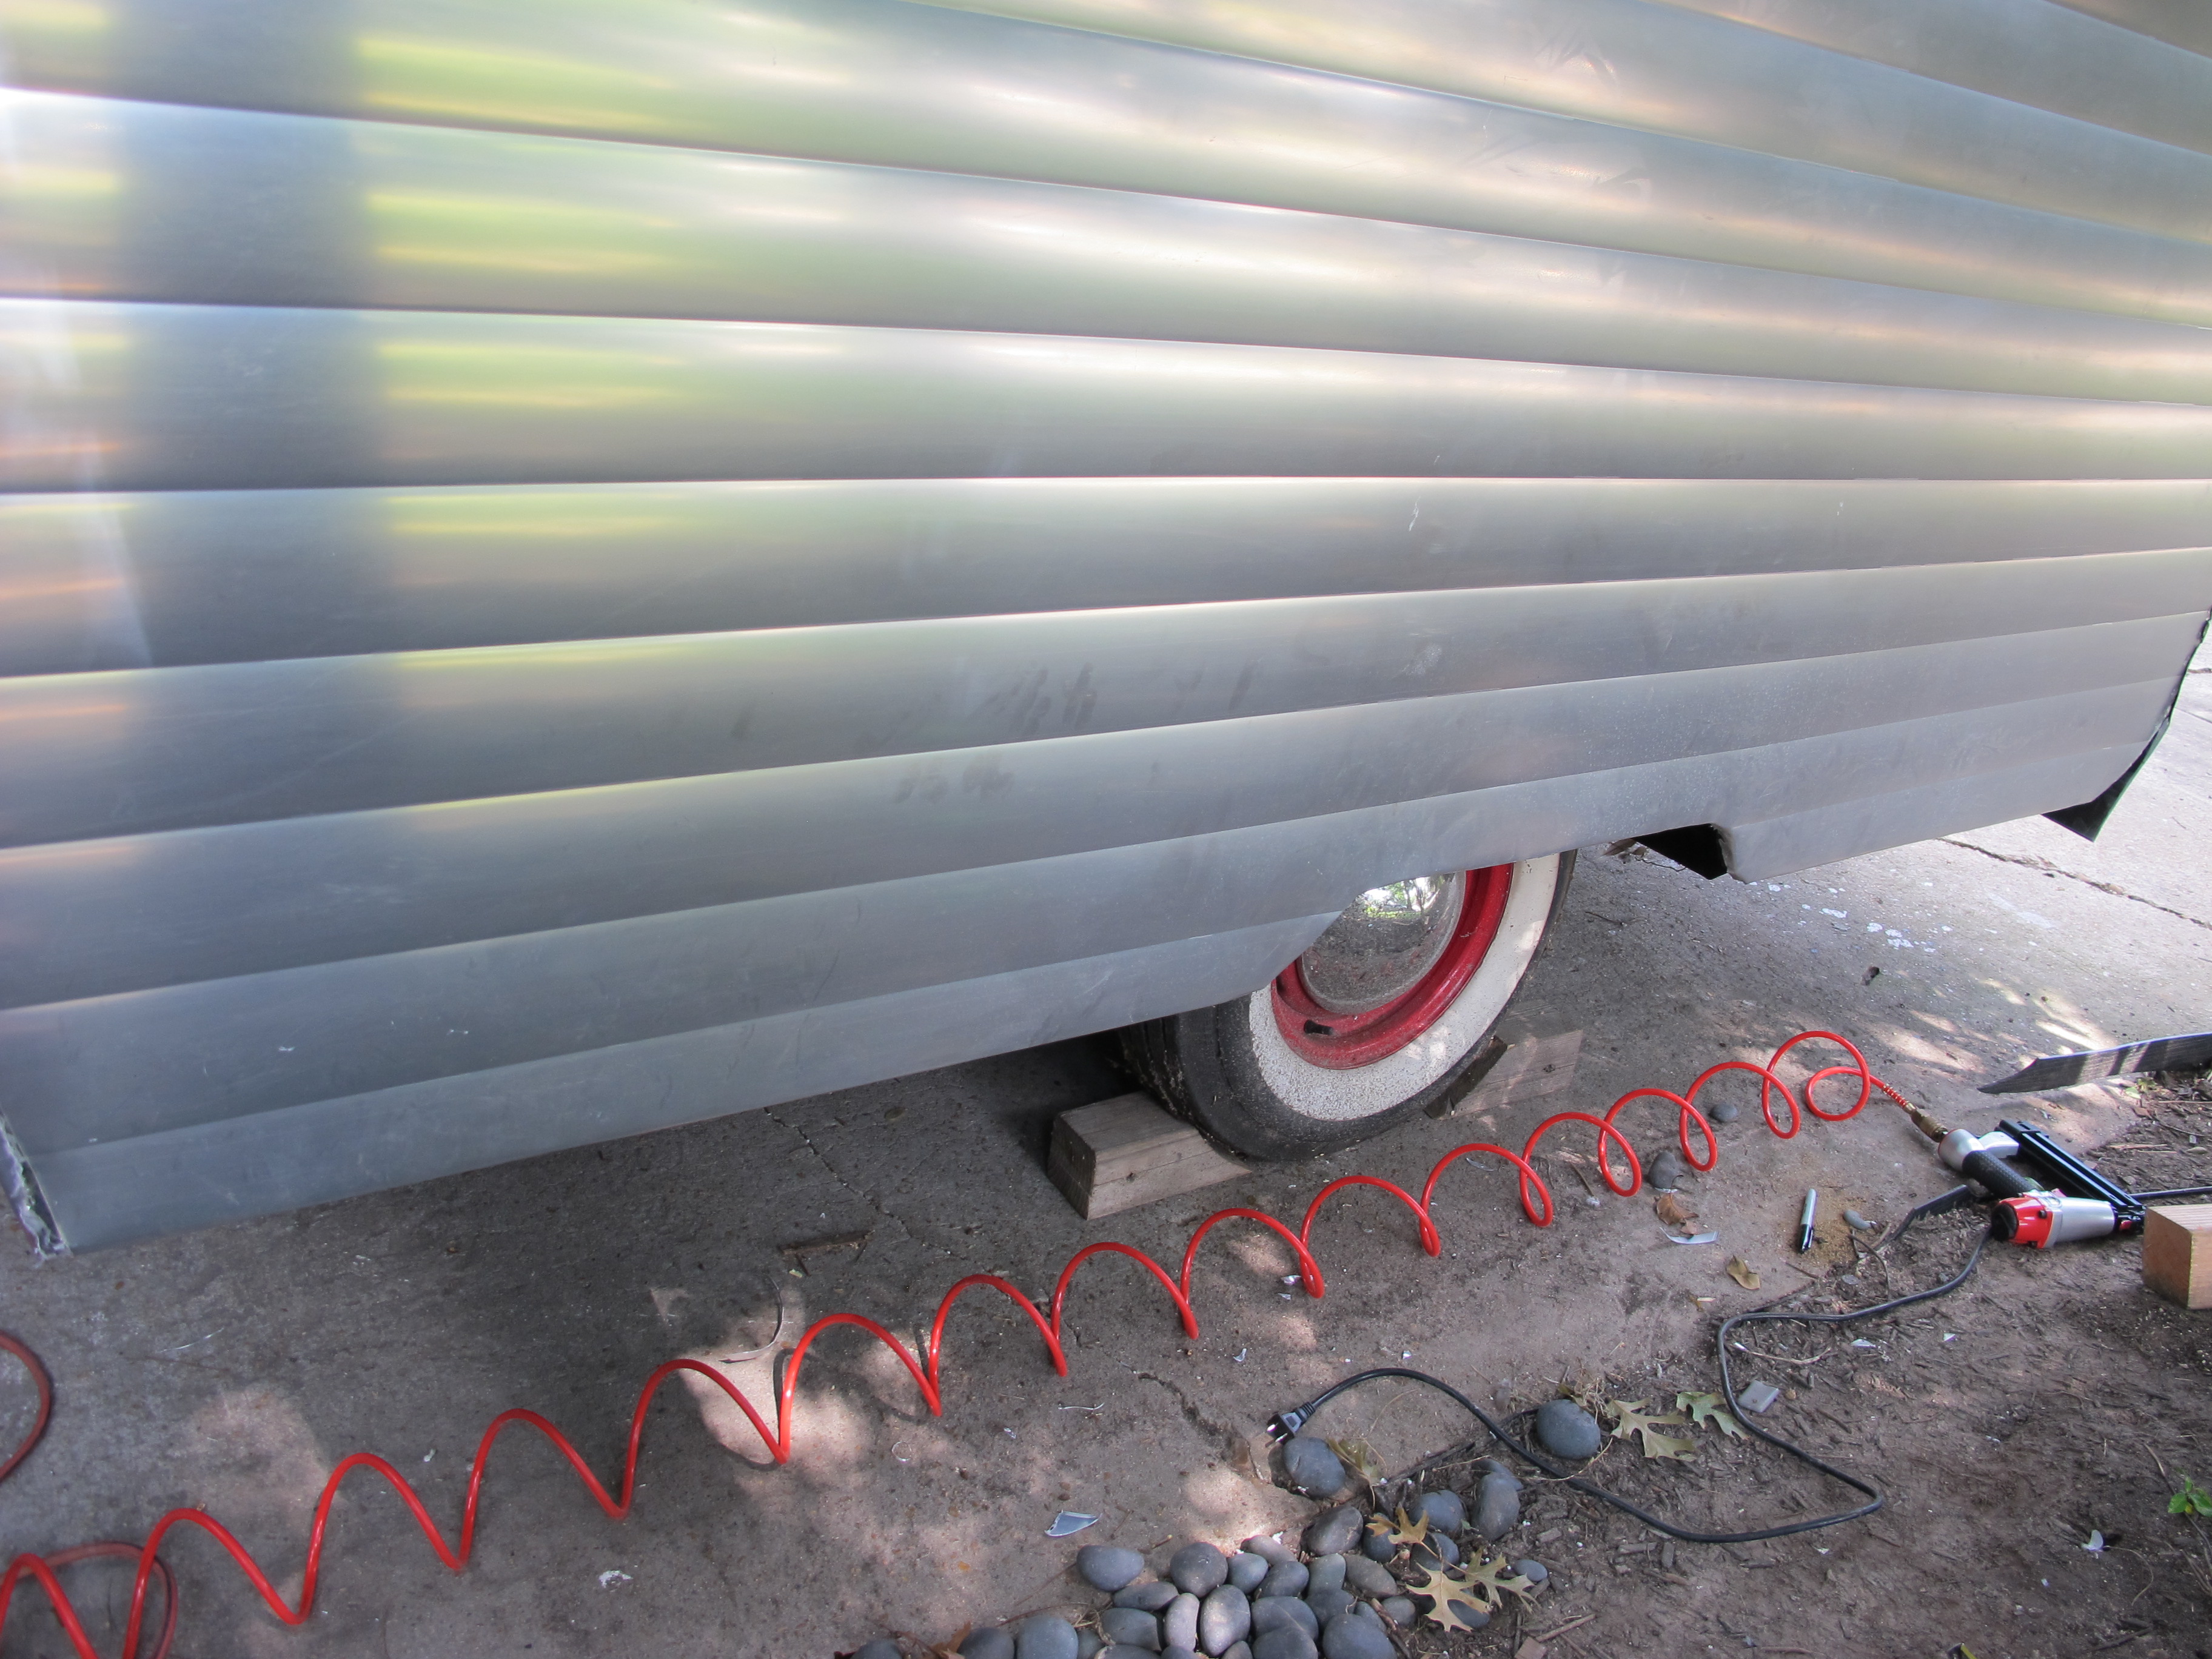
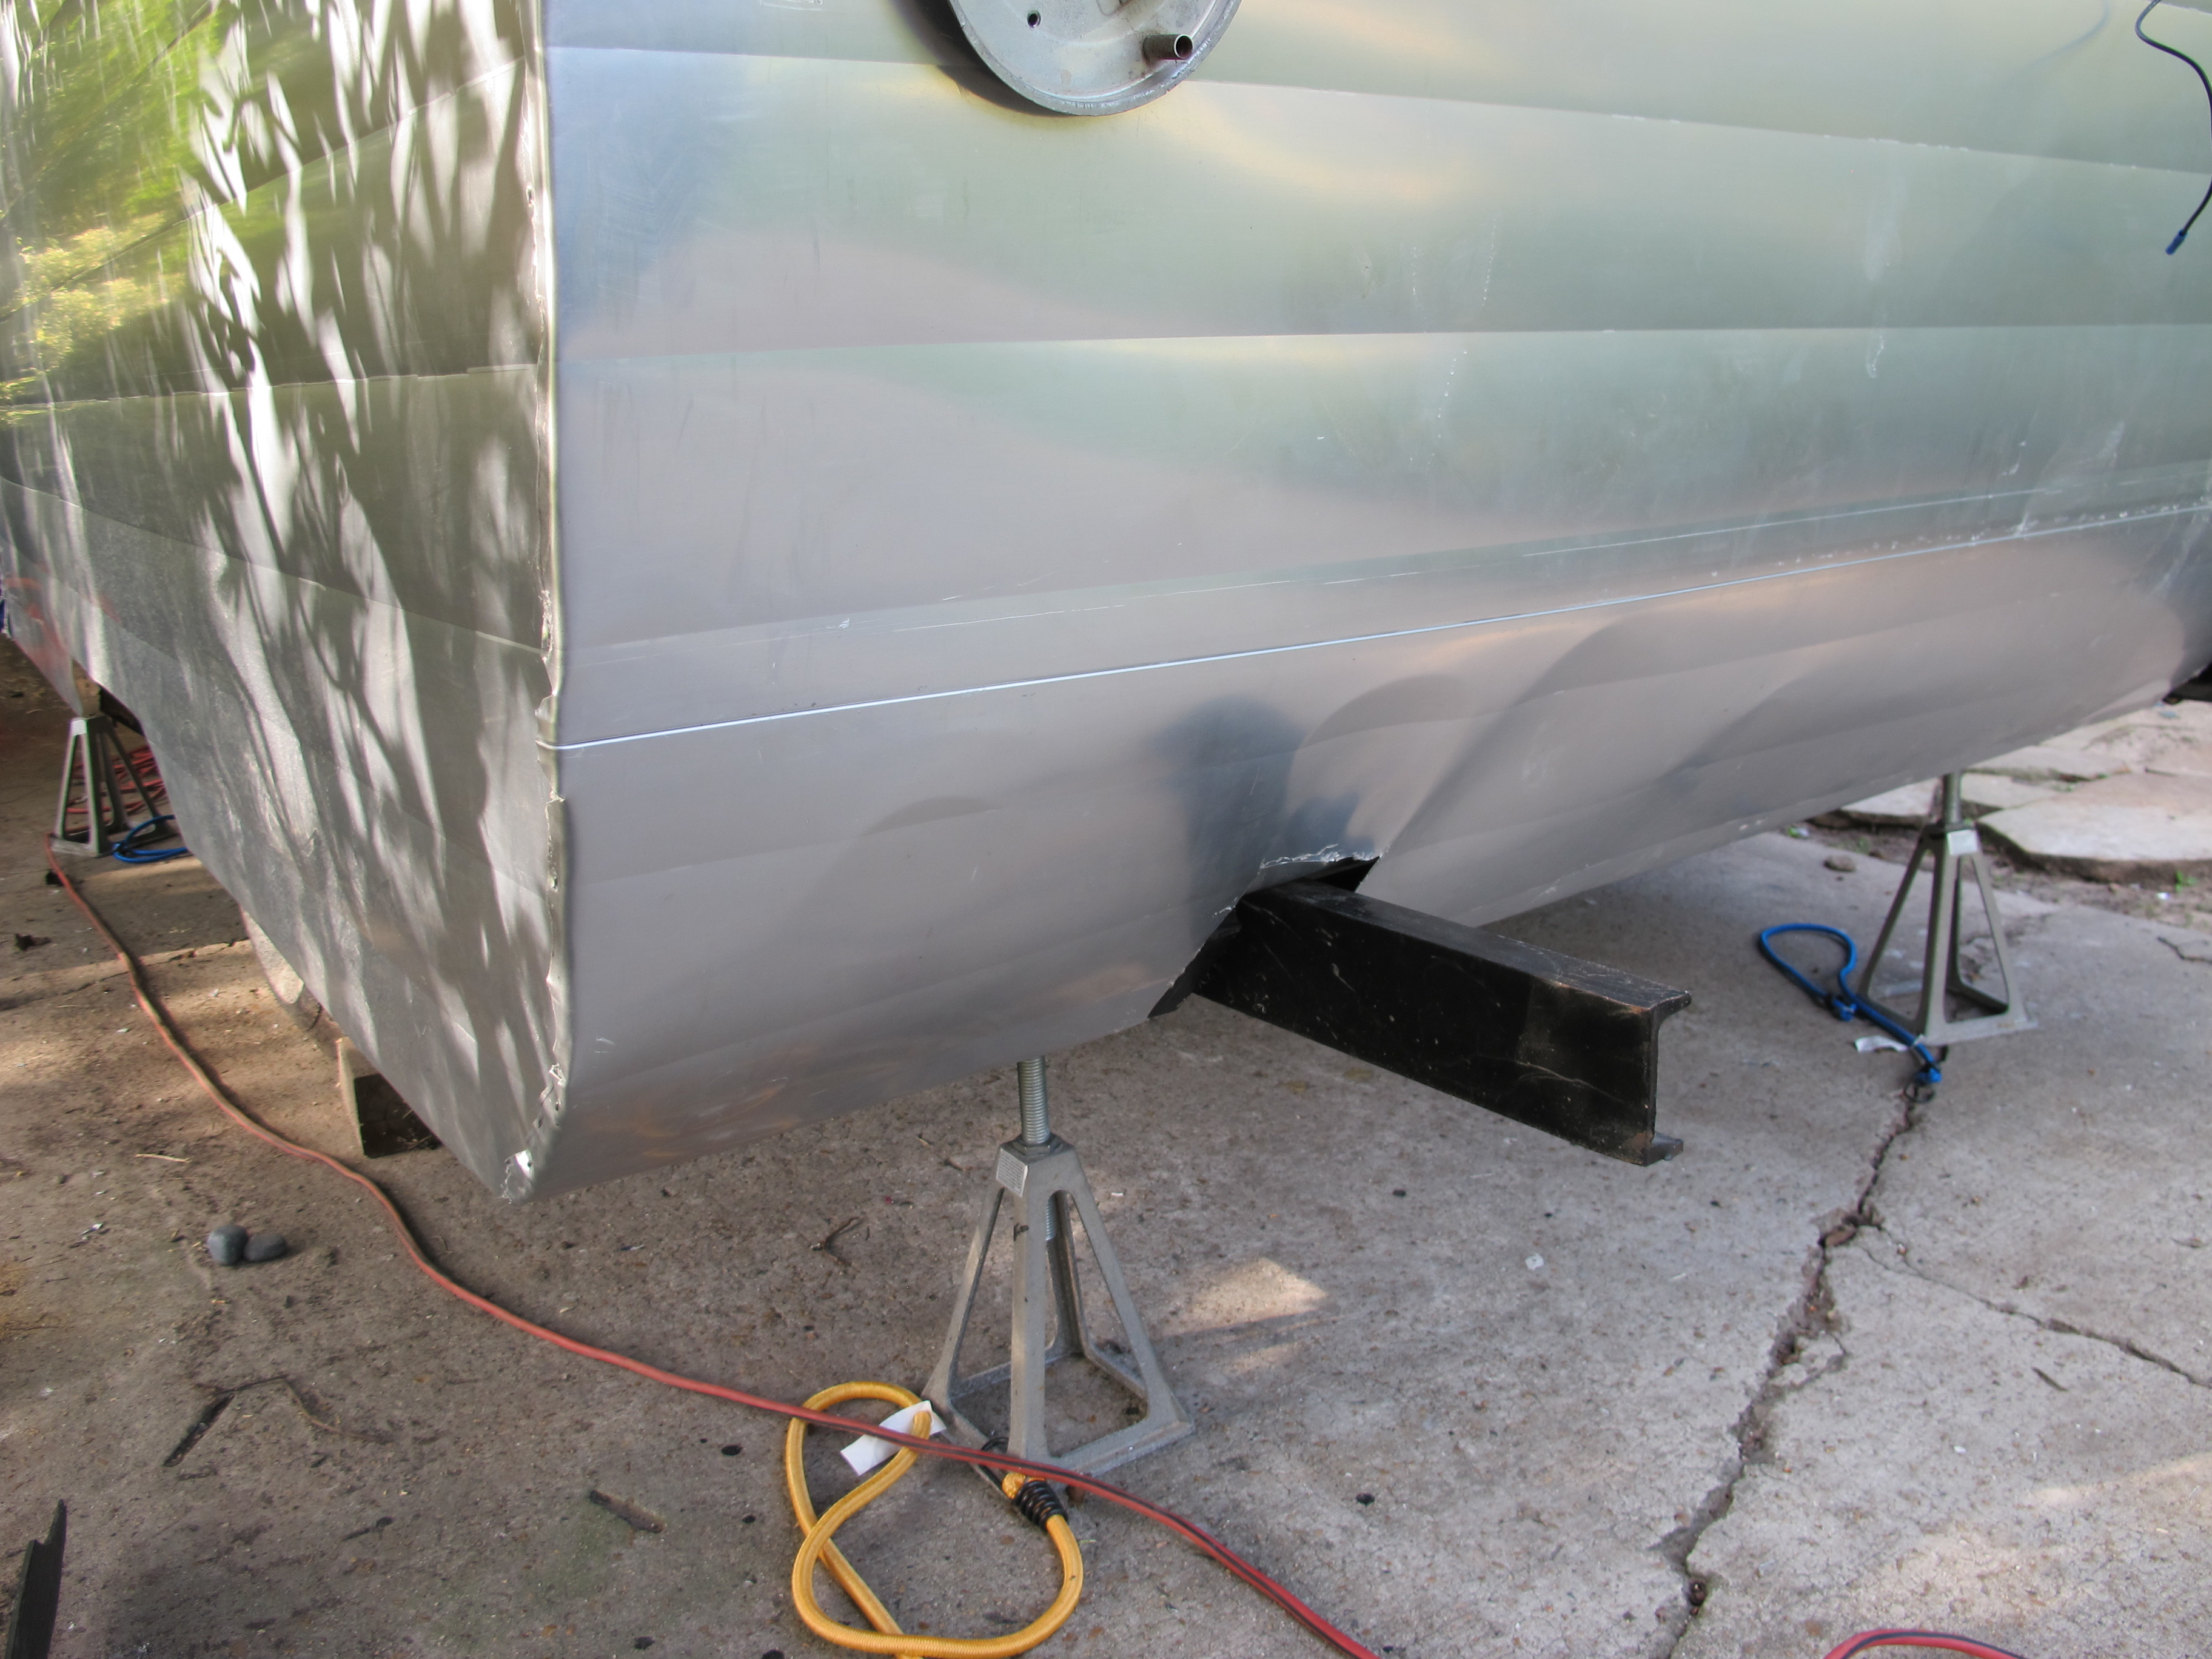
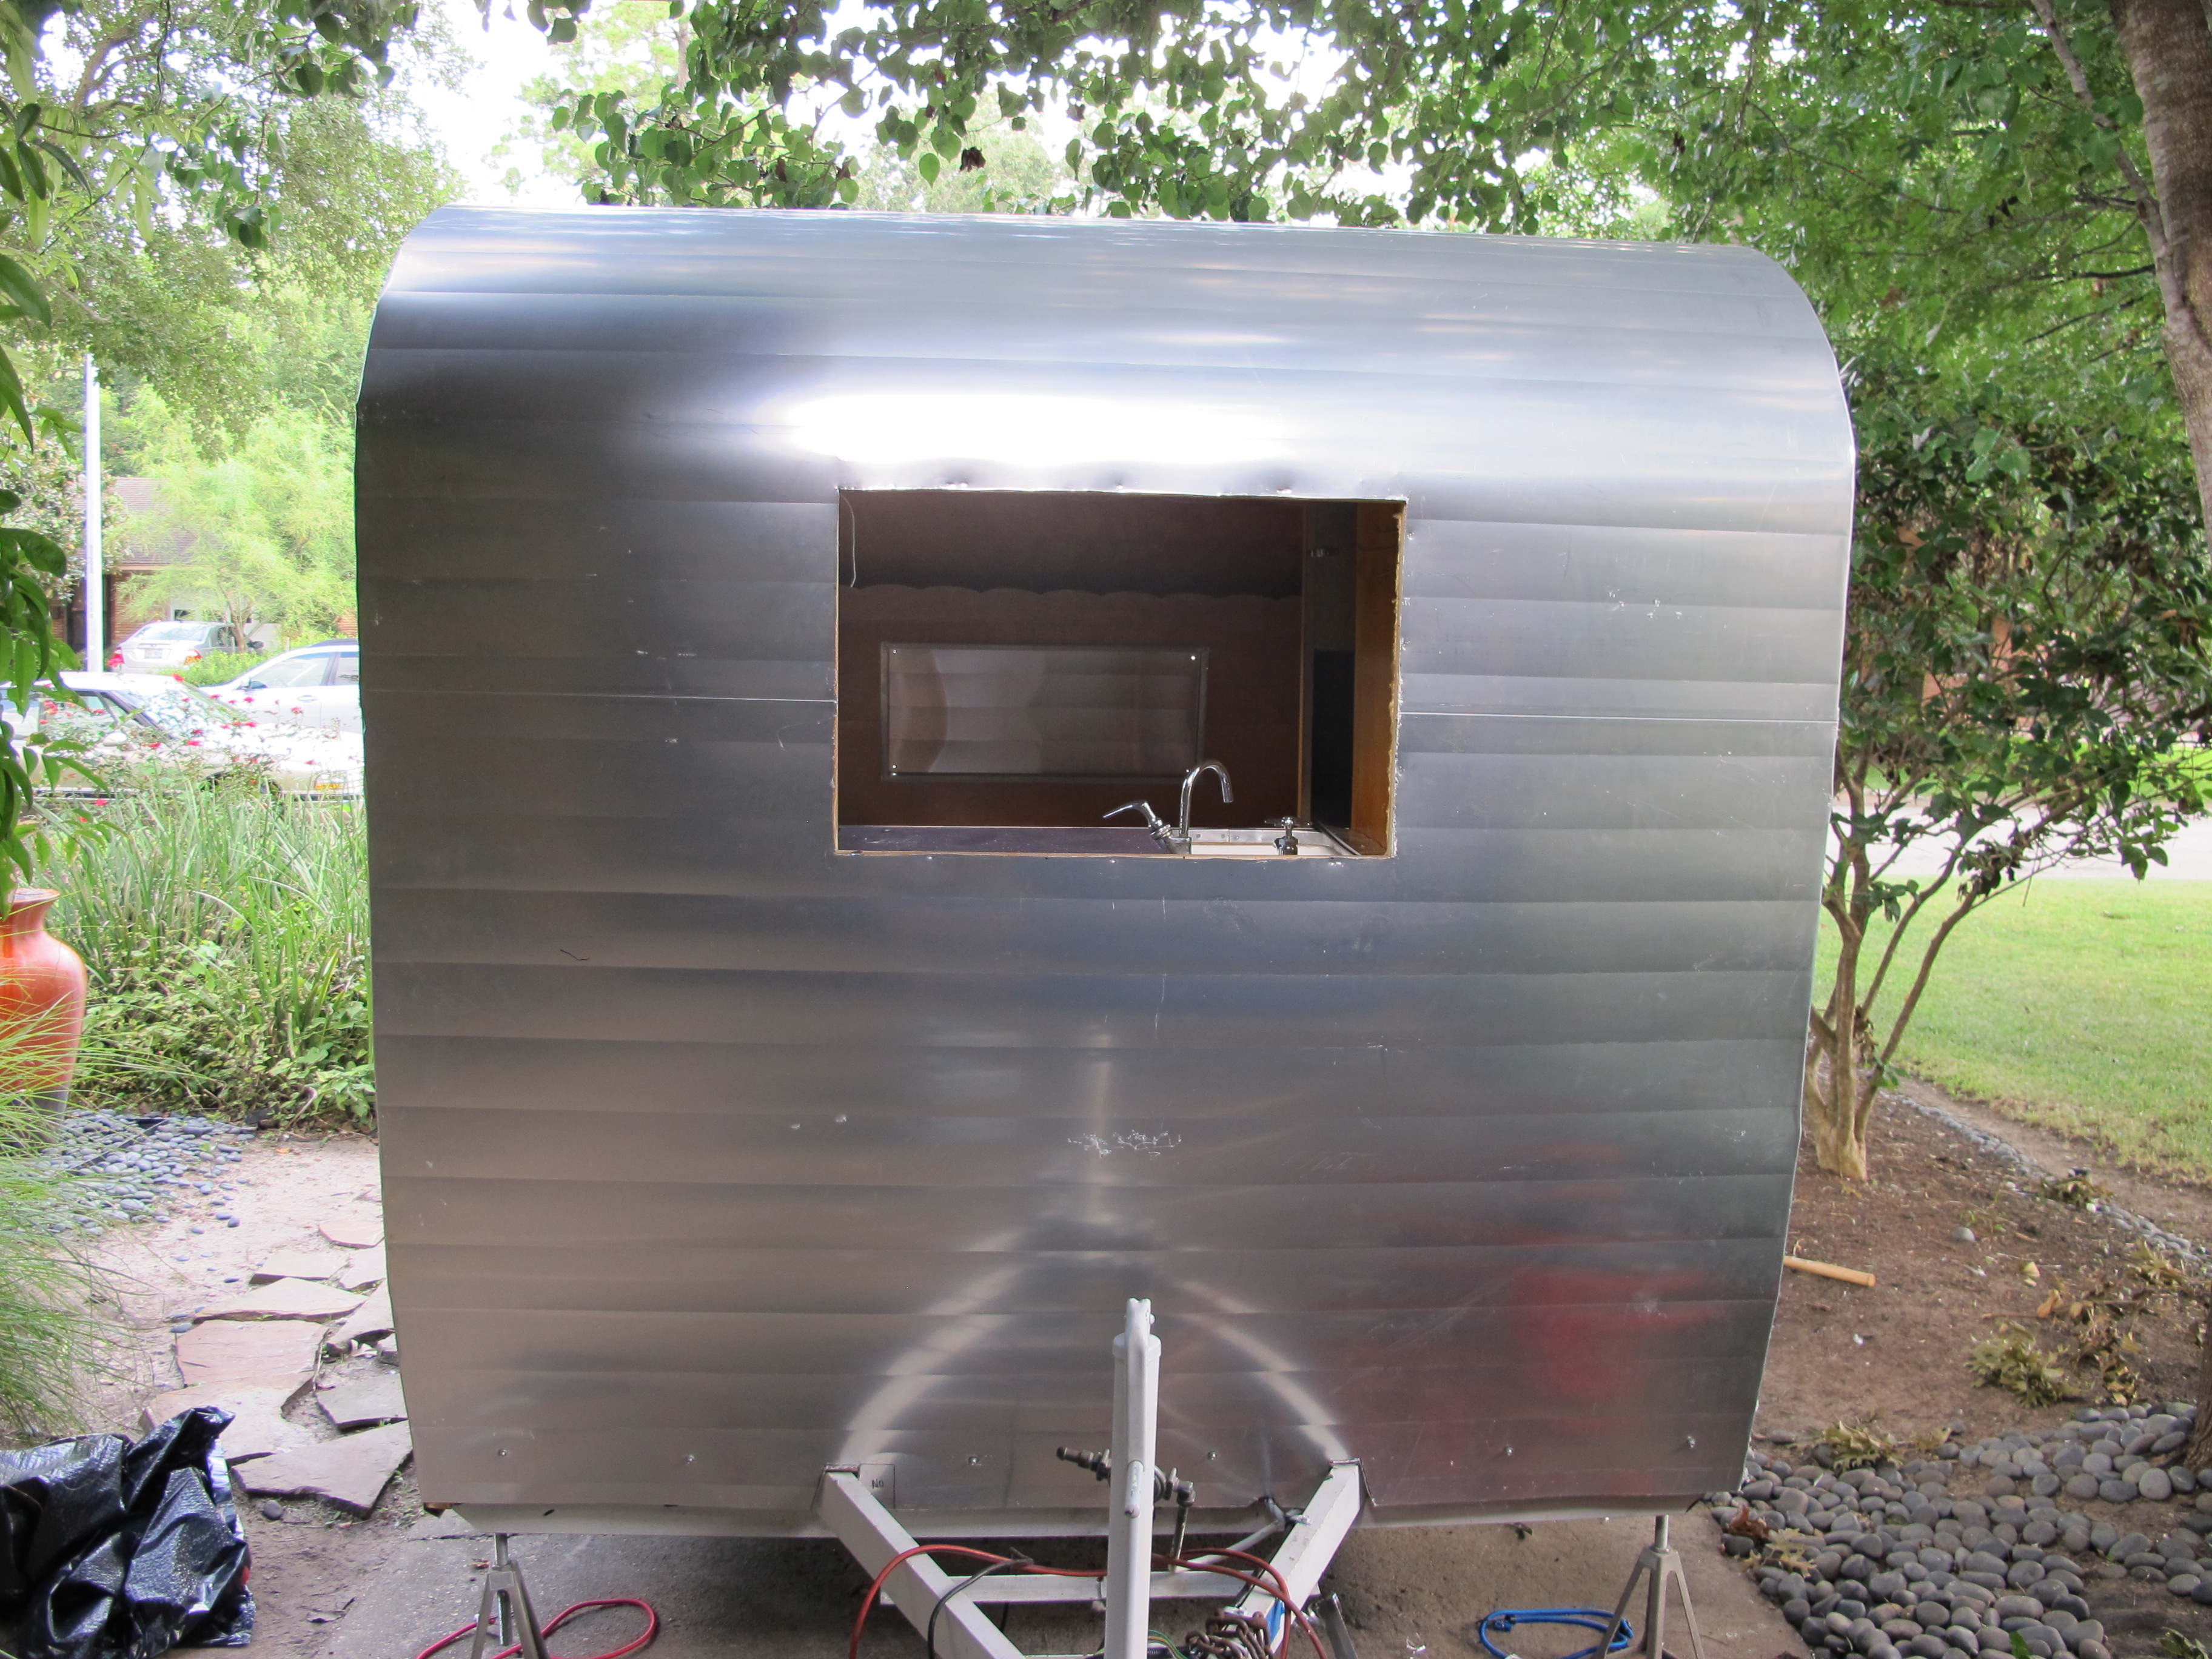
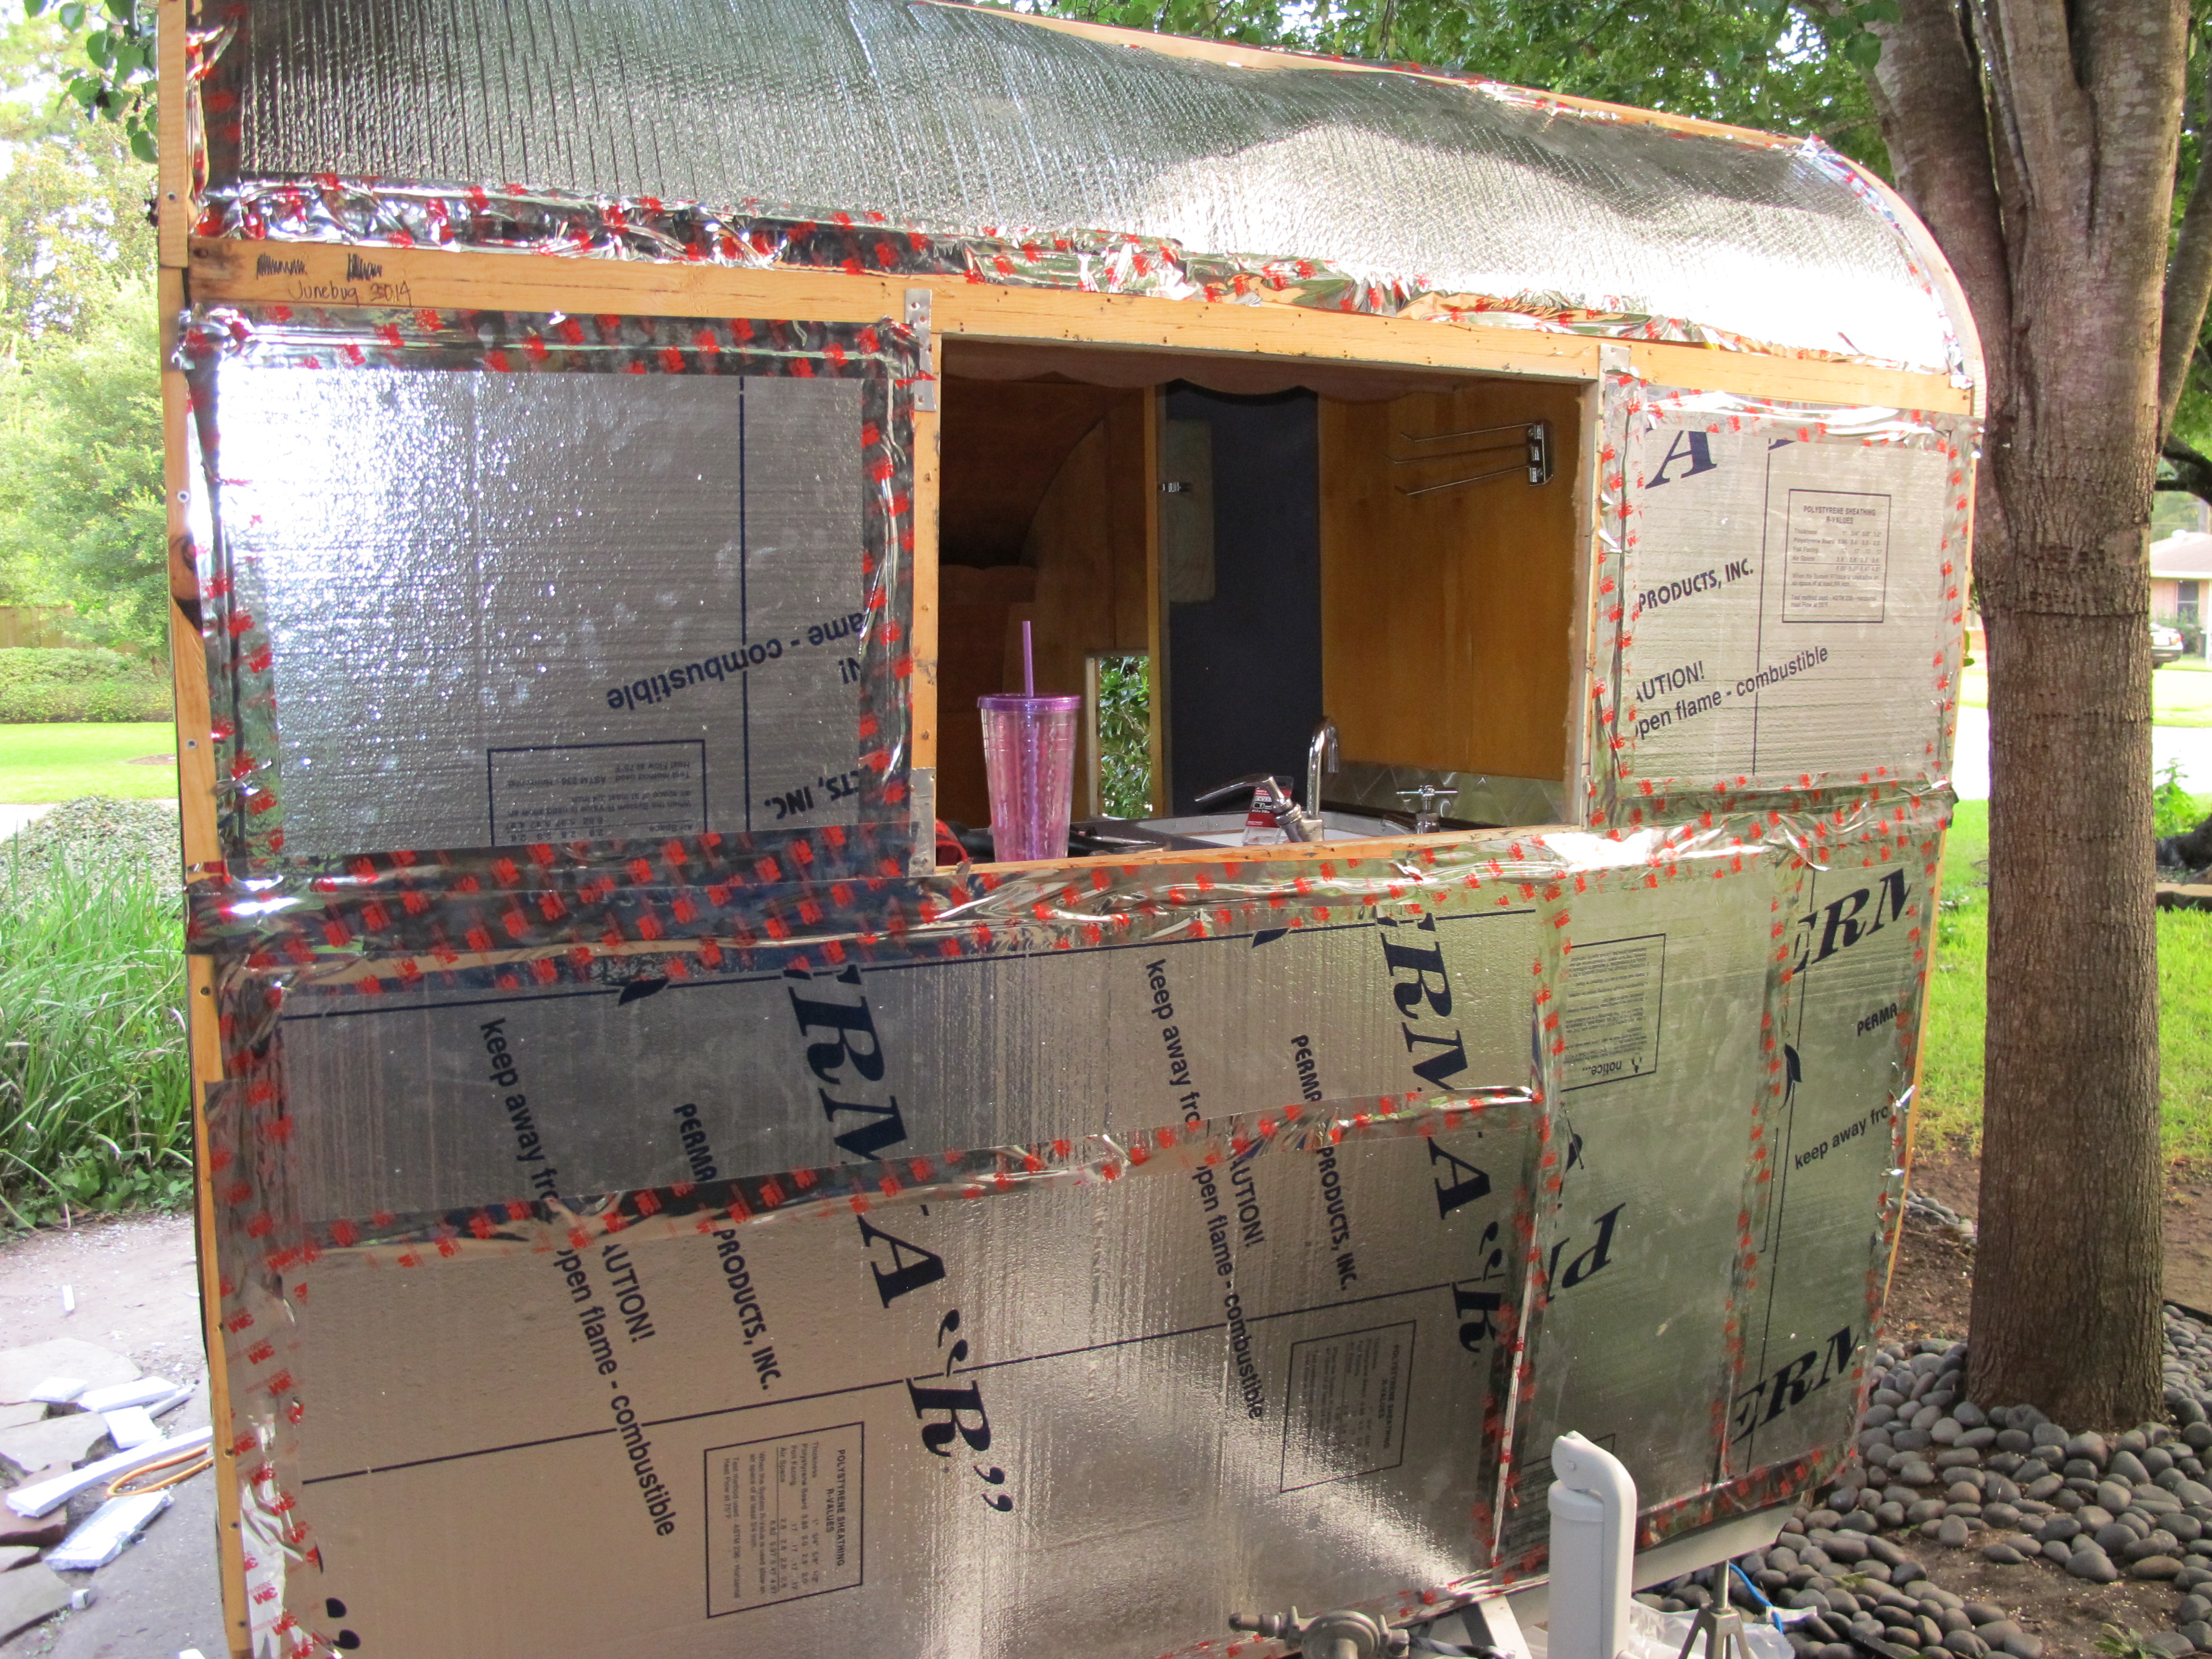
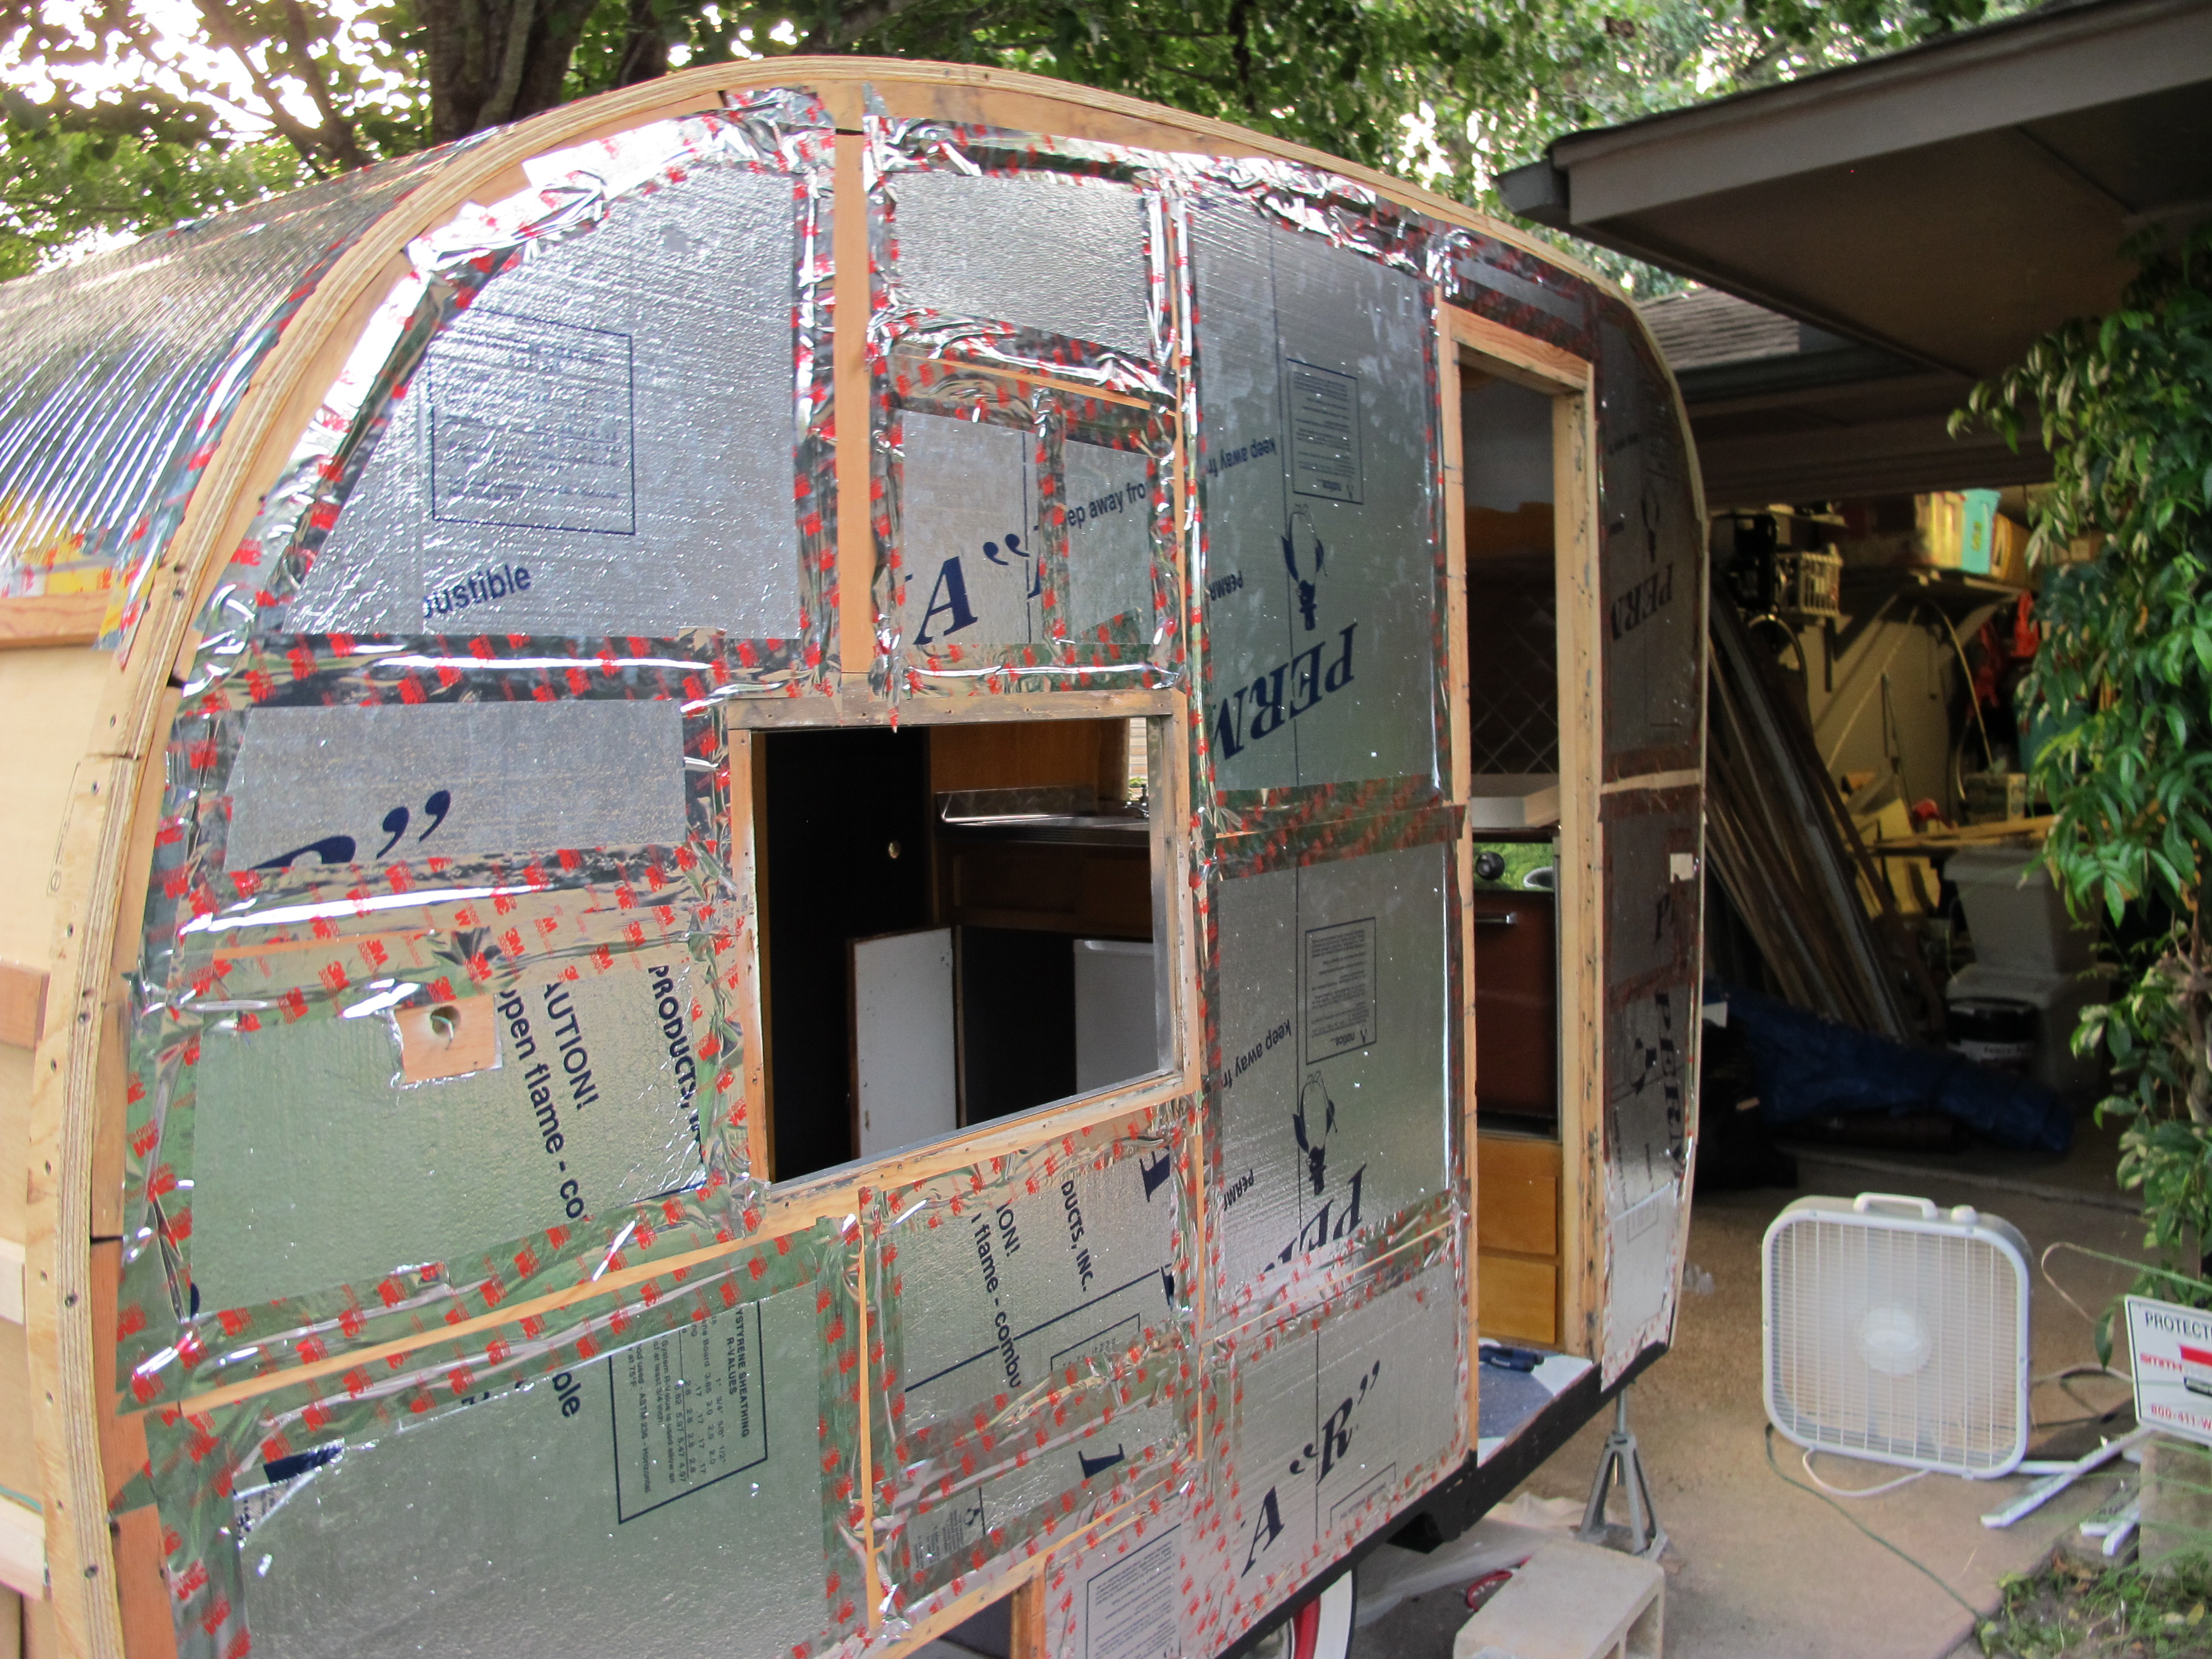
My original plan was the line up the factory roll (bent edge) along the bottom edge of the camper on each side and then trim the top of that piece so that it would fit inside the s-lock seam along the bottom of the top half piece. We realized after a bit of manoeuvring that it wasn’t going to fit. The bottom edge of my camper frame was uneven. The back piece of wood was slightly lower than the front piece on the other side of the wheel well. This could be my fault but it could also be the way it was made since these campers were far from perfect. So, I scrapped that plan and we installed the top piece first, then installed the bottom half and I will trim off the lovely factory edge later and add a trim piece. I’m still trying to figure out what type of trim piece to use. I could buy a piece of trim from a metal shop, or I was trying to figure out if maybe I could use the factory edge as a trim piece if I cut it just right since it’s already all nice and polished for me.

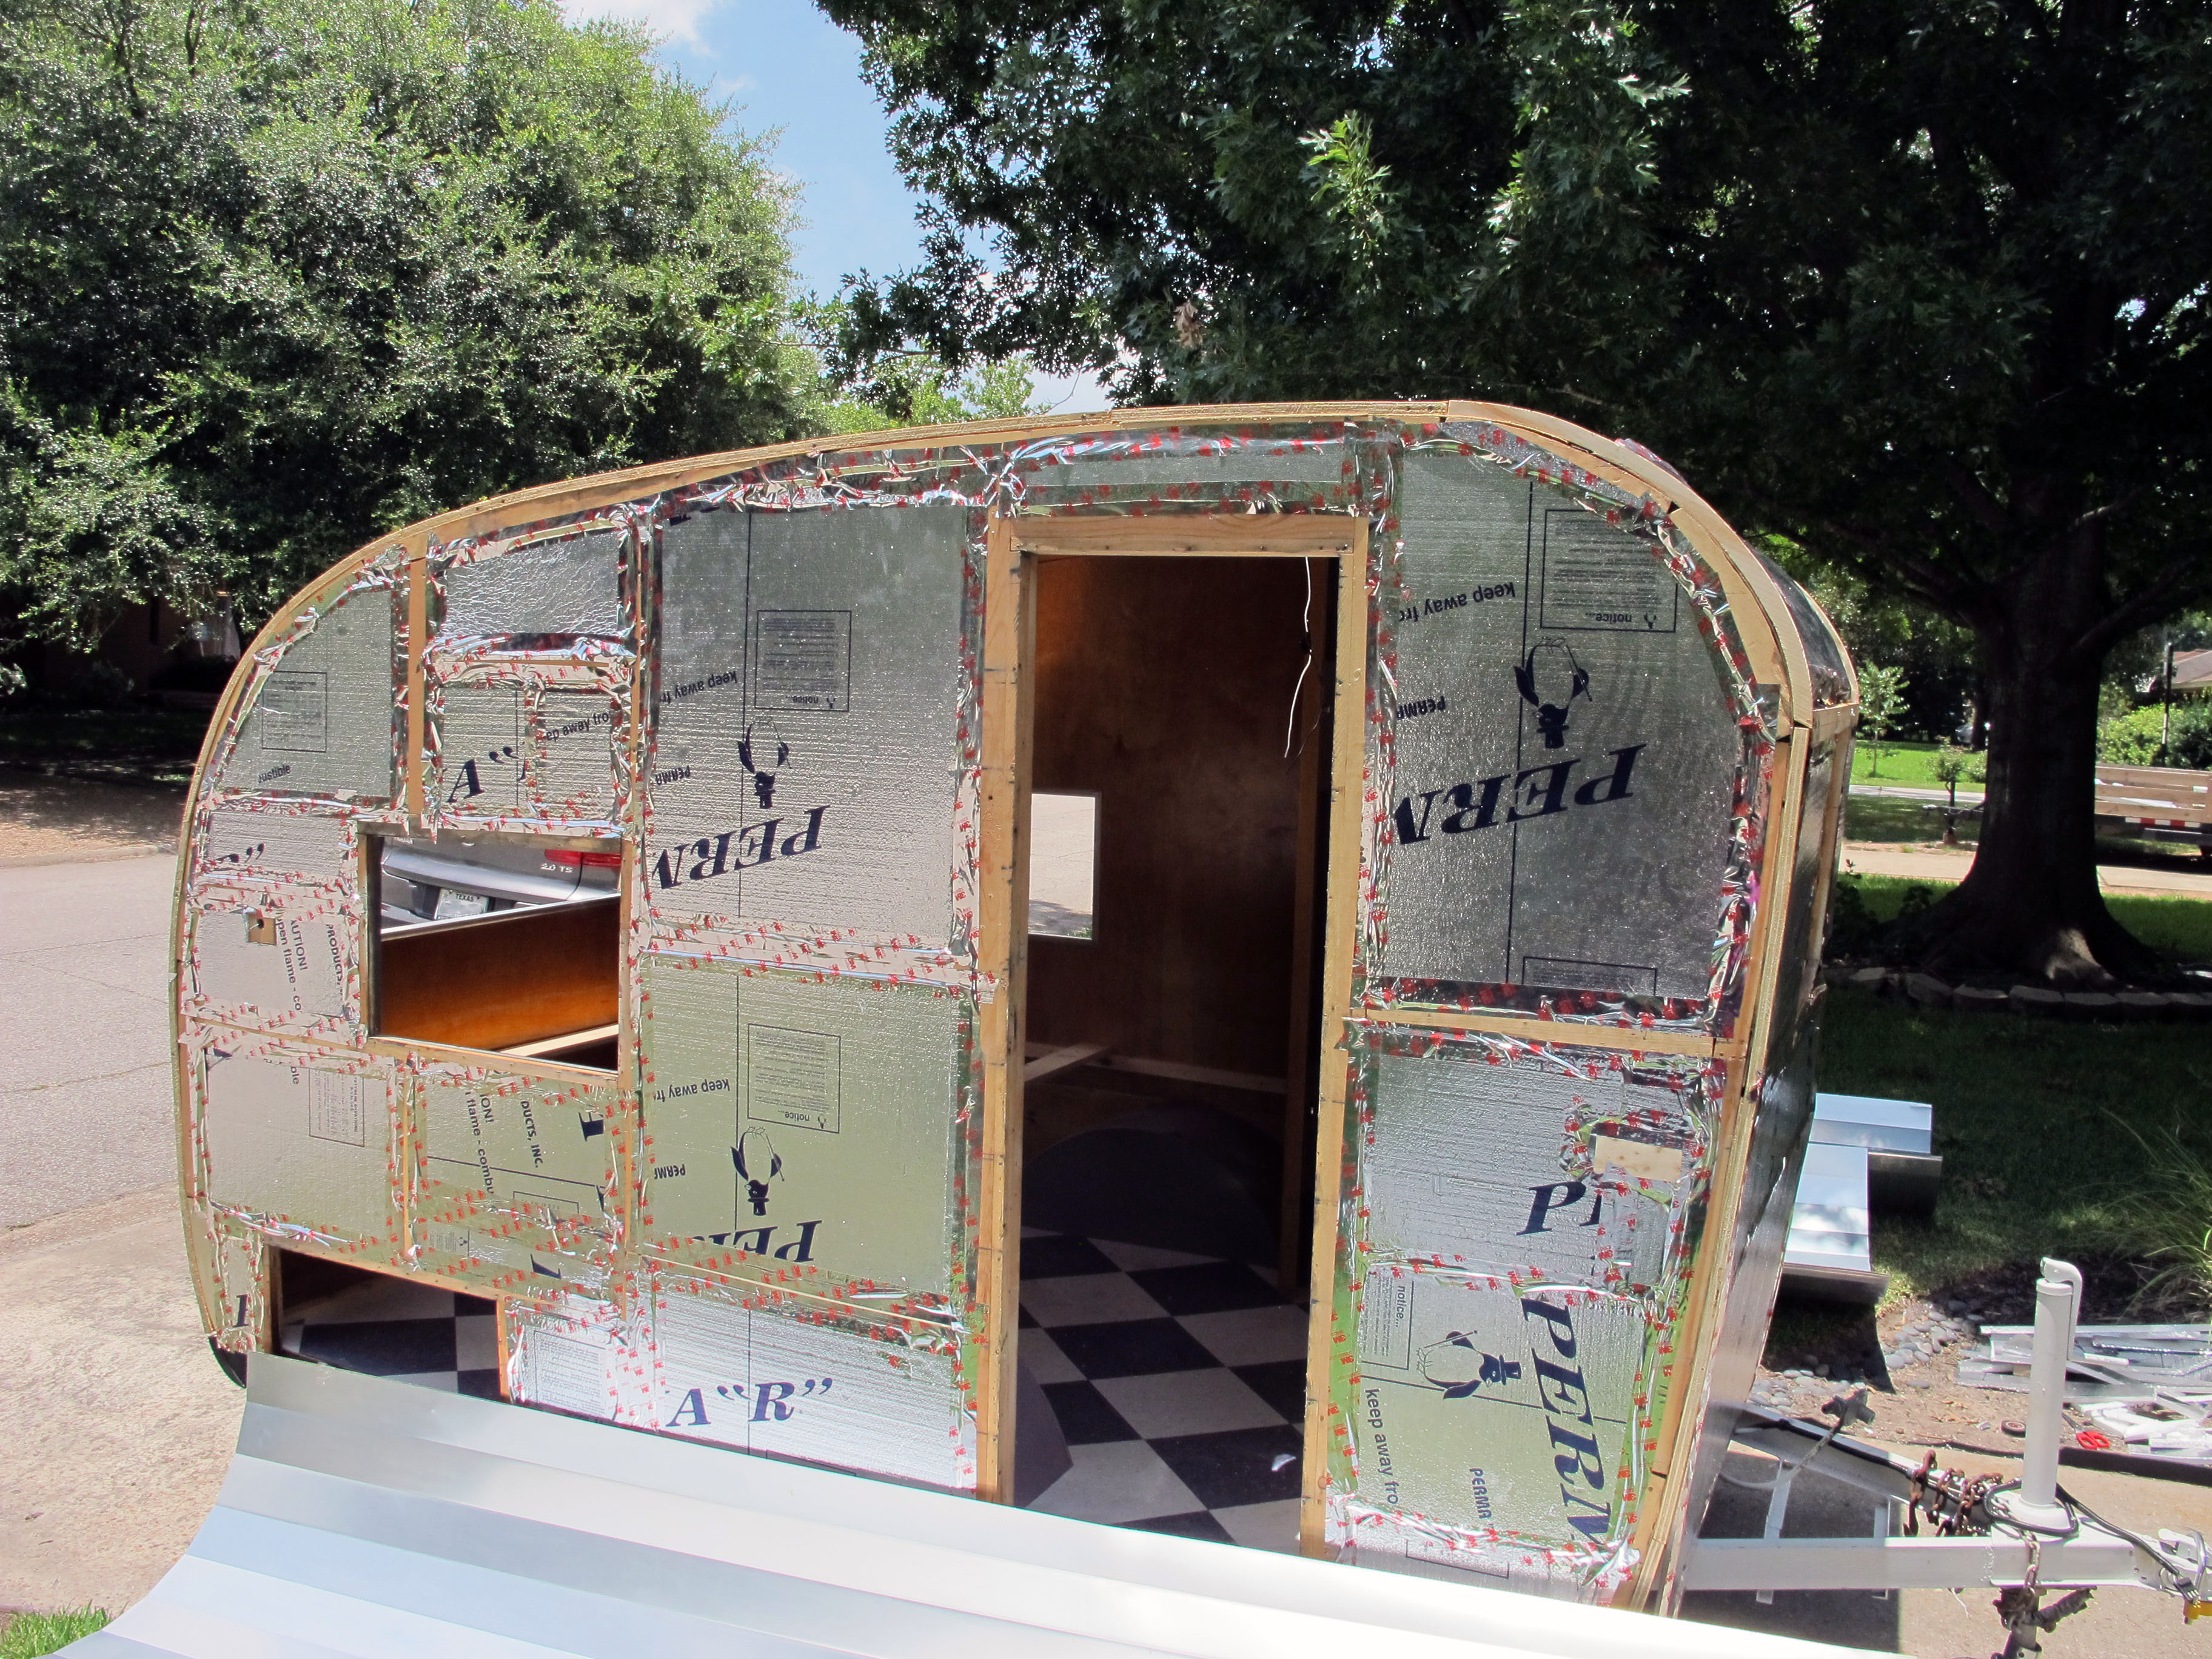
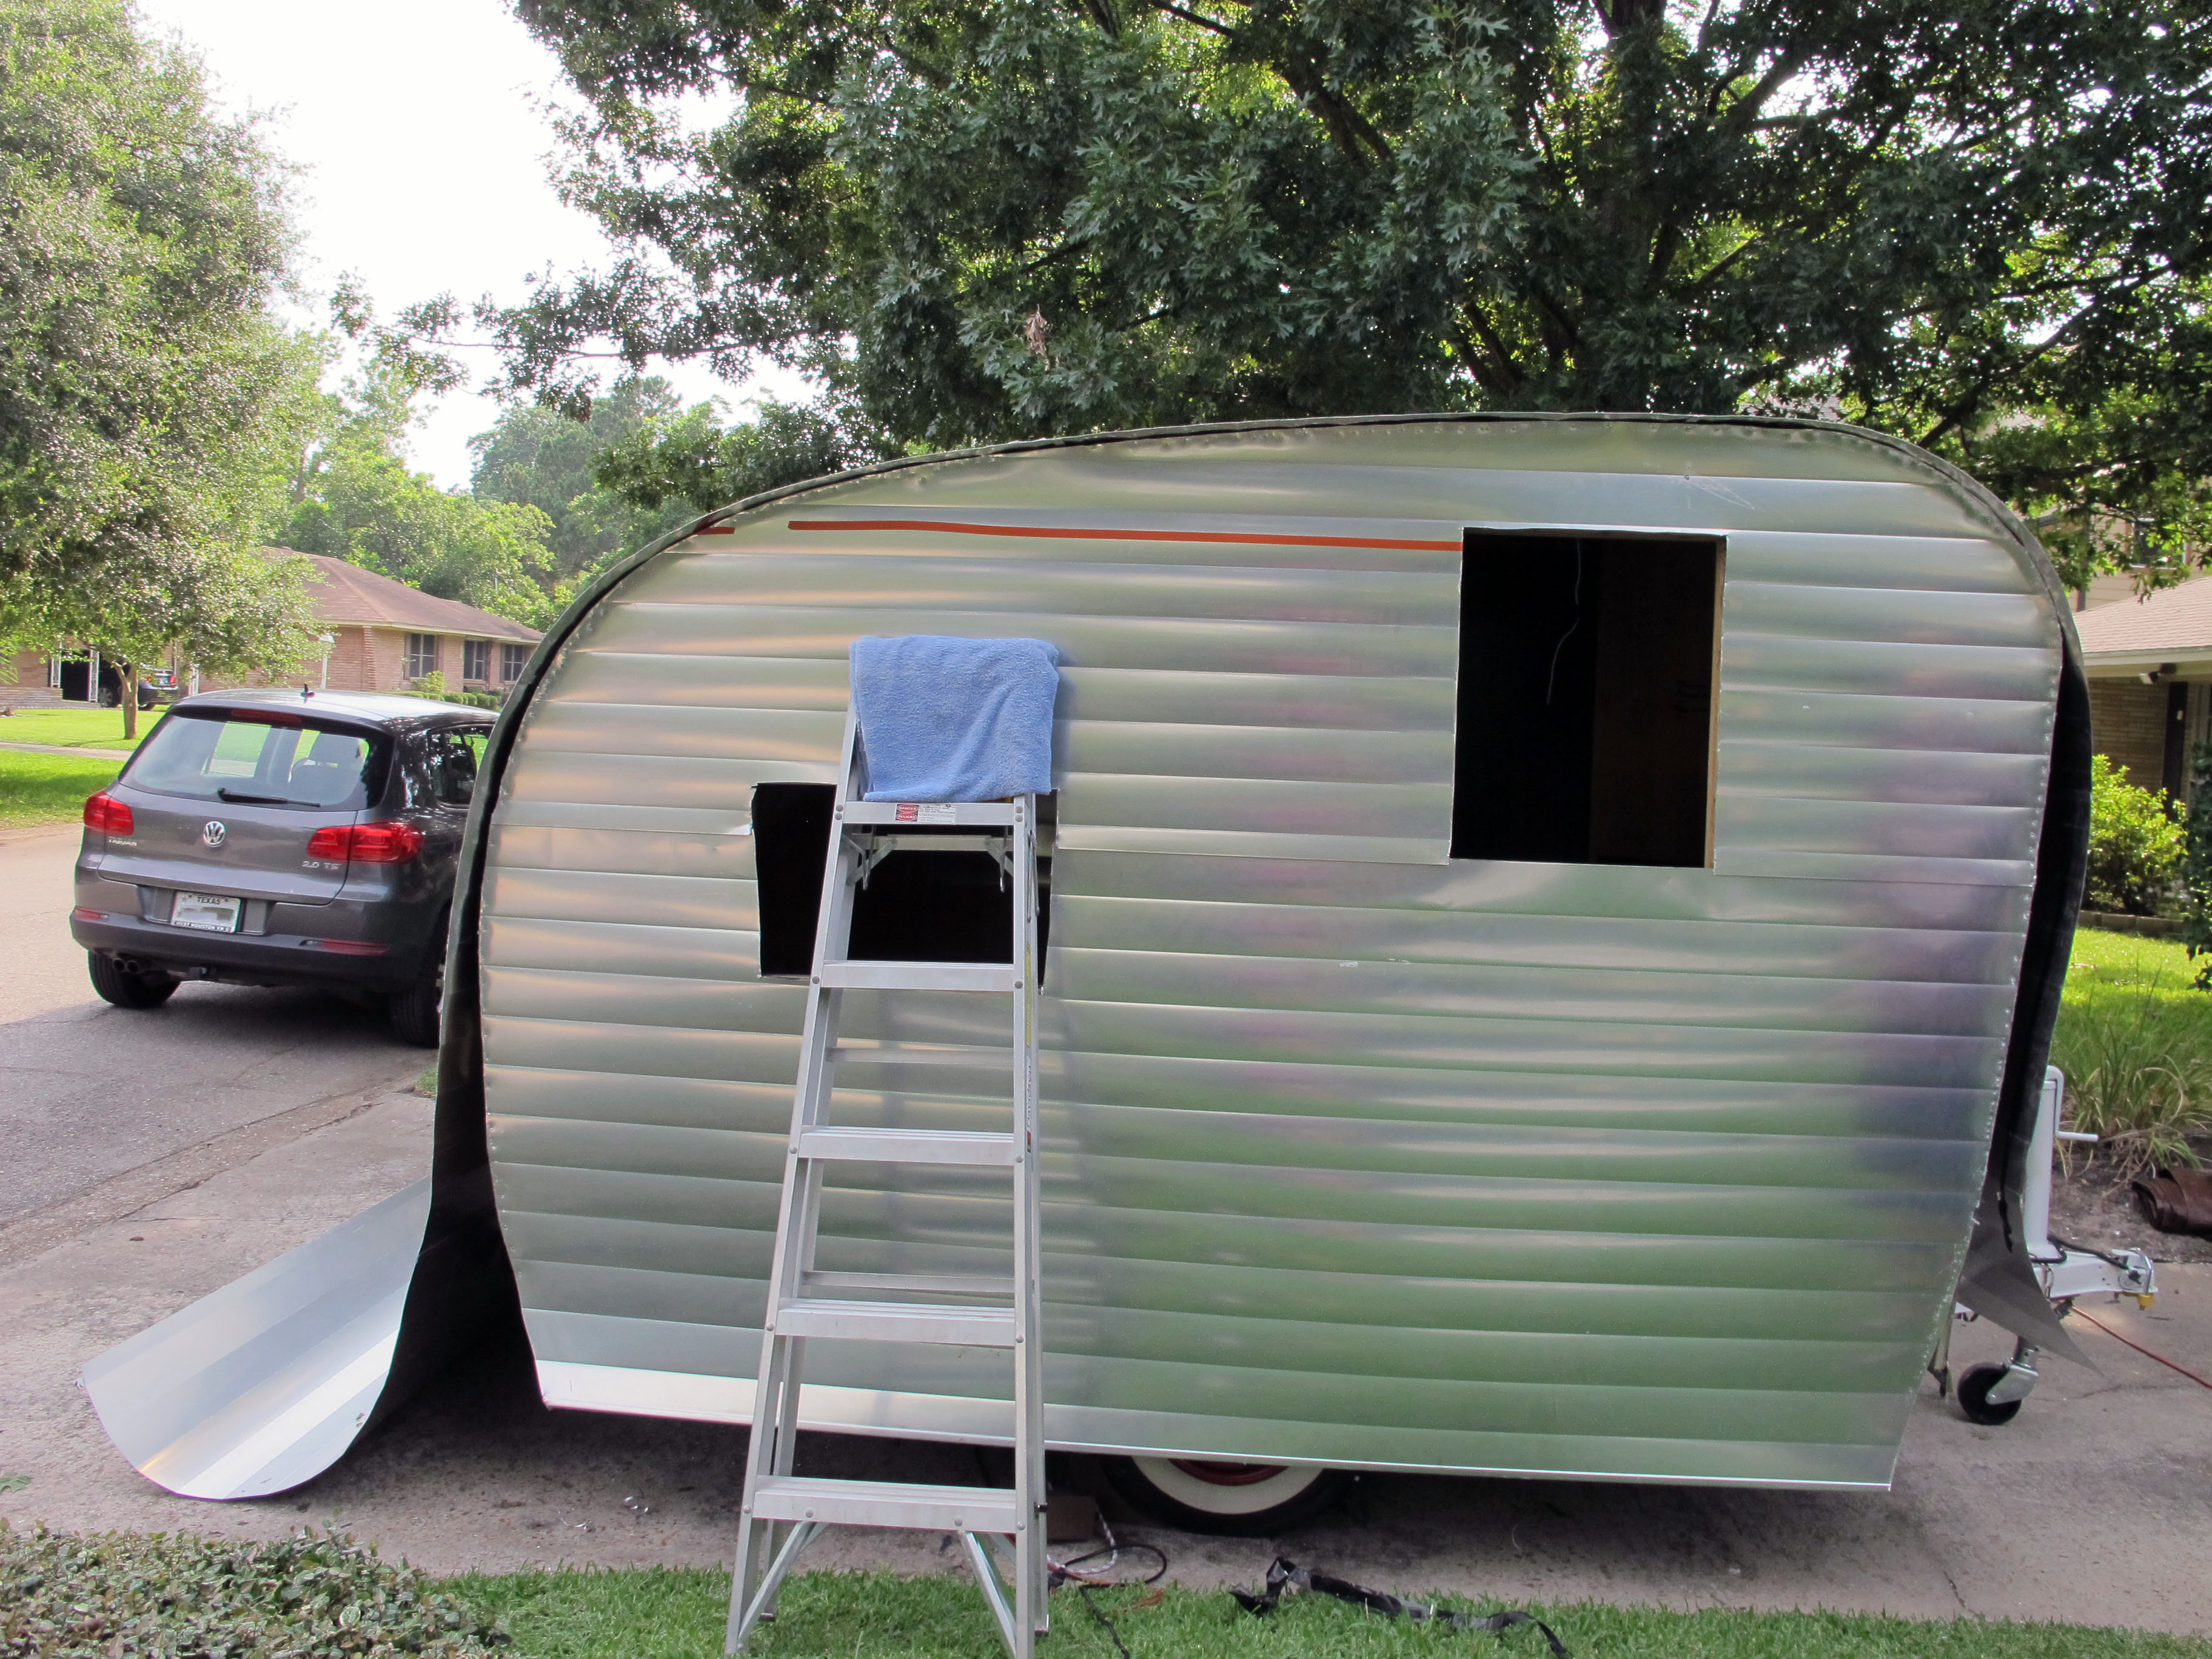
All ready for the skin!

Jennifer and Ayk were kind enough to hold still for a quick photo.

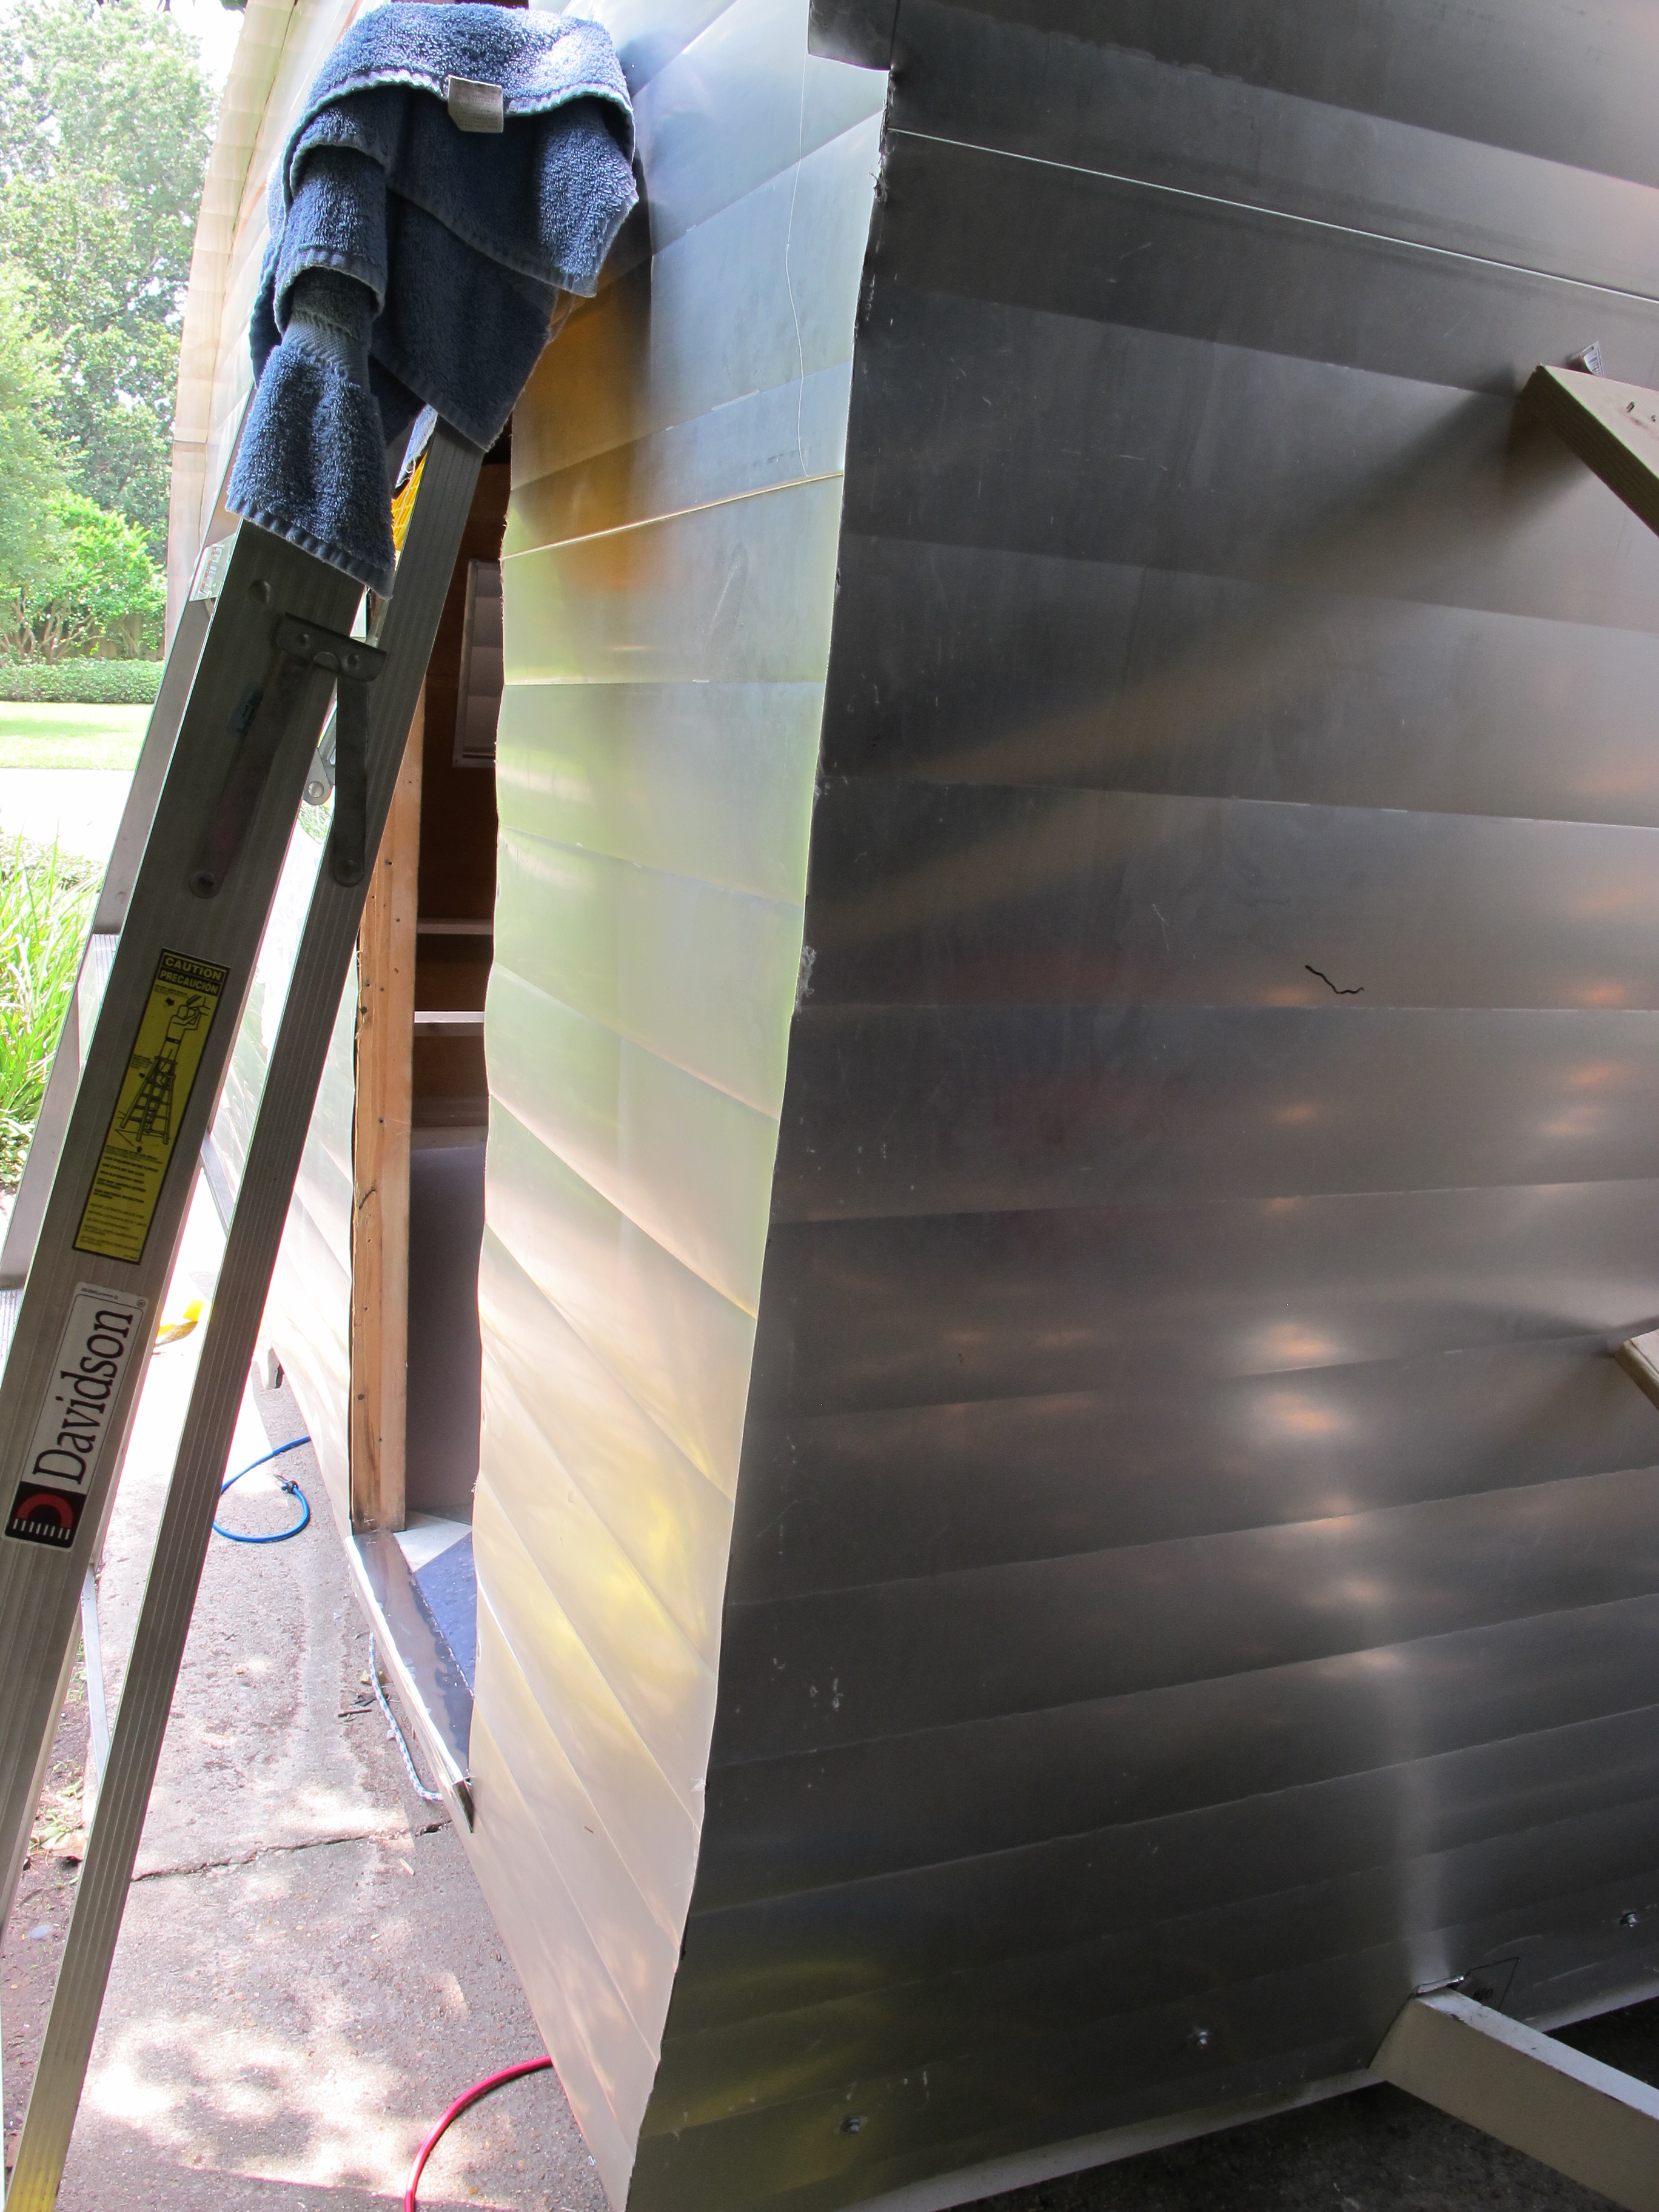
We used some pieces of wood to hold the piece up after stapling the s-lock to the frame so I could more easily staple around the edges.

All stapled and ready to trim the door and window! I probably used more staples than I should have because the stupid stapler kept misfiring.
The crown stapler I rented was a pneumatic tool, and I had to play around quite a bit with the air pressure to get it to fire more gently. Initially the staples were going right through the aluminum! I ended up having to set the psi on my air compressor at around 30-40 which caused it to misfire a lot, but I finally got it to work without the staples going through the skin every time. I’m glad the skin was new at least because I would have had less room for error with the old skin. I’m dreading using it again for the roof, especially since I already messed up the side skins with lots of misfires. Hopefully it will work a little better now that I’ve had some practice….we’ll see.

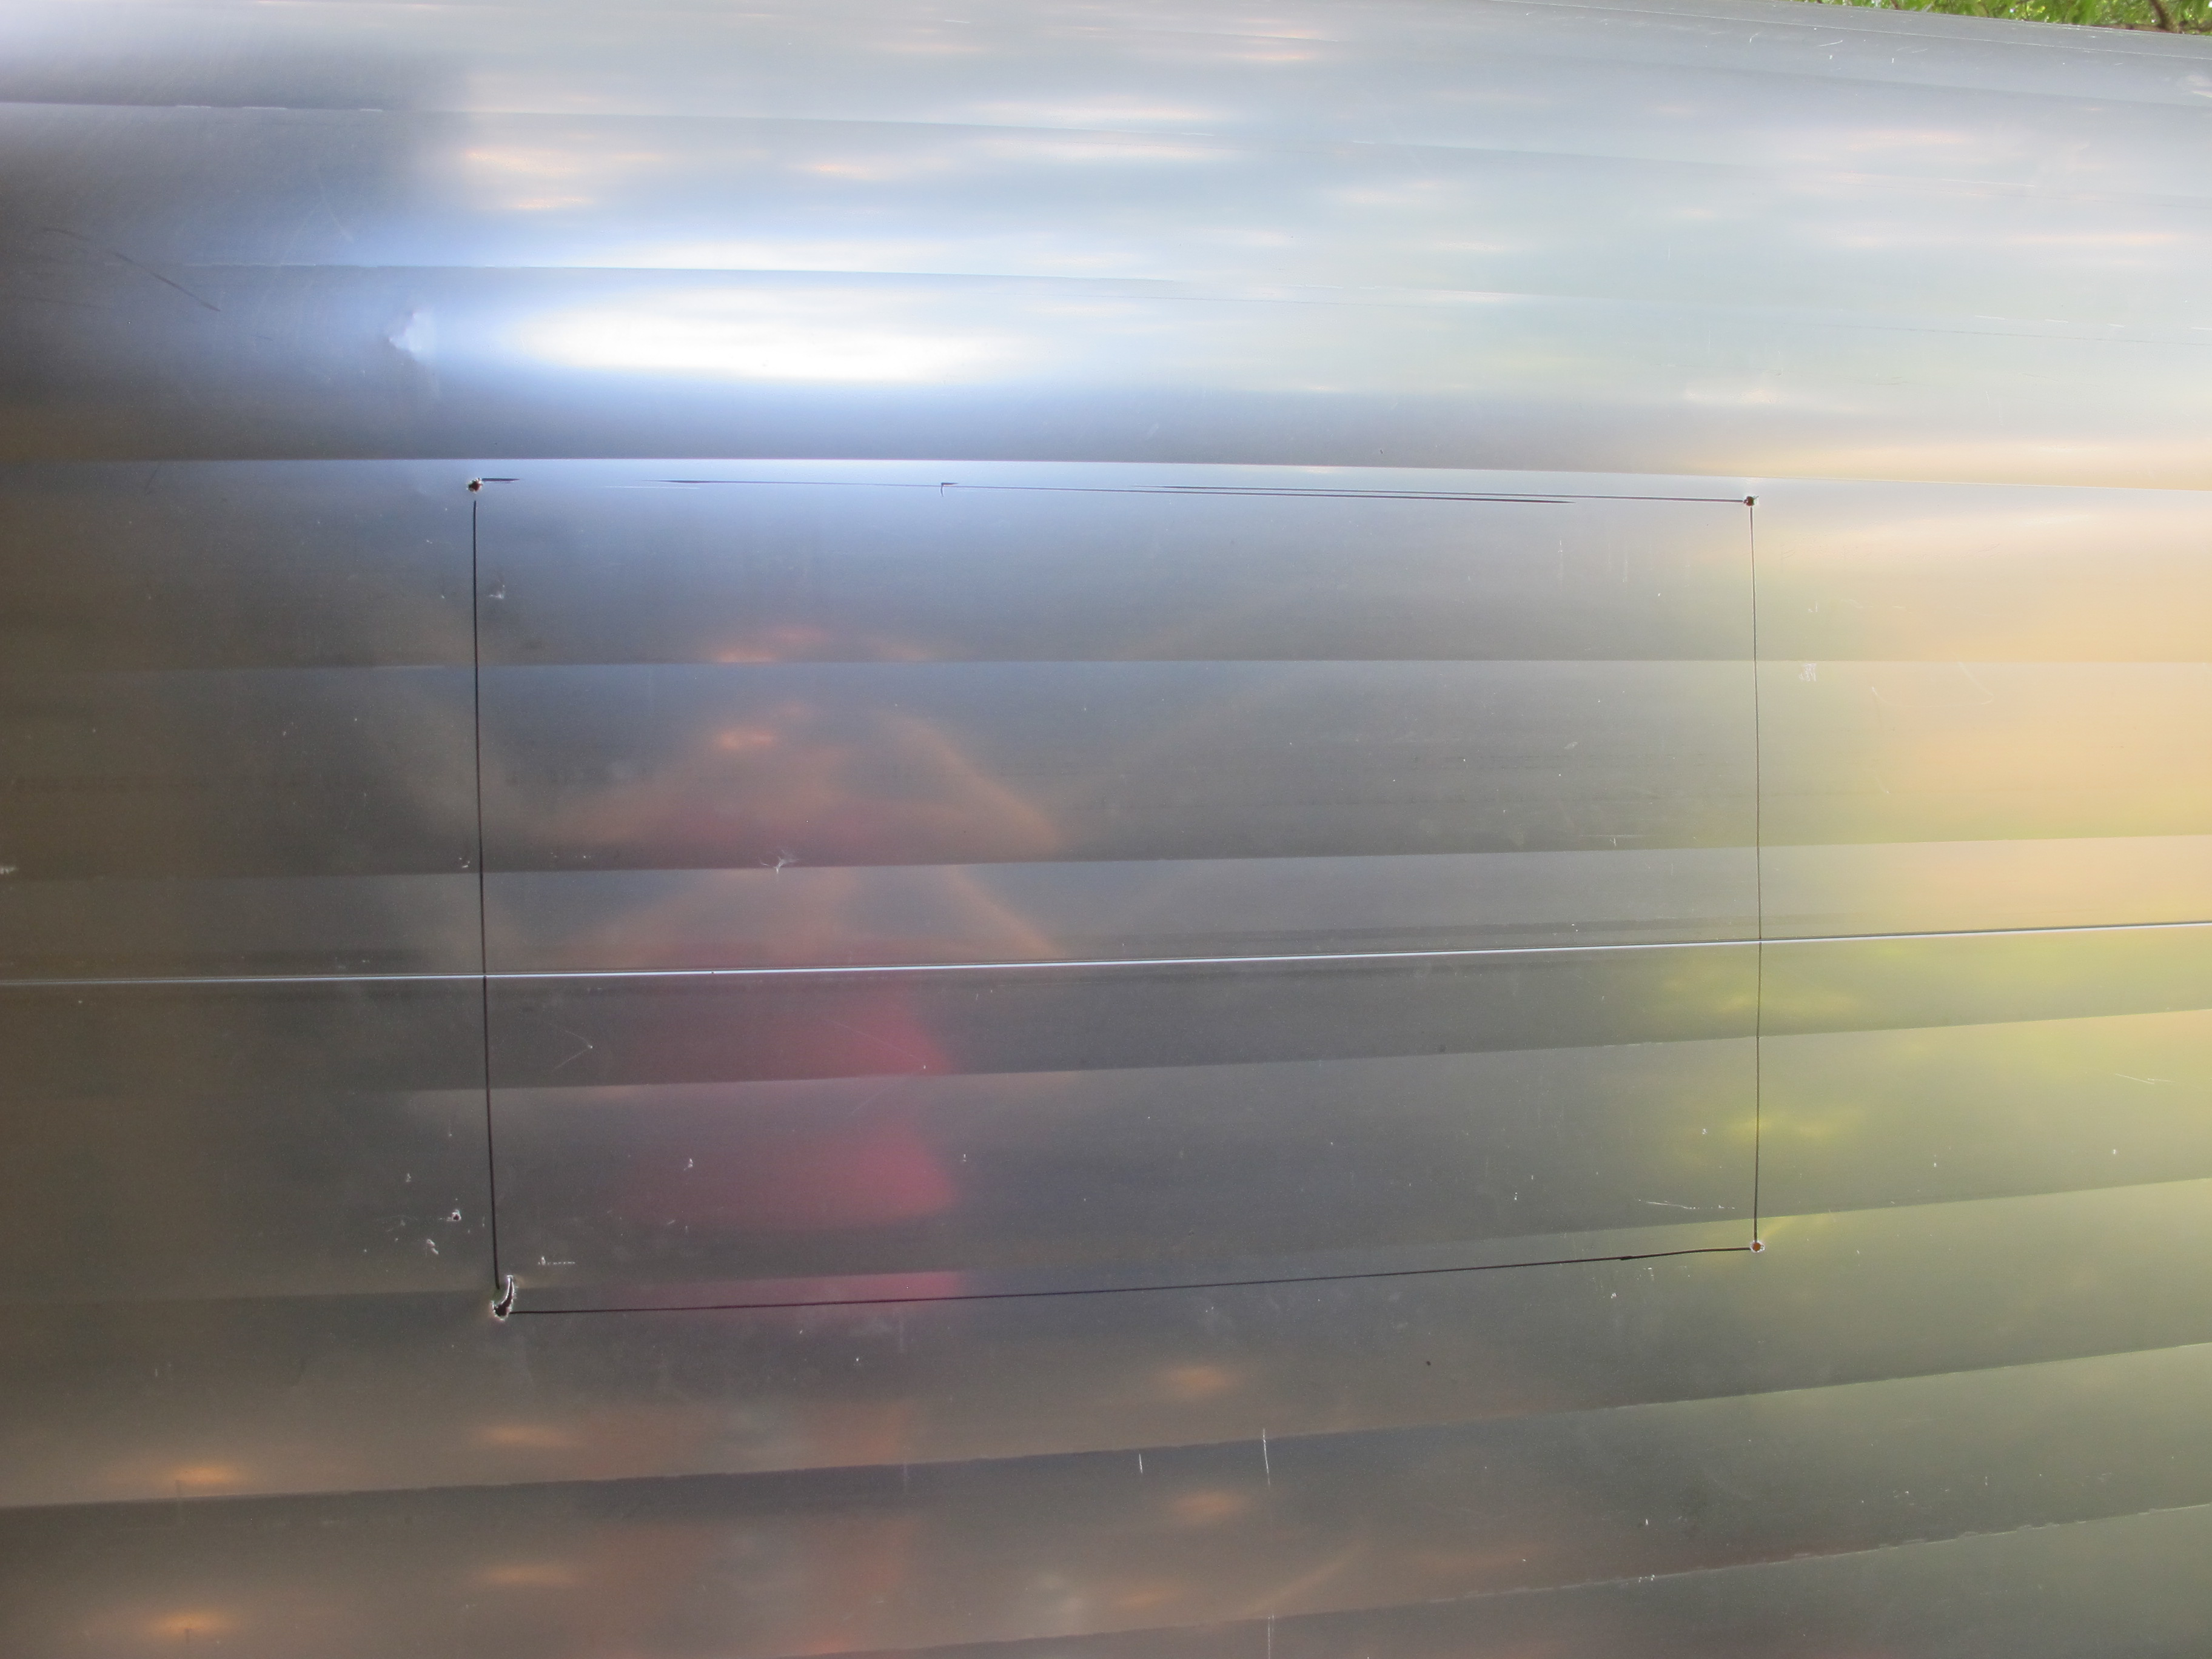
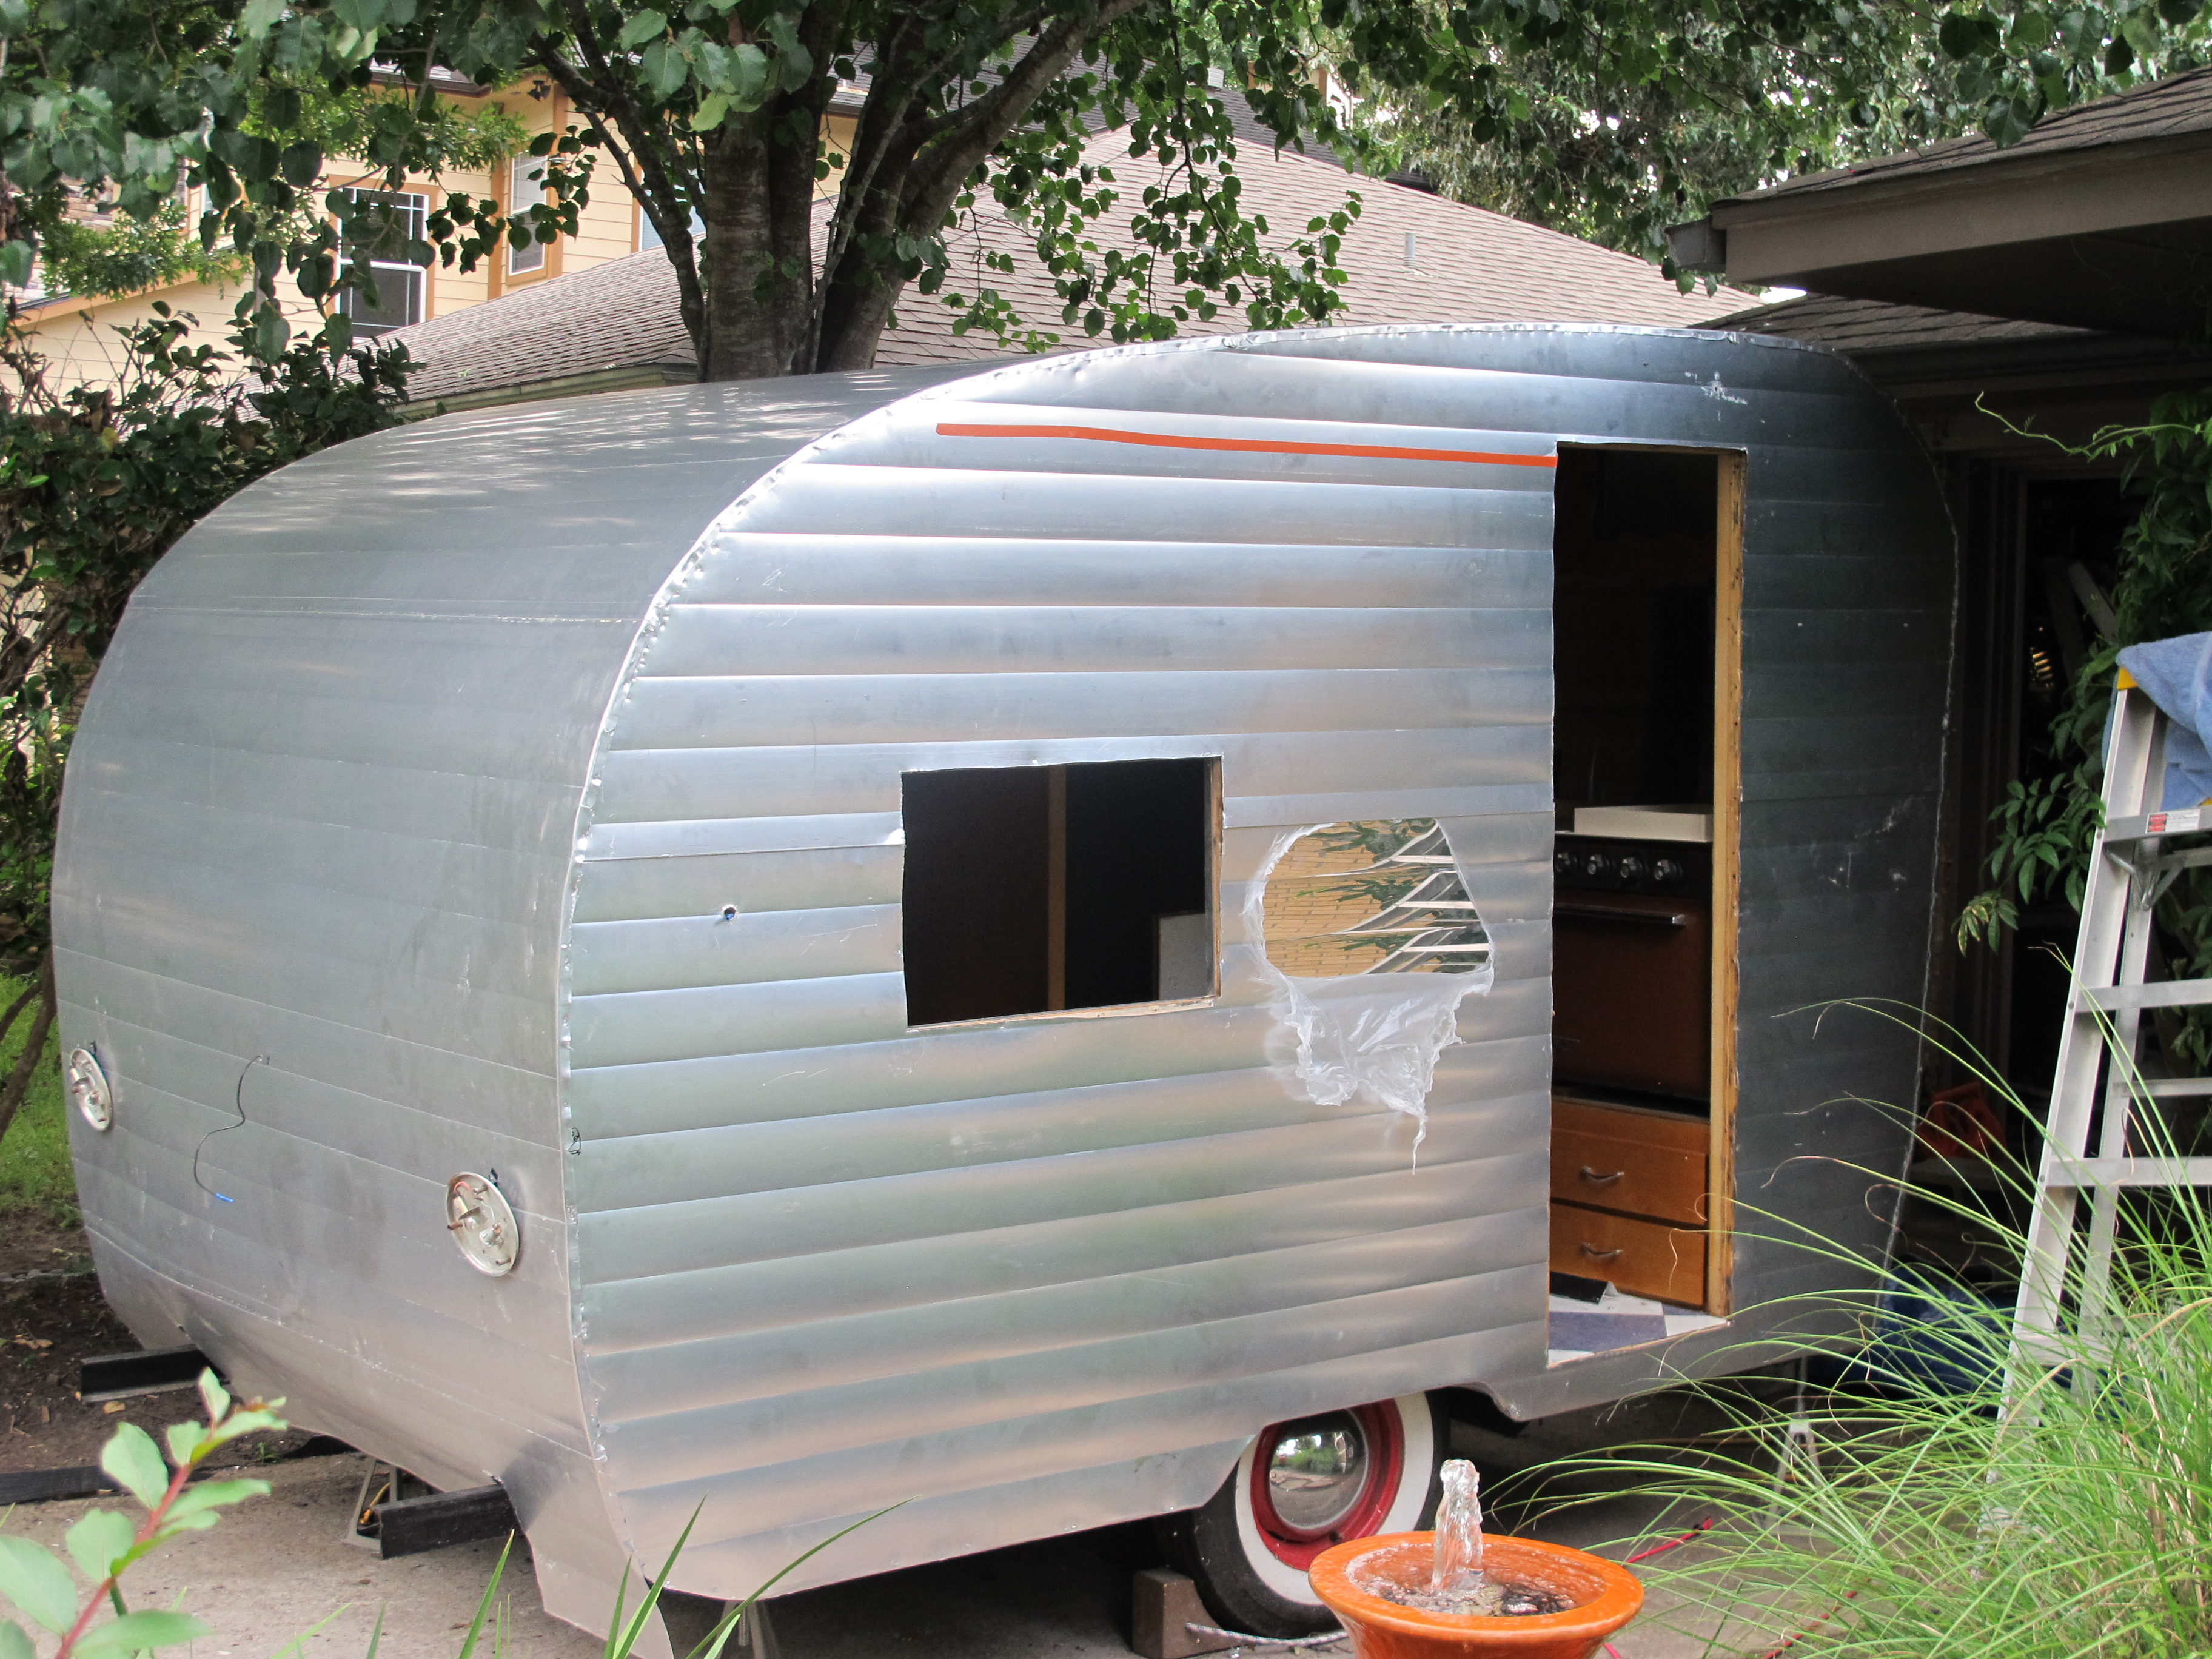
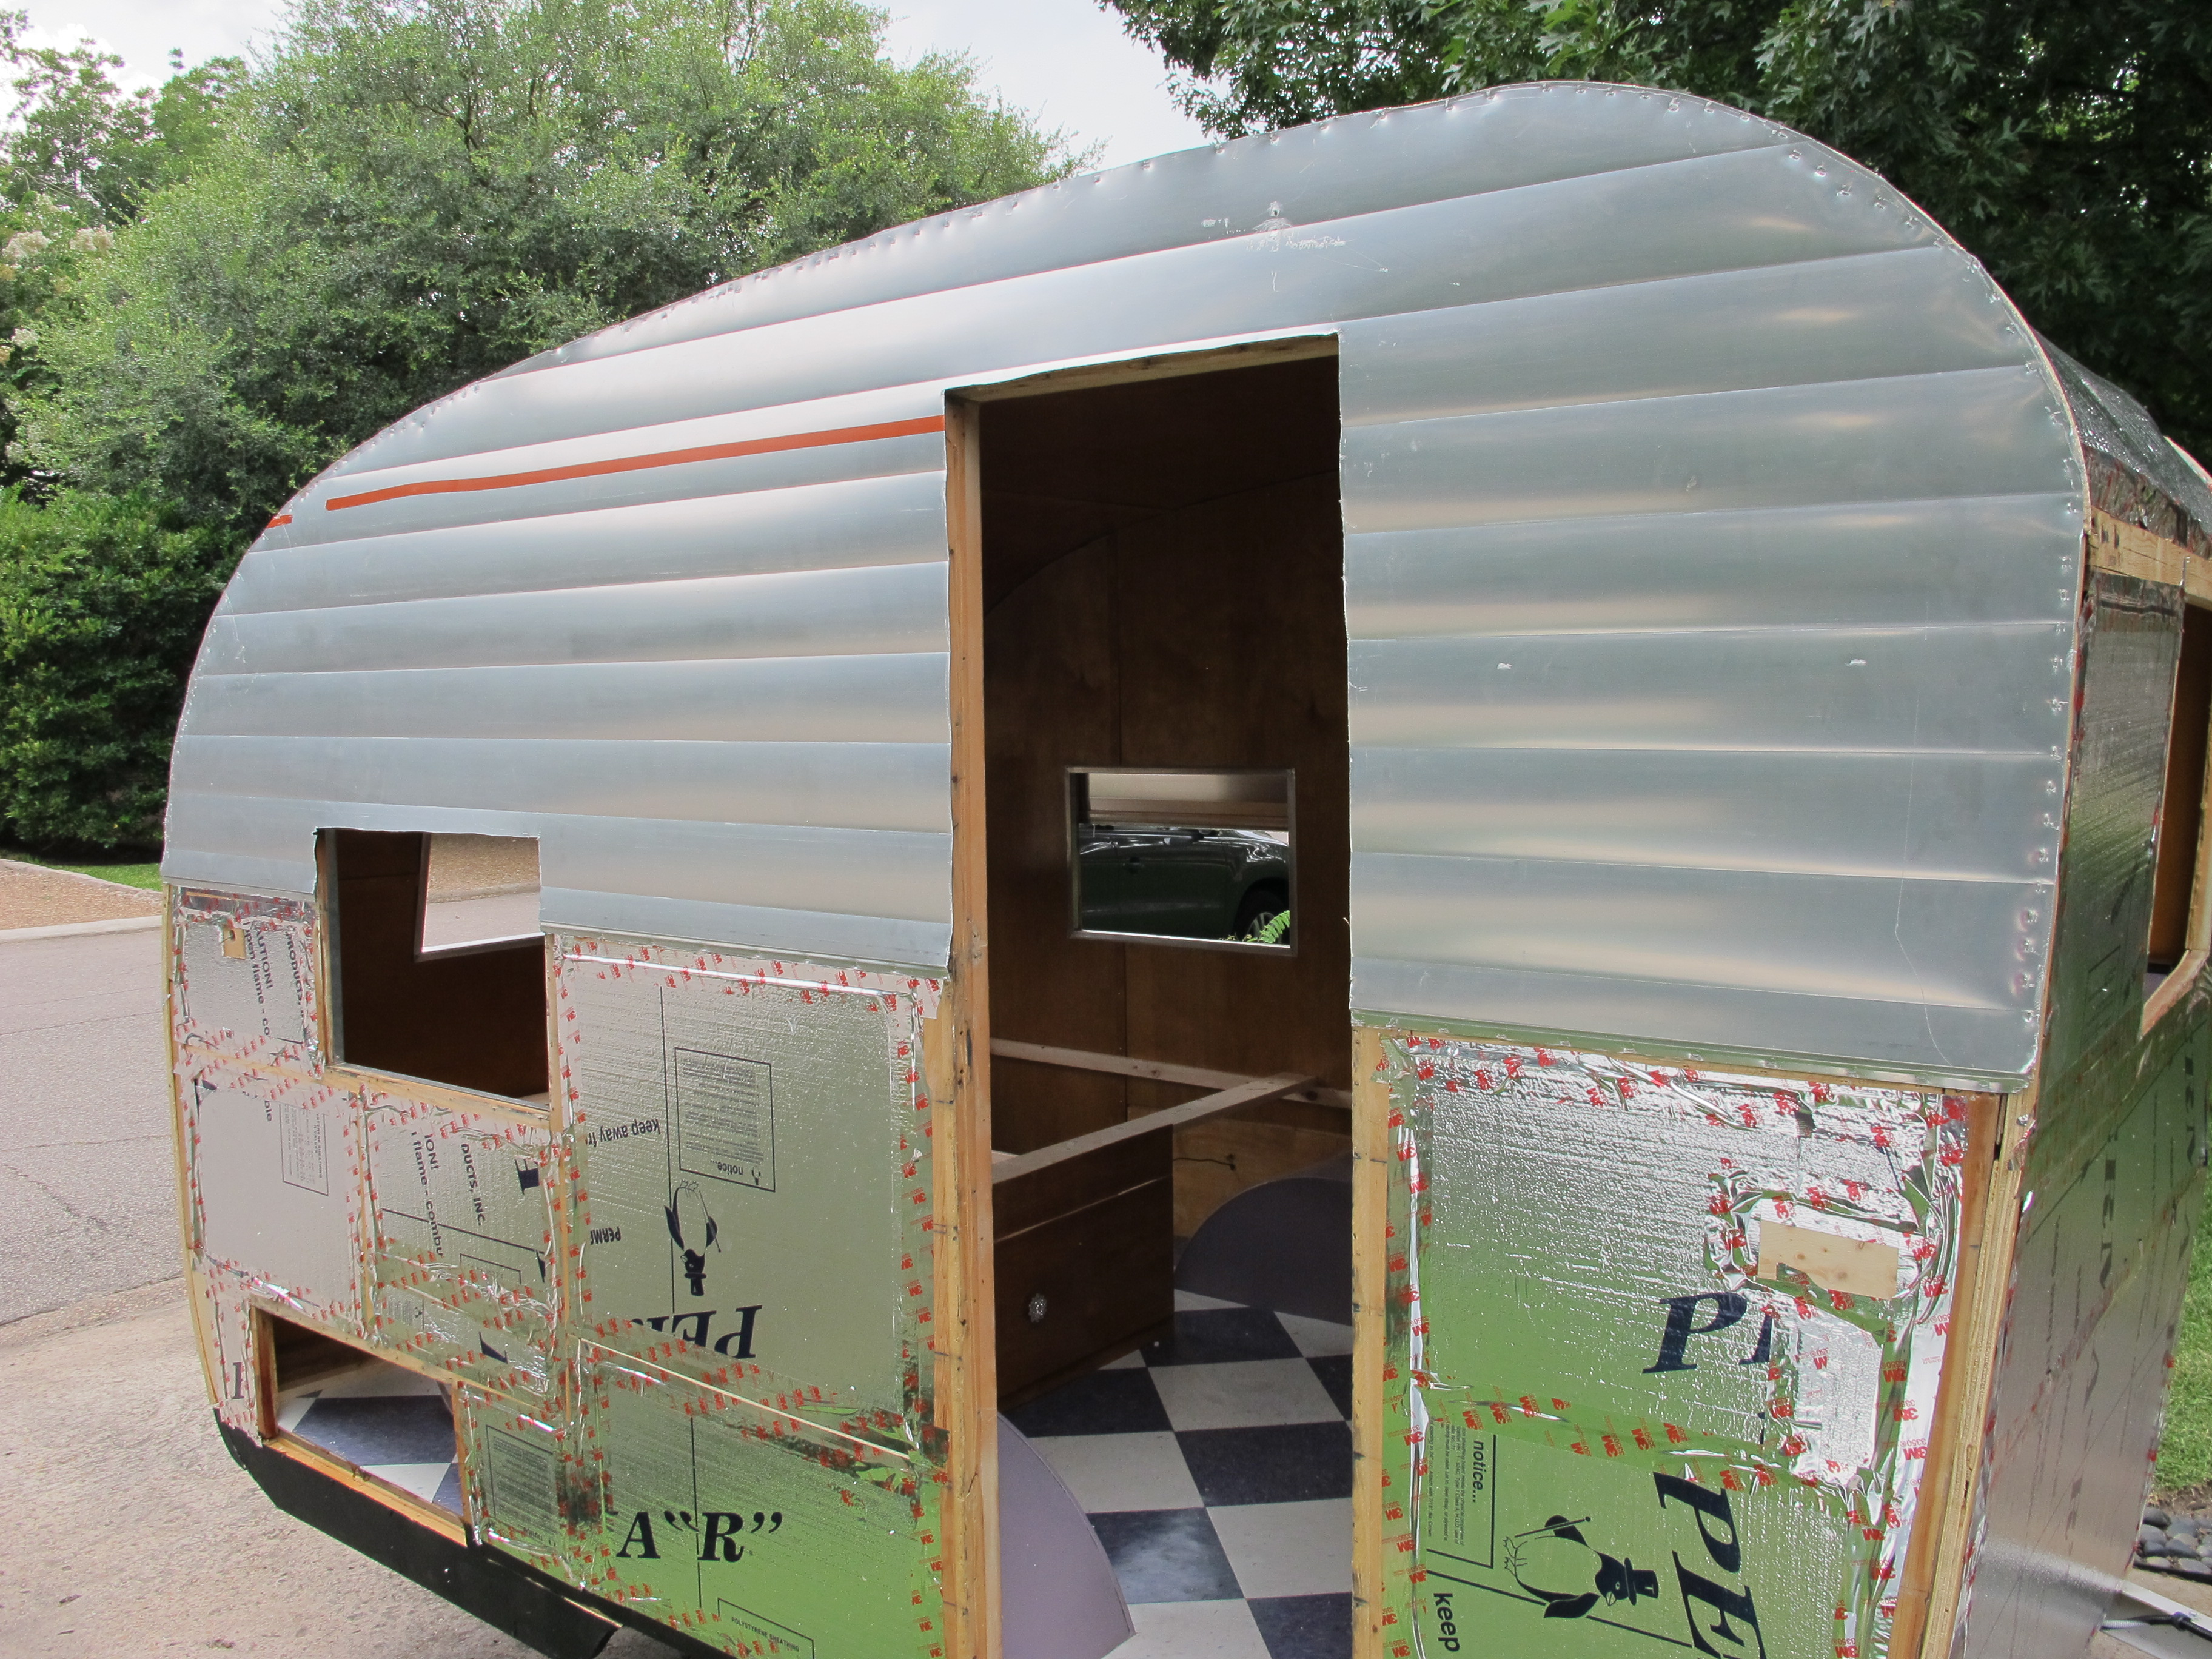
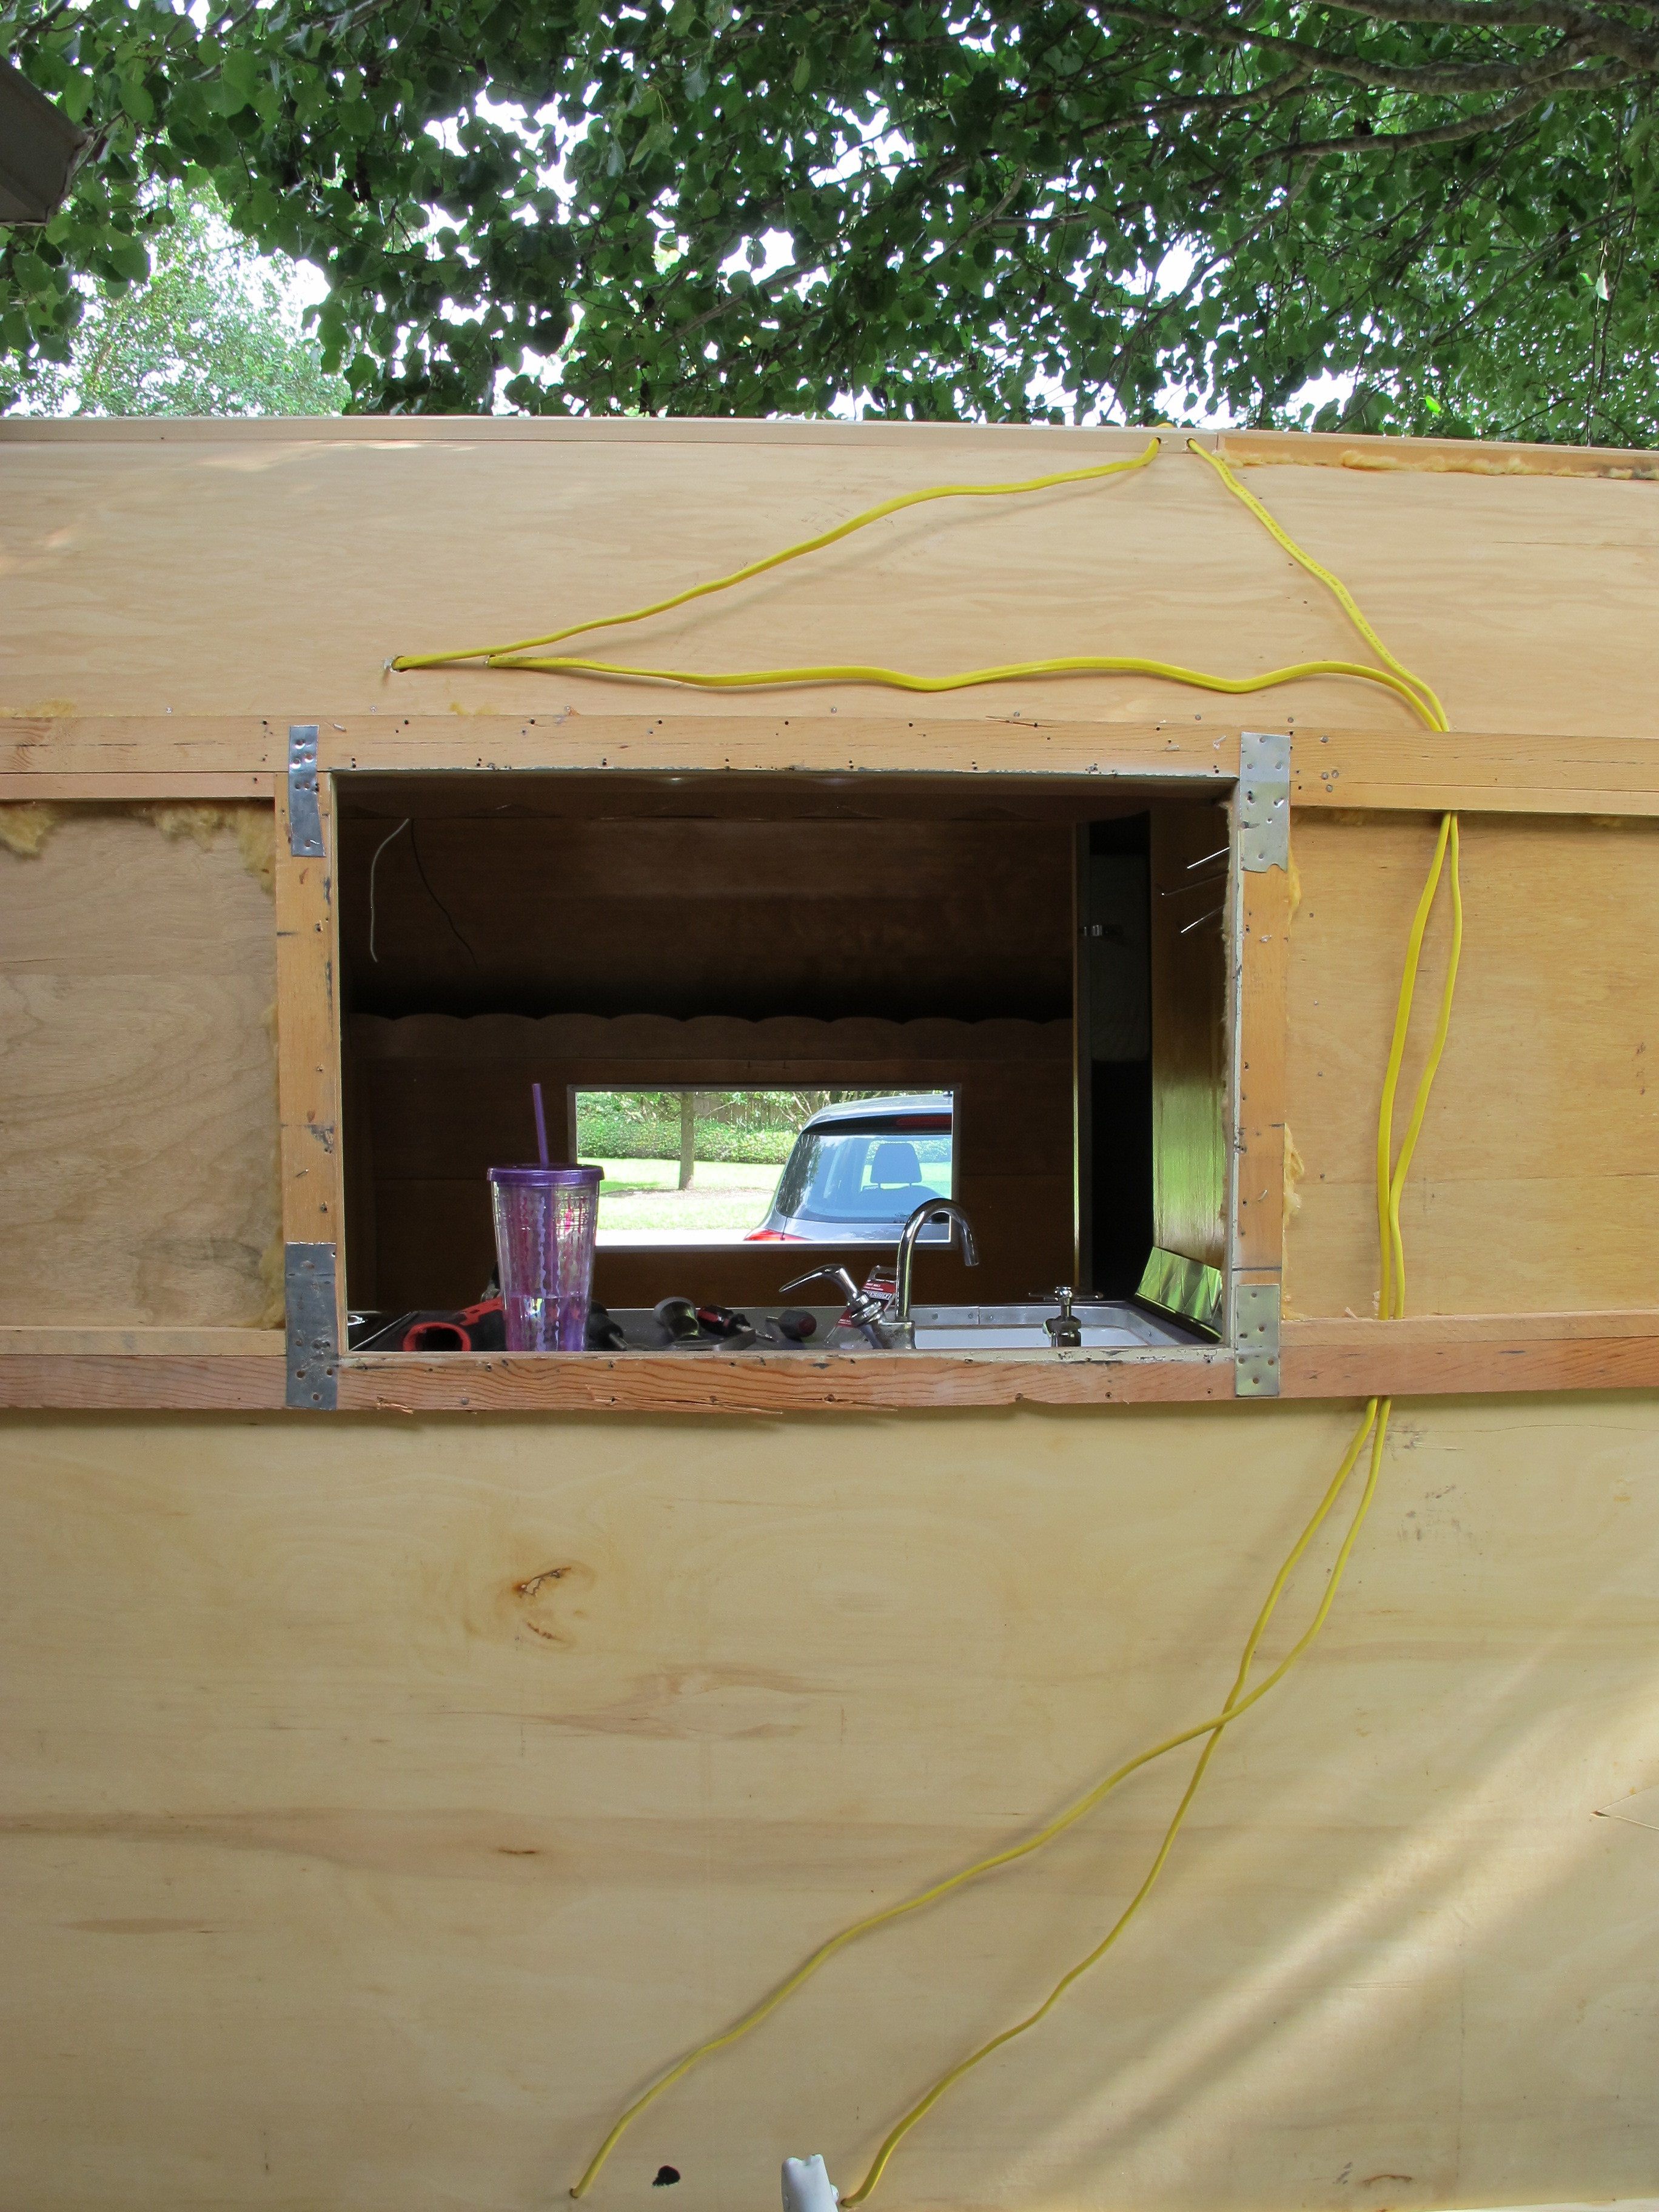
Door and window (upper halves) are cut out!
I am very pleased with the performance of my new electric metal shears from Northern Tool. http://www.northerntool.com/shop/tools/product_200442137_200442137
They worked extremely well. I was able to cut clean lines, and I was able to make the cut out for the door perfectly so that I can use it for the external skin on the door frame. I can’t imagine cutting all of the excess skin with the manual shears! I guess the one positive to that would be that I wouldn’t have made that mistake of overcutting on the street side. But it would have taken me at least 3 times as long to do the job! My neighbor came by a few times and when he saw me using the metal shears, he offered to buy them from me after I’m done with this project. I don’t think I’ll need them anymore so I’ll probably sell them to him, but I’ll be a little sad to see them go because they are probably the most fun tool I have used yet!

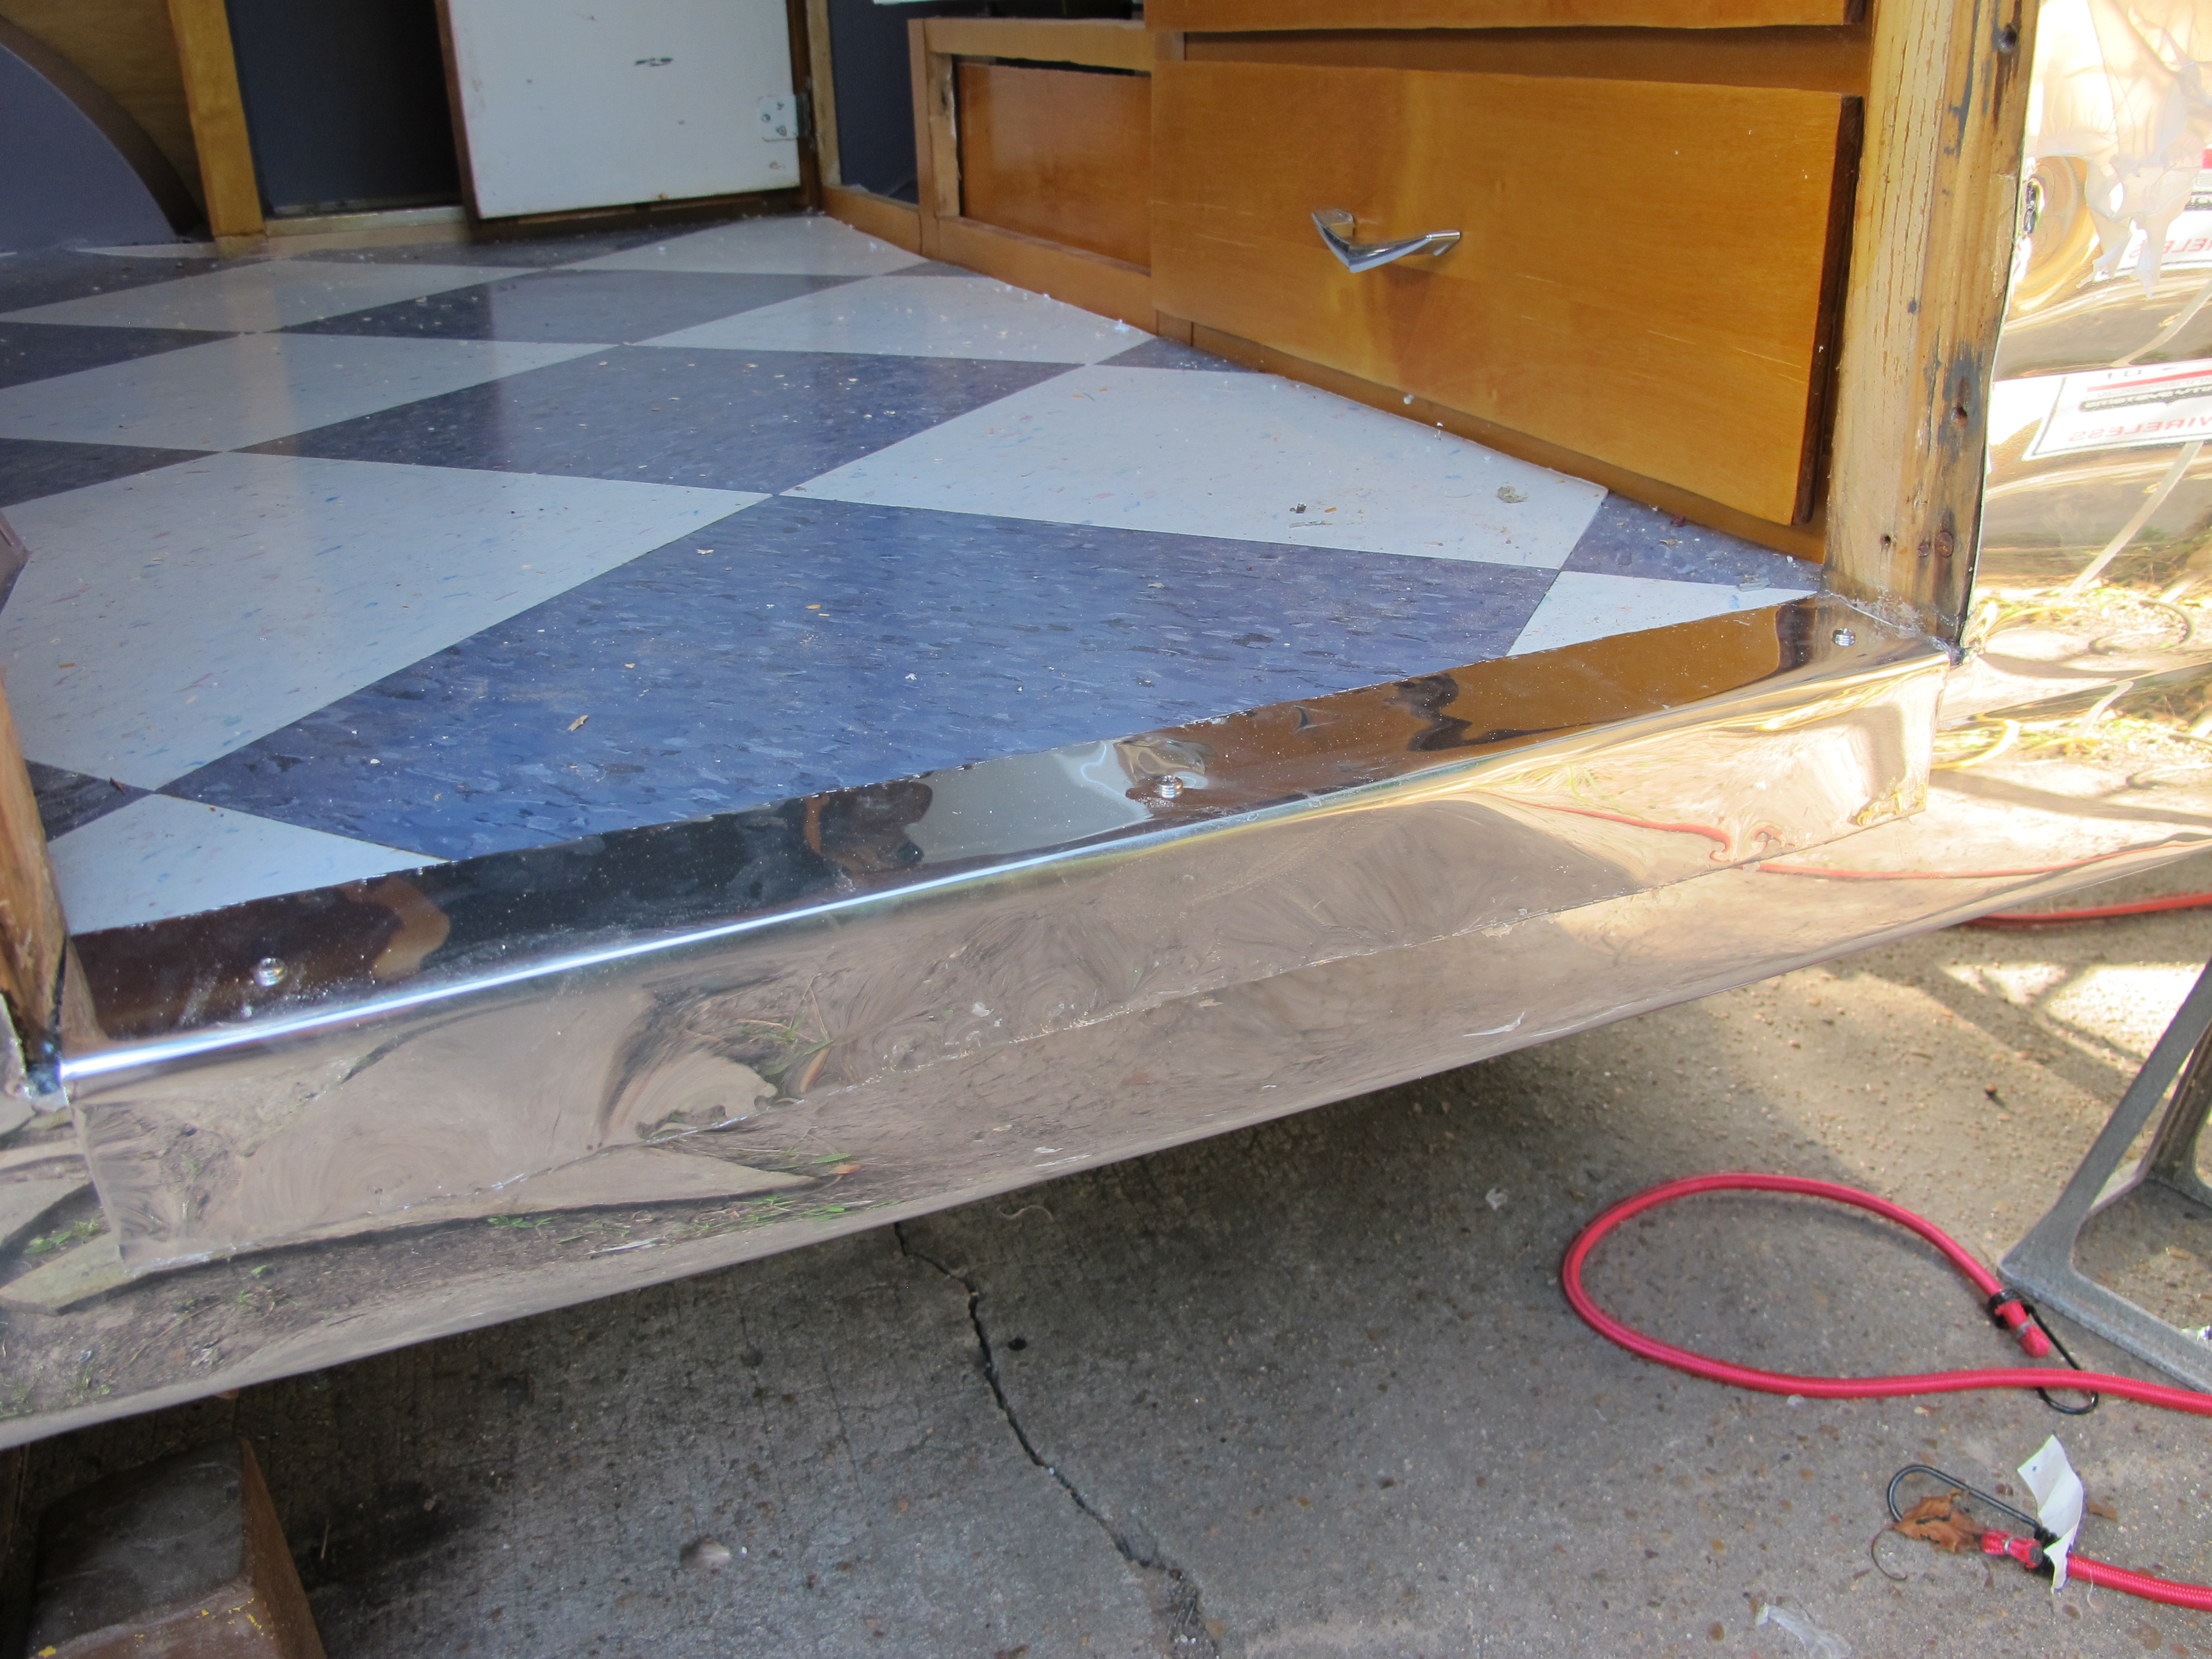
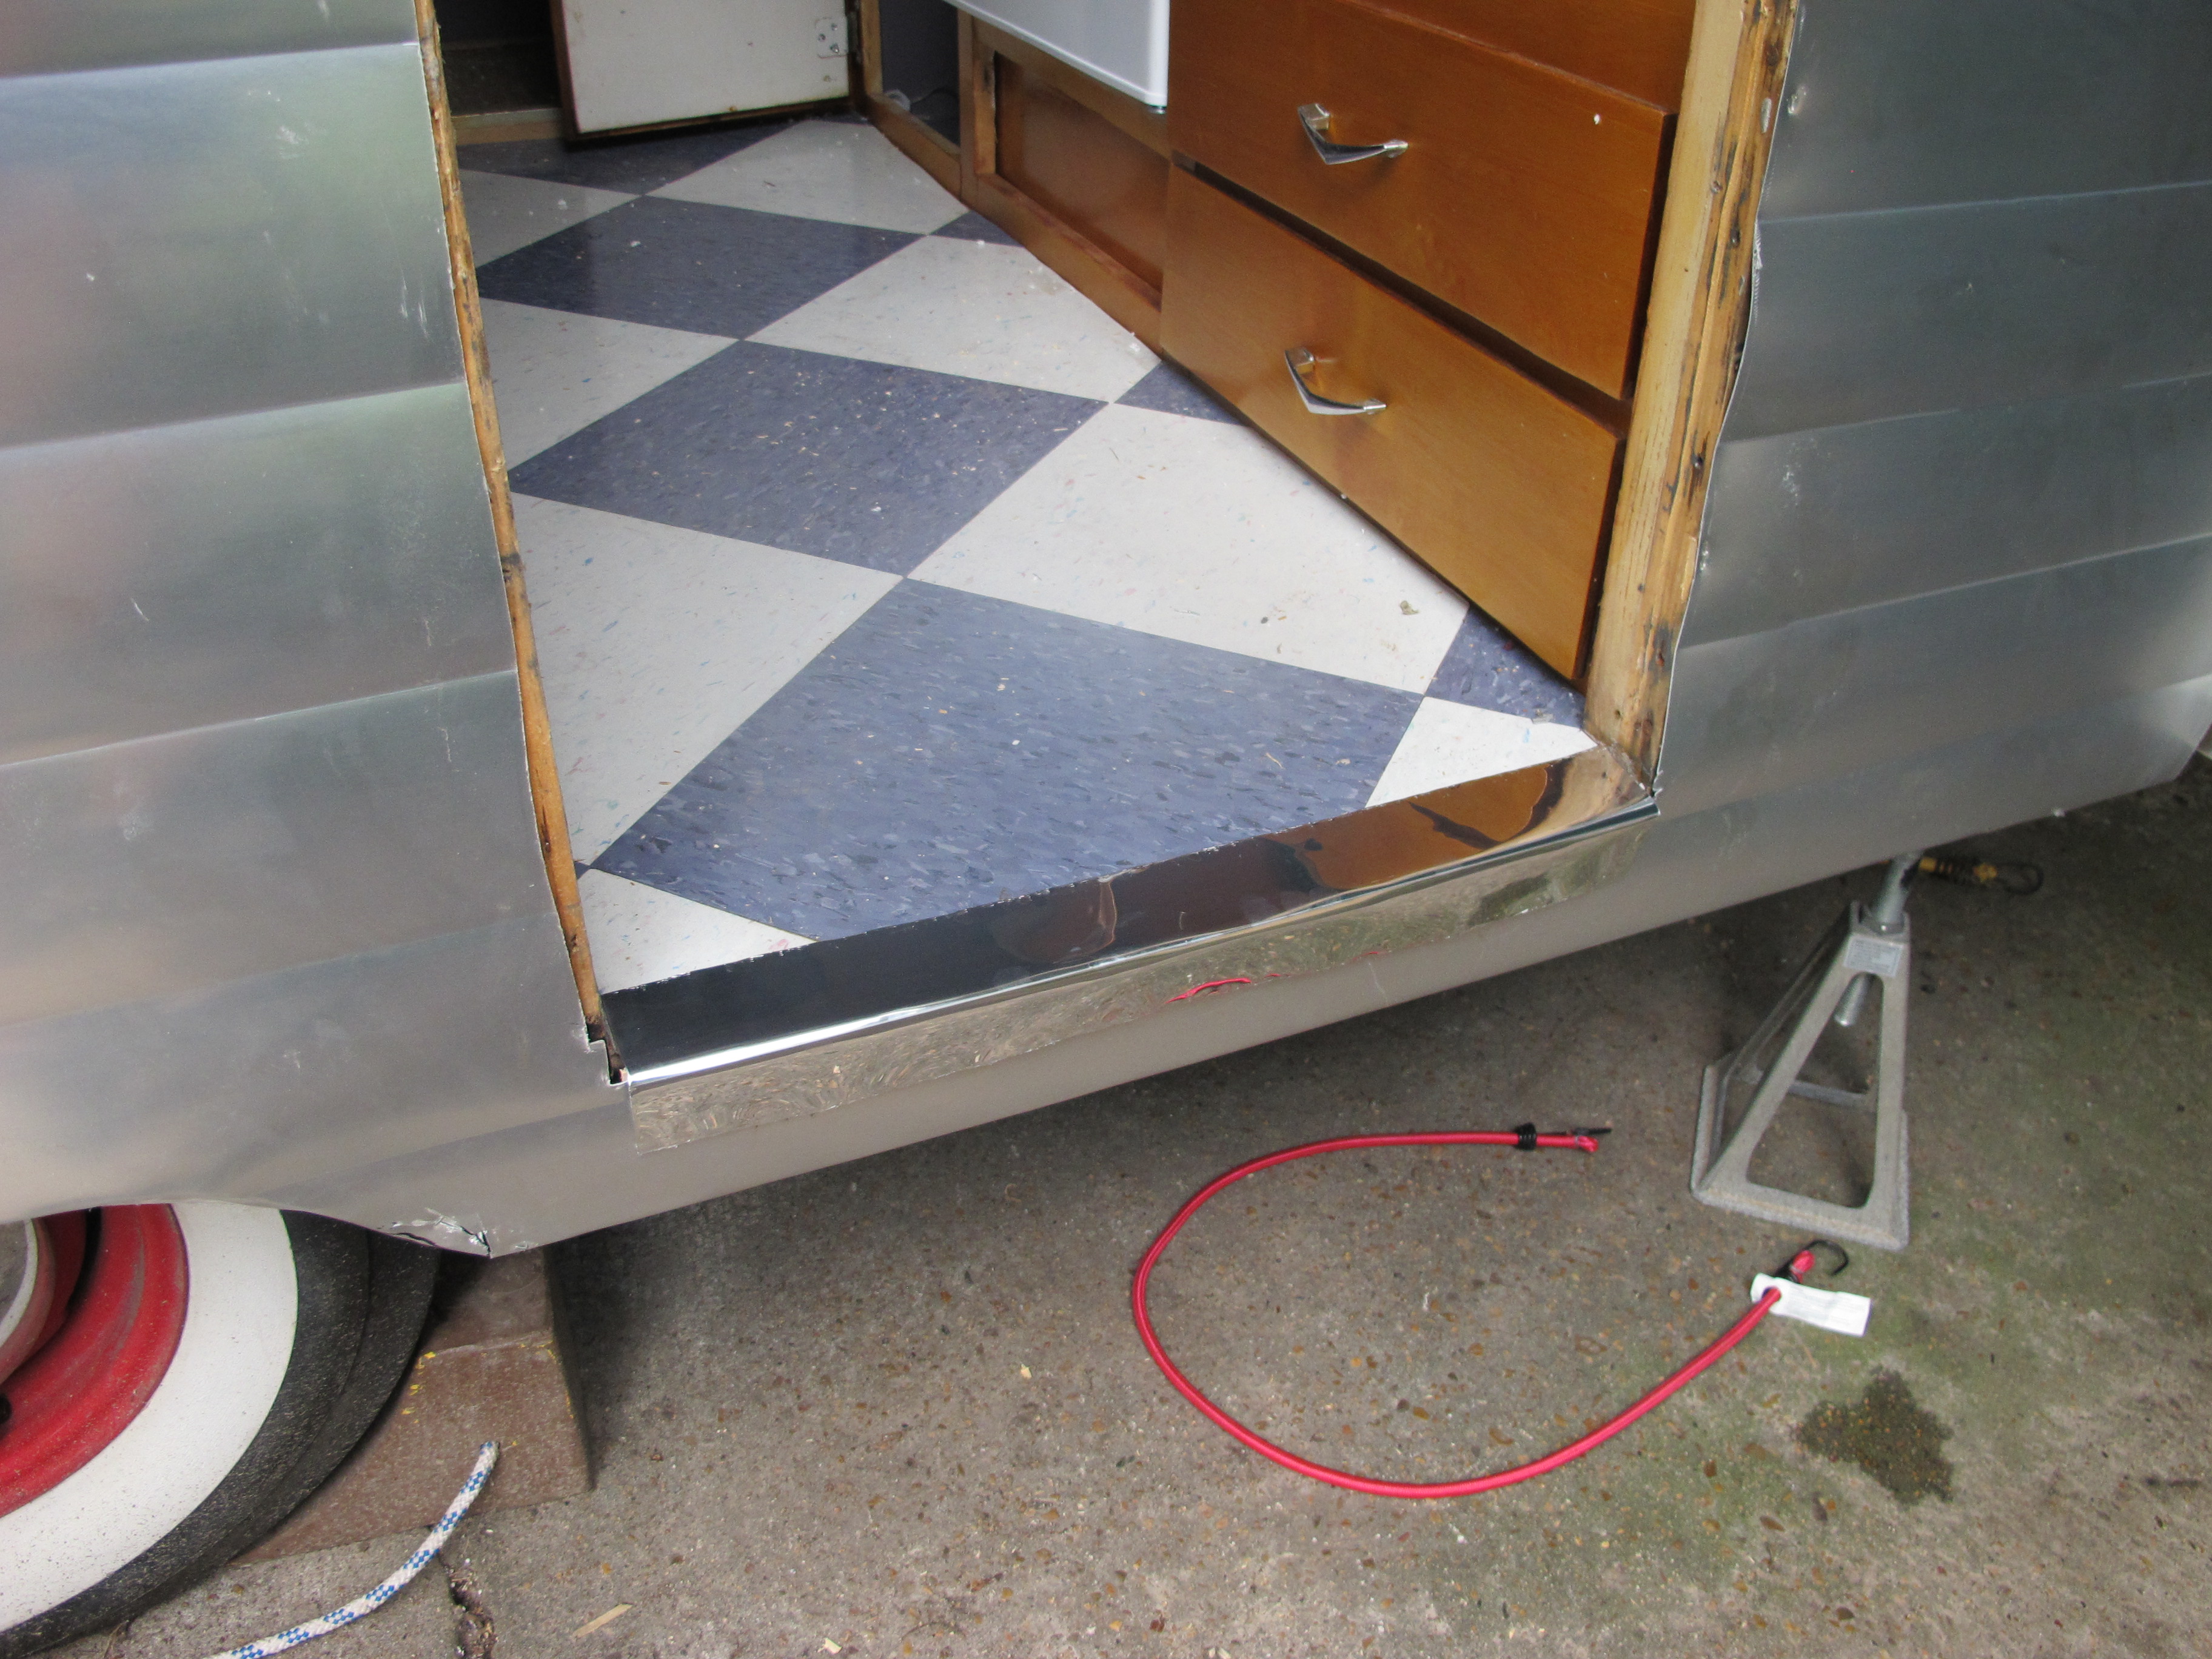
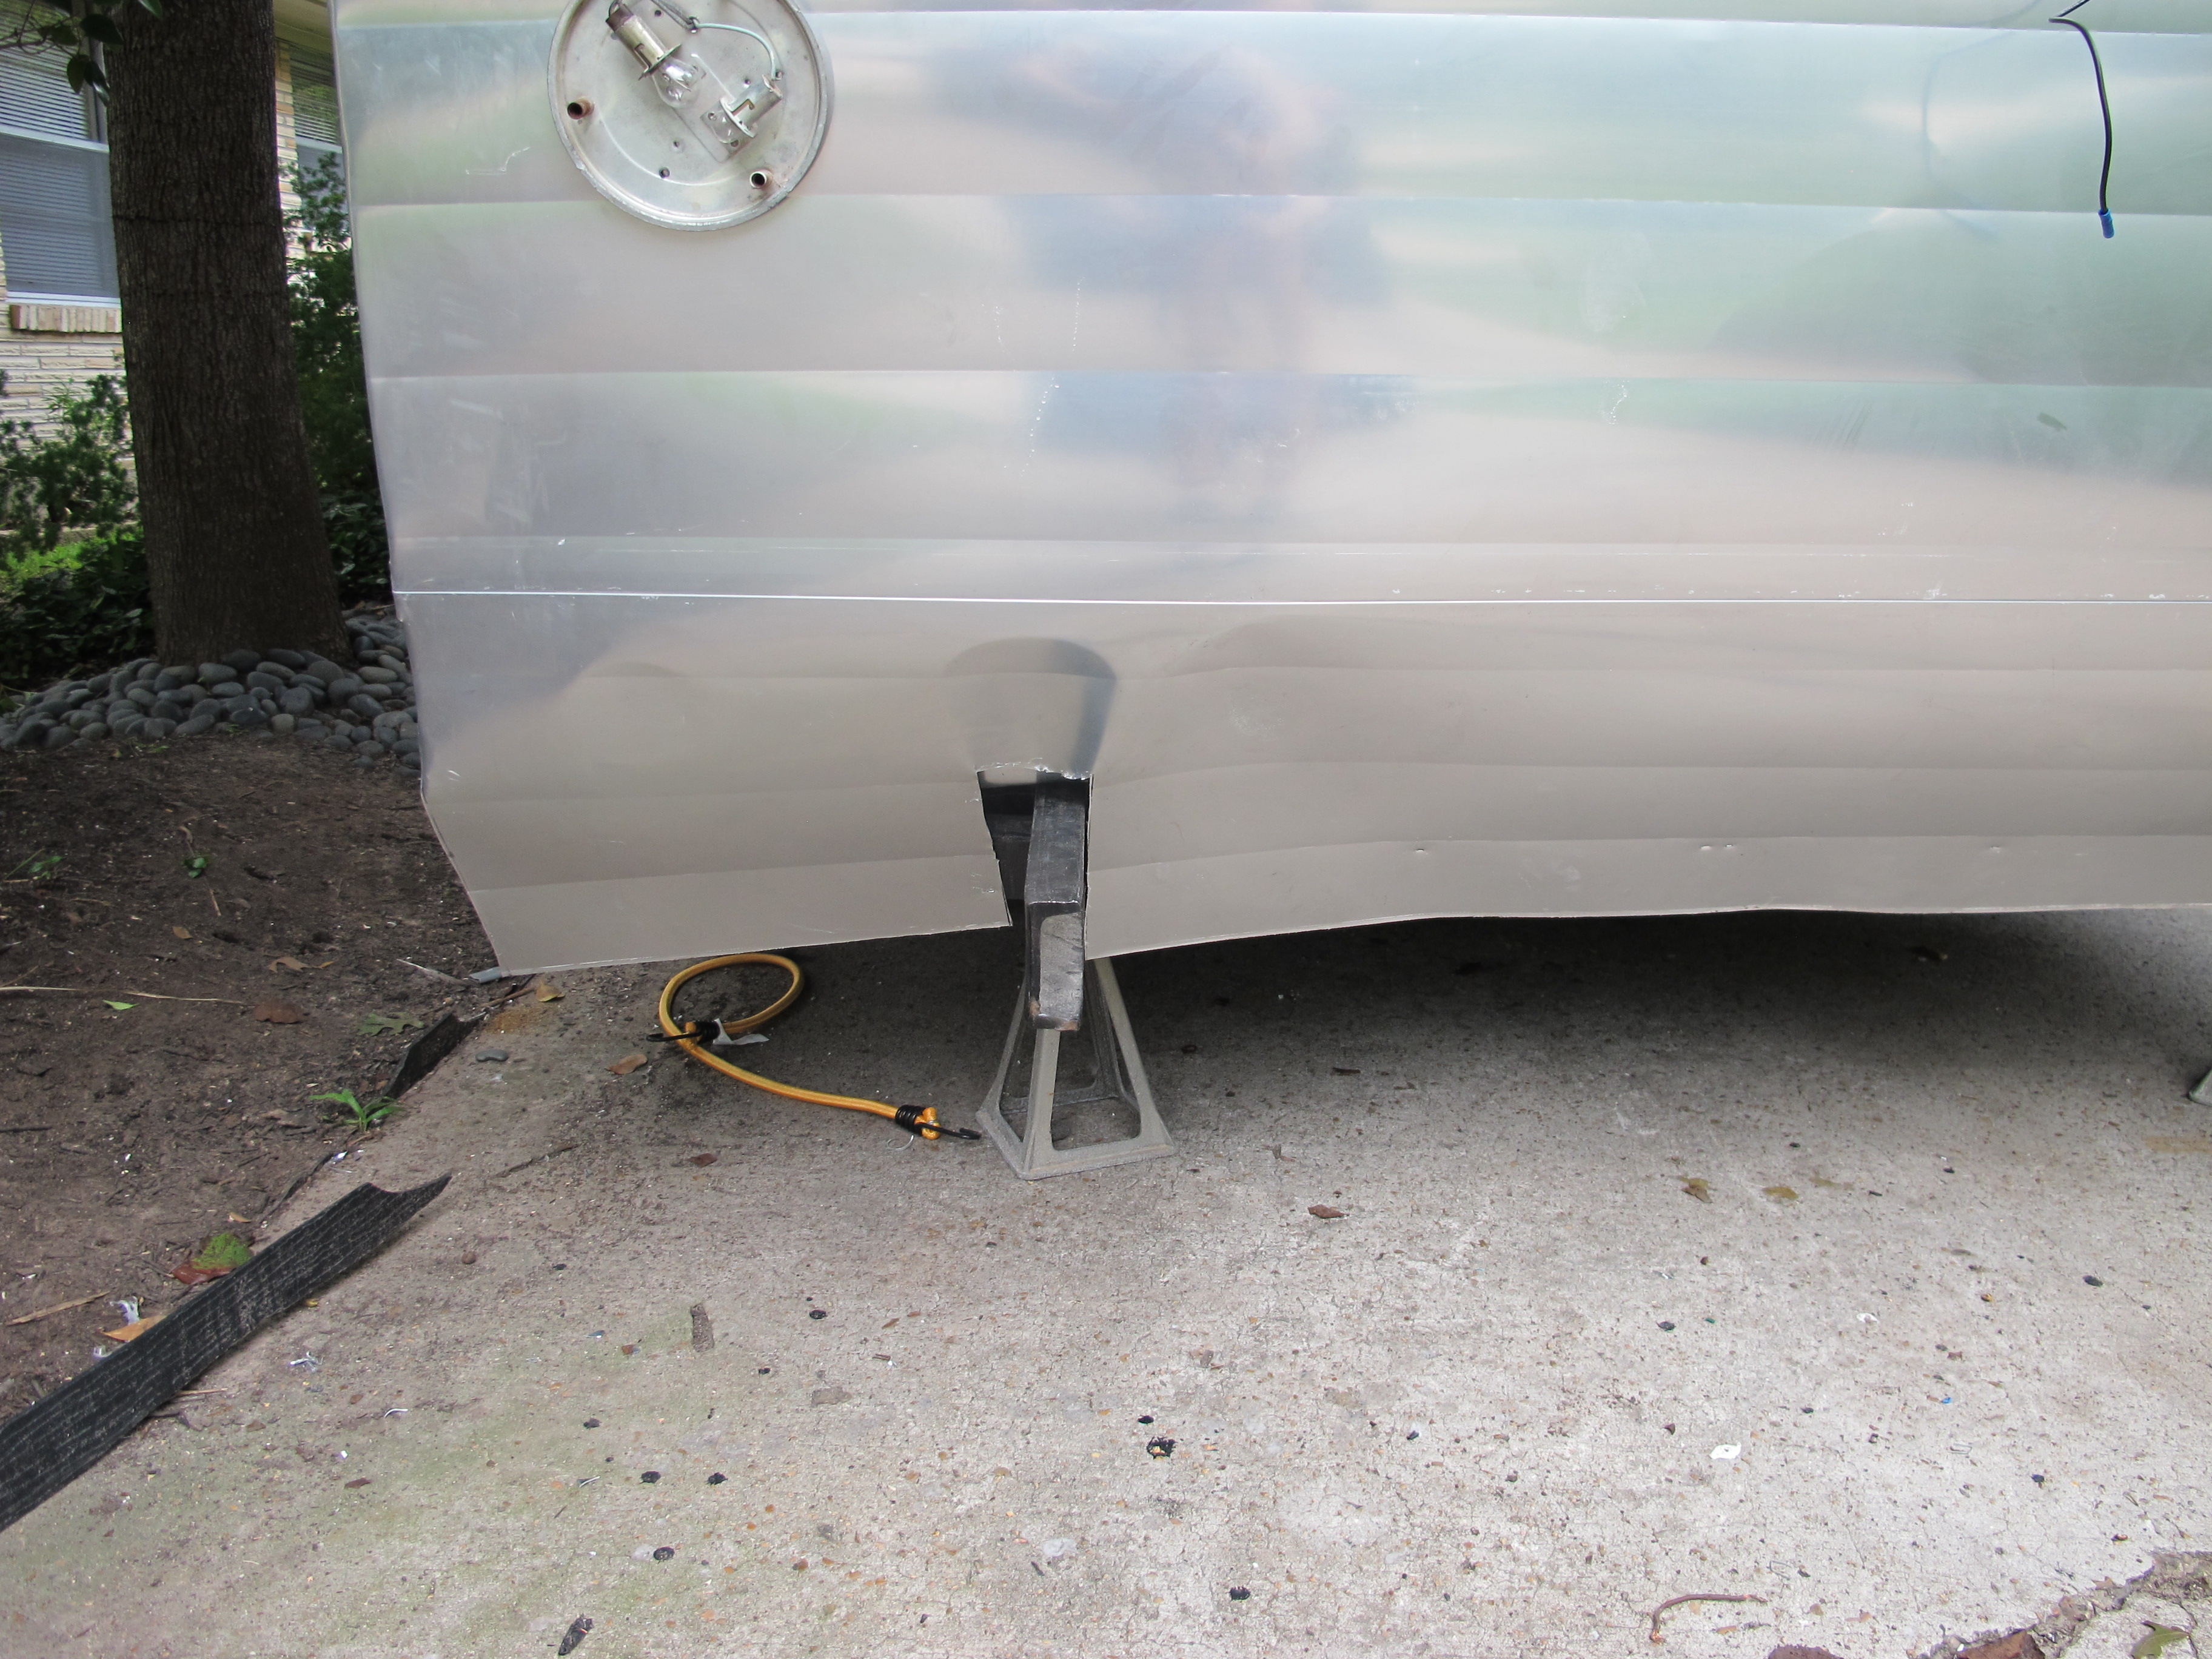
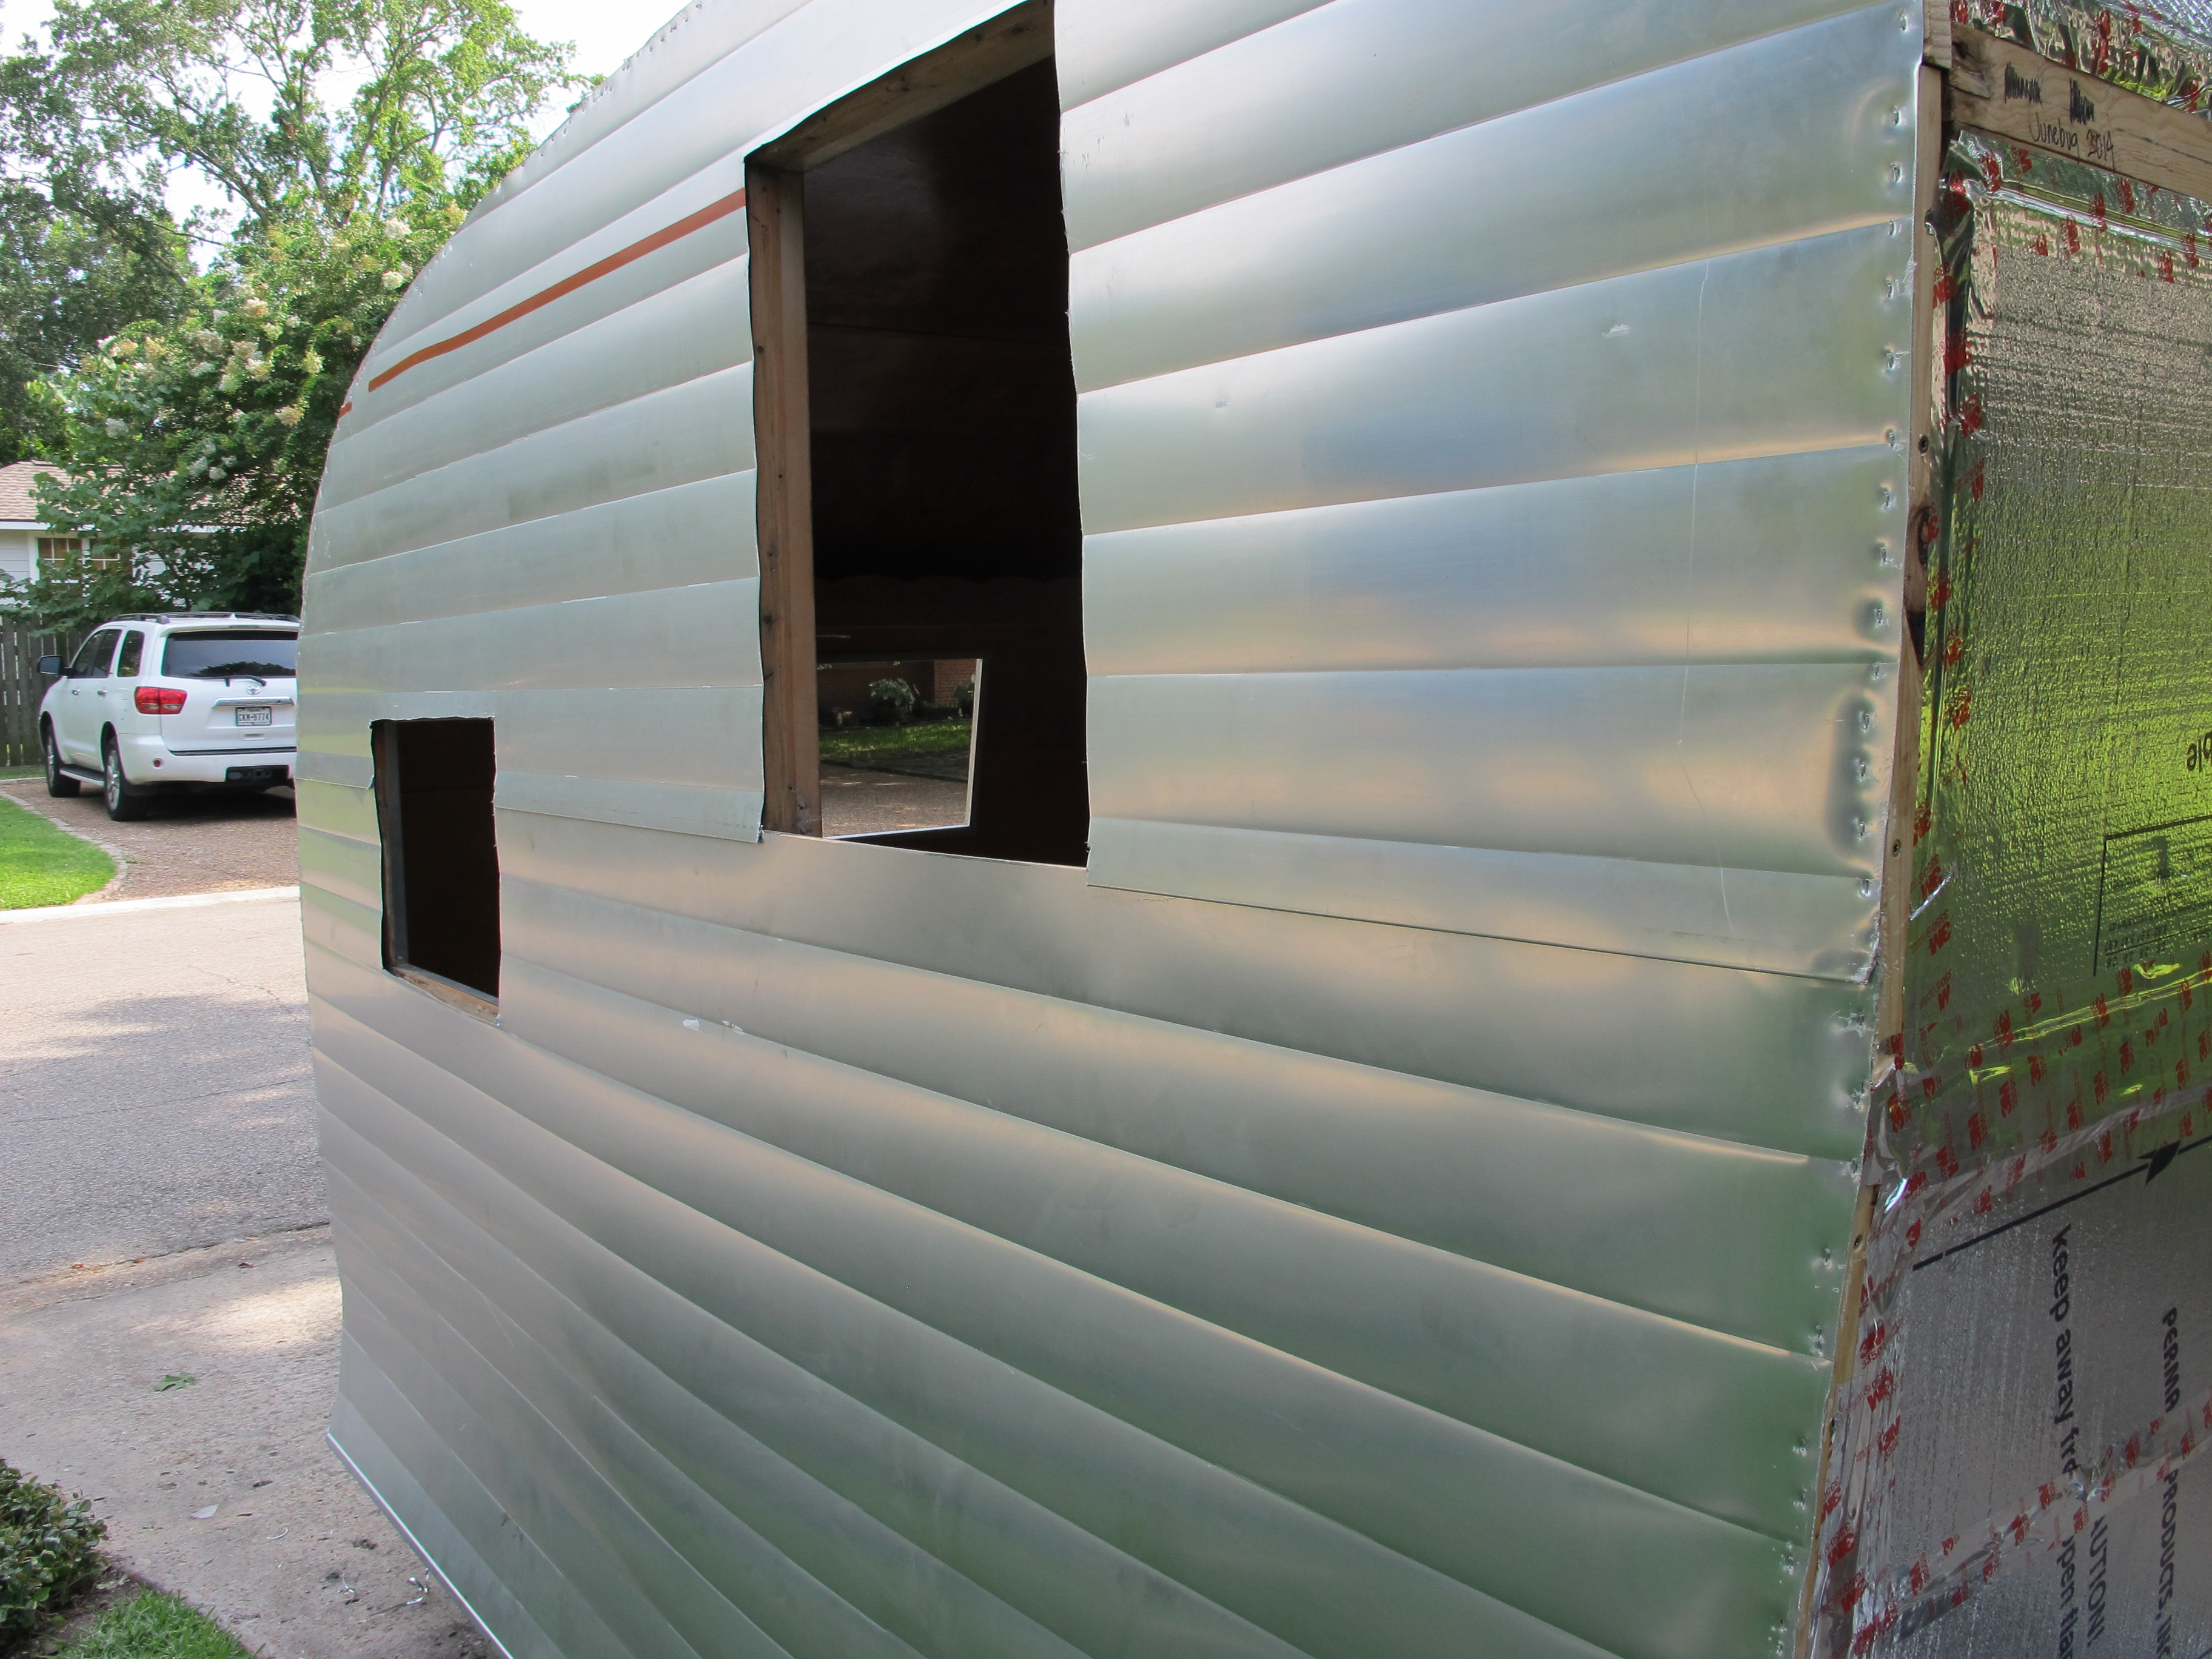
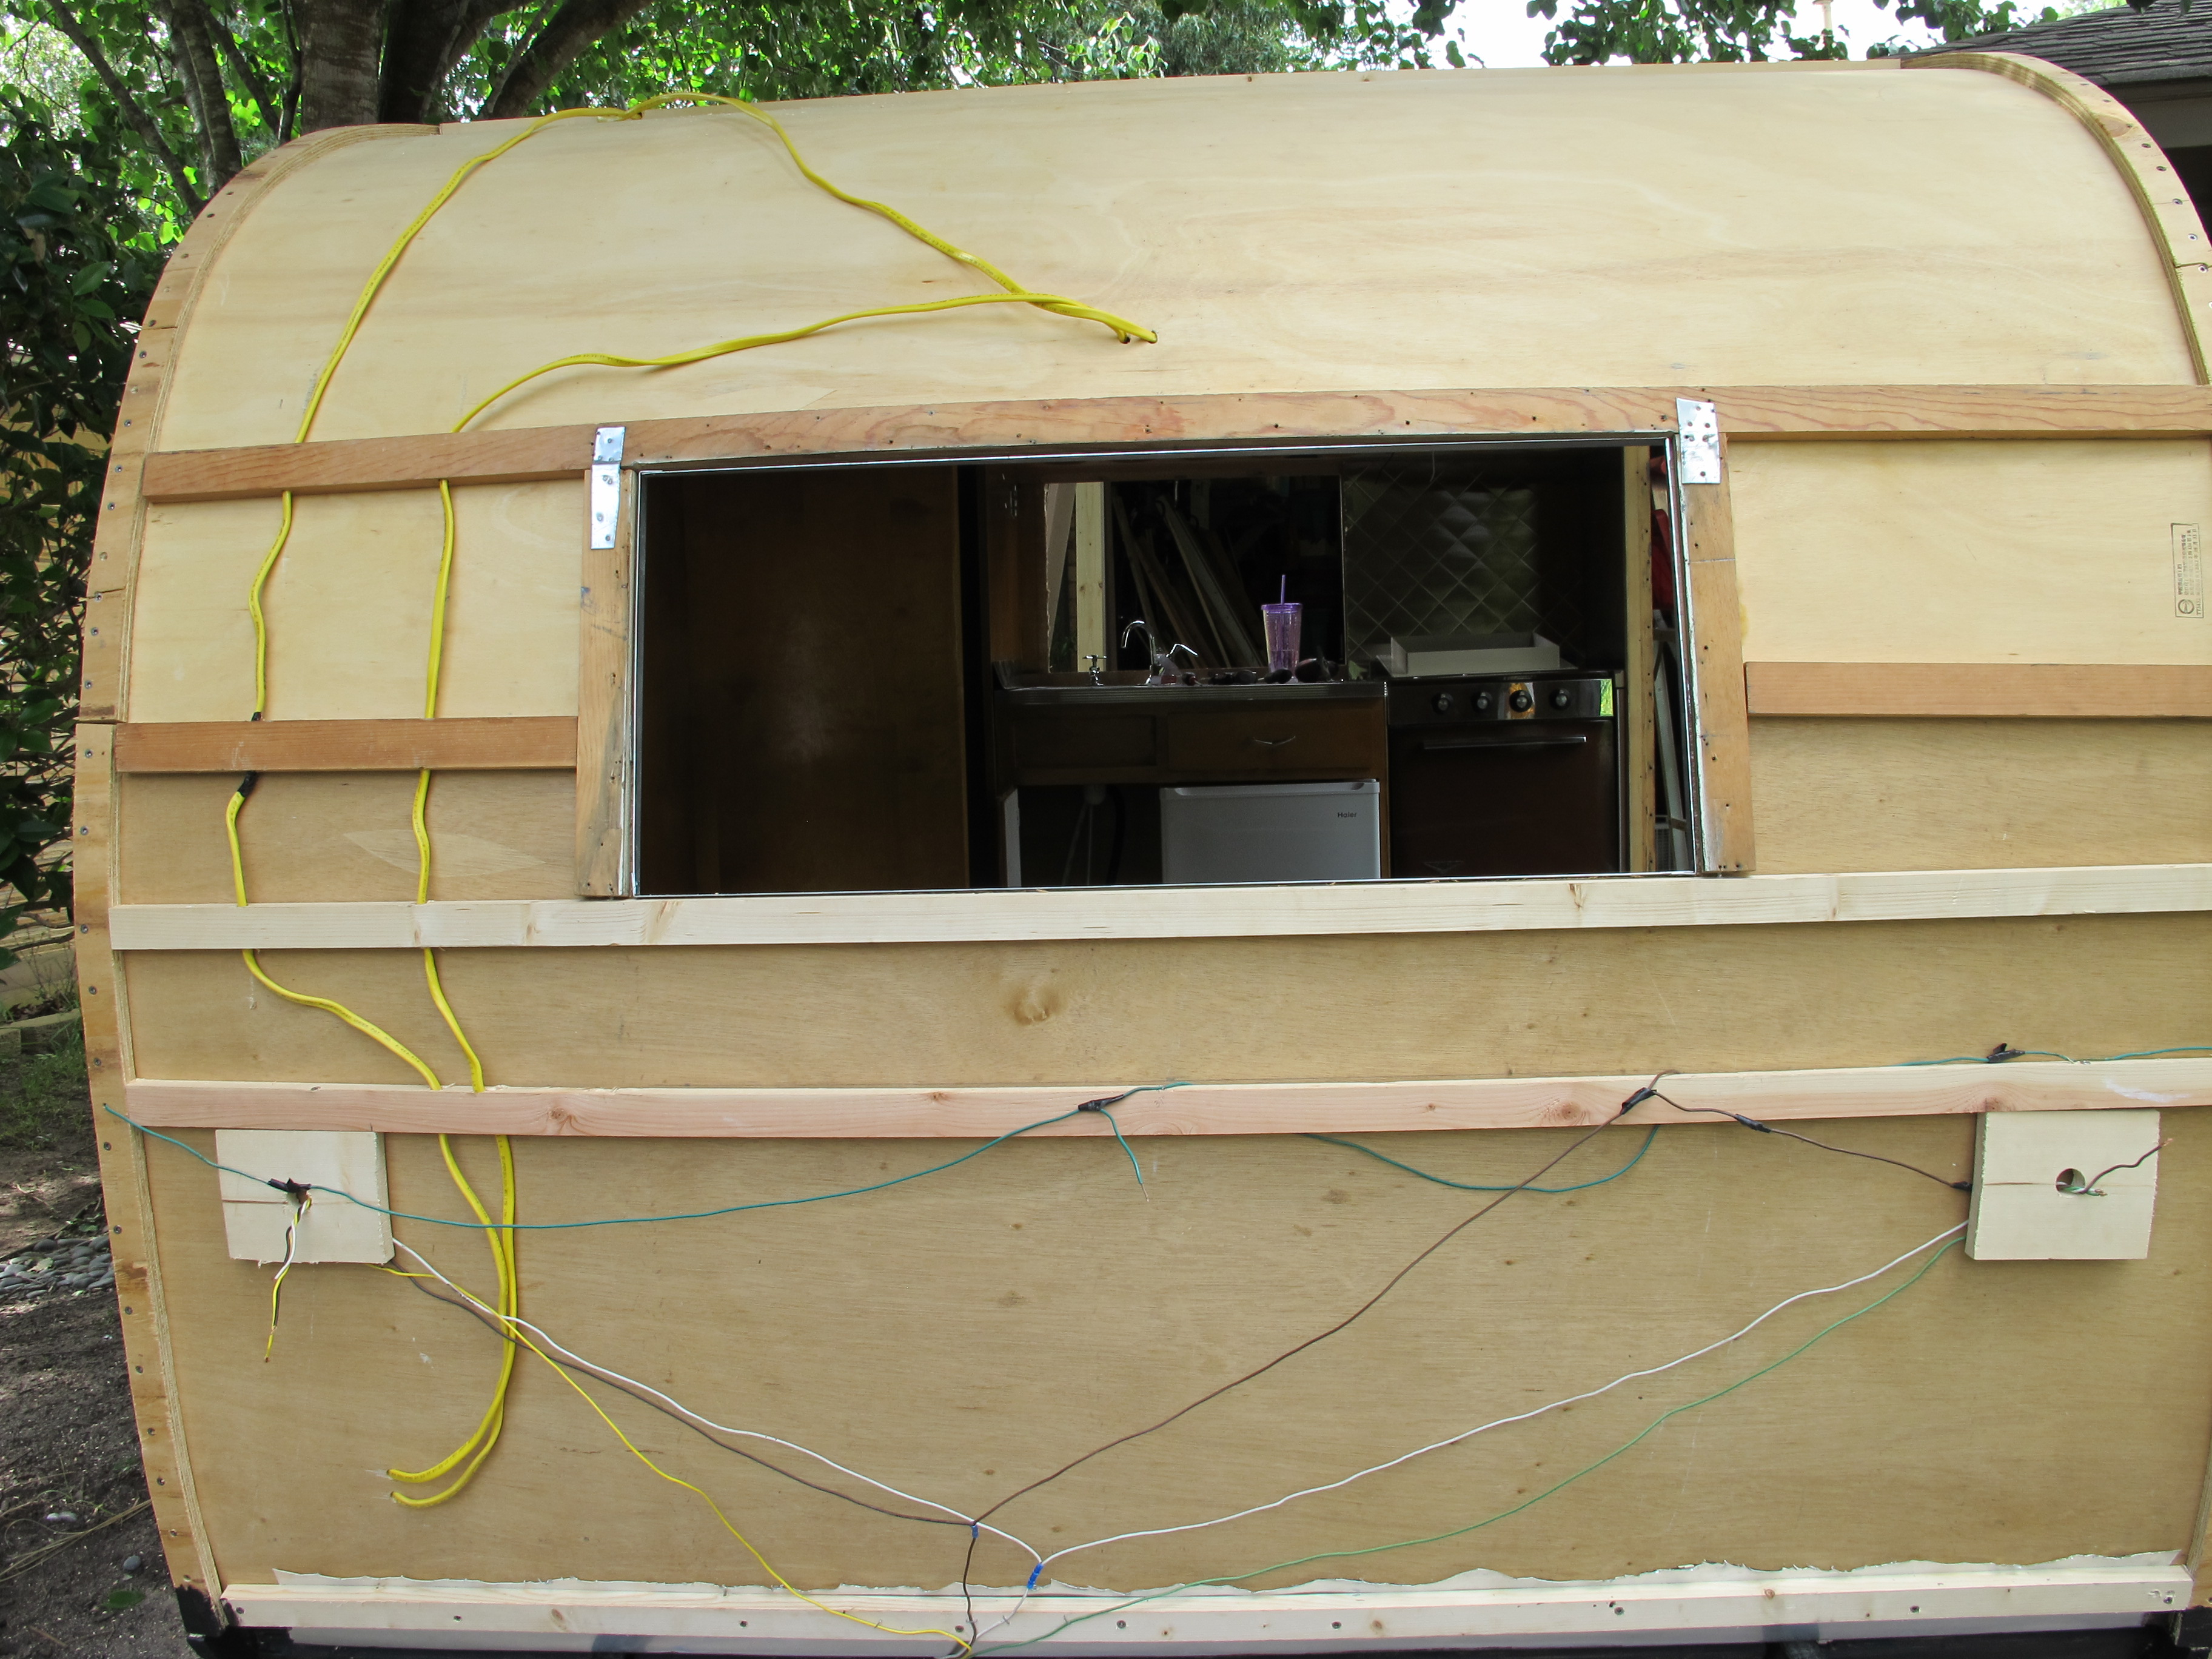
Bottom half is installed and ready to finish trimming the door.
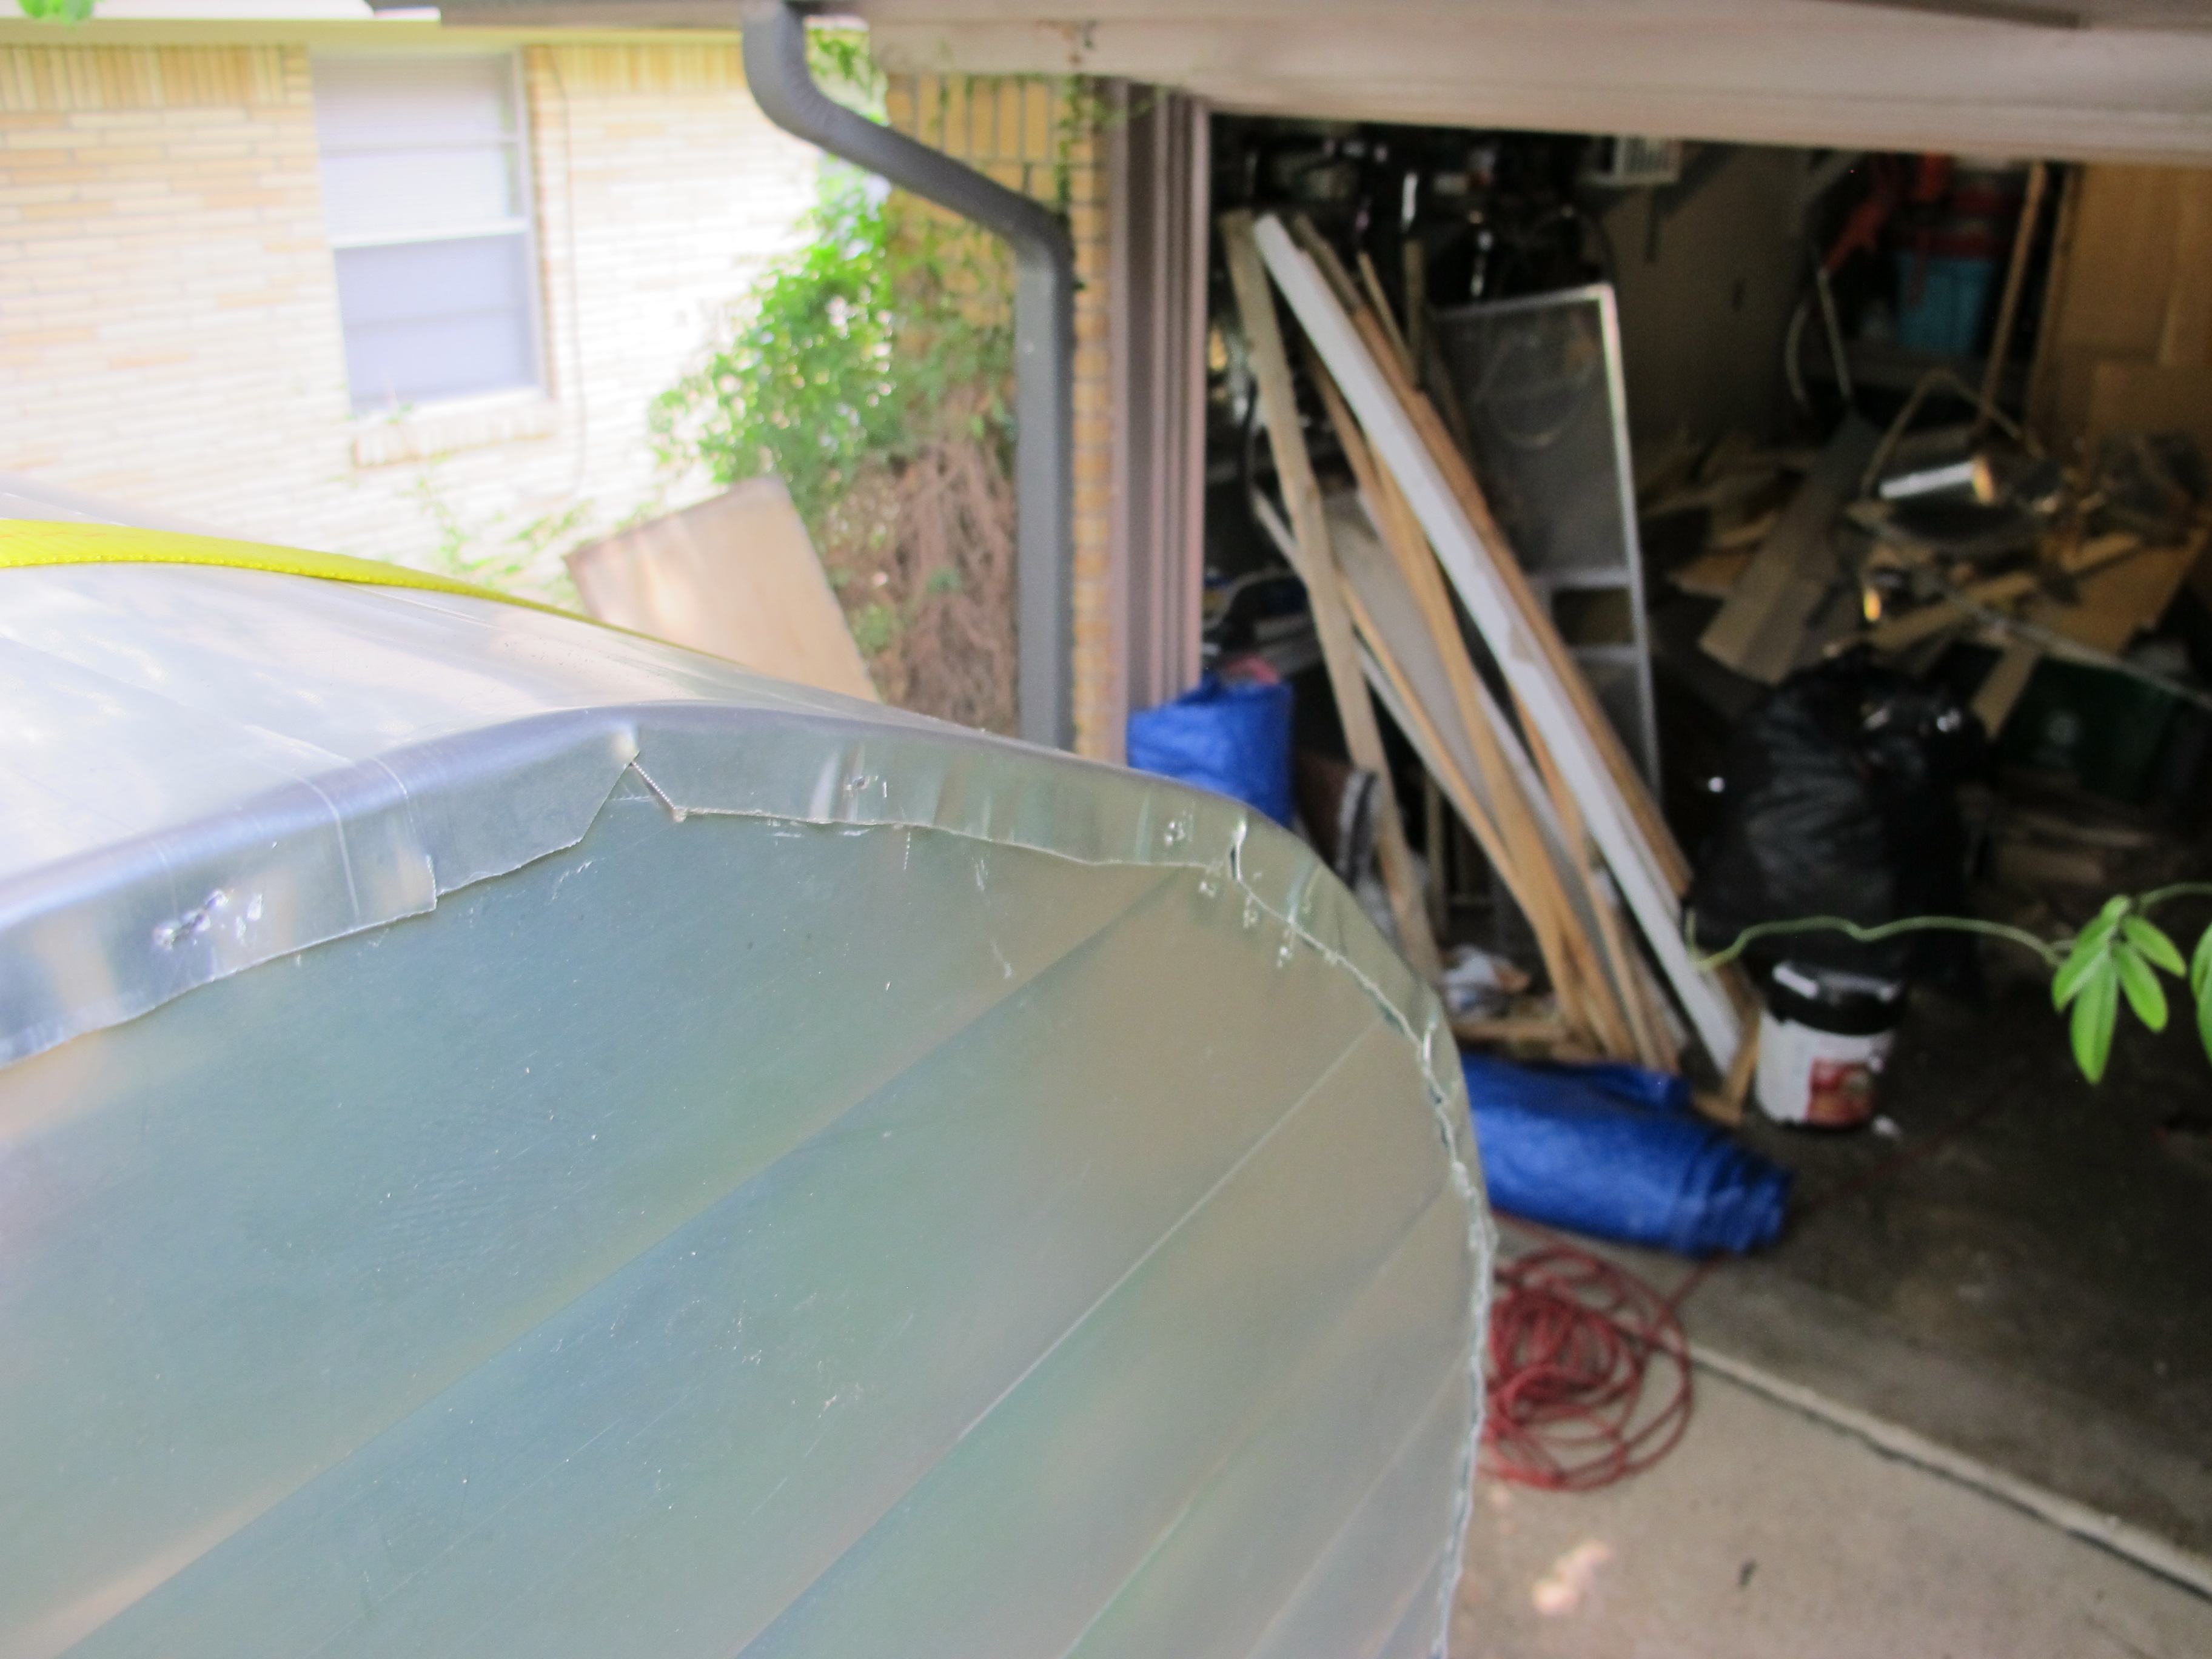
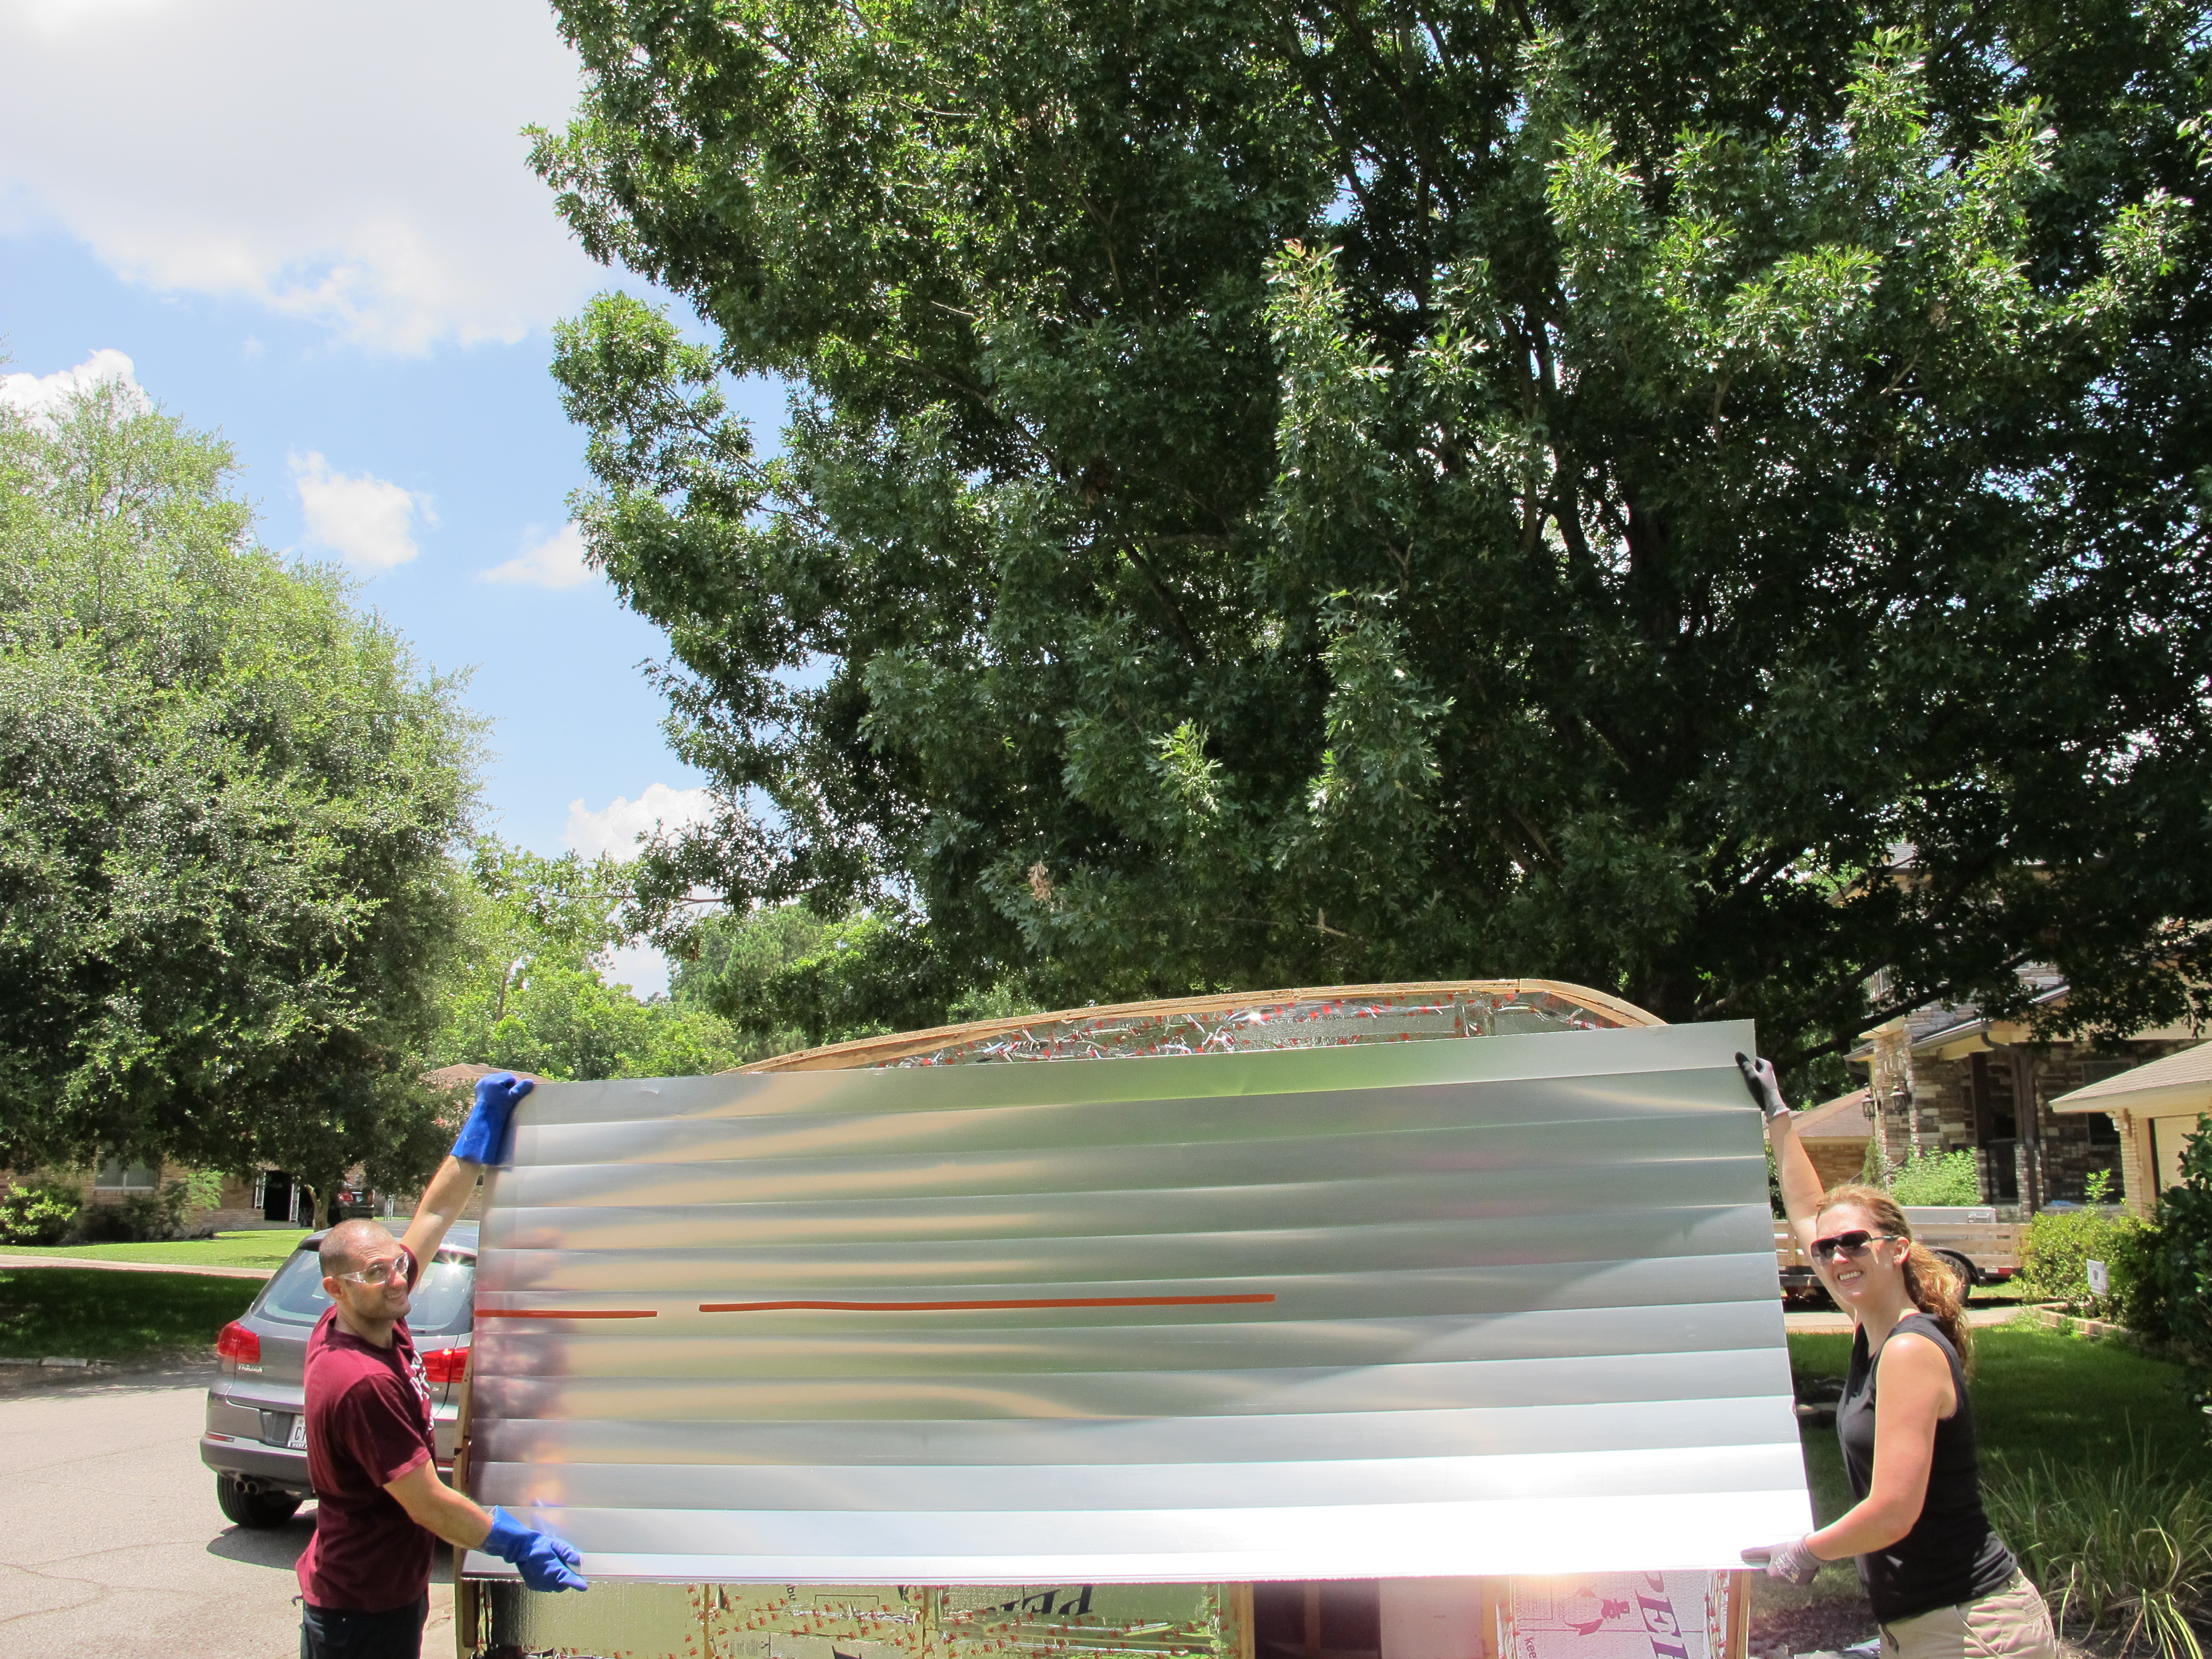
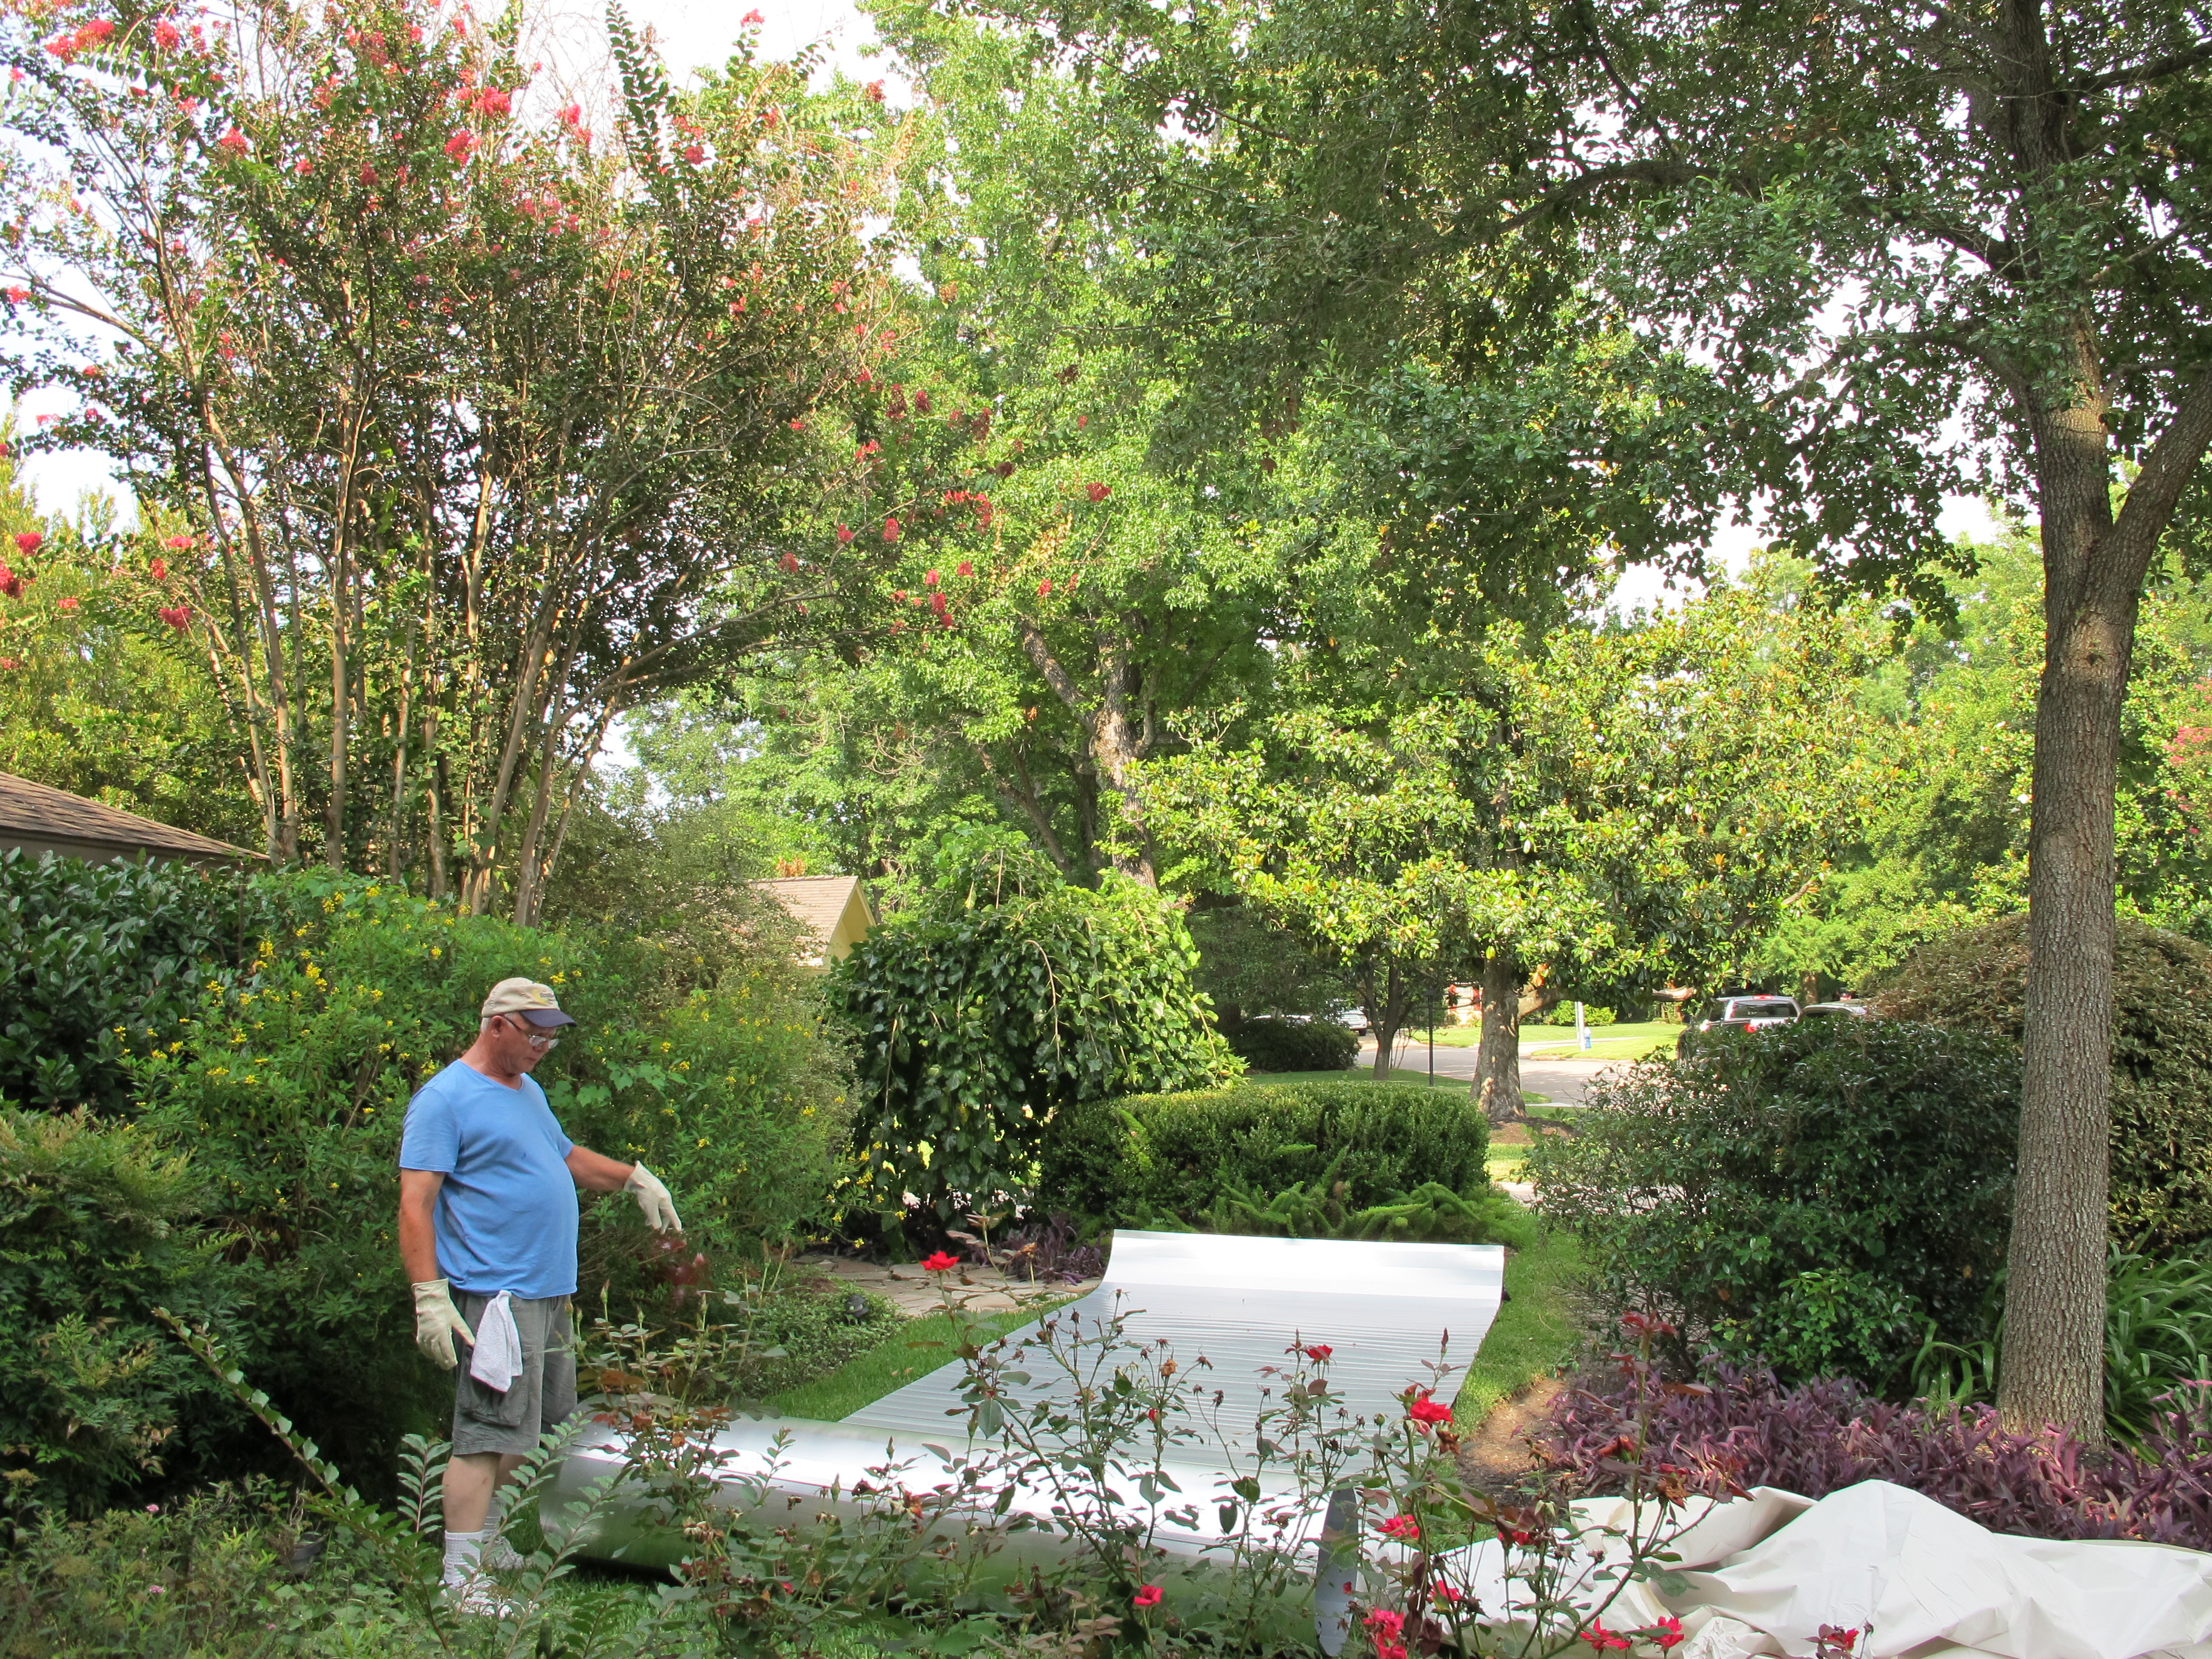
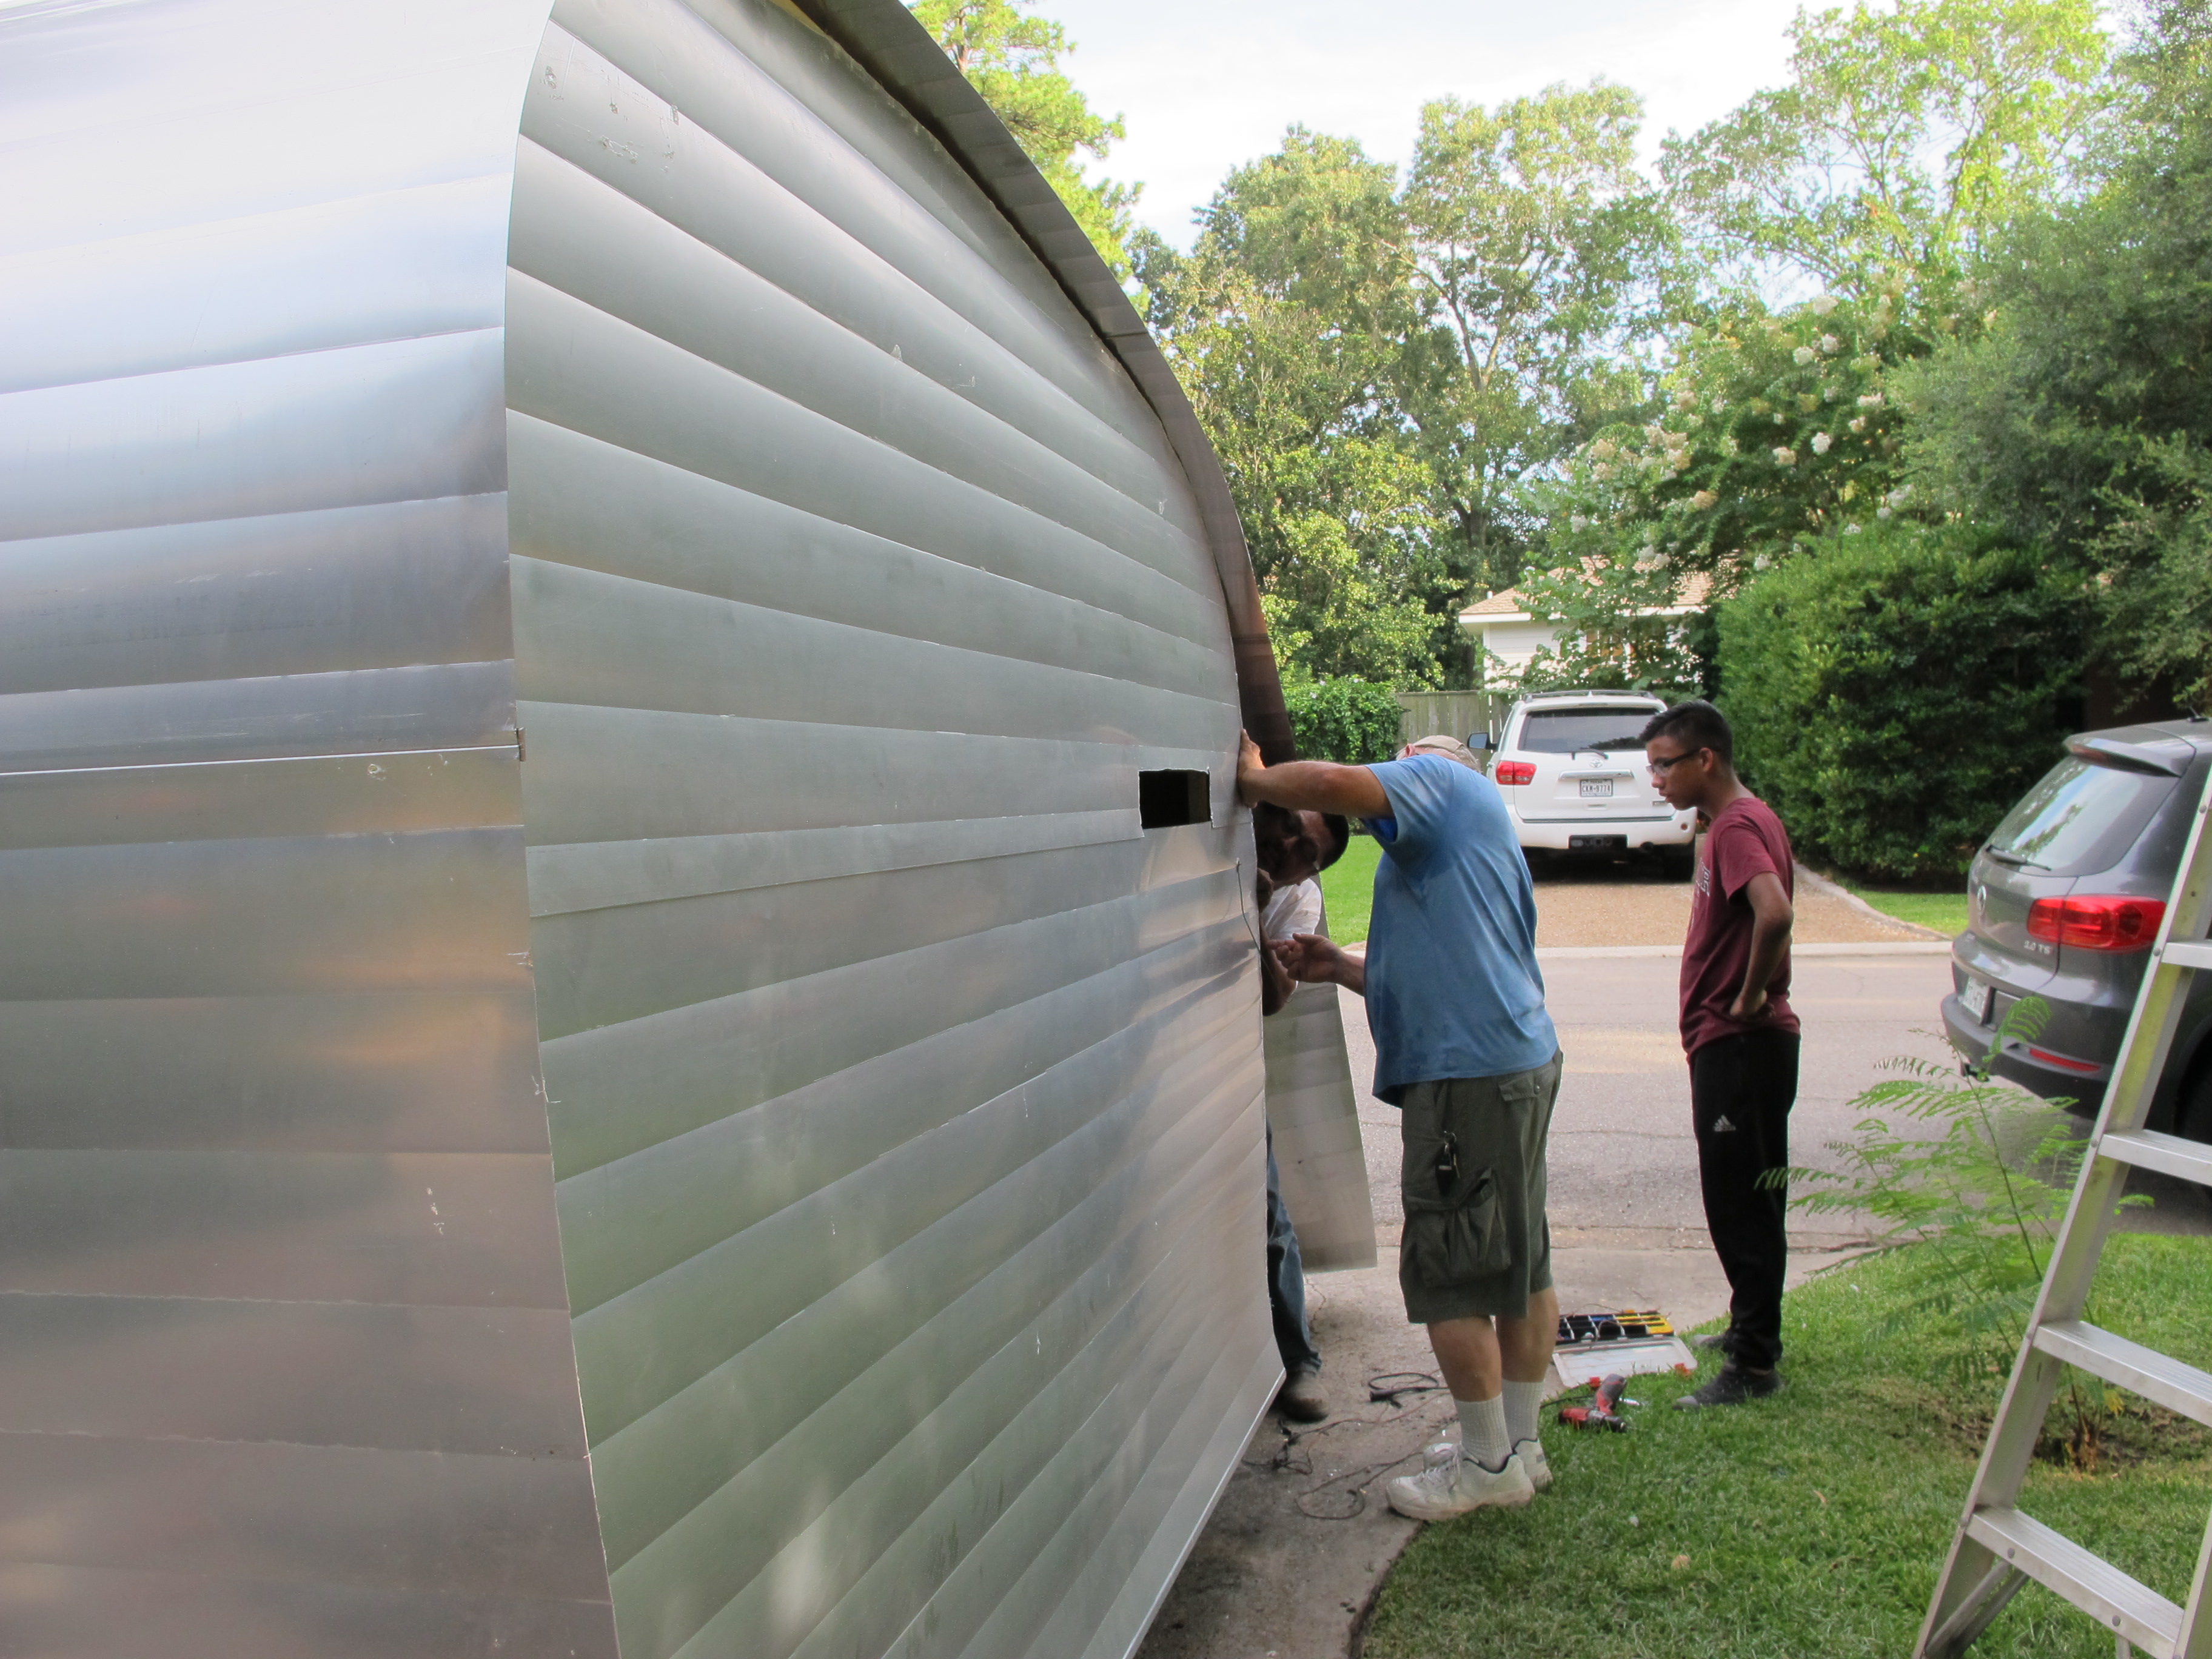
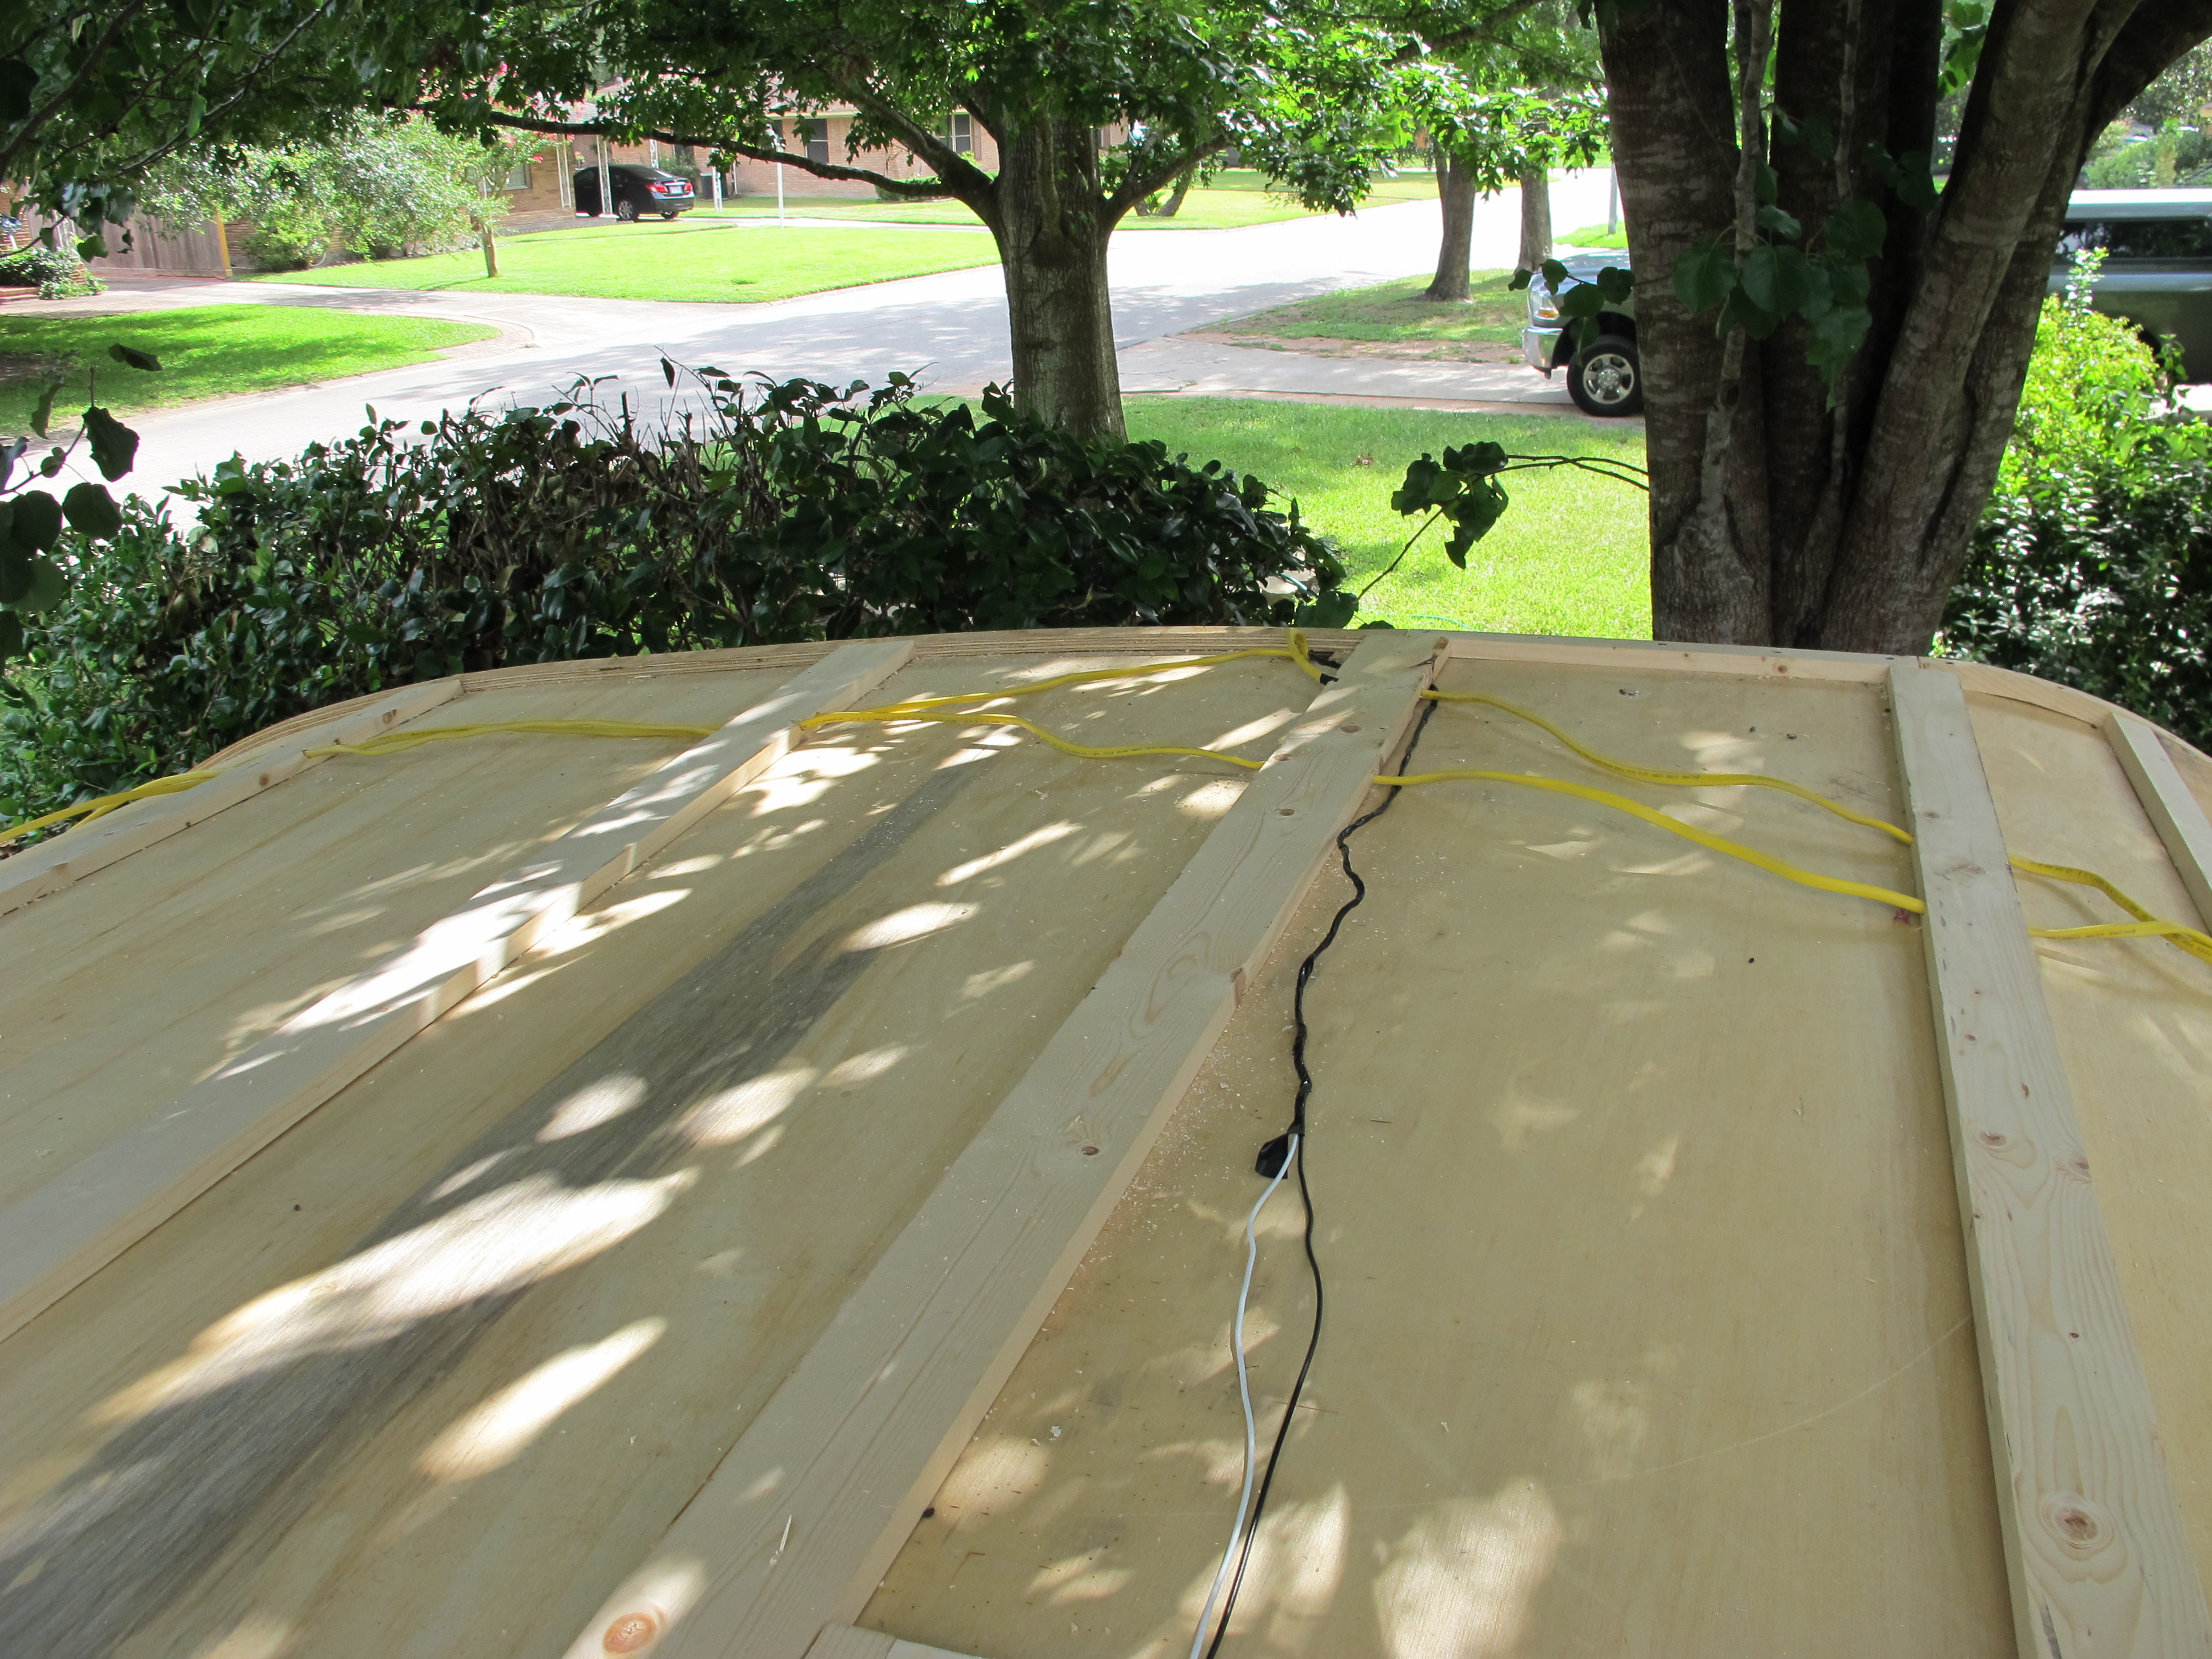
After finishing the sides, my other neighbor, Rick, decided to come over to see if we needed any more help. He’s always willing to lend a hand which is really nice for me! This is Rick in the picture below, standing next to my one long front/roof/rear piece. Rick and Ayk rolled it up and lifted it onto the roof of the camper, then unrolled it and we got it even on both sides.


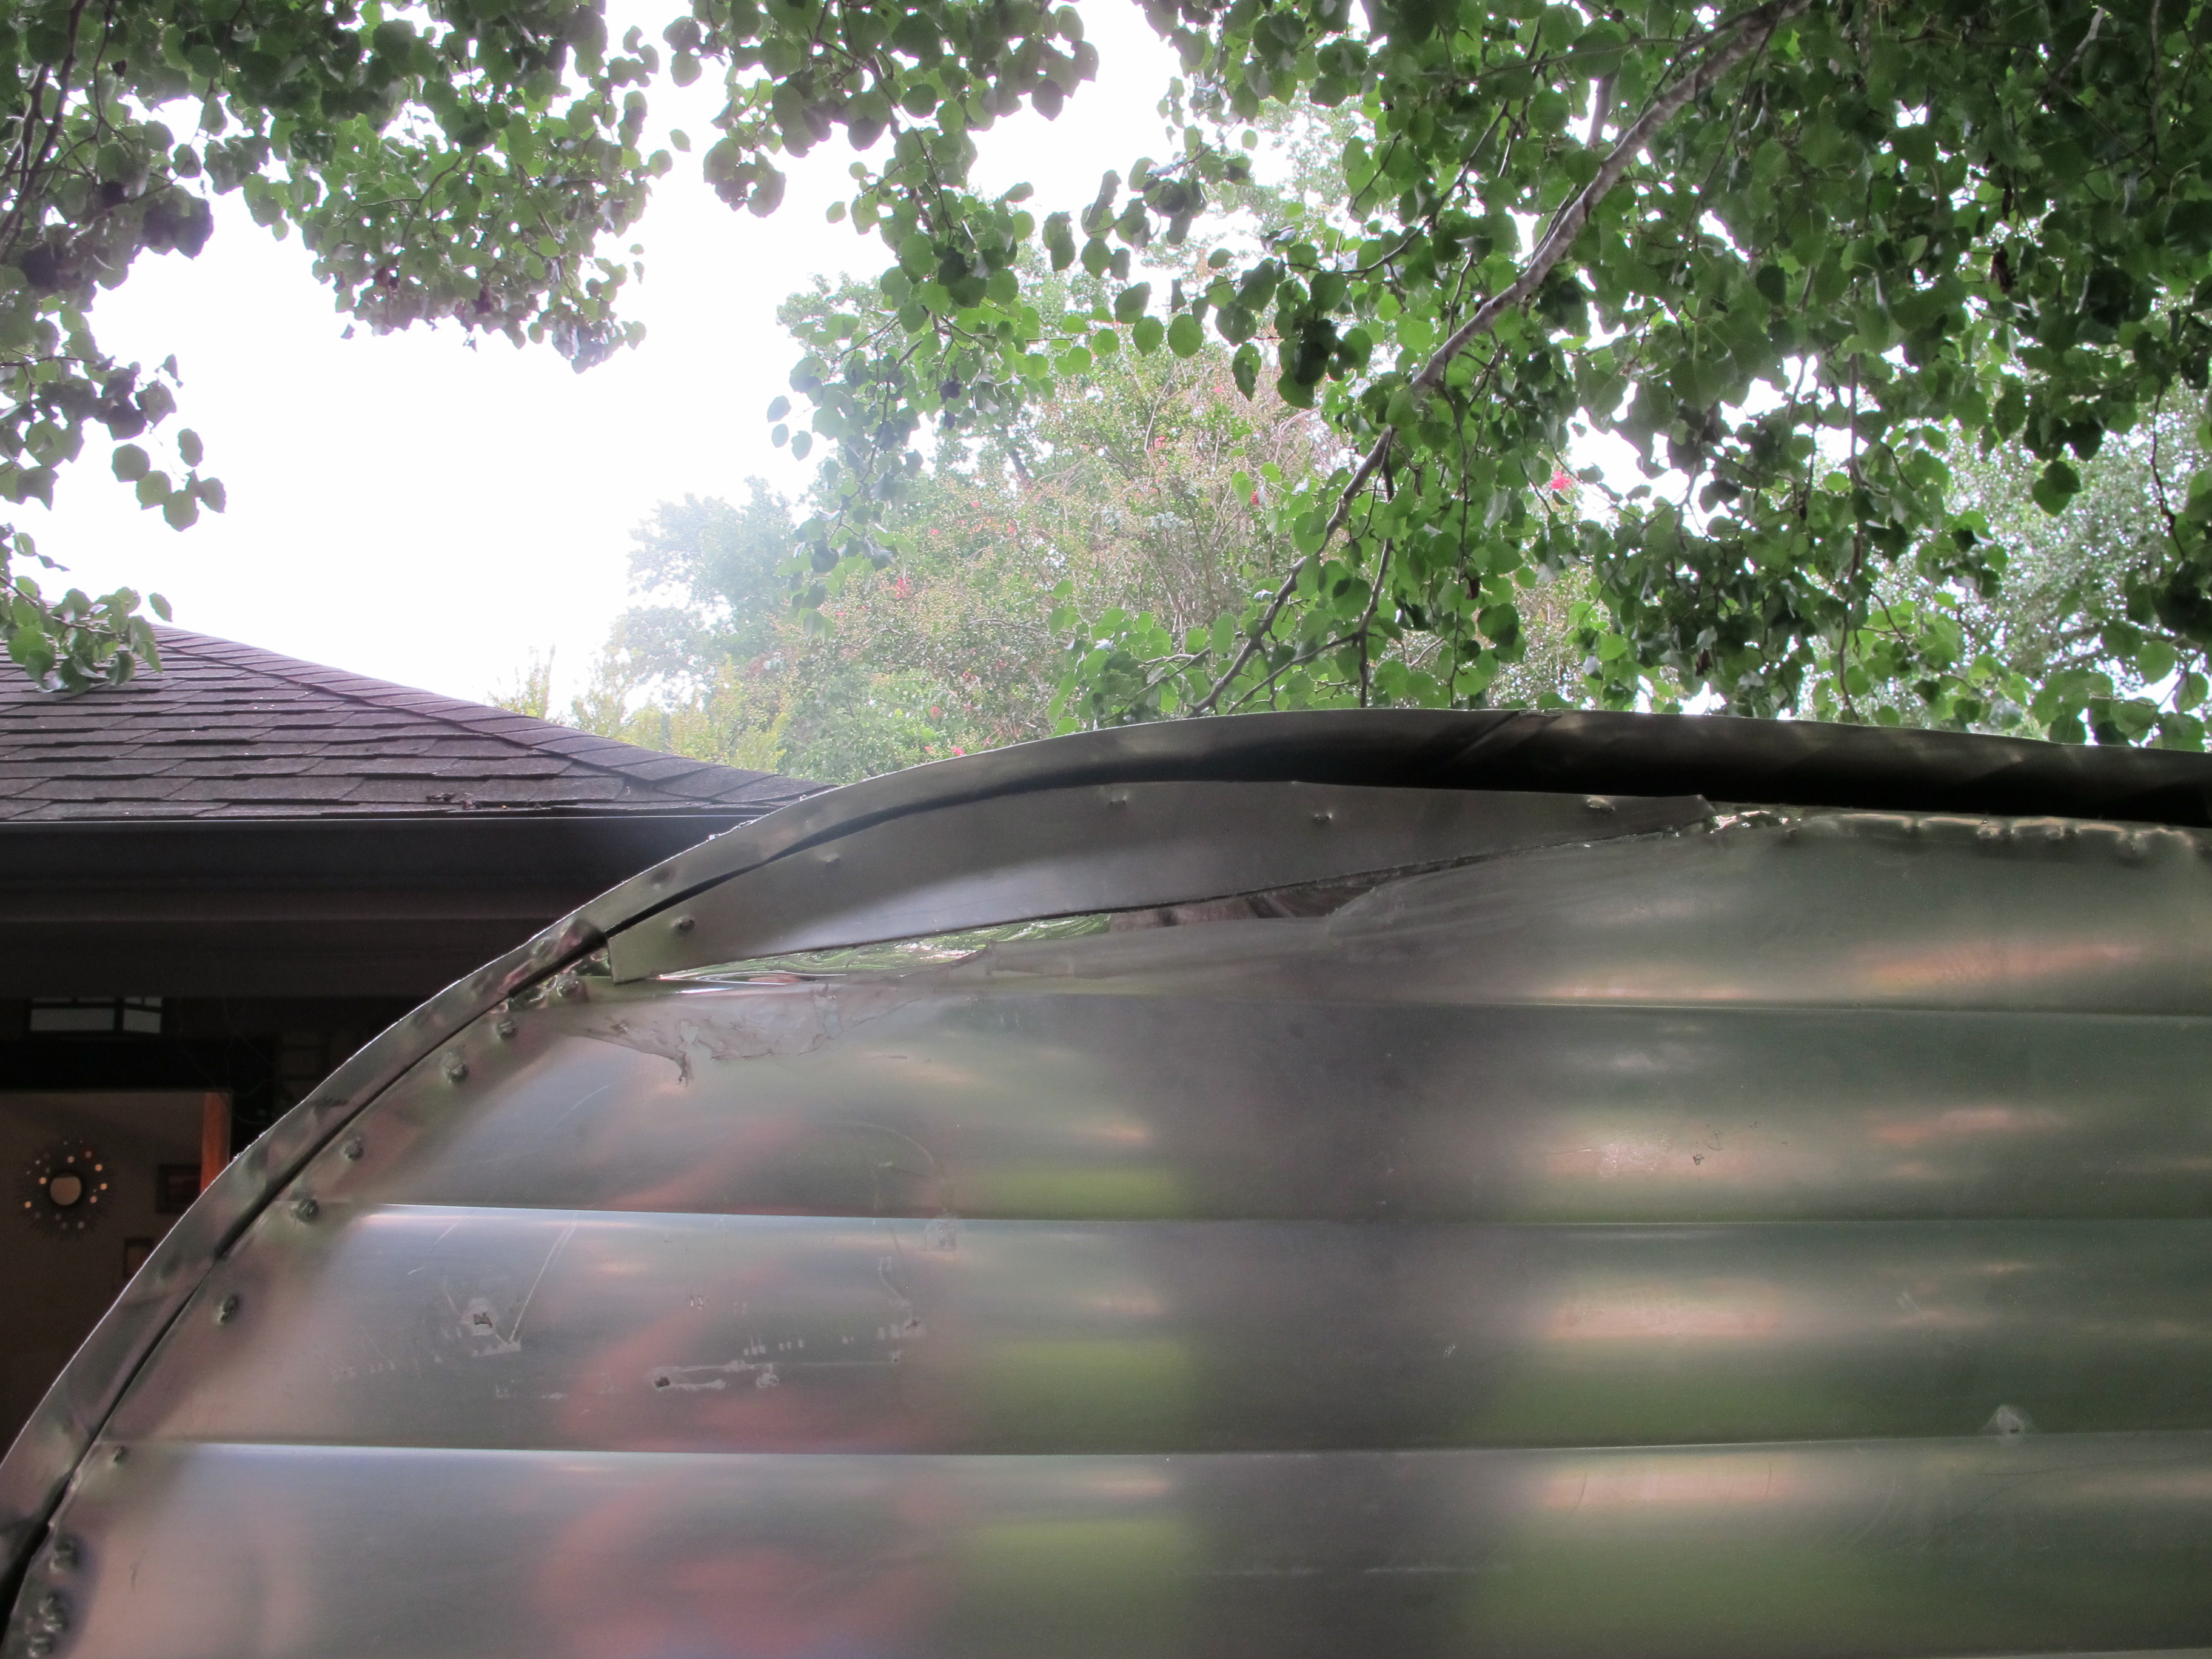
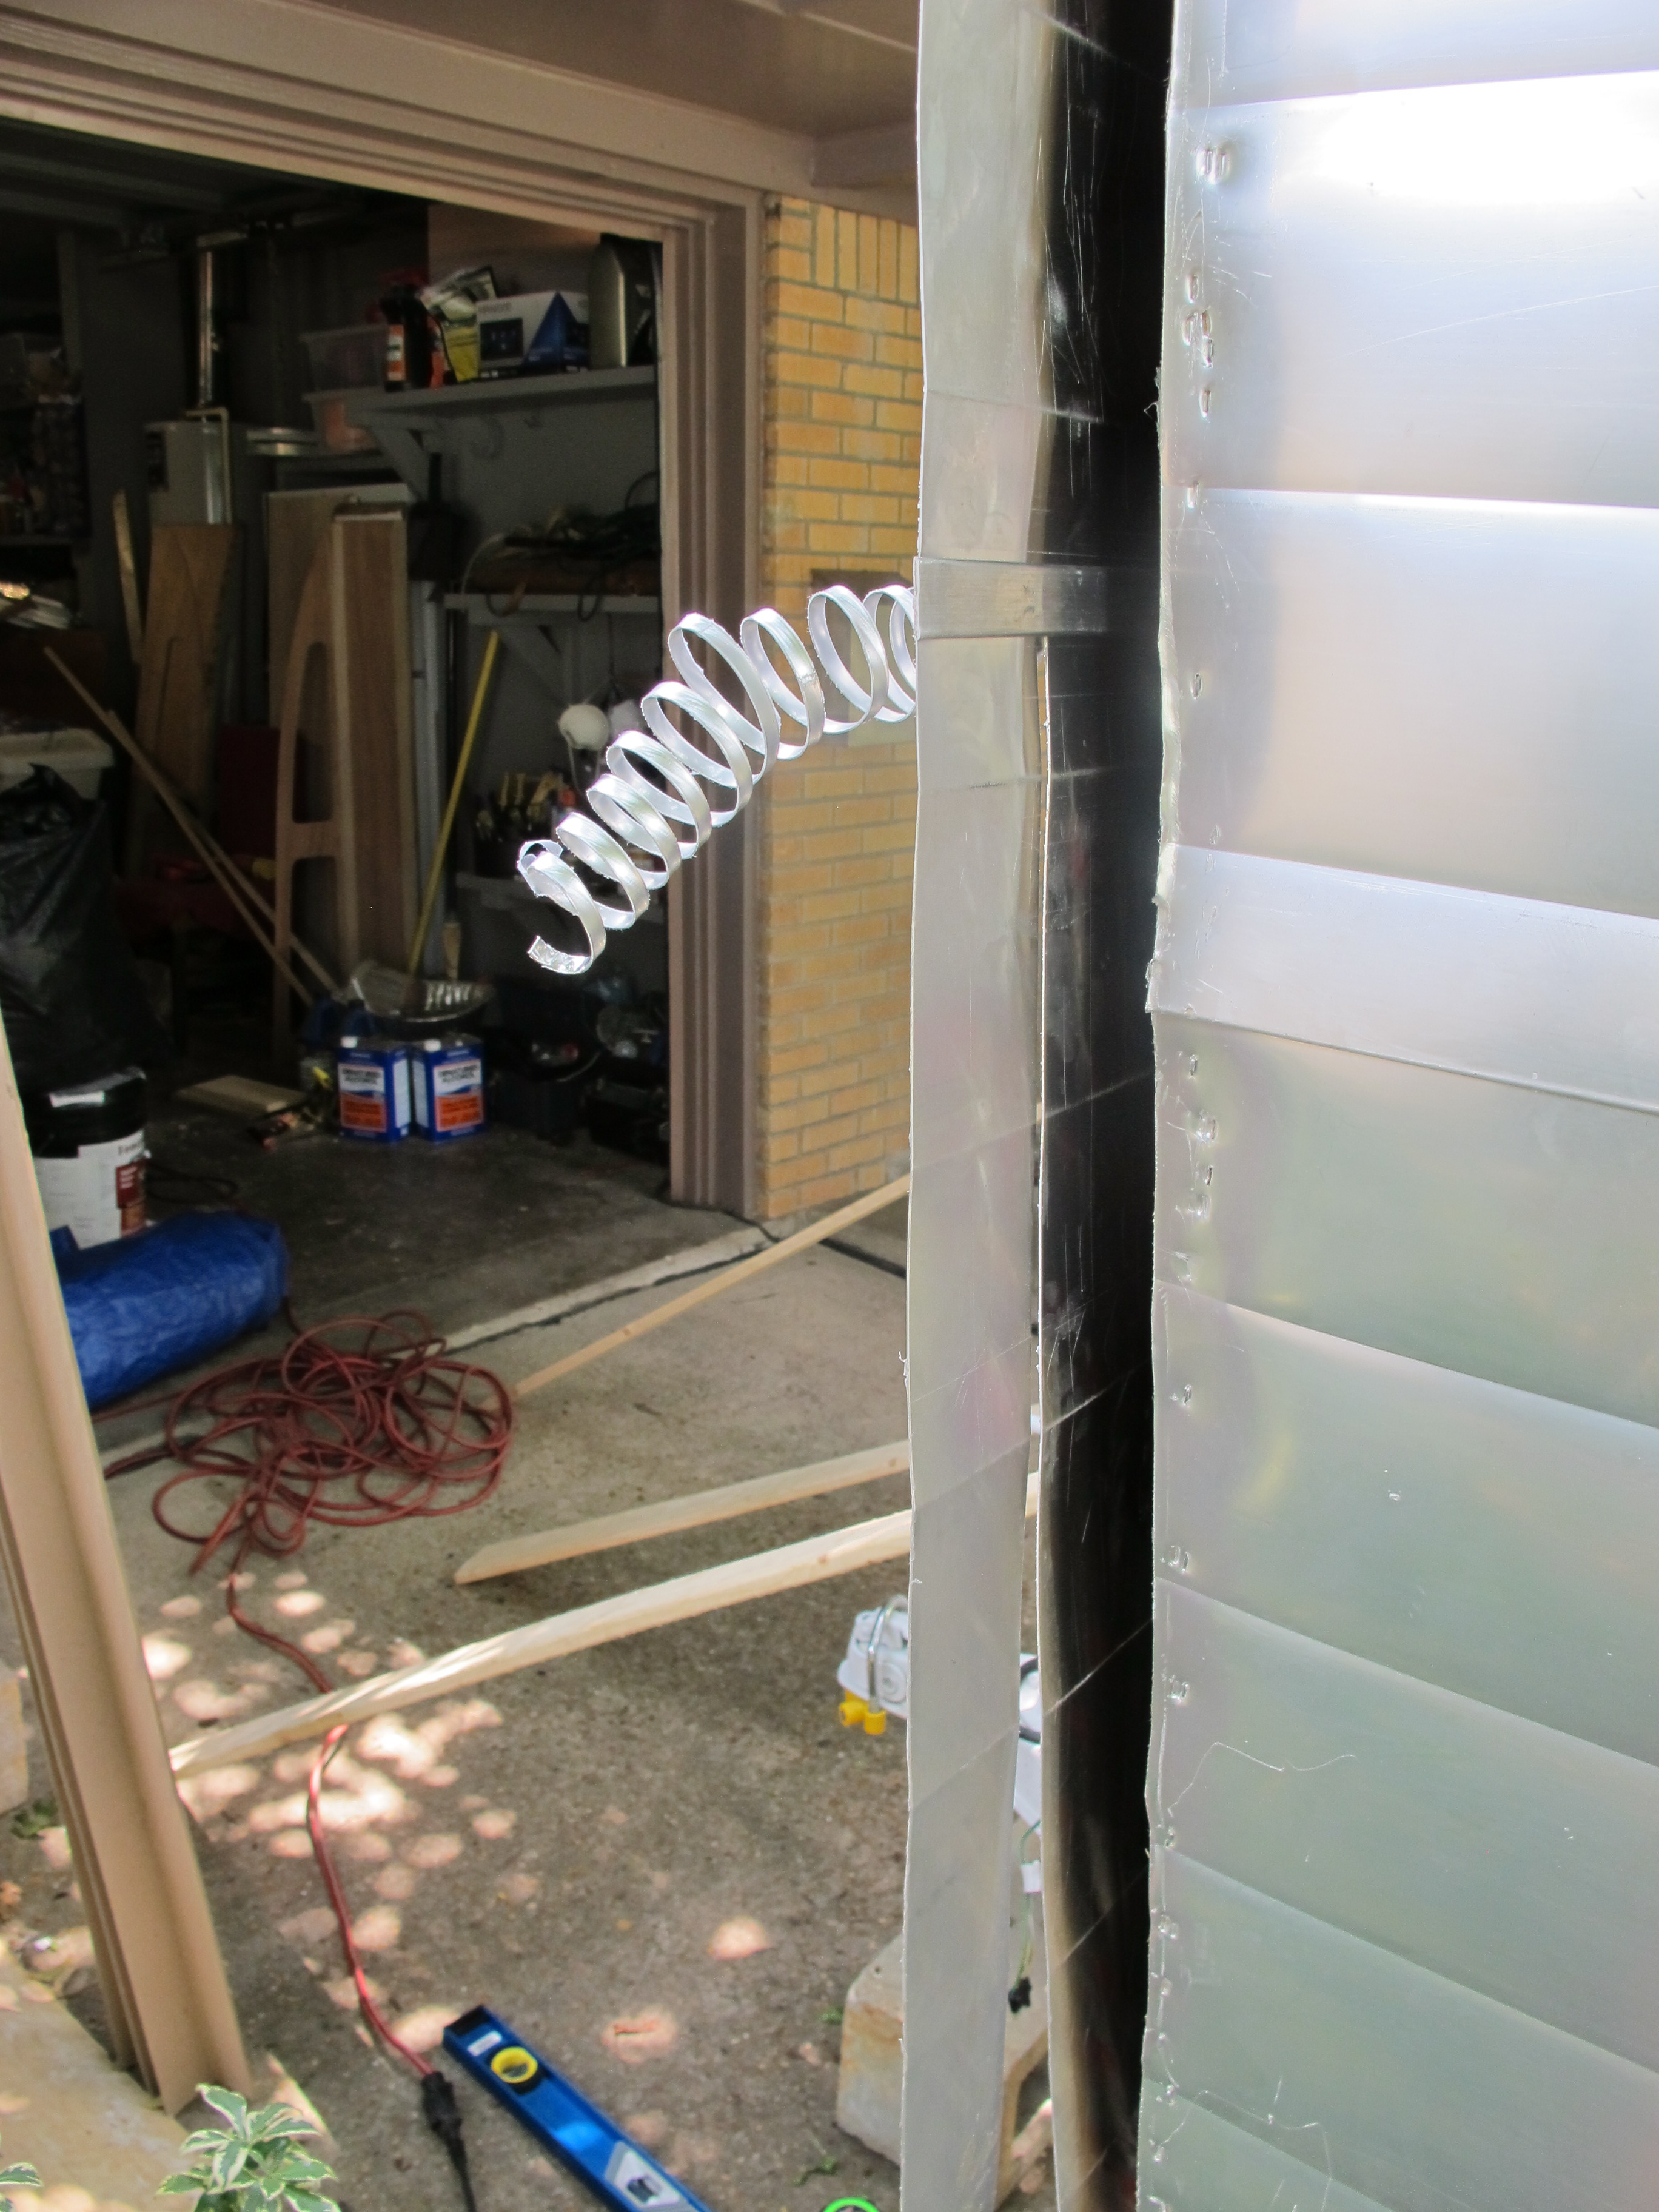
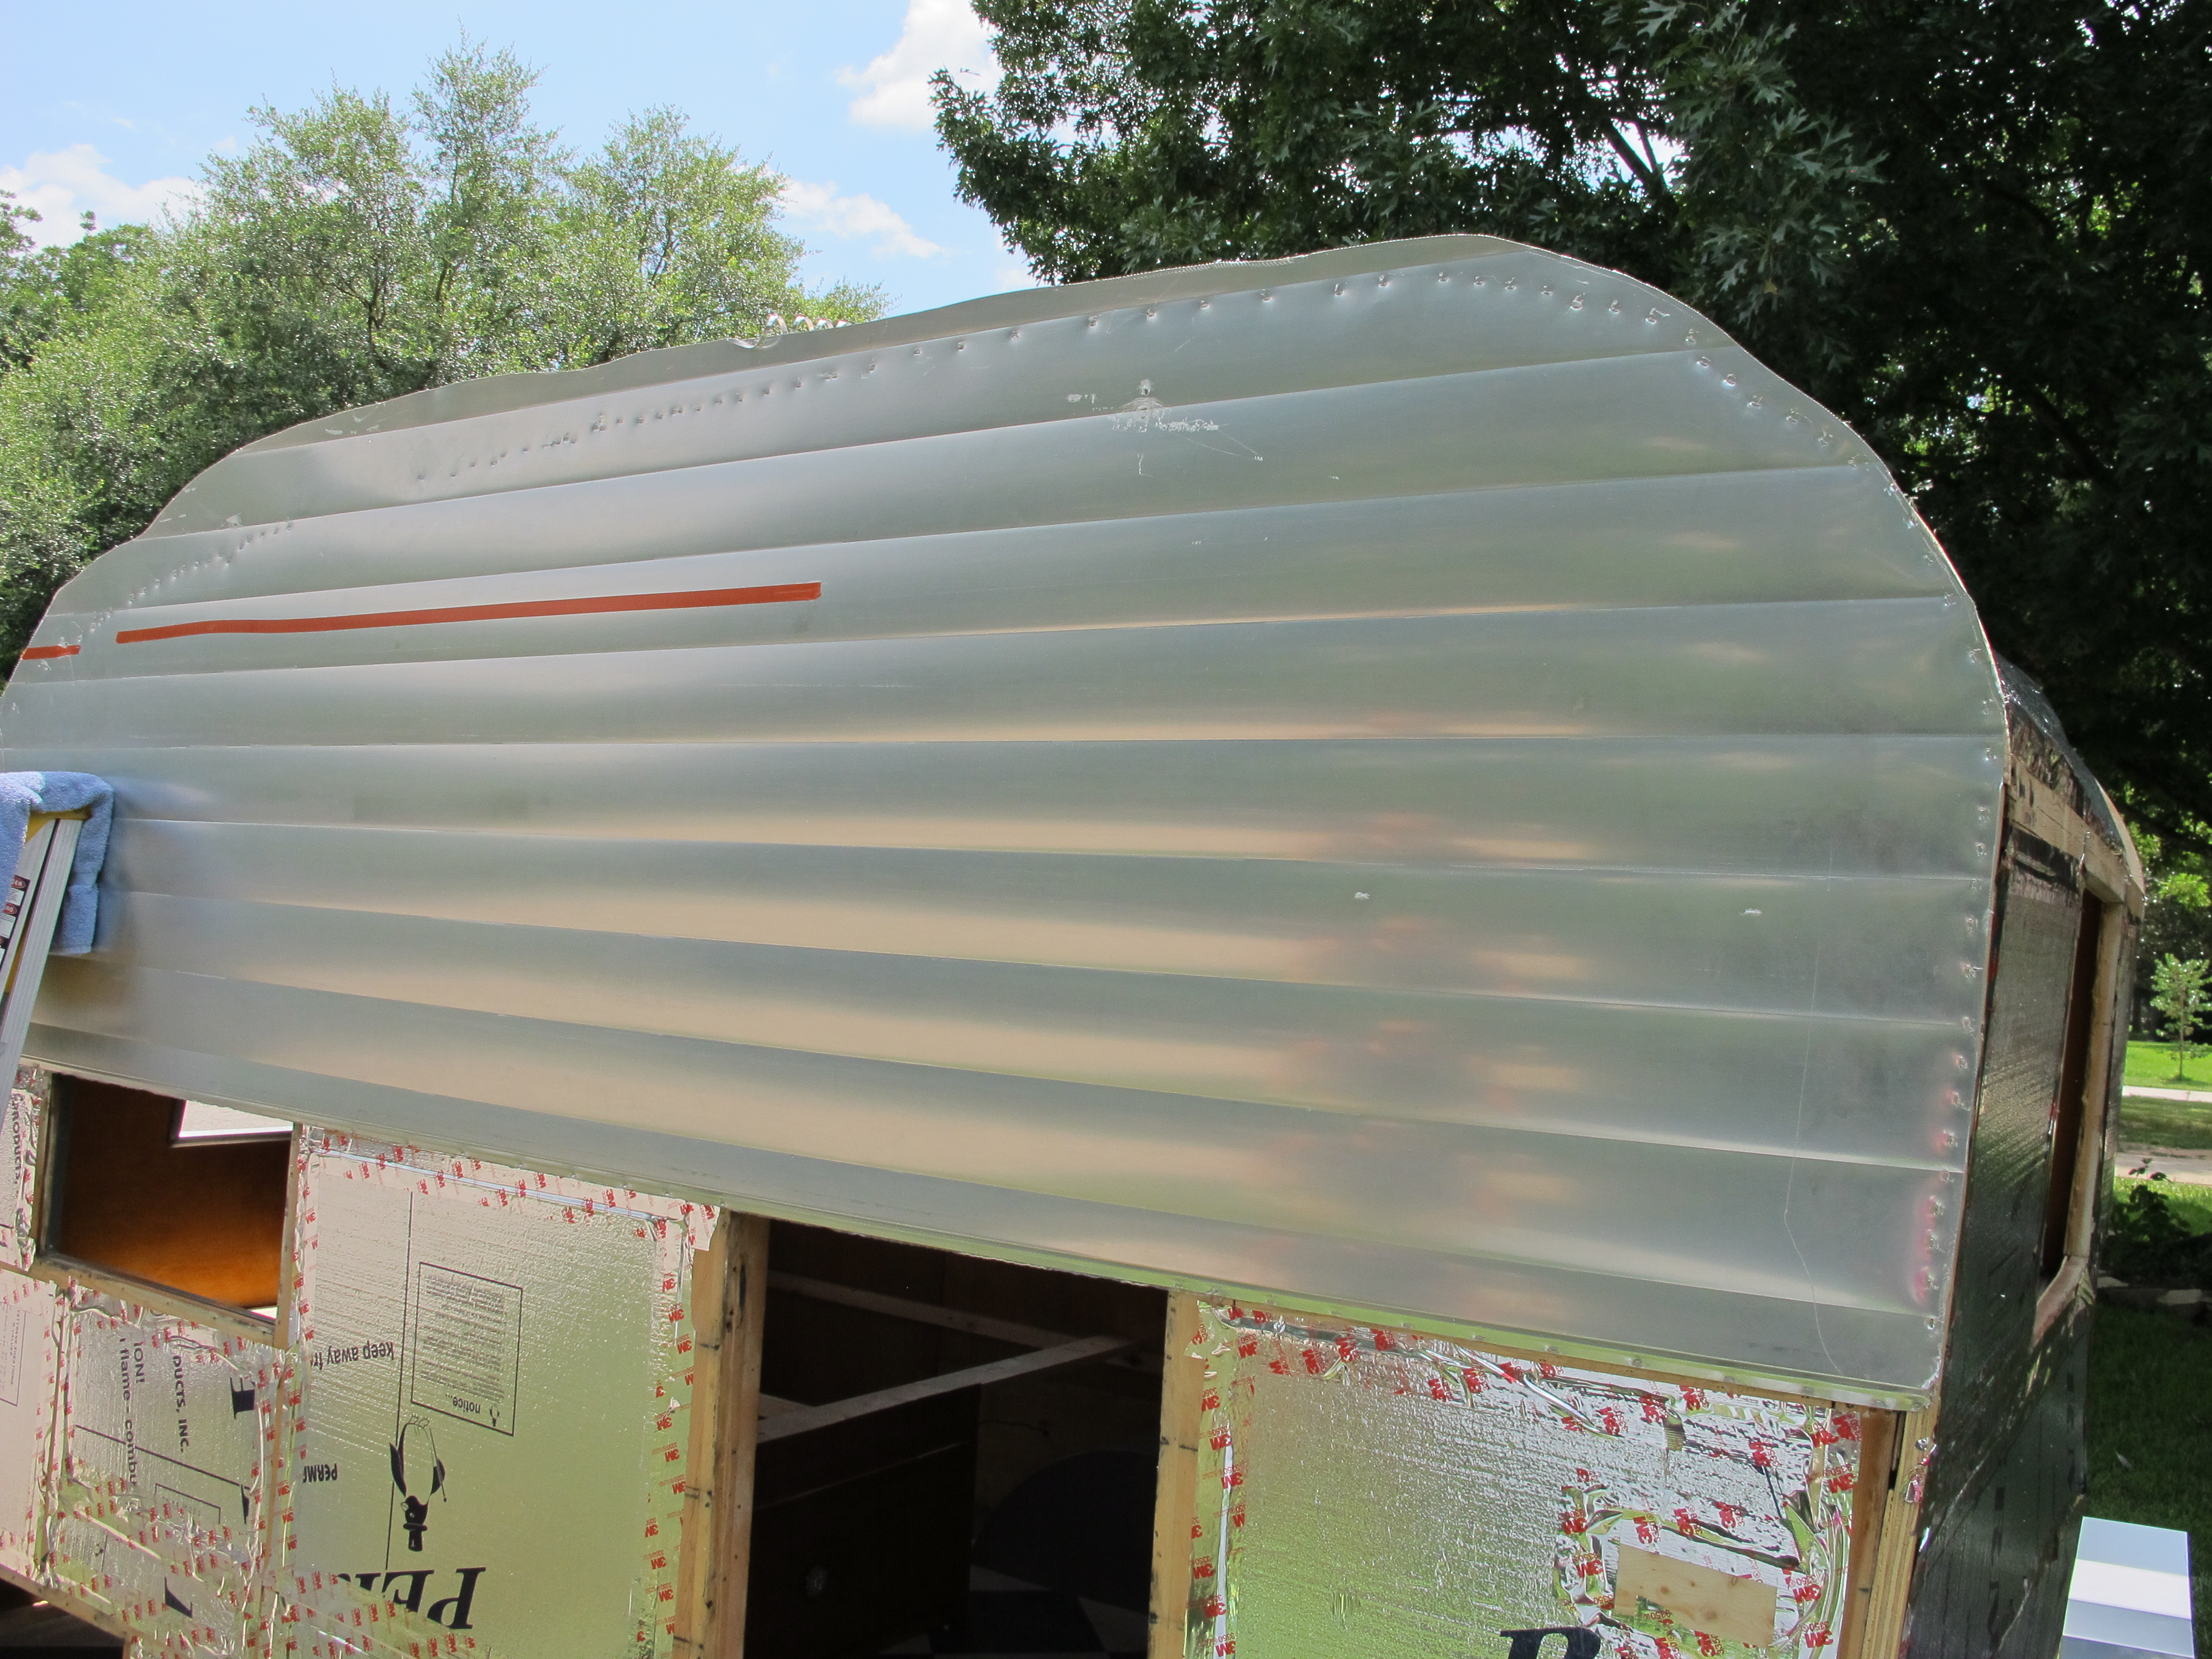
I think it’s kind of cute with the extra skin curling up at the back. It’s like Junebug curled her hair! haha I wish I could leave it but it just wouldn’t be practical.
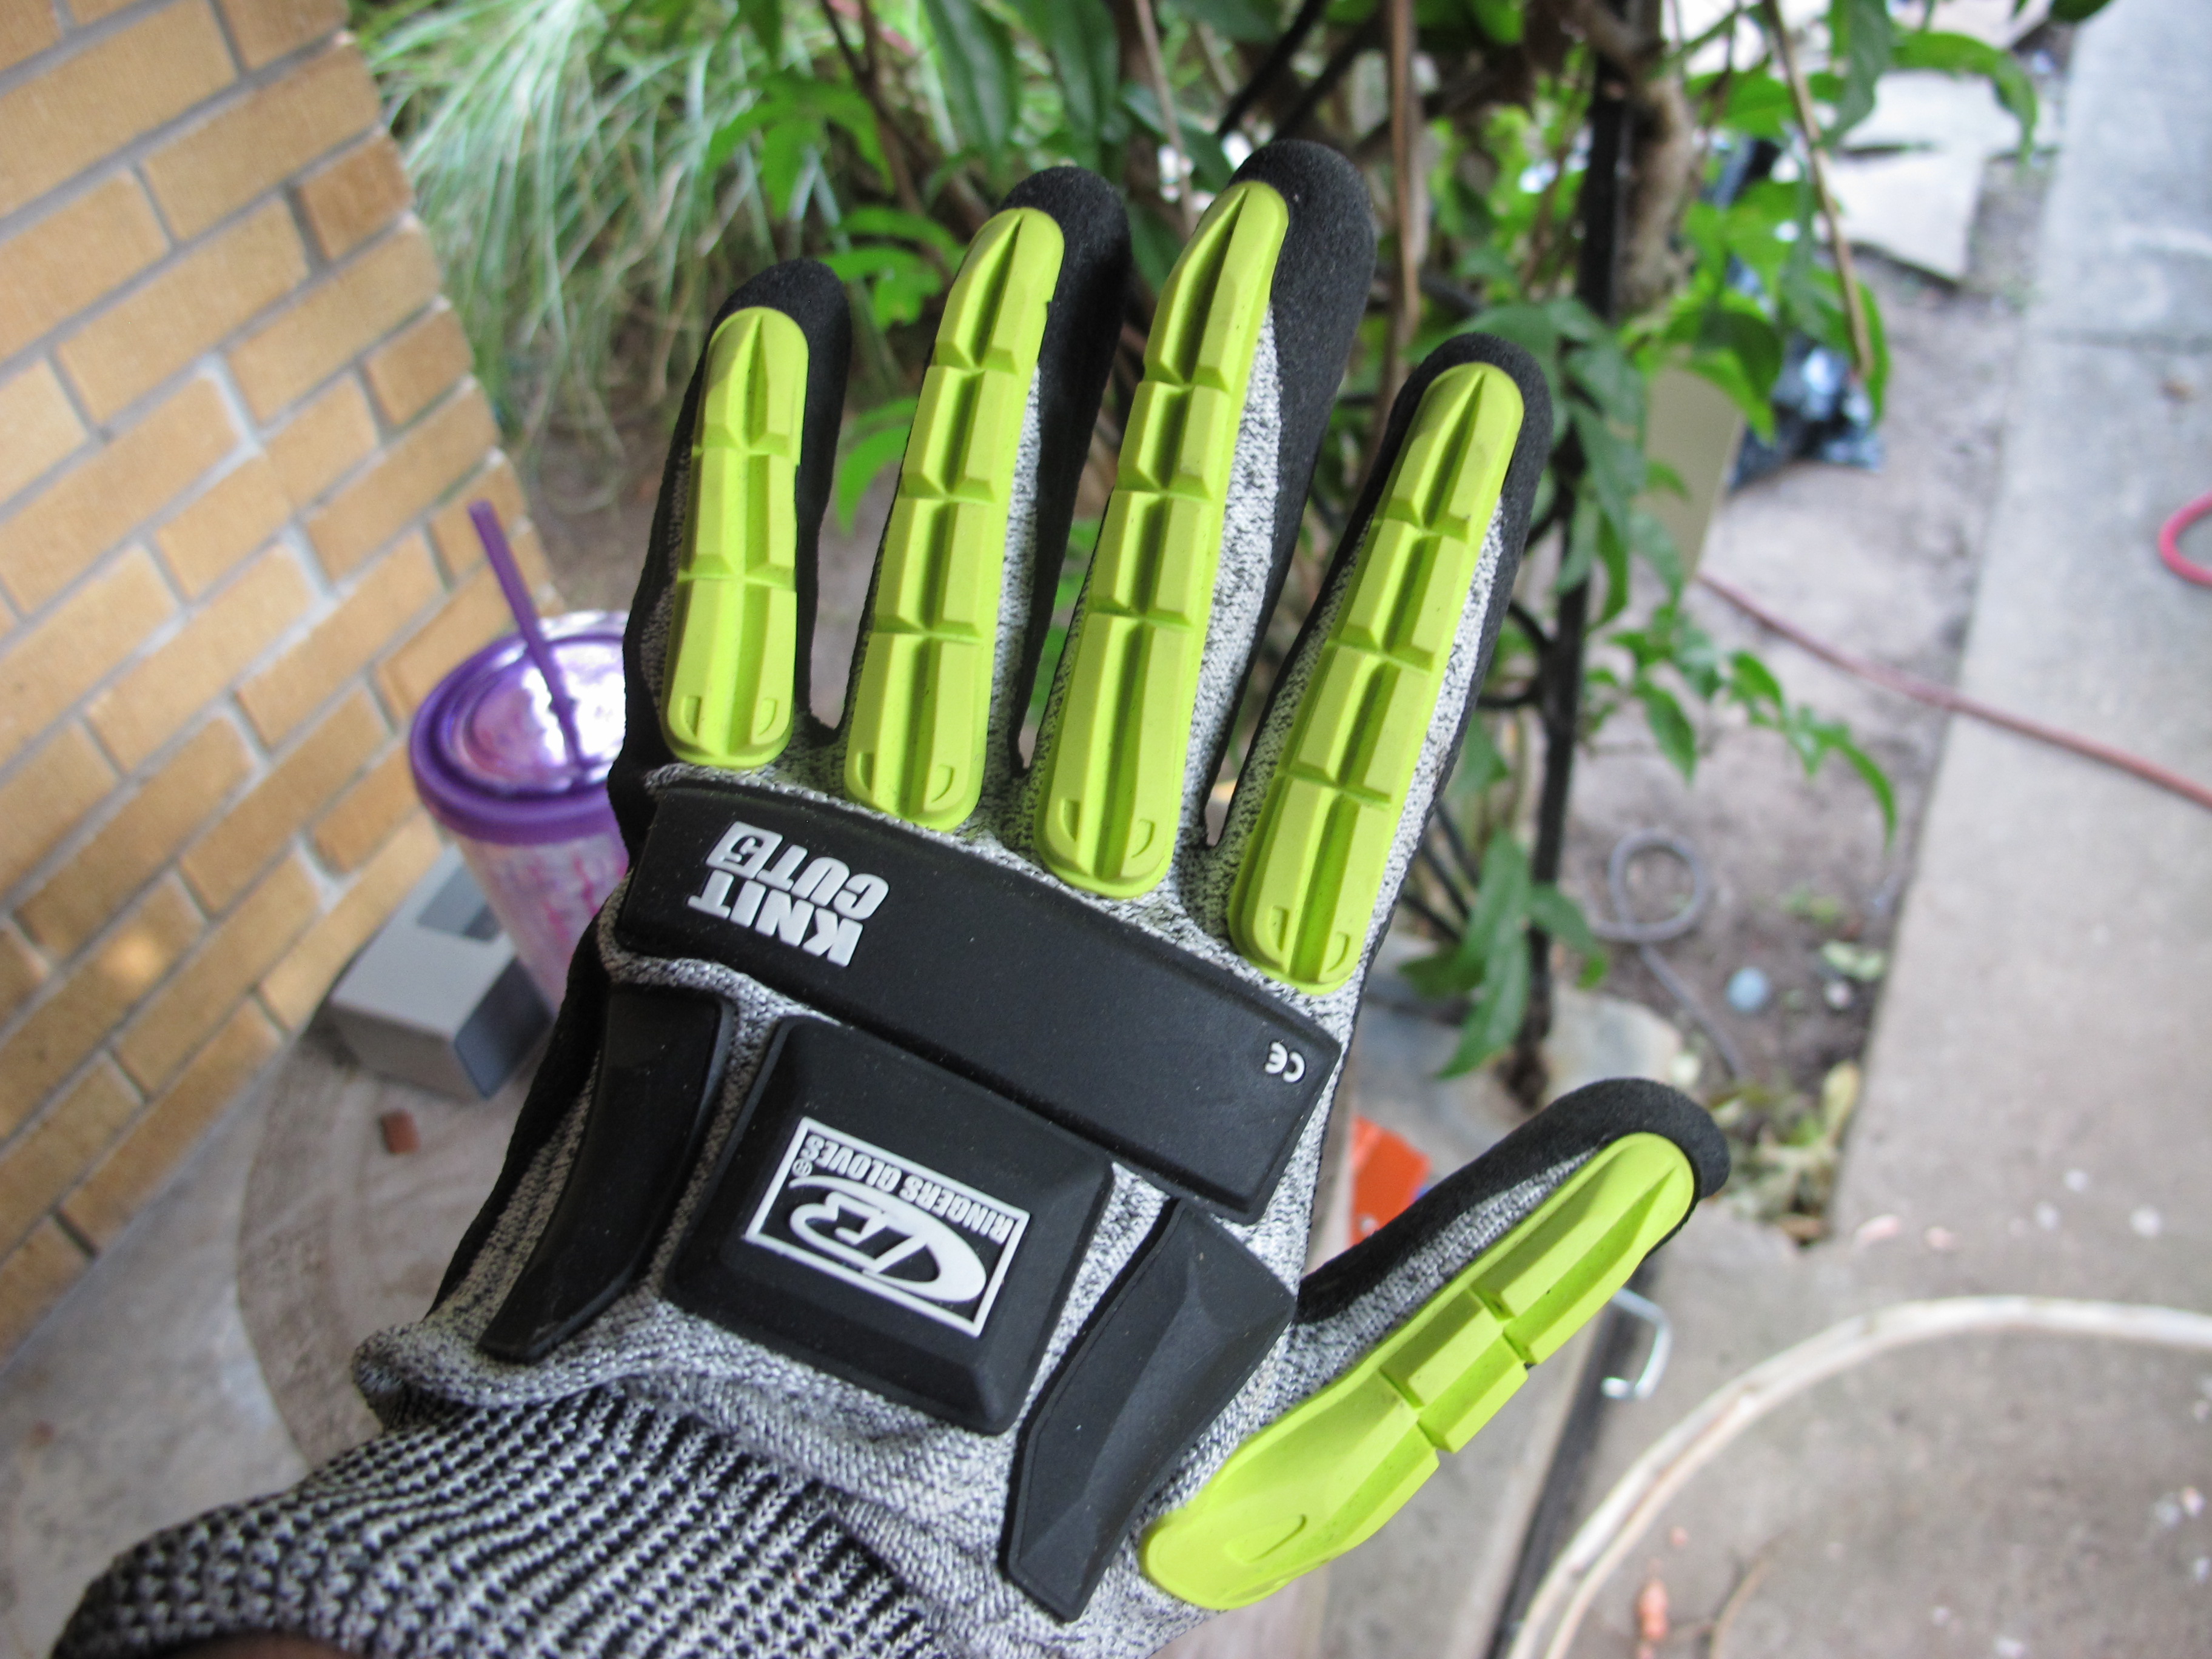
Right after we set the roof on top of the camper, Oscar and his son showed up to take a look at the tail light wiring. It wasn’t as convenient to get to now that I had the roof skin laying on top, but we made it work. He hooked up his tester to see which lights were working and sure enough, the running lights weren’t working and everything else was. It turned out that the brown wire wasn’t working at all initially. I didn’t think about it at the time, but when I put the side skin on, I covered up the two side running light wires and they were touching the aluminum. This normally wouldn’t be a problem because I was planning to drill little holes in the skin and install the tail lights later before ever hooking it up to a power source. Oscar didn’t realize I had done this at first, and he hooked up the tail lights to his tester. While he was doing this, I went around to the front to put some self tapping screws along the base of the front so my roof would stay in place. I’ll secure it all the way later. While I was screwing in one of the screws, I got quite a shock! This is about the time we realized that the side light wires were touching the aluminum underneath. Luckily, it’s a low voltage current or I would have been in trouble! I then had to figure out where exactly the stupid running lights were under the skin. I should have marked it before stapling it down! Luckily, I was able to dig out the old siding and put it up against the sides so I could drill a new hole. After I did this, Oscar hooked the wires up to his tester again. The wires started melting!  We couldn’t figure out what had happened that time since it didn’t look like any of the wires were touching the aluminum. Finally, Oscar decided he needed to run new wires to the side lights because the other ones had melted beyond repair. At this point, I was super stressed and told him I didn’t care anymore if the side lights worked. They weren’t working before! He argued with me and said after all this work, I needed to have all of the lights working. He wanted me to remove the side skin a bit so he could get to the light but I said no, I wasn’t about to undo the staples I put in. It was quite an ordeal getting the stapler to work in the first place! We finally reached a compromise and I pulled out a couple of staples so he could fish a new wire to the light. At this point, I figured he had fixed it, but NO! He hooked up the wires again and all of a sudden I see smoke and the wires connected to his tester machine are melting!! I screamed and he said to unplug it, so like an idiot, I grabbed the tail light plug and unplugged it. I had to rip off my glove because it was so hot and had started melting into my glove. My tail light plug and his were both ruined. My neighbor got onto me and said I should have unplugged the machine, not the part that was melting. I know it was dumb, but I didn’t even see the plug to the machine and just wanted the melting to stop!! As you have probably figured out, this was meltdown number 2 (quite literally)! Ultimately, Oscar got everything working again and said he would rewire a new plug onto my camper. We then tested my vehicle plug and wouldn’t you know, the stupid brown wire (for the running lights) wasn’t working in it. ugh So, the saga continues…

Here’s Oscar and his son, along with my neighbor Rick, trying to figure out how to fish some new wire behind the skin to go to the side running light.

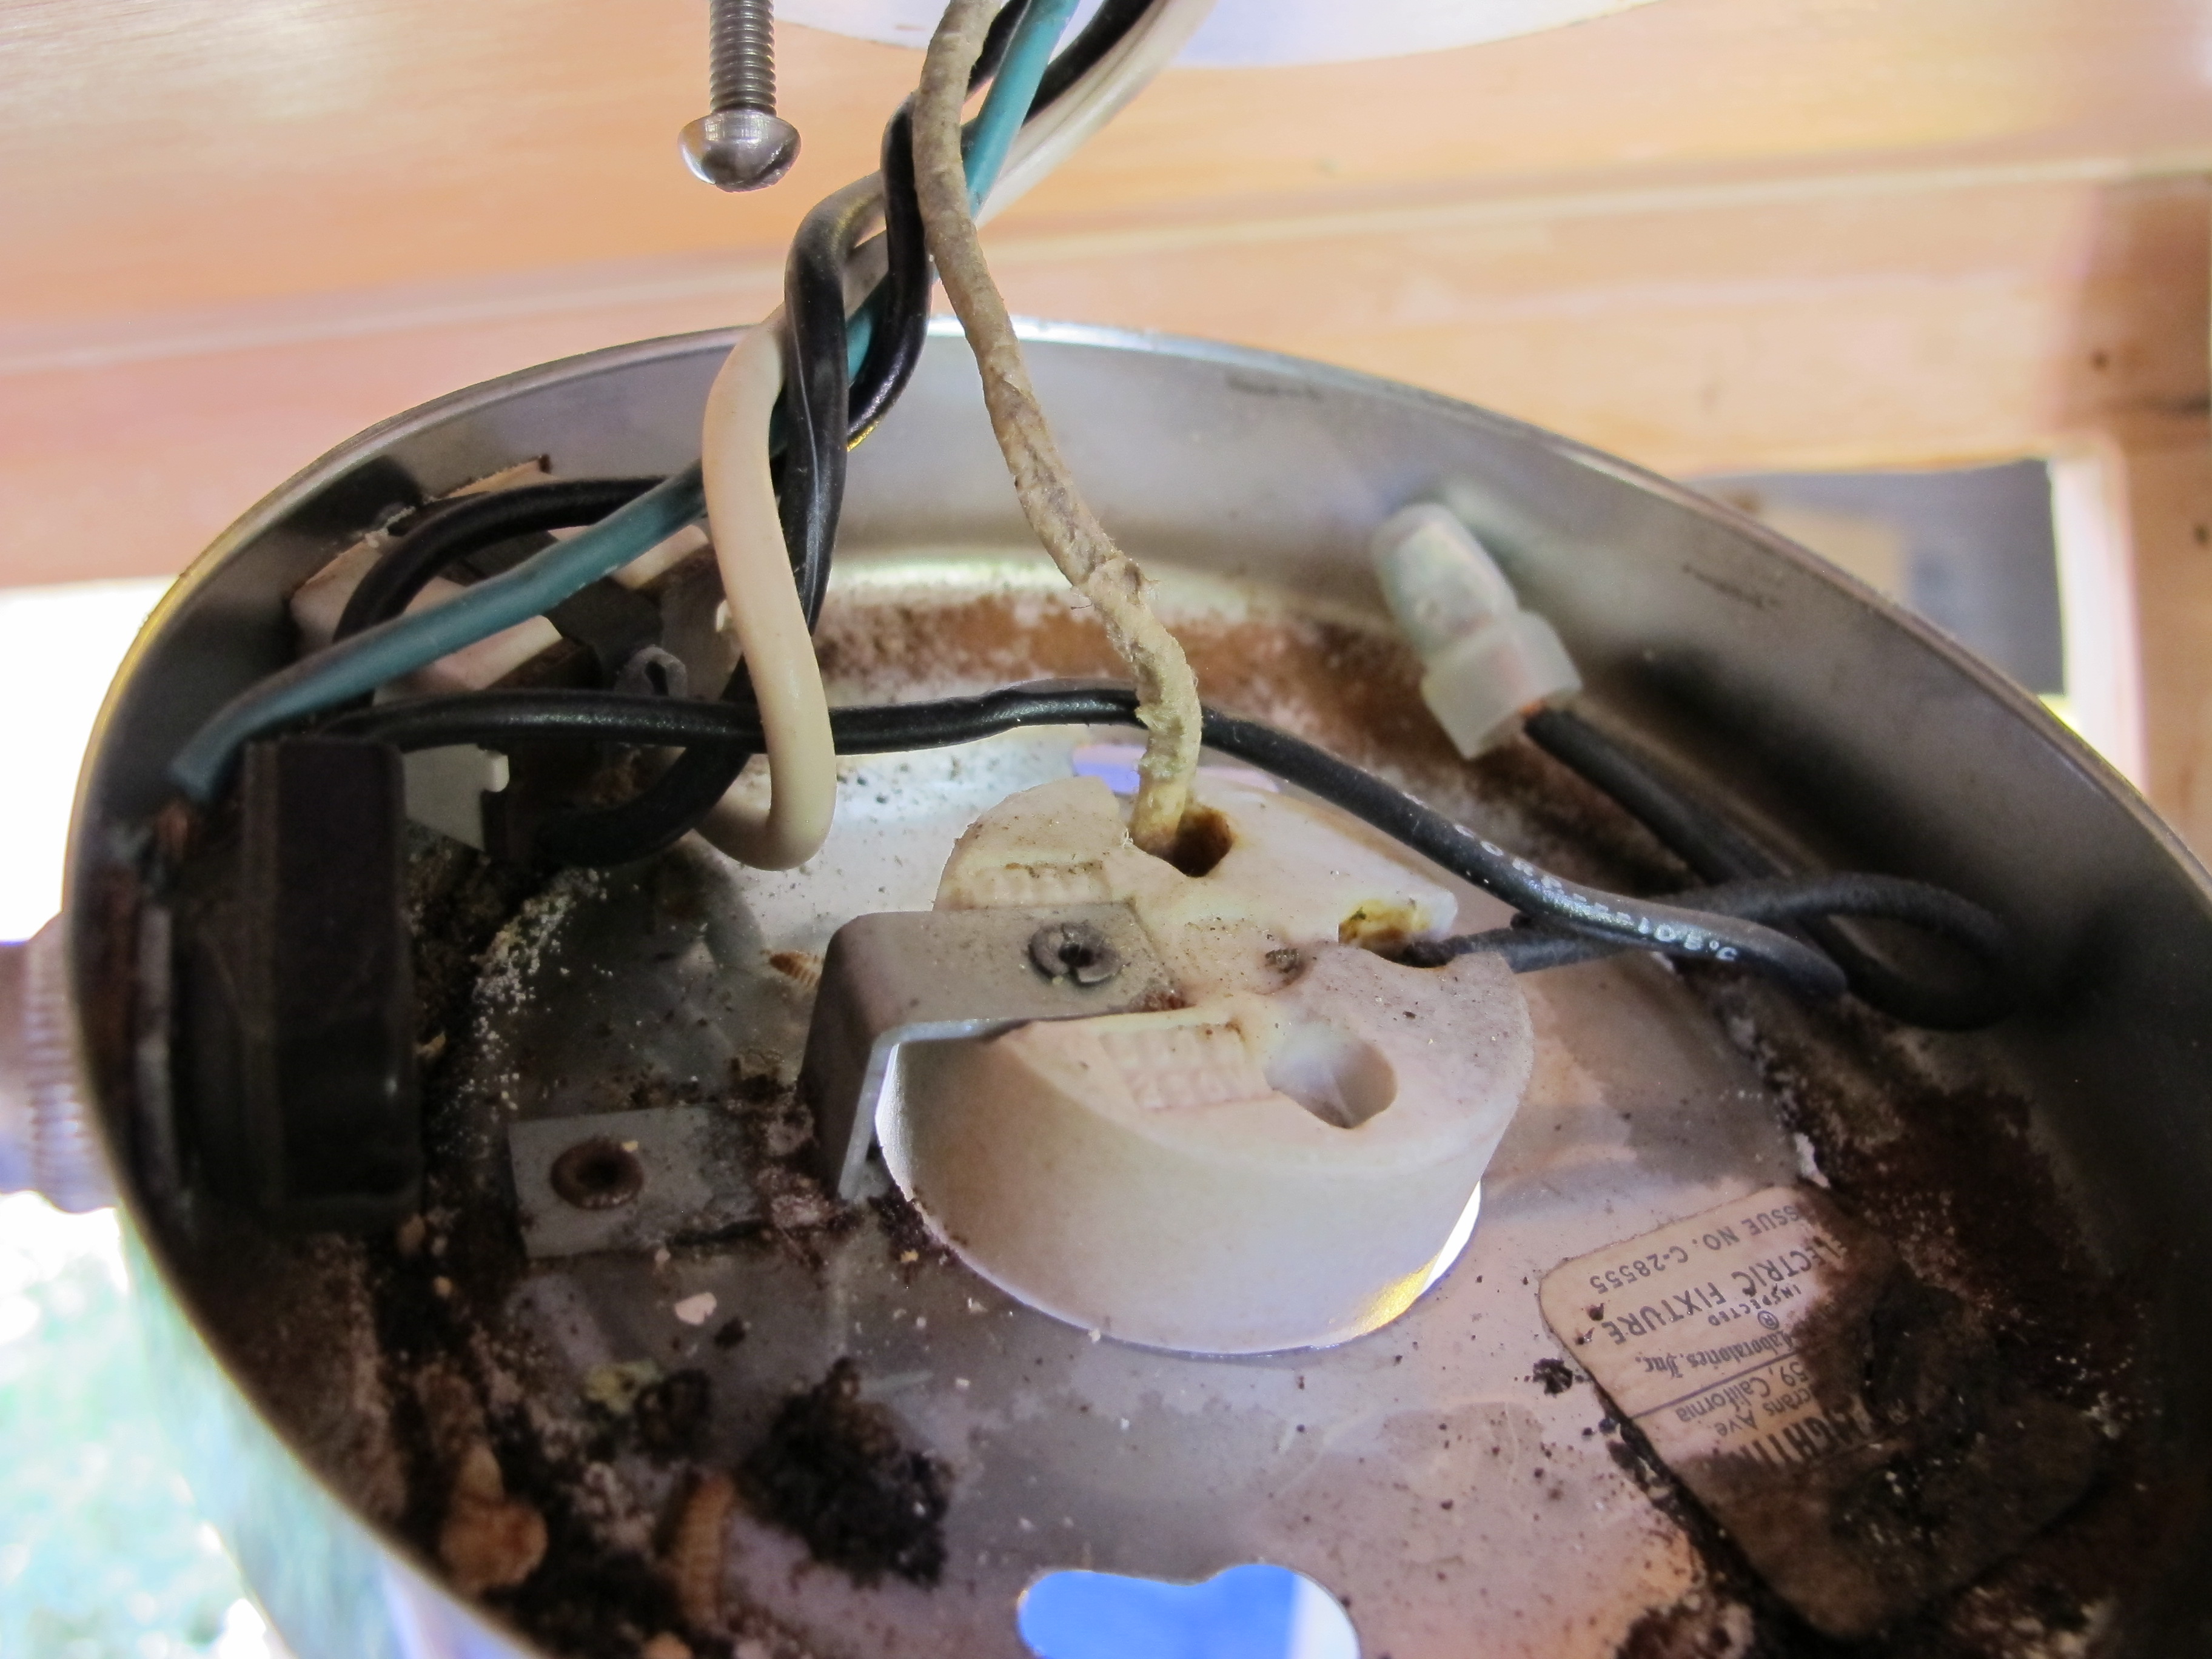
Here’s a picture of the melted wire. There used to be a black plastic protective sheath around the wire and here you can see it’s been completely melted away, along with part of the wires as well! The burning smell is still noticeable.
This whole wiring debacle has me second guessing whether I should be running all of the new electrical wires in the camper myself. I already installed the wires and was worried that somewhere in the holes I drilled, there could be a tip of a staple or twist nail sticking out. I closely inspected all of the holes in each beam before fishing the wires through, but I’m still uncomfortable. I may wait to secure the roof until I can put something else inside the holes to further protect the wires. There’s not much room for anything else, but I am thinking maybe I can slide something thin inside there, maybe a really thin plastic sheath or some sort of material that can protect the wires. I am not planning to put anymore staples/screws/nails into the ceiling, so that should protect the wires. I will also likely get a professional to come inspect my wiring set up before I plug it into a power source, just to be absolutely sure it’s correct. A 30 amp power system is capable of melting more than just a few wires!
After Oscar left, I finished the cut out for the door and finished screwing in the screws at the base of the front of the camper so my roof would stay aligned. That was about all I had the energy left to do. Ayk had to leave, so Jennifer stayed and helped me clean up the huge mess we had made. There were metal pieces everywhere!

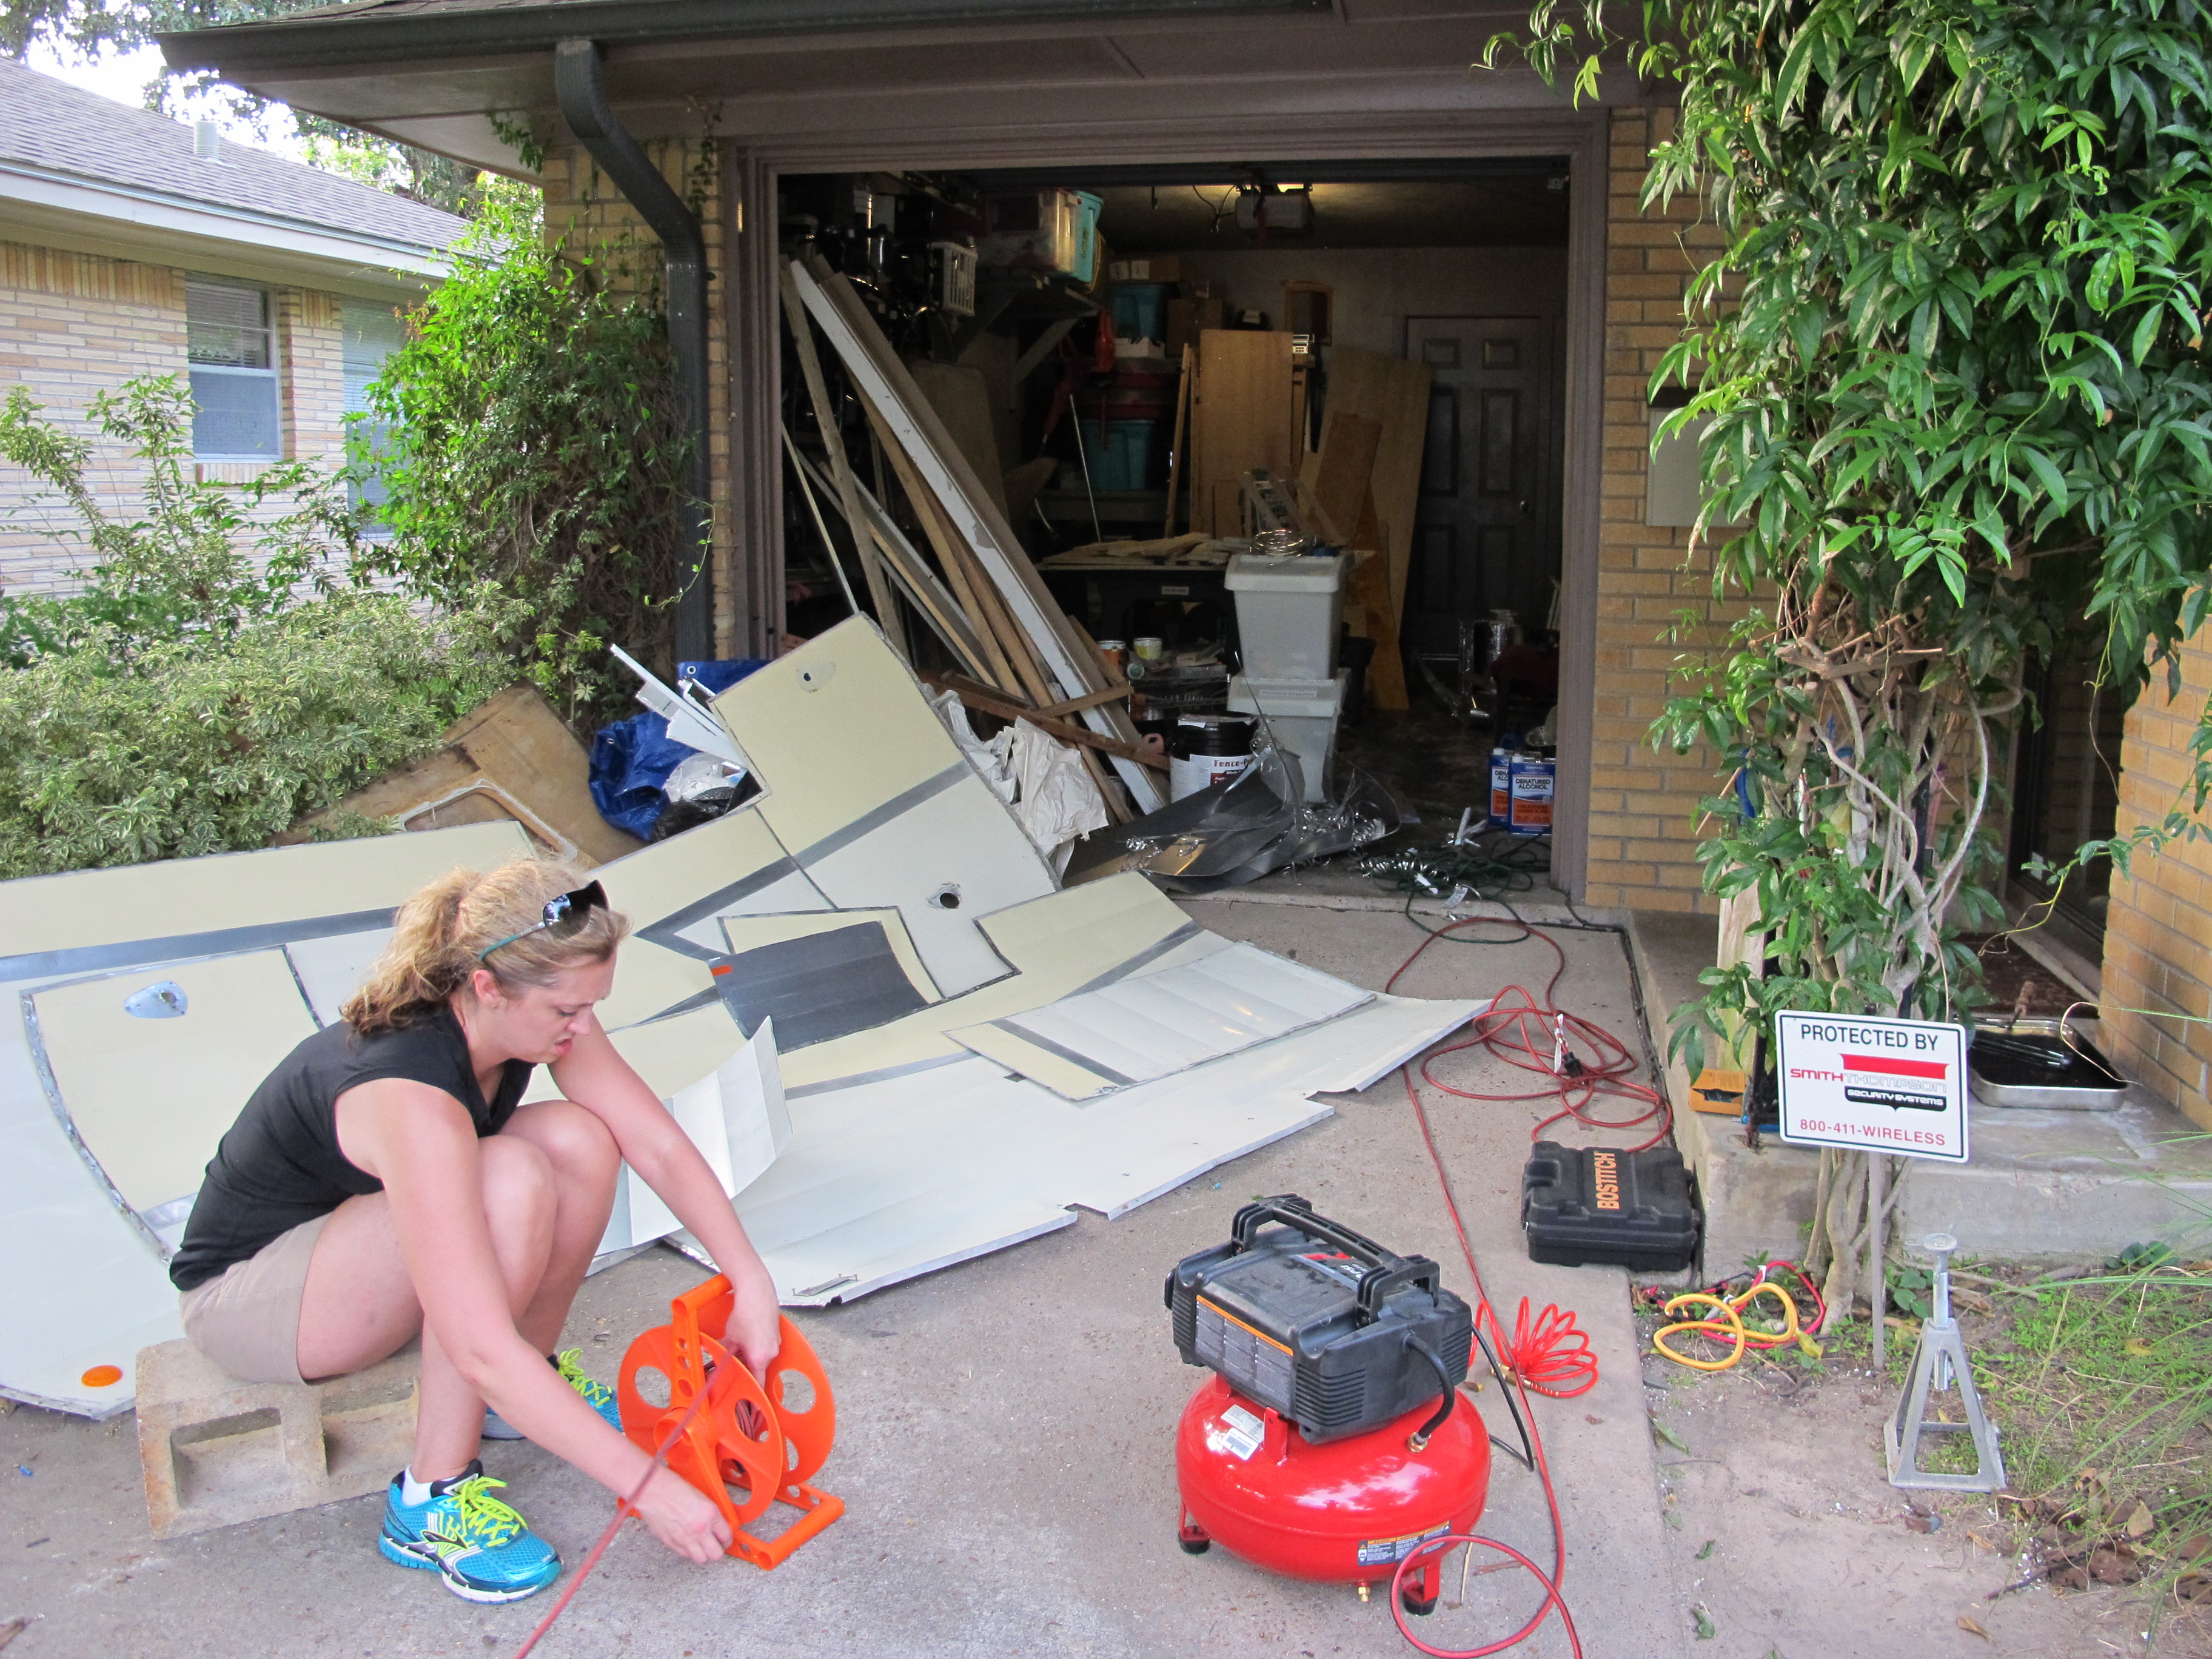
Here’s a picture of Jen helping clean up and all of the old skins laying outside since I had to dig a few of them out through the day to use as templates.
So, overall my week has been fairly good, and yesterday was quite eventful as you can see. I am planning to watch Larry’s videos again at www.cannedhamtrailers.com on how to secure the roof so that hopefully I won’t screw anything else up. I’m also going to have to ask him for advice on how to cover up the spot where I messed up. I hope someone can help me come up with a creative solution!
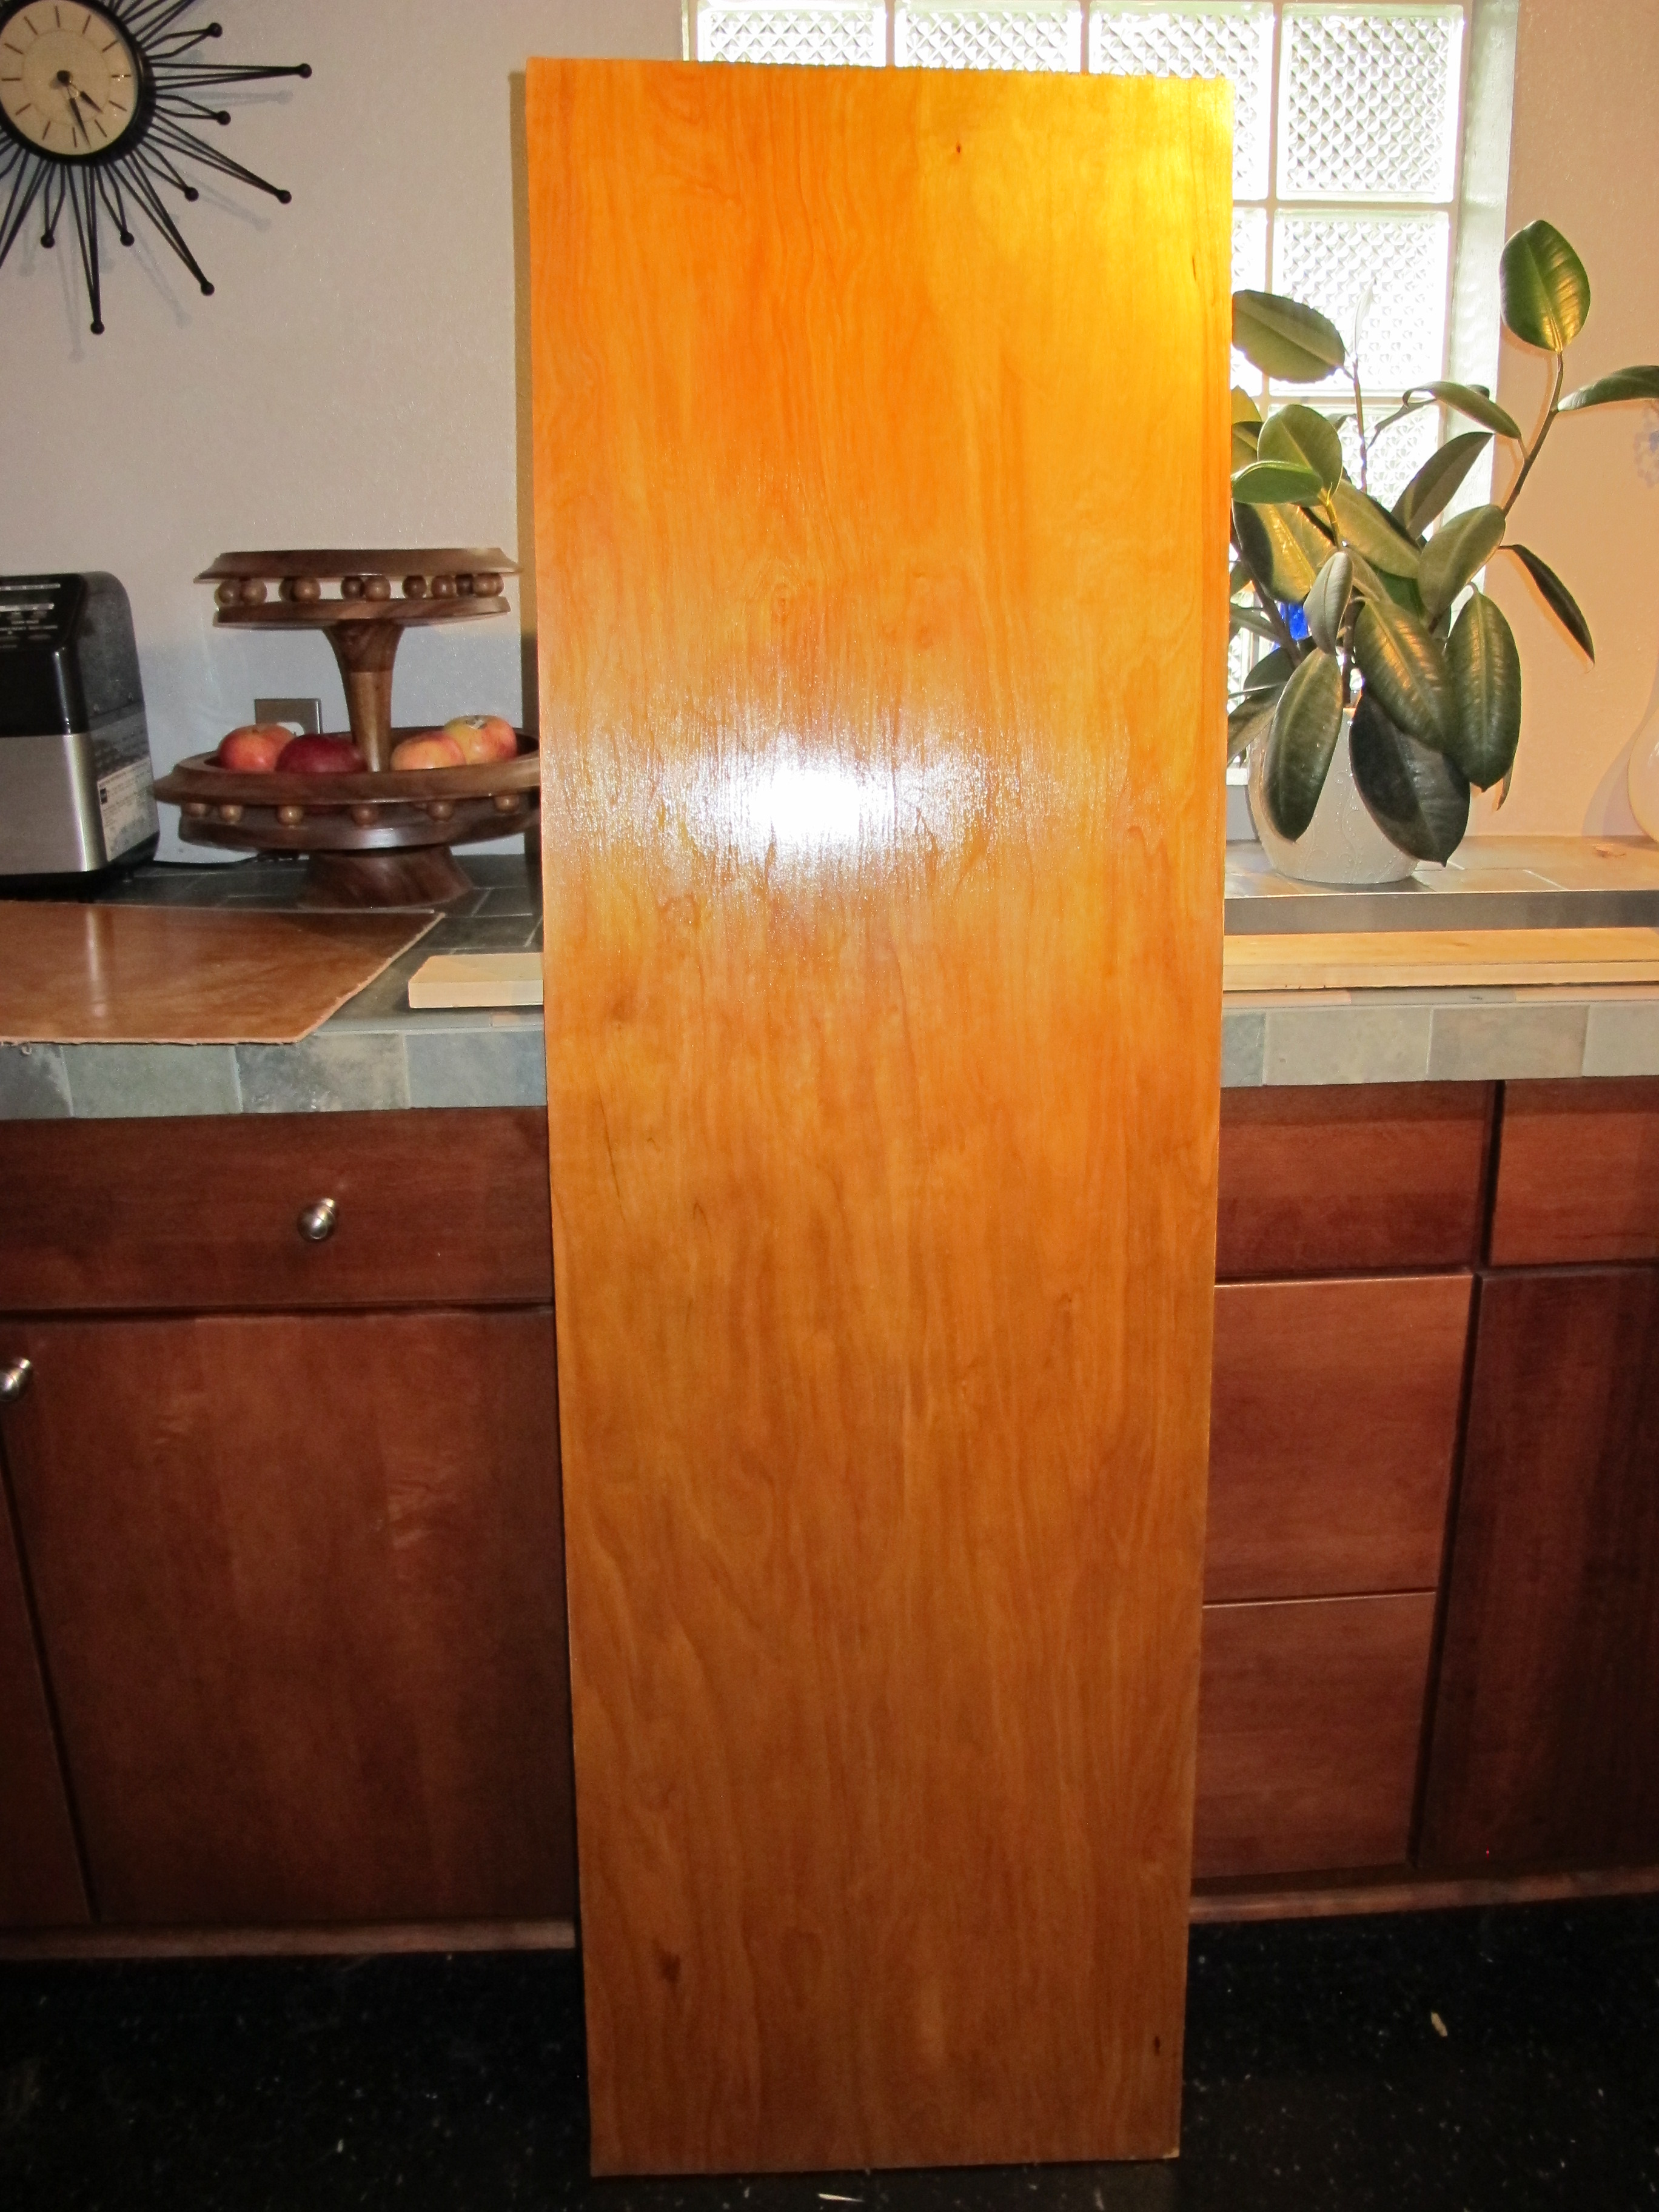
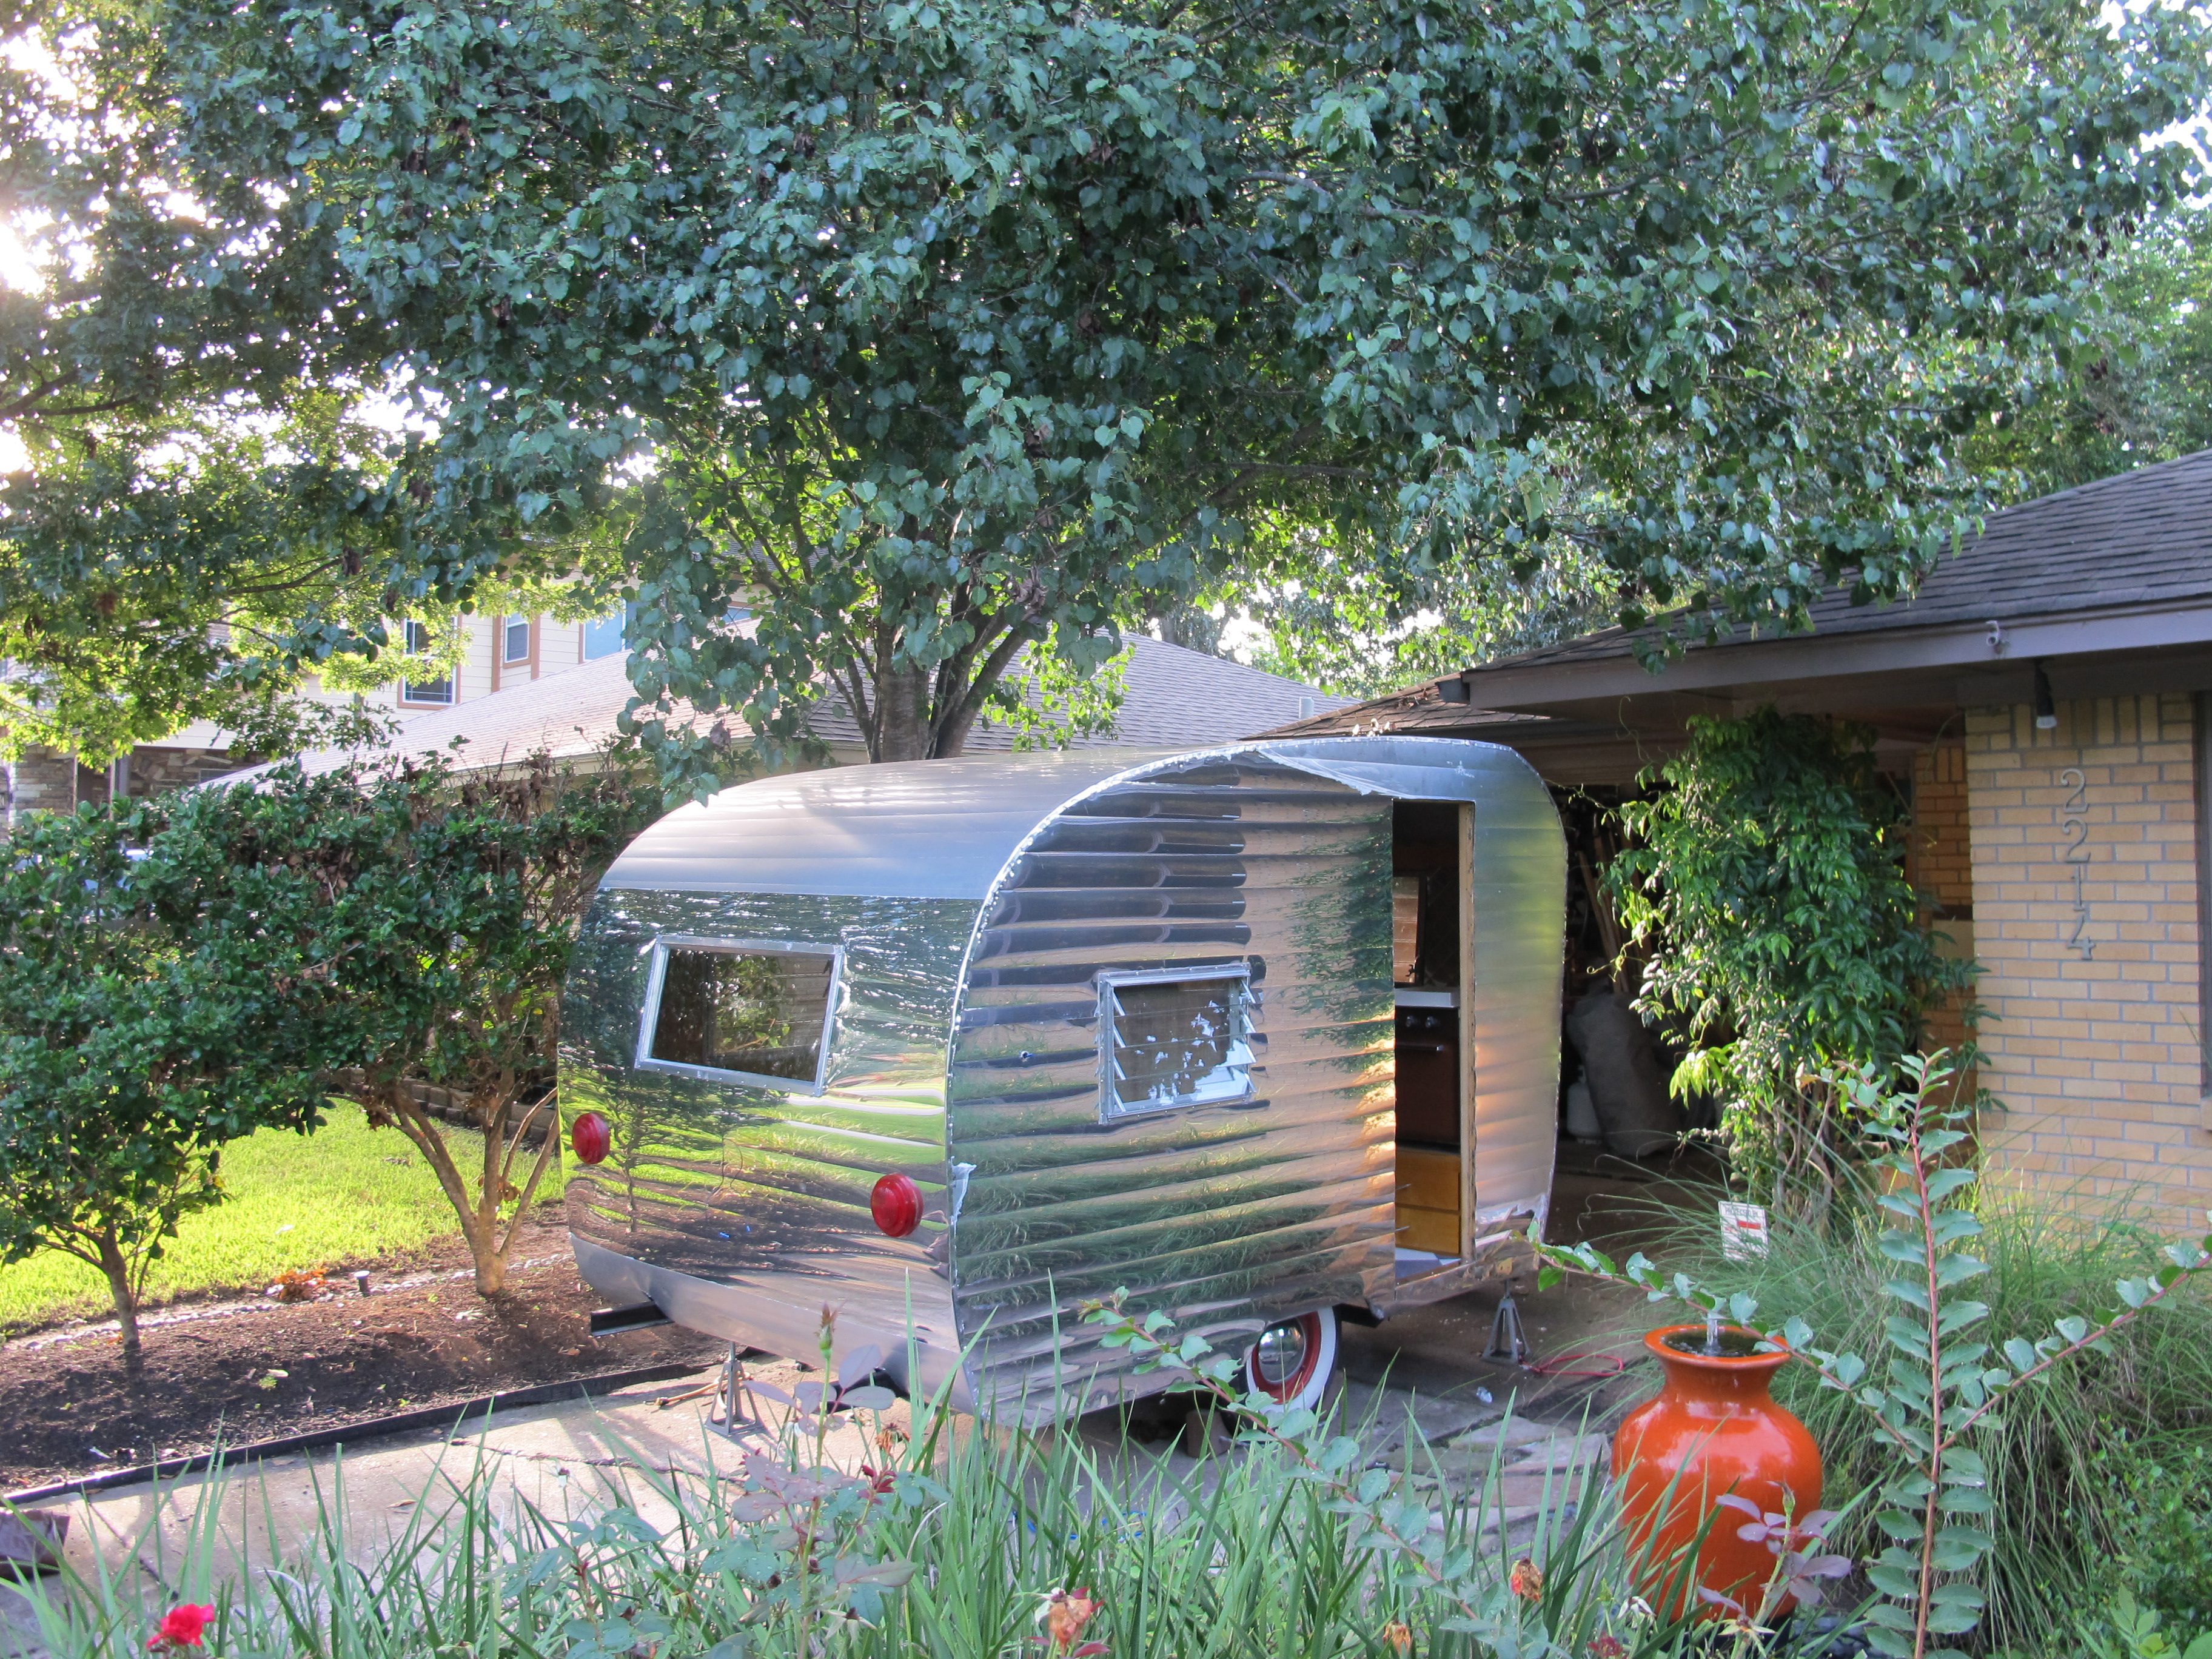
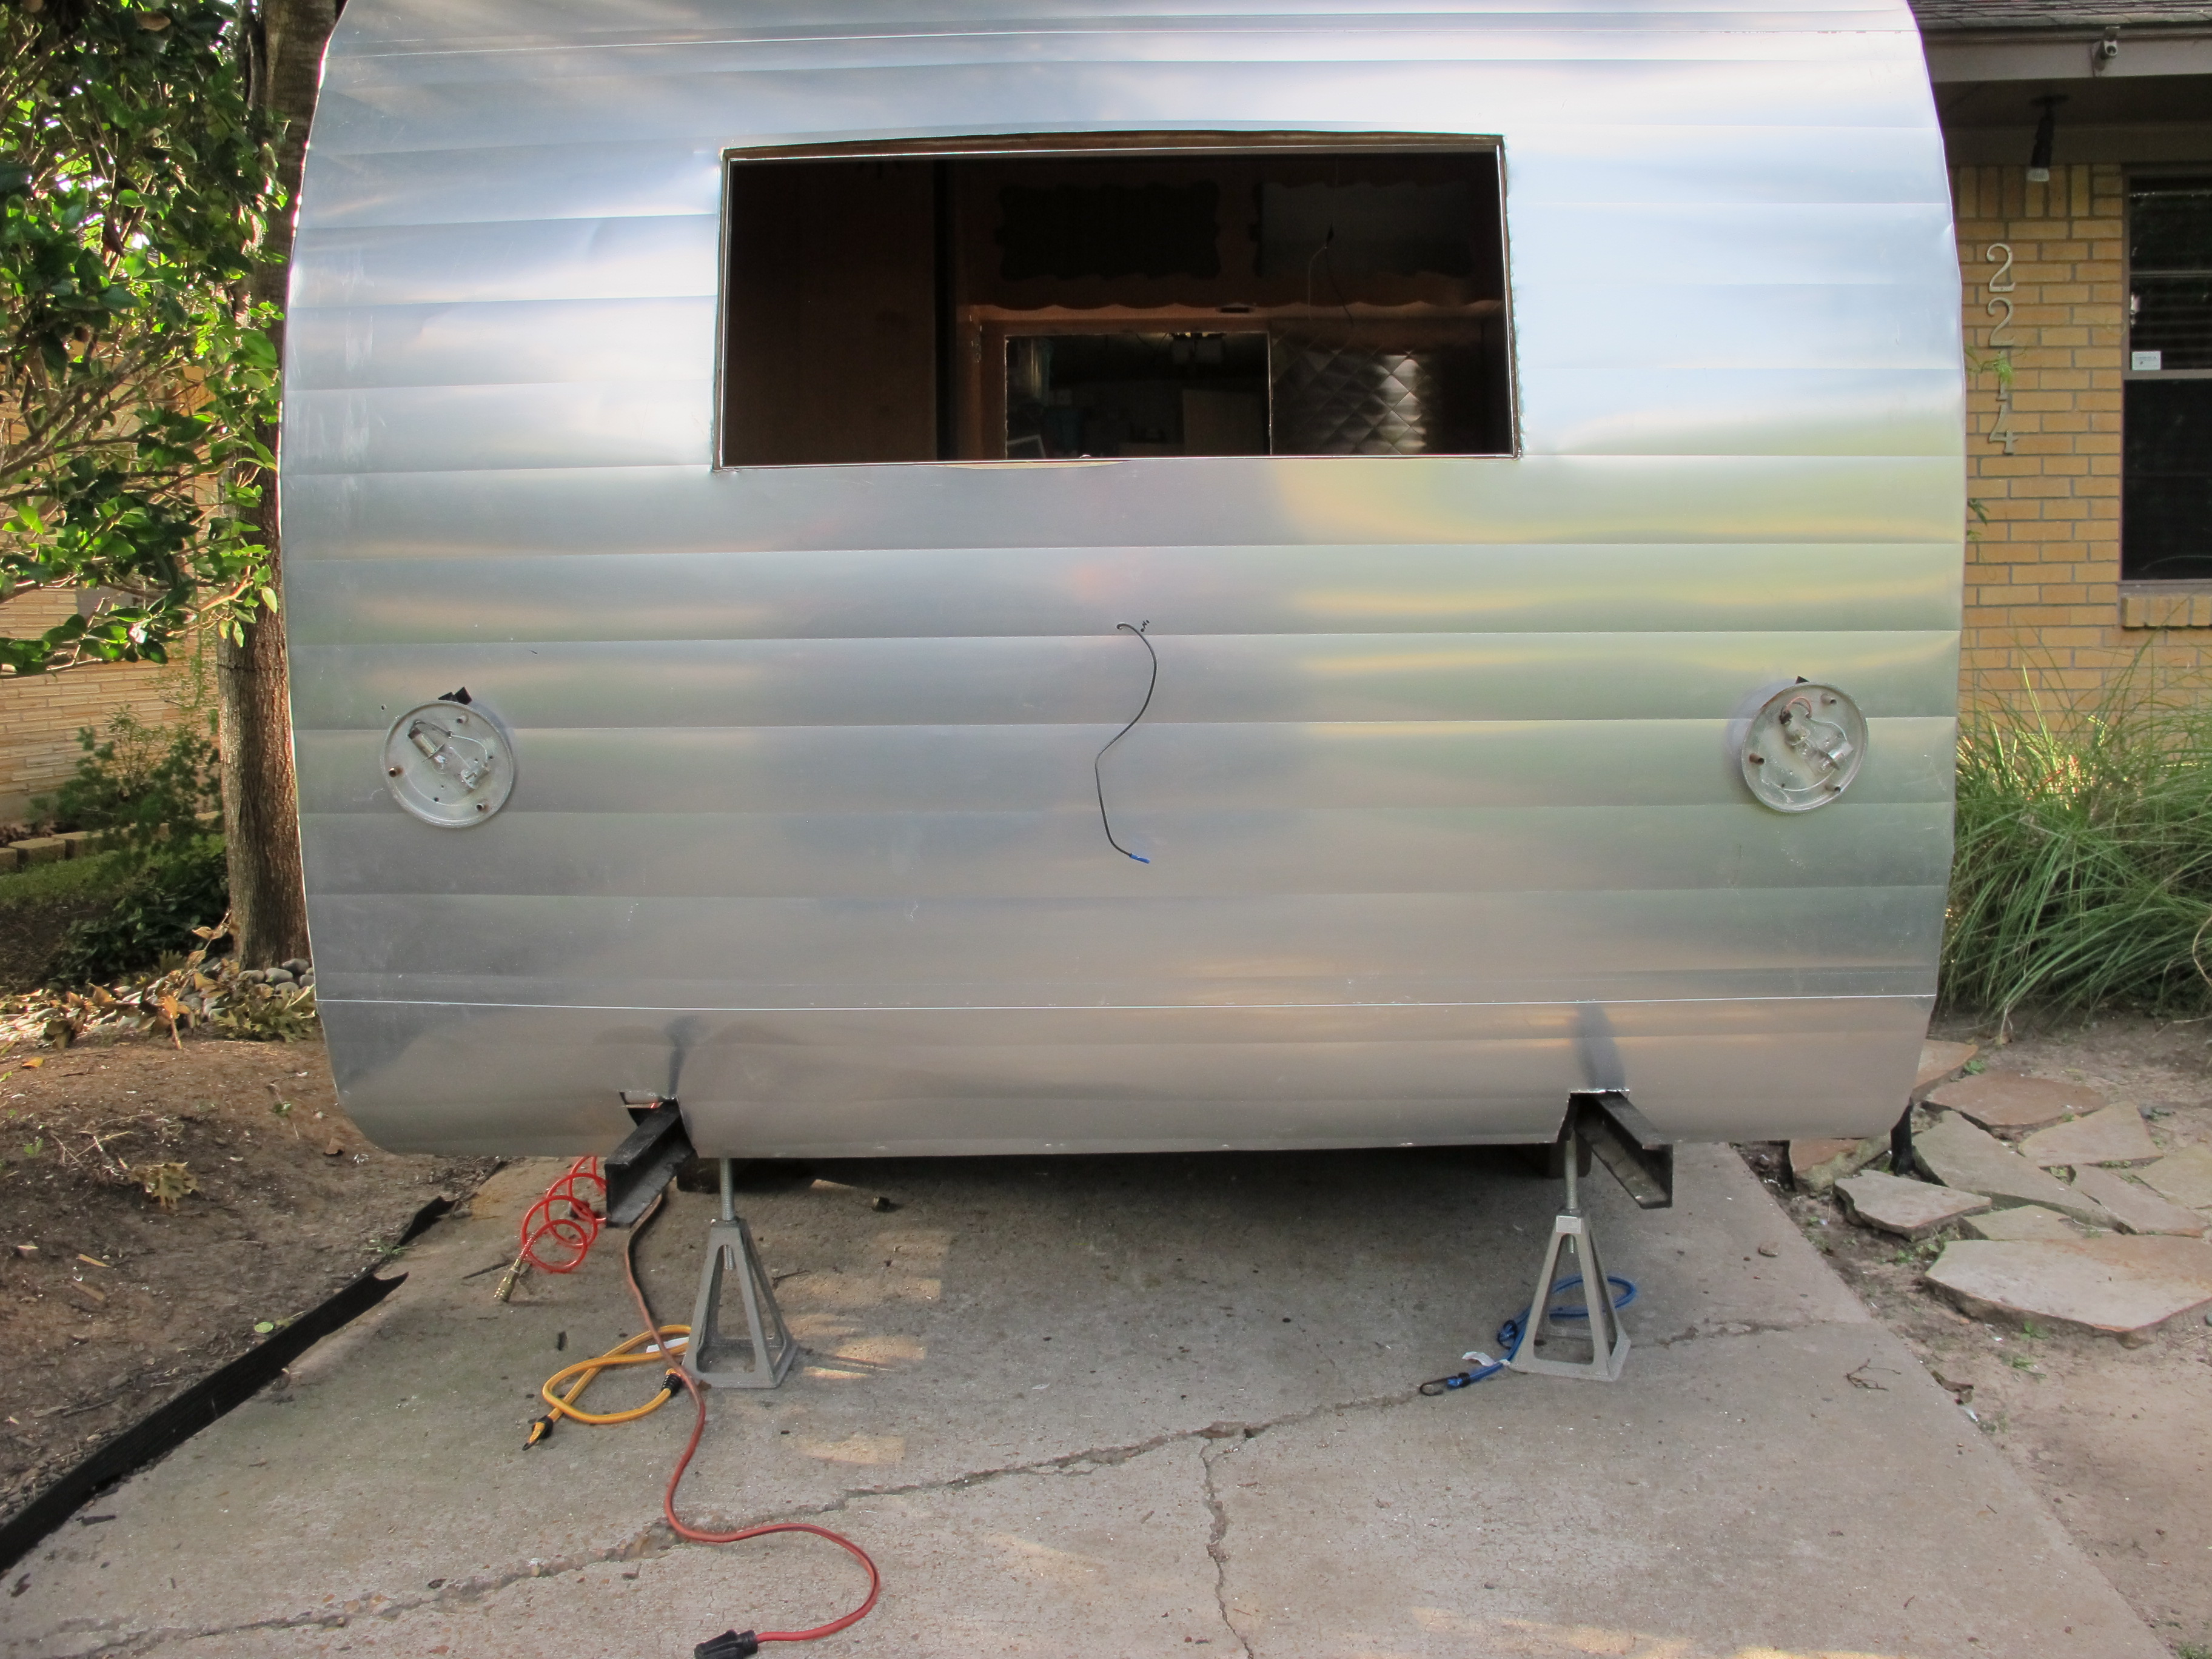
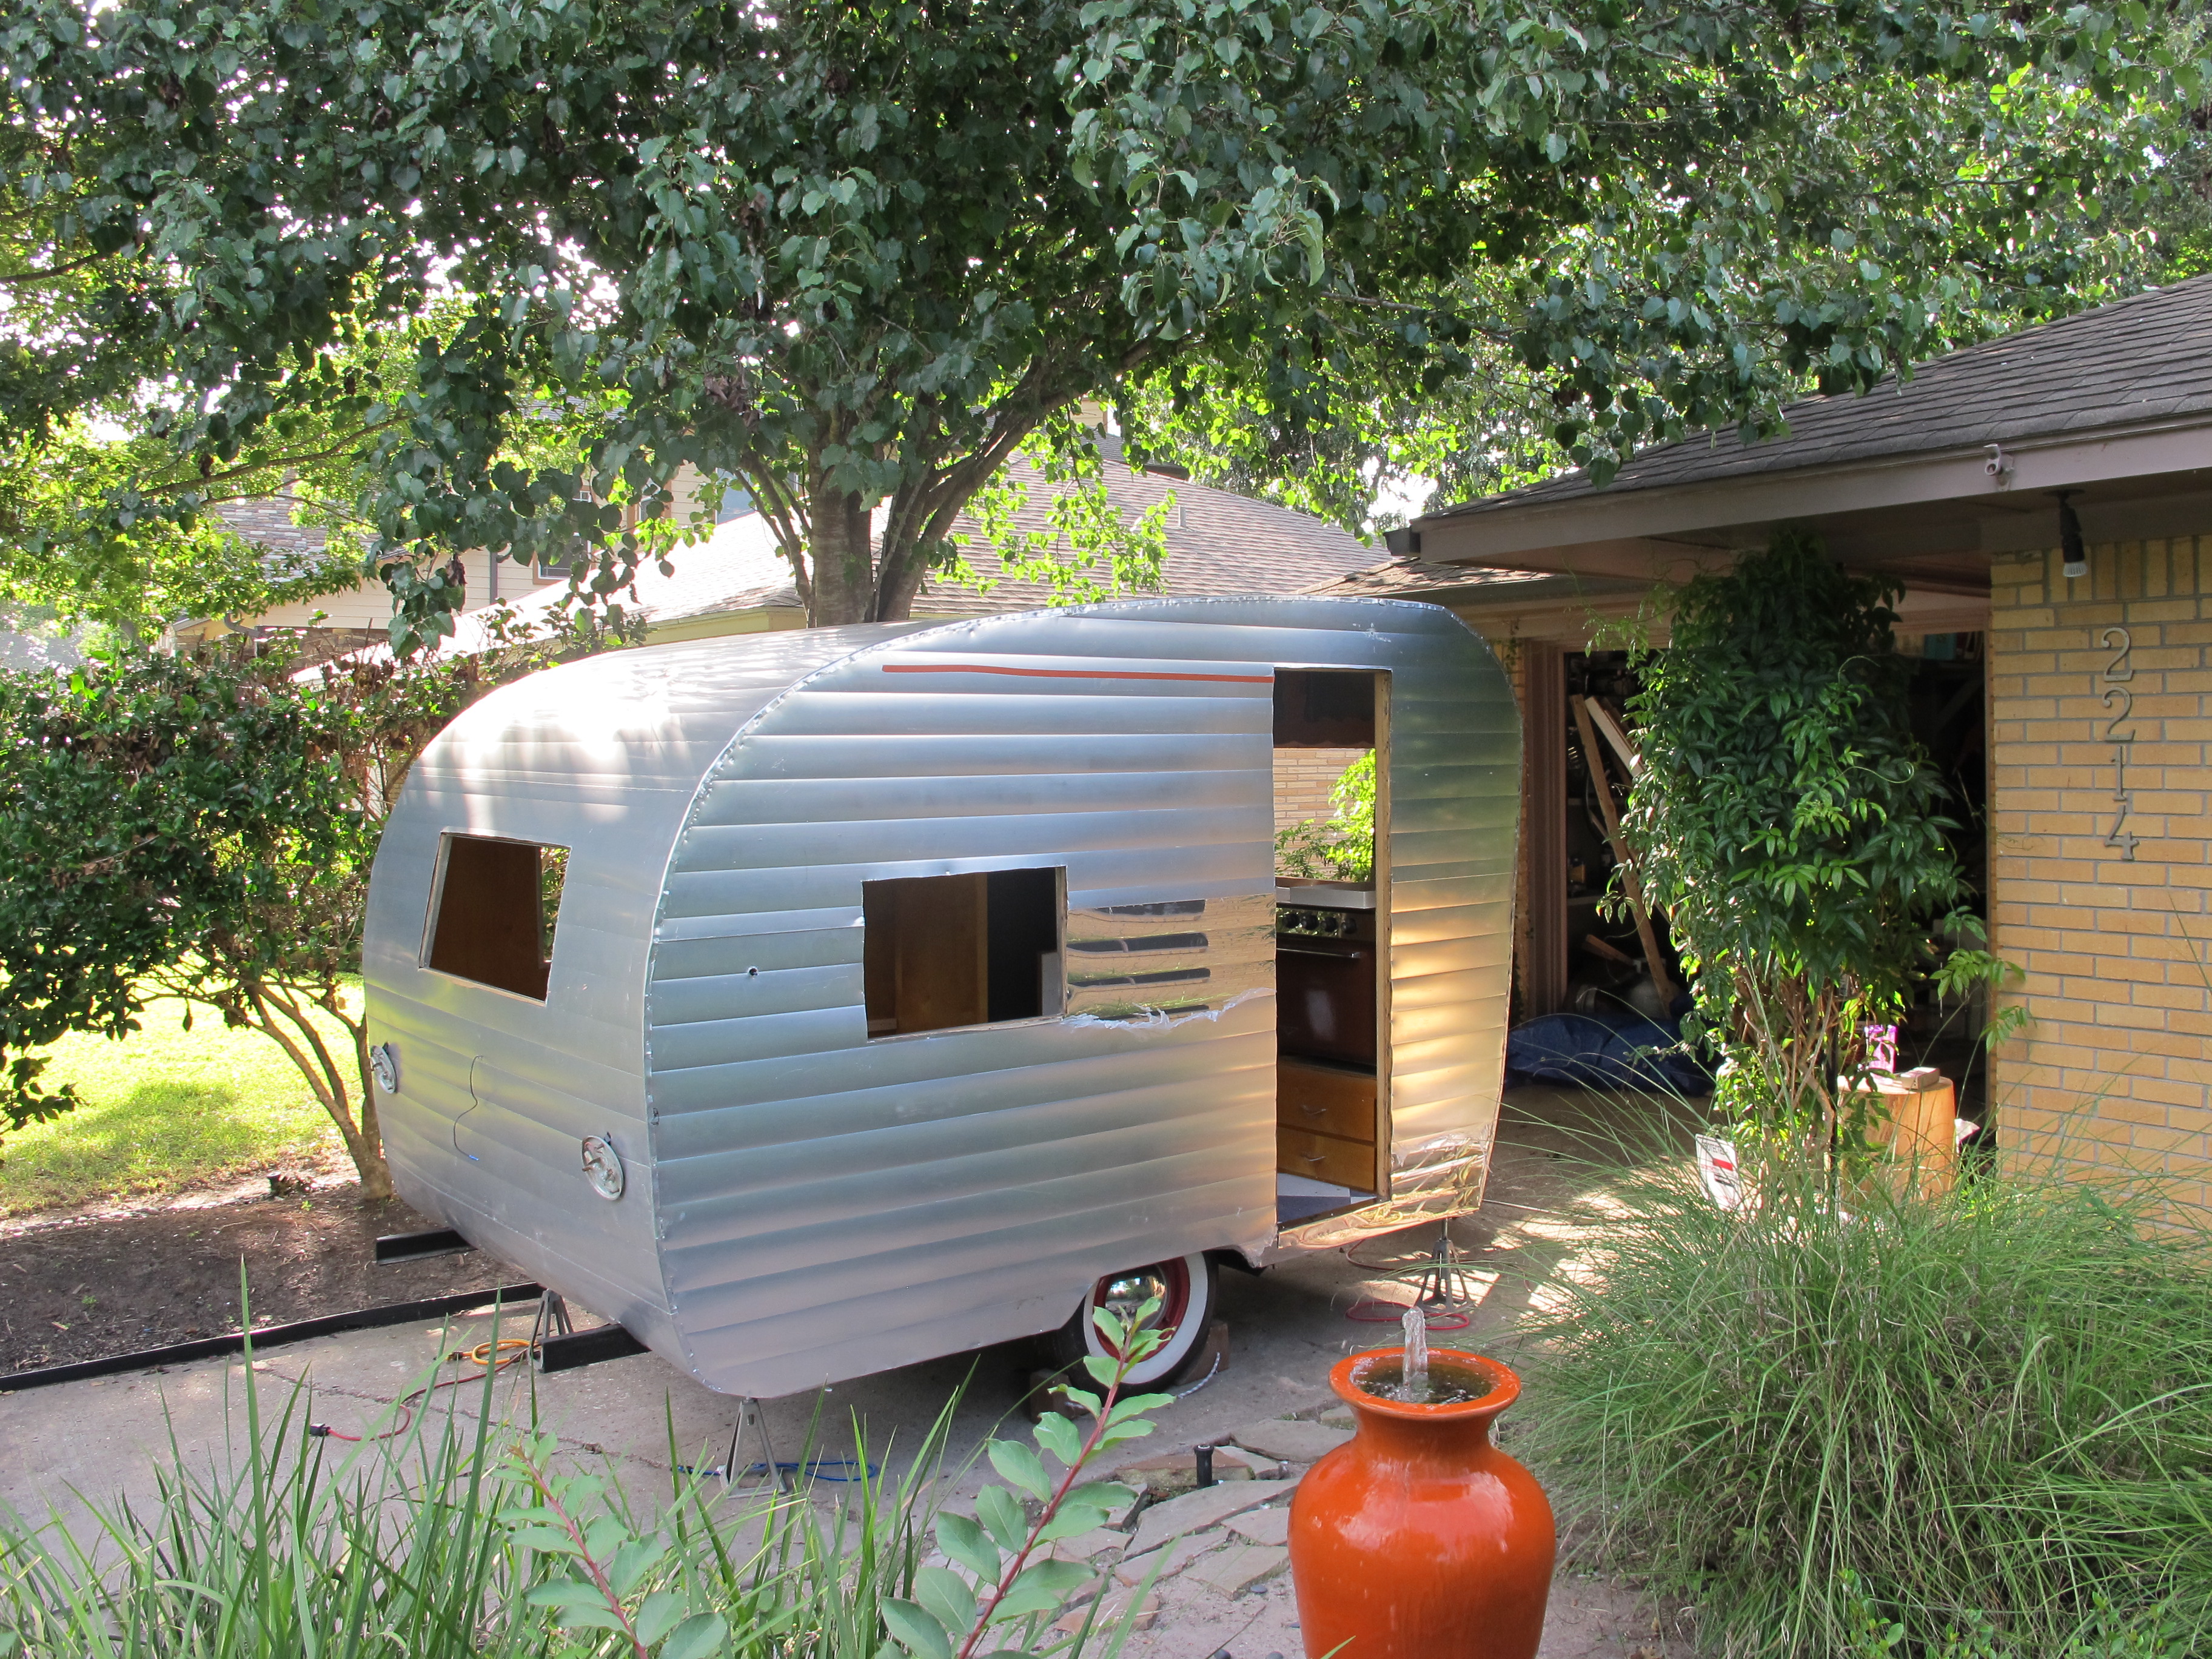
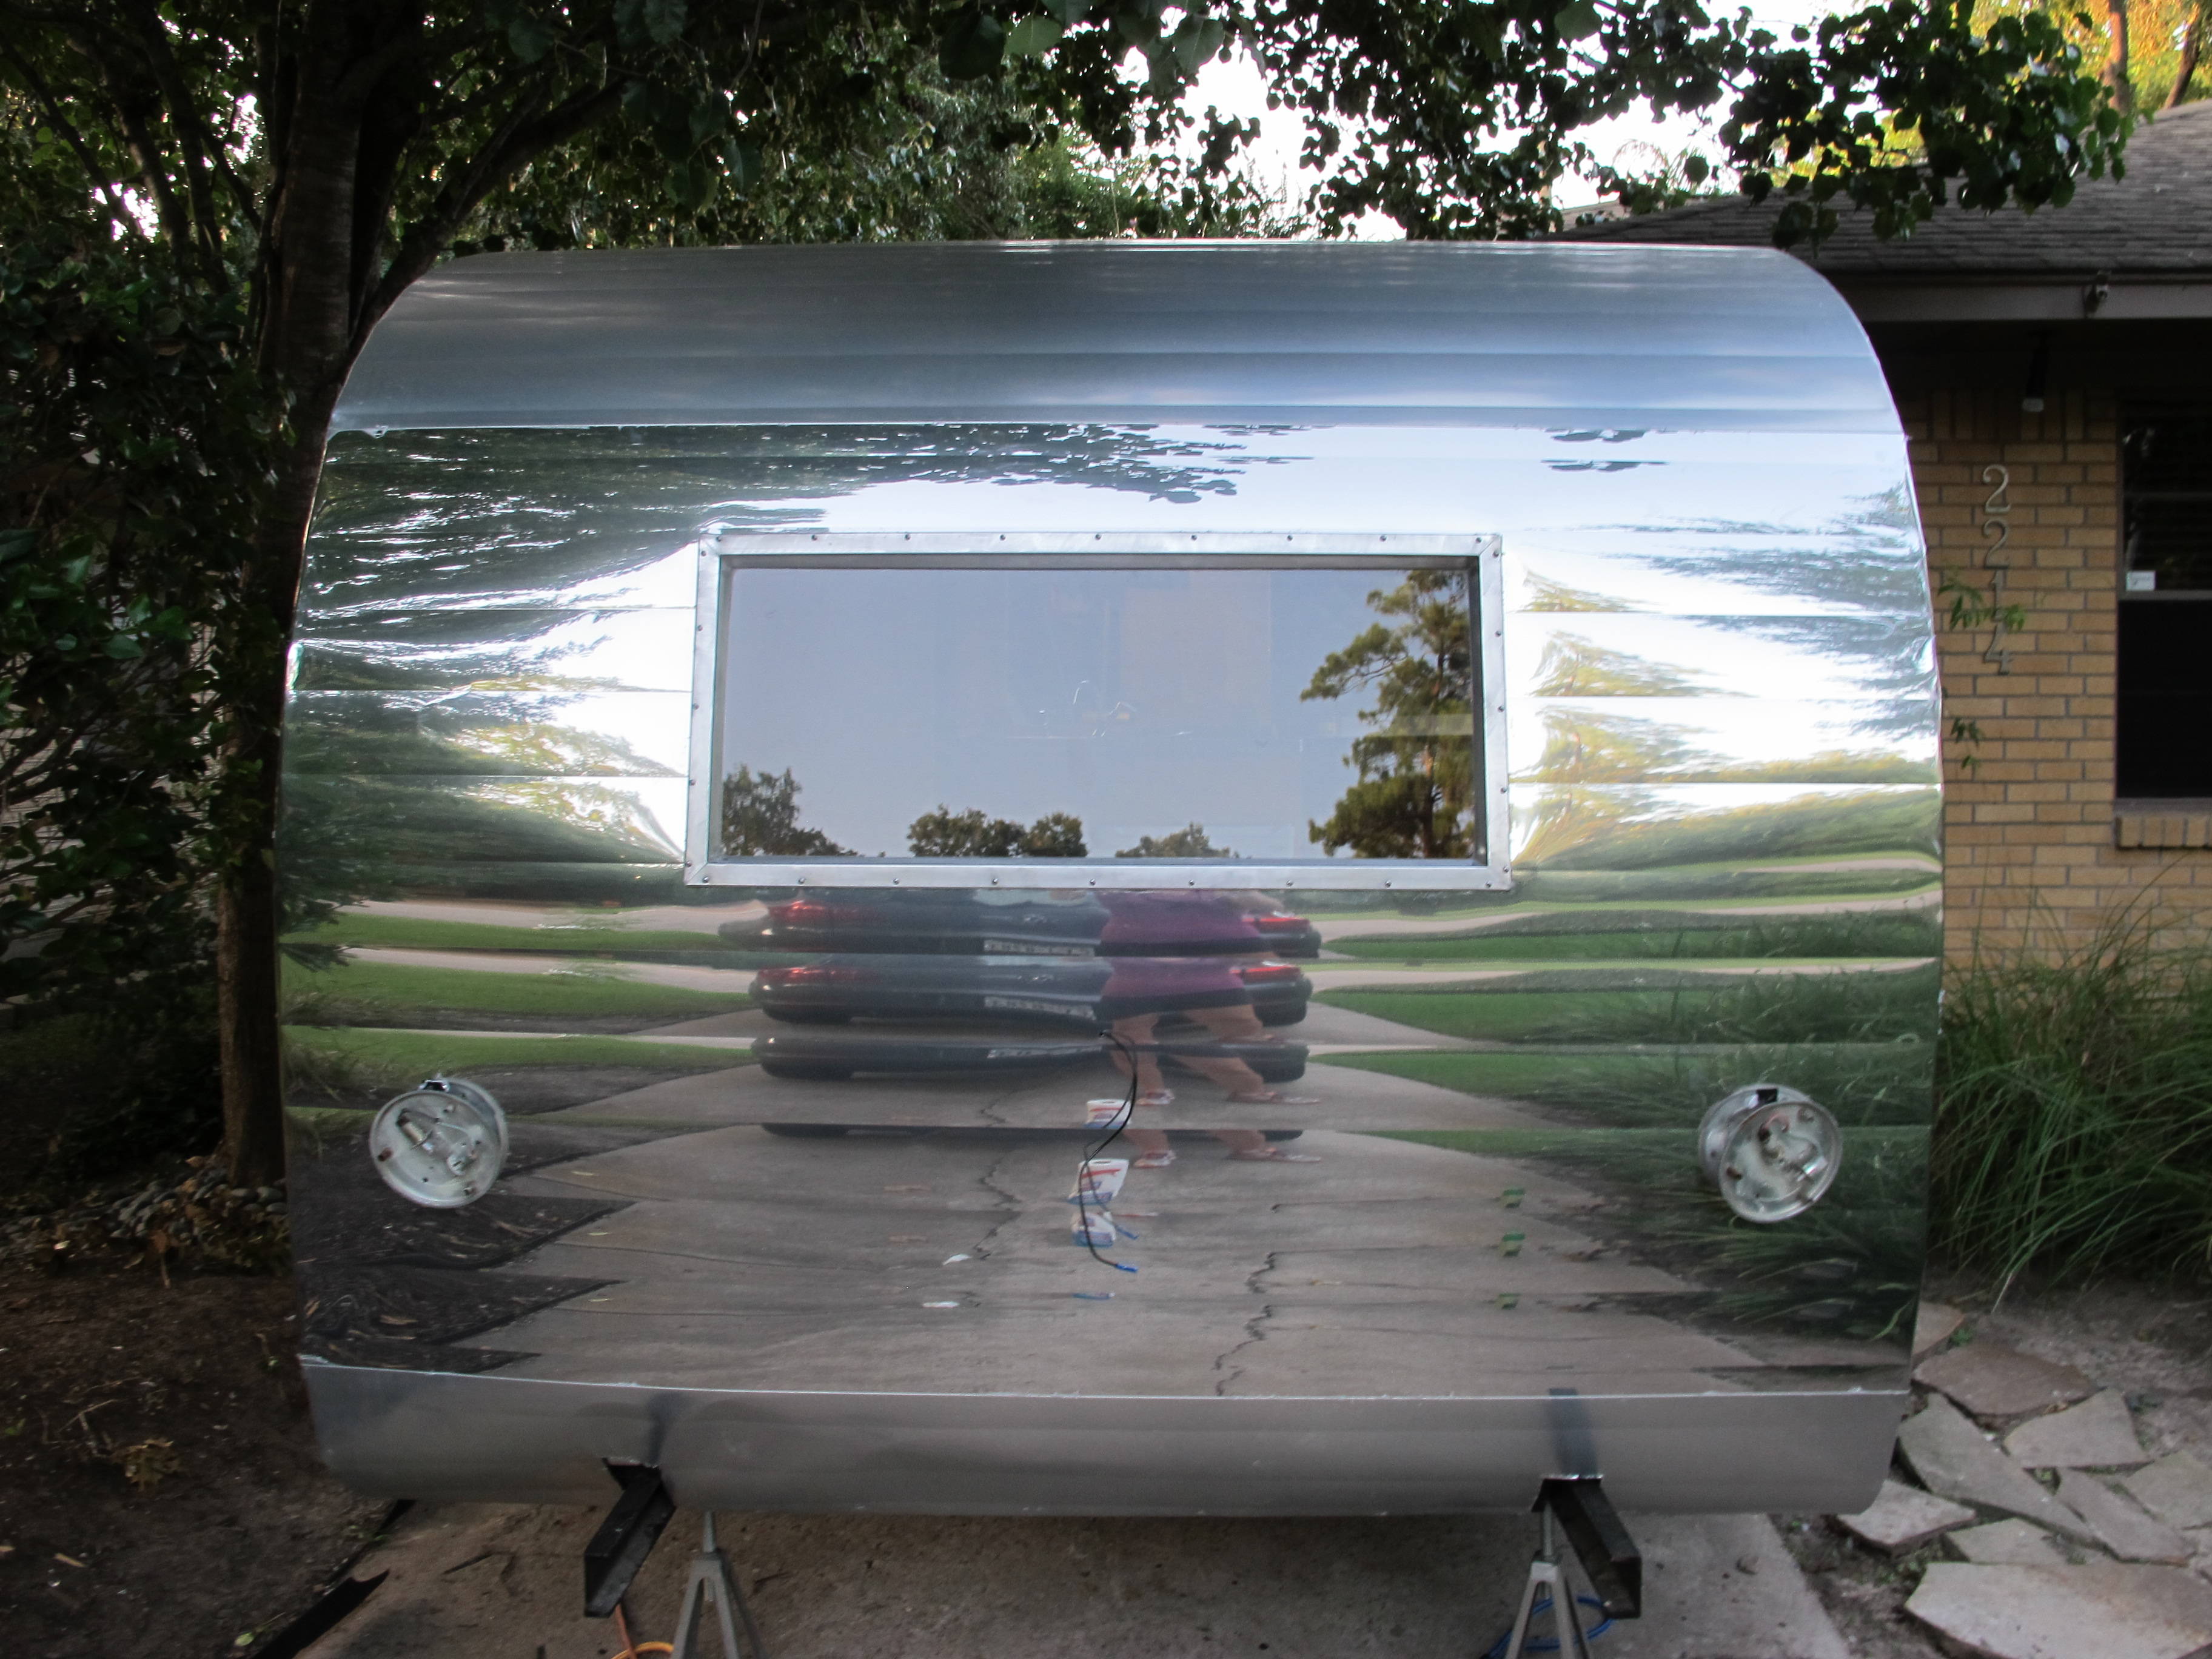
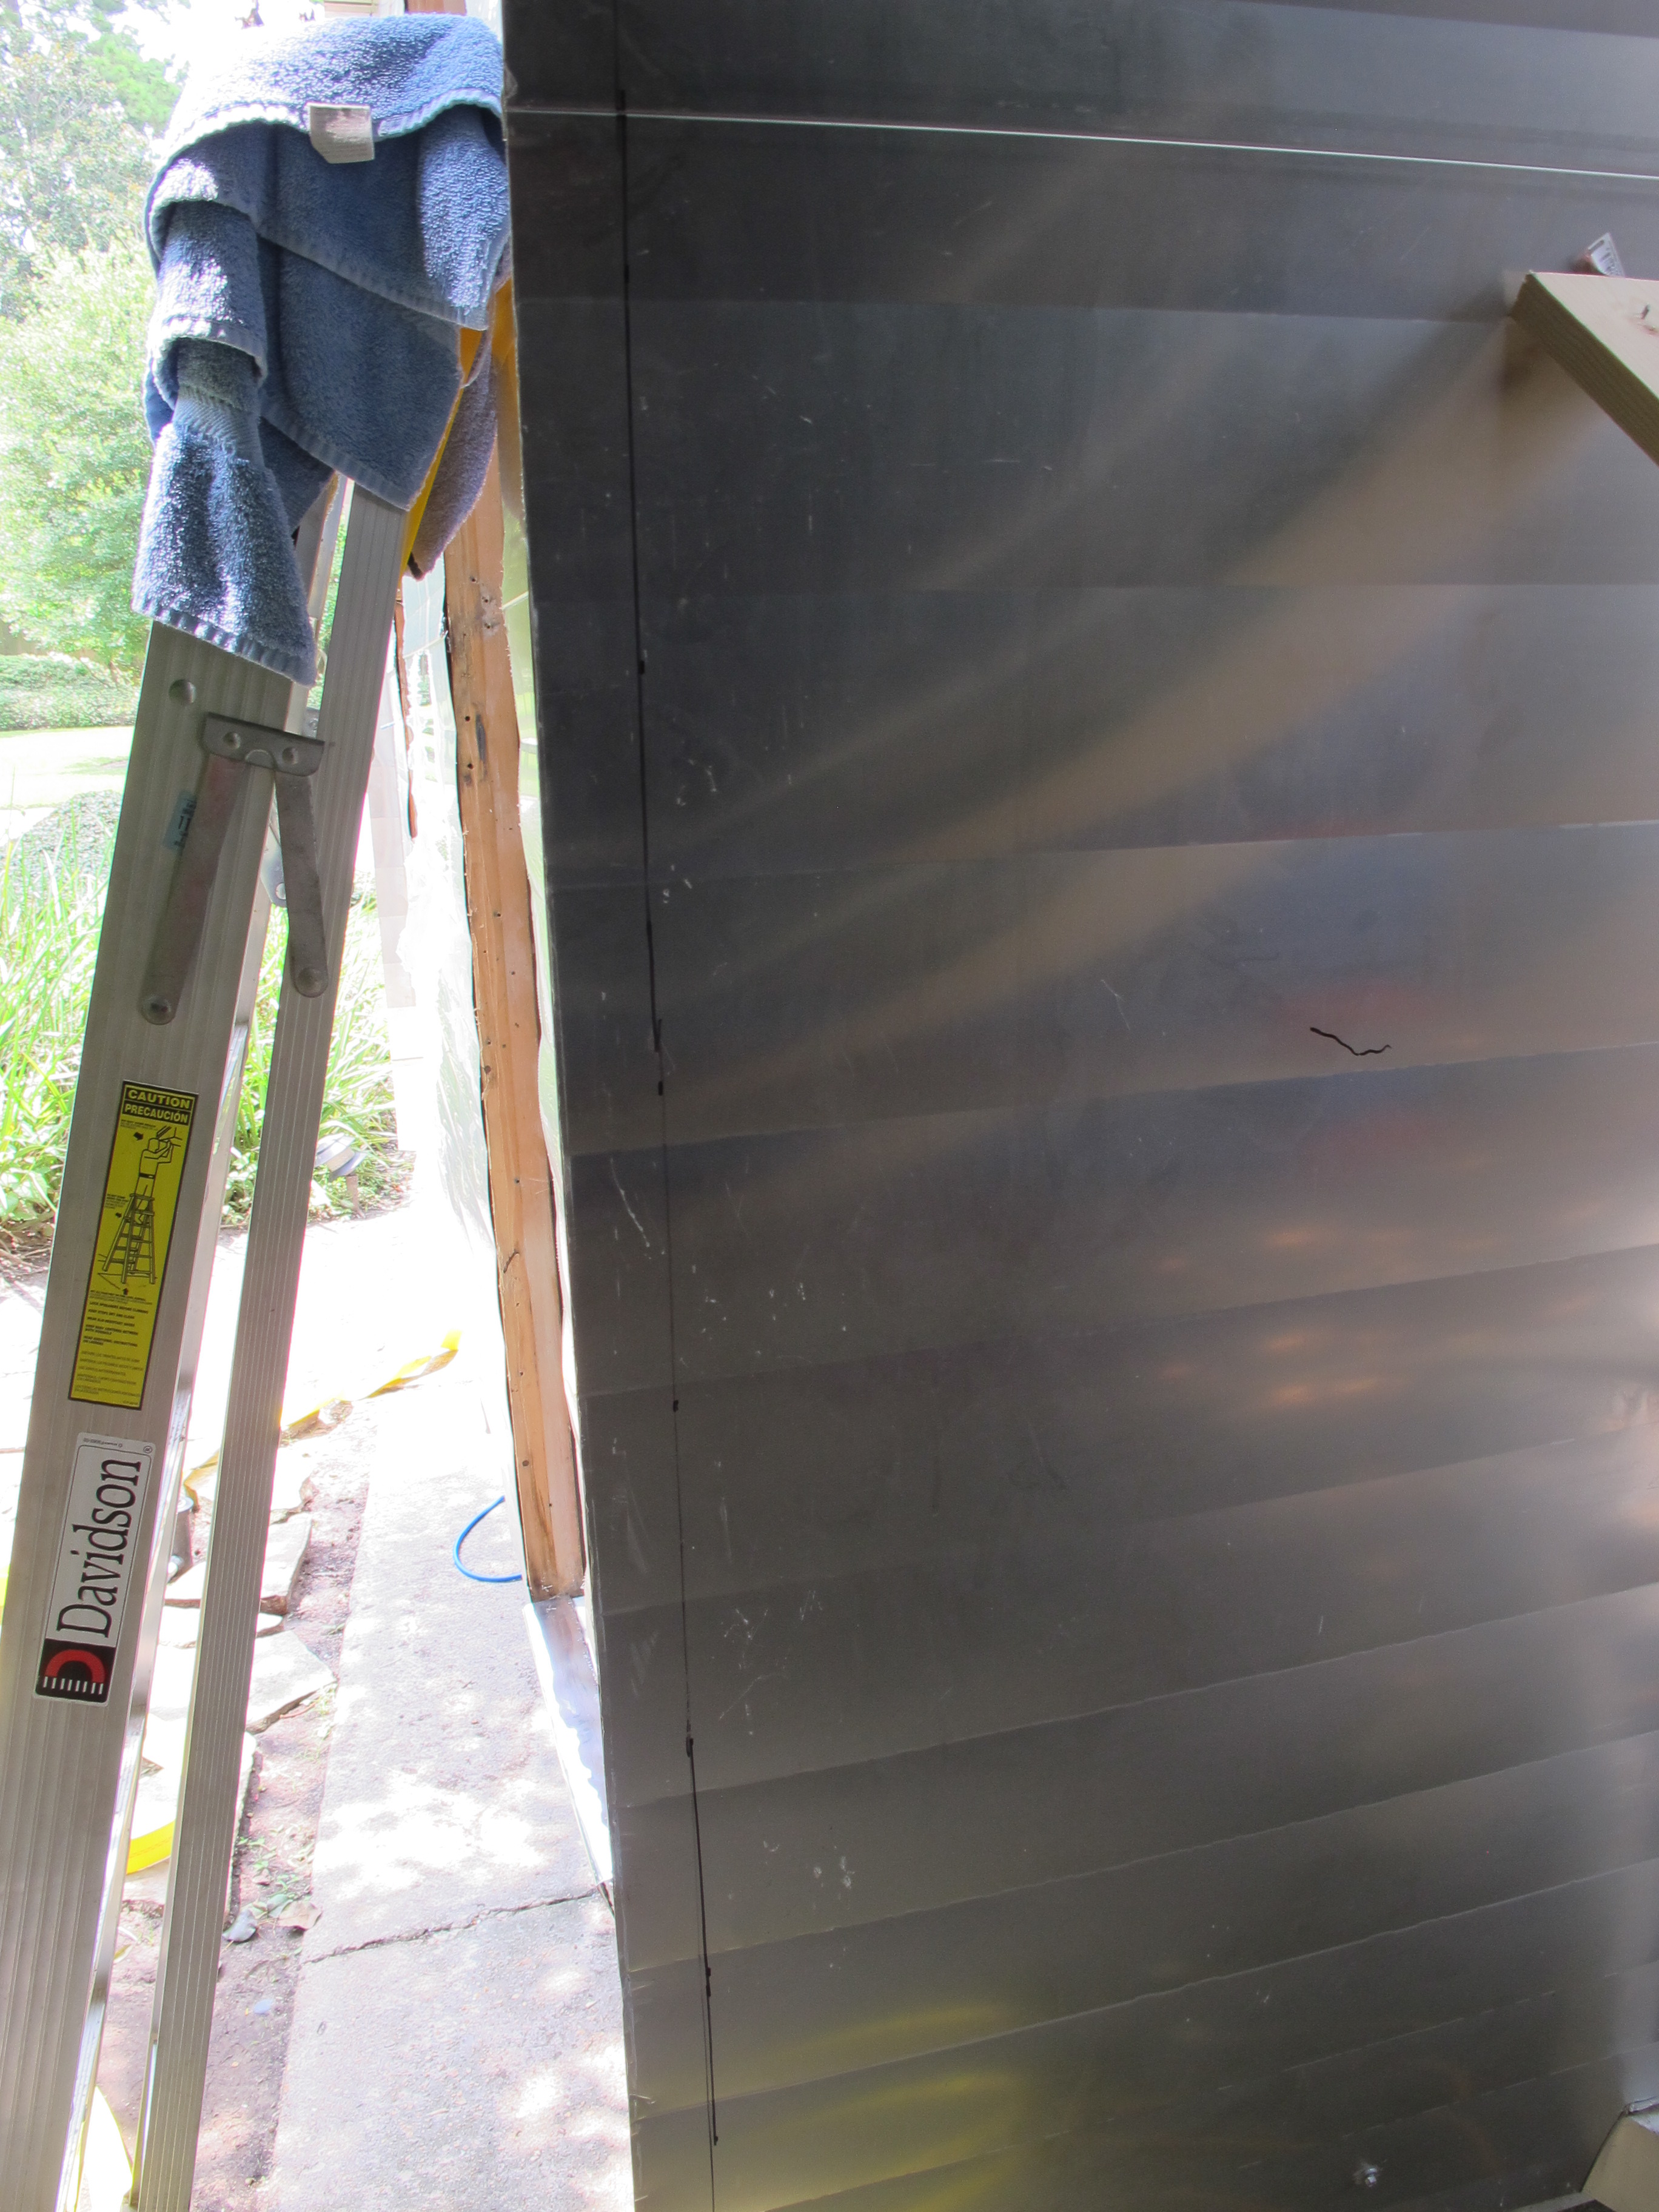
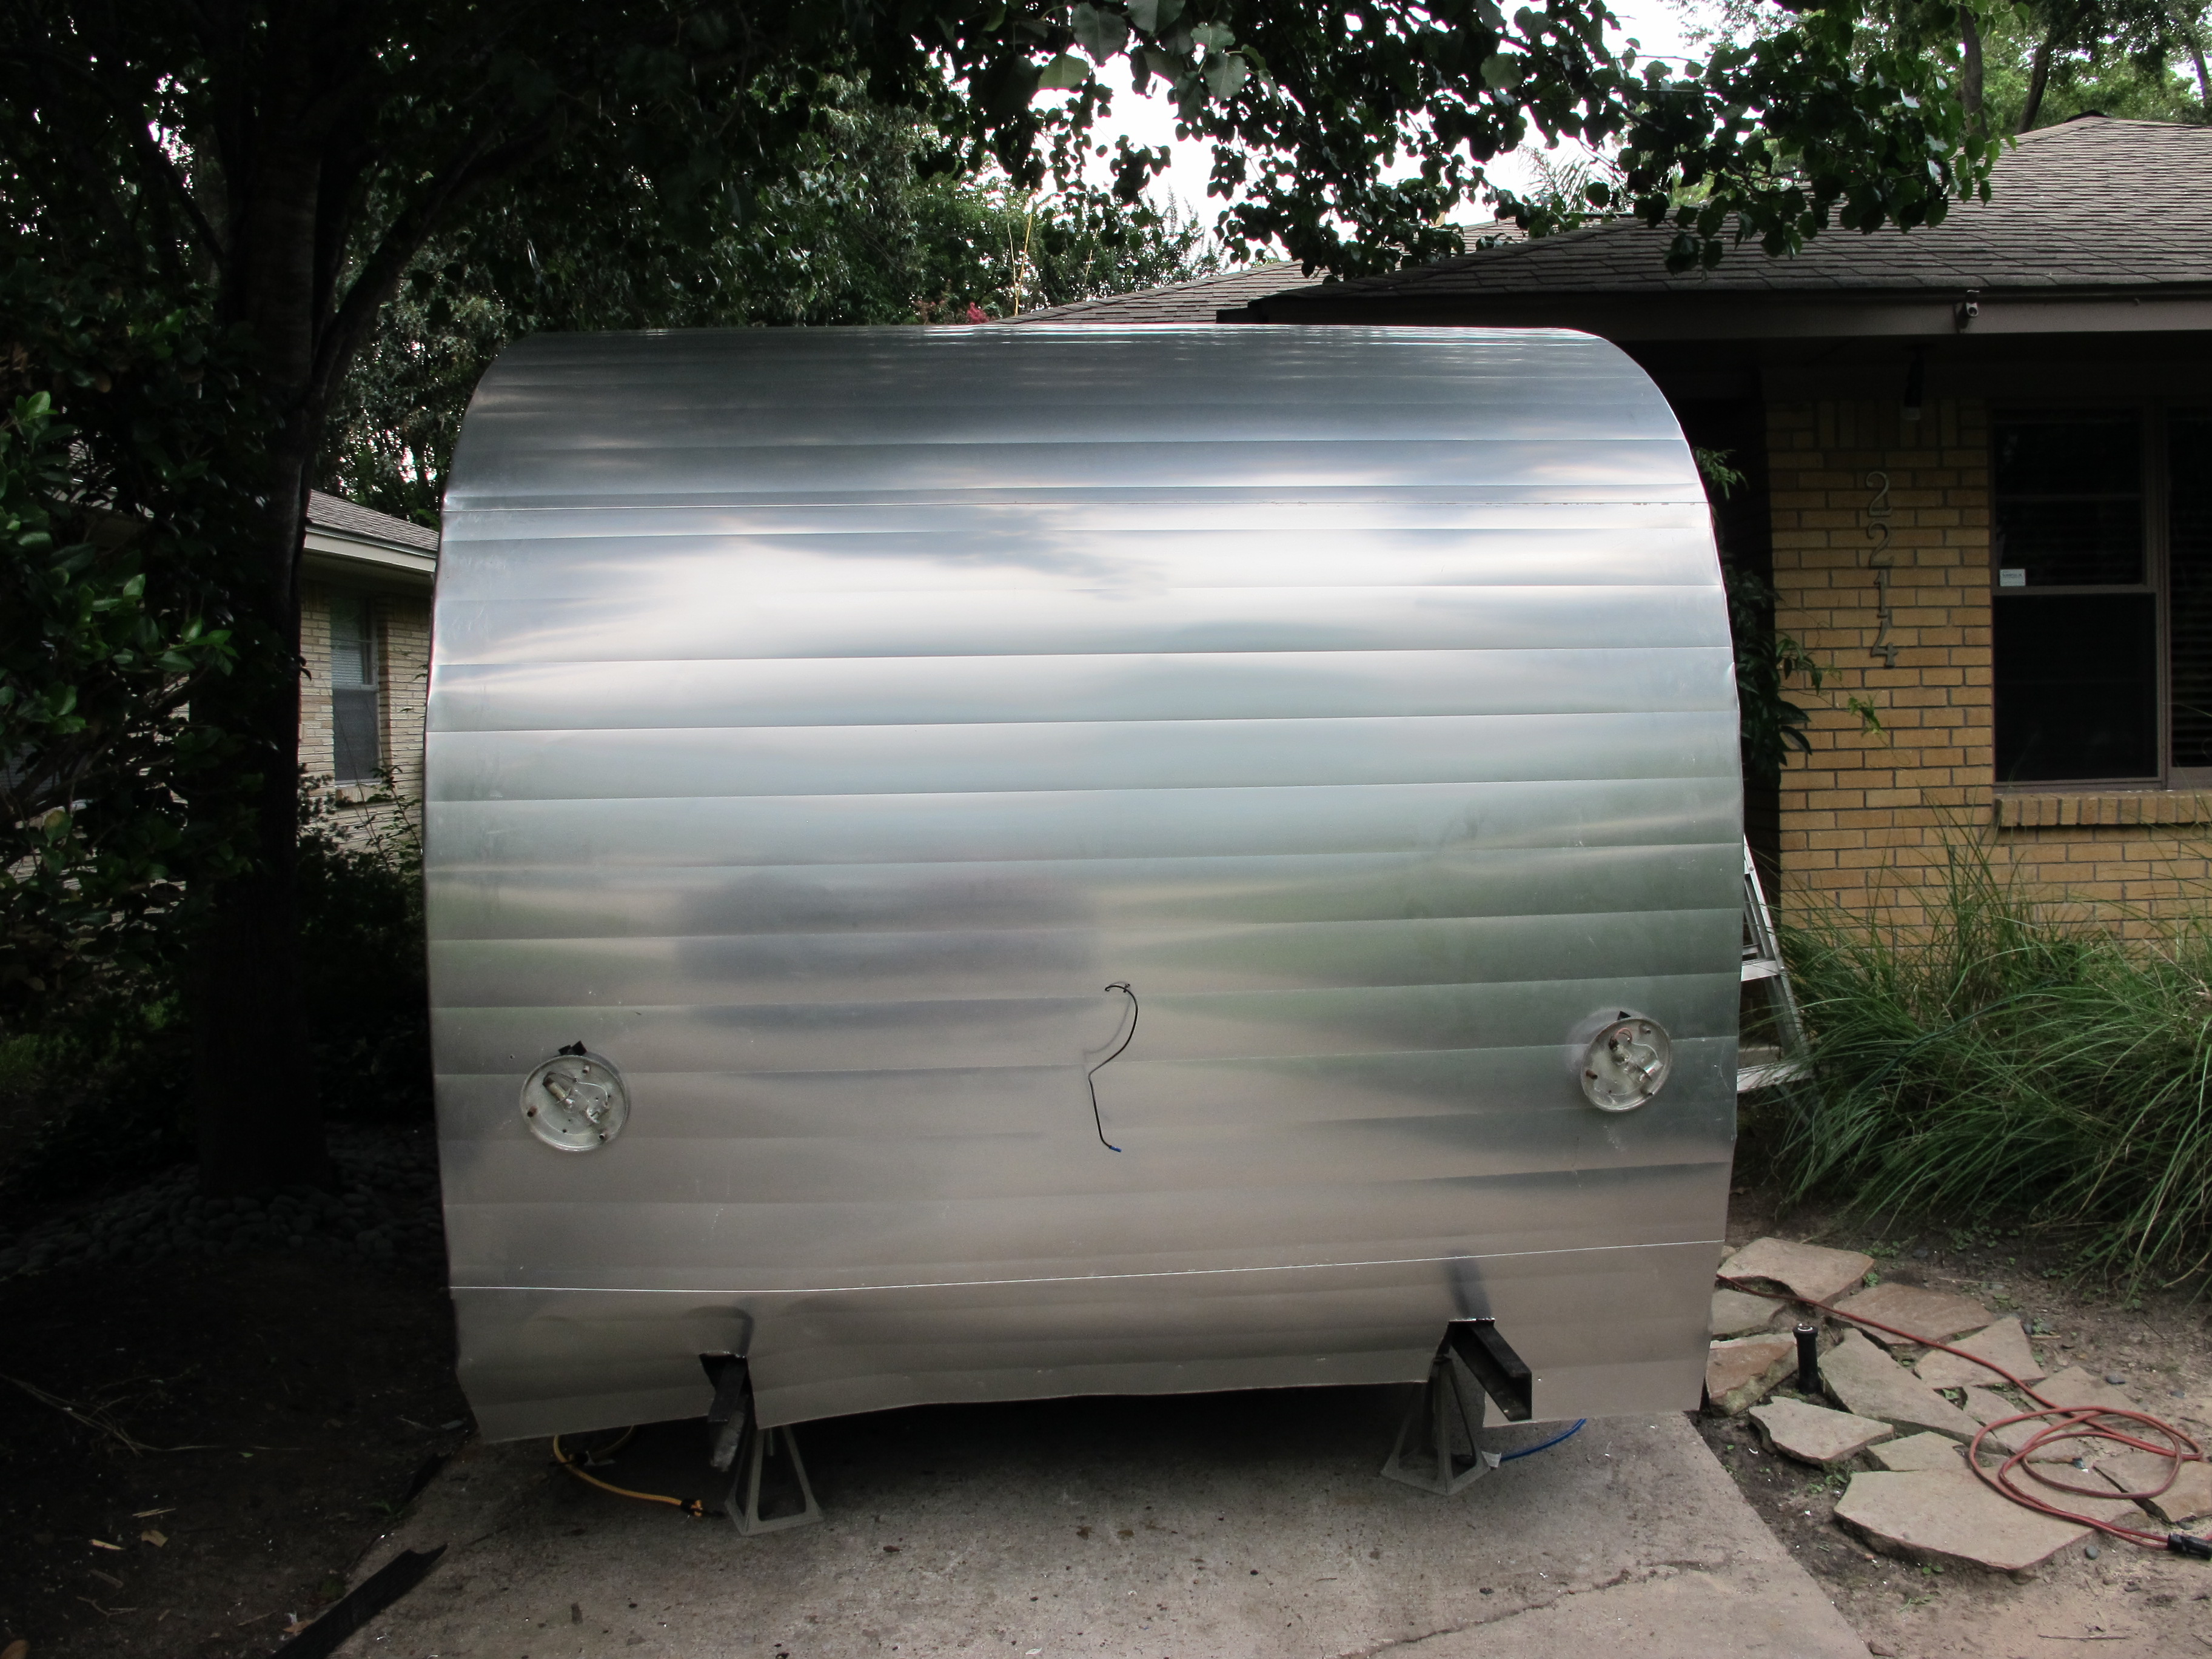
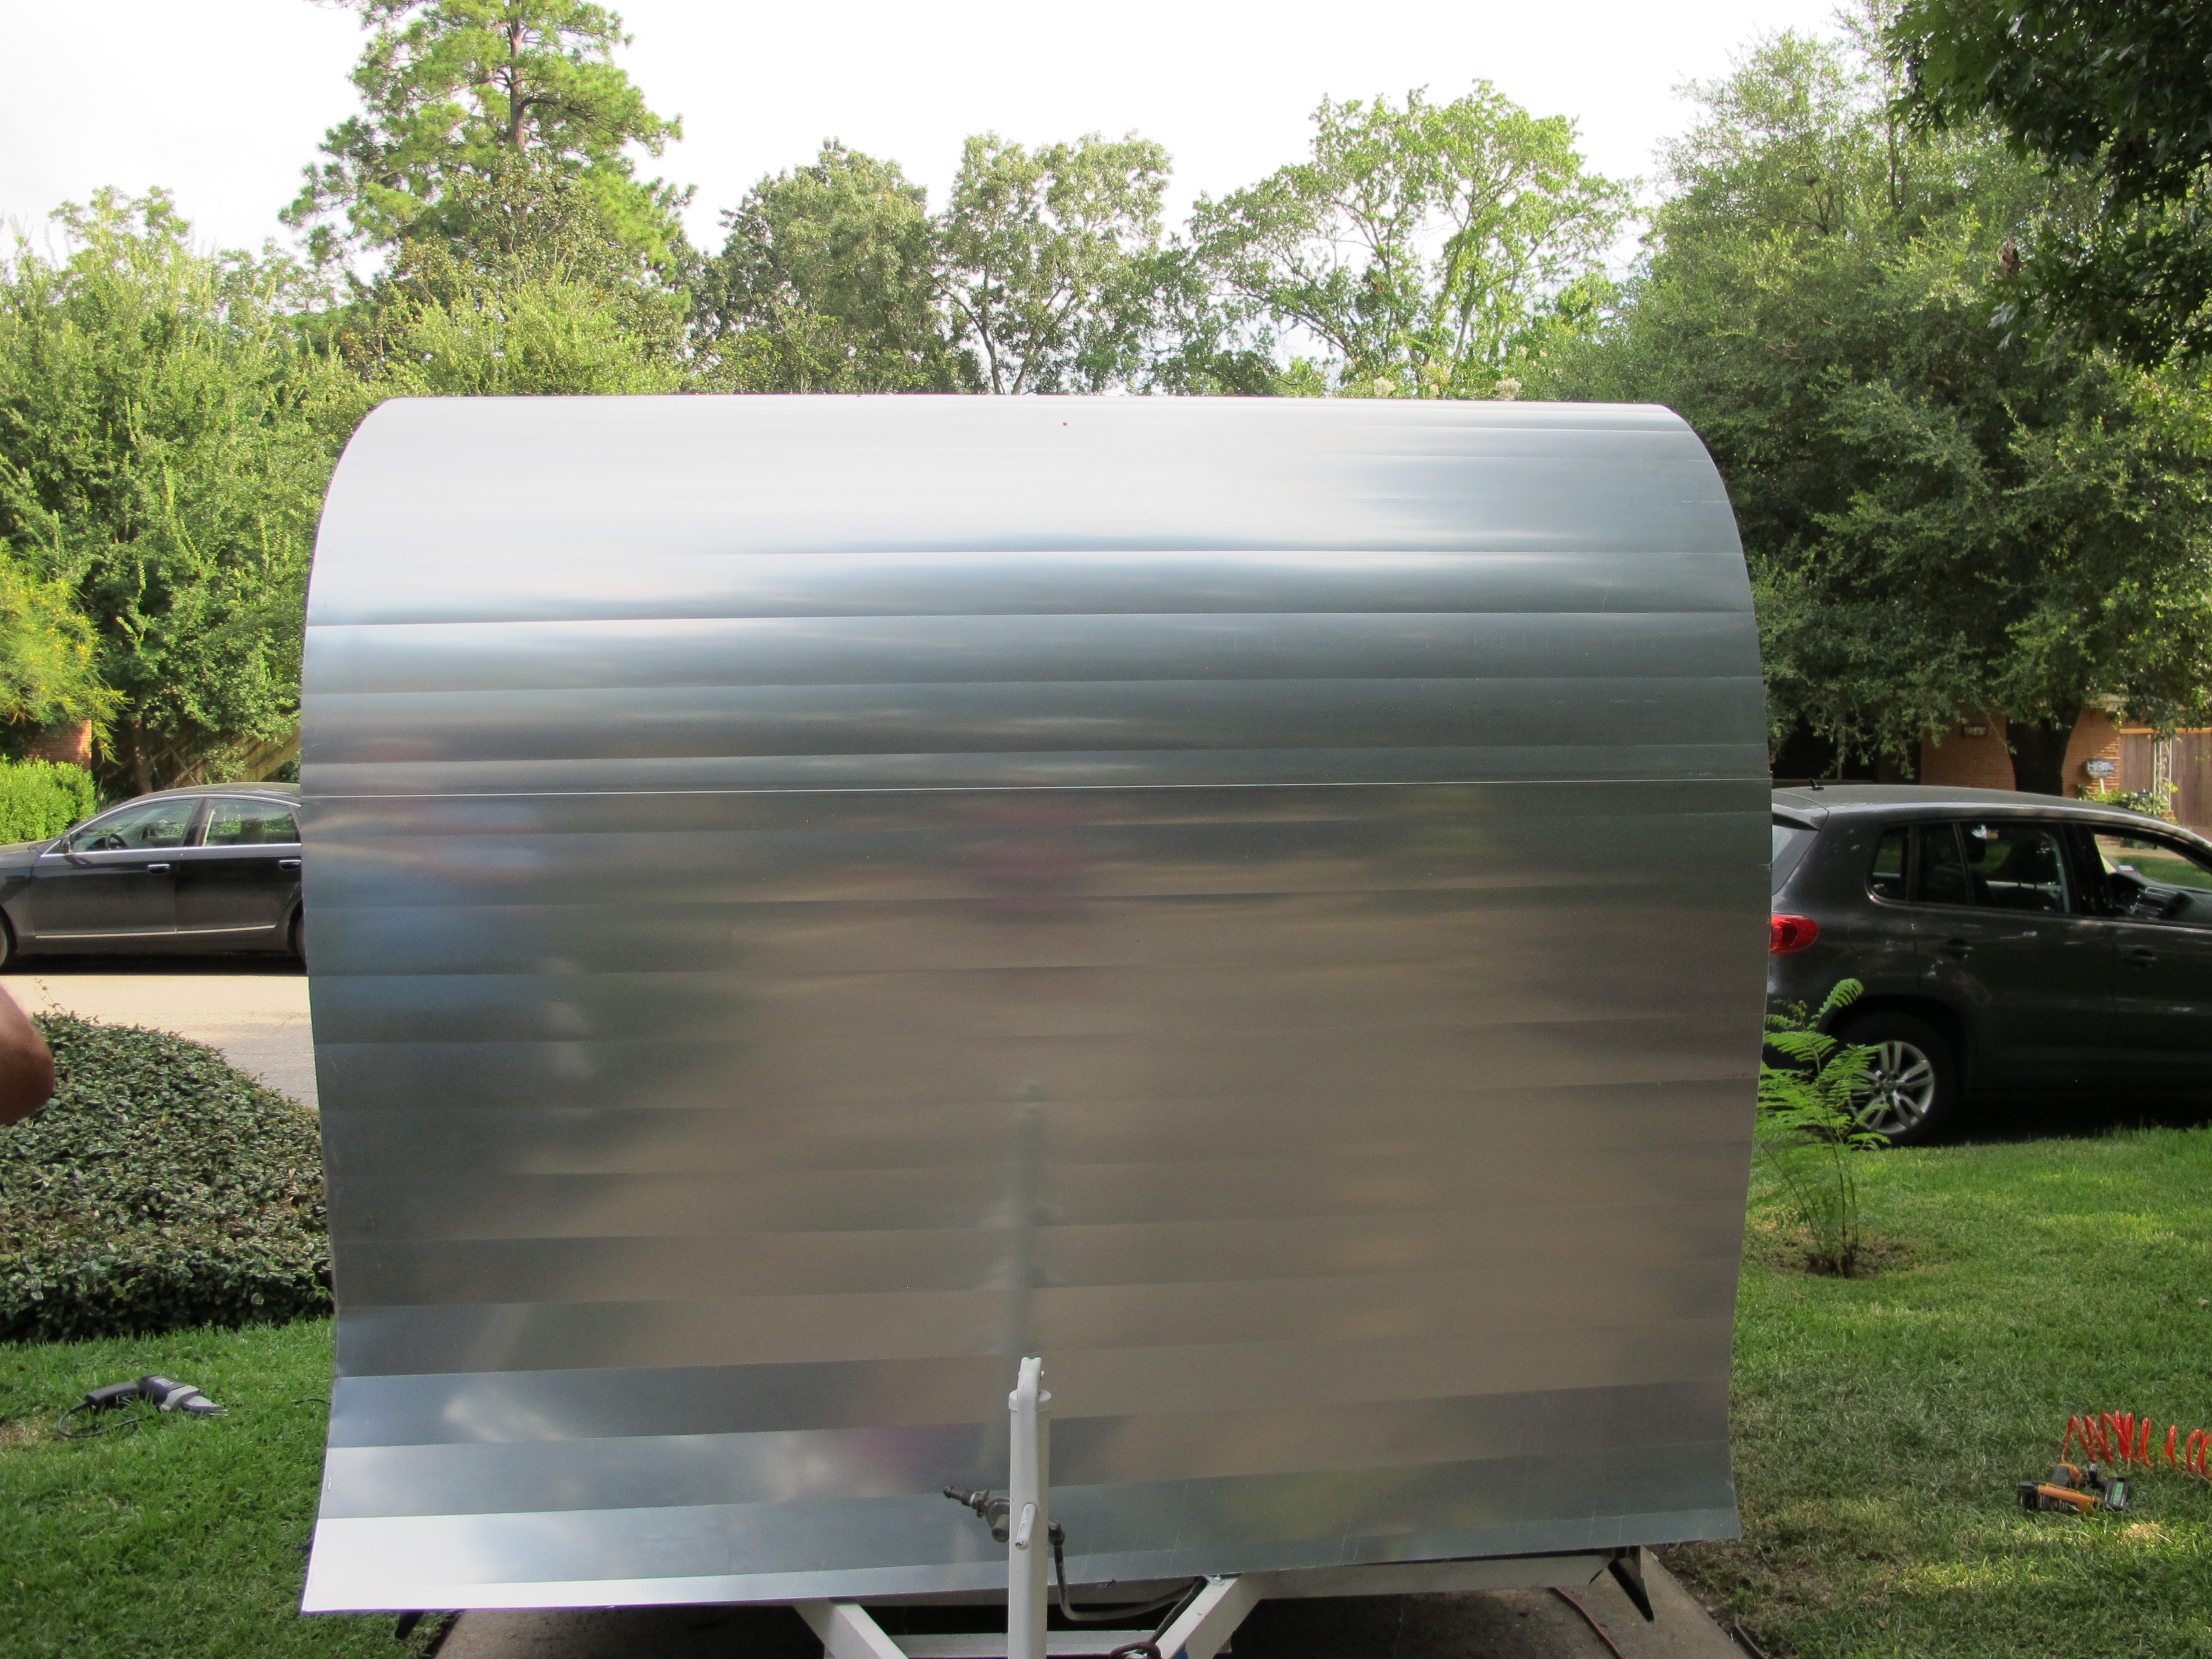
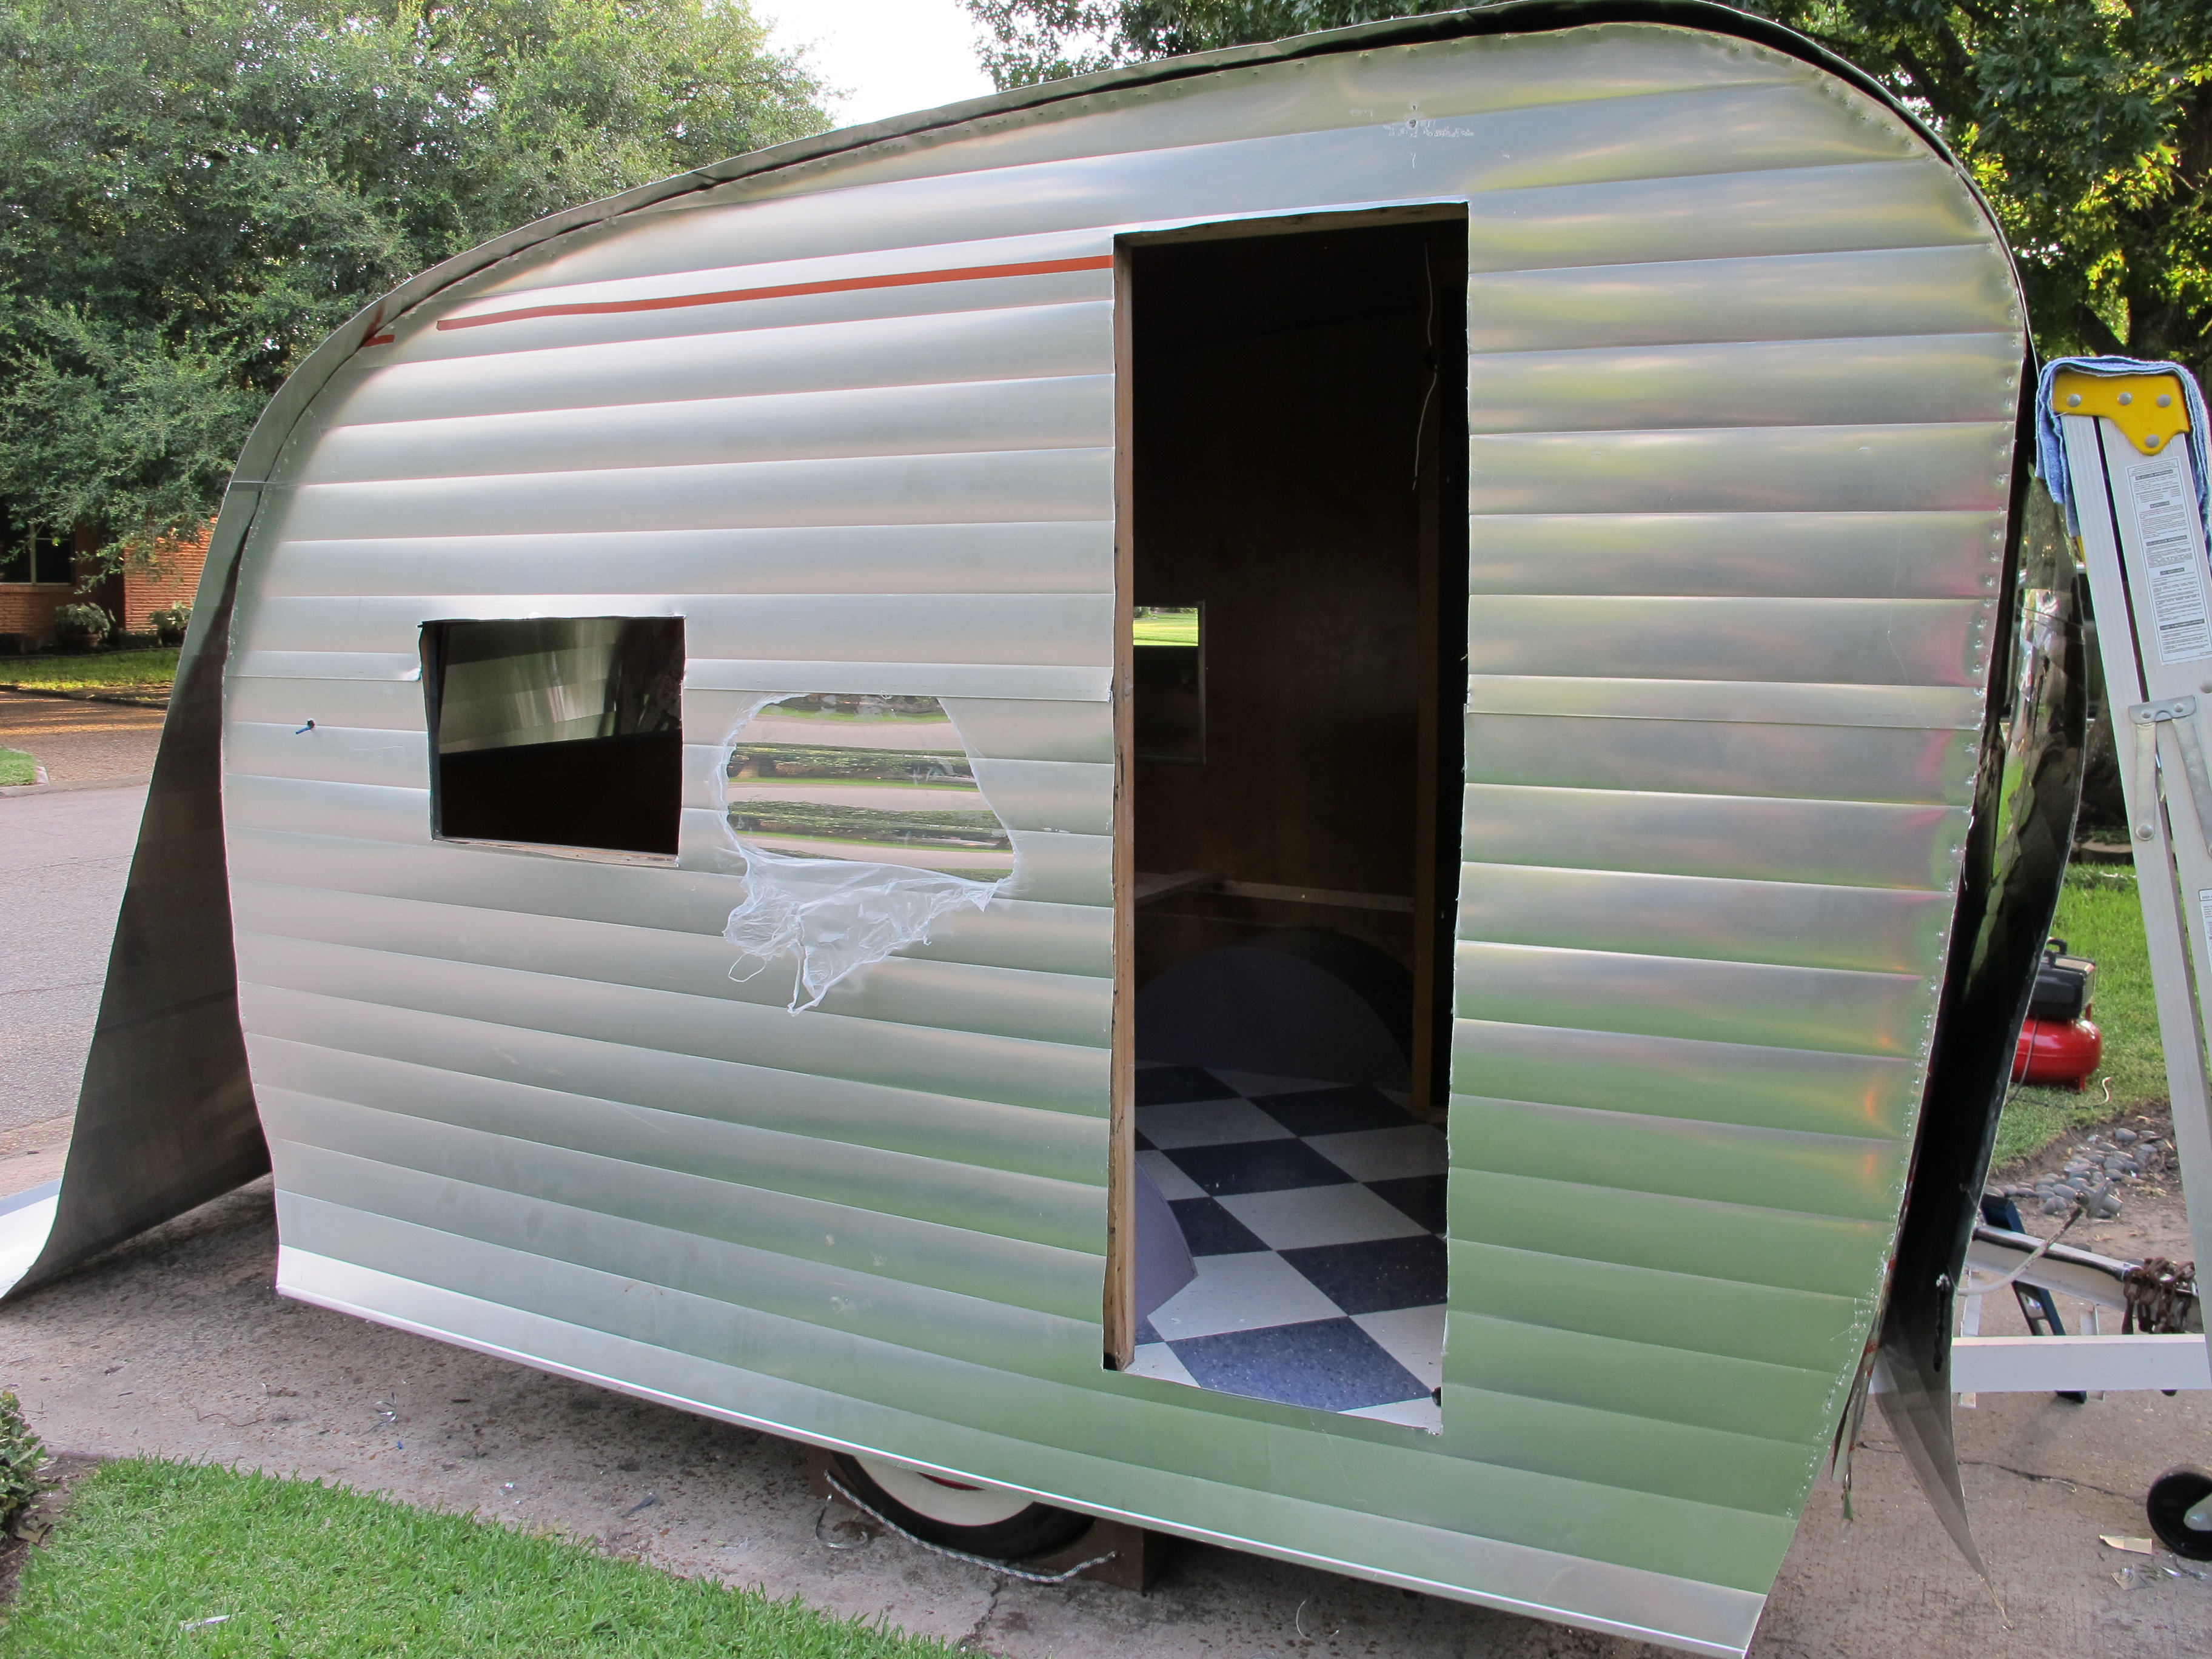
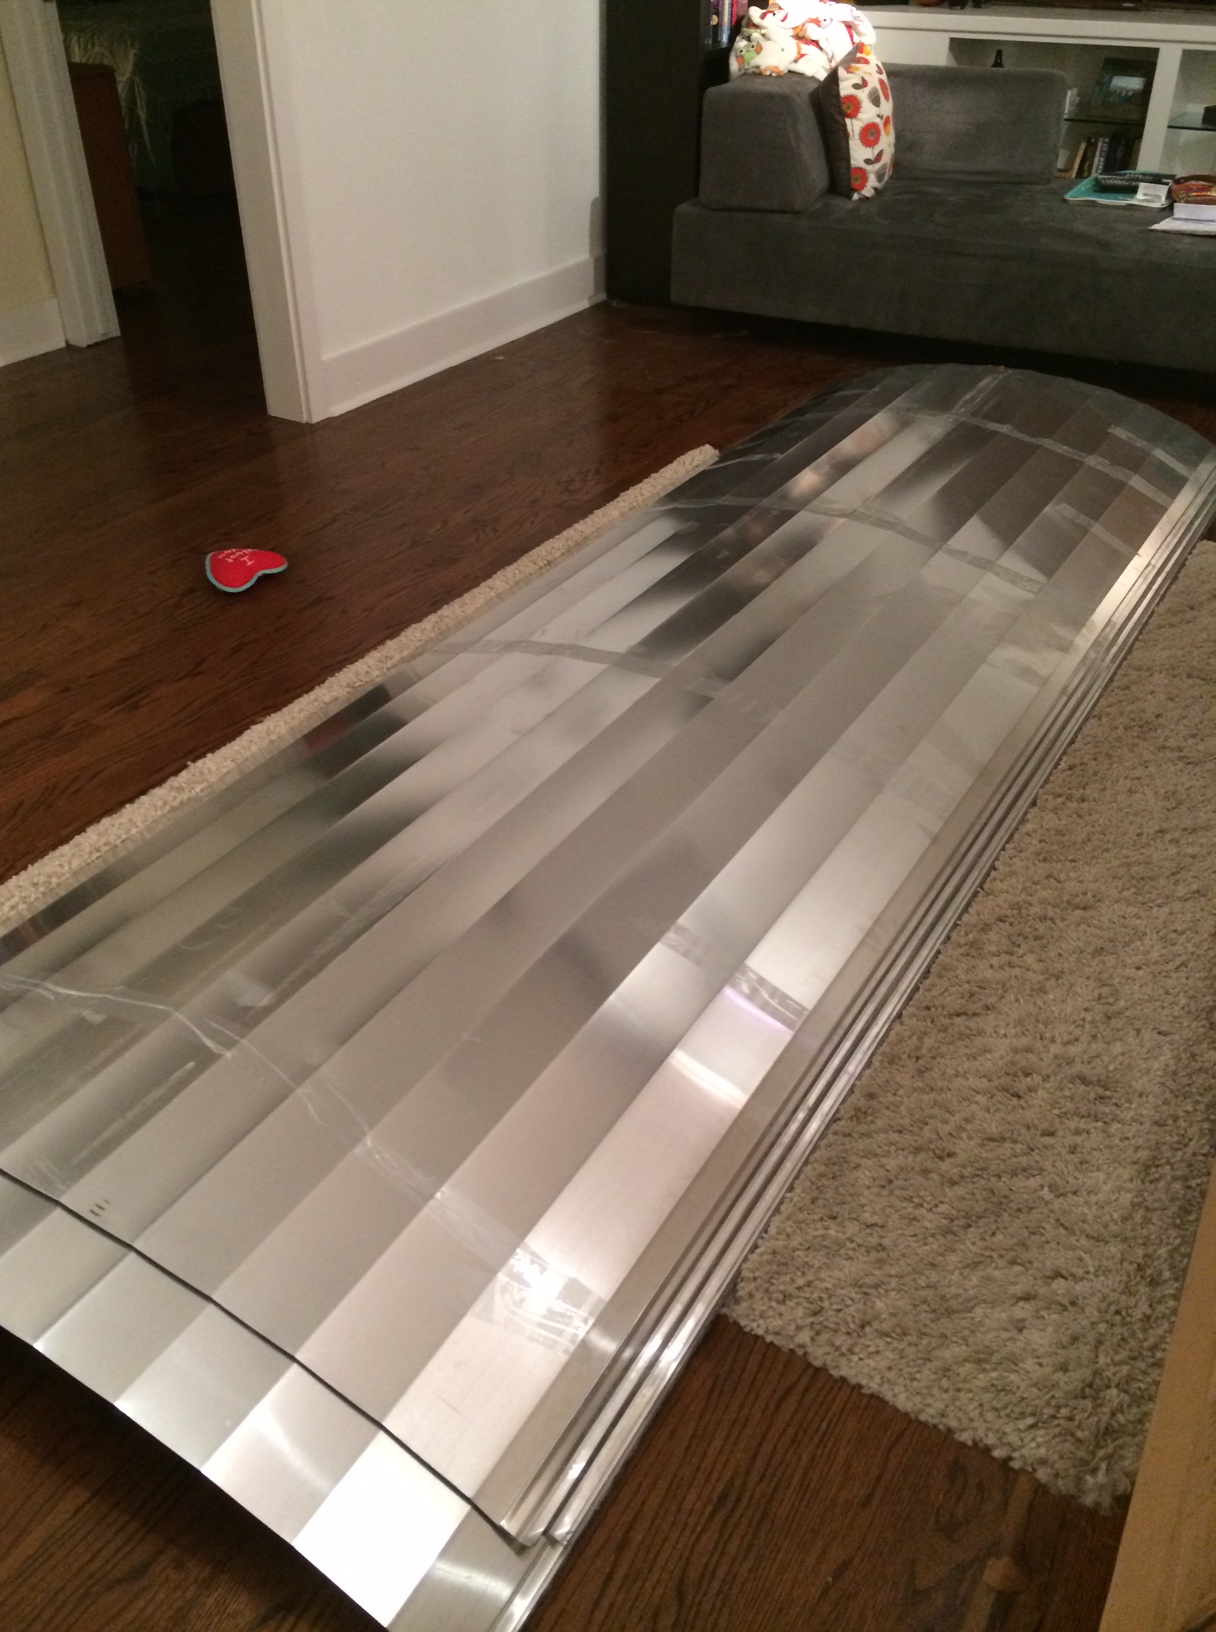
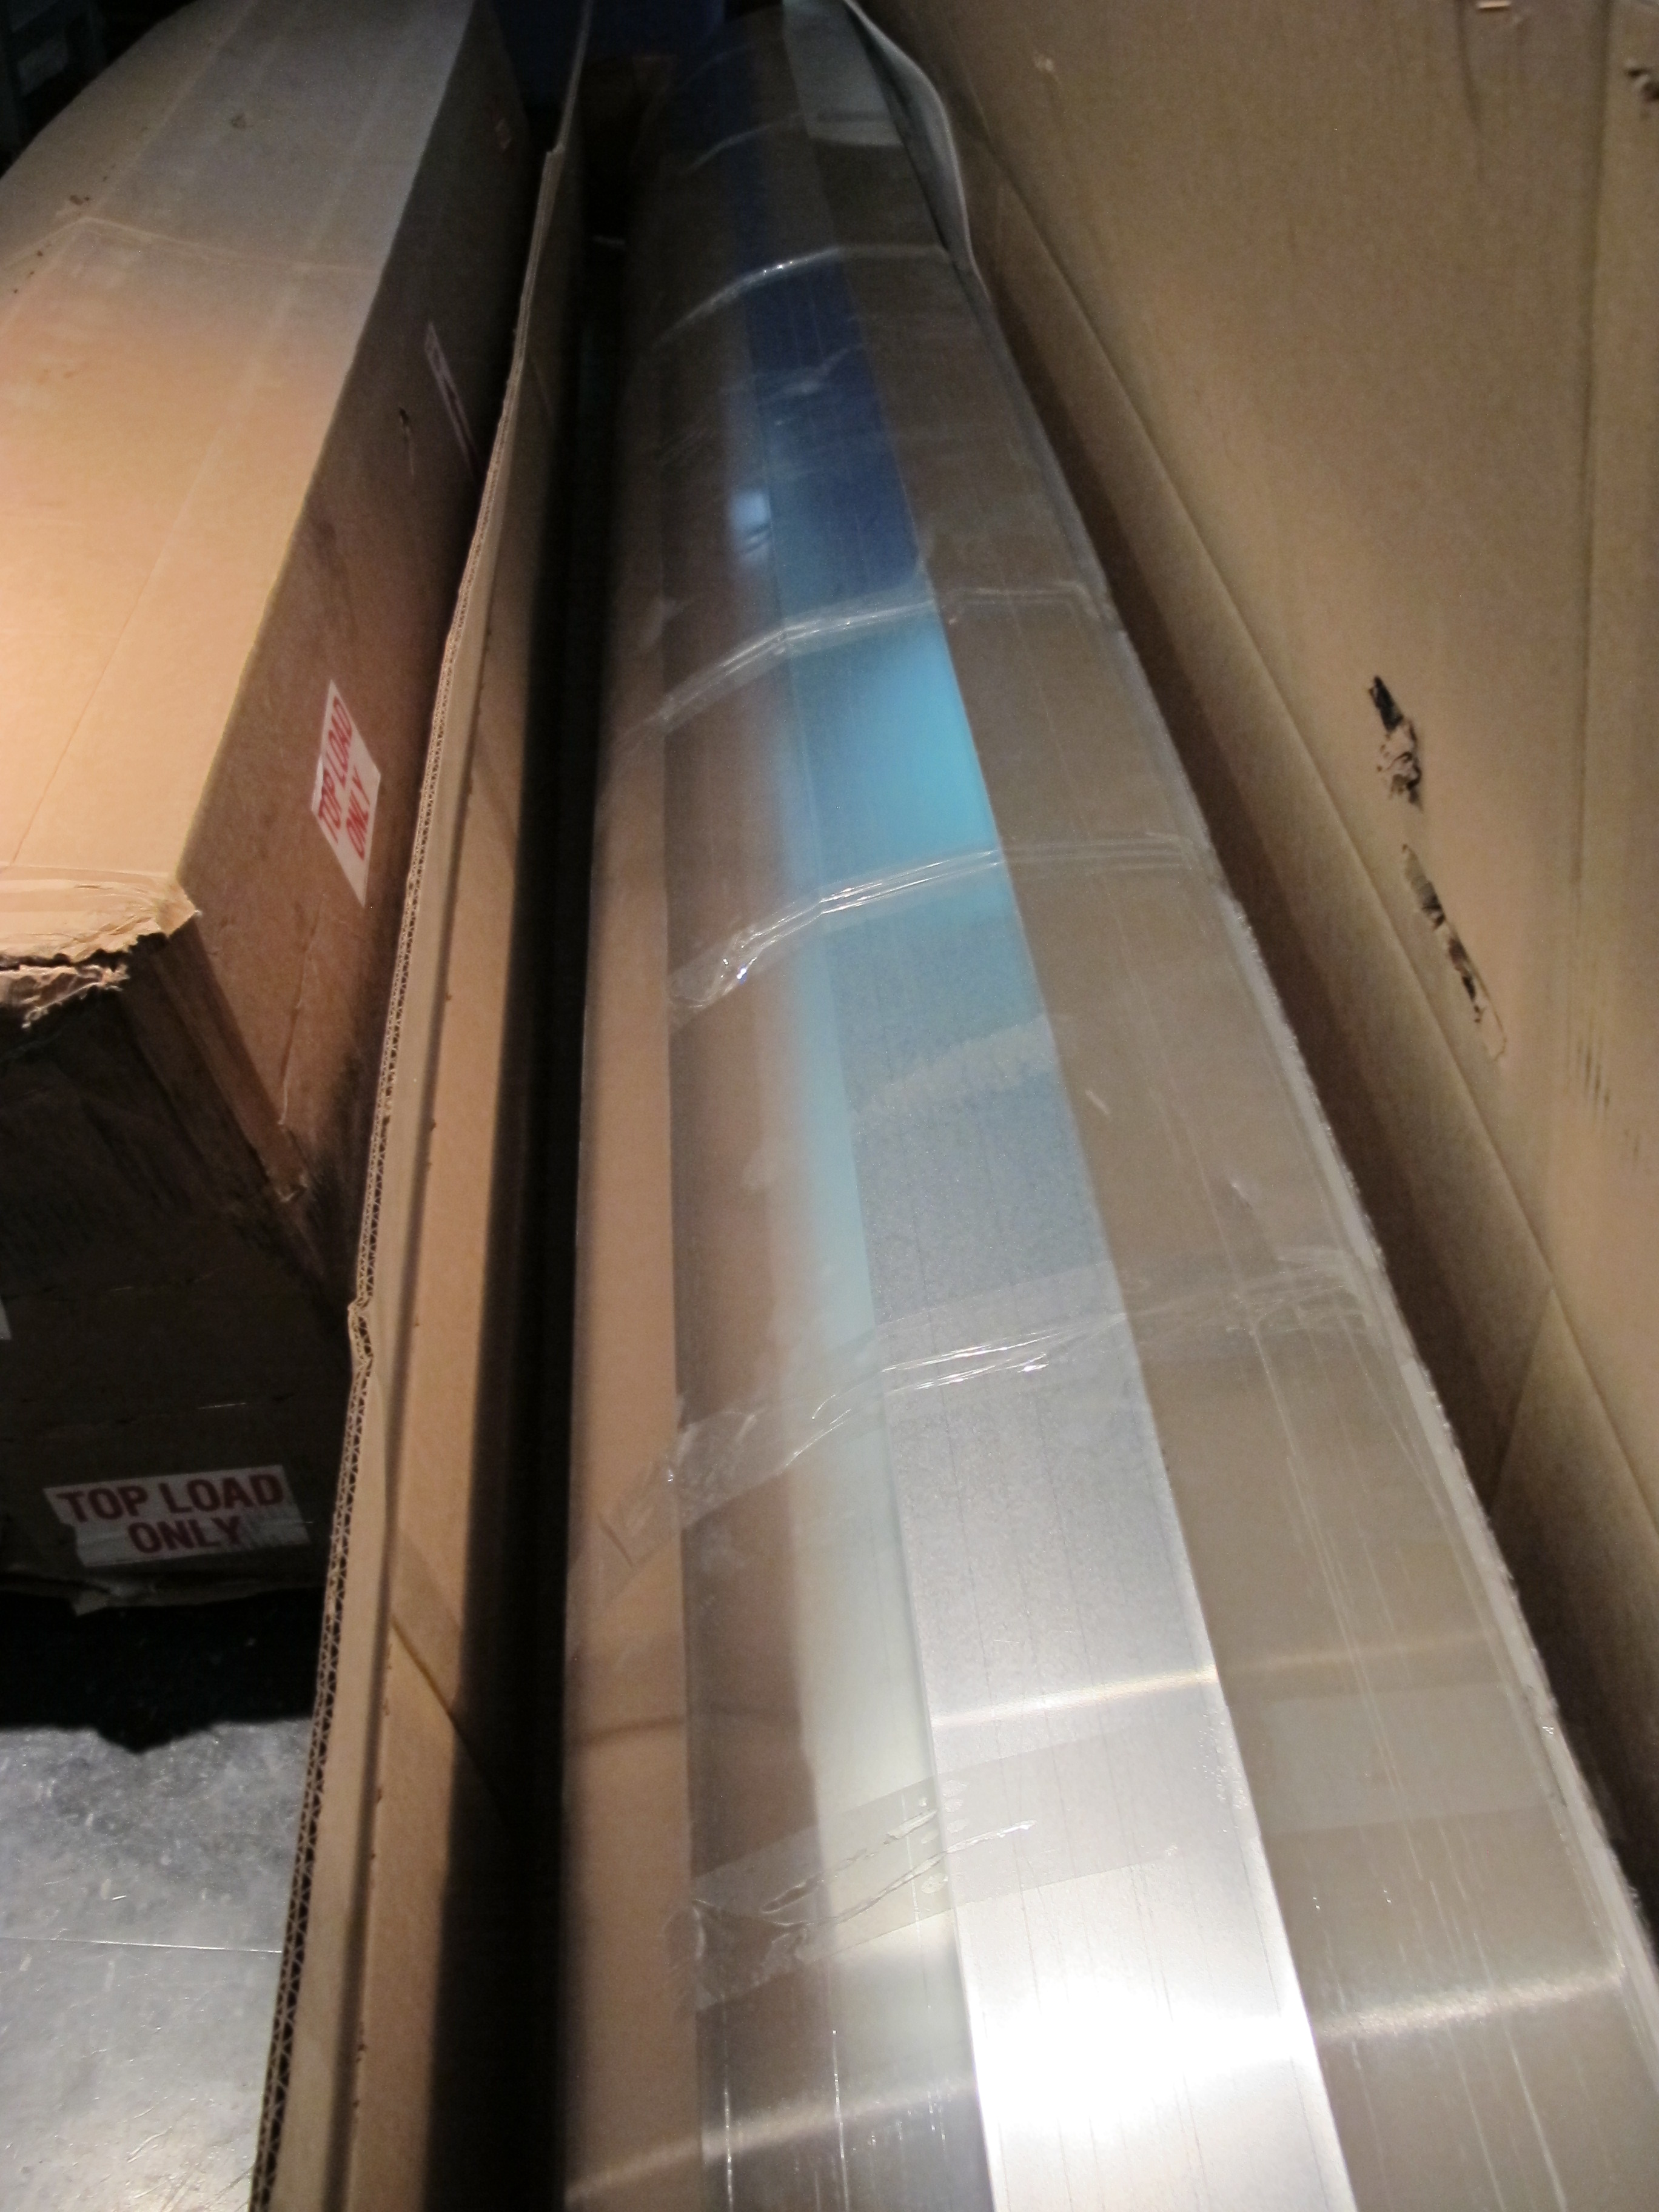
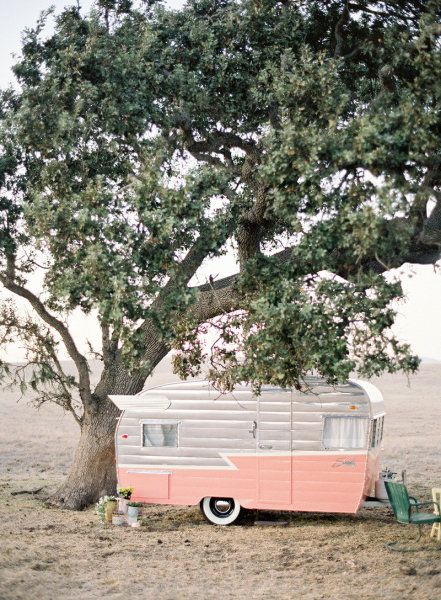
I’ll leave you with the same photo I posted last night since this is the current state of Junebug. There is still a protective film on the aluminum to protect it from scratches. I peeled it back a little so that you can see how shiny it’s going to be. I’m going to wait until it’s all installed though before I remove it completely since it helps to protect it from the elements. It’s going to look so good when I’m finished, but at the rate I’m going, it sometimes feels like I’m never going to get there!

I’m about to go outside to trim the excess from the rear so that it’s not sticking out from under the tarp all week. I’m not sure if I have the energy to do anything more than that on Junebug today. I don’t think I’m going to reach my goal of finishing by the end of this month but oh well. I don’t want to rush anything again and make another big mistake. I hope everyone had a nice weekend, and I’ll see you next week!


