Slow and steady wins the race, right?? I’m starting to get impatient because I was hoping I would be further along by now. Not that I haven’t gotten a lot done though. I guess I just keep thinking each task will go quickly and that’s not what happens. You think I’d have learned by now that this project is just going to continue to be like that! haha
I didn’t get to work on Junebug at all yesterday because I had a brunch scheduled with two of my girlfriends and then we did some shopping. By the time I got home, it was evening, and I decided that it was too late to start on anything. This morning, I spent too much time messing around with the photos on my computer and then taking Baxter to the park, so I didn’t get started until around 2pm. Oh well, sometimes I just have to do something else for a little while to regain the energy to get back to my project.
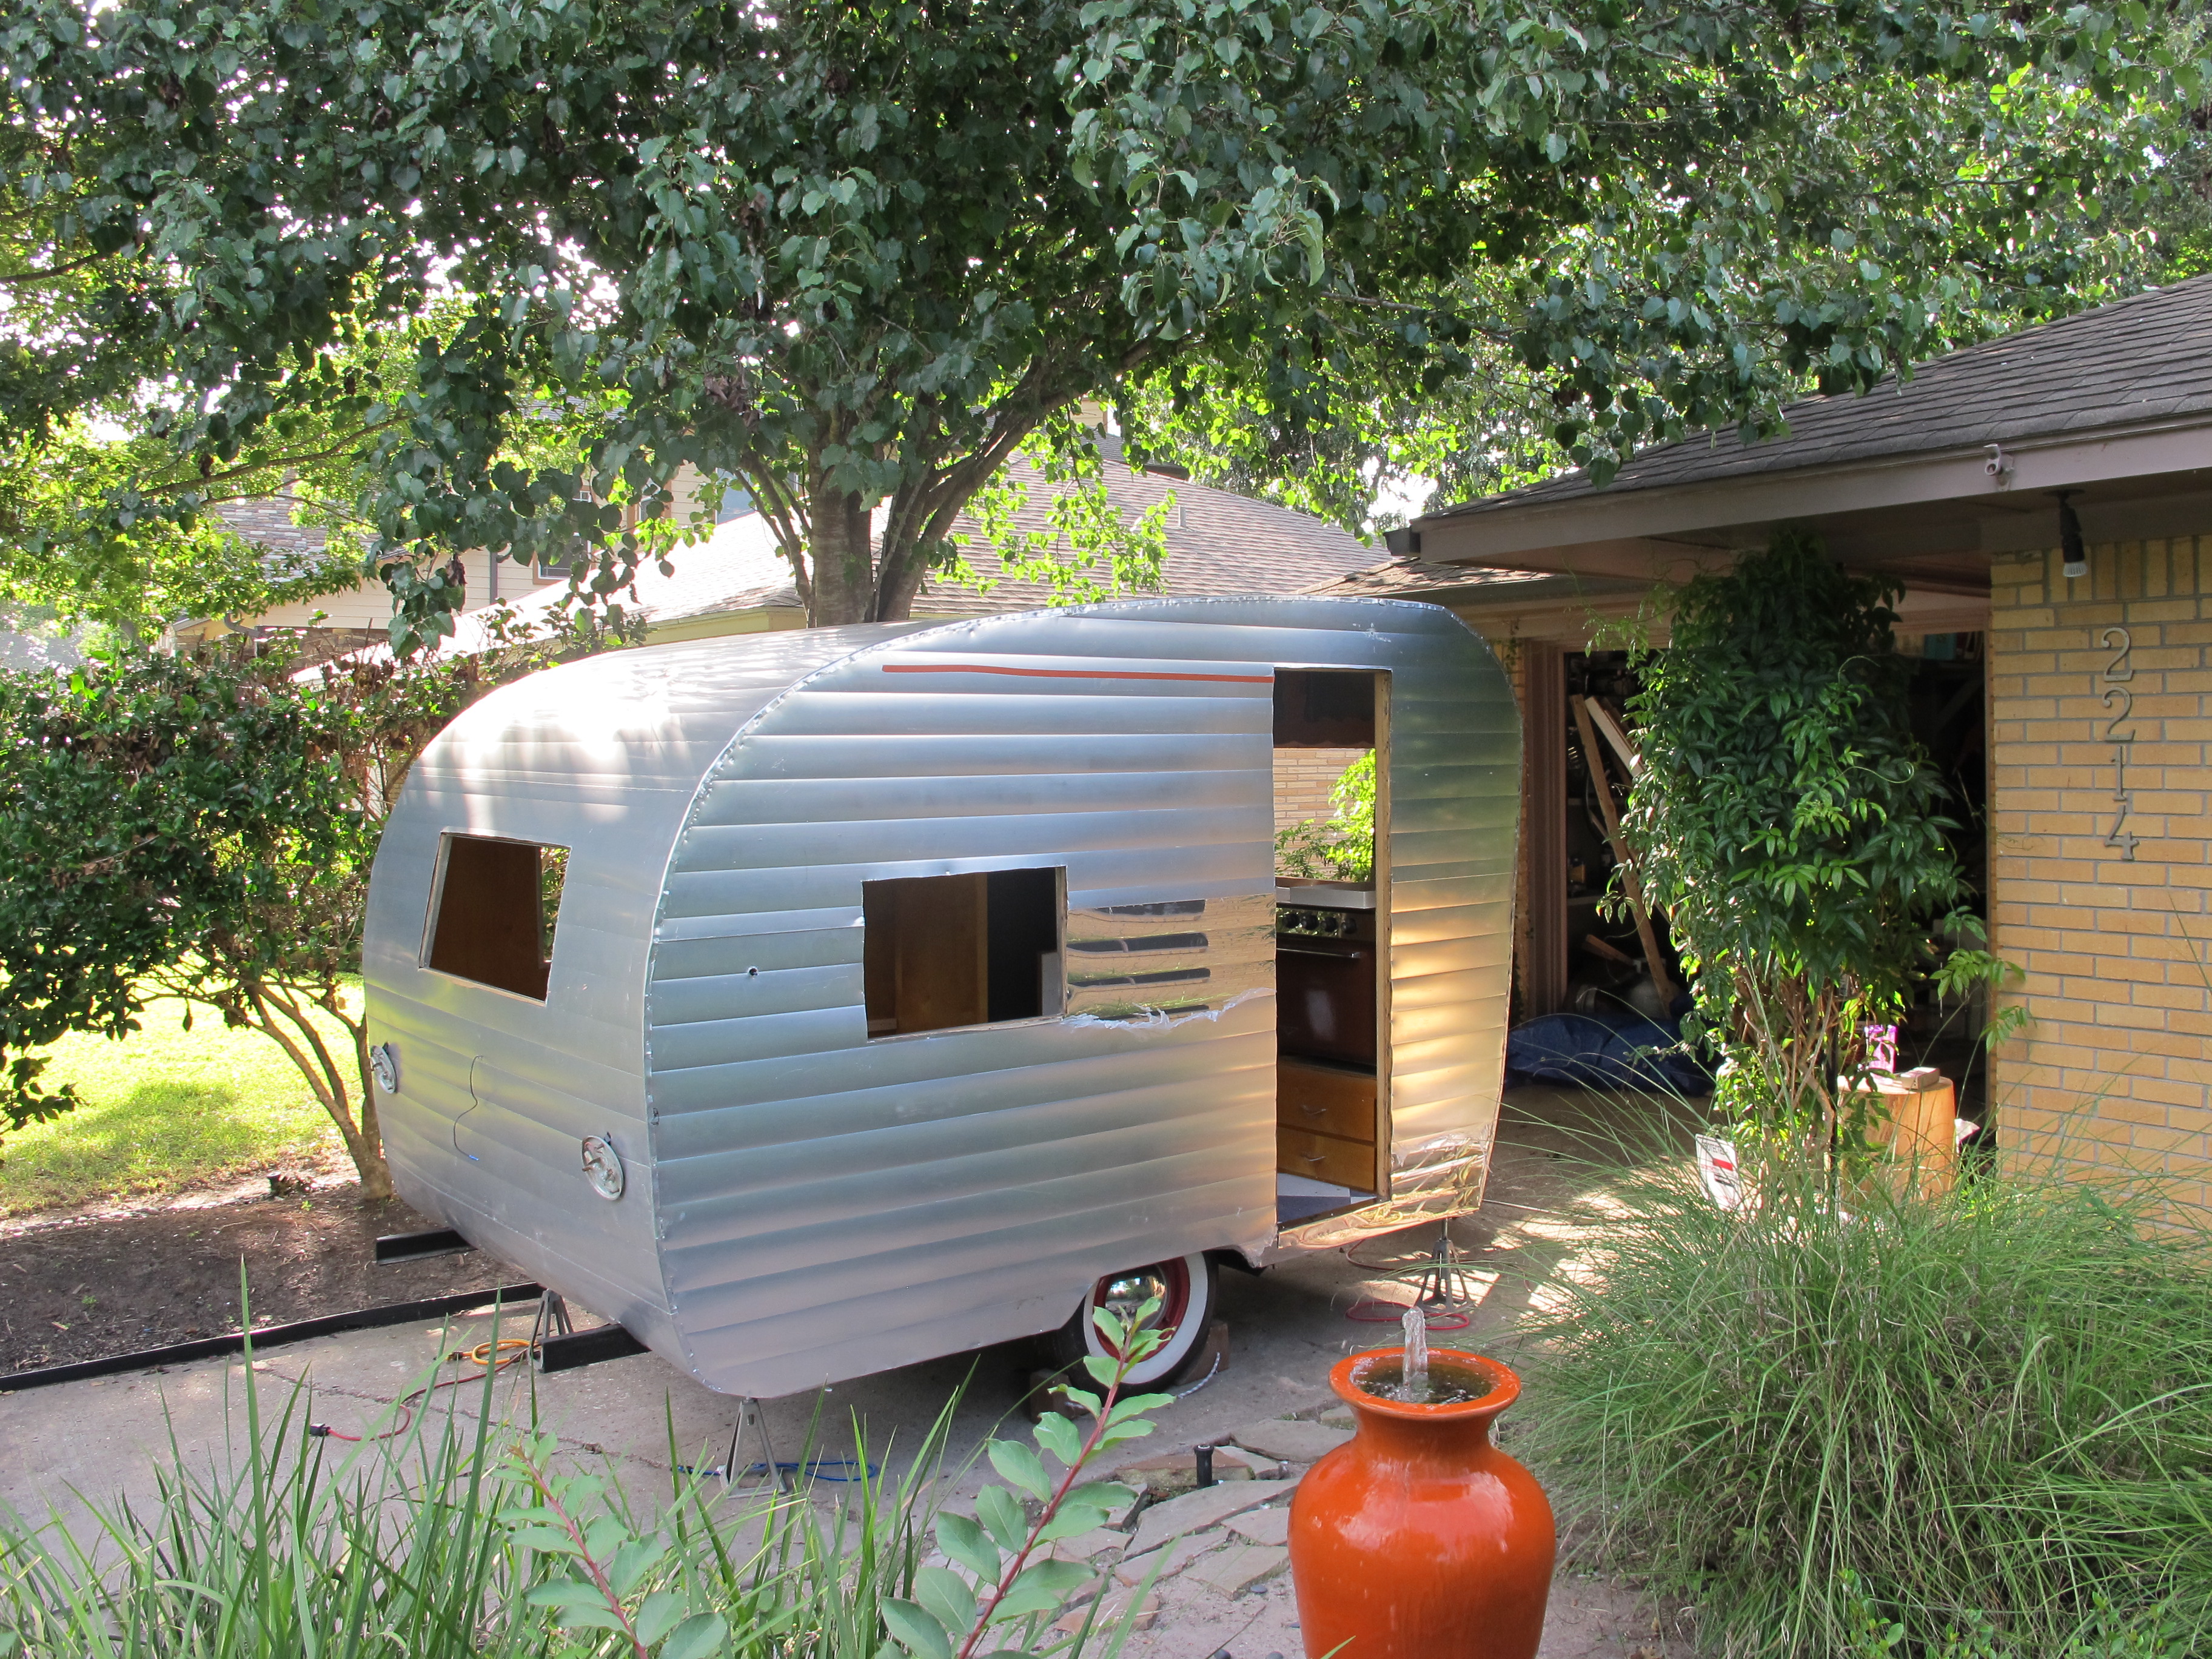
I’m getting closer to finishing the exterior of Junebug, so that’s exciting!
The first thing I did today was roll Junebug out of the driveway and hook her up to my car to make sure my tail lights were still working. I connected them to the wires last weekend but didn’t try them out. I was having trouble getting the batt connectors to close over the wires tight enough, so I was nervous that maybe they wouldn’t work today. Thank goodness they did!
After finishing that task, I rolled Junebug back into the driveway and set about finishing the street side.
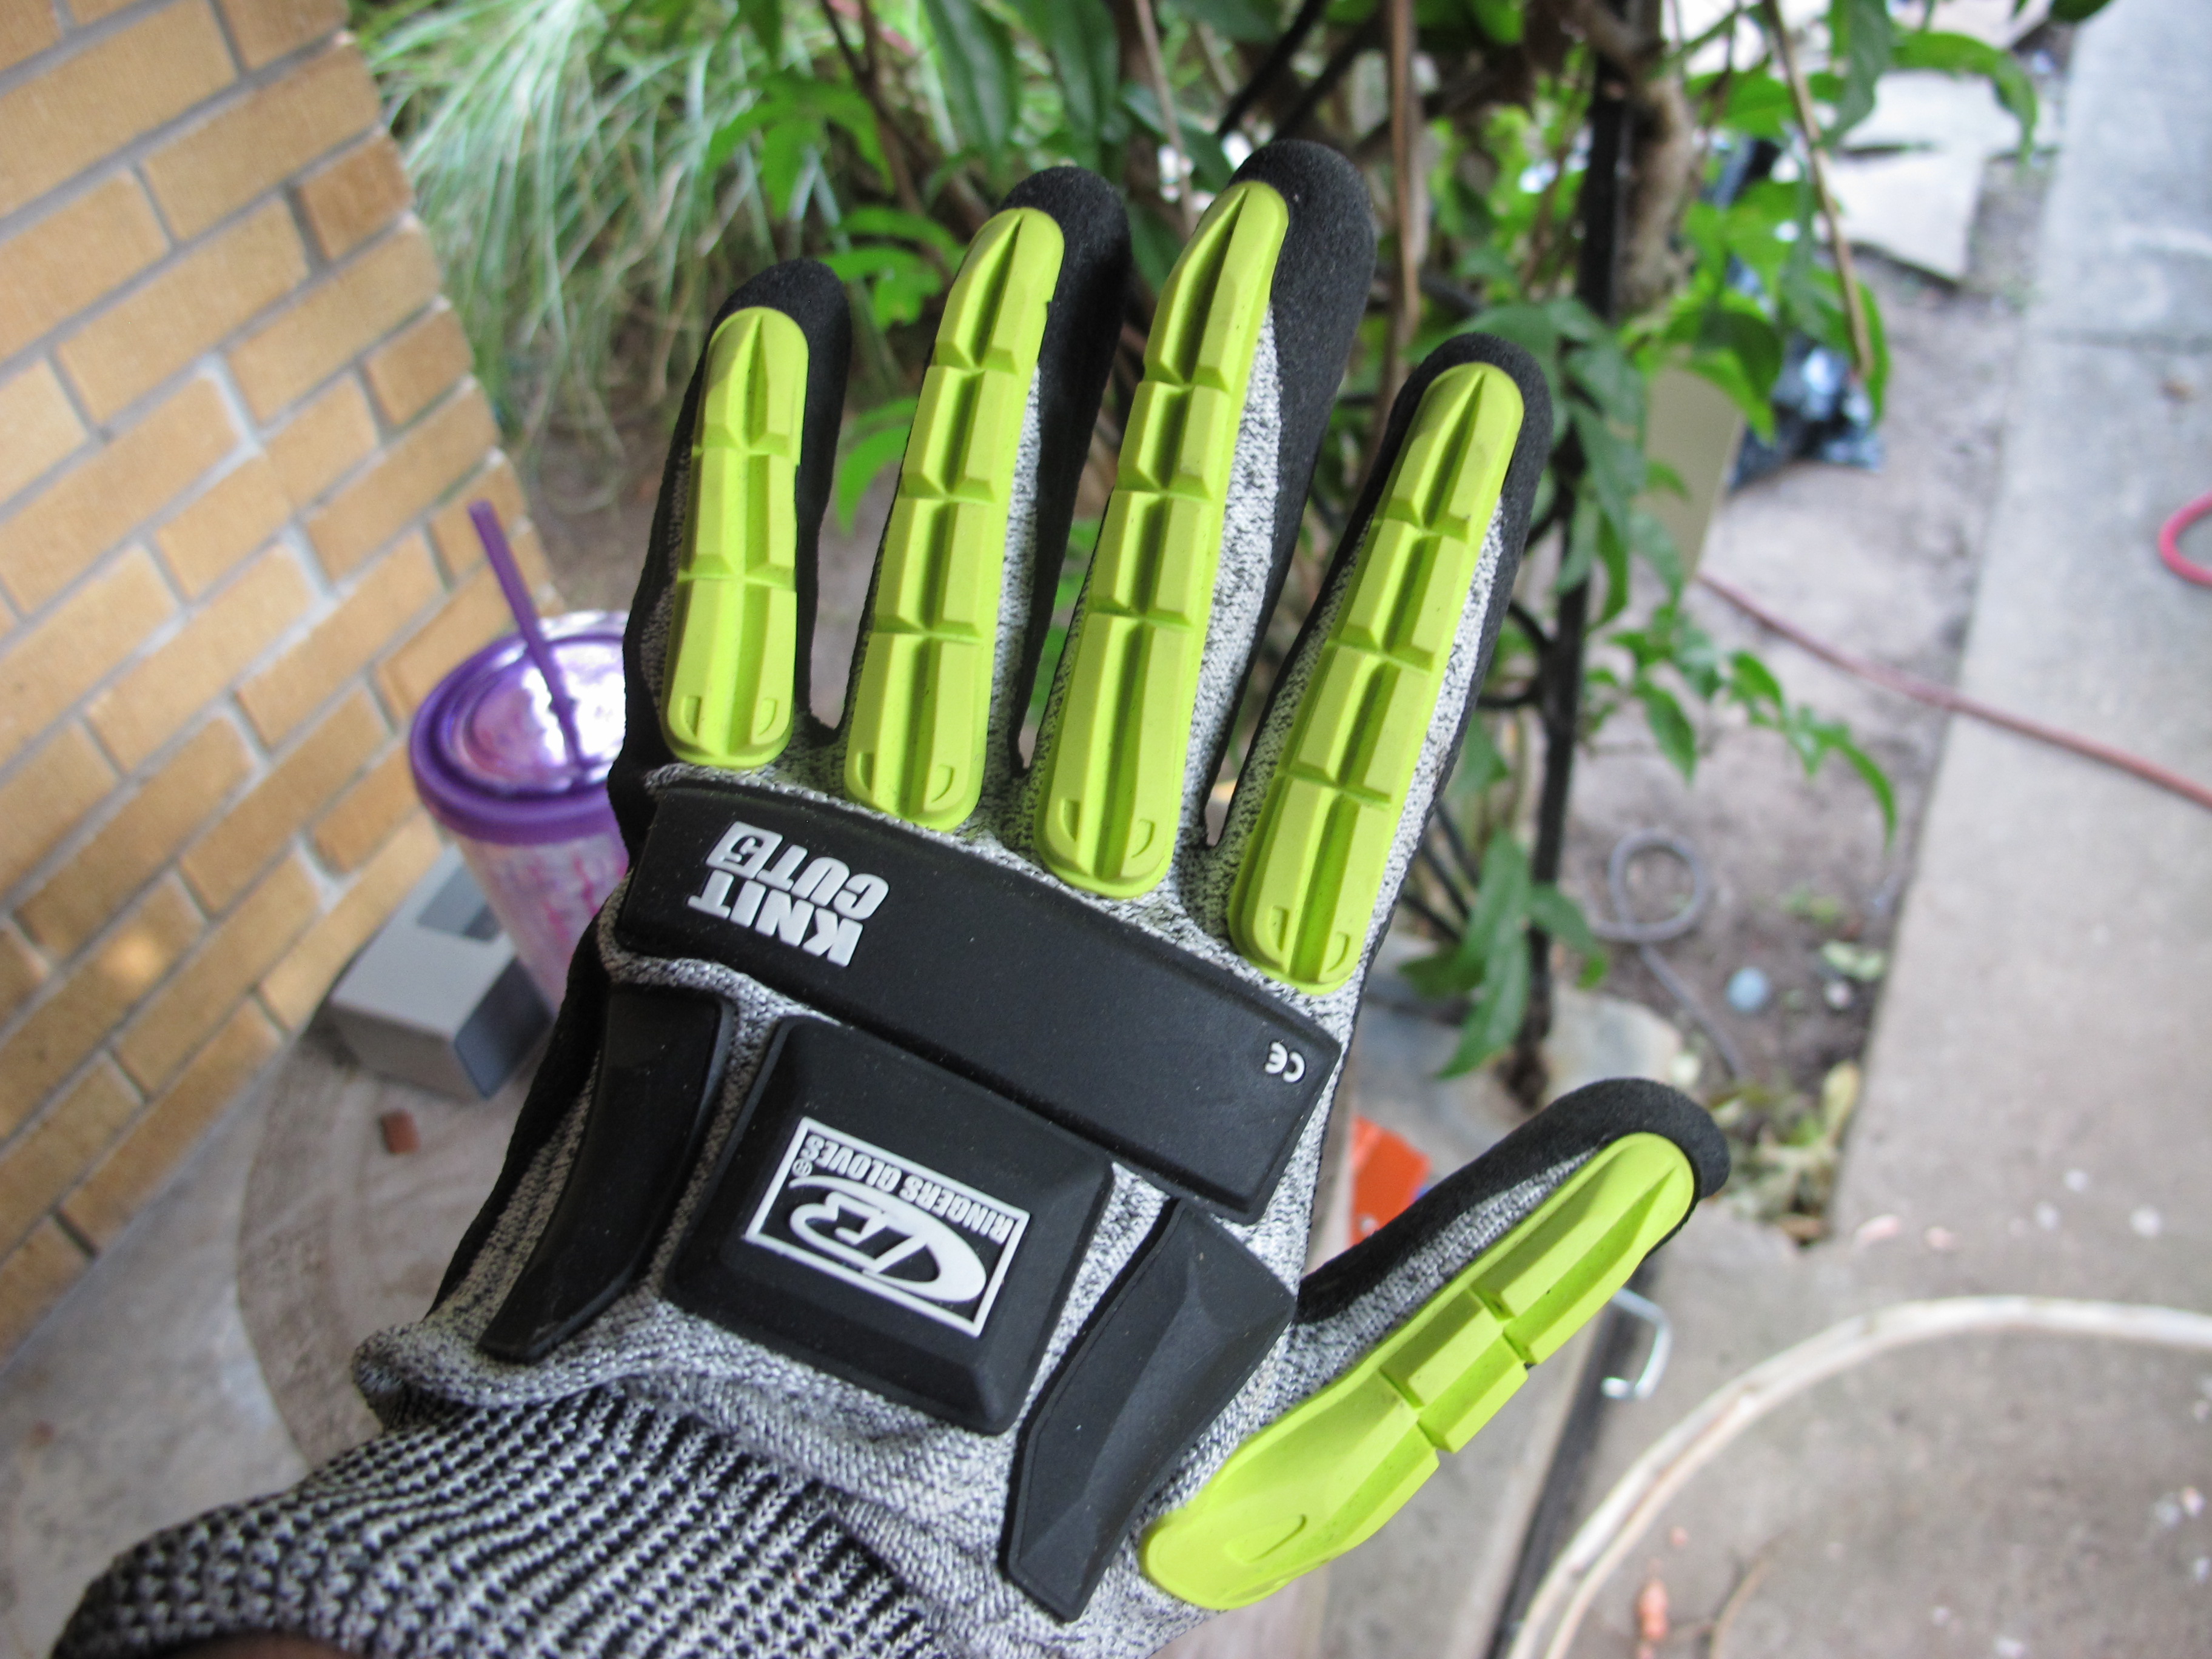
My neighbor gave me these cut resistant gloves. They work great and I sort of look like a transformer! haha
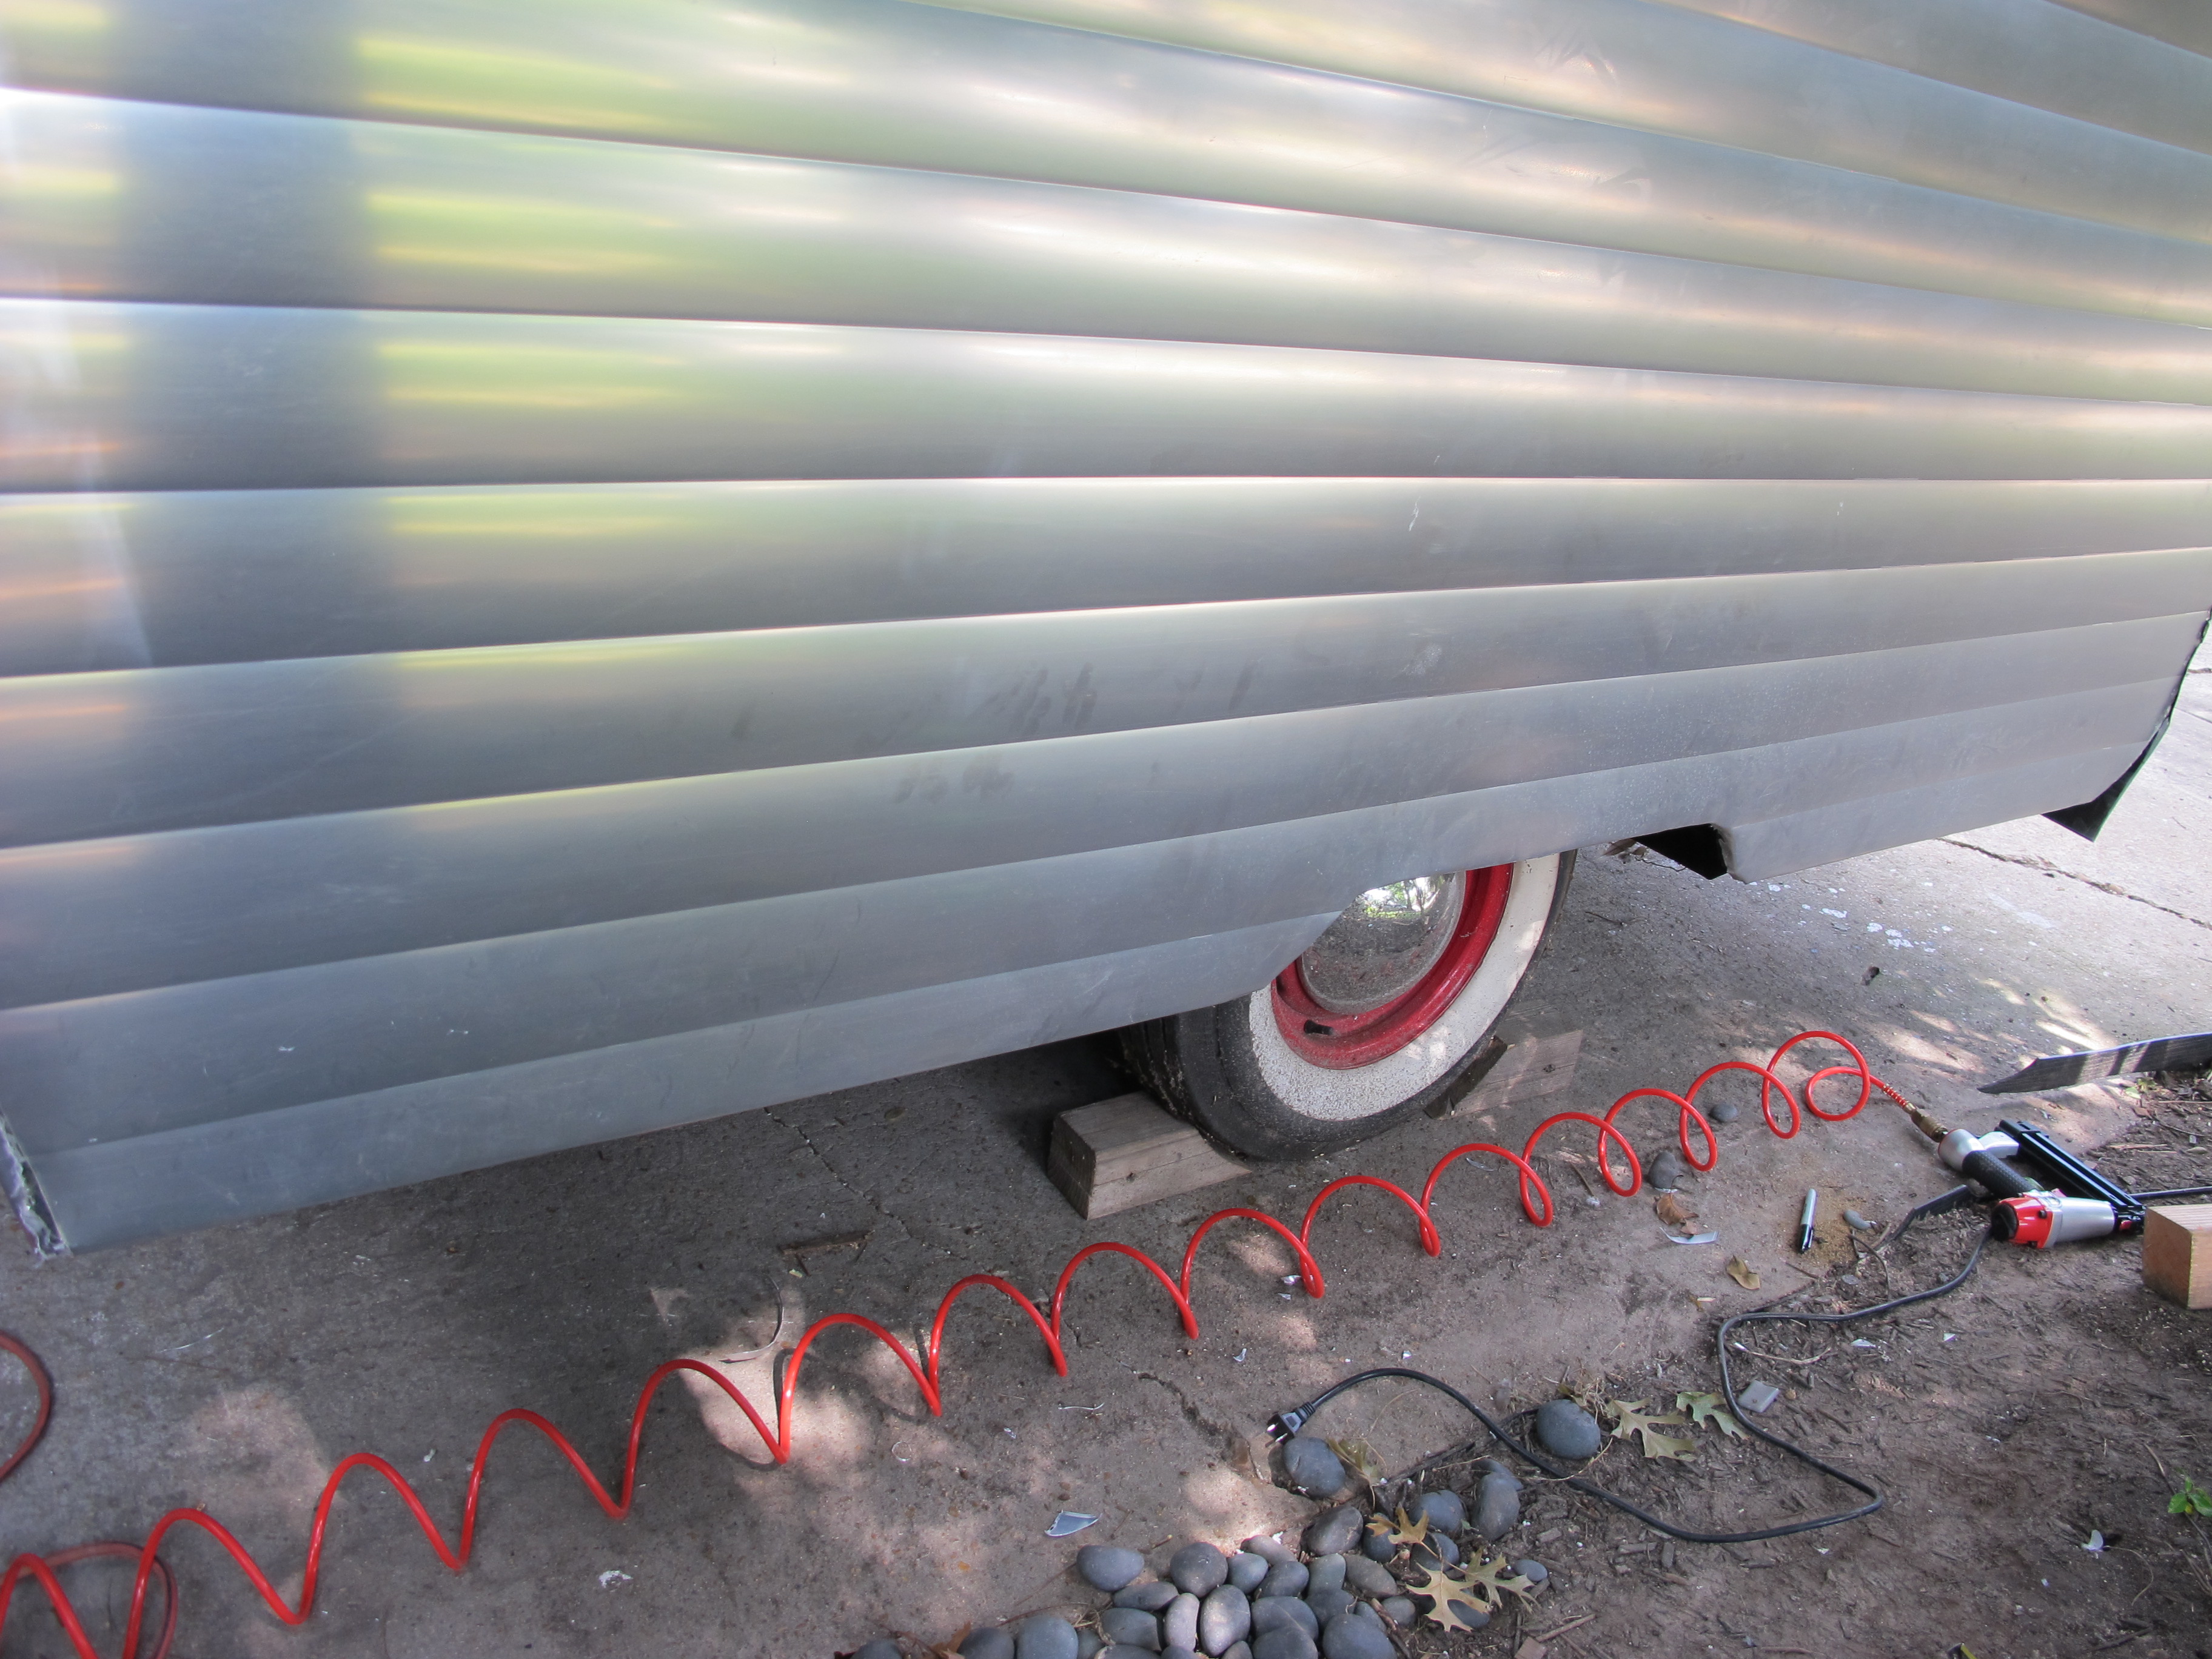
I trimmed the street side bottom edge and folded it under.
I think the bottom edge looks ok folded under, so I may wait until later to add the trim.
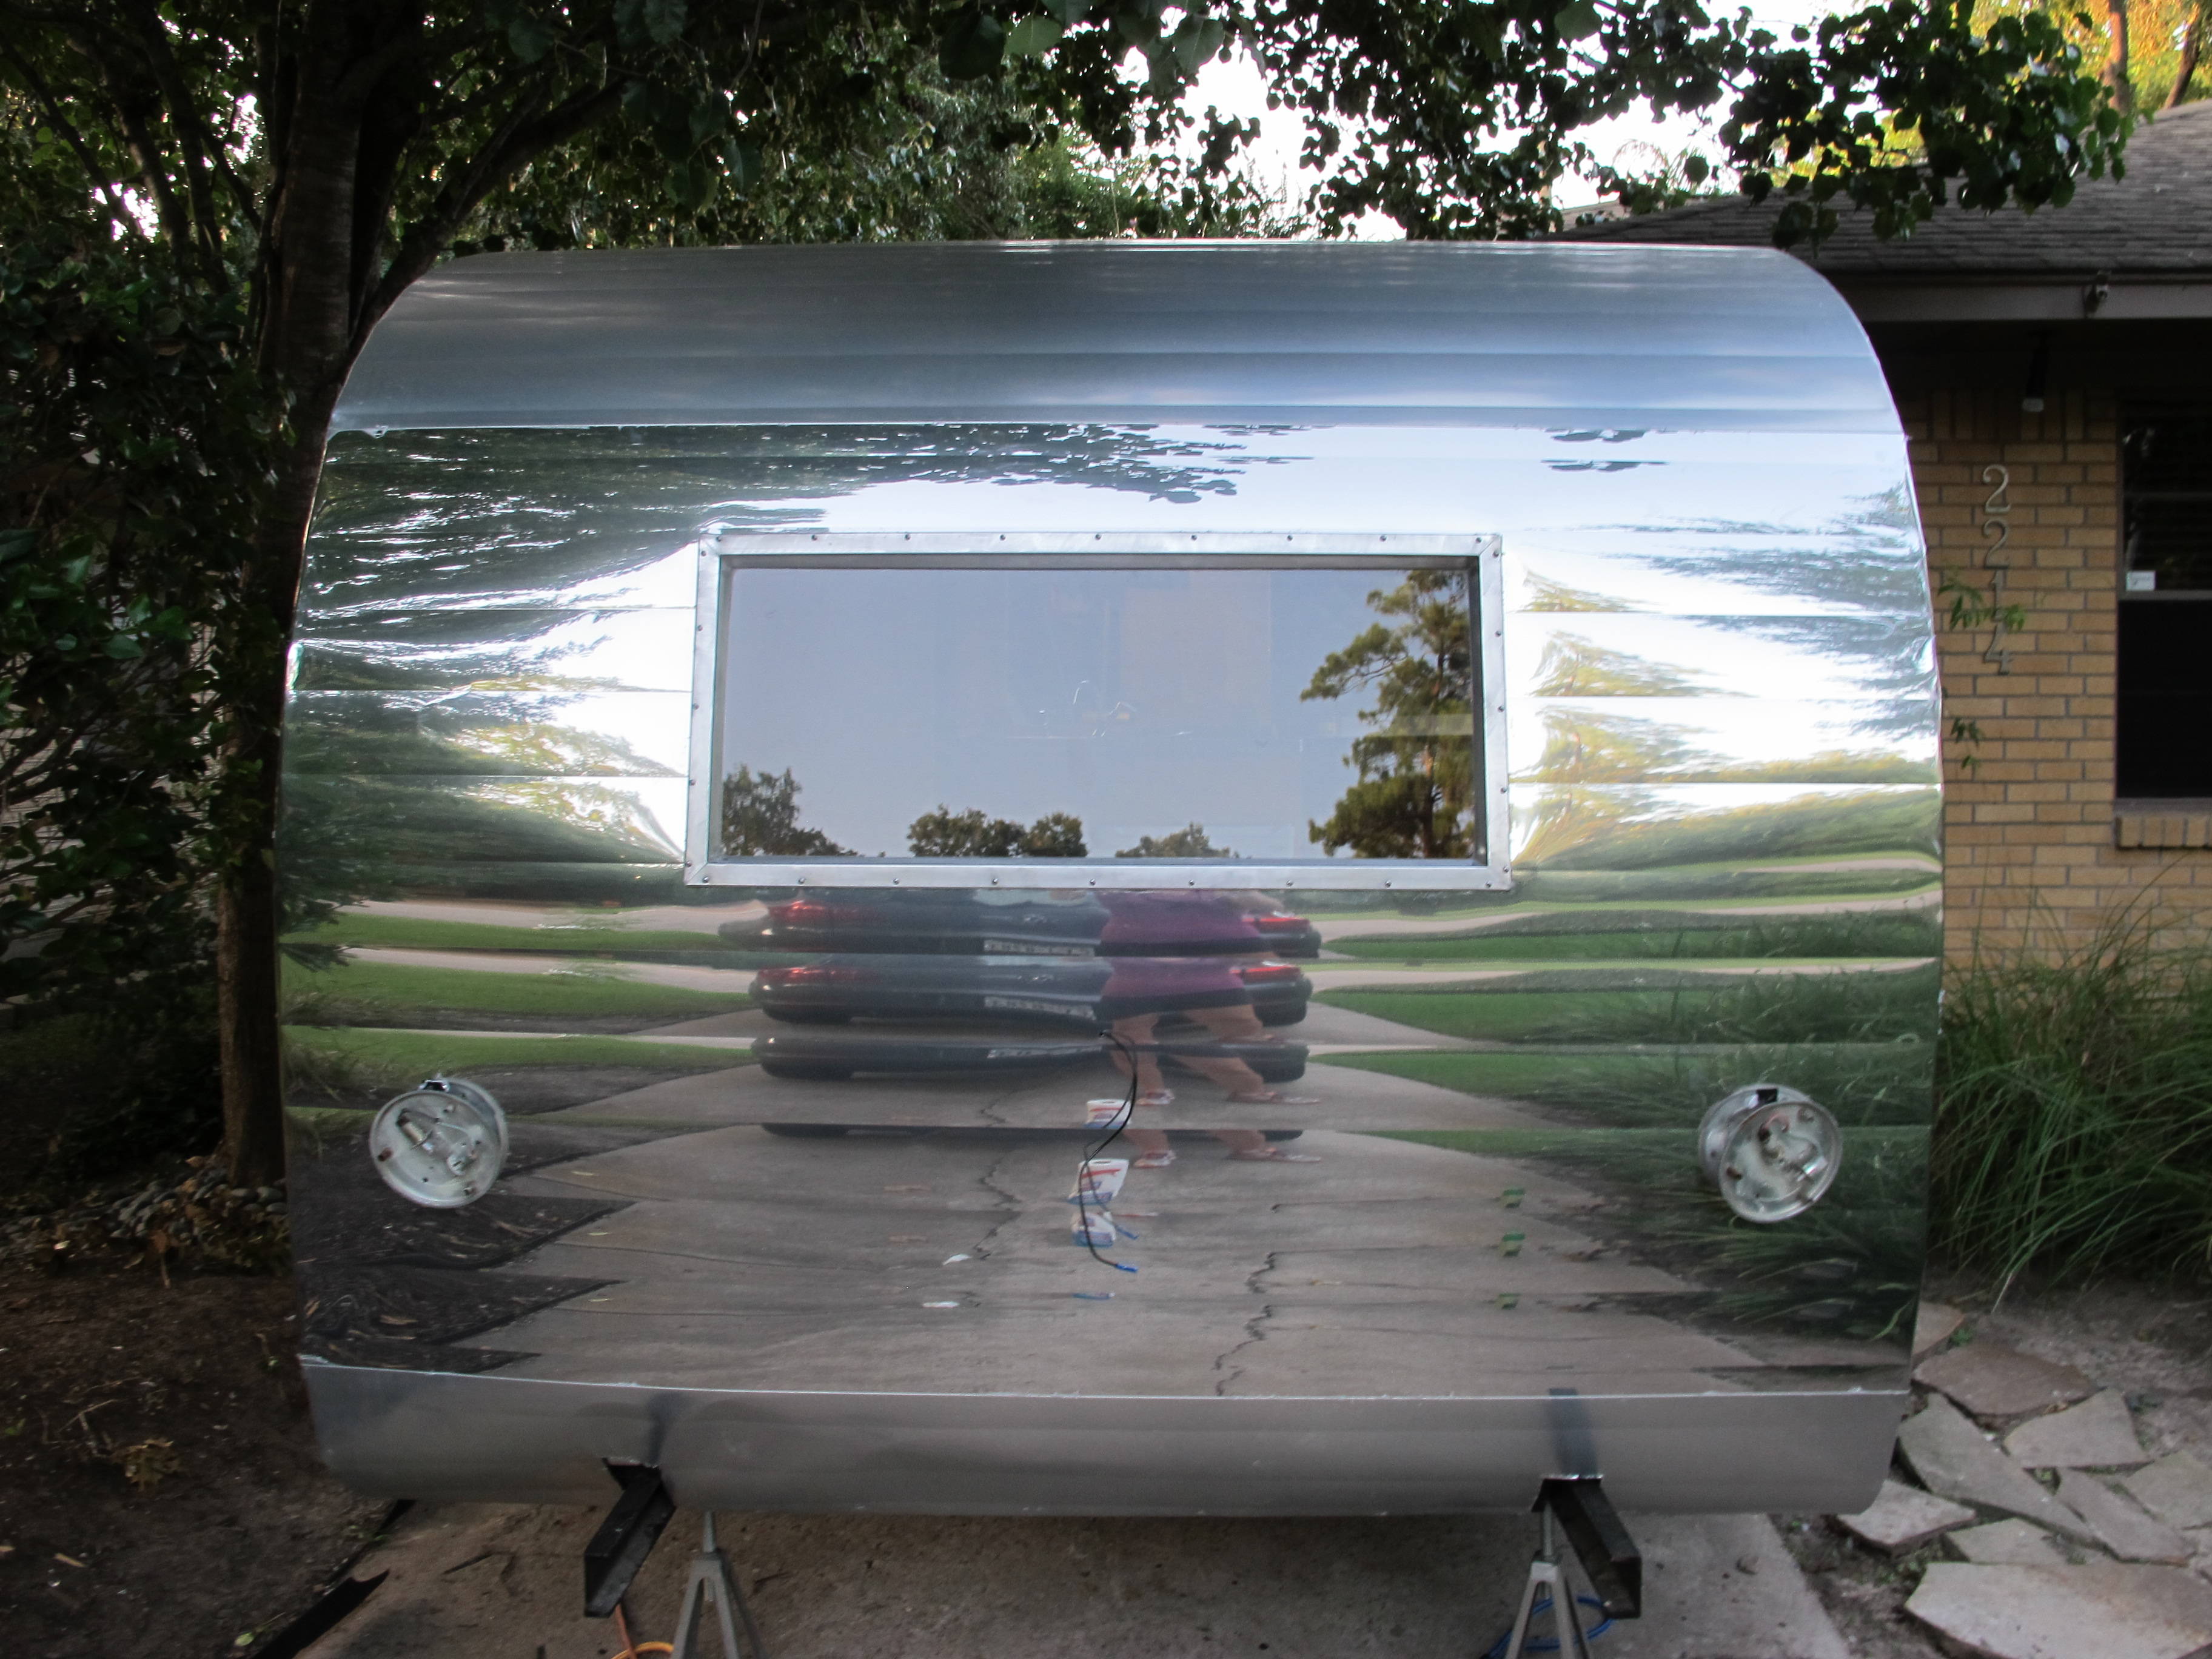
Next, I finished the rear panel.
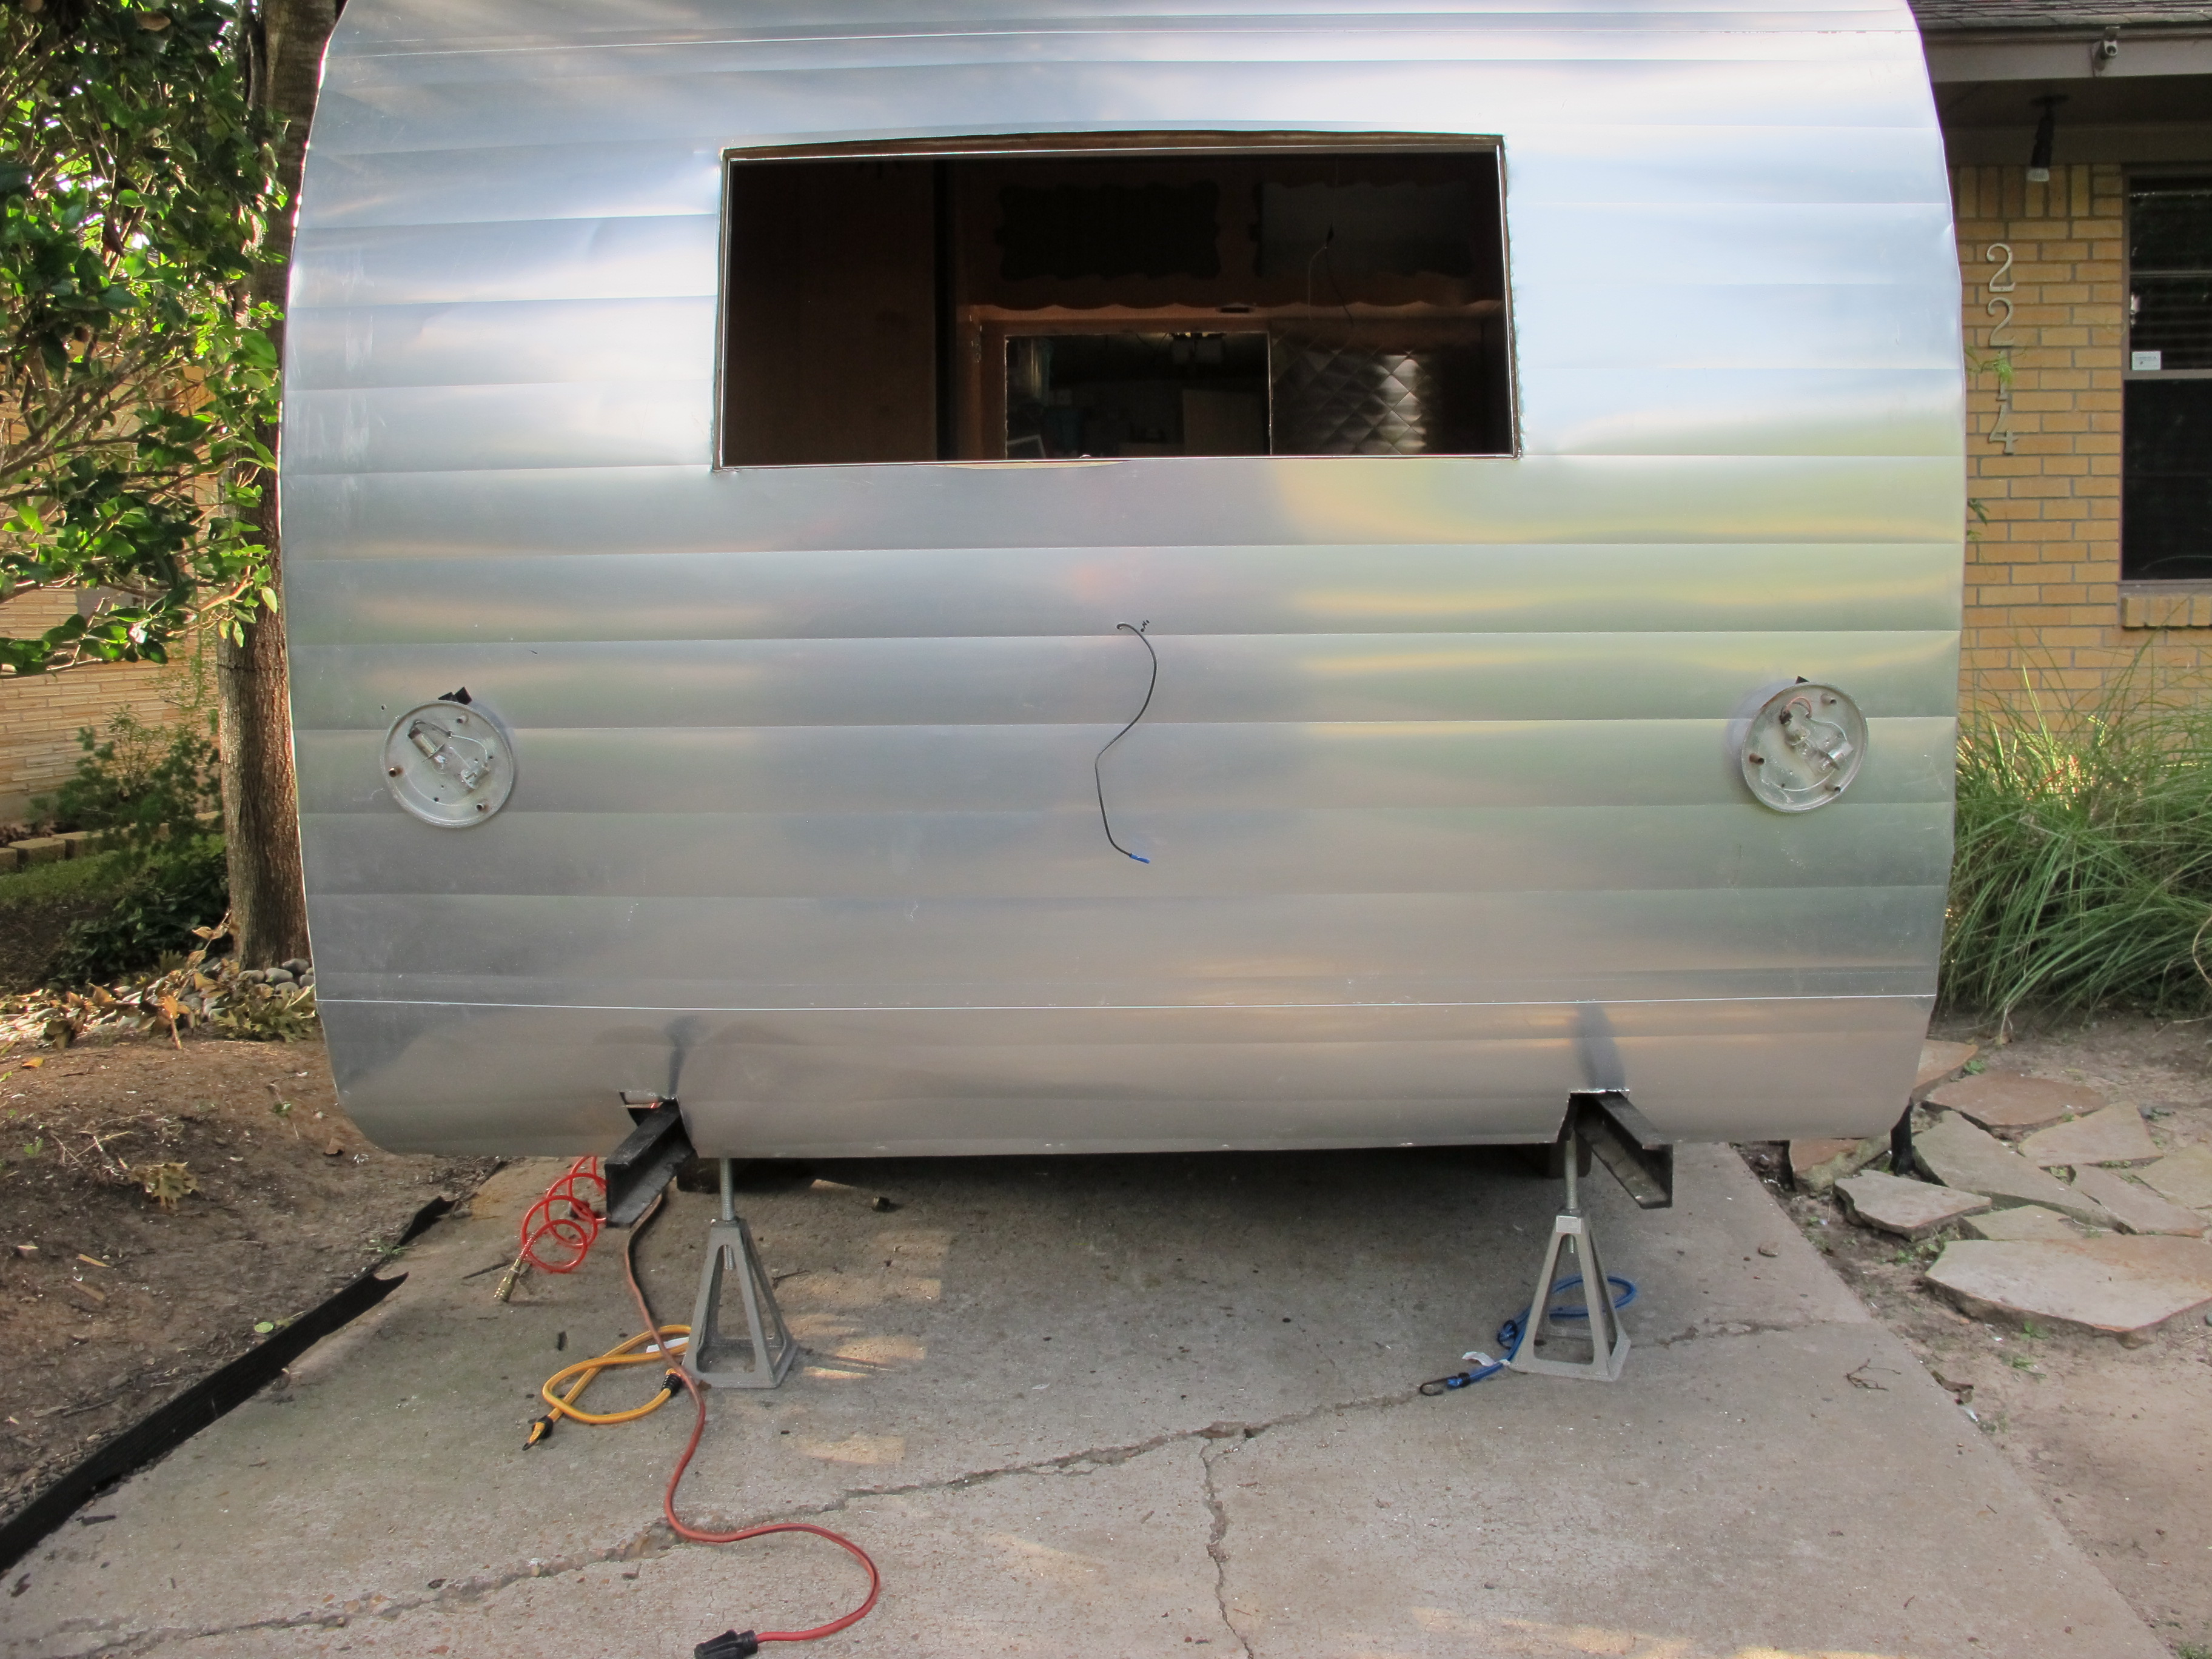
Rear is folded under and secured!
Can’t wait to get the bumper on so the look will be complete.
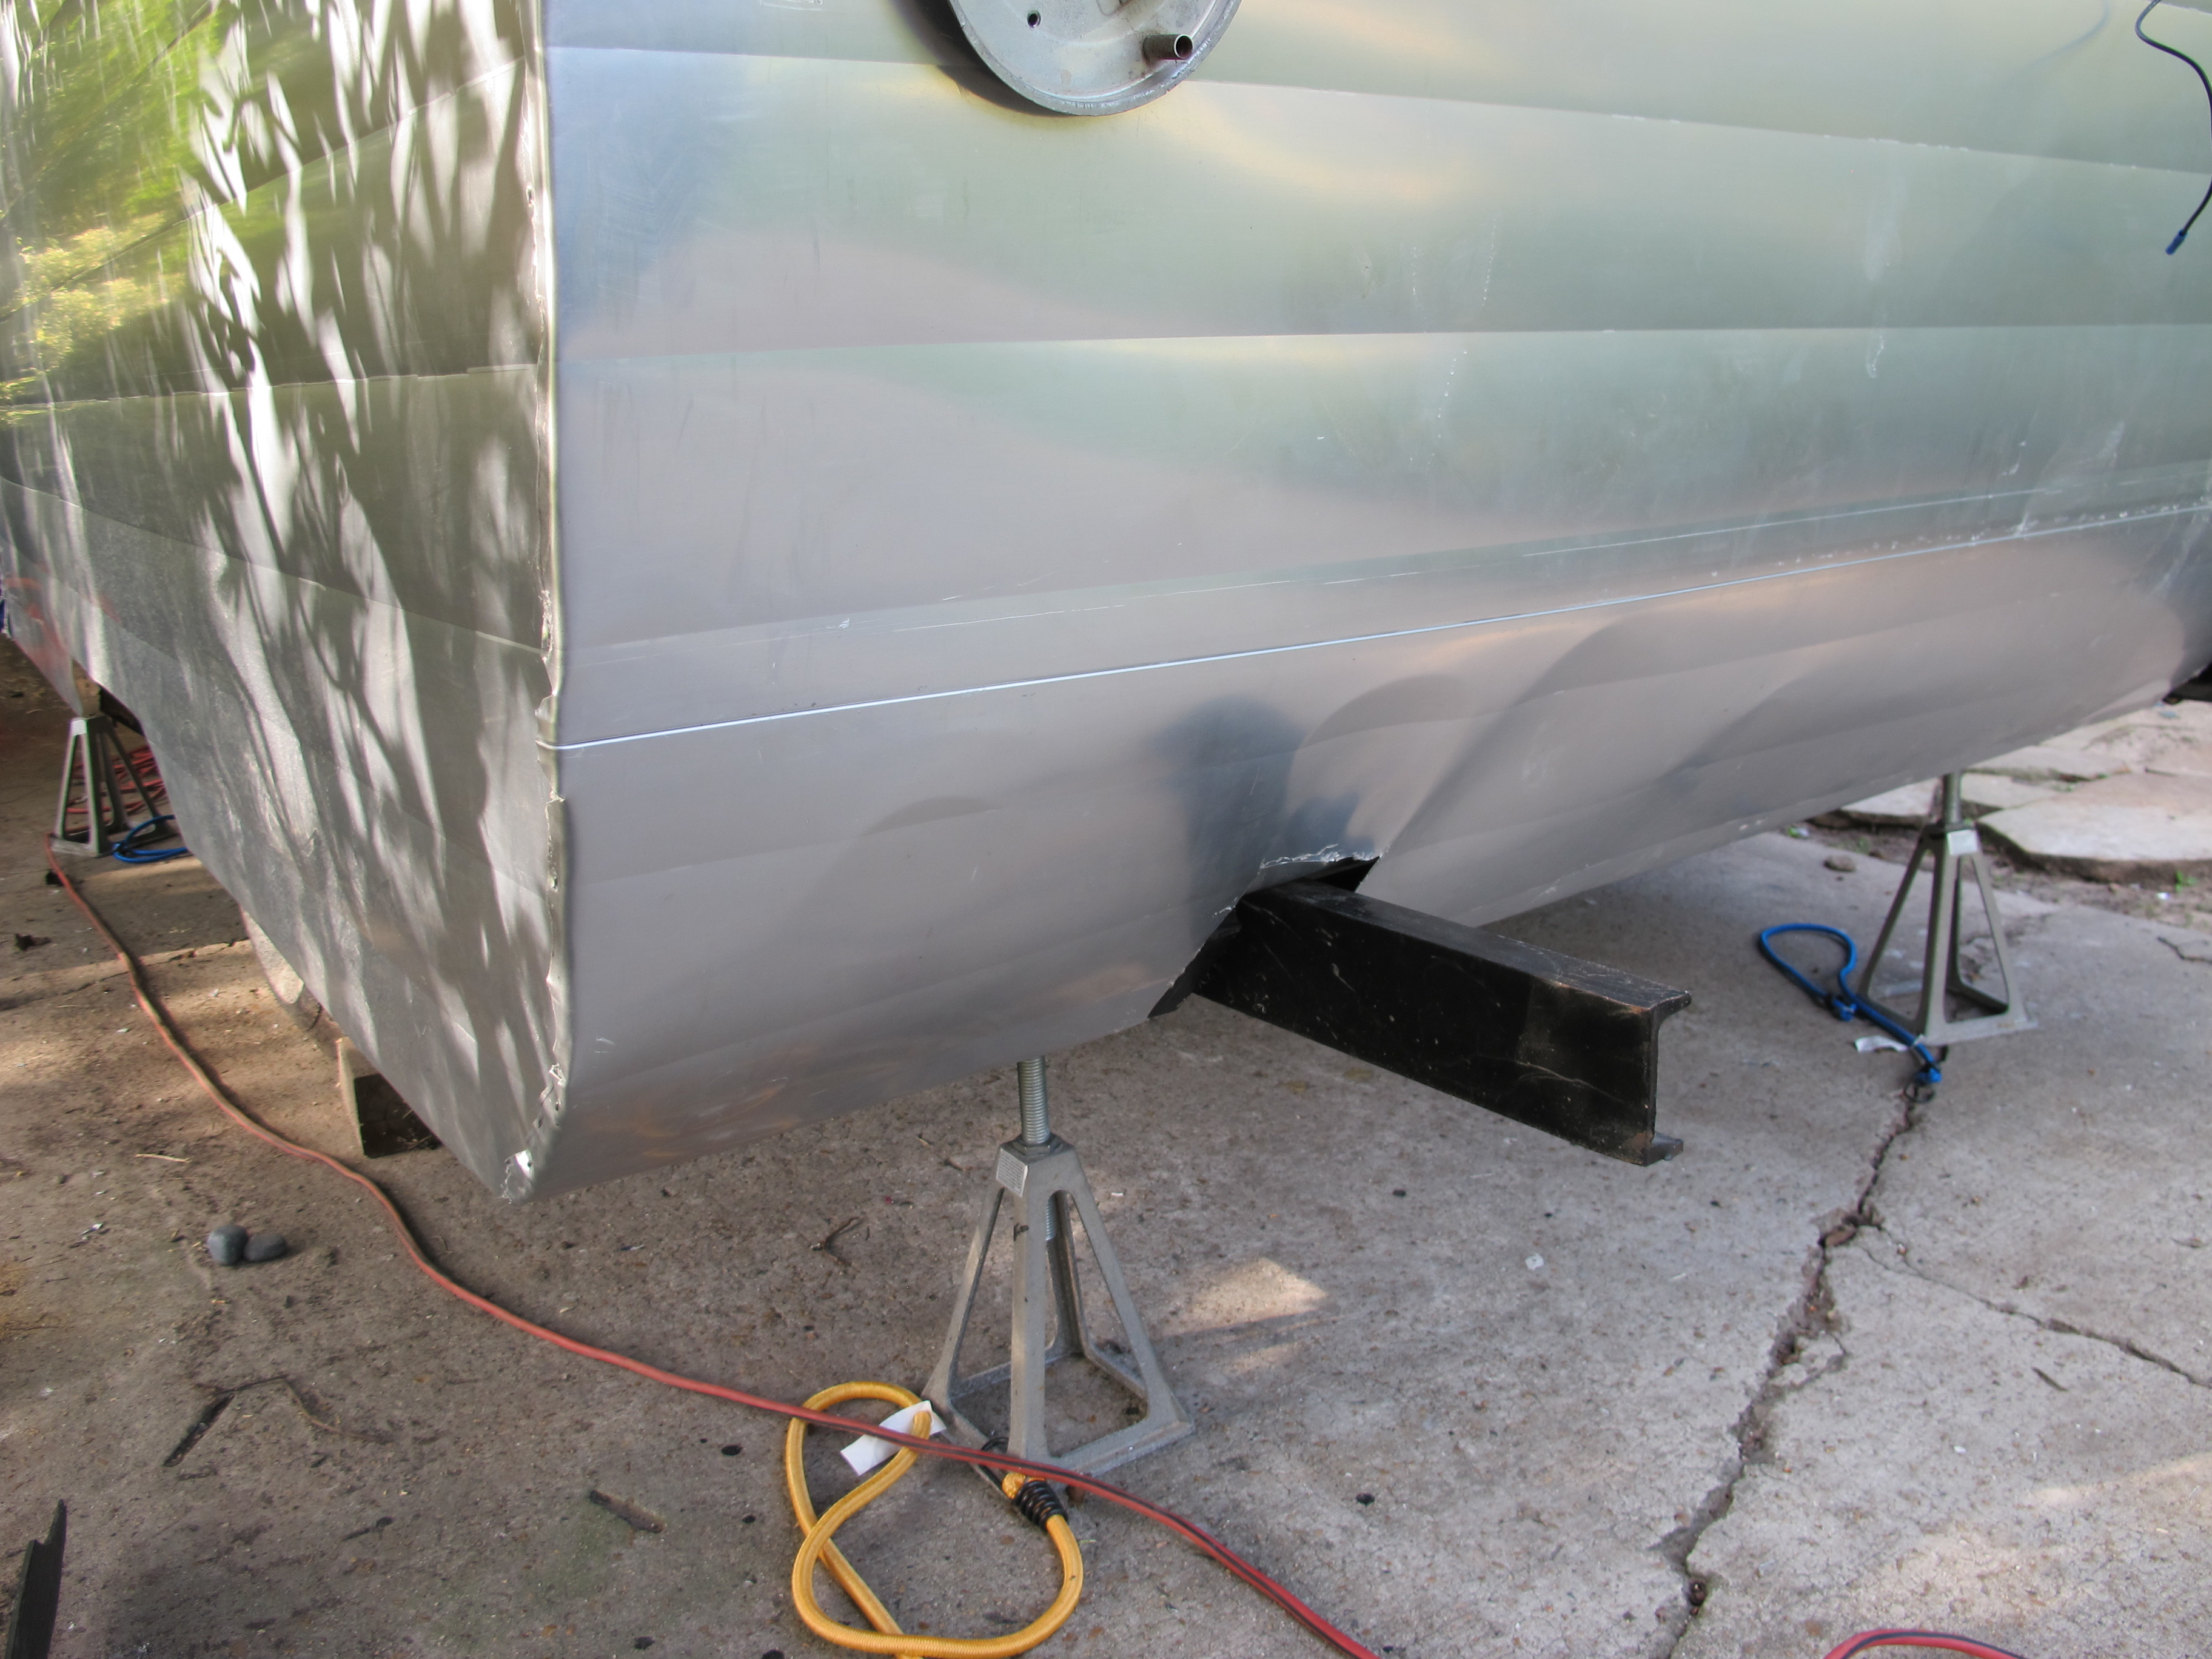
Still has the stupid creases in the metal on this side. I tried to get it to smooth out but it wasn’t happening. I’m hoping the bumper will cover it up a little.
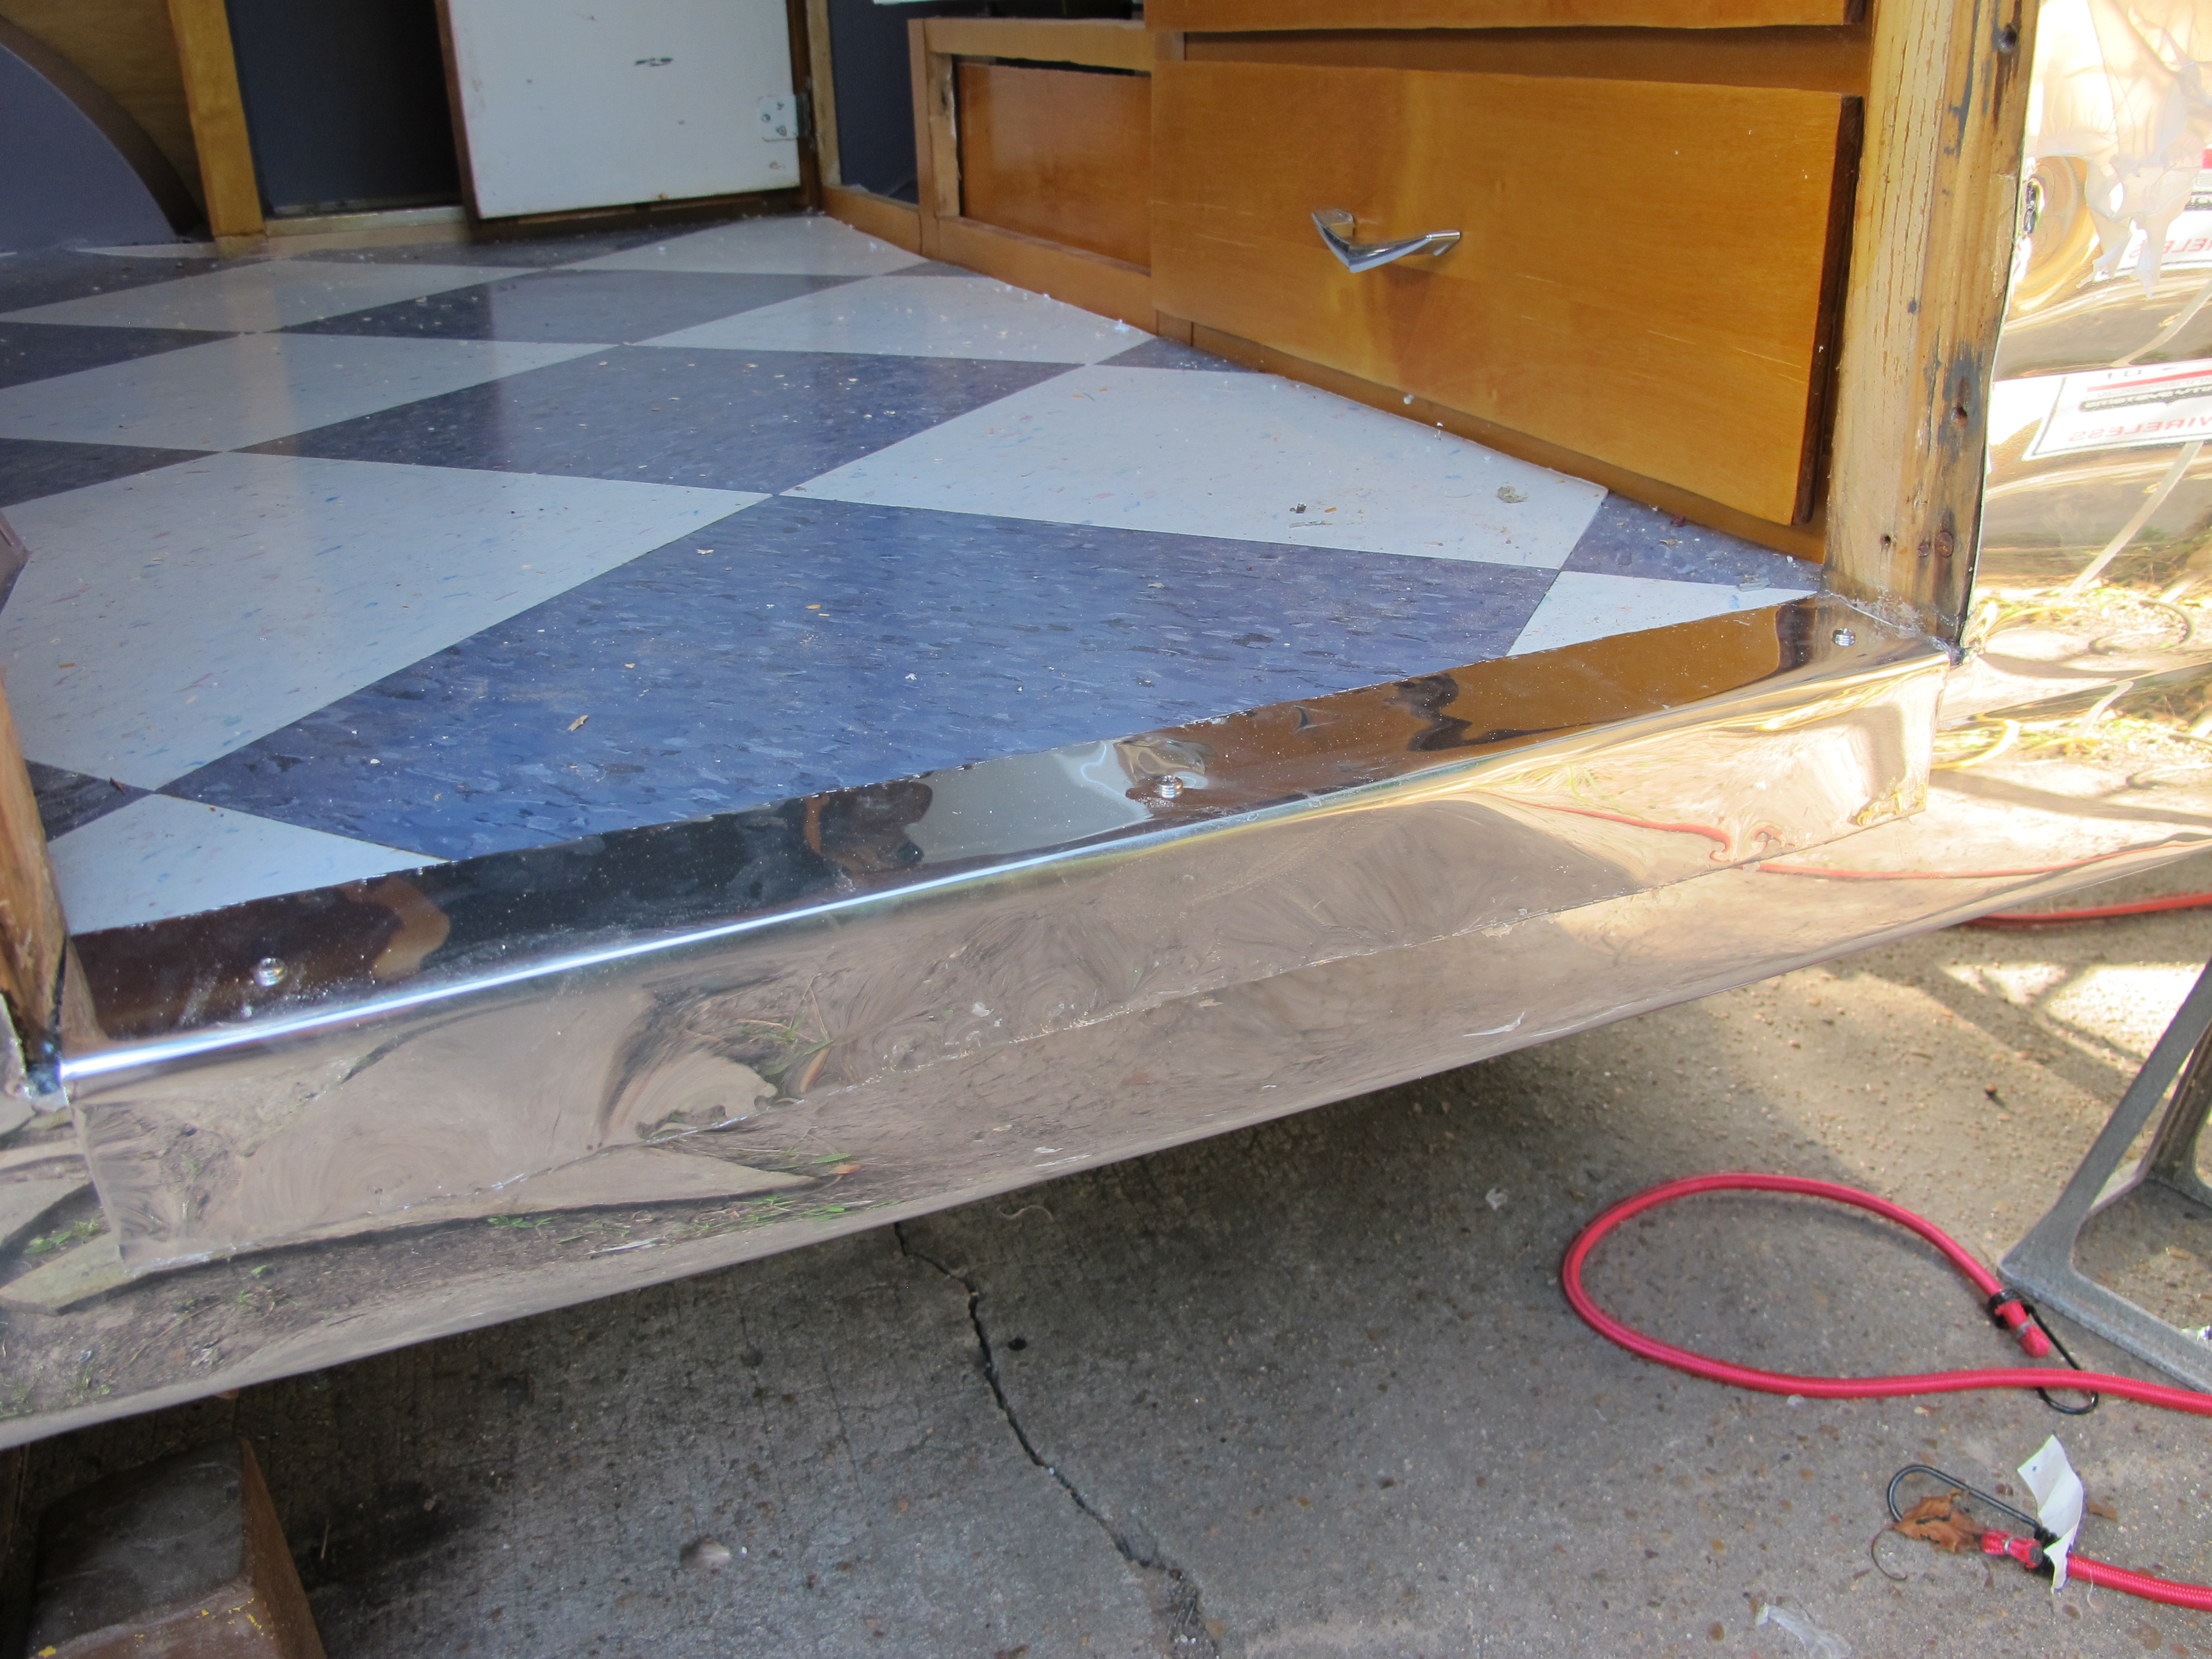
Screwed this little trim piece down and peeled back a little more of the protective film. This piece isn’t perfect since I made it, but it works! I will make a few more to go around the whole door frame.
Next, I drilled little holes in the four corners of the remaining windows so I had a guide for cutting the hole. Then I used my sharpie to trace the outline.
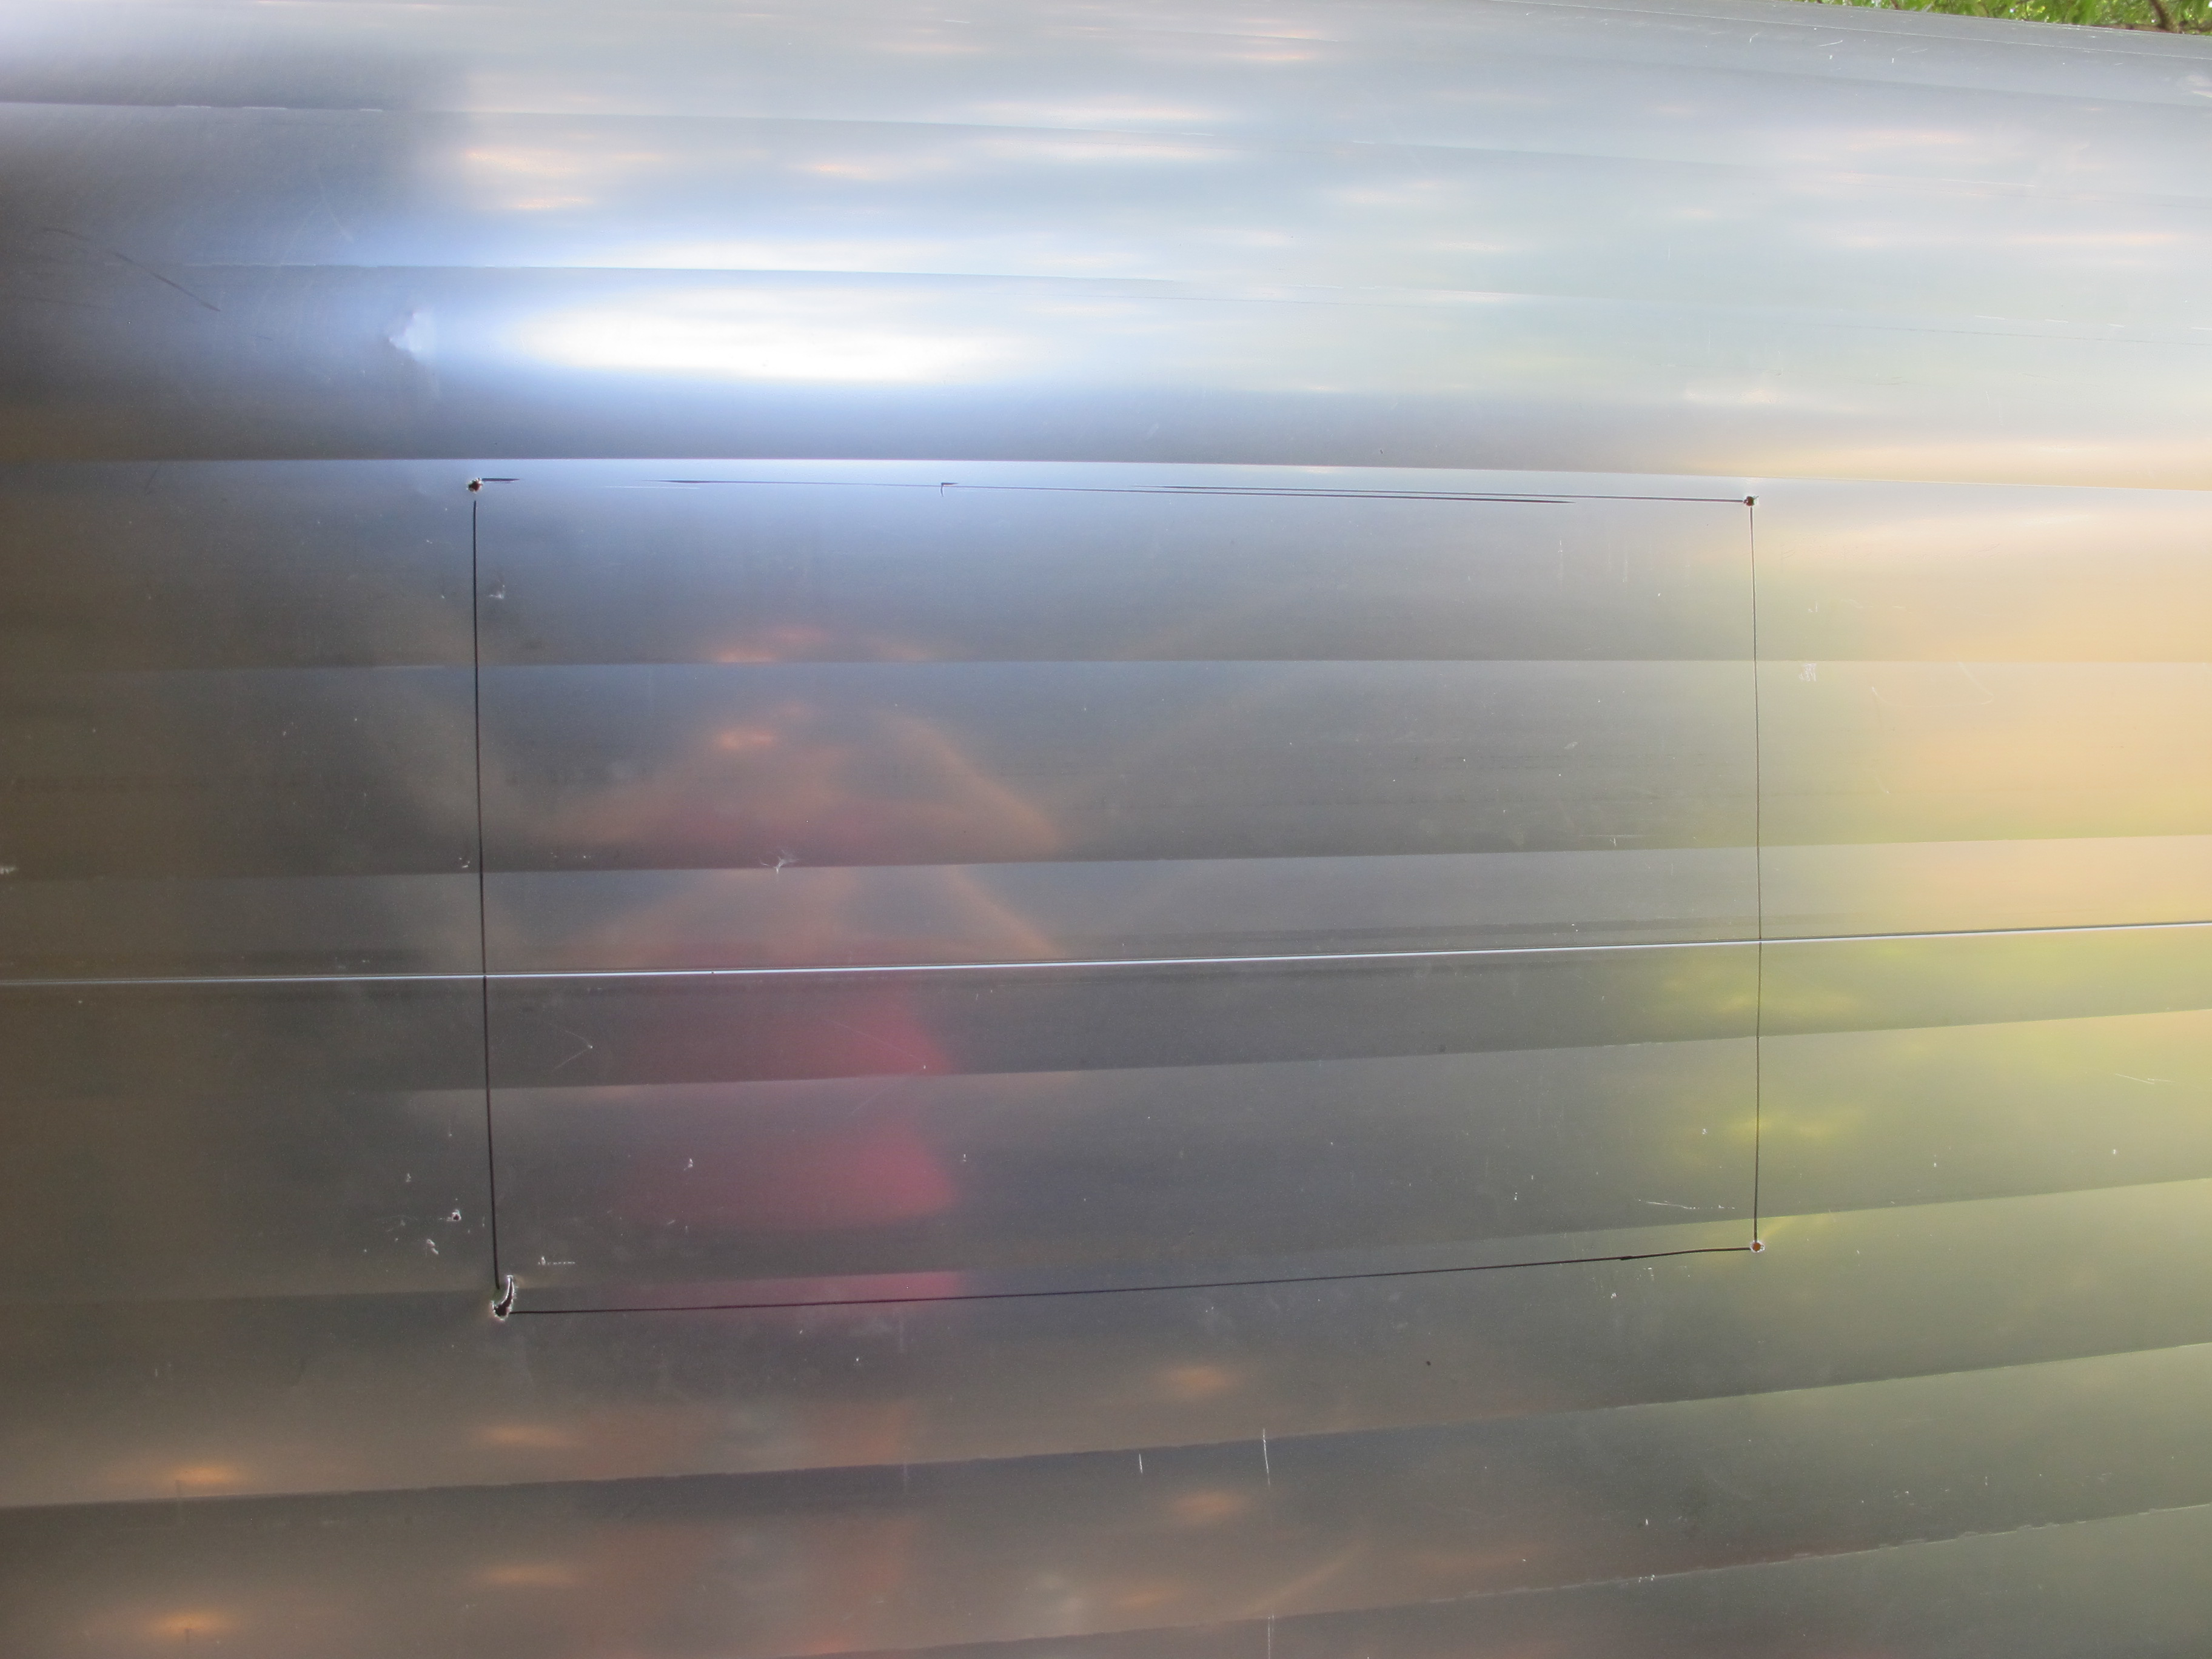
All cut out and ready for a window!
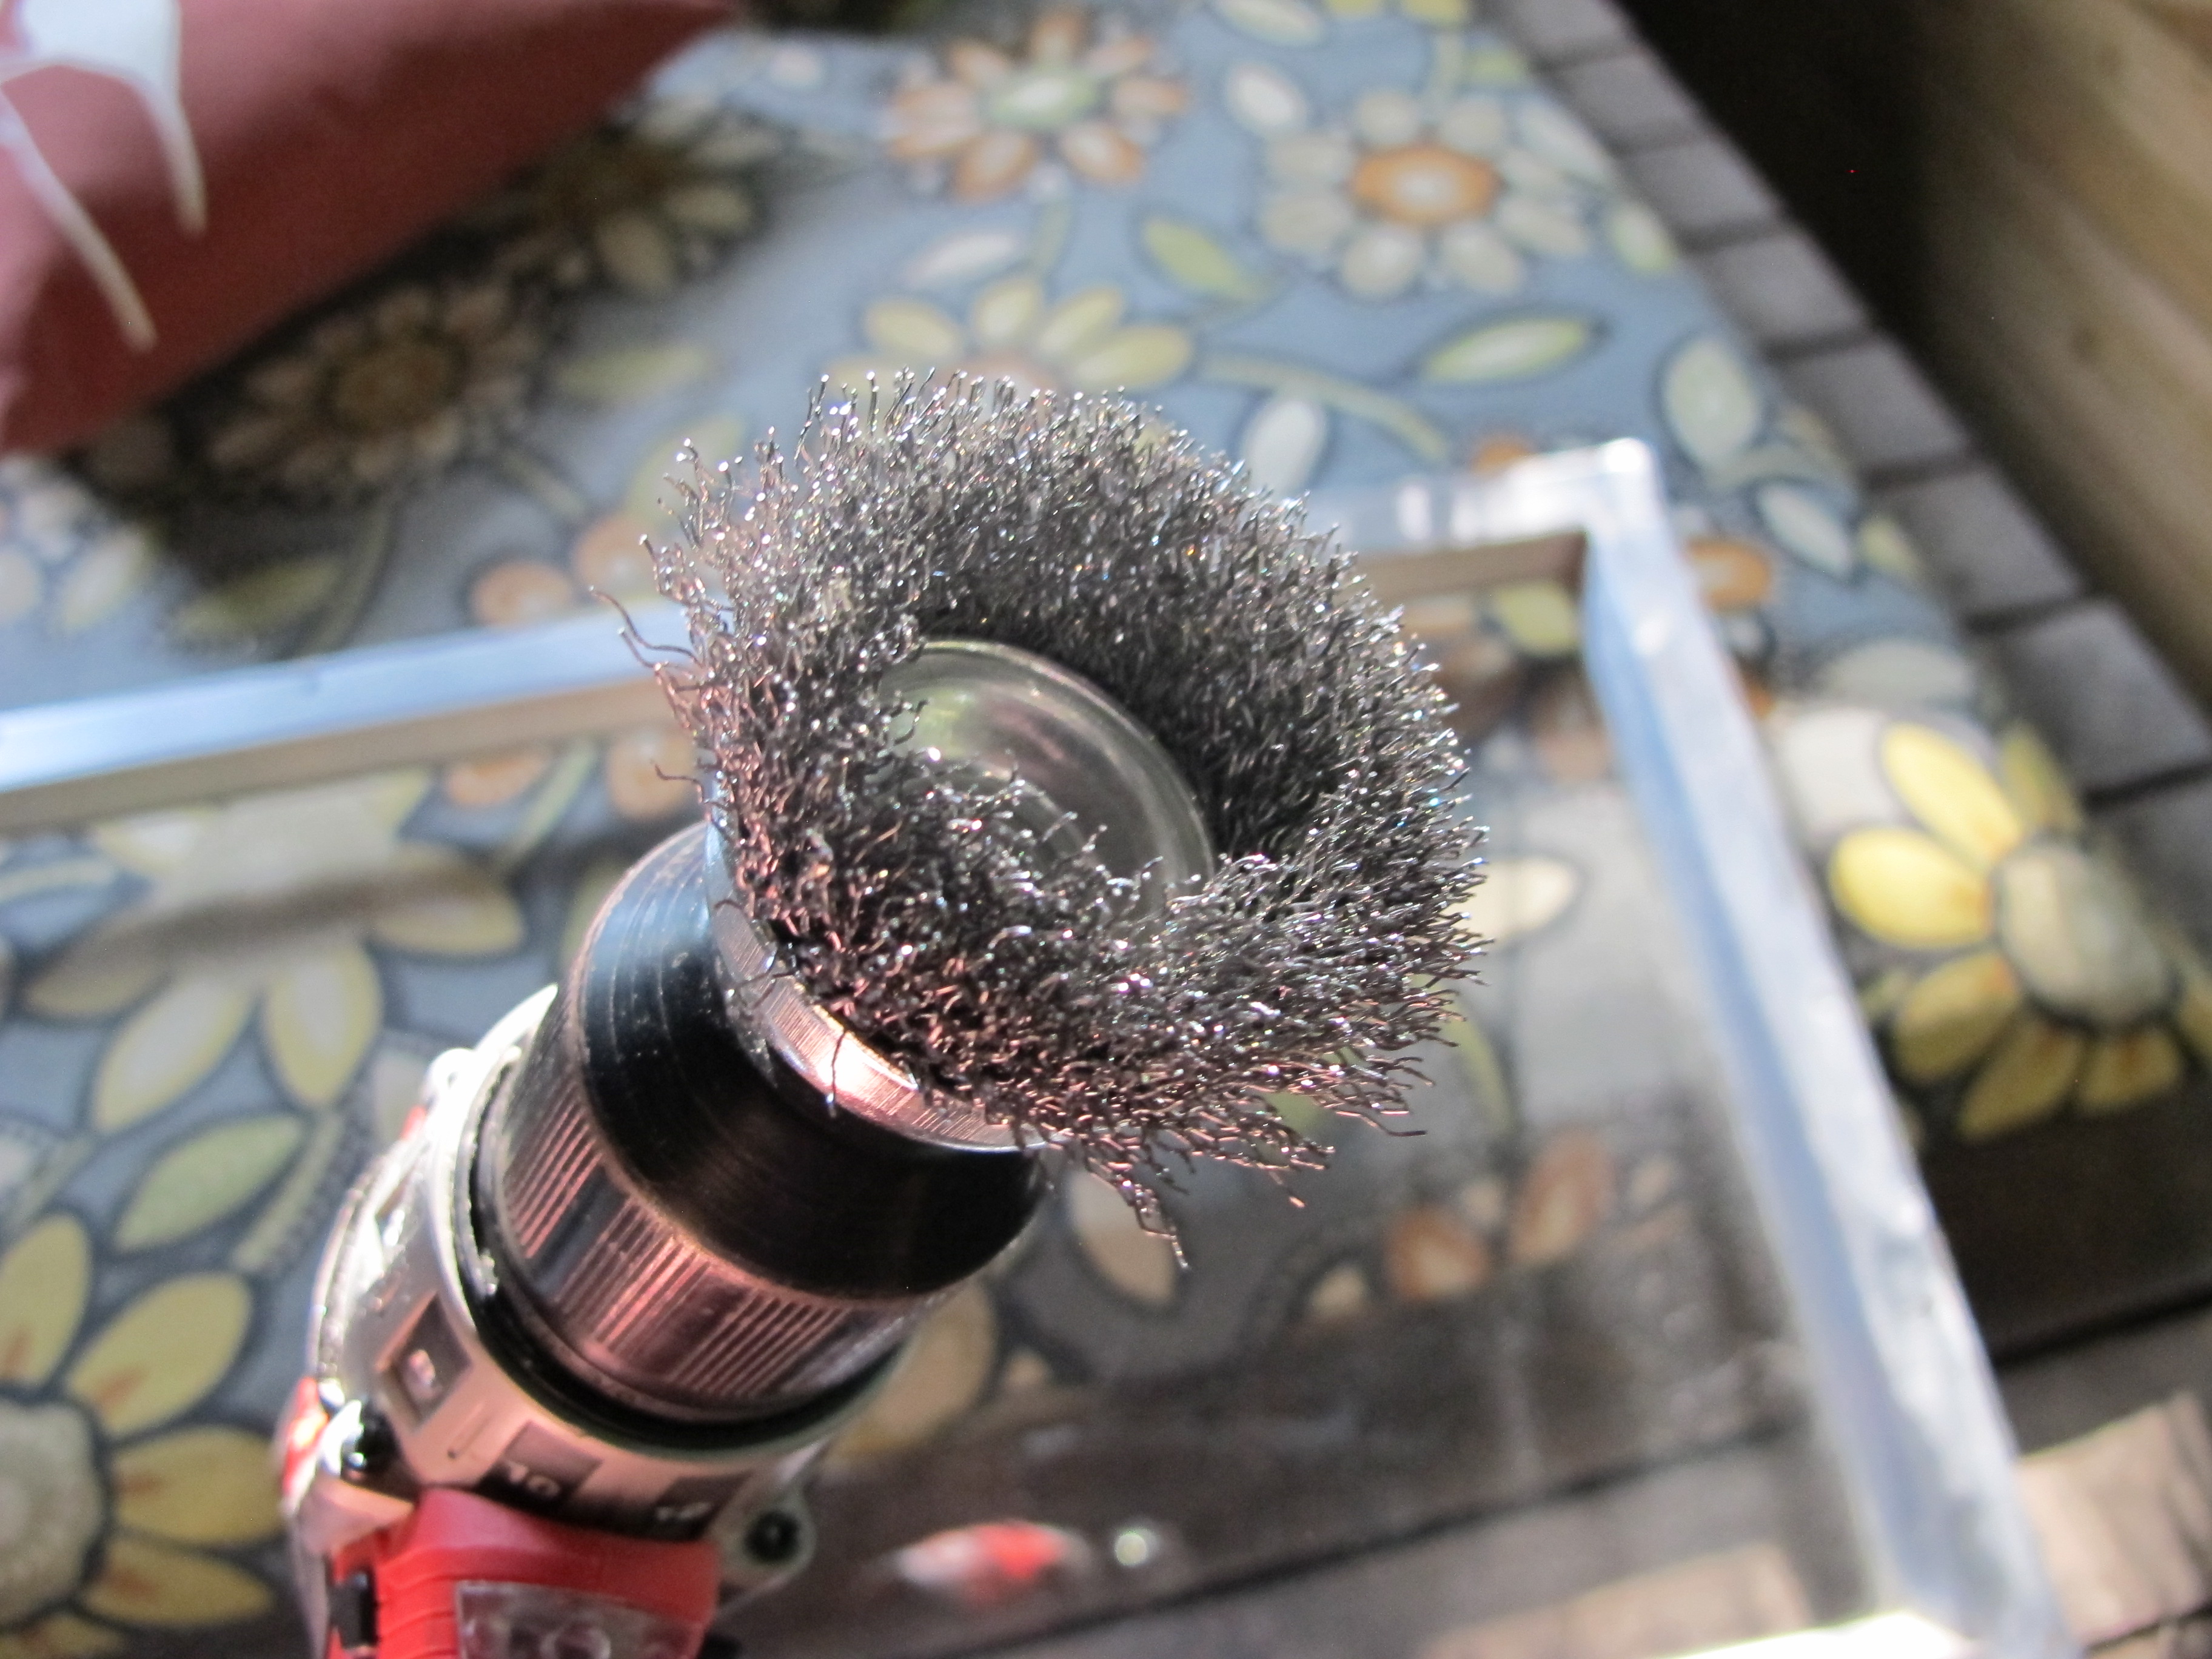
Then I got to work cleaning the windows. They had paint and who knows what else from years of exposure to the elements. I also had to remove the bits of putty tape from the inside edges. I used this wire wheel attachment for my drill that I picked up at Harbor Freight. It worked really well but it also scratched up the aluminum pretty bad. I don’t really think it will matter in the end though.
My neighbor gave me this tube of metal polish. It works great!
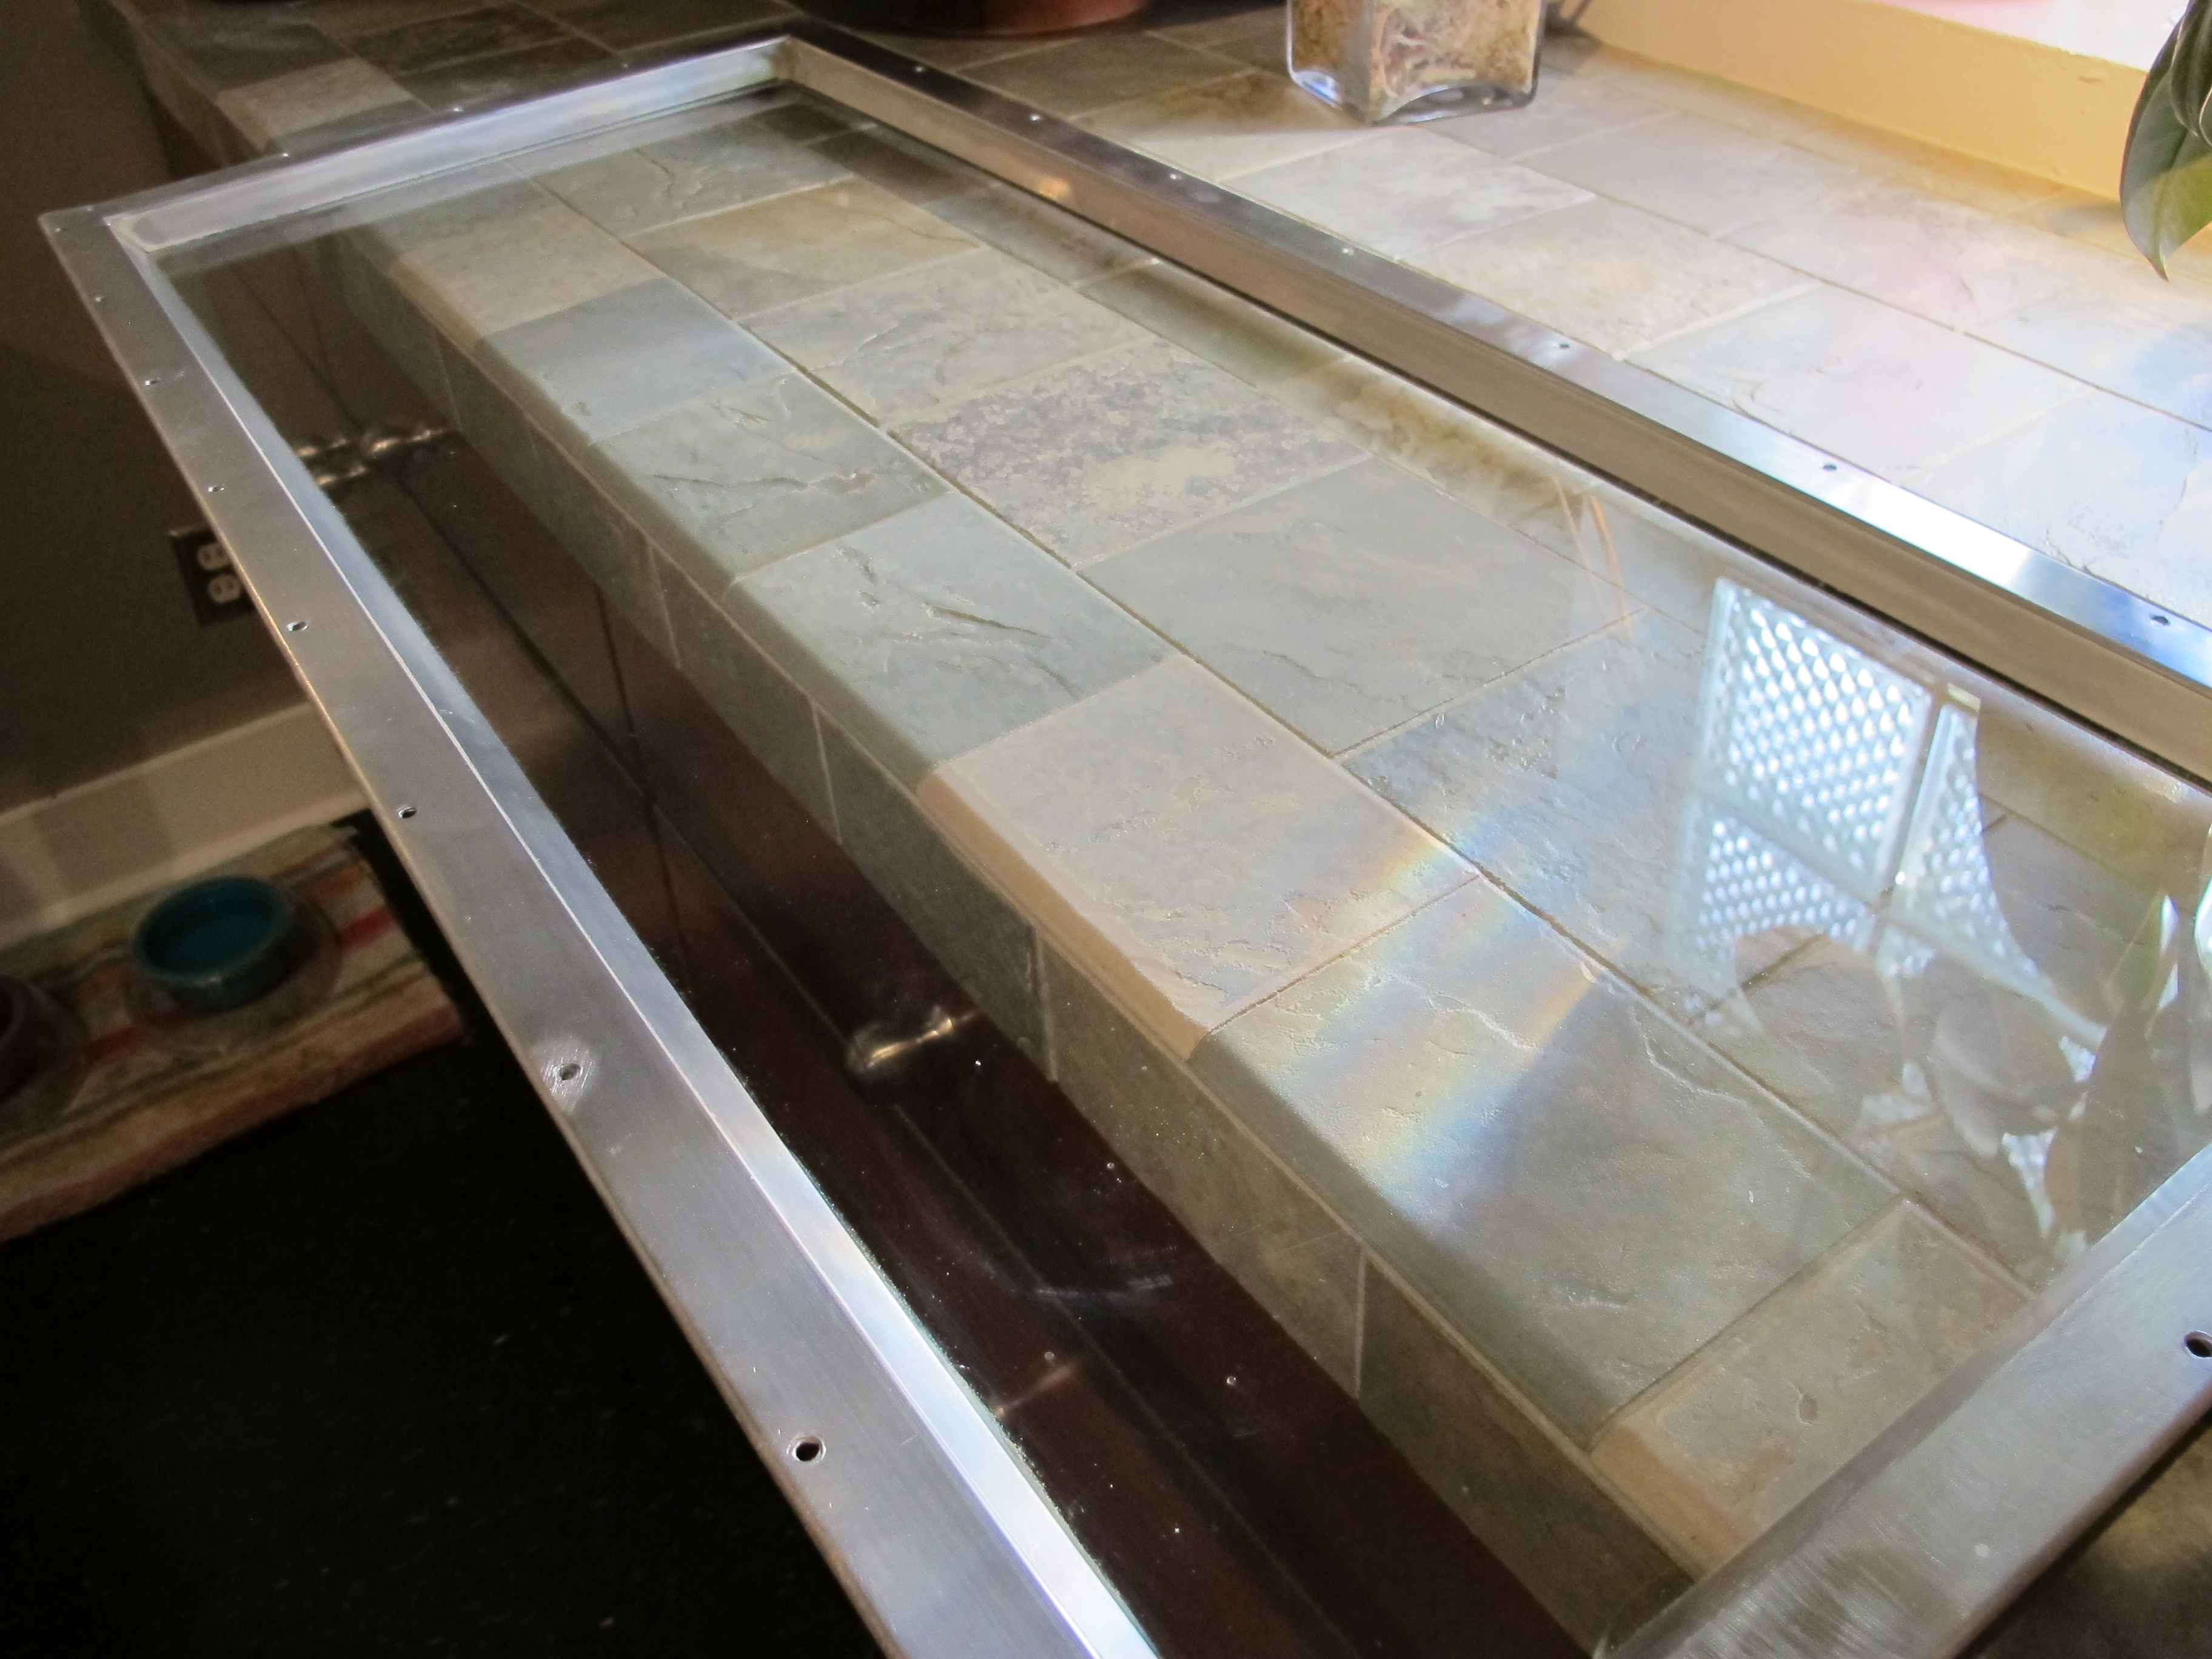
All clean and polished!
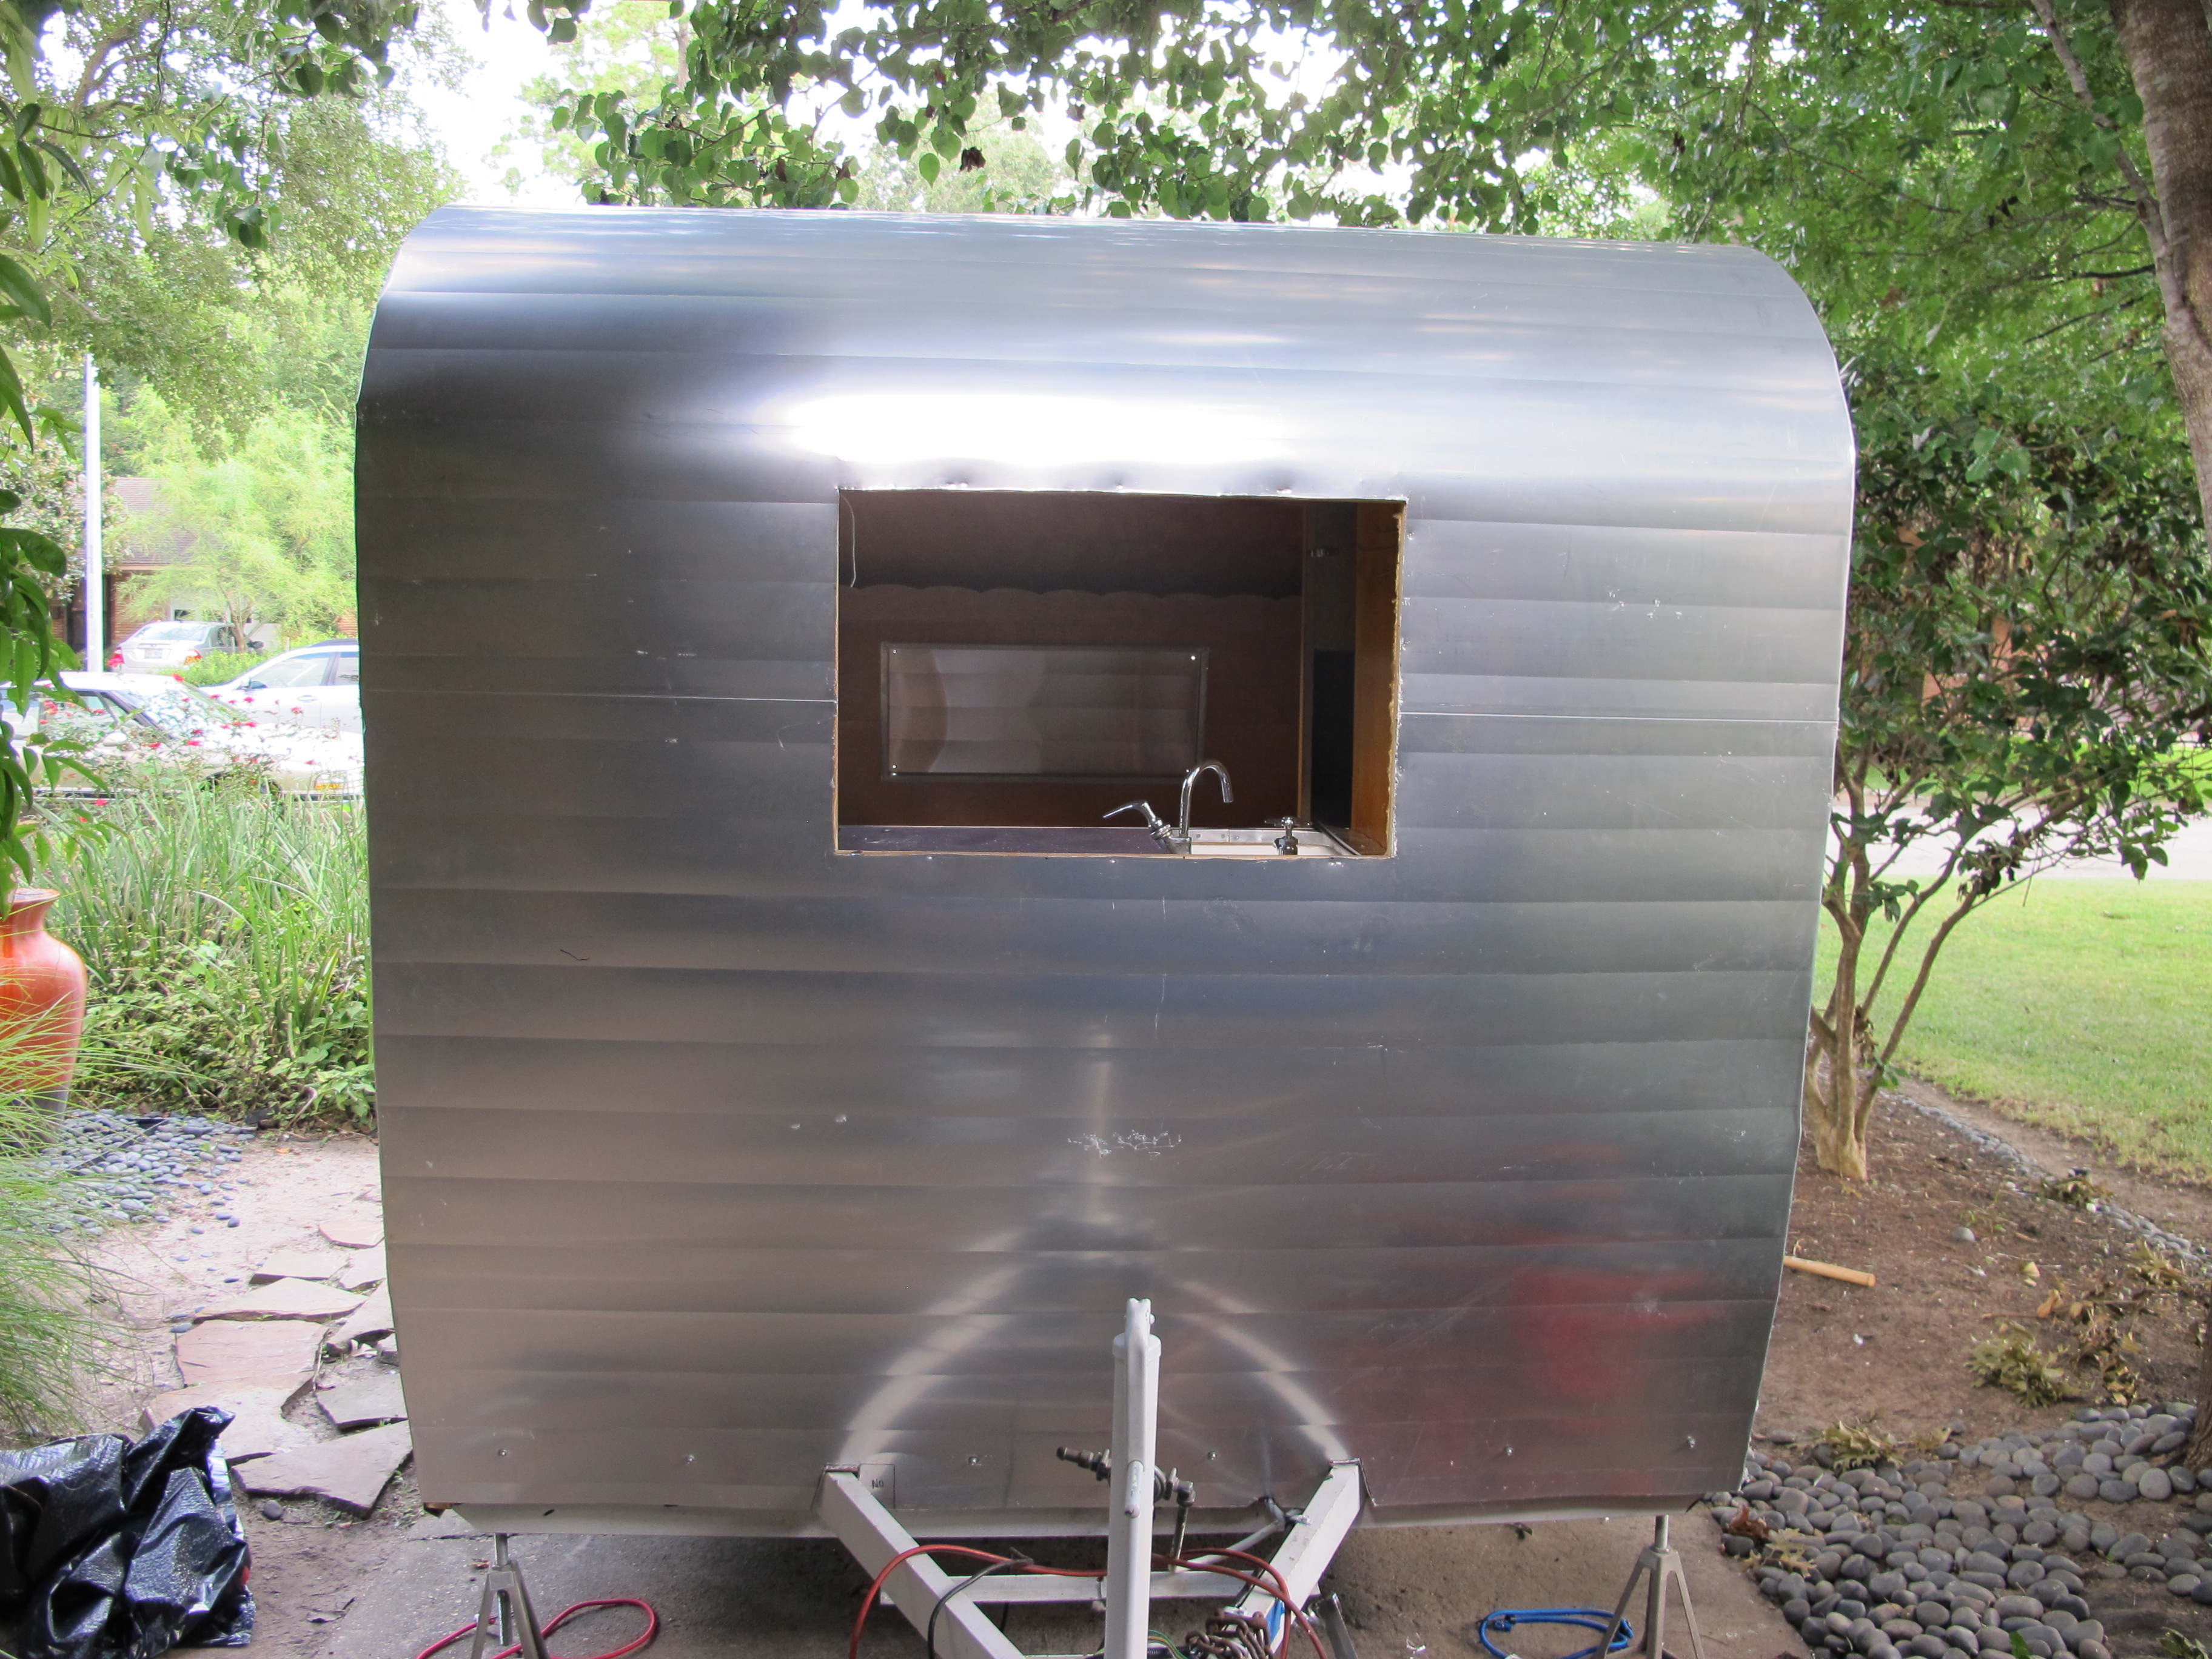
I thought my window was so shiny until I put it up against the pre-polished aluminum skin. I don’t see how I would ever get it that shiny so I will just live with it. It doesn’t look bad though.
I had to peel back some more of the protective film to get it out of the cracks between the skin and the window. It looks so beautiful!!

Another angle. 🙂
So my work is done for today. I need to finish cleaning and polishing the other three windows and then they’ll be ready to install. I am also planning to take some of the leftover skin to a sheet metal shop to get them to fabricate some frame pieces for the door. They are folded too tightly for me to do it myself without it looking bad. Hopefully I will be able to easily find a place to do it for me.
Next week, I’m going to visit my family at my grandma’s house near Austin. I won’t be able to work on Junebug for a little while, but that’s ok. I’m very excited to see my family since I usually only get to see them a couple of times a year. I will post an update as soon as I am back at it the following week.
