This is the most exhausting vacation I’ve ever had. But, I’m having fun, so that’s all that matters. Well…at least most of the time anyway.
Today was a good day. Except the part where I realized I made the frame the wrong size for my Fantastic Vent because I didn’t read the directions. I swear, this project is turning me into a guy more and more each day. hahaha (just kidding guys)
I had two random people stop by while out for their evening walk to see what I was doing and tell me it was looking good. That made me happy. Both of my neighbors also stopped by multiple times today and the mailman is even friendlier. I think one of the best things about this project is how much of a conversation starter it is. I just love how it makes others around me curious, and then I end up talking to people I wouldn’t have otherwise. Especially my neighbors, we are definitely a lot closer as a result of this project. I think that’s pretty cool. ![]()
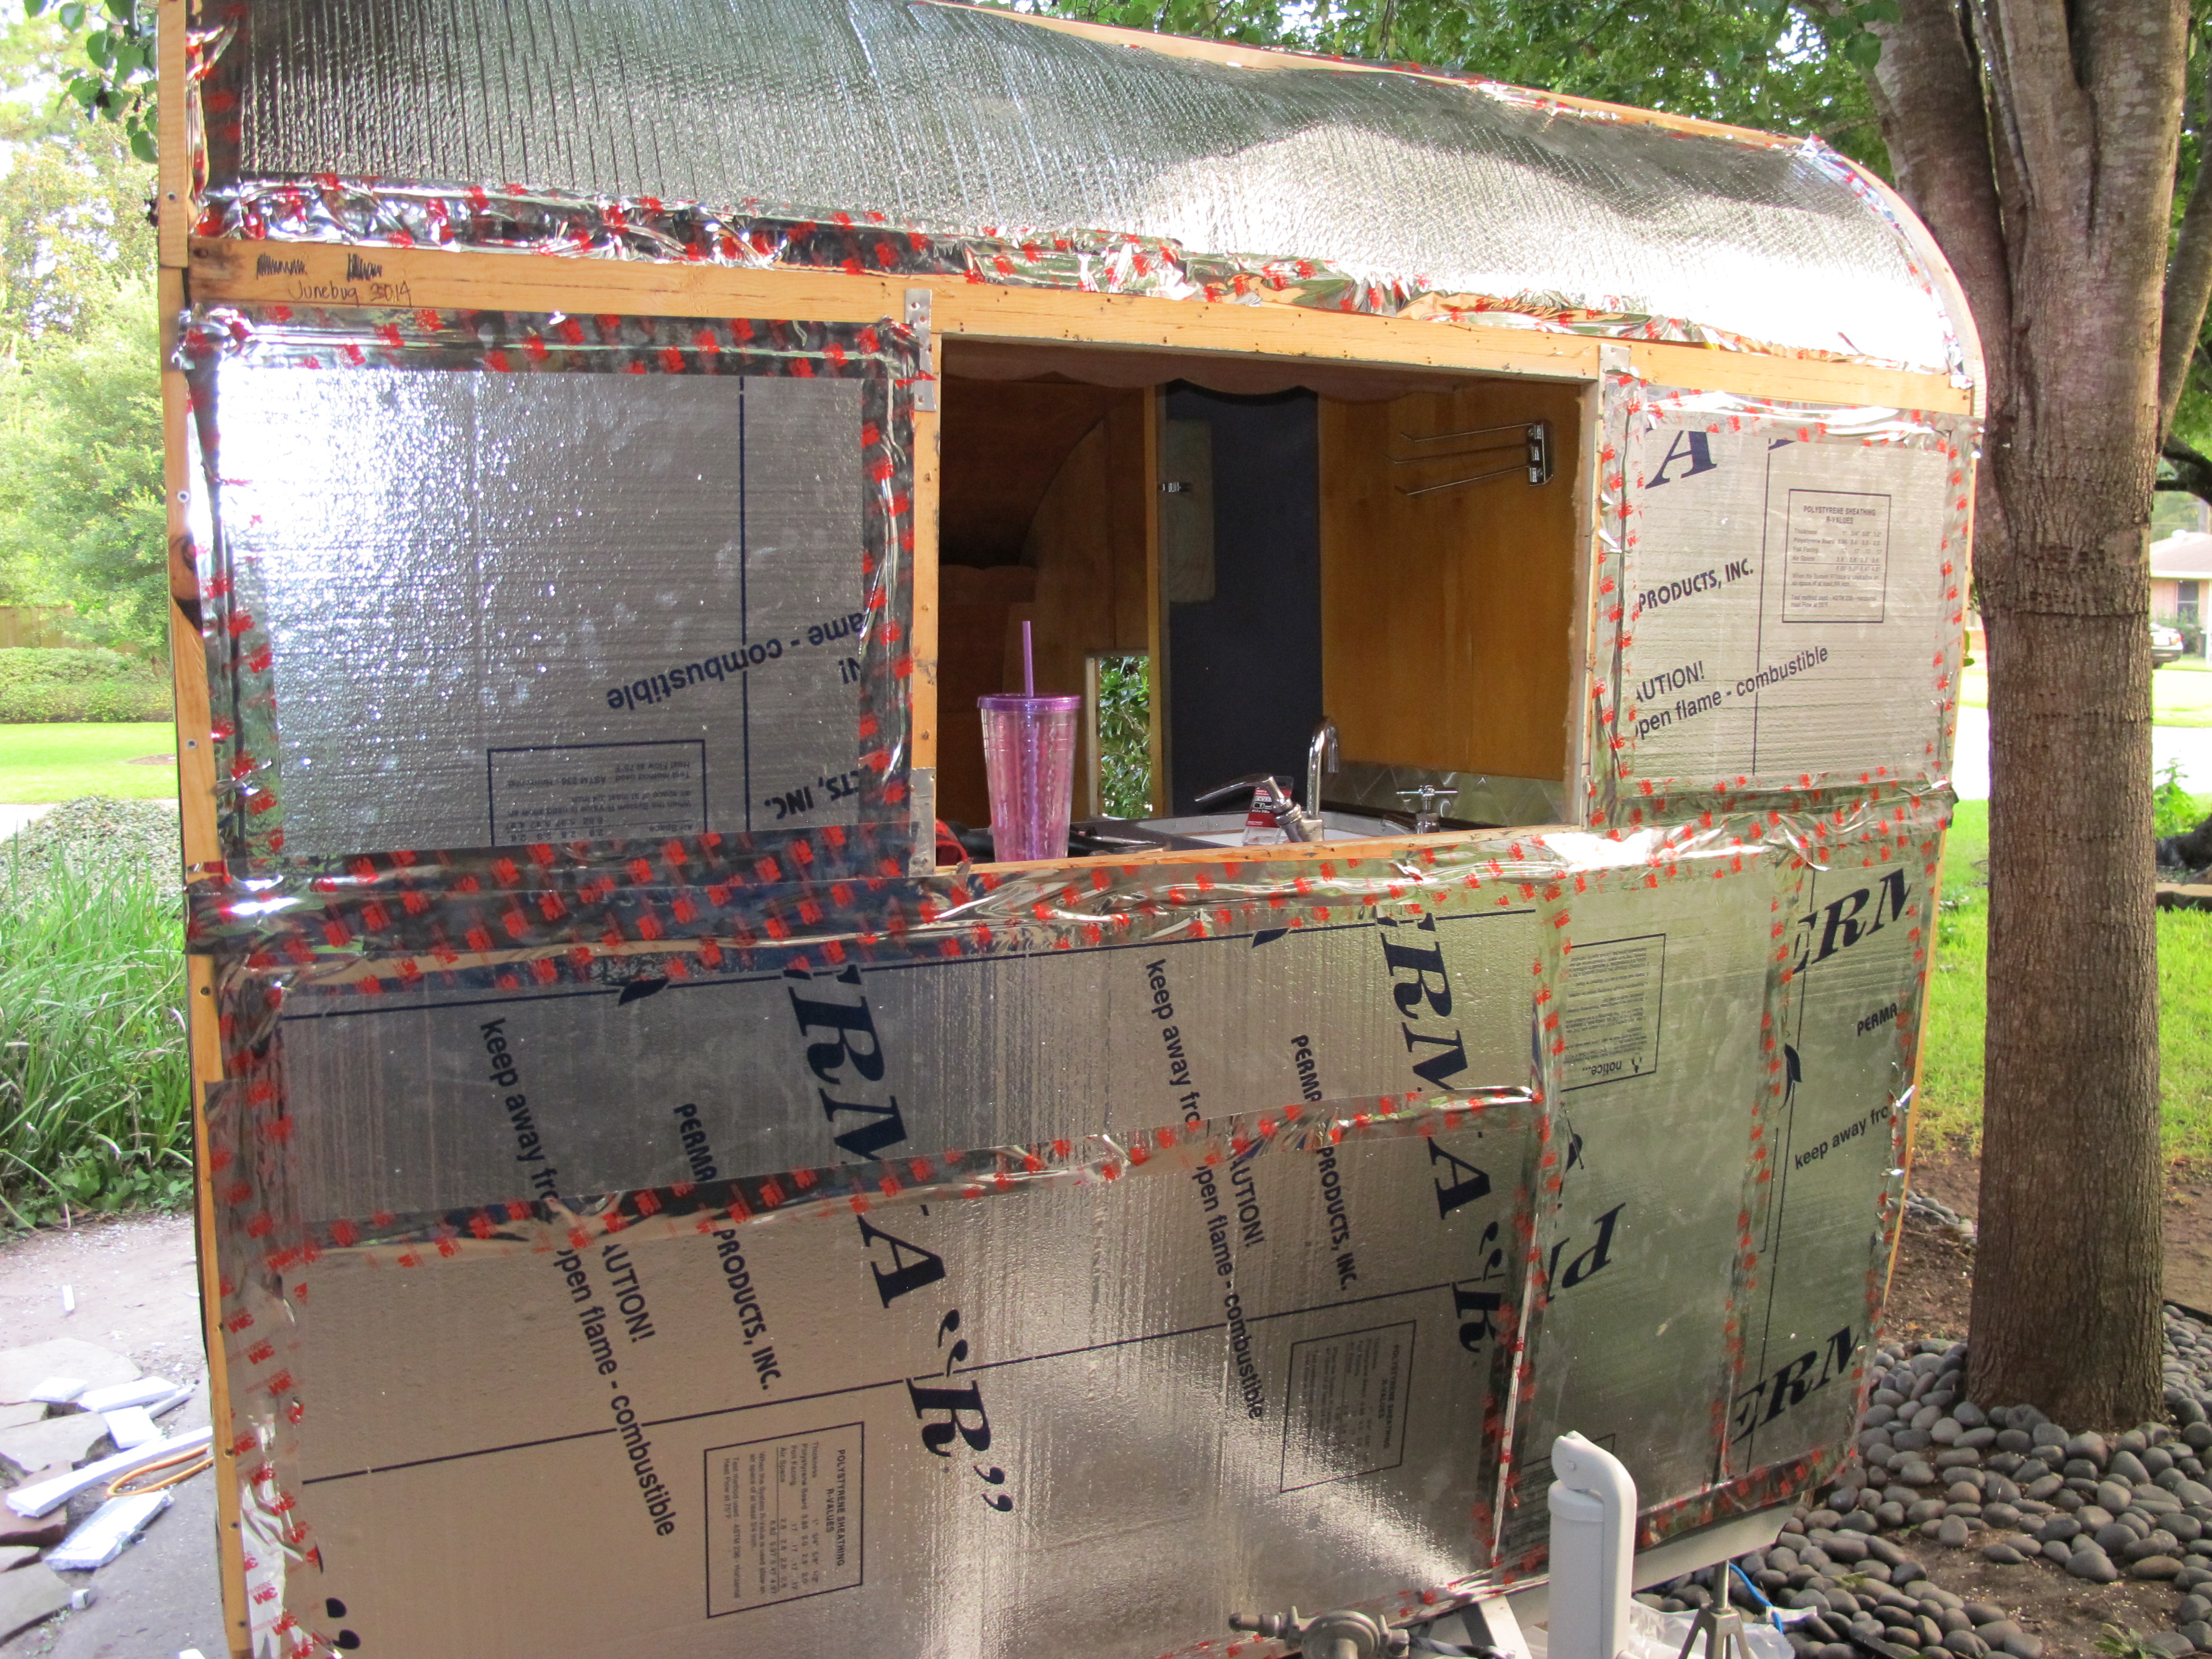
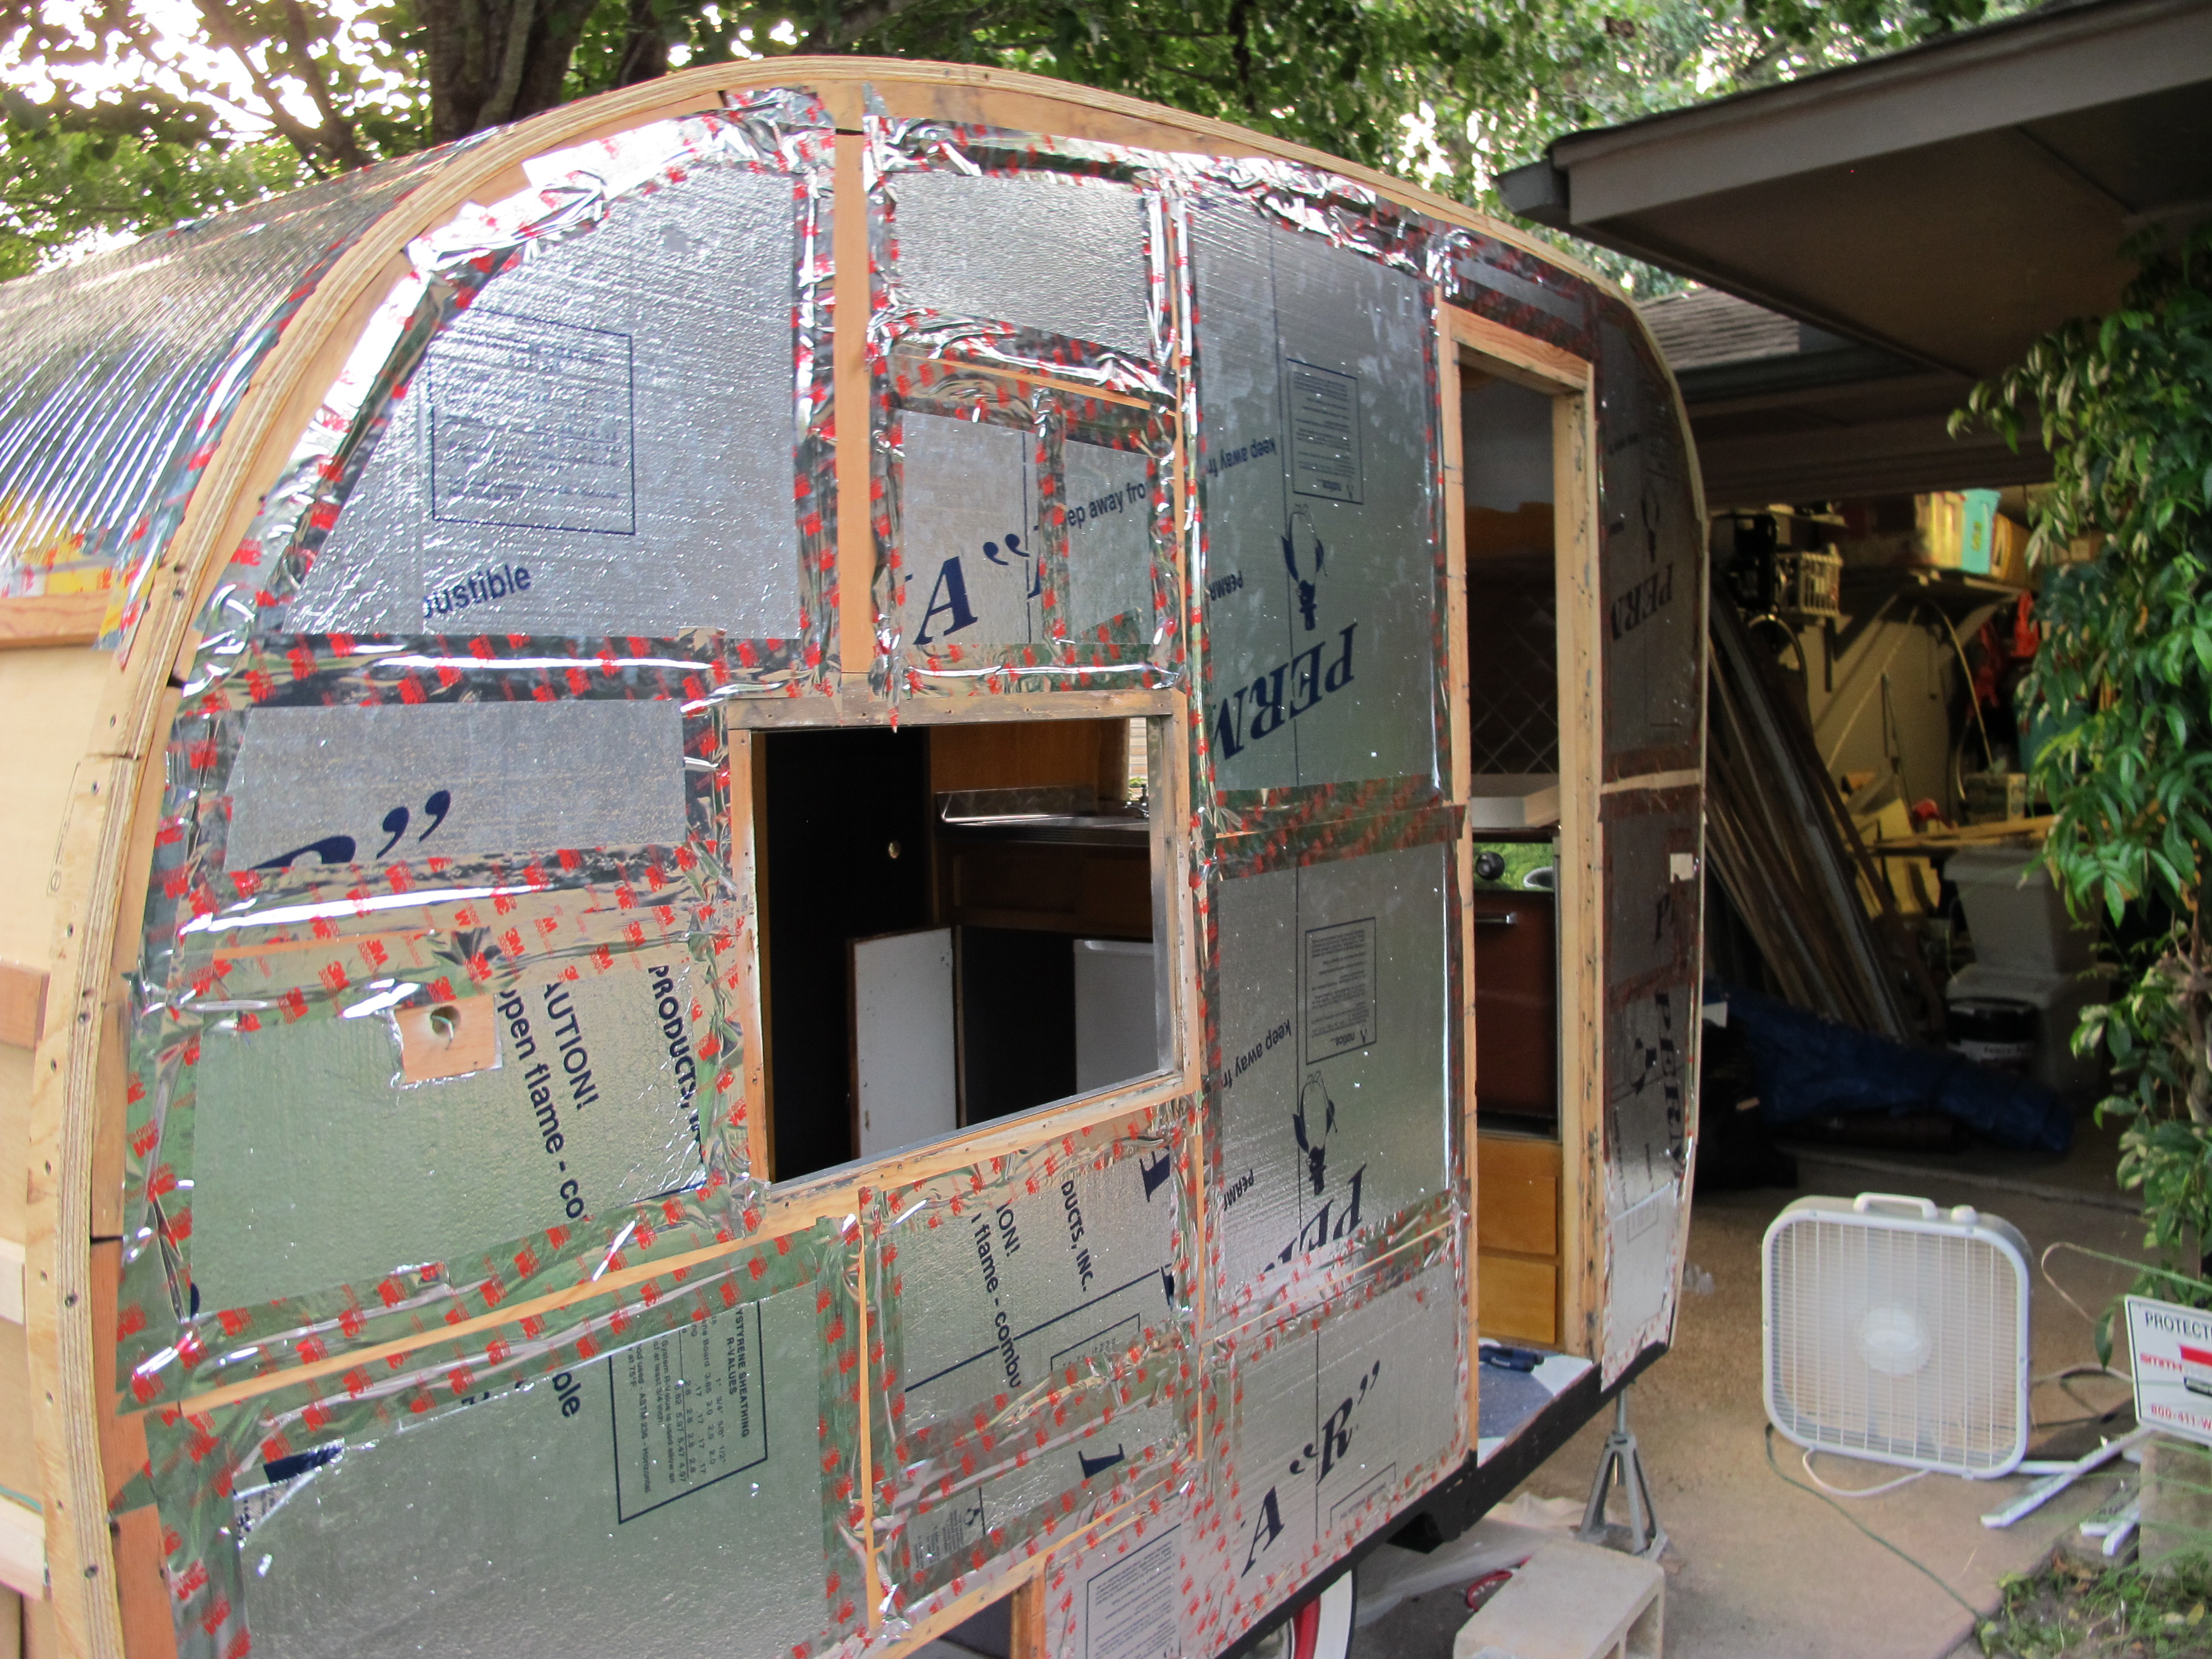
I almost finished everything on my list today. I still have to finish installing insulation on the street side and part of the rear. The insulation took longer than I expected due to all of the trimming required. I made quite a mess too, and it looked like it had snowed a beautiful layer of styrofoam all over my driveway. haha
The first thing I did was finish the tail light wiring. I had to do quite a few splices in the “hot” wire so that it connected with the side running lights and the license plate light. The hot wire is supposed to be brown, according to the industry standard, but I didn’t have any more brown wire, so I had to make do with the leftover green wire. It should still work. I didn’t test it out yet, but I will do that tomorrow before installing all the skin. Fingers crossed it works! I have to turn the camper around in my driveway and temporarily install all the tail lights, then hook it up to my car to test. I don’t have a little external tester, so this is the only way. Kind of inconvenient but oh well.
Before
After many splices, it’s all connected!
Next, I started in on the wiring. For a short period. Until I realized that I had better fix the frame that I didn’t measure correctly. In my last post, I mentioned that I thought the Fantastic Vent stuck up too high. Well, once I actually read the directions, I realized that the interior piece is supposed to be trimmed to size, so it’s not supposed to stick up that high. And it’s narrower, so I had to take apart my frame for the vent and start over. Now, it should work!
After repairing my mistake, I got back to the wiring. I started with the fridge plug, and worked my way backward. Oh, and I decided to scrap the idea of using a 15 gallon fresh water tank. I will sell the tank and just use a 7 gallon drum under my sink whenever shore water is not available. That will be much easier and free up the space under the bed for my new “power chord” as someone on my favorite forum, Vintage Trailer Talk, called it. The power chord will have the new breaker box as well as a couple of junction boxes that lead to my various electrical outlets and lights. I’m installing an external plug on the front of the camper with its own dedicated circuit breaker for the AC to plug into. This way I will only need one plug when camping. I had initially thought I would plug in the AC to a separate outlet, but just in case that’s not an option, this will also work. I’m also upgrading my electrical system to 30 amp and installing new outlets near all of the light fixtures so that I don’t have to use the outlet attached to the fixture. I think this will work better.
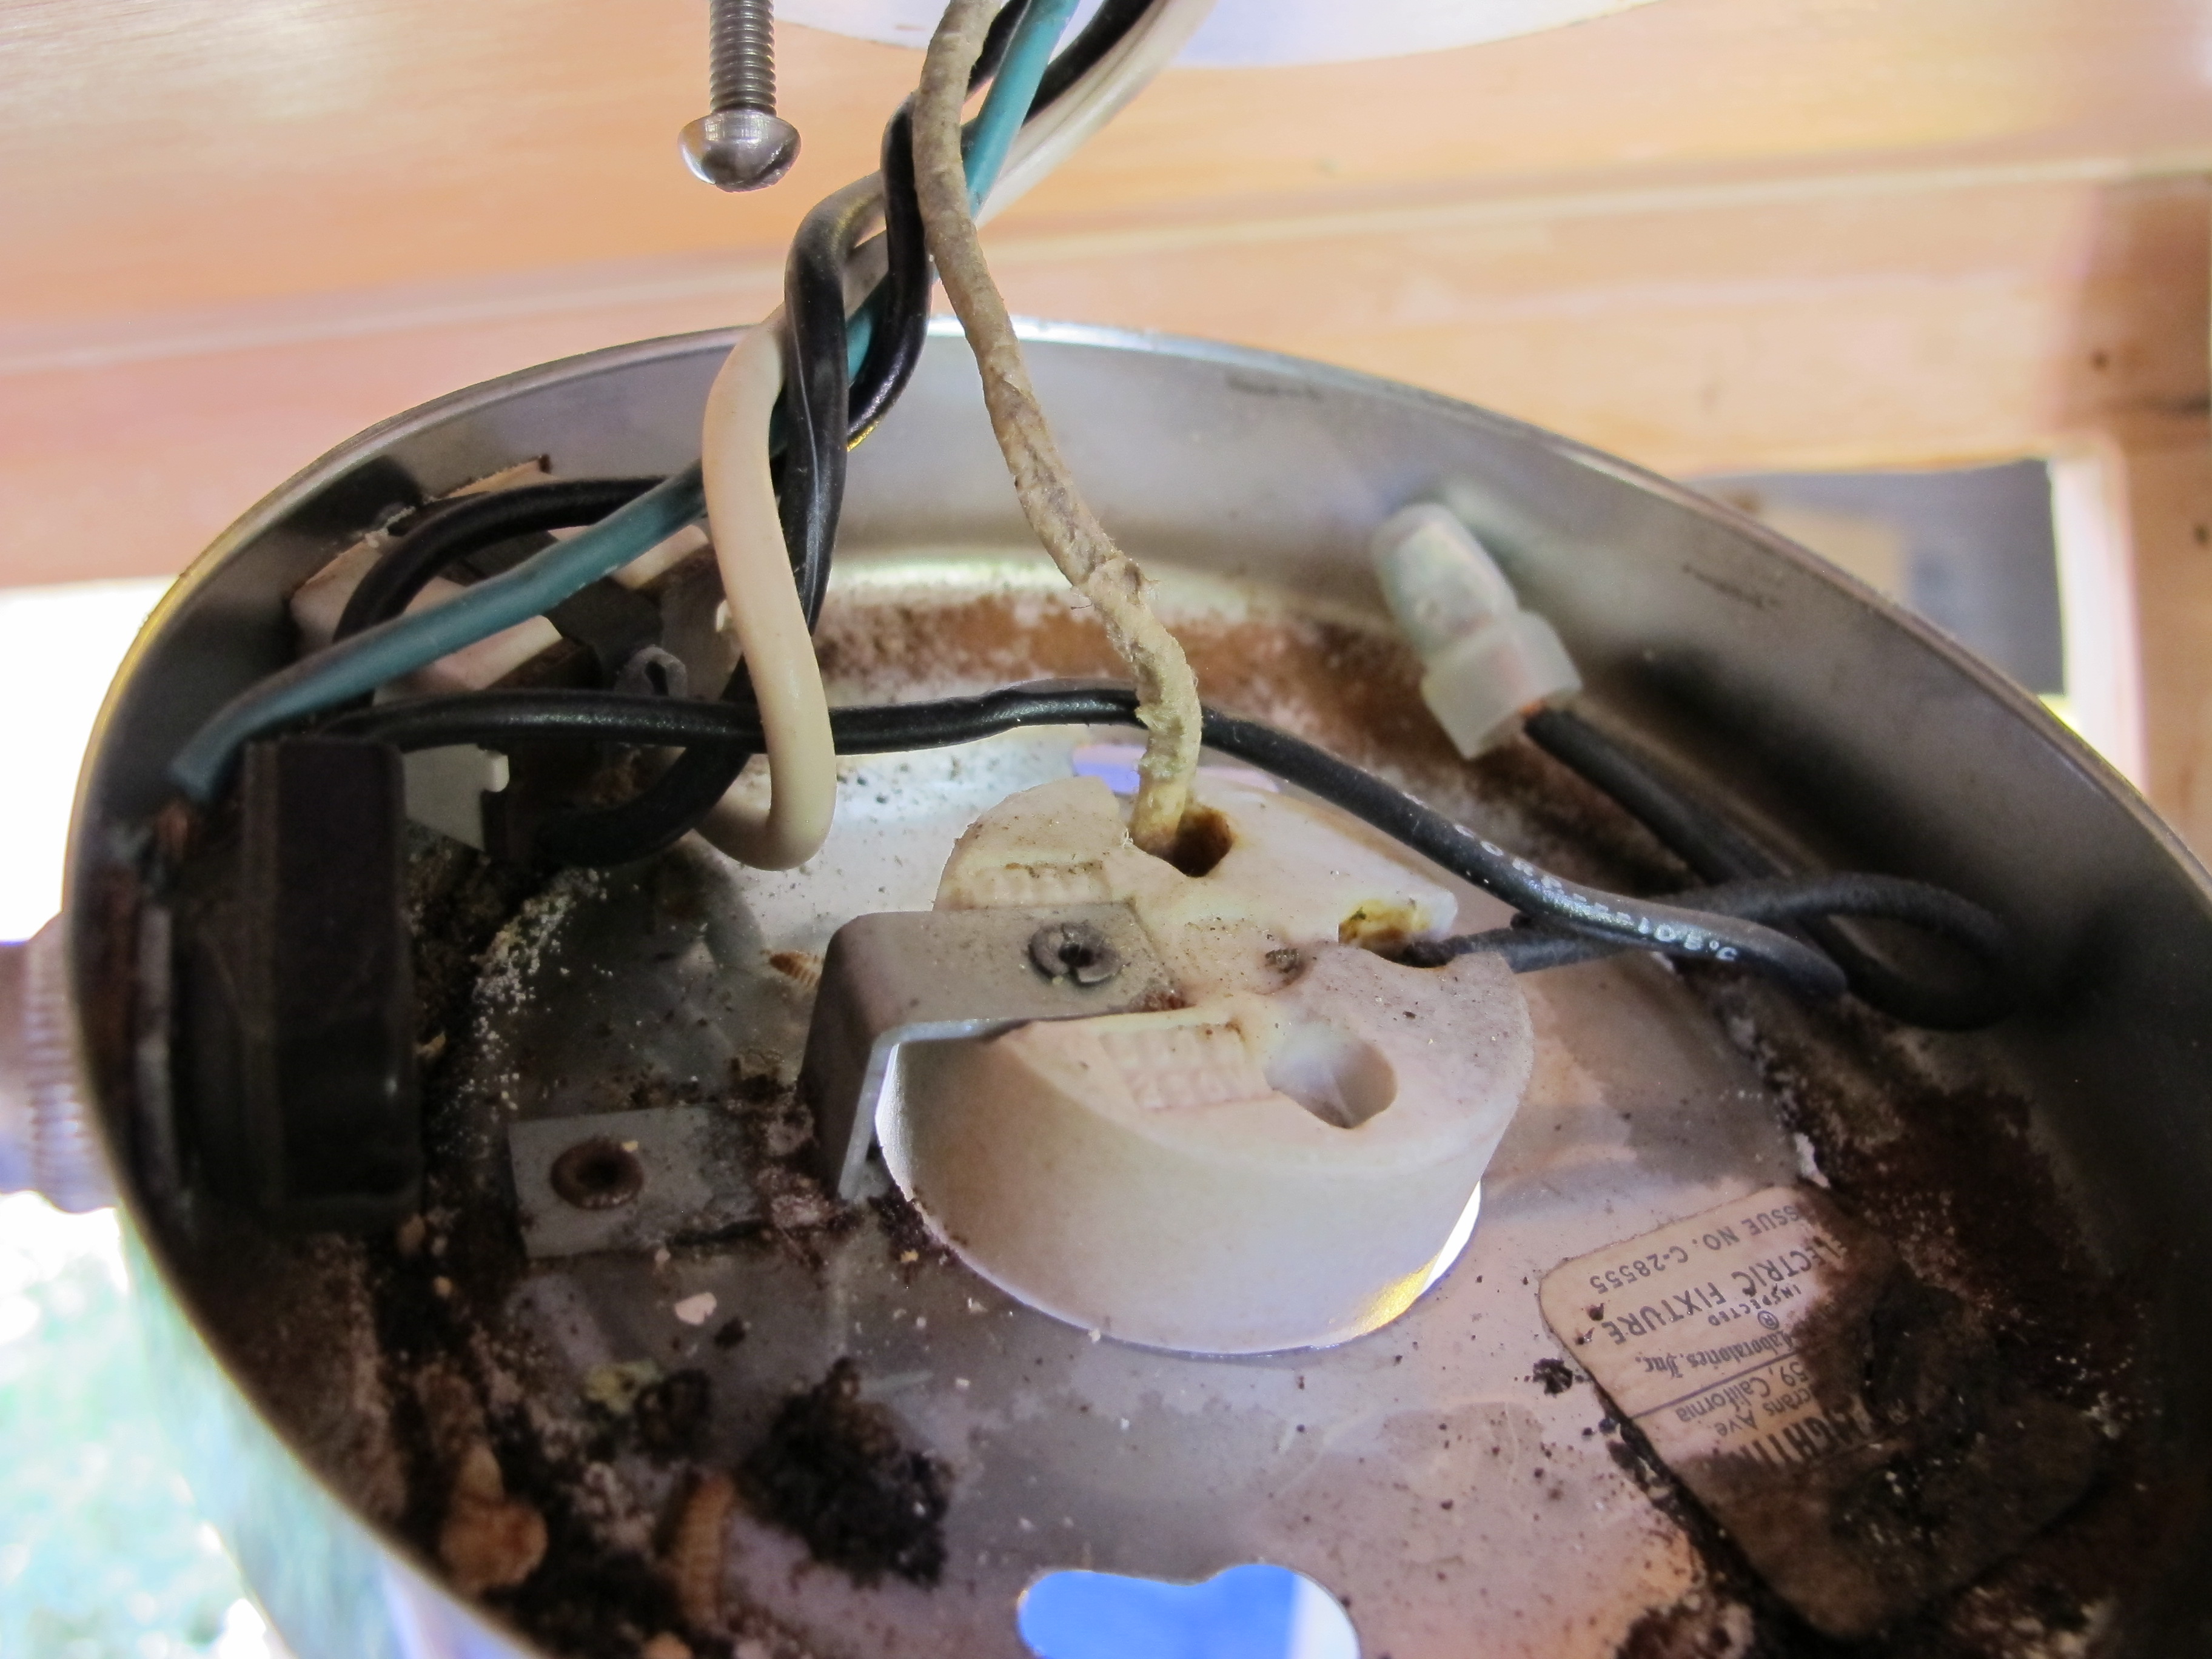
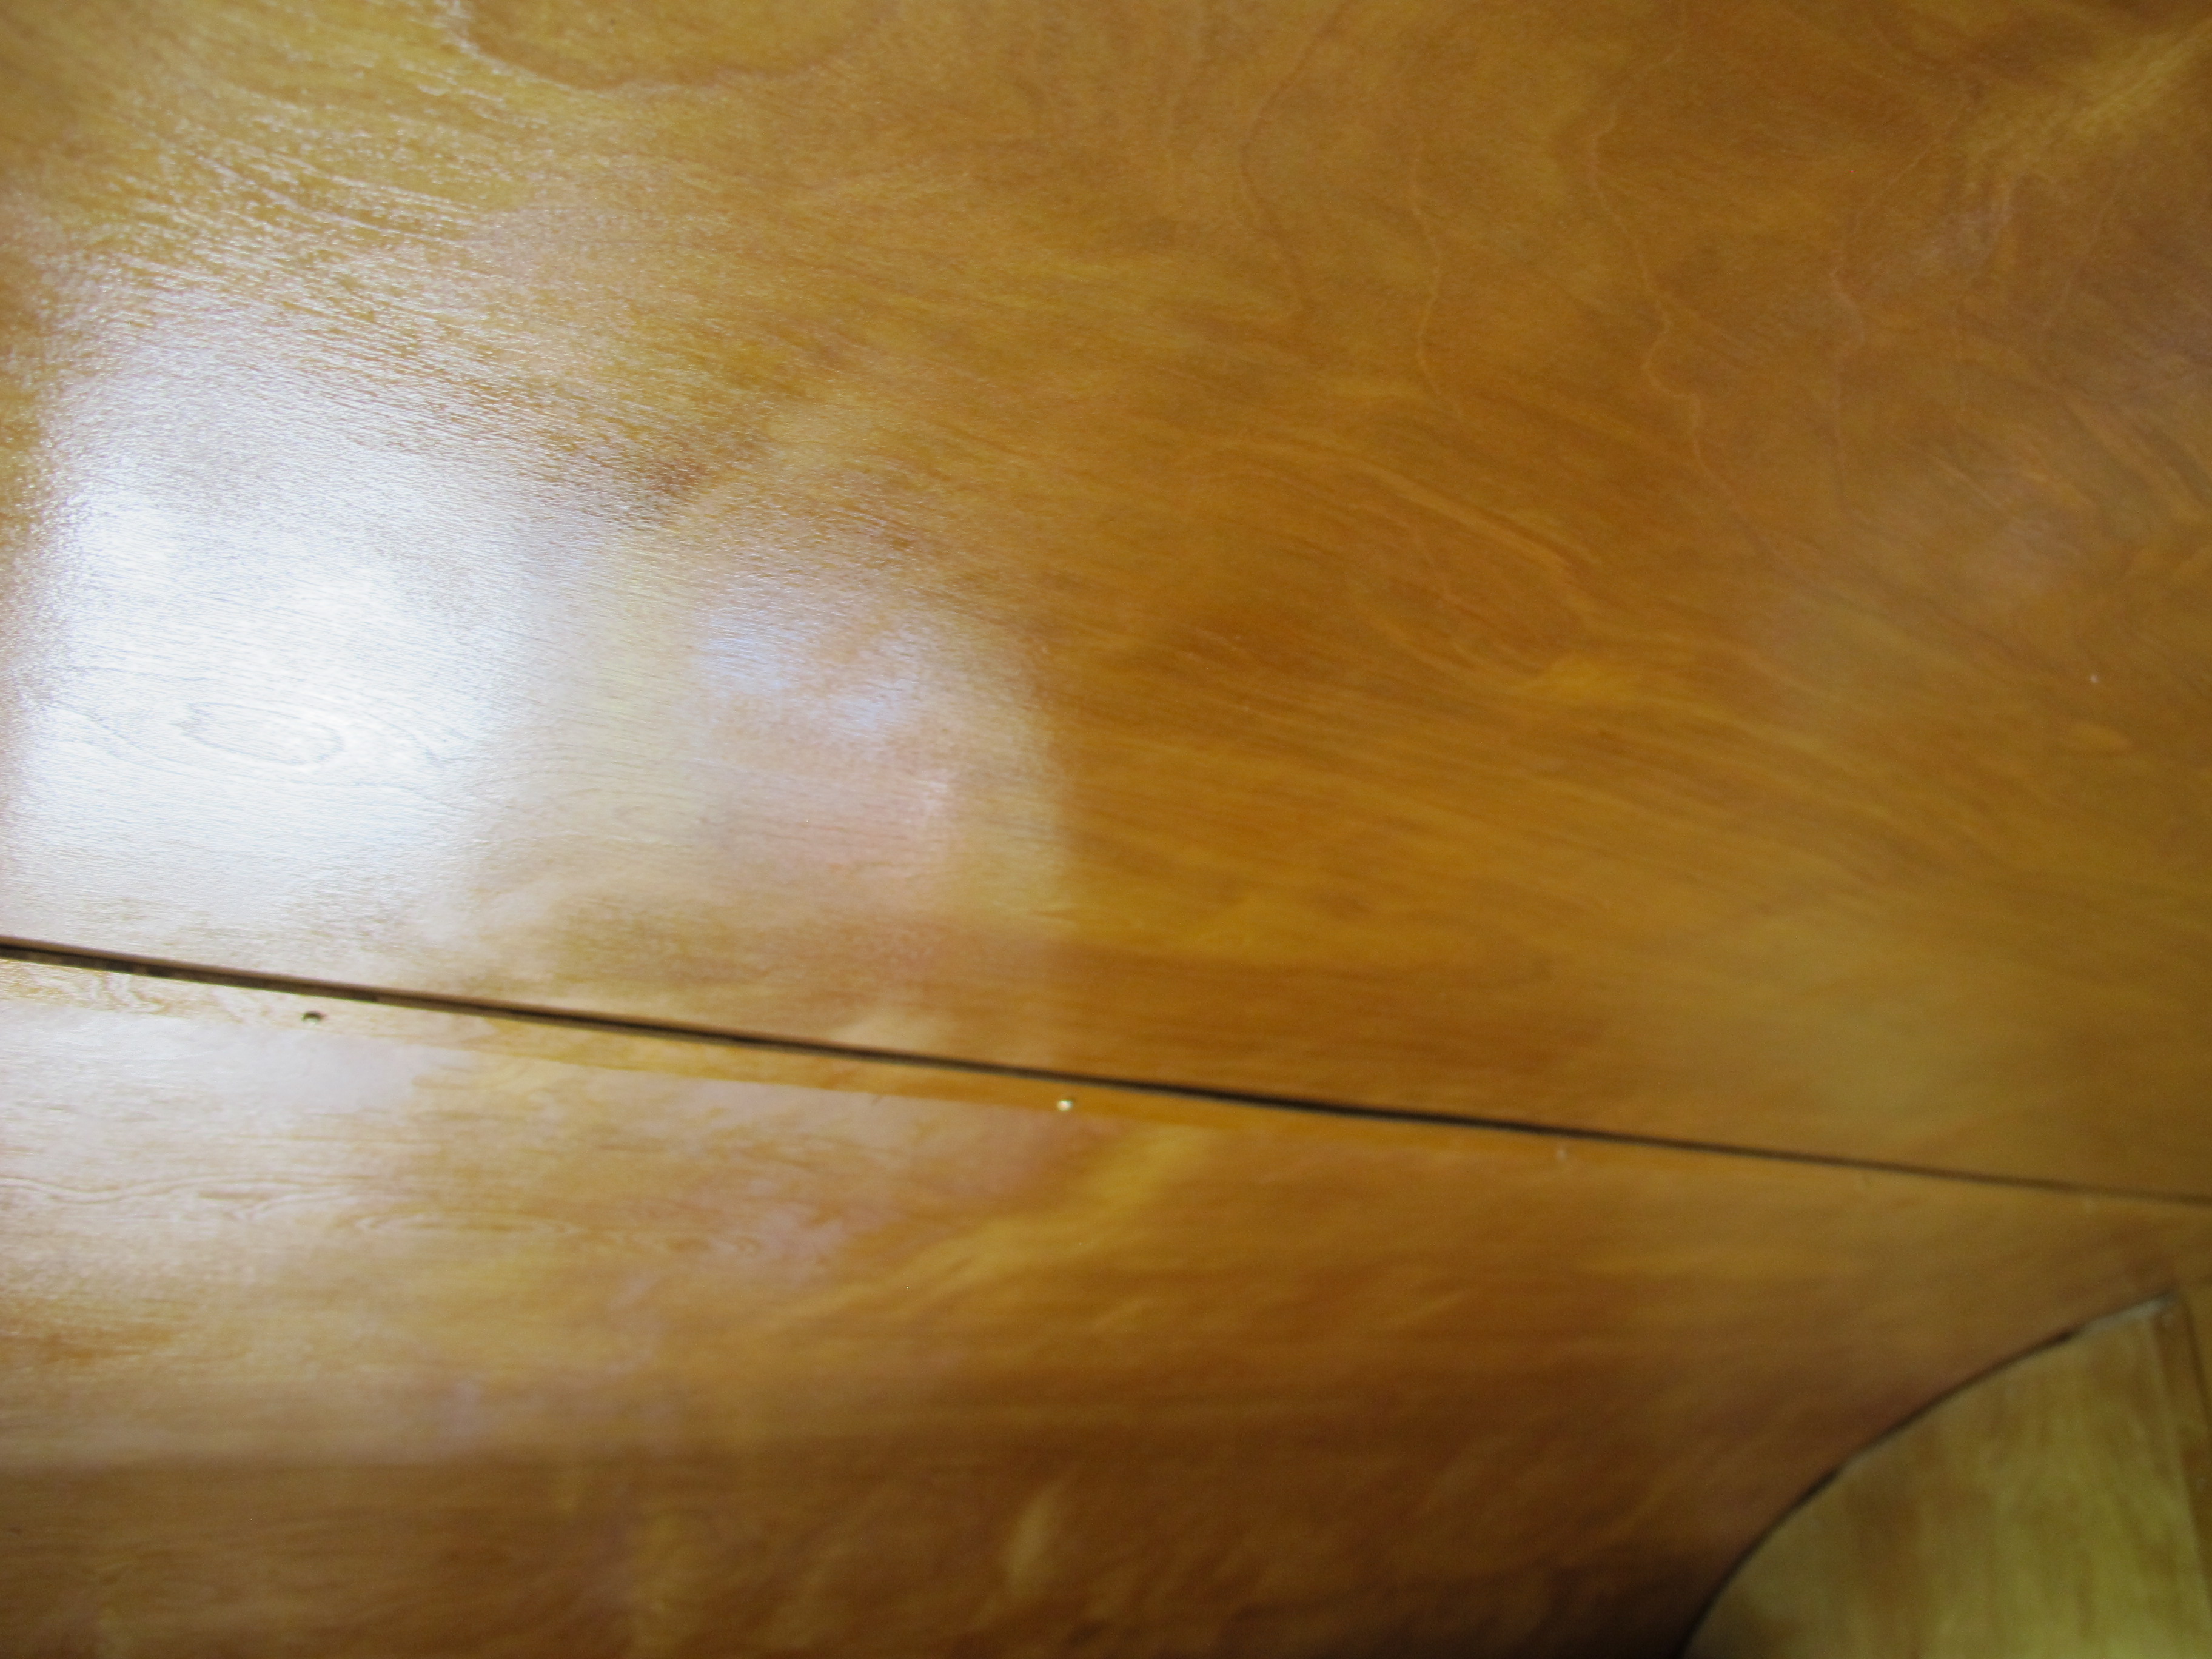
Here’s what the kitchen fixture looked like when I took it apart today. It’s kind of rusty and the wires don’t look too great. I might try to replace the wires attached to the fixture if I can. I will also clean up all of the rust inside before I reinstall it.
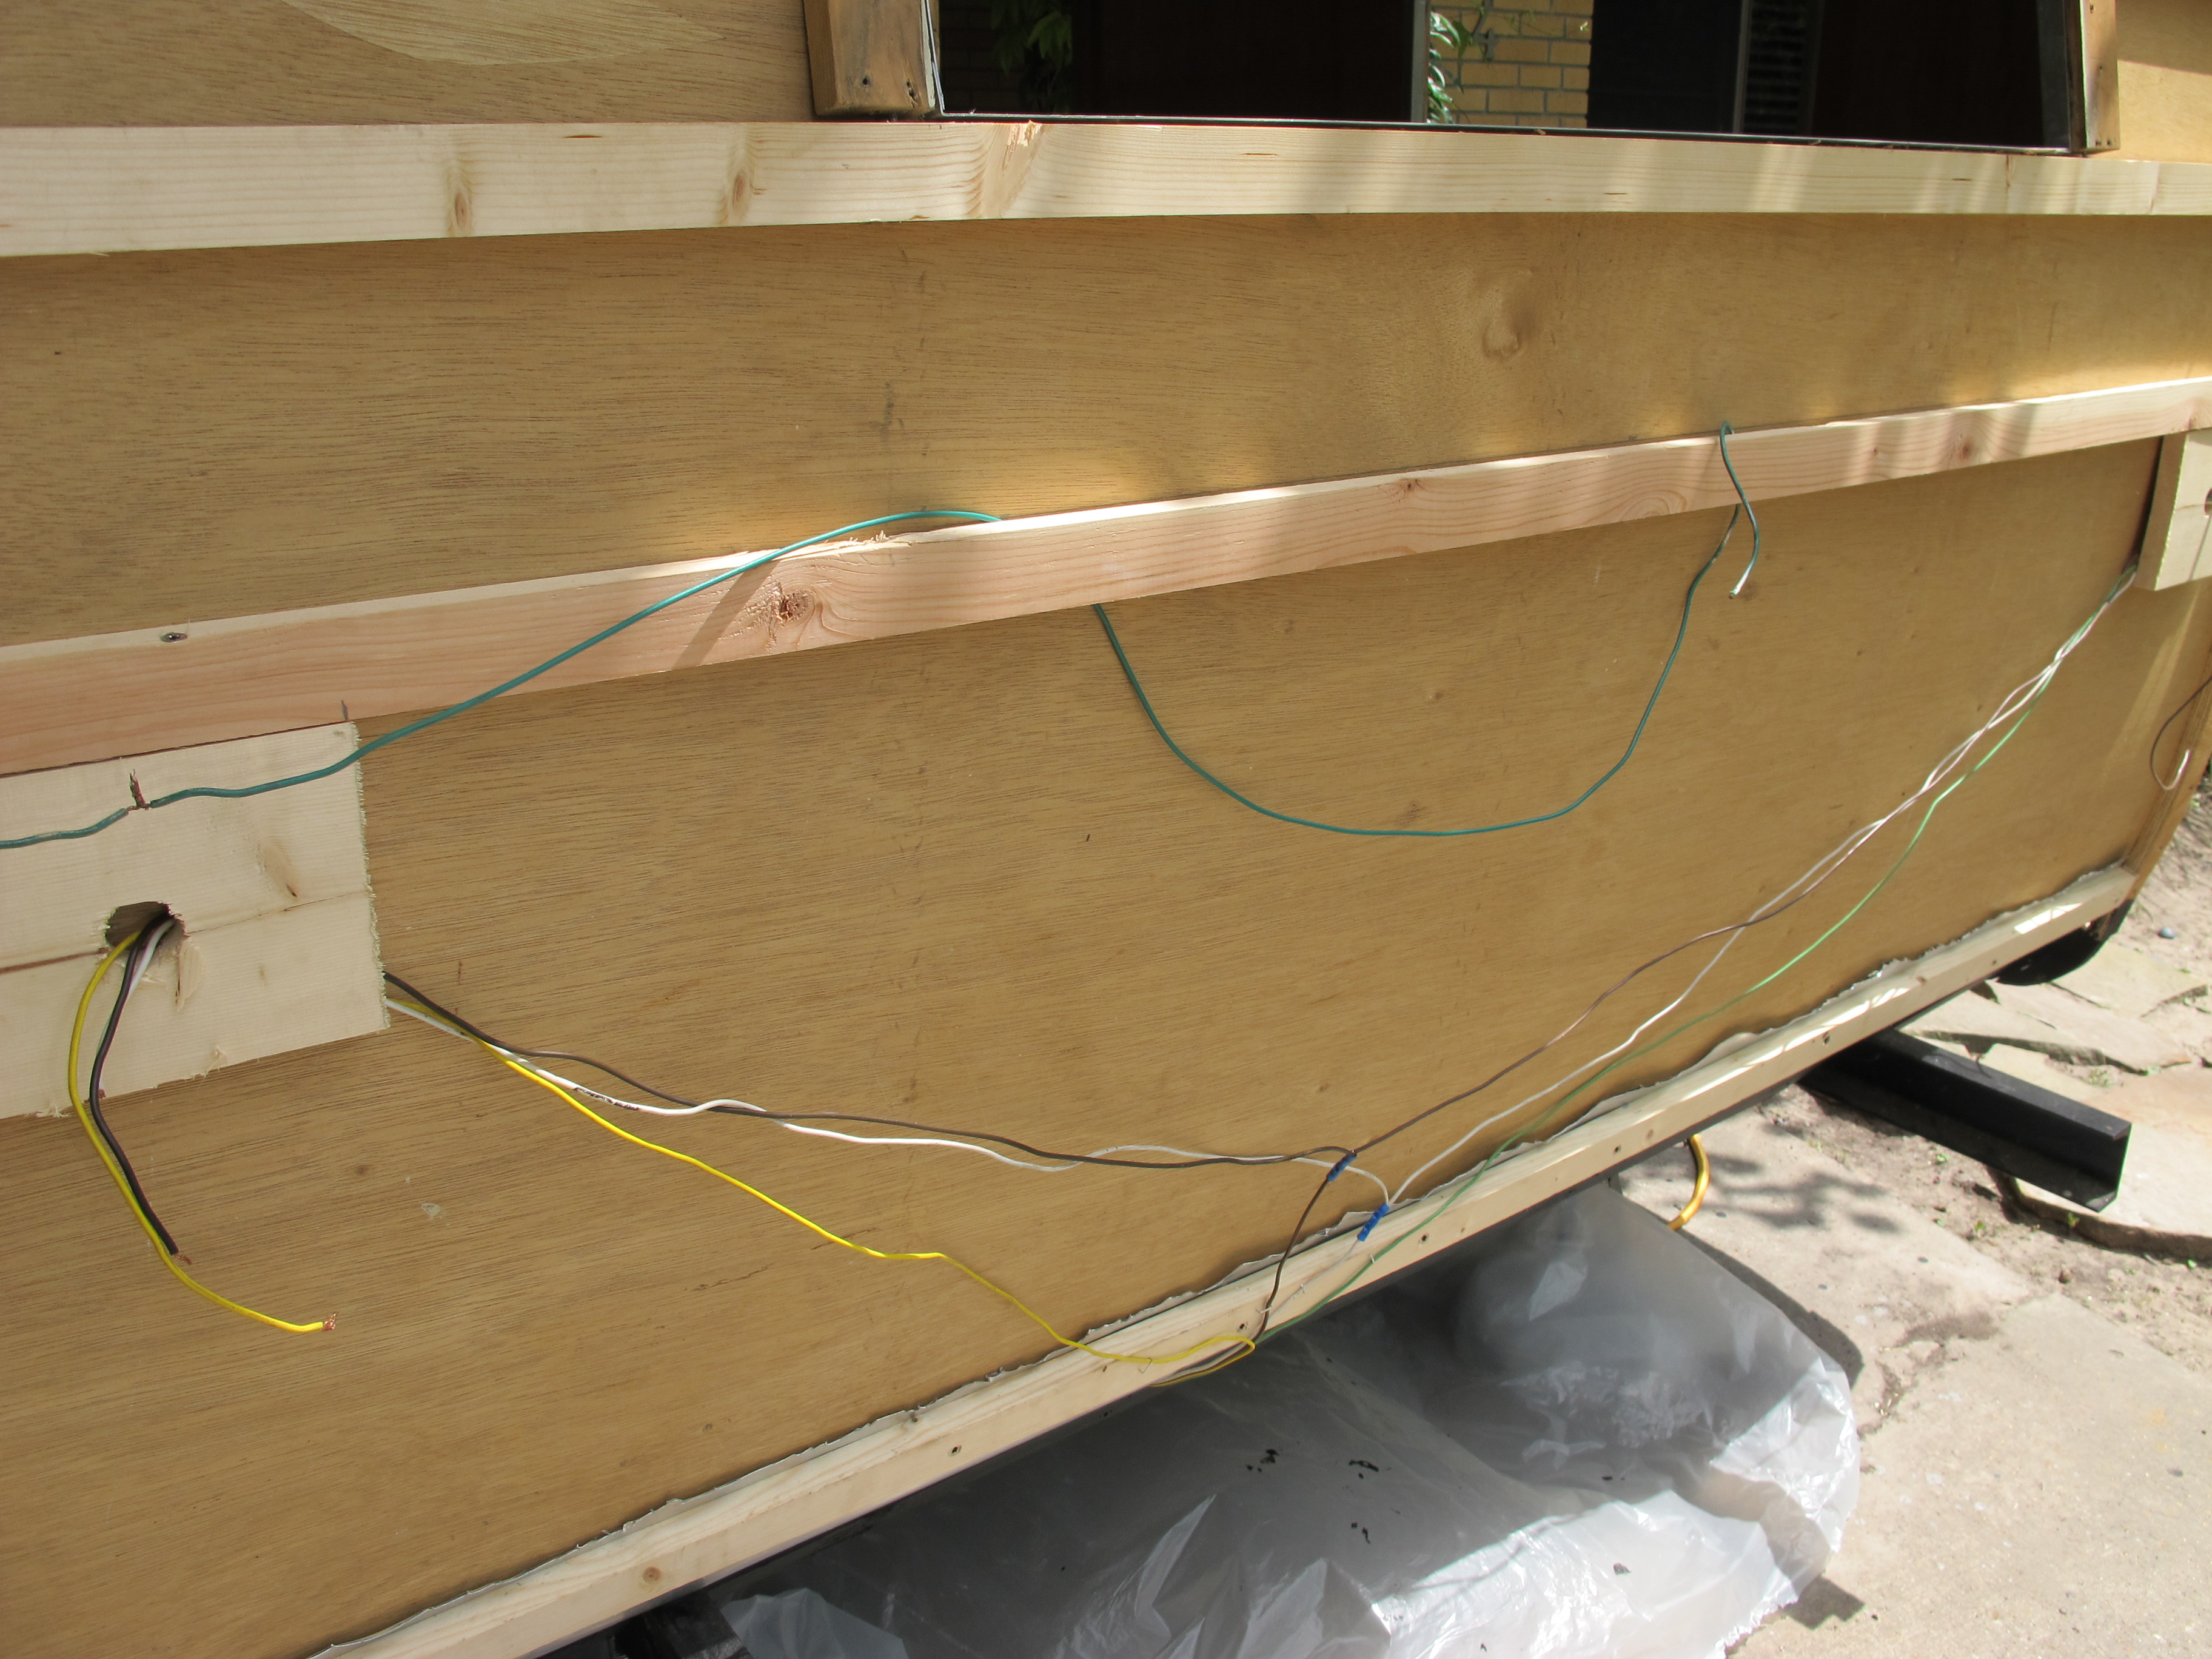
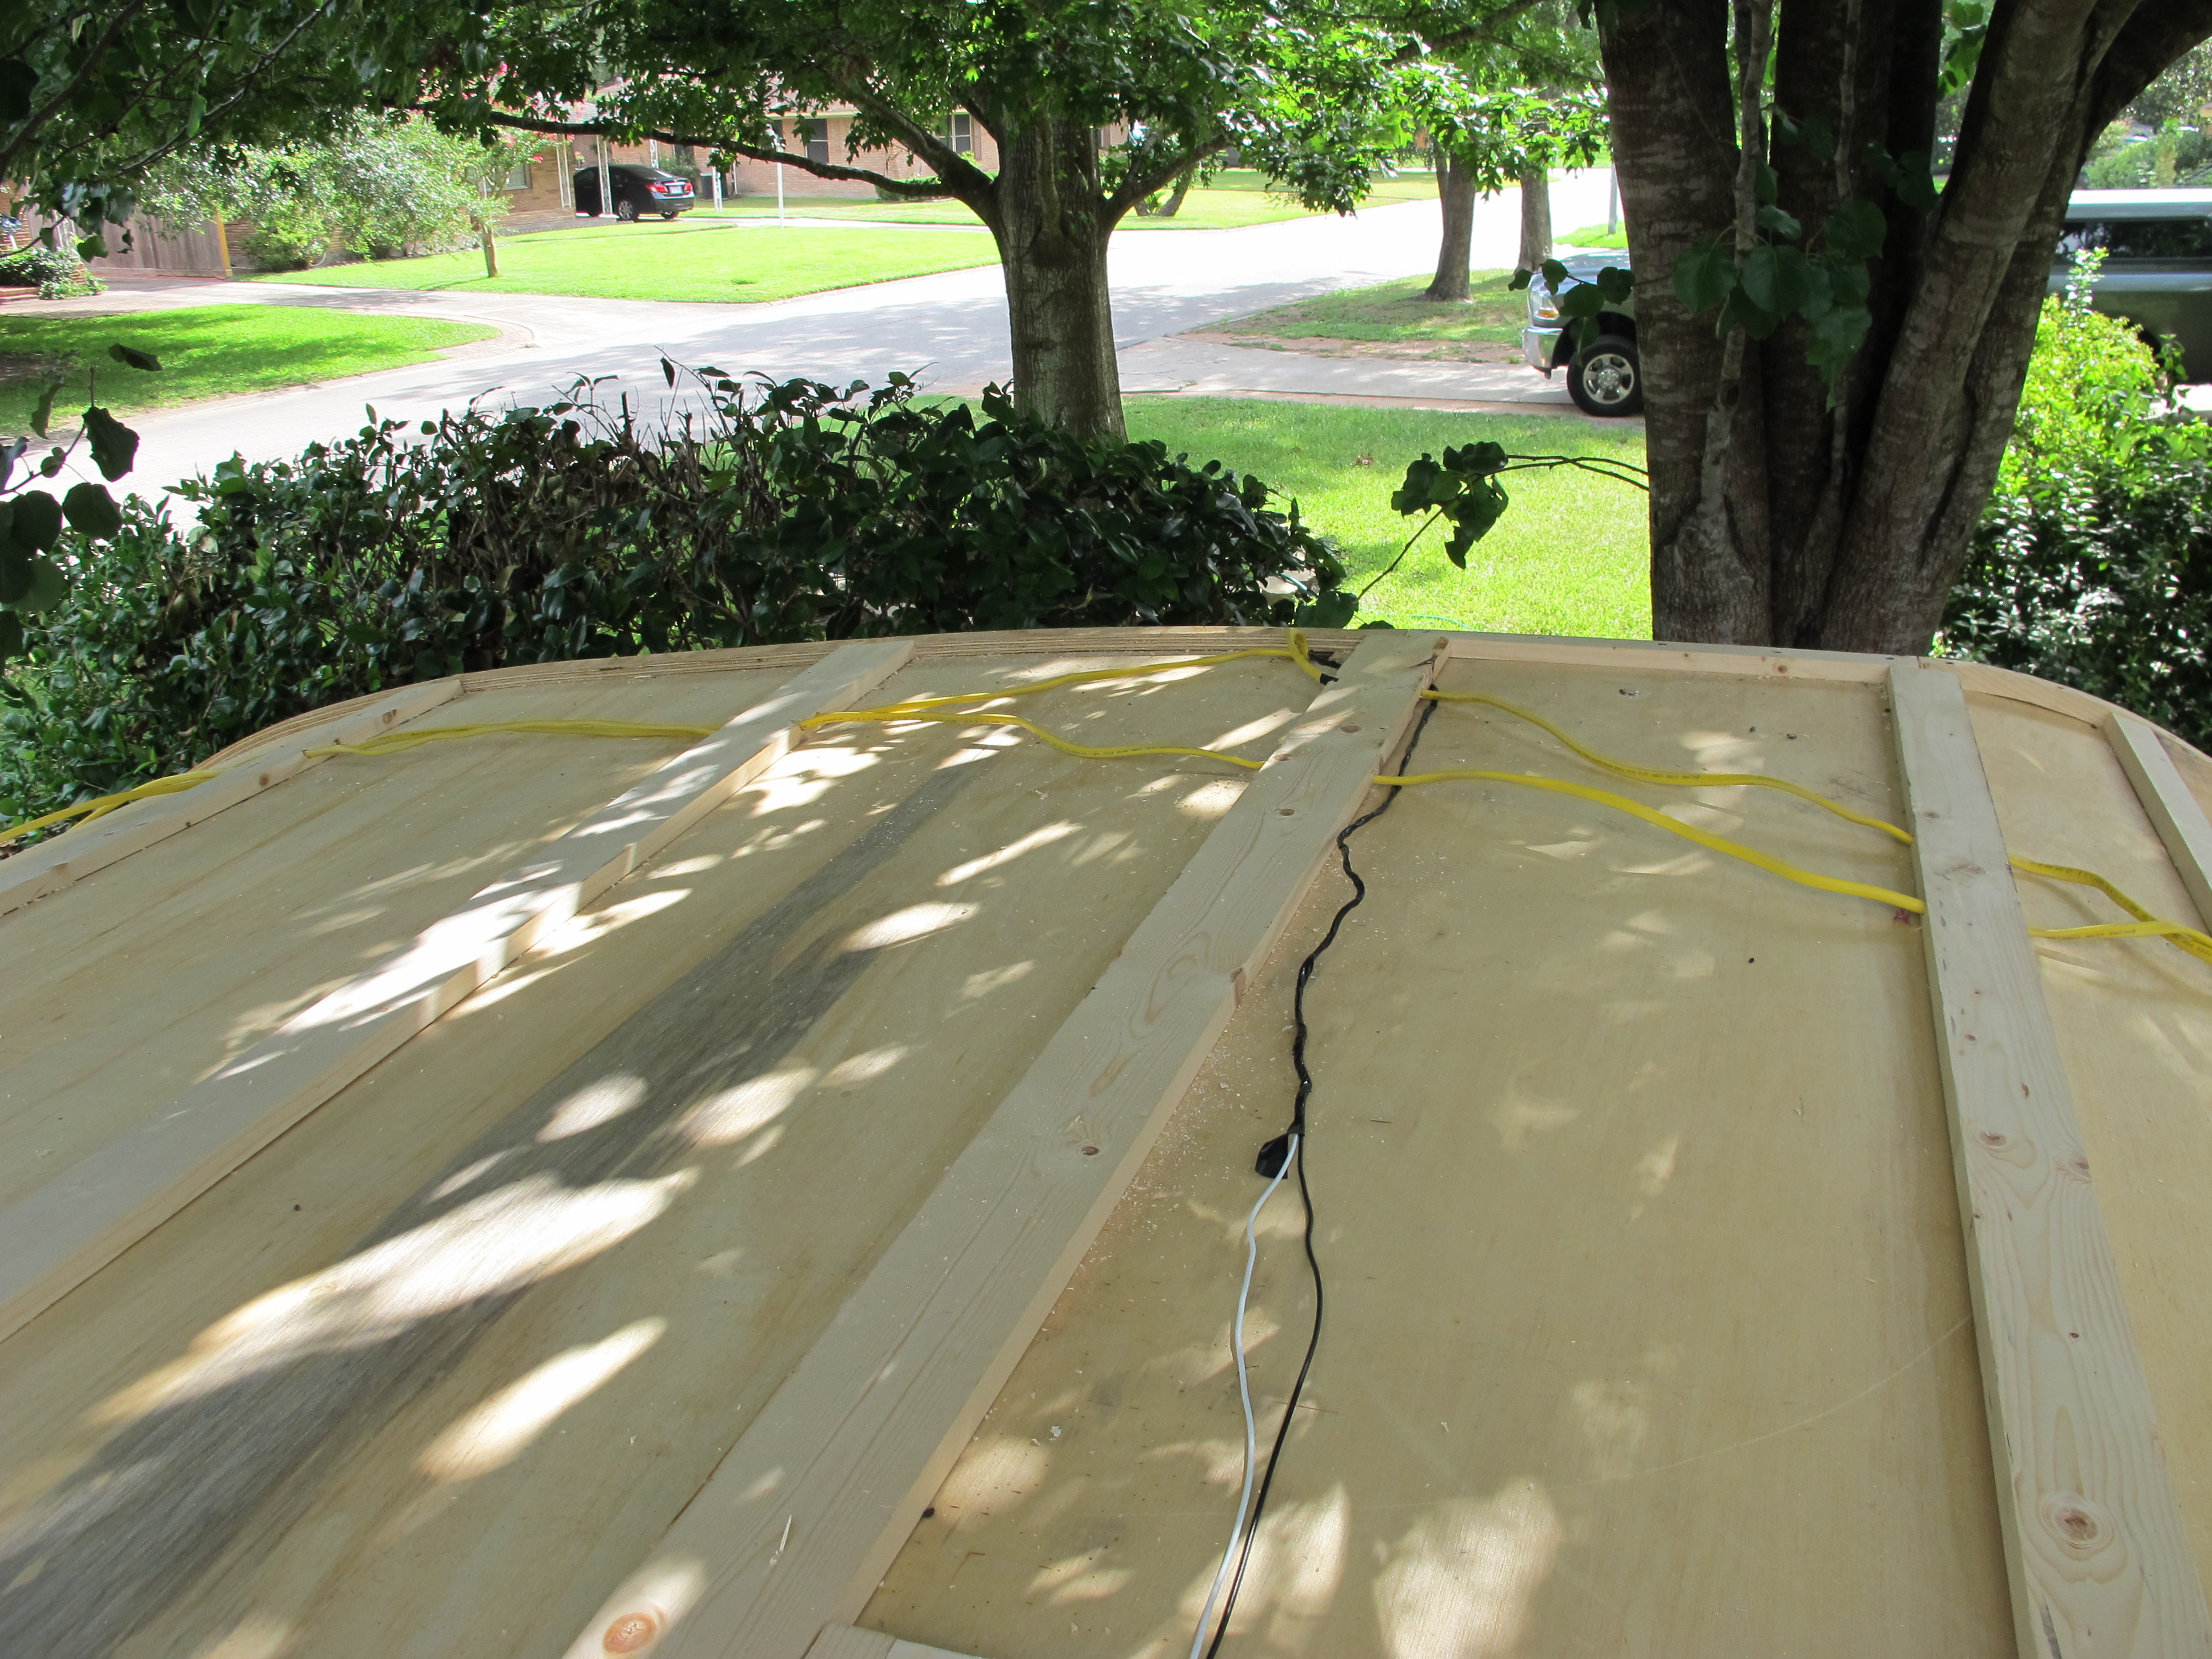
It was a pain in the butt drilling holes in all of the support beams in order to thread my electrical wires through all of them. My arms got so tired and I was worried the whole time that I would accidentally drill a hole through my ceiling panel. Luckily that did not happen. Once I started drilling the holes, I realized that I might poke a twist nail into the hole and puncture one of my wires when I installed the trim inside the camper, so I decided I had better install all of the trim first, then finish with the wiring.
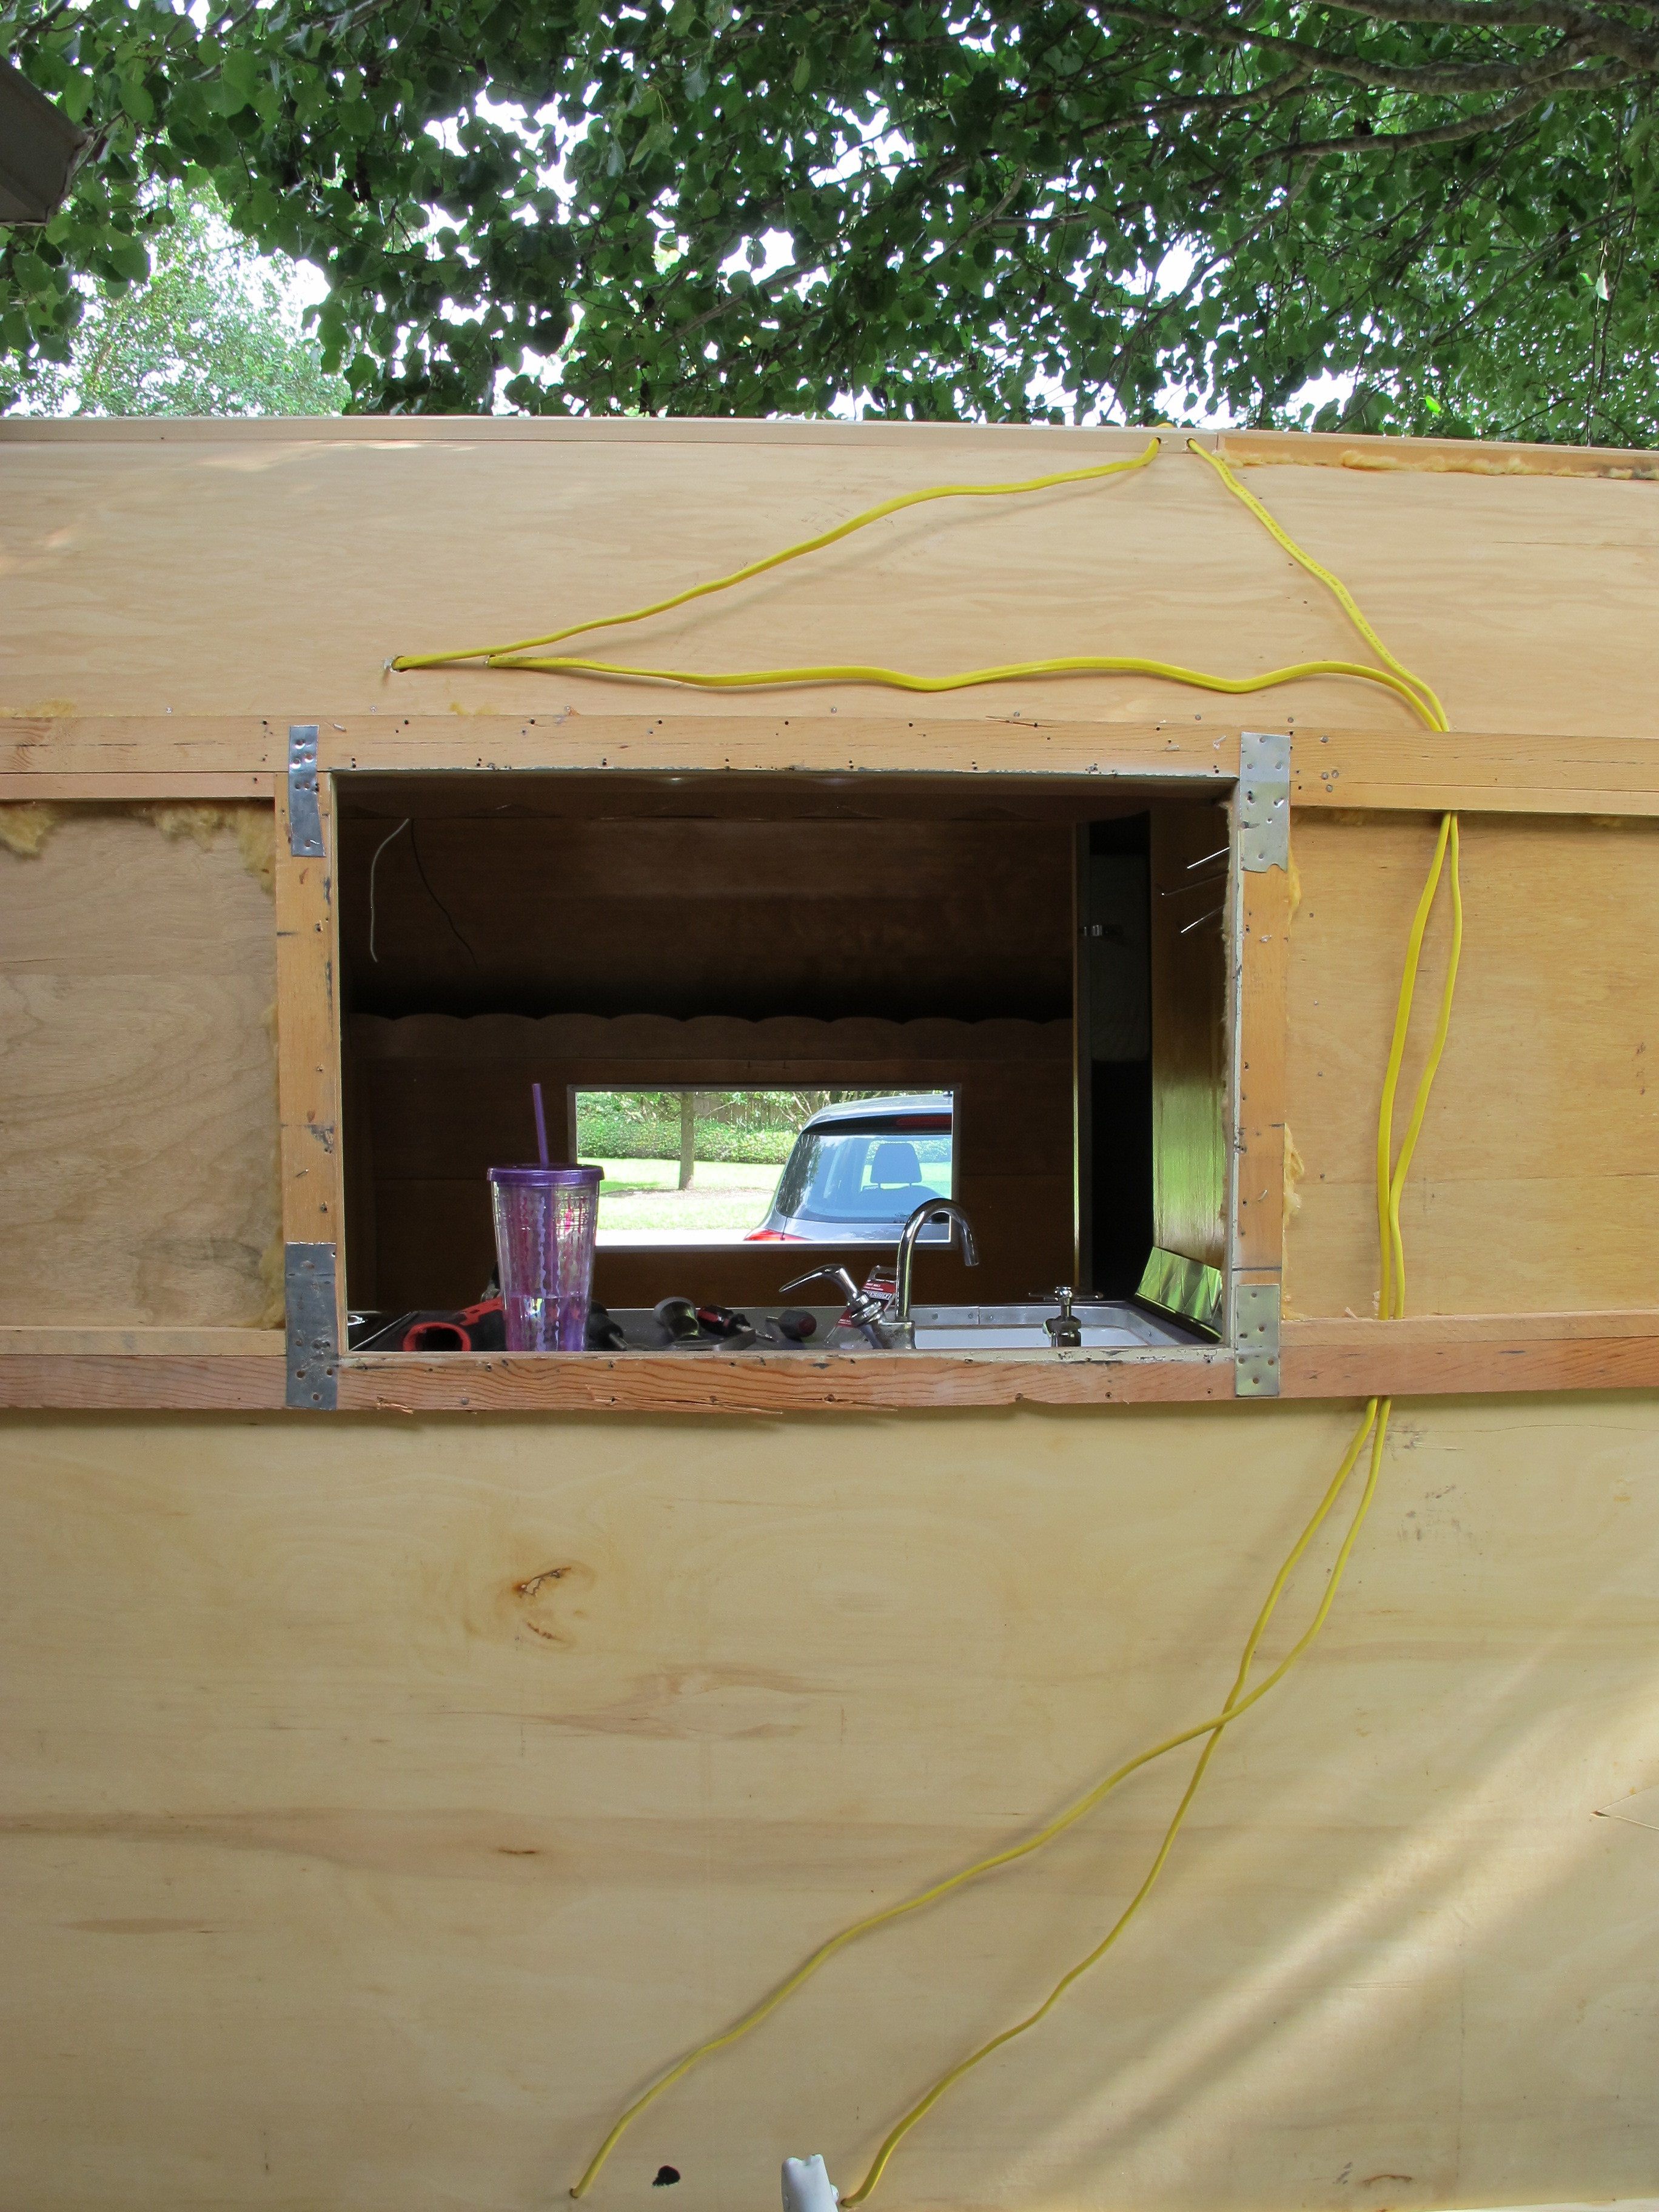
And here’s a pic of all of the wiring threaded through the holes and going to the locations where I’ll install new outlets or to existing fixtures! I will finish wiring everything later, once the skin is on. You’ll notice that the color of the wire is yellow. This is because I upgraded all of the wires to 12 gauge. The old wiring was only 14 gauge, which is fine for lights and outlets, but it needs to be 12 gauge since I’m upgrading to 30 amp.
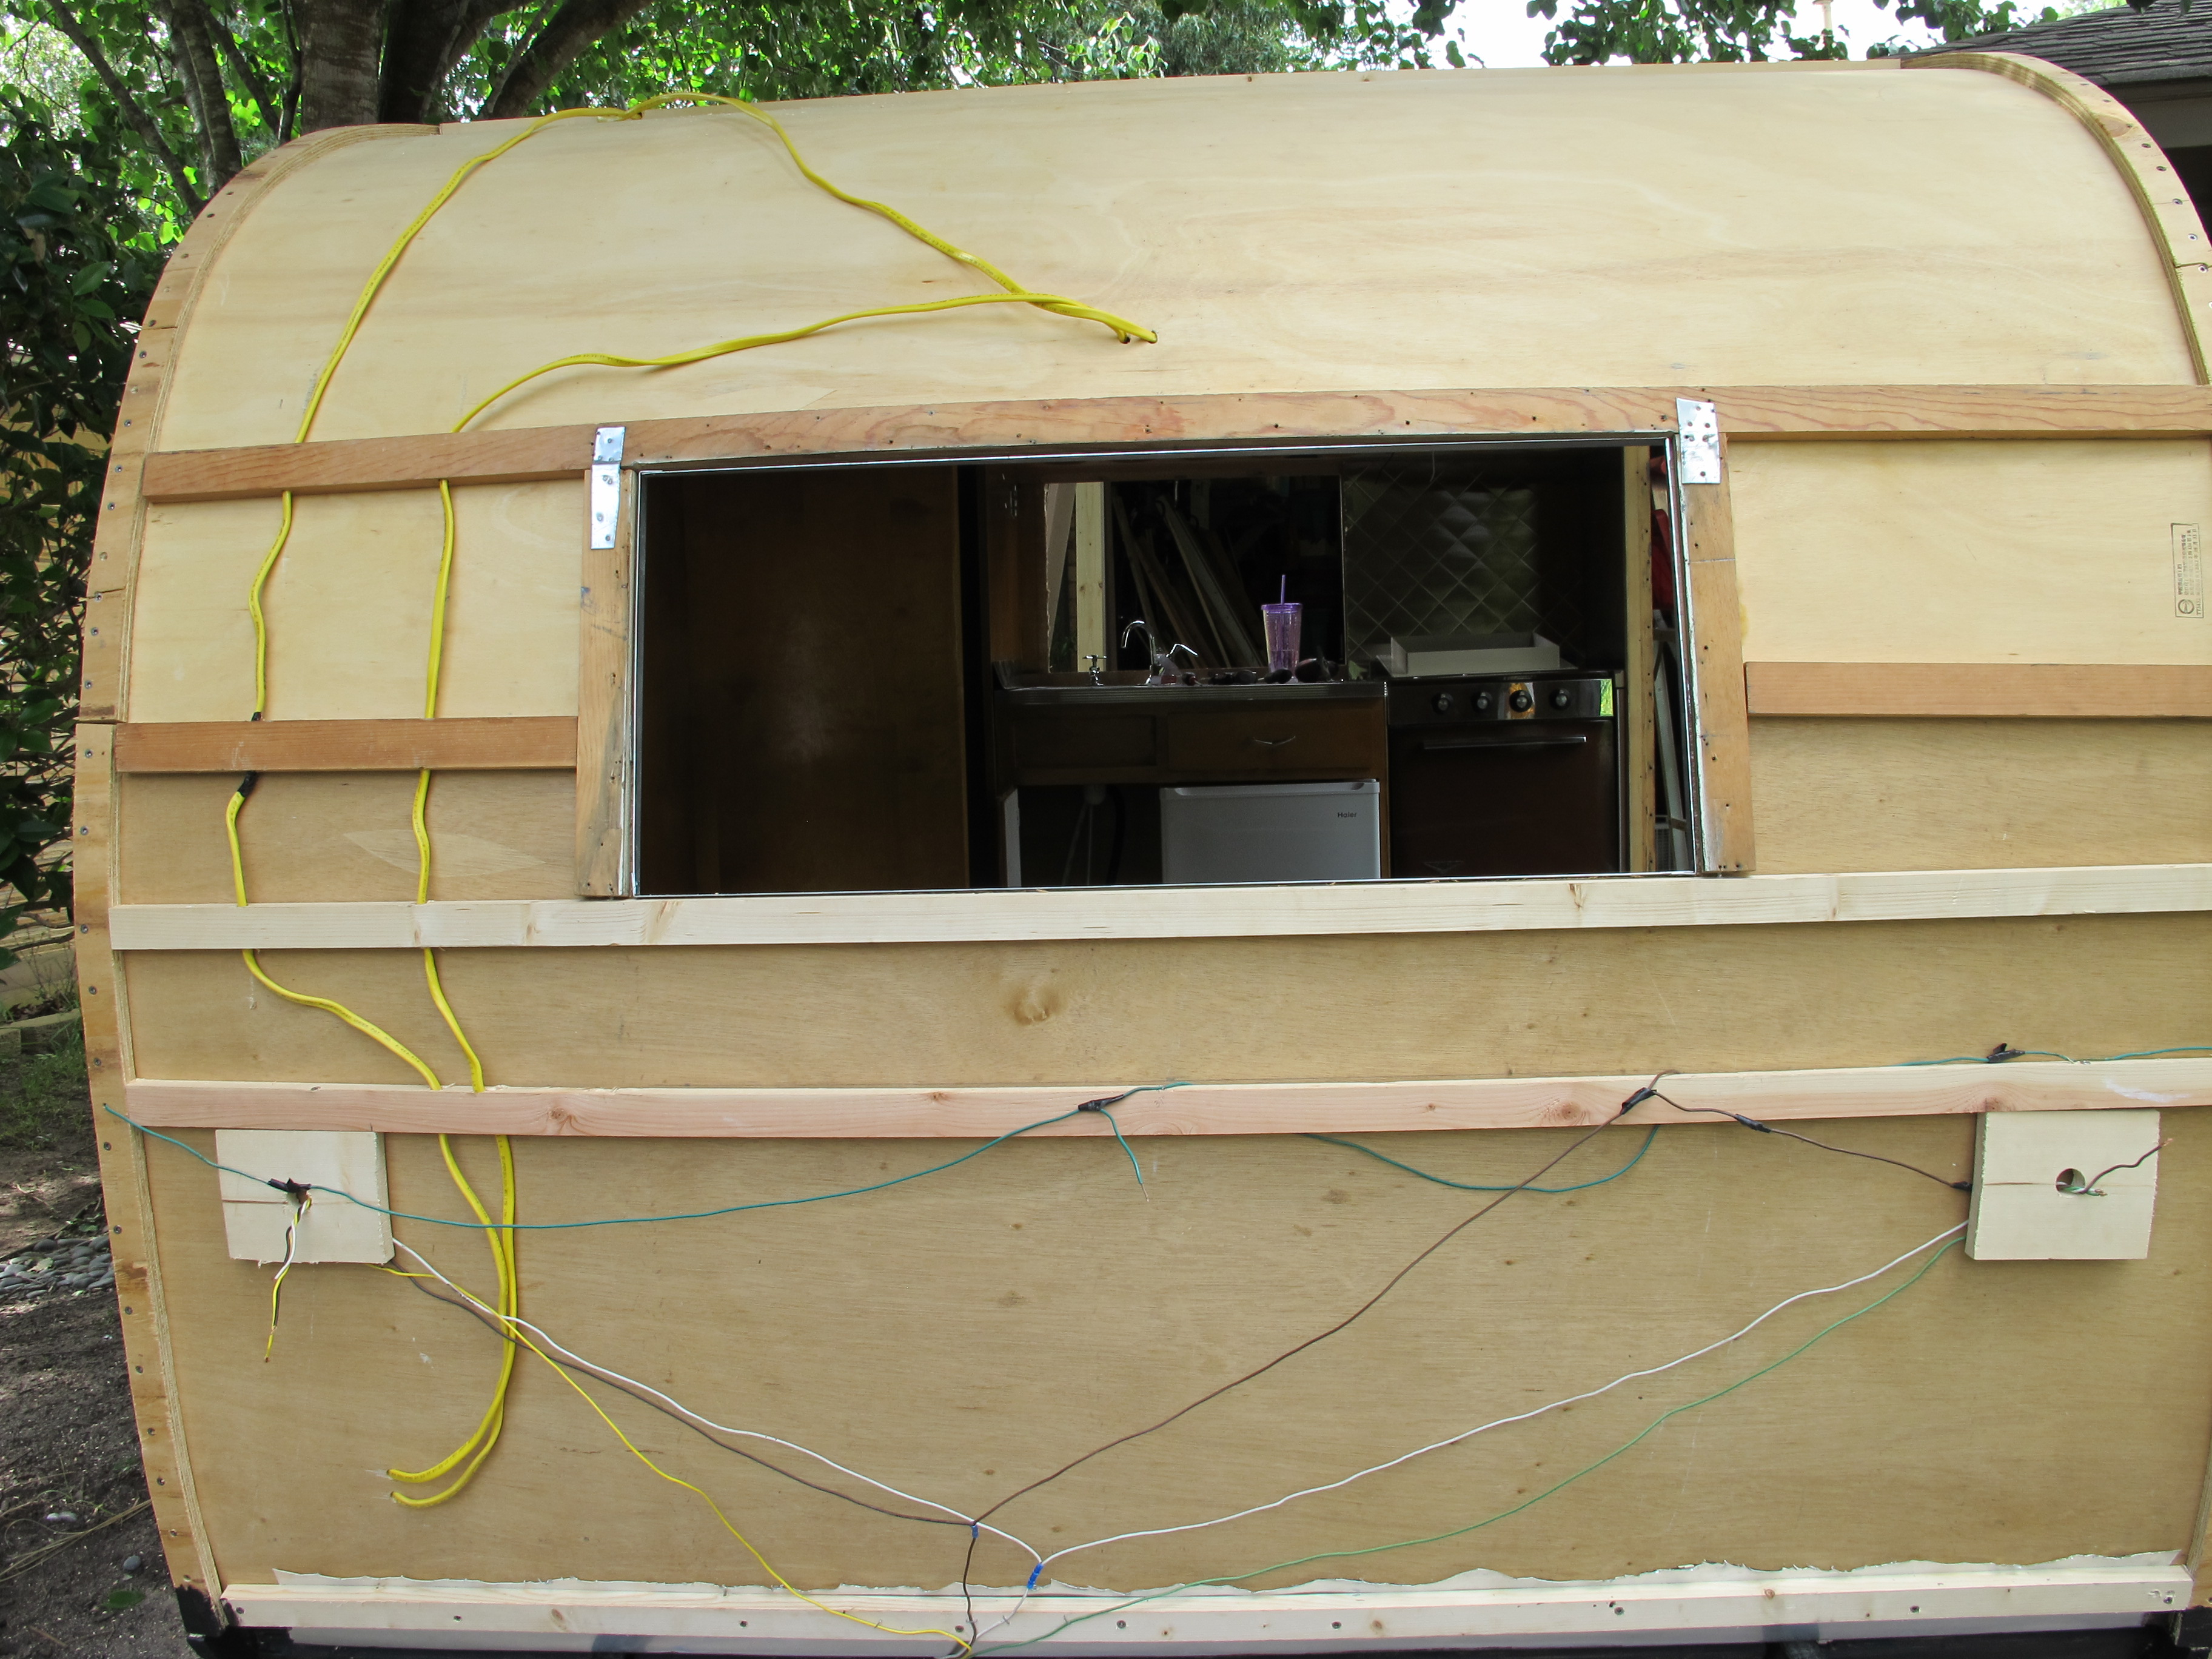
I didn’t like the idea of my wires running down the sides of the camper, so I kept them to the roof, front, and rear only. Both circuits are entering the camper on the bottom left, which leads to where I will be installing the power chord.
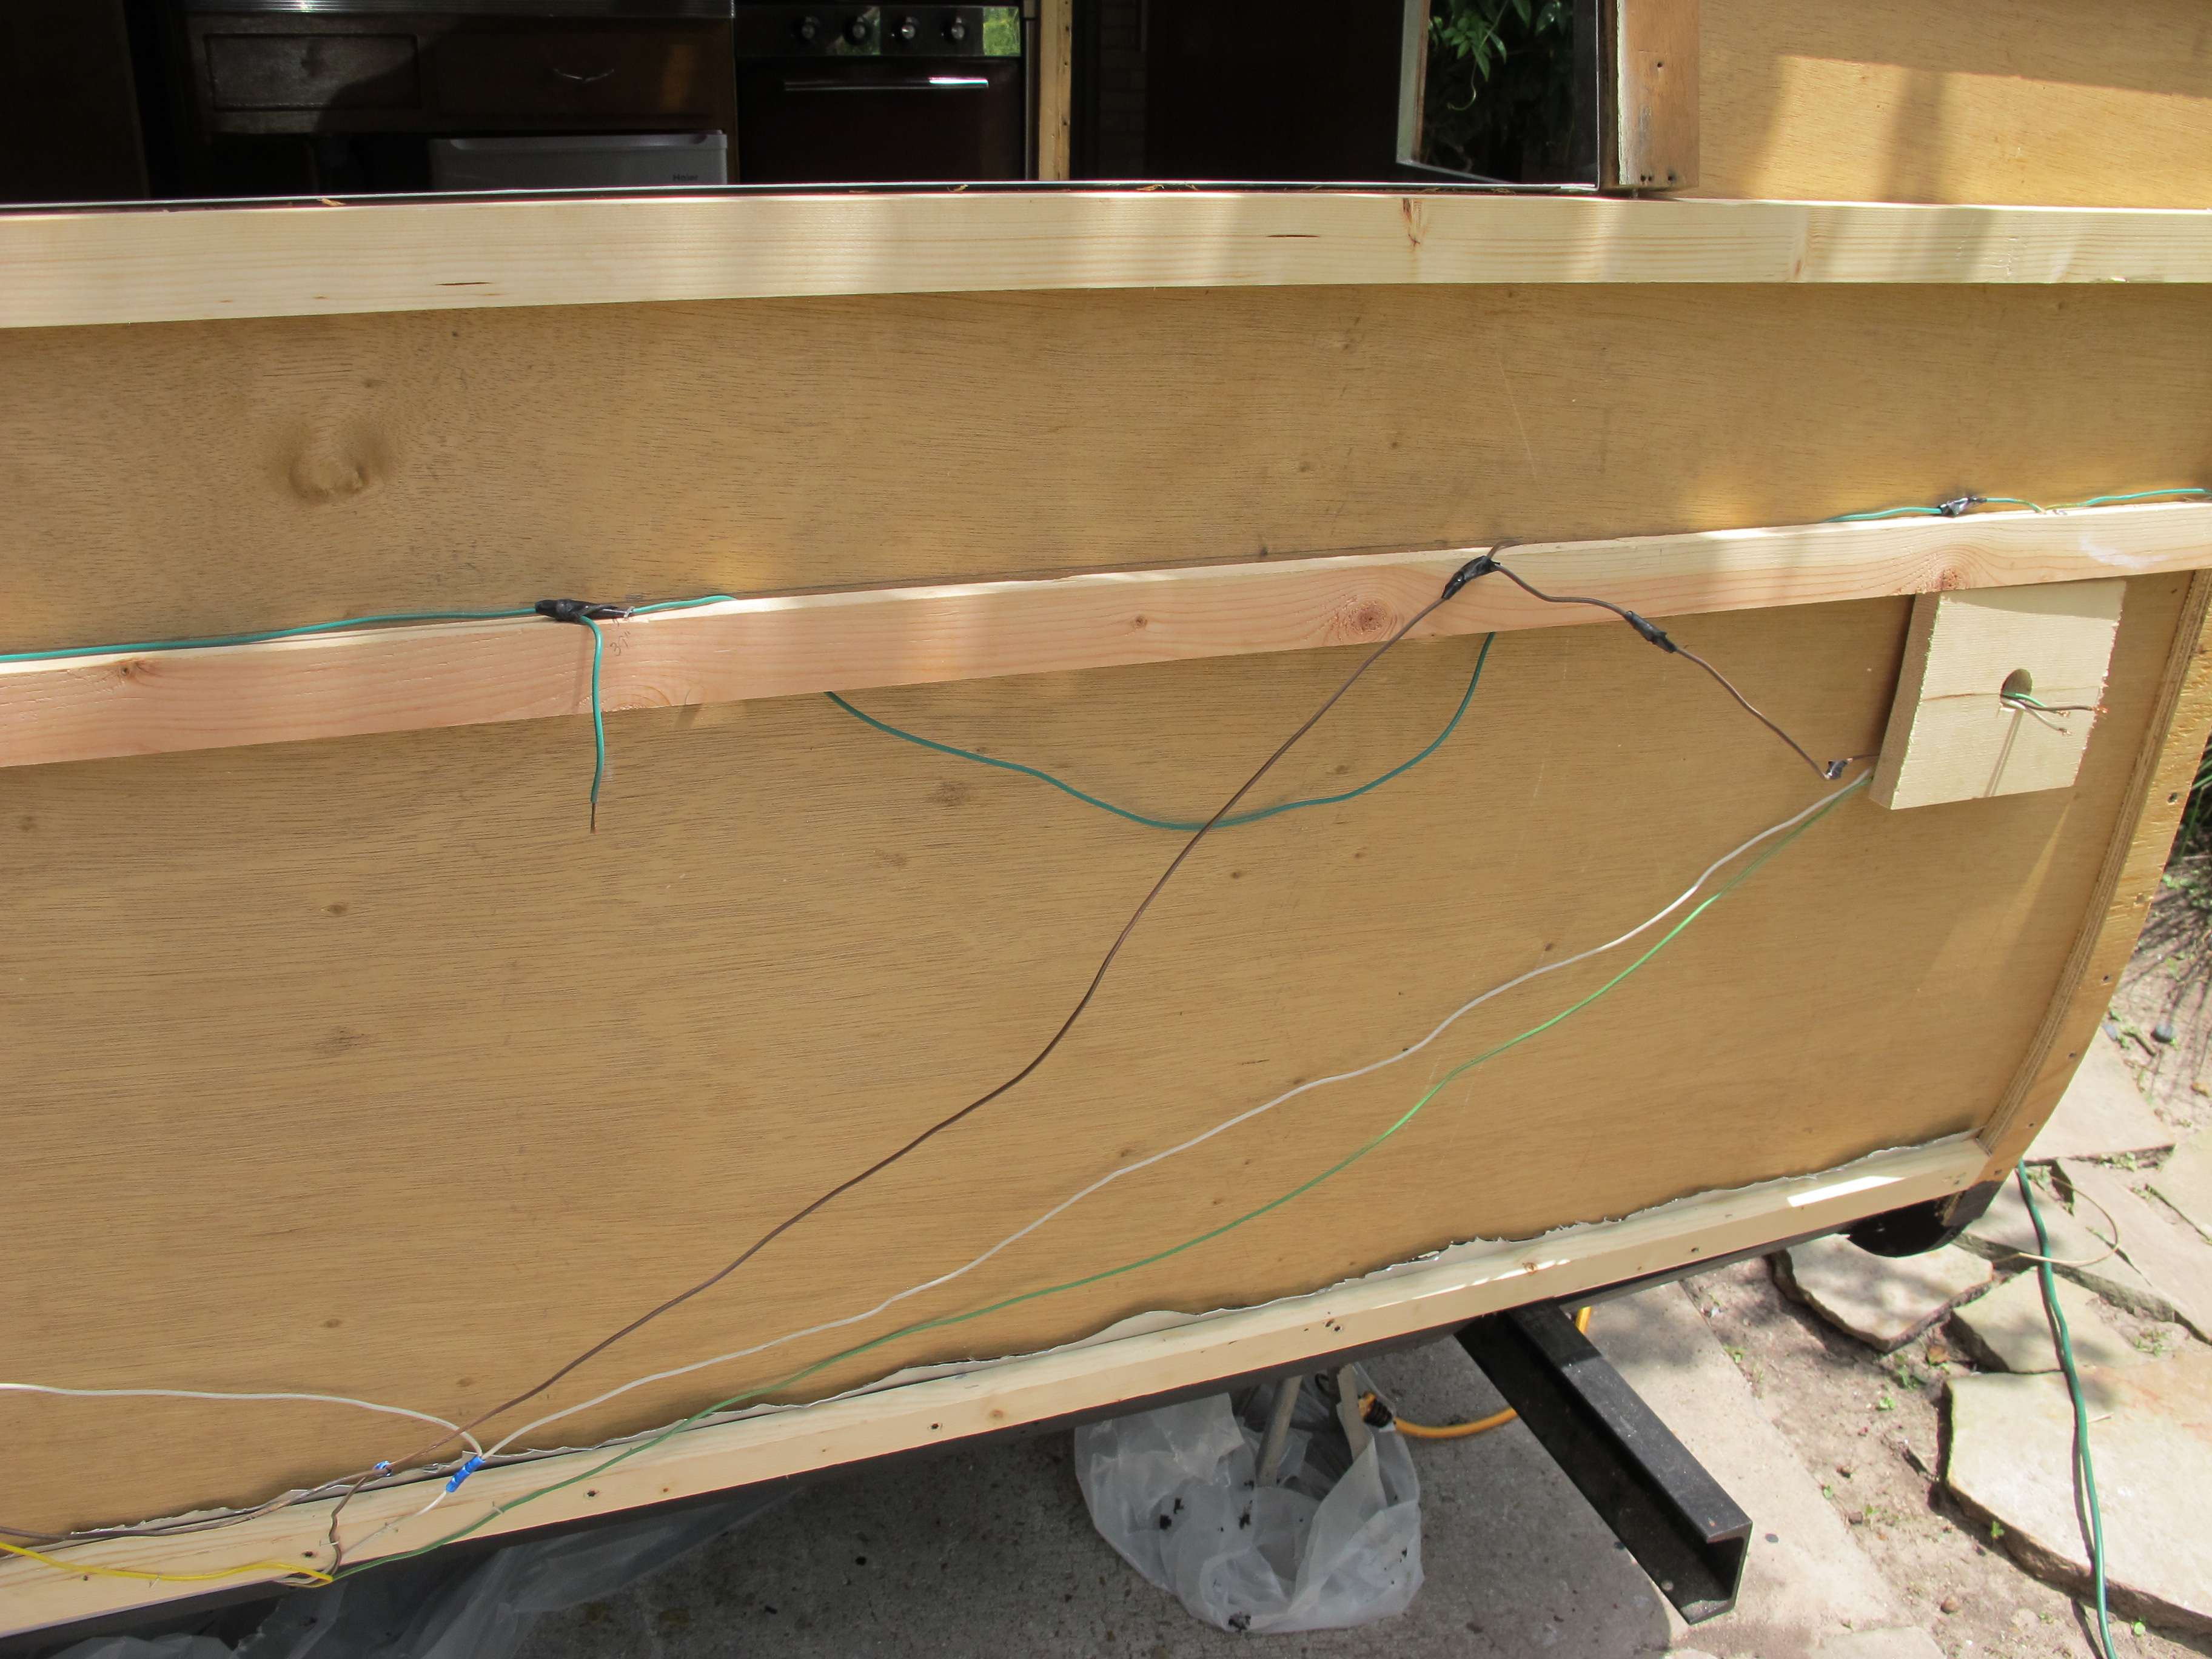
The black and white wire is for the Fantastic Vent, which is 12 volt. Eventually, I plan to set up my system to have a 12 volt battery that charges either from my tow vehicle while driving or while I”m plugged into shore power. In the meantime, I’m running these wires to the nearest outlet and will attach a 12v plug to the other end. I am planning to buy a converter that will plug into a normal outlet as well as the 12v plug, then convert the 120v power to 12v. This will allow me to use my Fantastic Vent without damaging it.
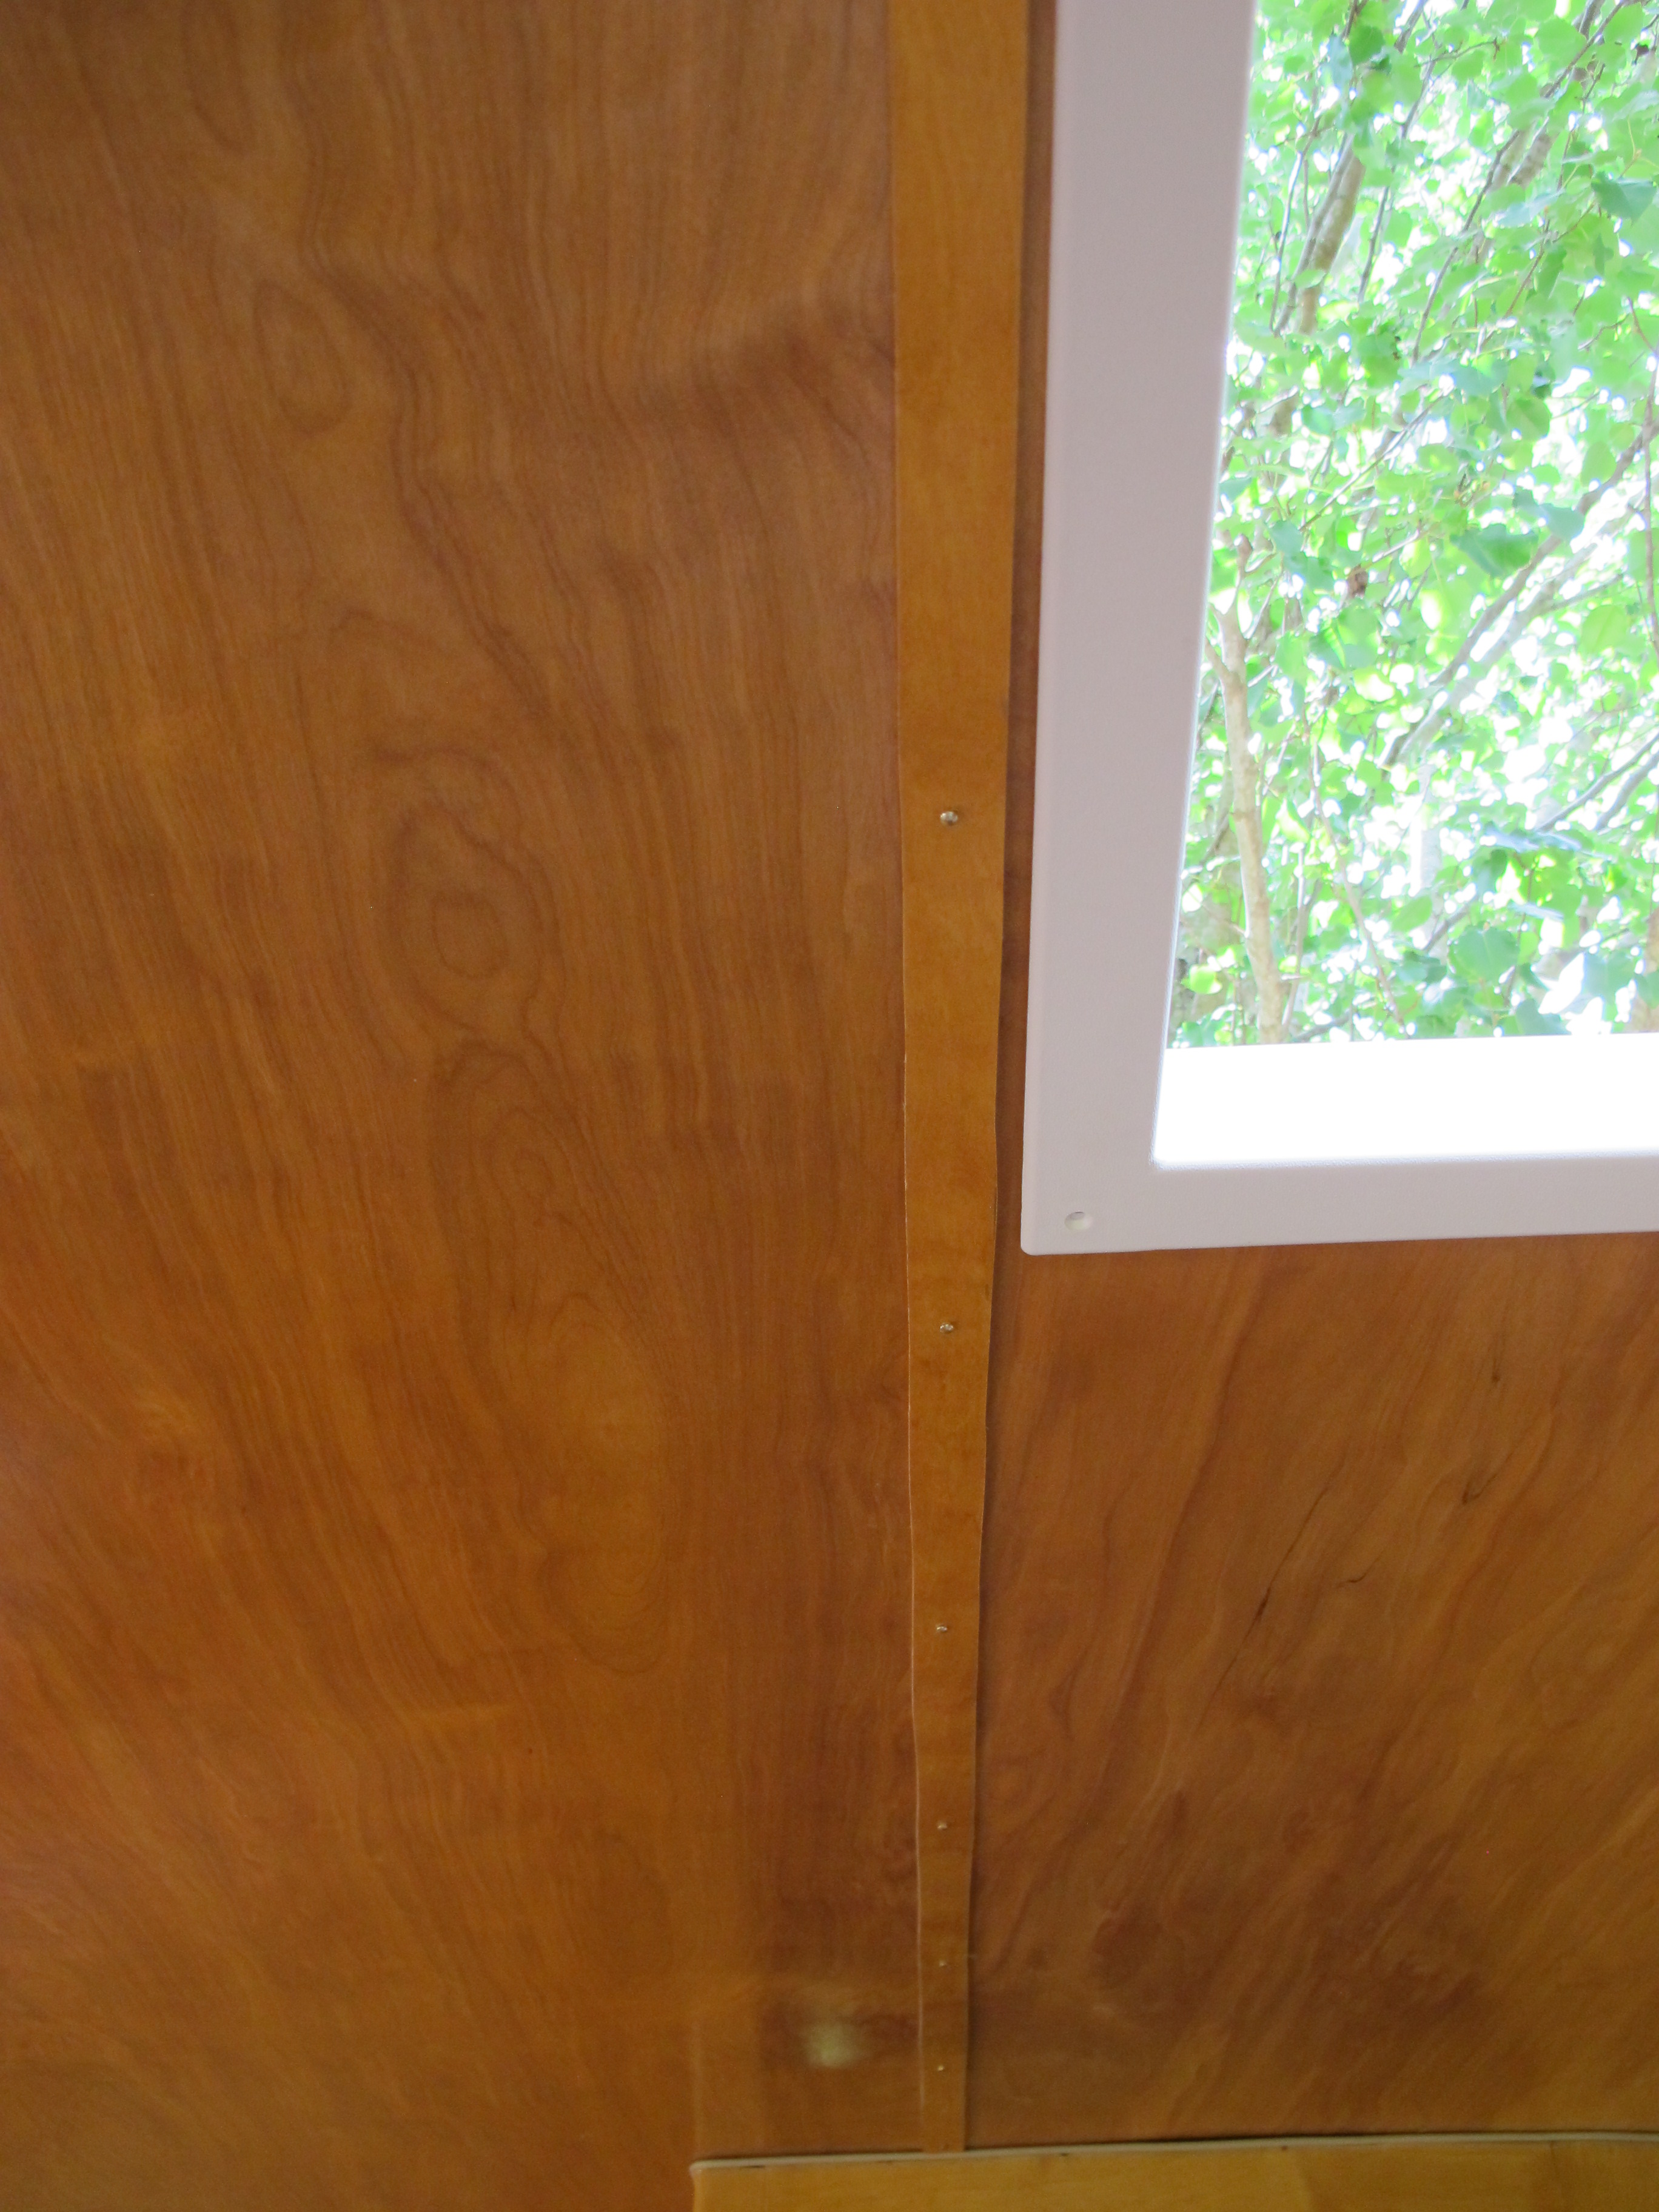
Pic of the front of the camper with the new wires installed. One is going to the fixture and then a second coming from the fixture to the outlet for the fridge. There is also another separate wire leading to the base of the camper where I will be installing an external plug for the AC.
This task took me most of the day. The last thing I accomplished today was to install most of the insulation. It wasn’t that difficult to do, but it was time consuming, and also a bit frustrating where there were wires because the rigid foam insulation wouldn’t lay down flat. I also bought Reflectix bubble insulation for the really curvy parts of the roof. Glad I did, they were much easier to install thanks to the flexibility of the material. I just have the street side and part of the rear to complete tomorrow and then the skin can go on! 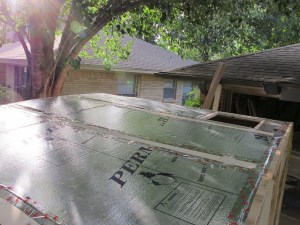
I have to get up early tomorrow because my helpers are coming over around 10:30am and I still have to finish up the insulation as well as run by Aztec Rentals to pick up my pneumatic stapler and then to Lowe’s to pick up some additional staples and tape for the insulation.
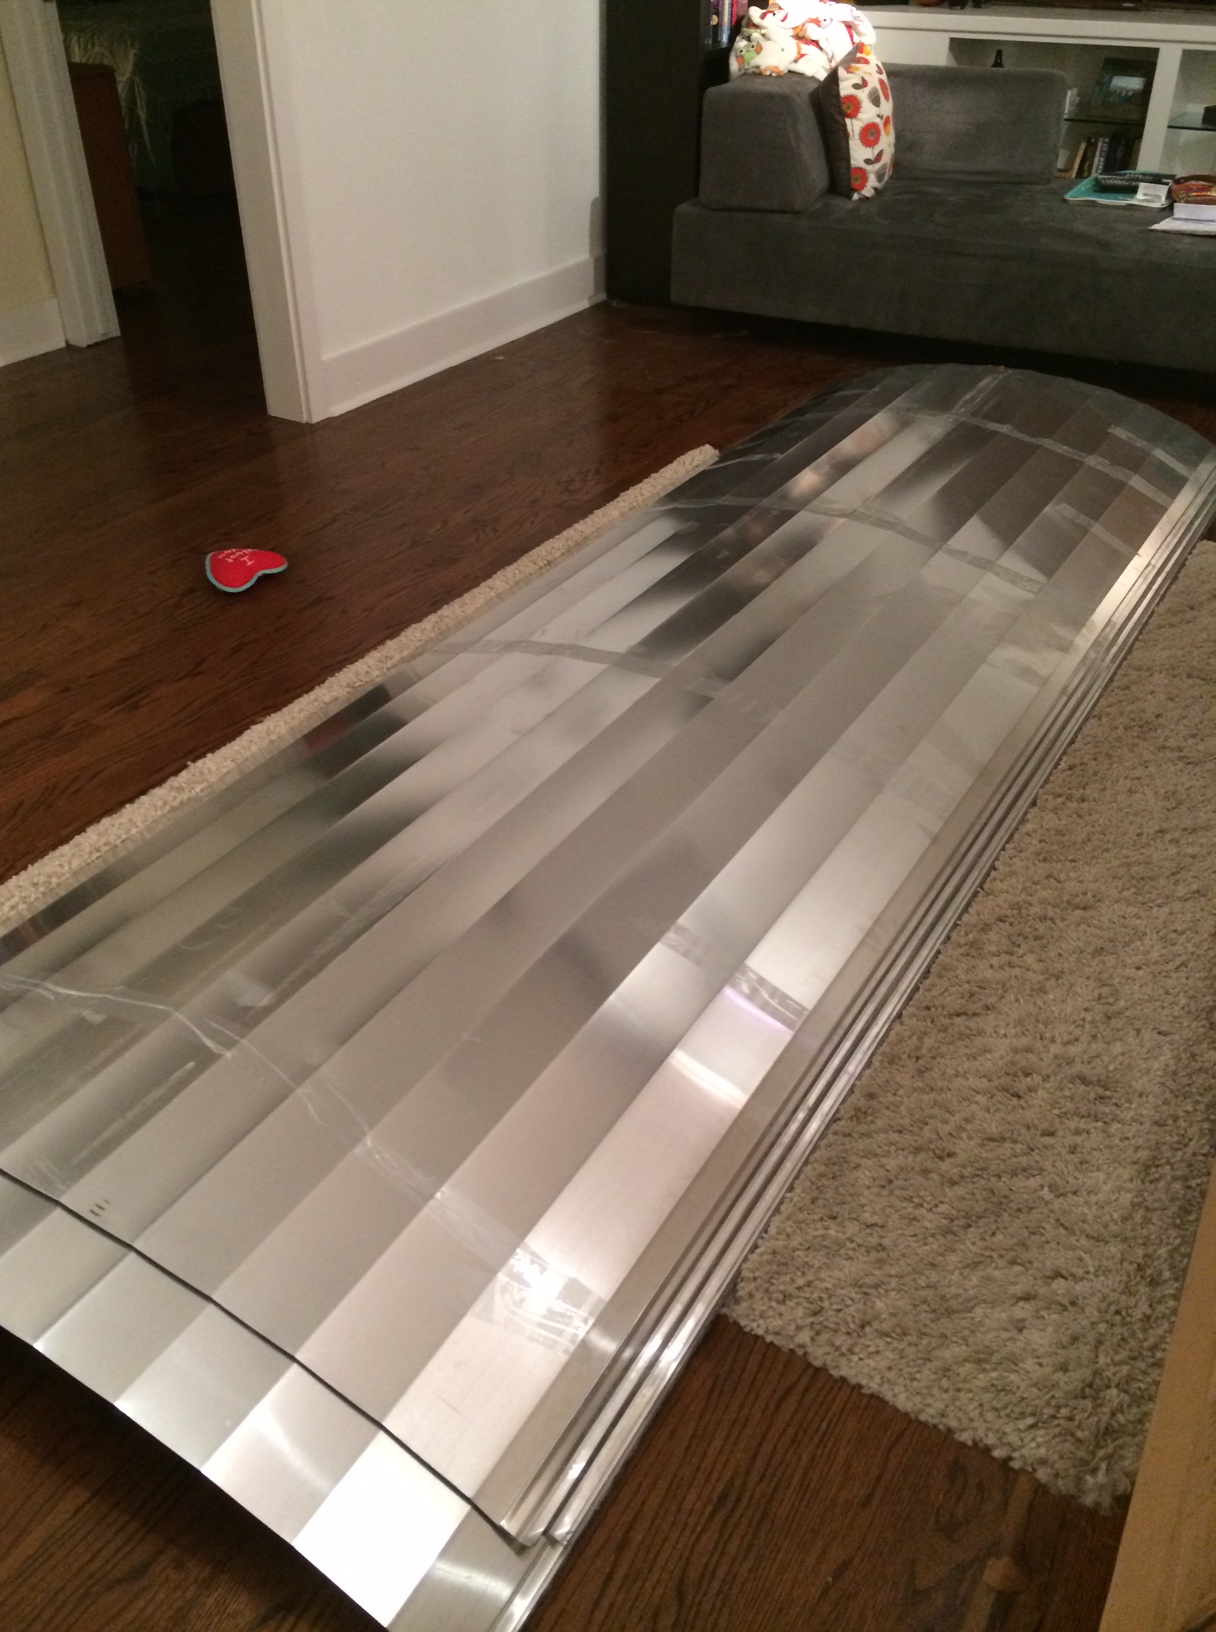
The new skin is unrolled in my living room at the moment…well the sides anyway. I thought it would be a good idea to unroll them so they would flatten out a bit. This is just the backside. I took a peek under the protective film on the front side, and it was so shiny! I’m excited about how nice it’s going to look! Hopefully I can write again tomorrow with some beautiful pictures of the new skin! ![]()