Fortunately, today went pretty well and I got a lot accomplished. ![]()
Here’s an updated list based on the one I posted yesterday:
- Done – Install one more piece of wood along the bottom rear of Junebug for skin to attach to, will need to modify slightly from original design due to the steel beams sticking out of the back for the bumper.
- Done – Paint undercarriage with black fence post paint after spraying some sealant on the seam of the metal flashing along the rear undercarriage (just to be extra sure it’ll stay dry).
- Almost Done – Finish building a new frame and support beam for the roof vent and install.
- Tomorrow – Run new 12 gauge wires along roof to receptacles and relocate breaker box to spot under the bed and exterior power inlet to a lower spot on the street side of Junebug. (Need to order the new plug and power box, but I can buy the wires for now and get those in before the skin)
- Tomorrow – Finish running the wiring for the running lights and license plate light and hook up to car to test.
- Tomorrow – Purchase rigid foam insulation and install.
I started today by going to Lowes and Home Depot to buy electrical wiring and other supplies. I went ahead and bought some Reflectix radiant barrier insulation while I was there to cover the really curvy parts of the ceiling. I’ll go back tomorrow to get the rigid foam insulation. I’m going to have to cut it because it won’t fit in my Tiguan otherwise. While I was at the store, the freight company called to say they’d be at my house at 12pm. Huh? They were supposed to show up between 3-6pm! I told the guy that I could only get a helper between 3-6pm, but he assured me that he would help me unload the two boxes.
He showed up about 12:30pm, and he was true to his word, he helped me unload the boxes and even opened them so I could inspect everything. Everything looked good for the most part. There was one spot that was damaged. but I decided it was a tolerable dent and I certainly didn’t want to send it back so I went ahead and signed for it. I was able to drag the boxes into my kitchen for now since my garage is full. ![]()
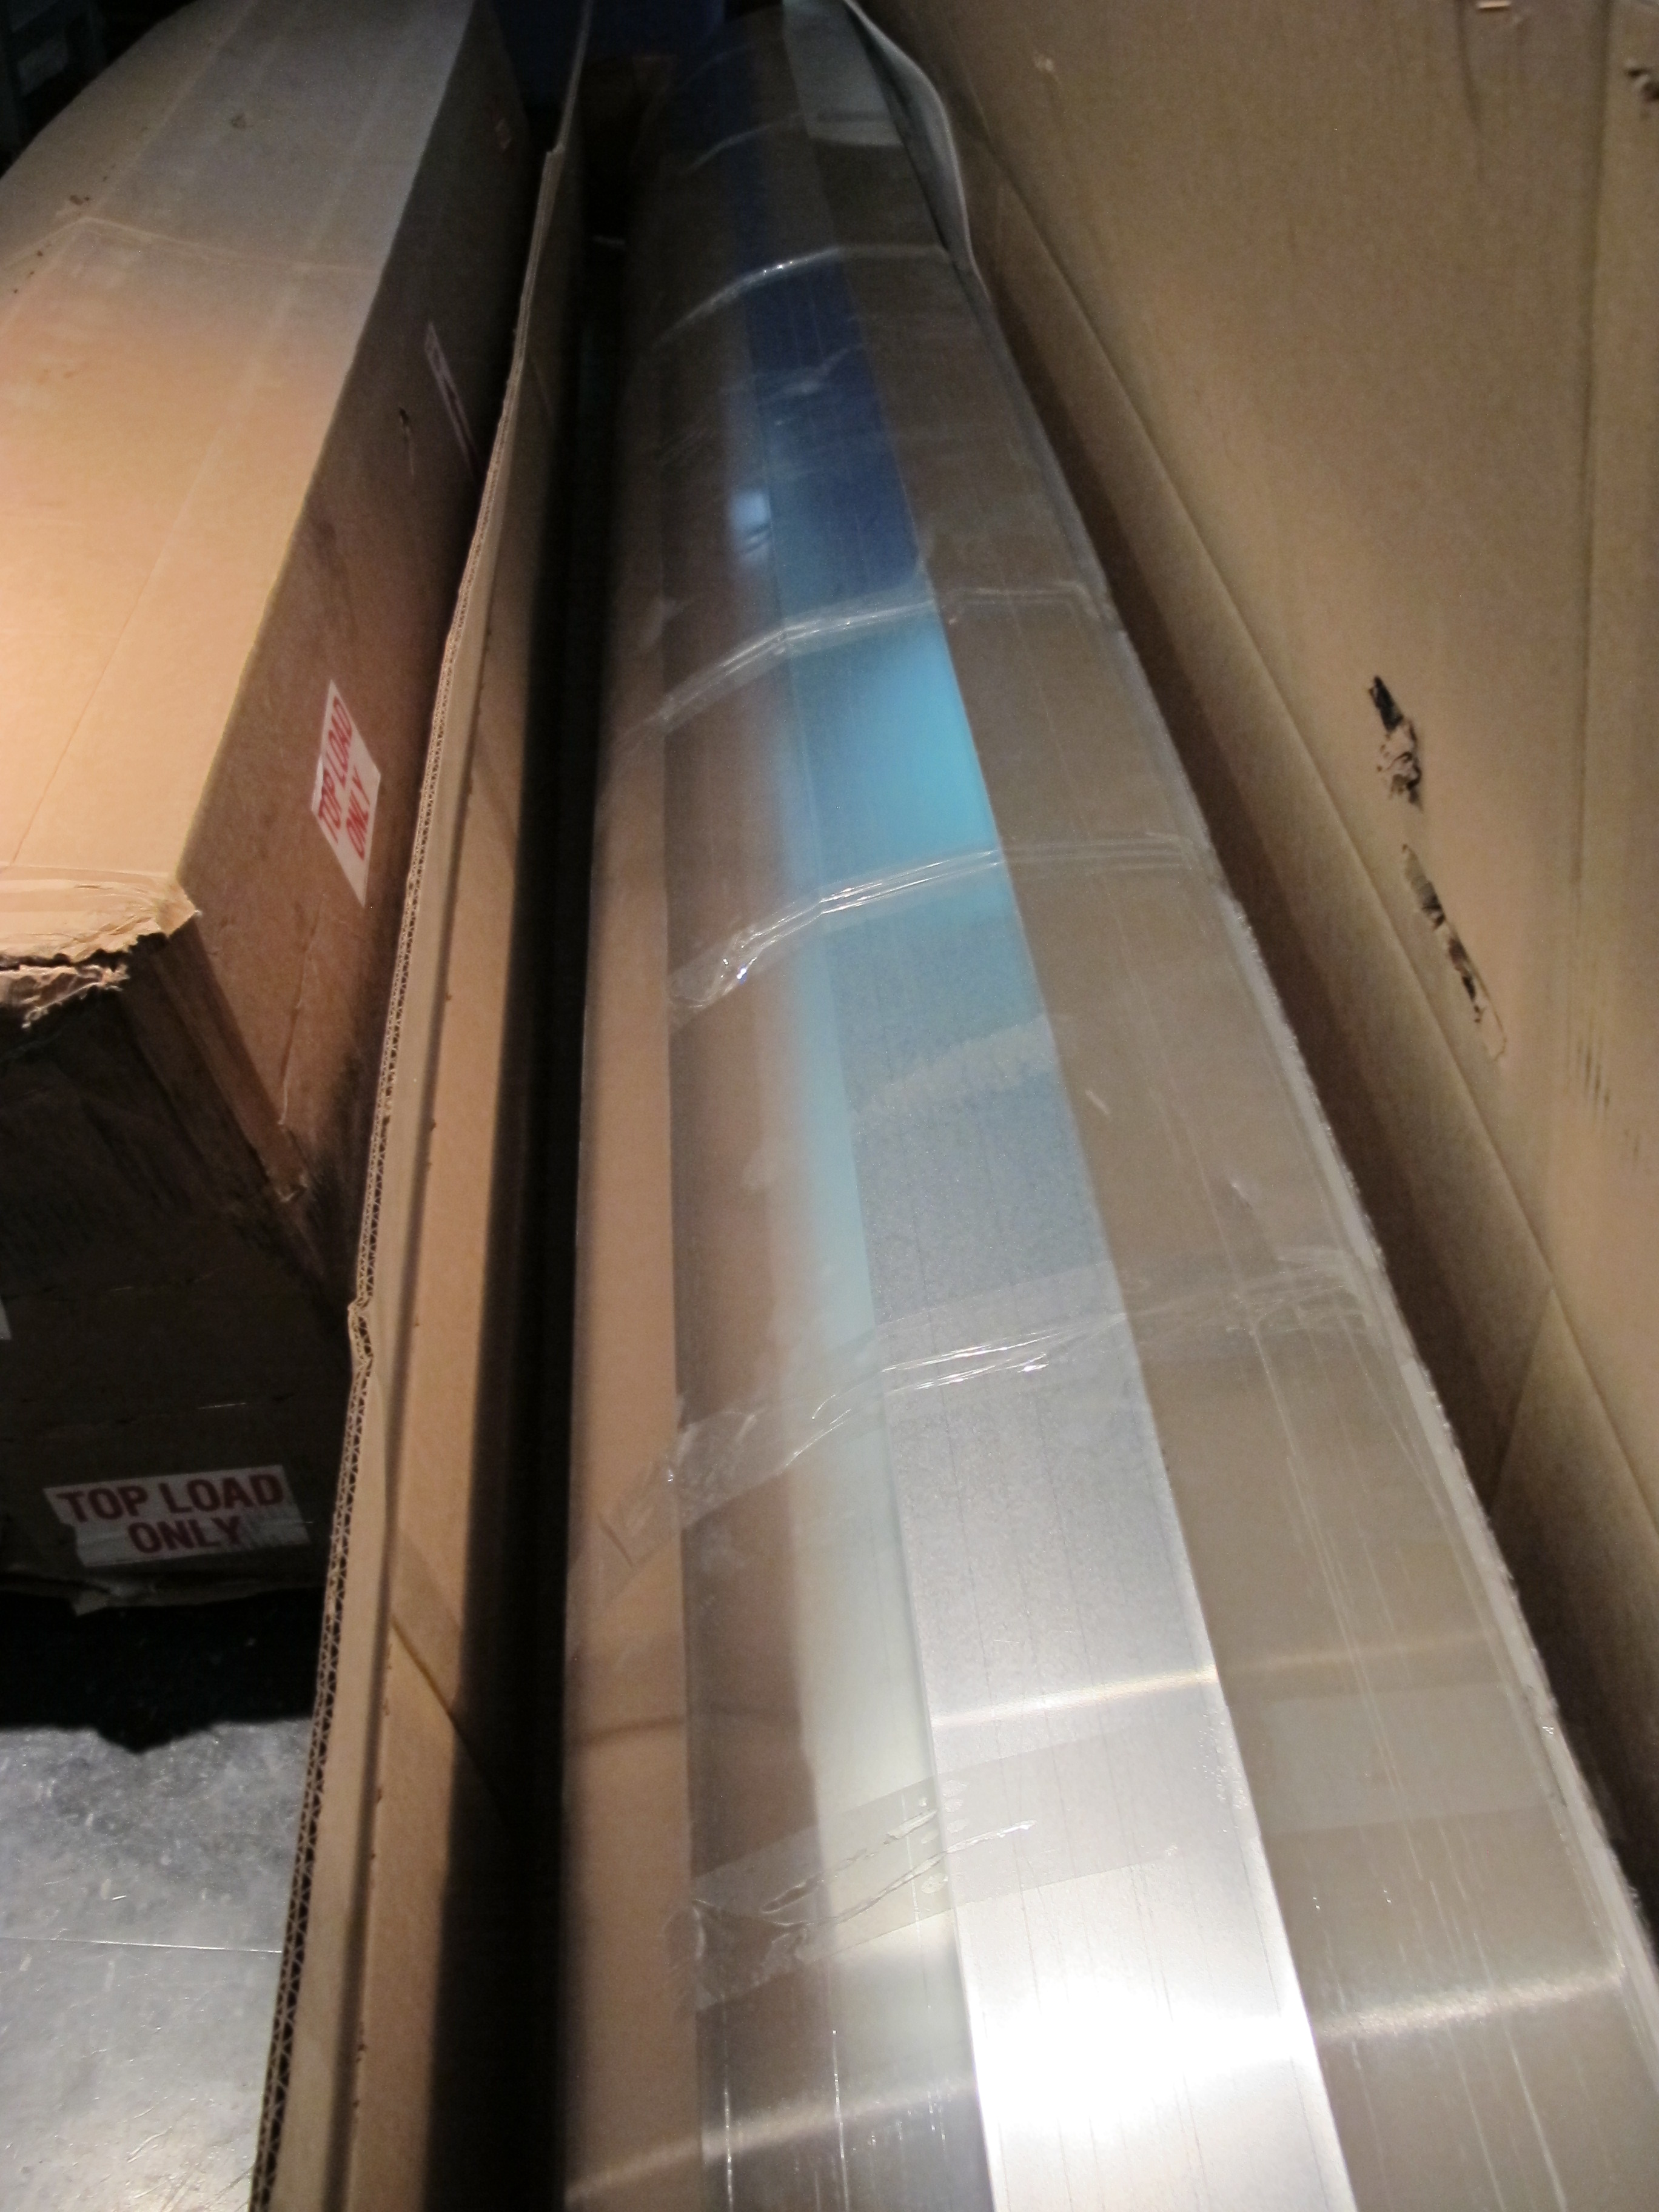
New siding! This is the back of it, so it doesn’t look as shiny on this side.
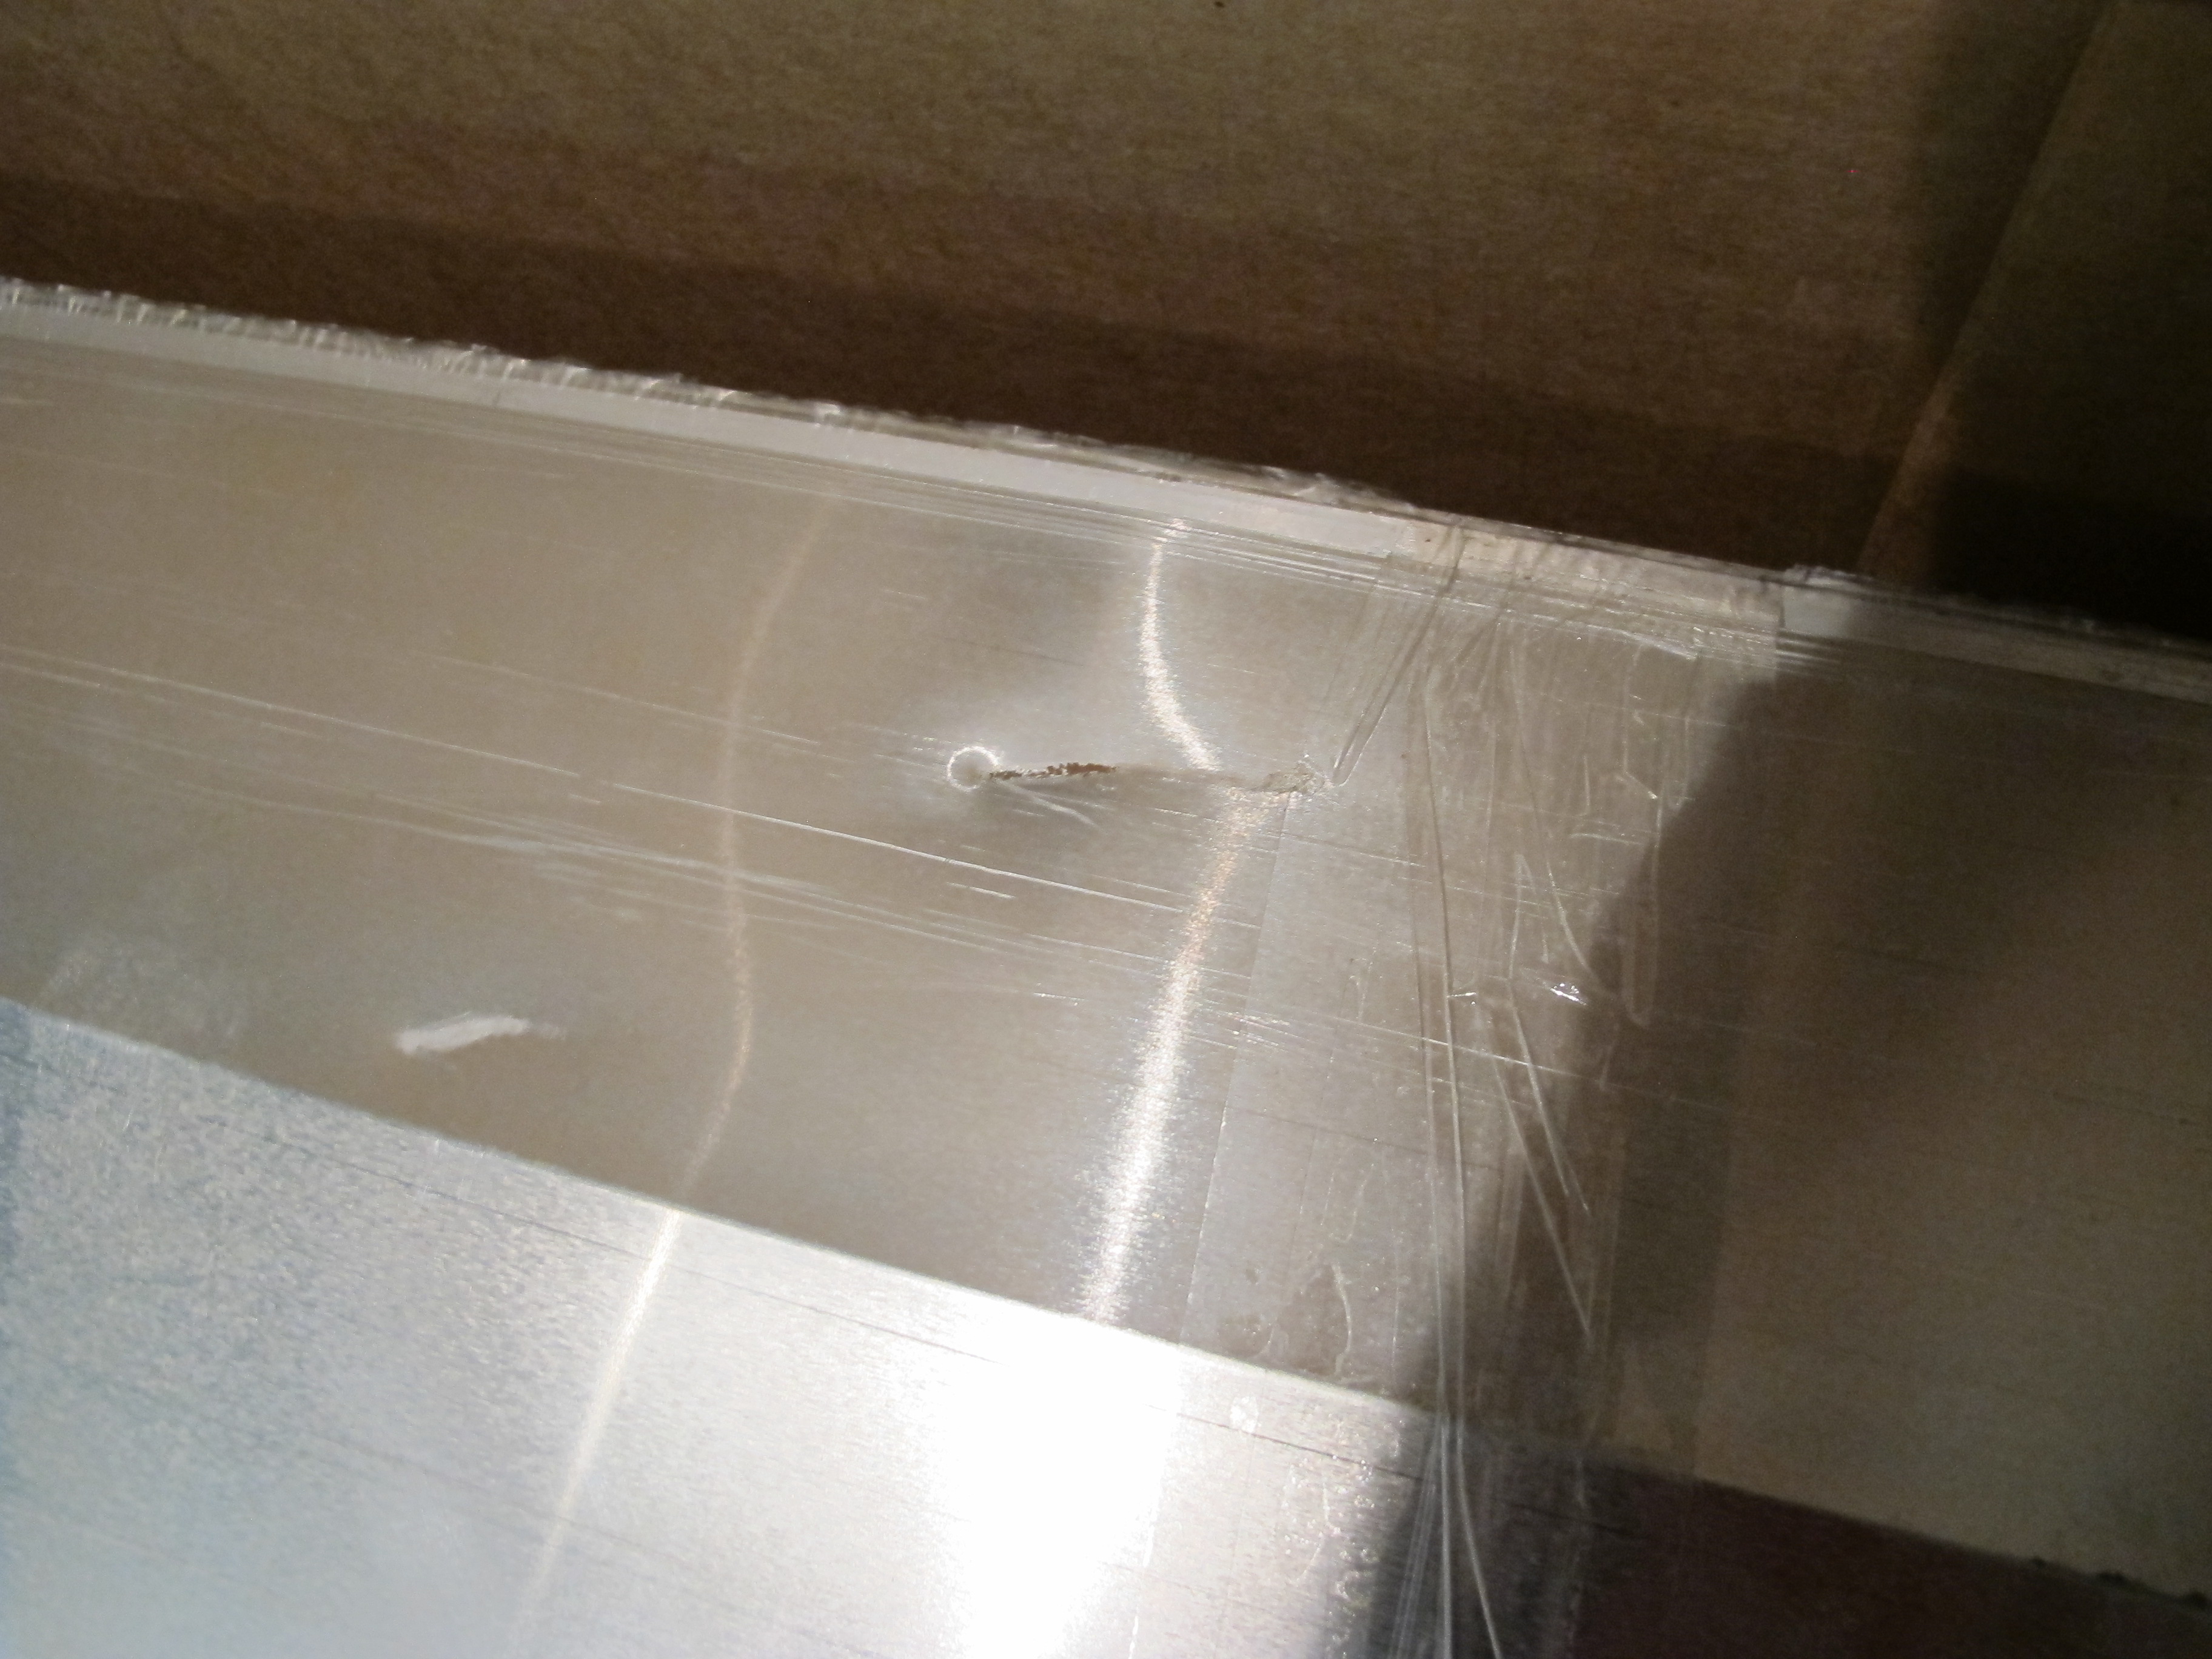
Here’s the dent that is in the side pieces. Not sure if it is affecting the other pieces underneath or just this one. I’ll find out when I unroll them. It is right next to the part that goes up inside the s-lock seam and toward the end of the roll, so I’m hoping maybe I can hide it somehow.
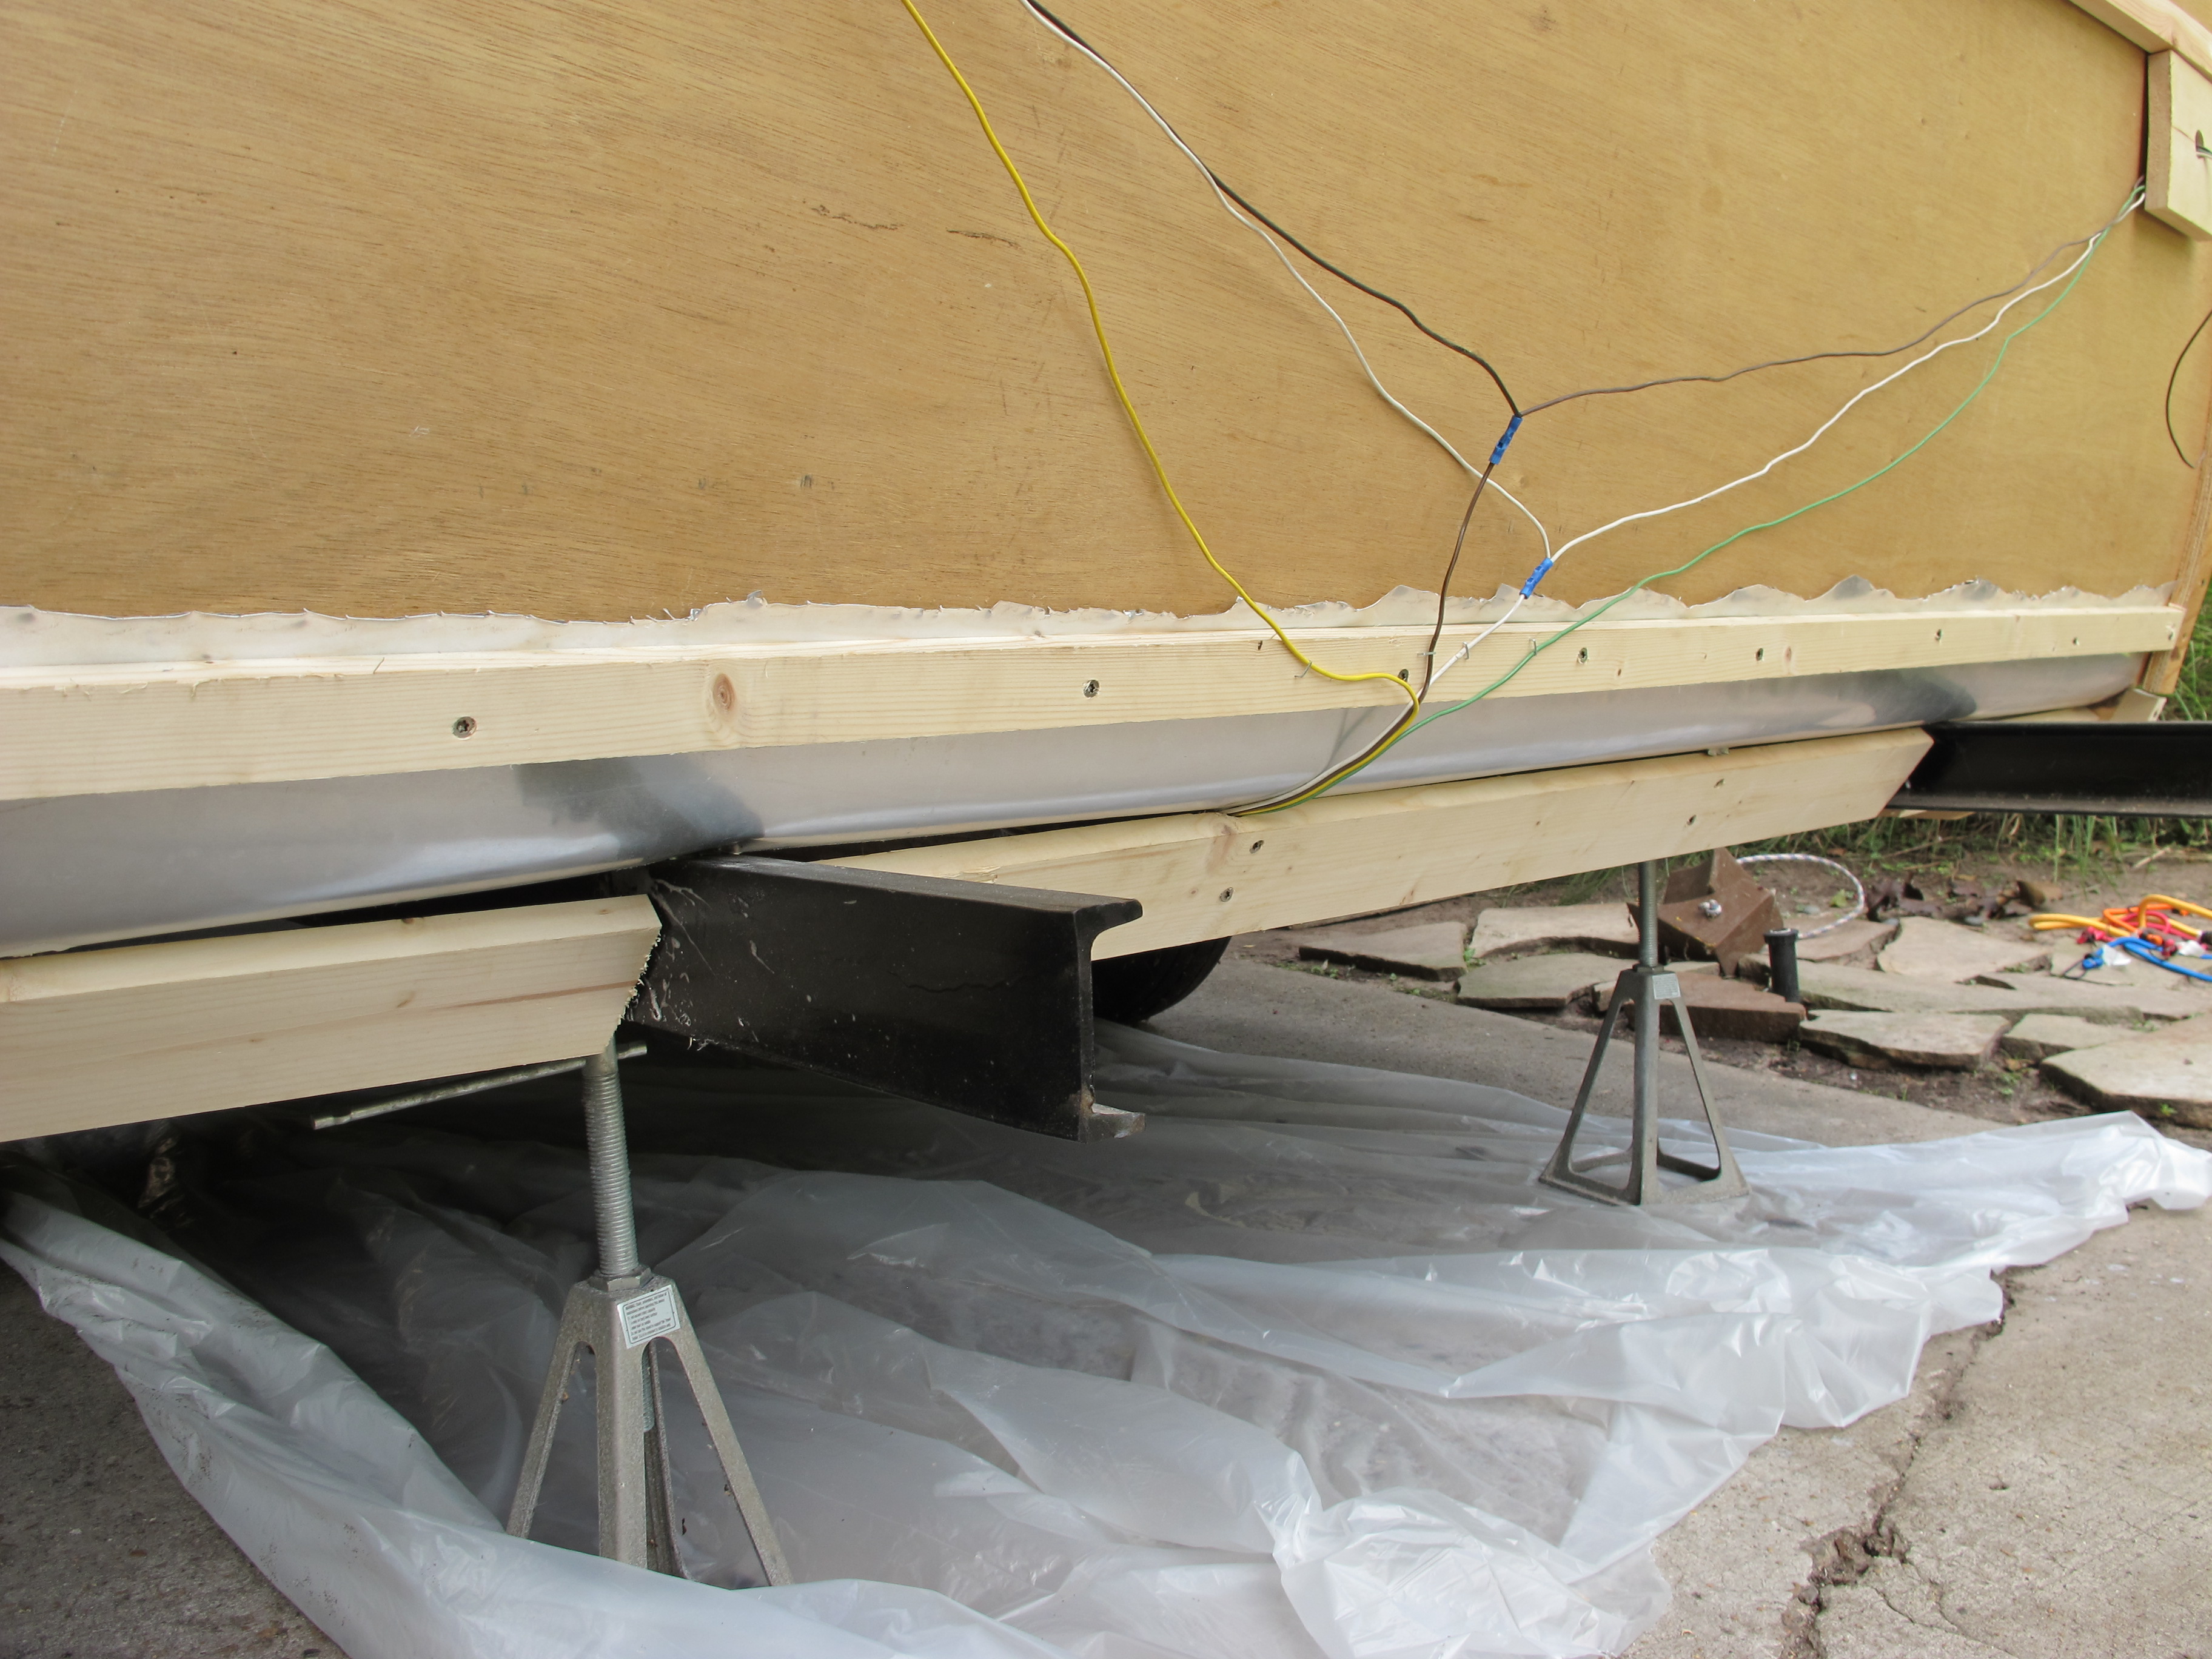
After my siding arrived, I resumed working on adding some additional pieces of wood to the rear so that I could attach the siding to it. I don’t think I did this perfectly thanks to the steel beams in the way, but it should work anyway. As you can see from the picture below, I will have to cut some slots into the siding to get it to curve around the steel beams. I have to do the same thing in the front, so hopefully it will still look good when I’m done and seal properly.
Next, I got out the fence post paint. This stuff really does look and smell like asphalt, gross!
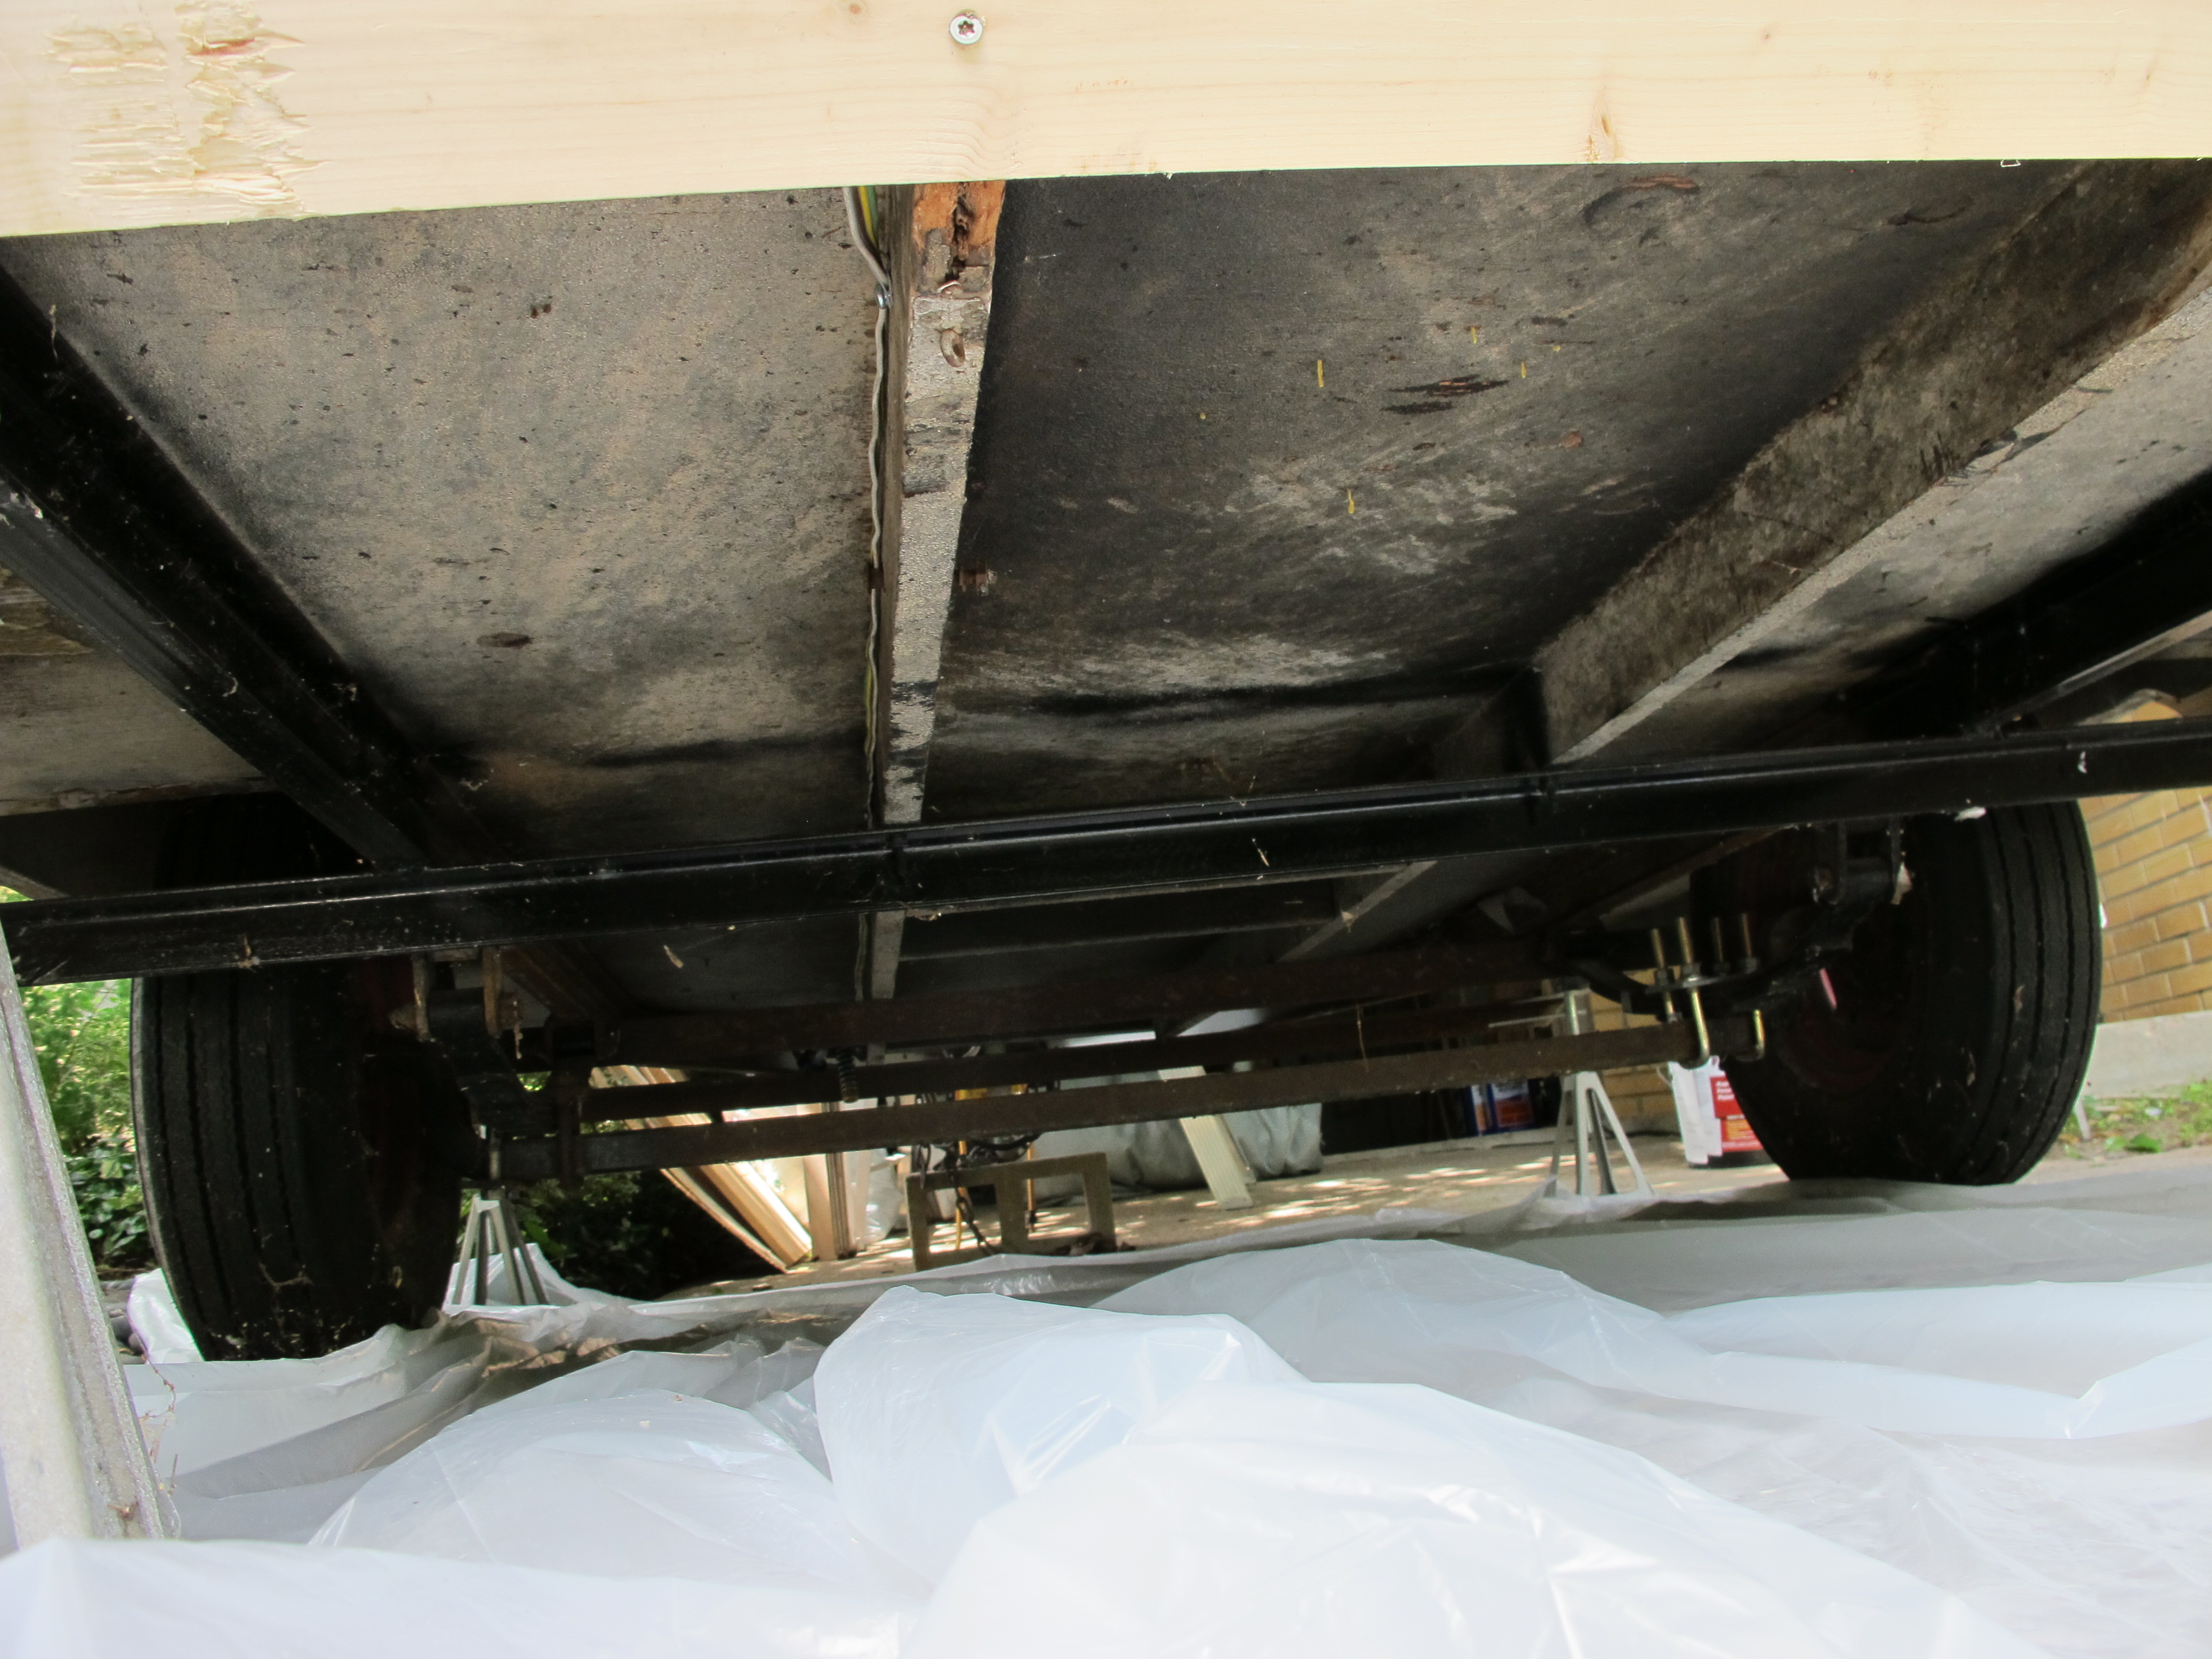
Here’s the undercarriage before. There are a LOT of spiders under here. It’s a wonder I didn’t get bitten…that I know of.
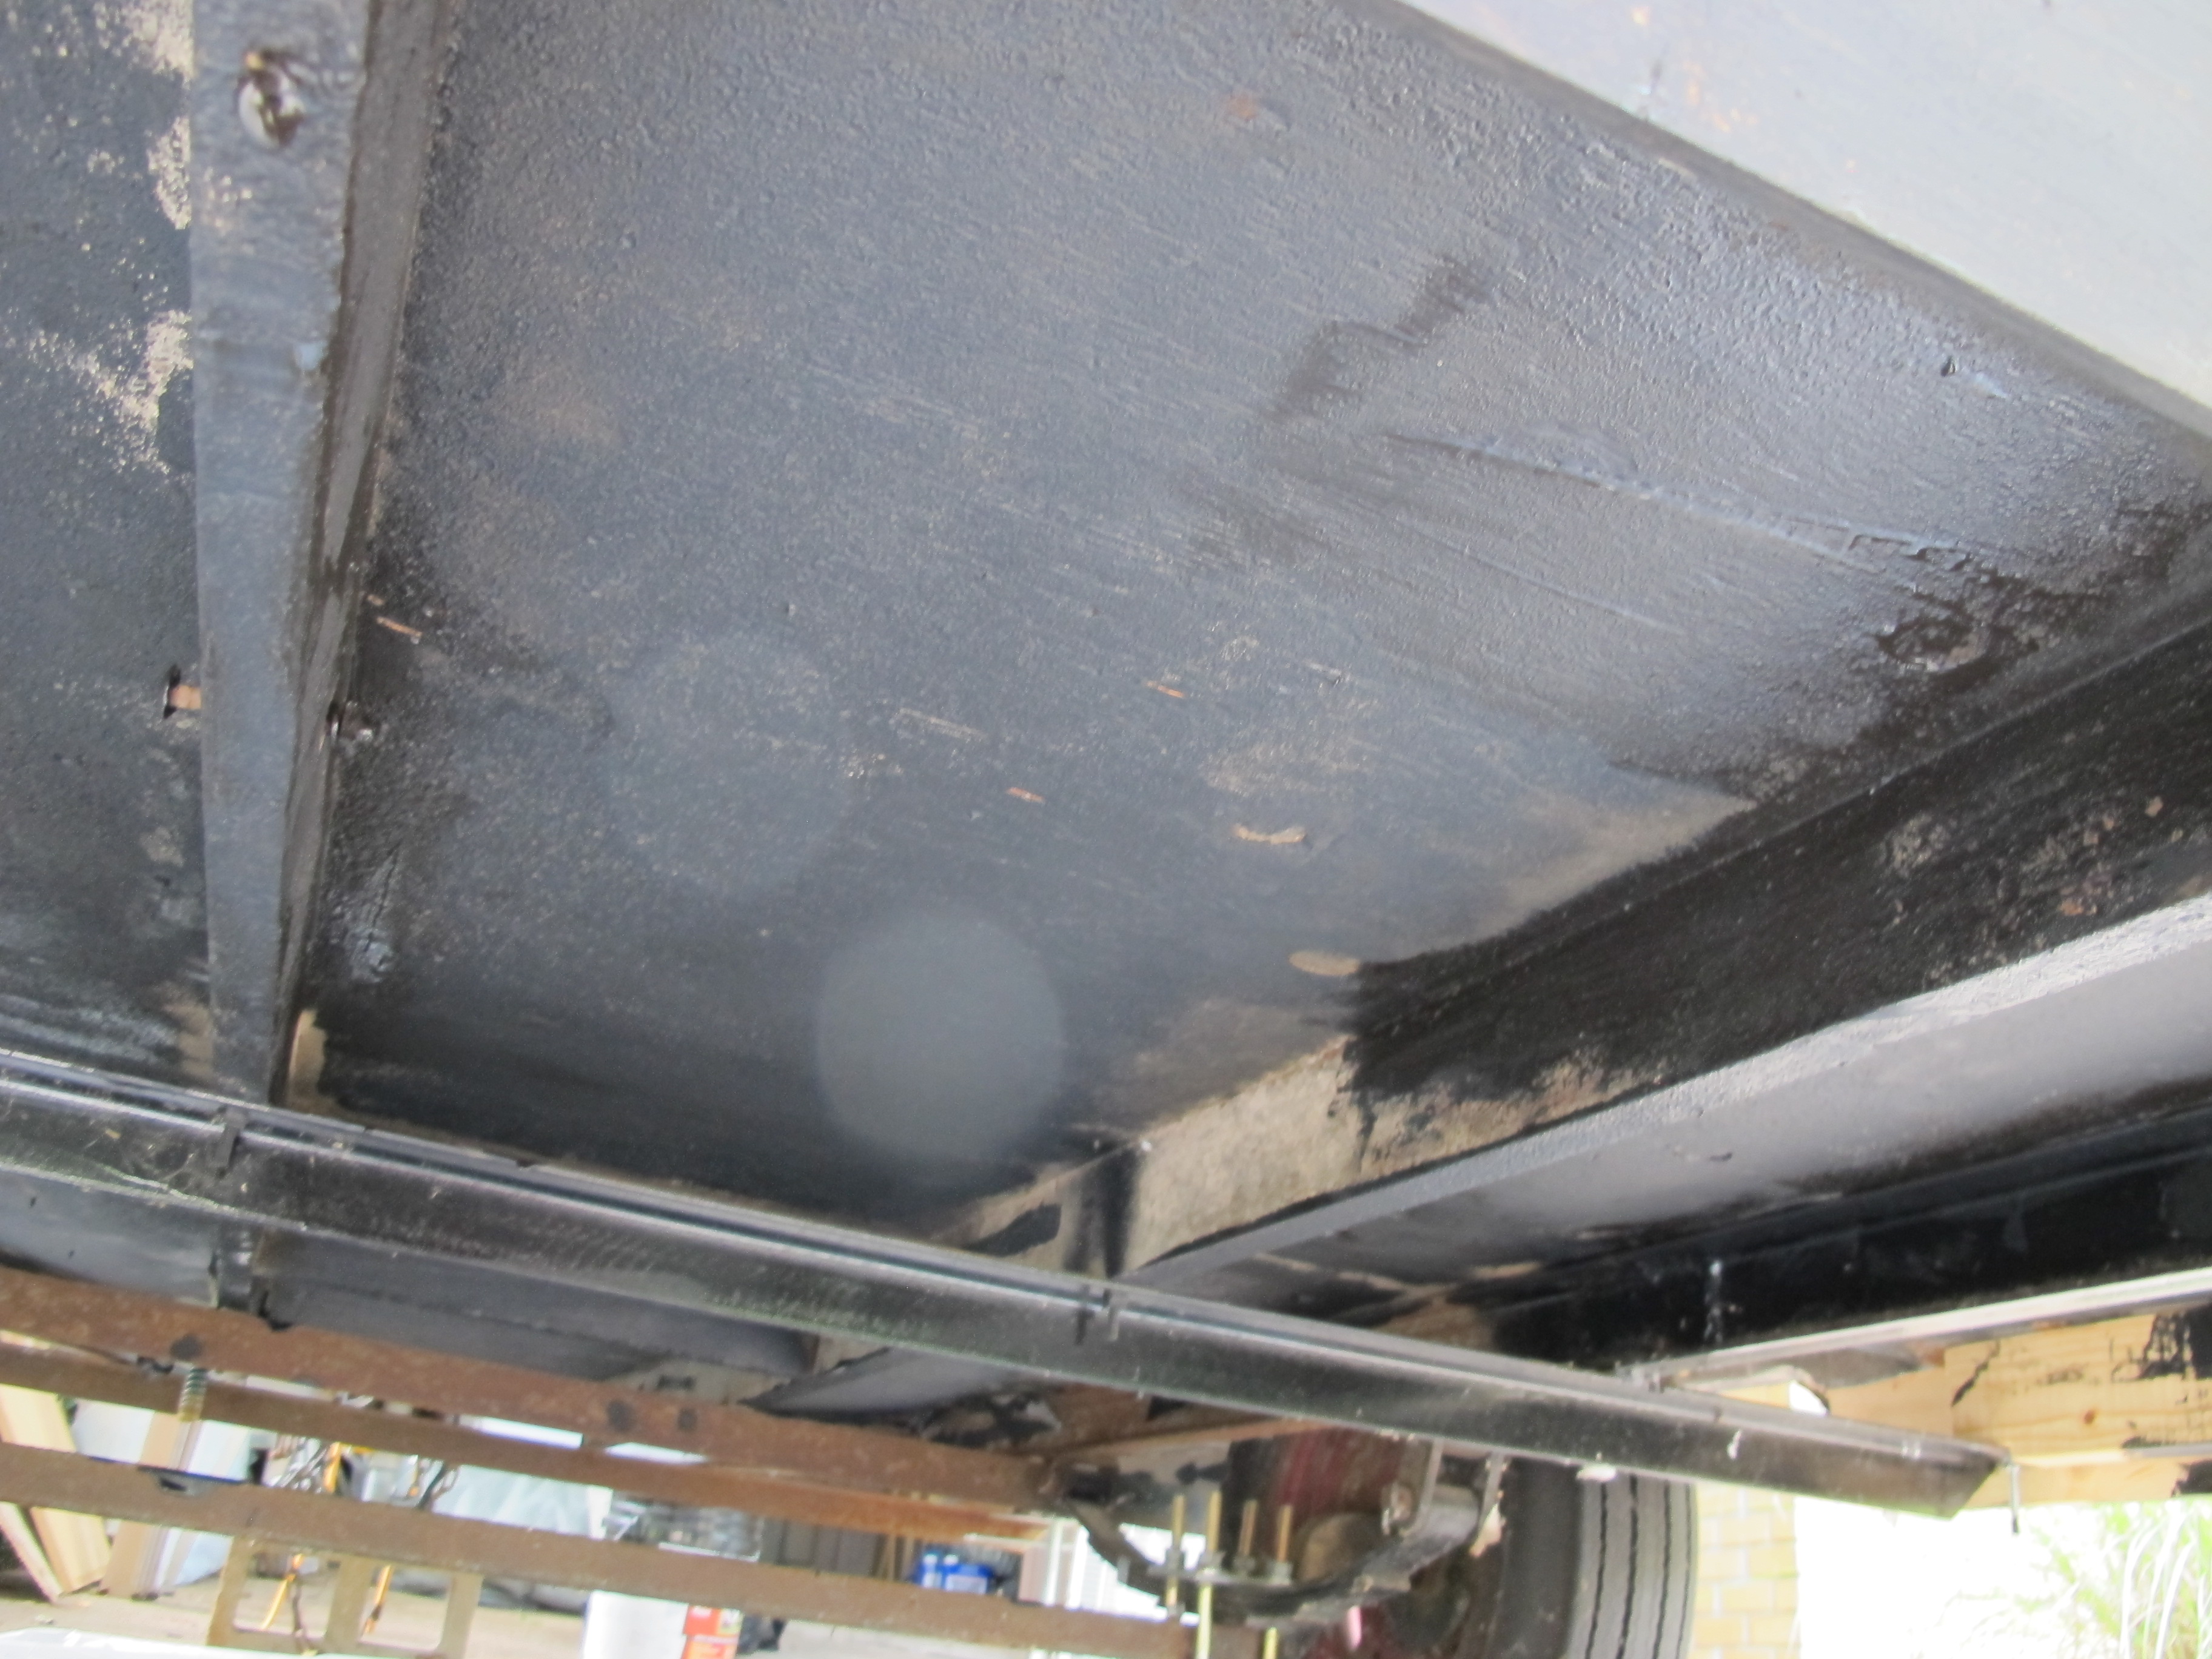
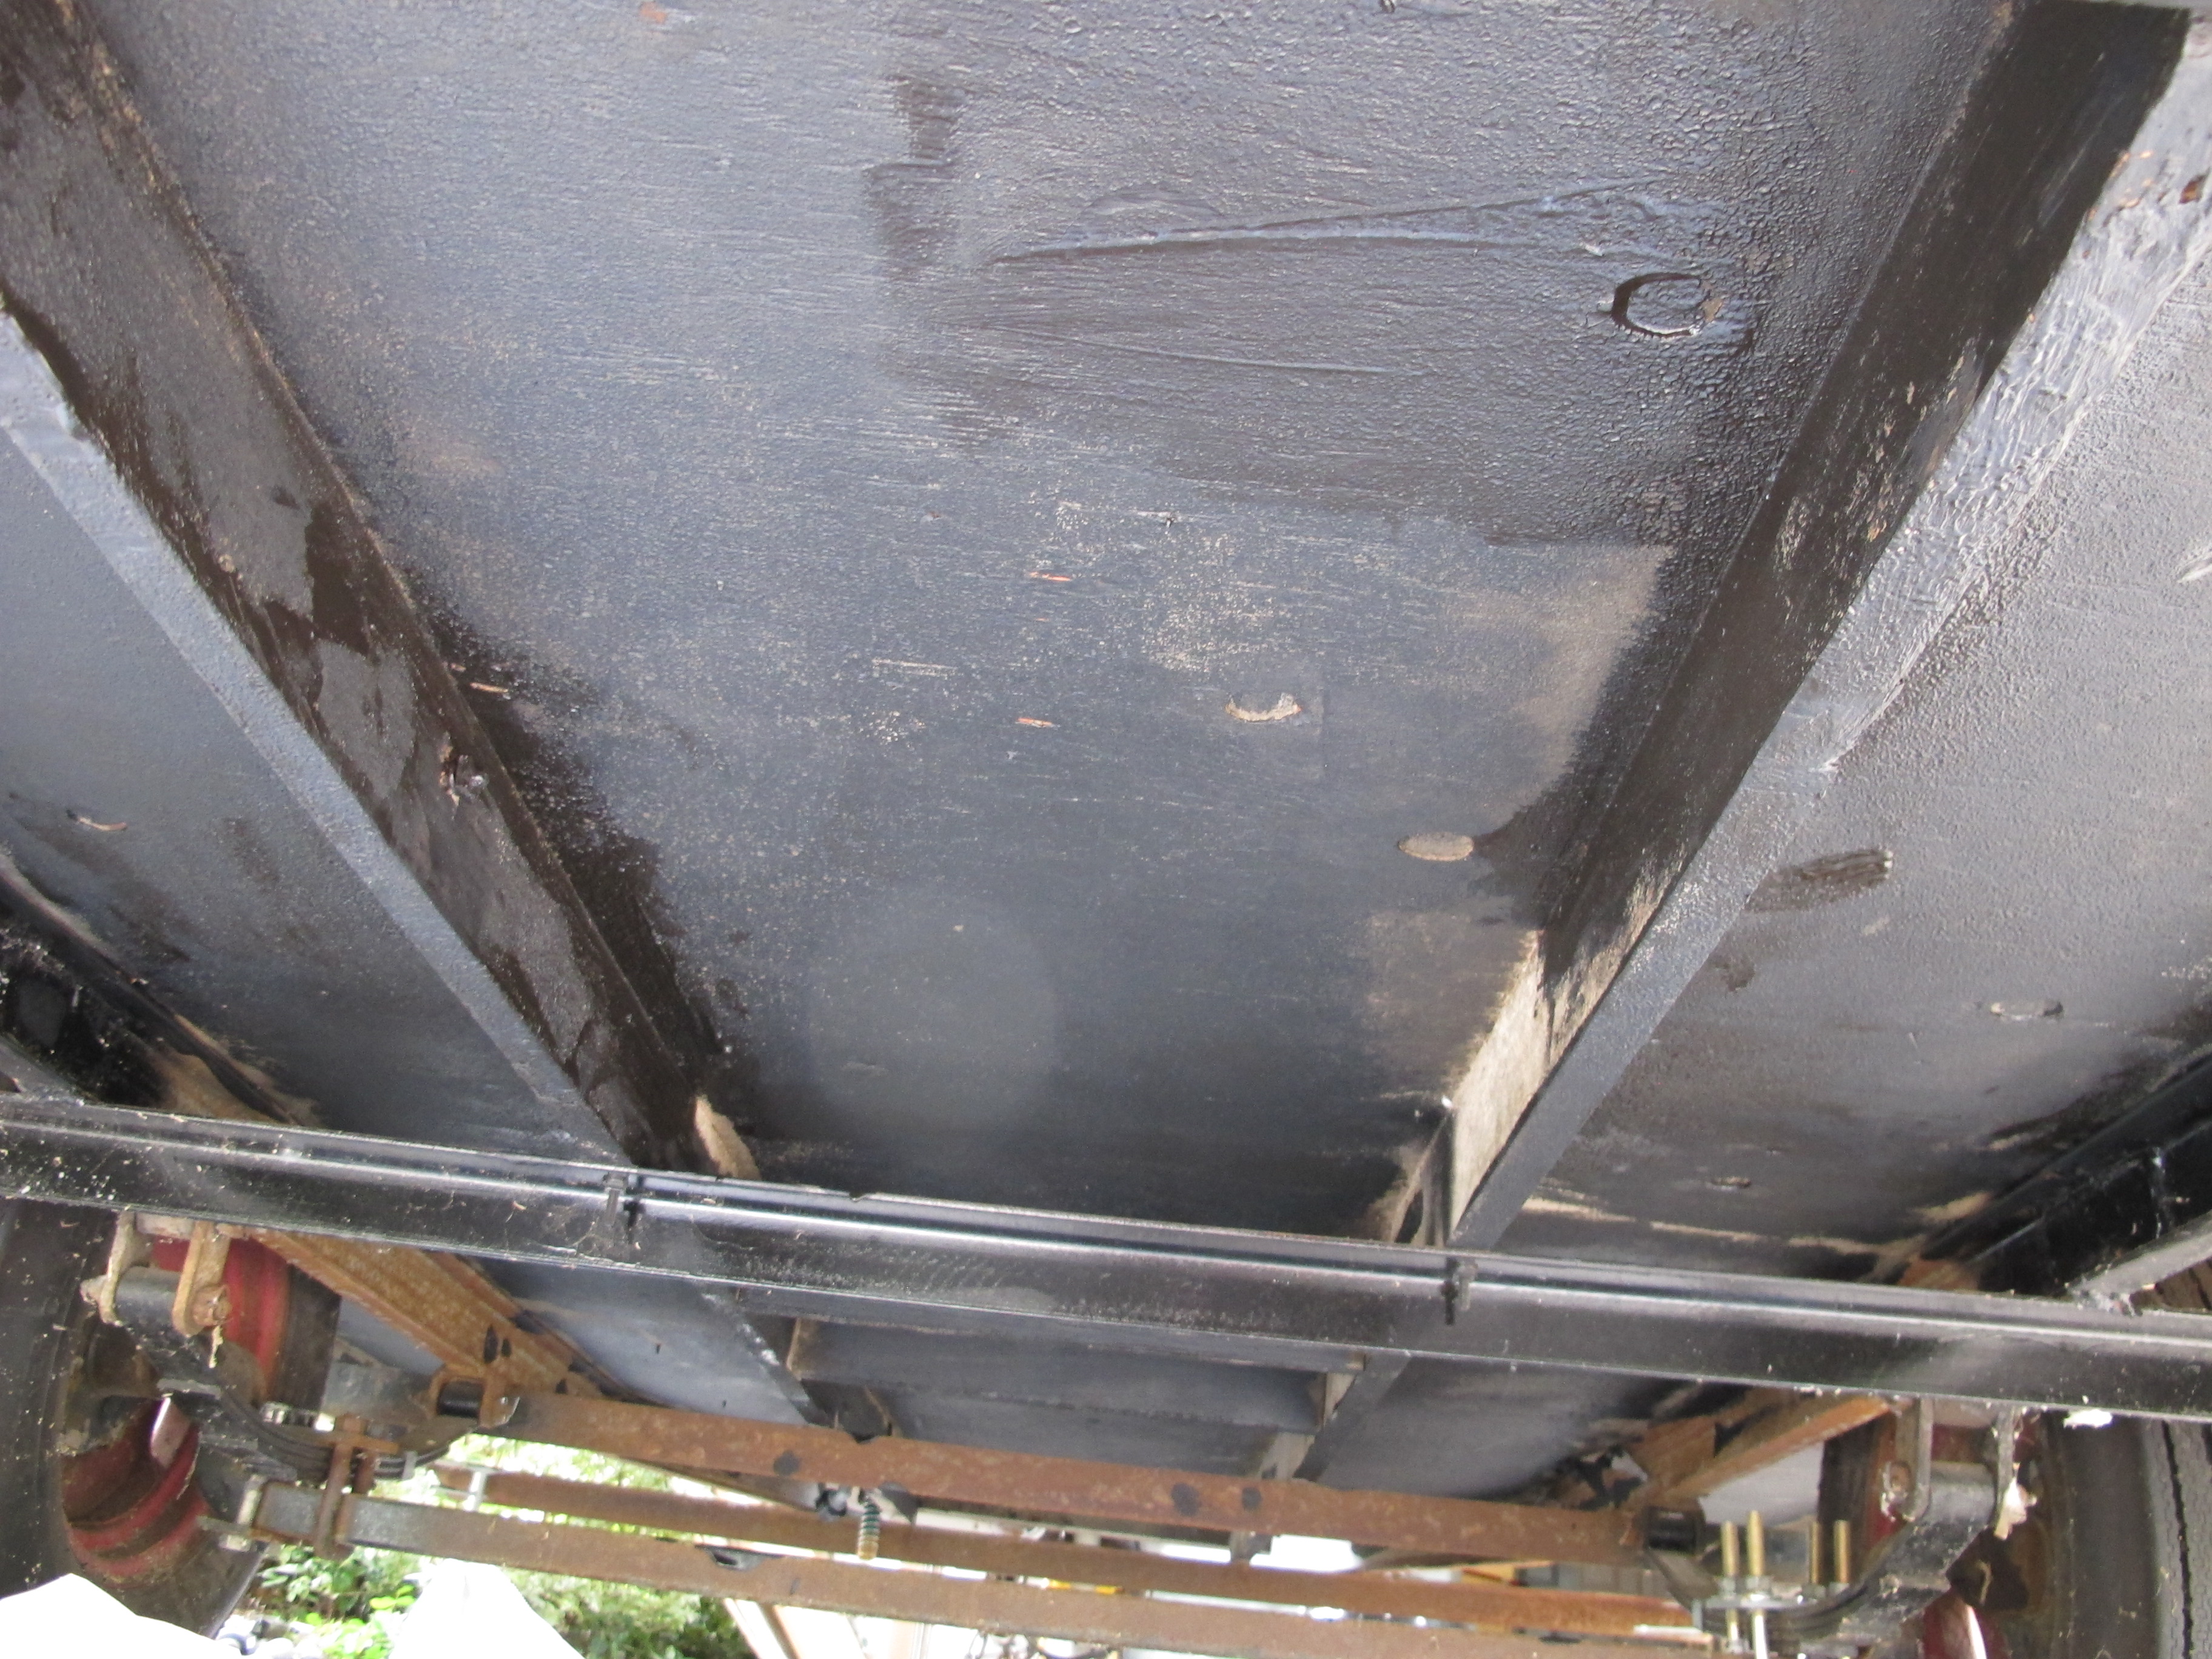
Undercarriage after. As you can see, I missed a few spots. I was using a roller and it was hard to get all the corner areas. I will go back in later and finish it up.
I also applied some fence post paint to the wood along the bottom all around the camper for added protection against water damage.


After I finished this task, I was covered in fencepost paint spots. Later, I had to scrub off the top layer of skin to get it off! That stuff is messy.
My last project of the day was the make a frame to go around the Fantastic Vent. I made a frame, but I didn’t realize that the vent sticks up quite a bit higher than the old vent, so I will need to add another layer of wood. I’m kind of worried that it sticks up too high and will make my skin look lopsided. With the top part of the vent on, it sticks up a full 7/8″ higher than the cross beams. I’m sure this is to ensure the water runs off and doesn’t collect causing a leak, but that seems excessive. I guess I’ll see how it looks when the skin is on, hopefully it won’t be as bad as I think.
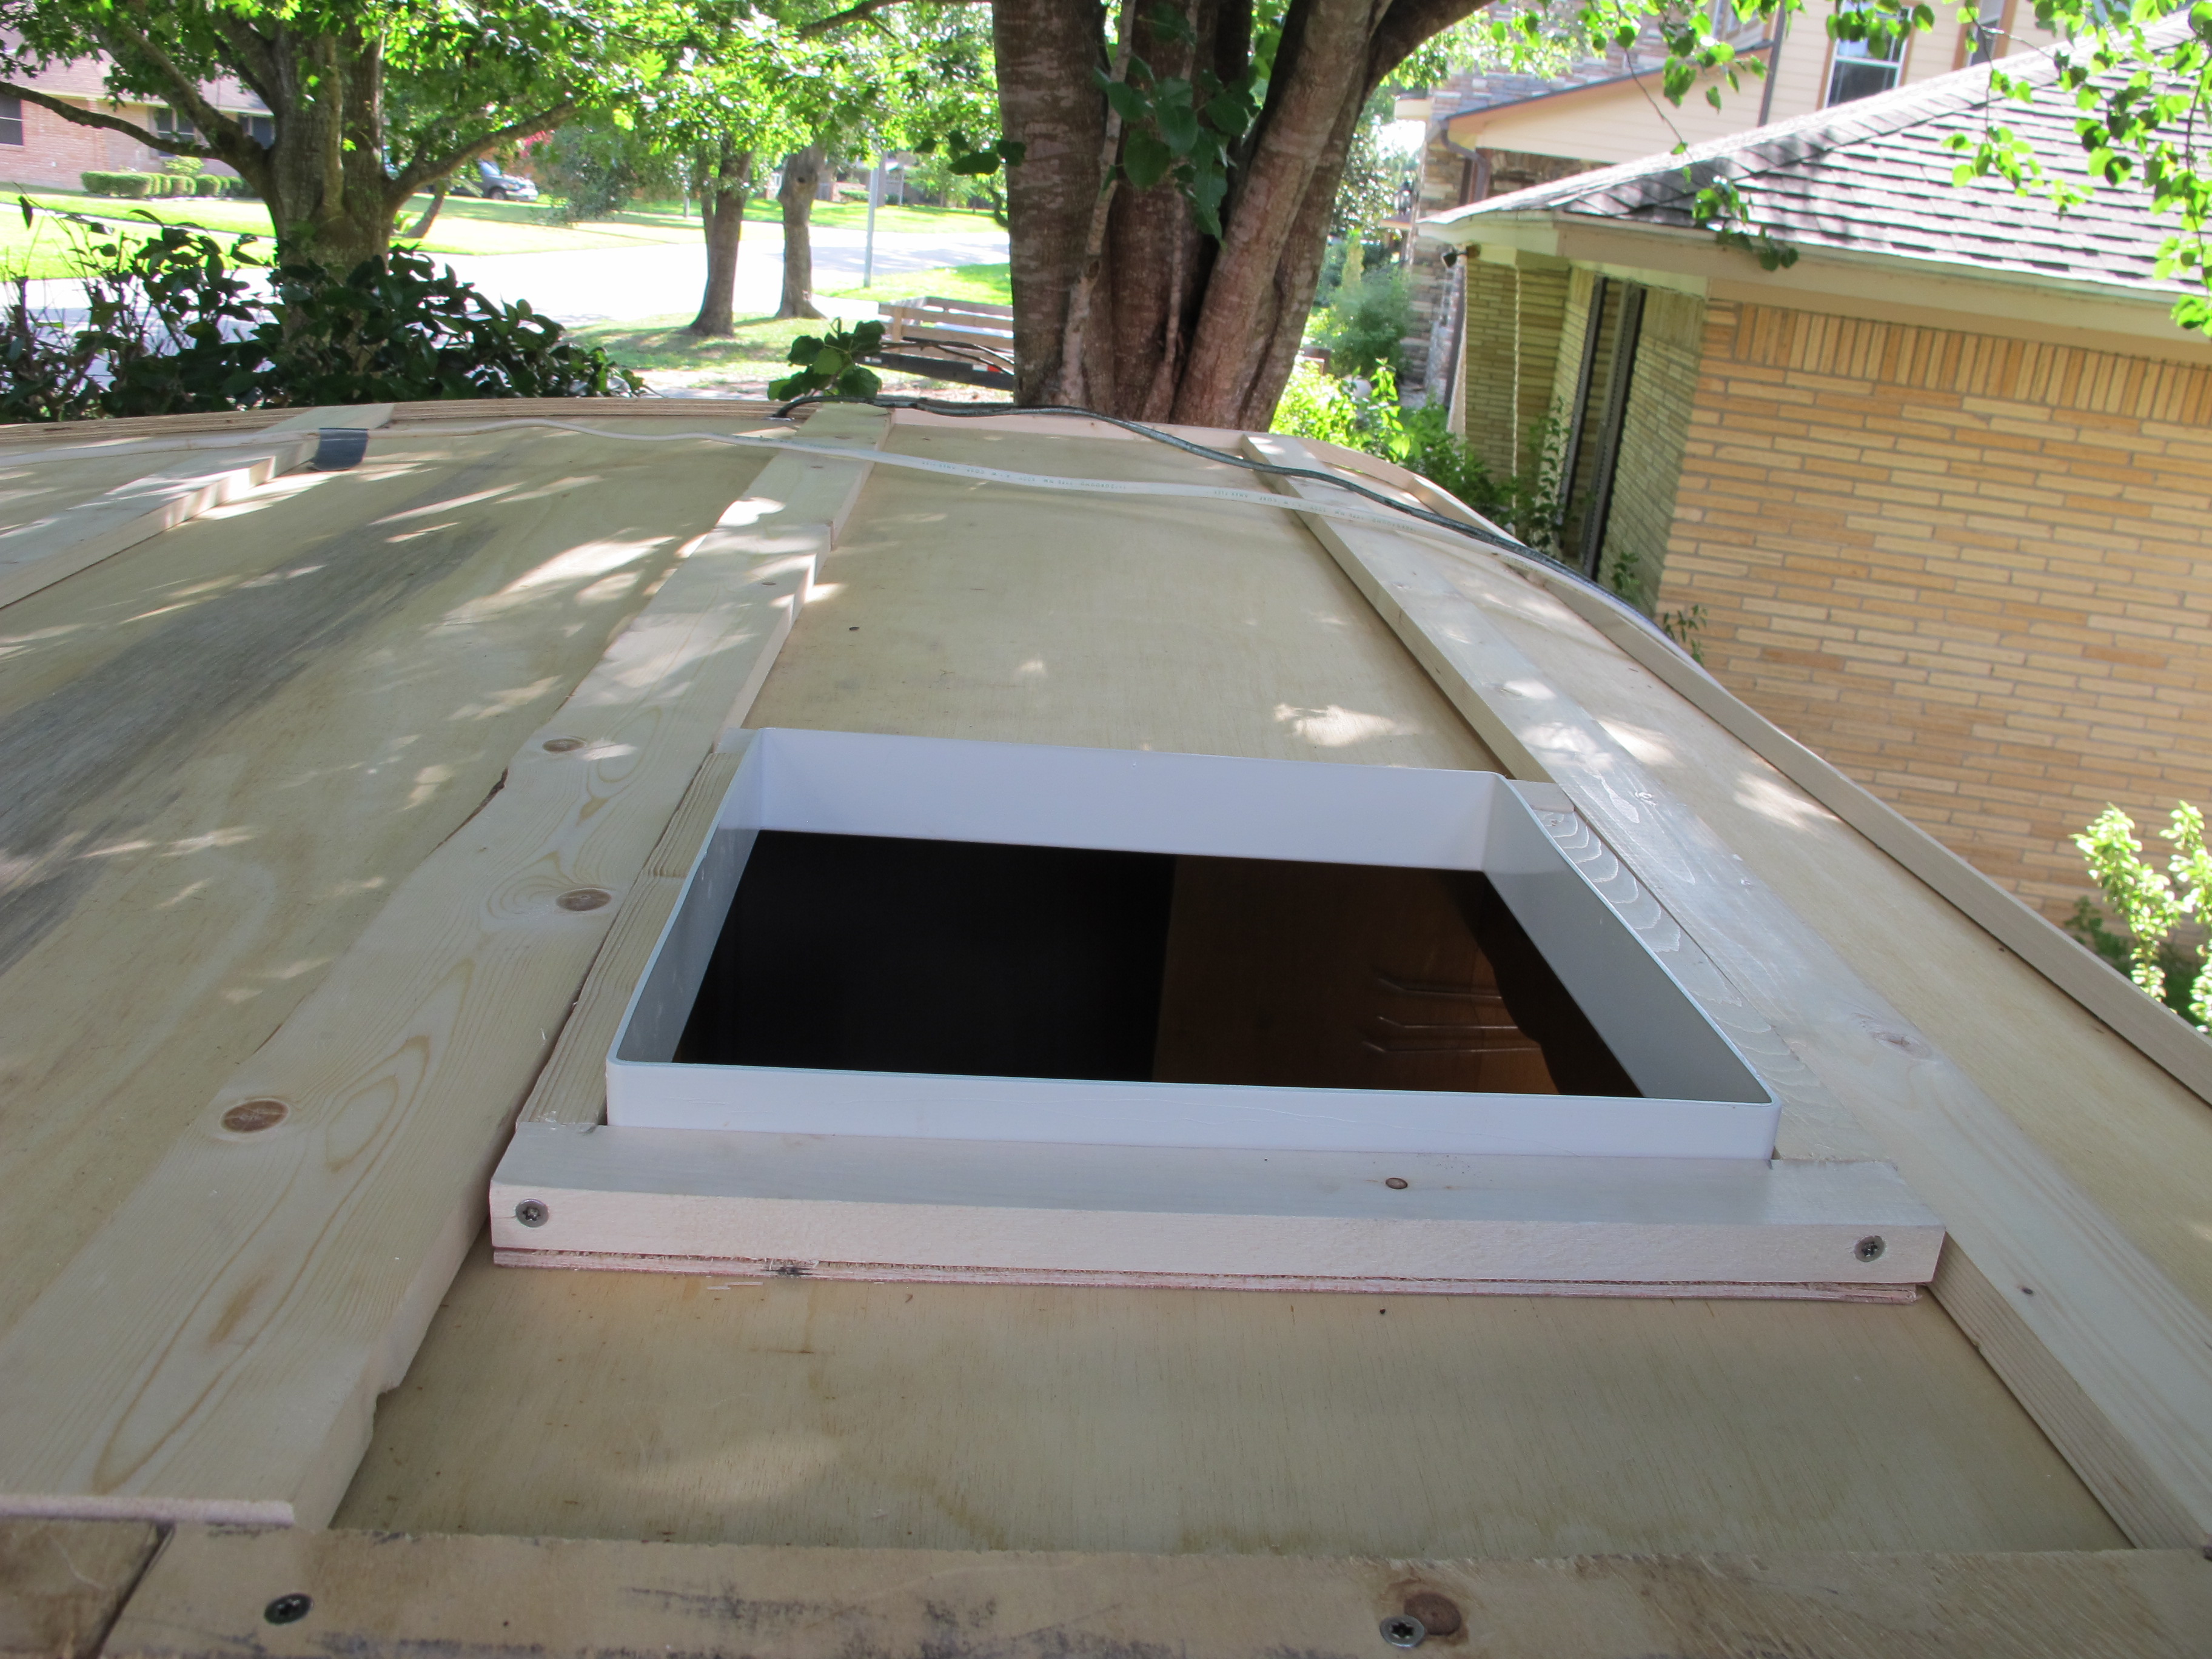
Roof pic before putting the actual vent in. This is just the piece that goes inside the camper and connects with the vent on top.
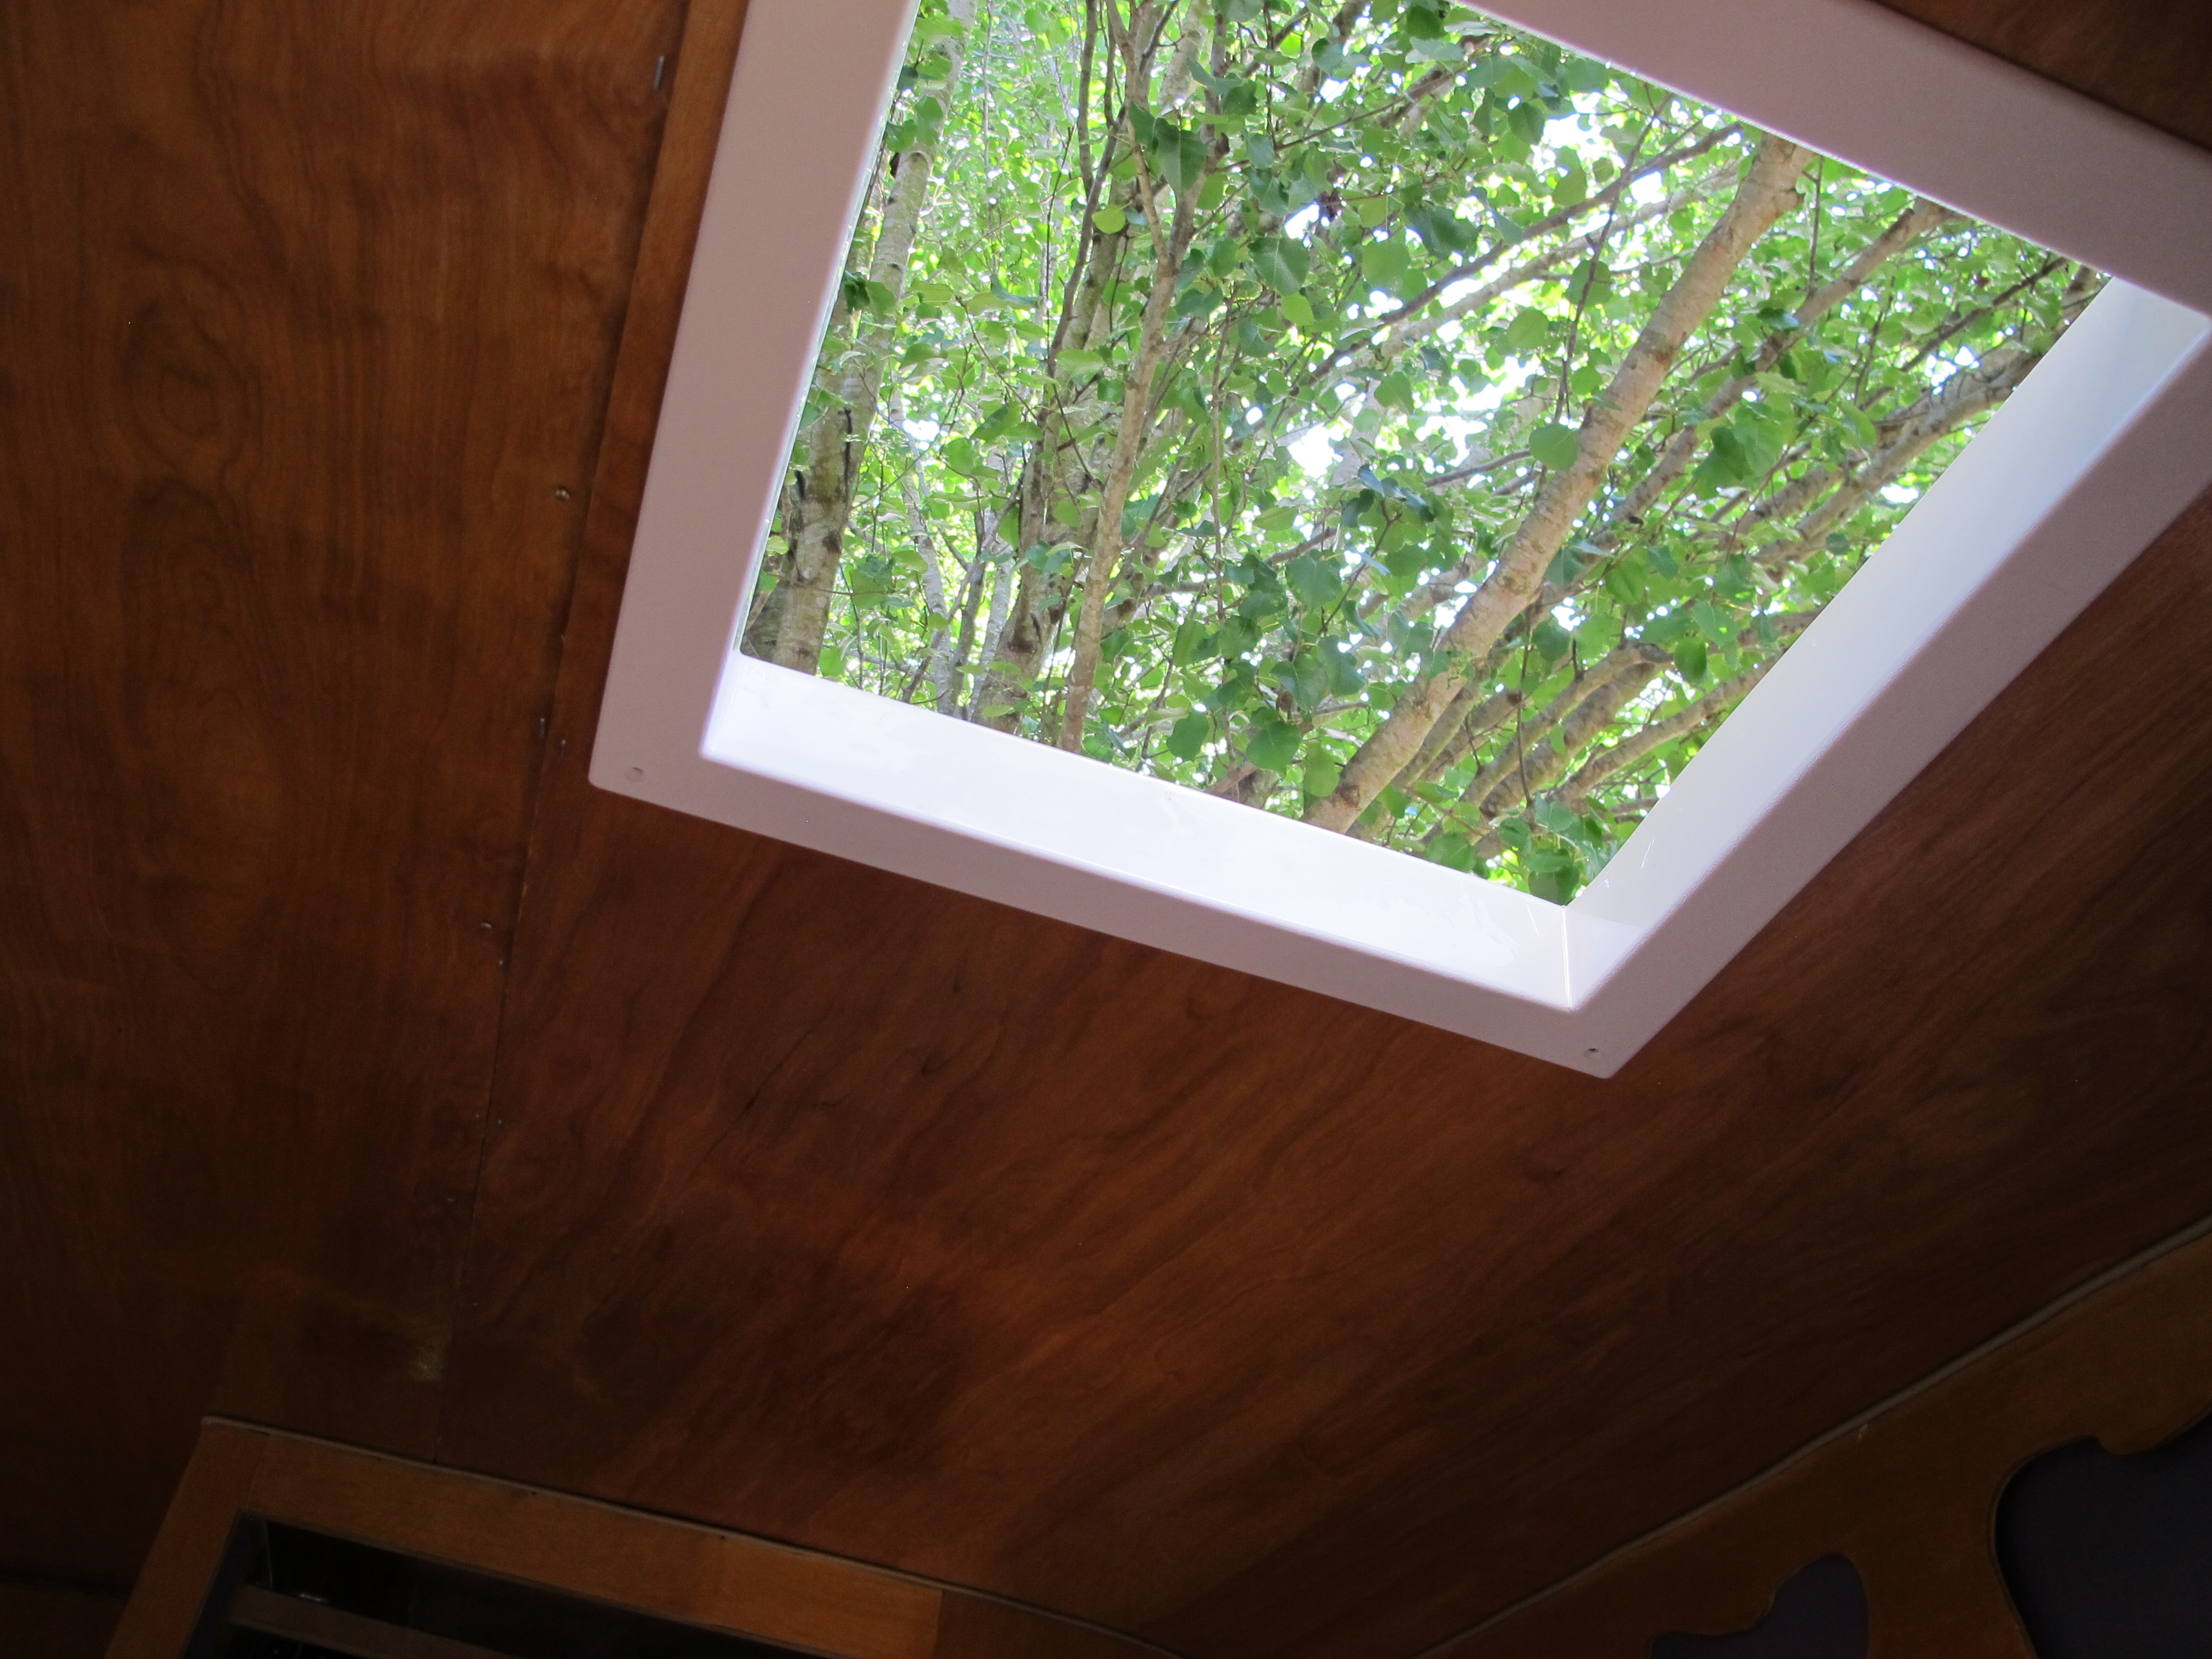
The view of the insert piece from the interior.
I haven’t installed it yet, but this is what it will look like on the interior.
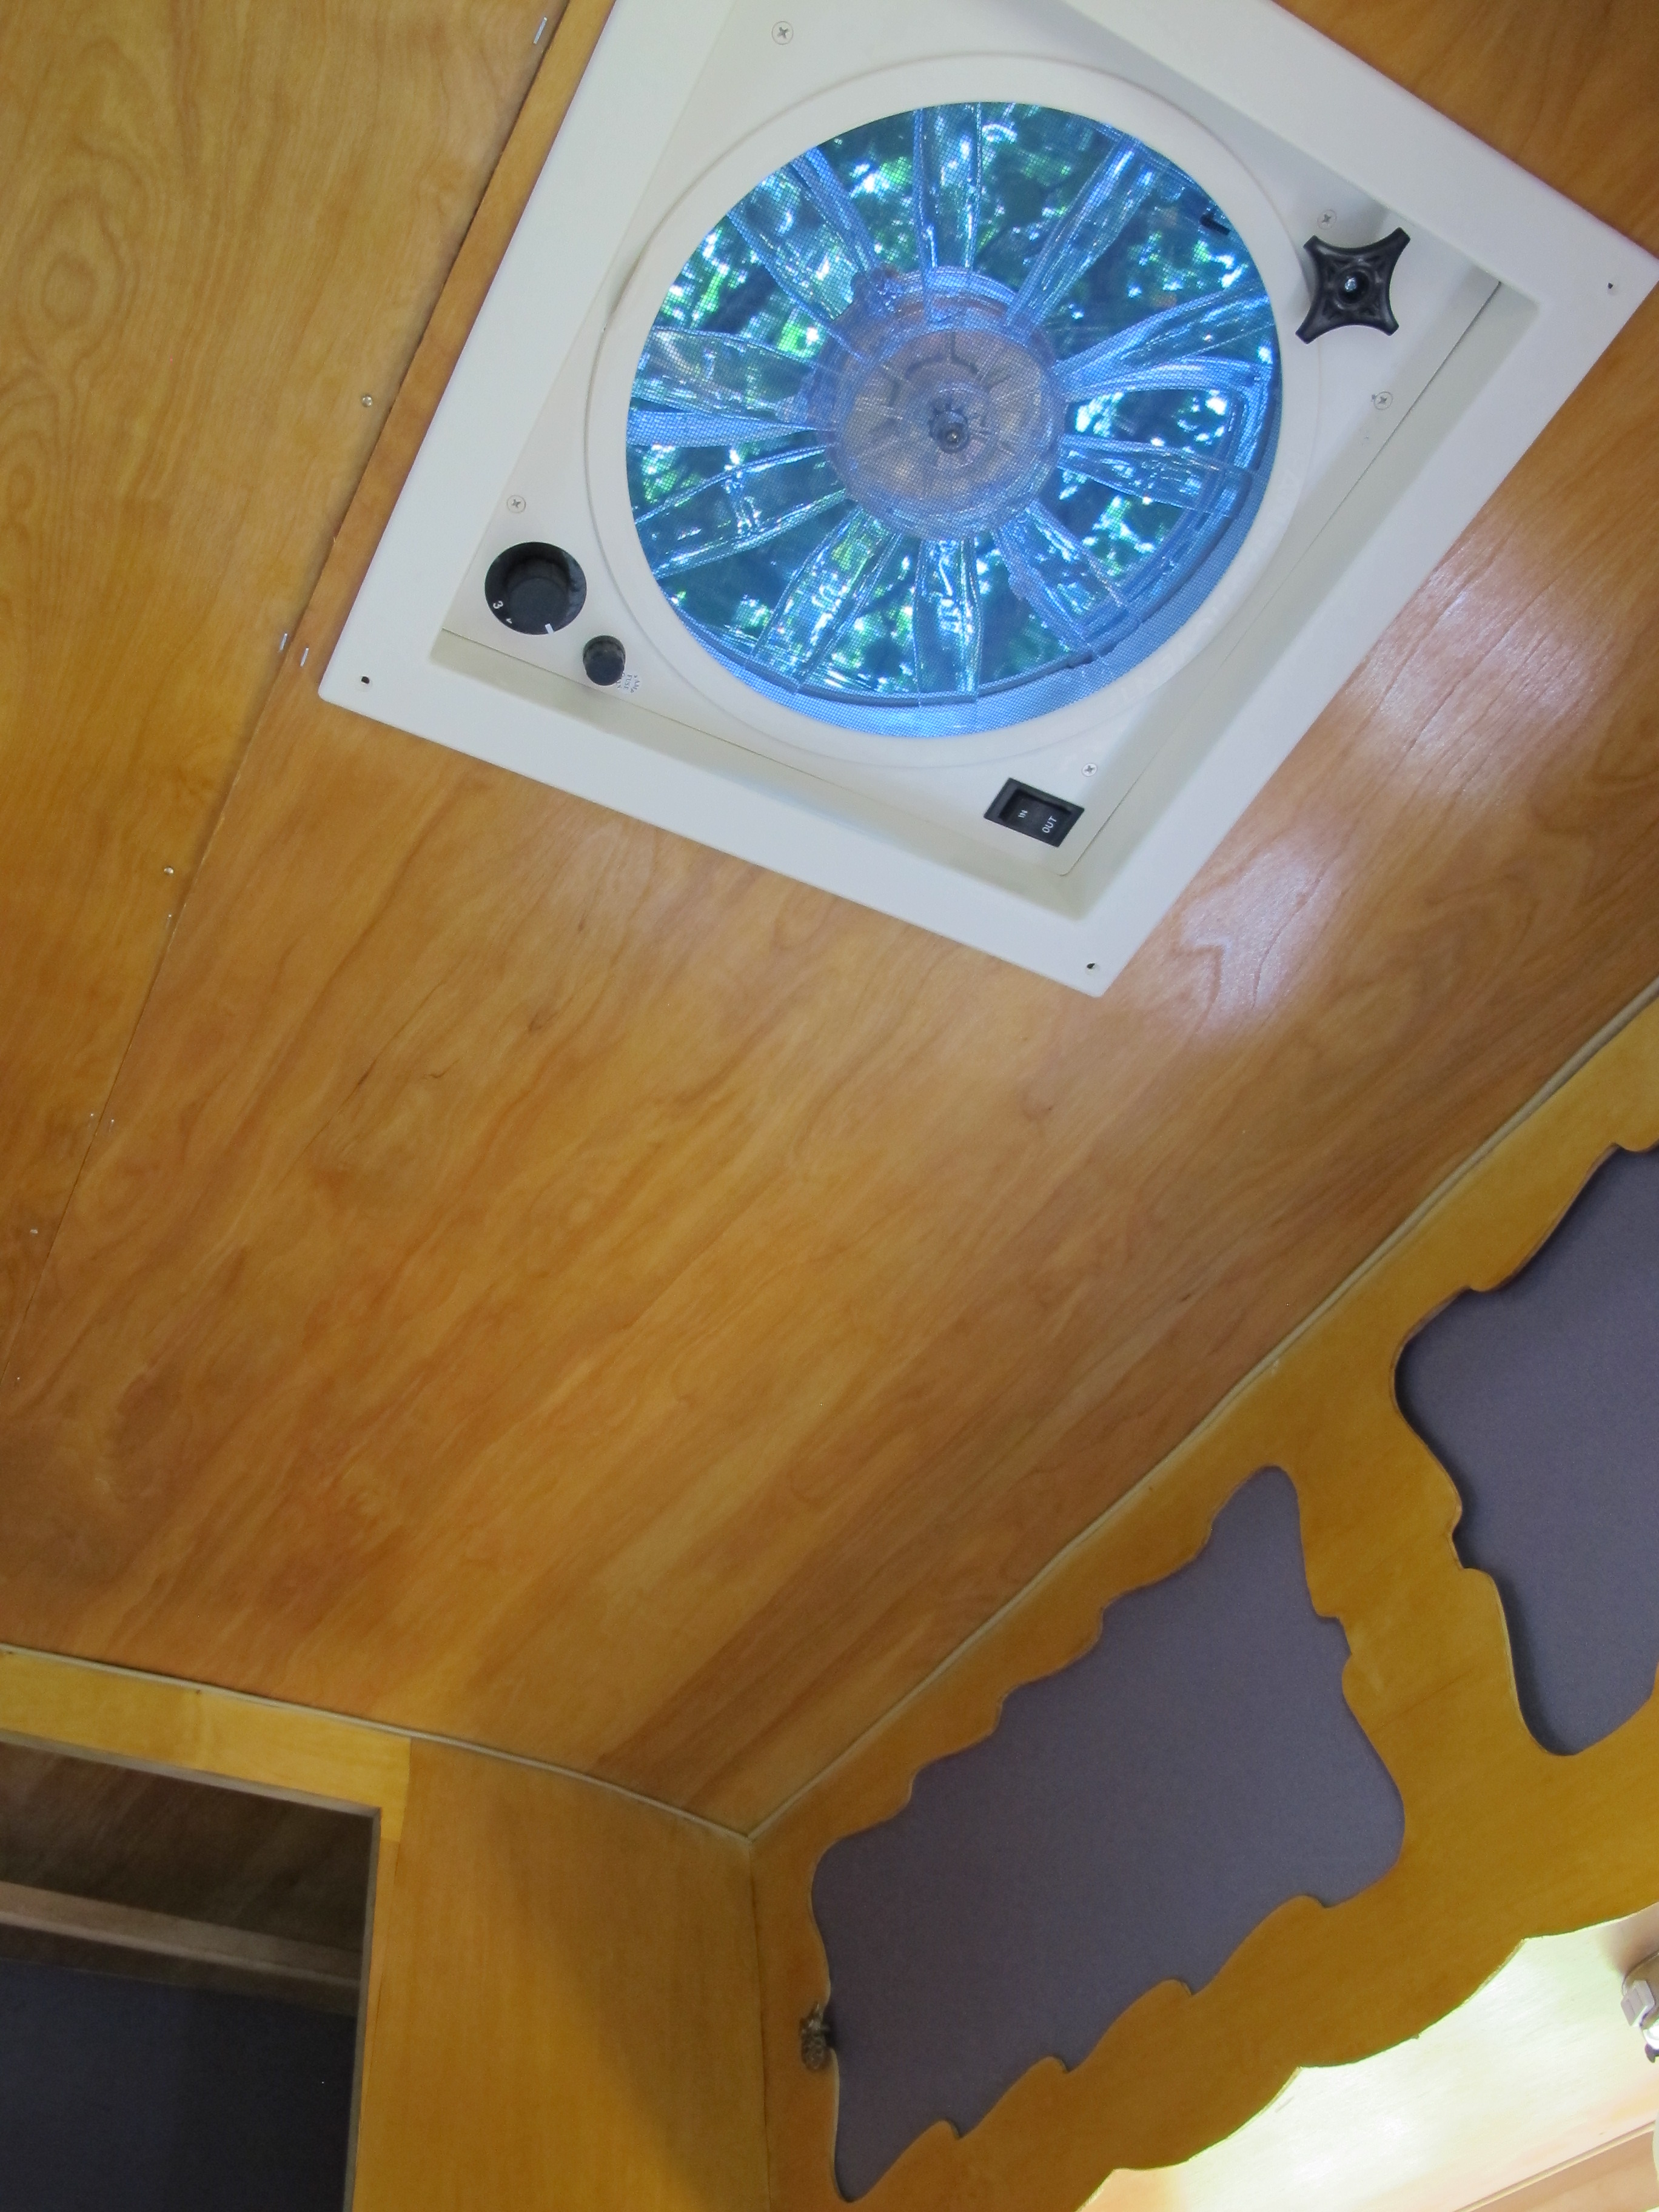
I’m happy with how the Fantastic Vent looks inside. I am glad I got the translucent lid instead of opaque. It’s nice to have a little sky light!
I was so exhausted after getting the things above done that I called it a day. Tomorrow, I will run the new wires for the lights/outlets, finish connecting the tail light wiring for the side running lights, and install the insulation. I also have to add a few more pieces to the frame around the vent and one more piece to the front of the camper frame. Hopefully it all goes well and I will be ready to install the skin on Saturday! I’m a little nervous about the skin because based on my past experience, everything is always harder than I thought it would be so this will probably be no different. Oh well, I will give it my all and hope for the best! That’s all anyone can do in life anyway.
Stayed tuned to see if I got everything on my list accomplished tomorrow! ![]()
