RSS Feed

Tag Archives: aluminum siding

Party Time!

Party Time!

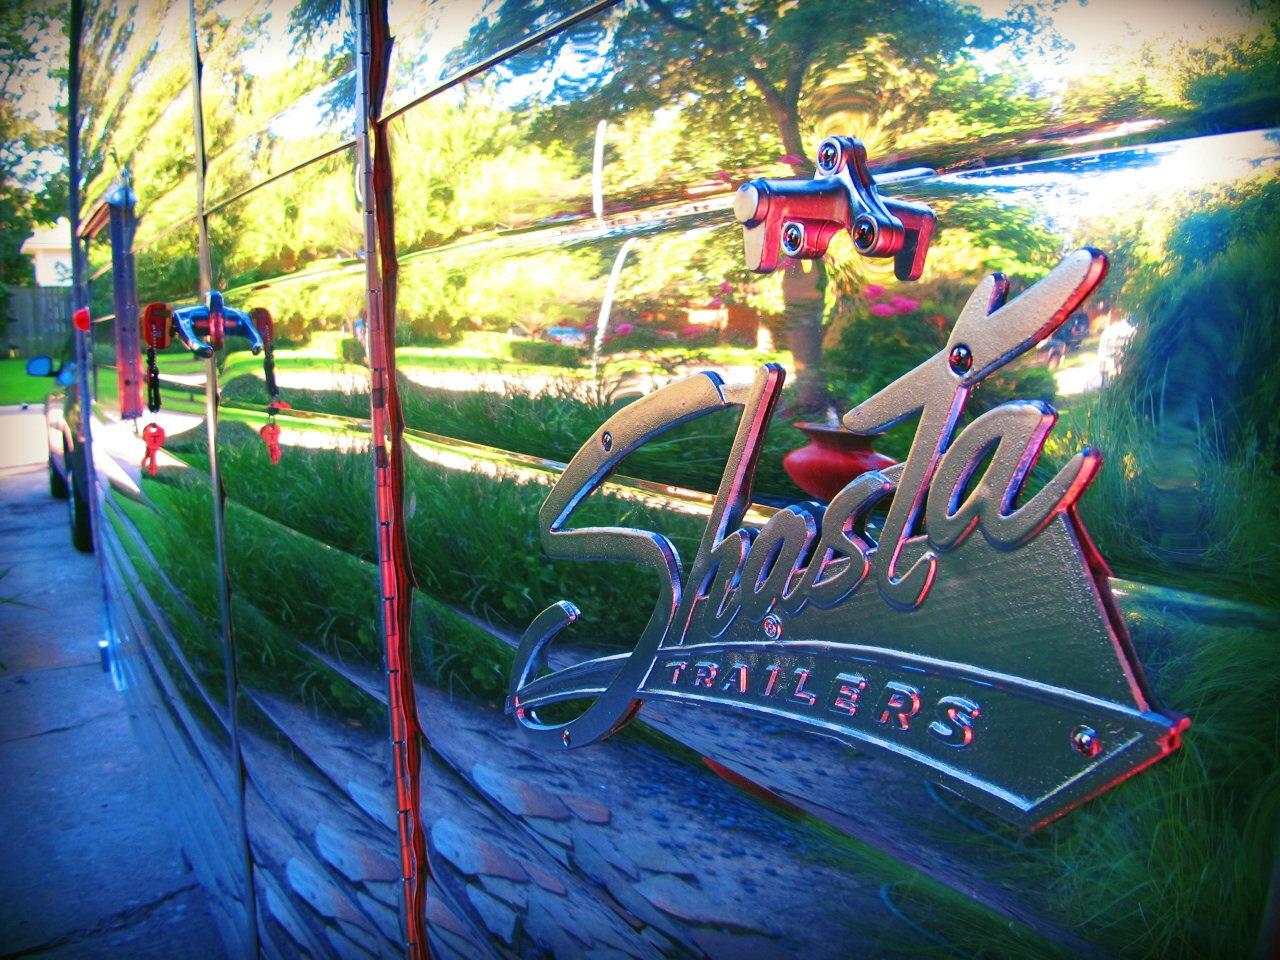
I’m a little overdue for this post, sorry!  I had my unveiling party last Friday, and I think it was a huge success!  The next day, I ran a 5K (Wicked Wine Run, 5K and then wine tasting at the end haha) and then on Sunday, I rested.  I had a pretty busy week at work, so I am just now getting around to writing an update on here about the festivities.  I will start by sharing some photos of Junebug after I got her all ready for the party.  I was very pleased with how she turned out, even though I still have a few more things to complete (screen door, baggage door, trim around bottom edge of exterior).  The day of the party, I hopped out of bed at 6am, eager to finish making all of the preparations.  I think that’s the first time in my adult life that I’ve ever gotten up that early on my own for something non-work related.  haha

+IMG_5078

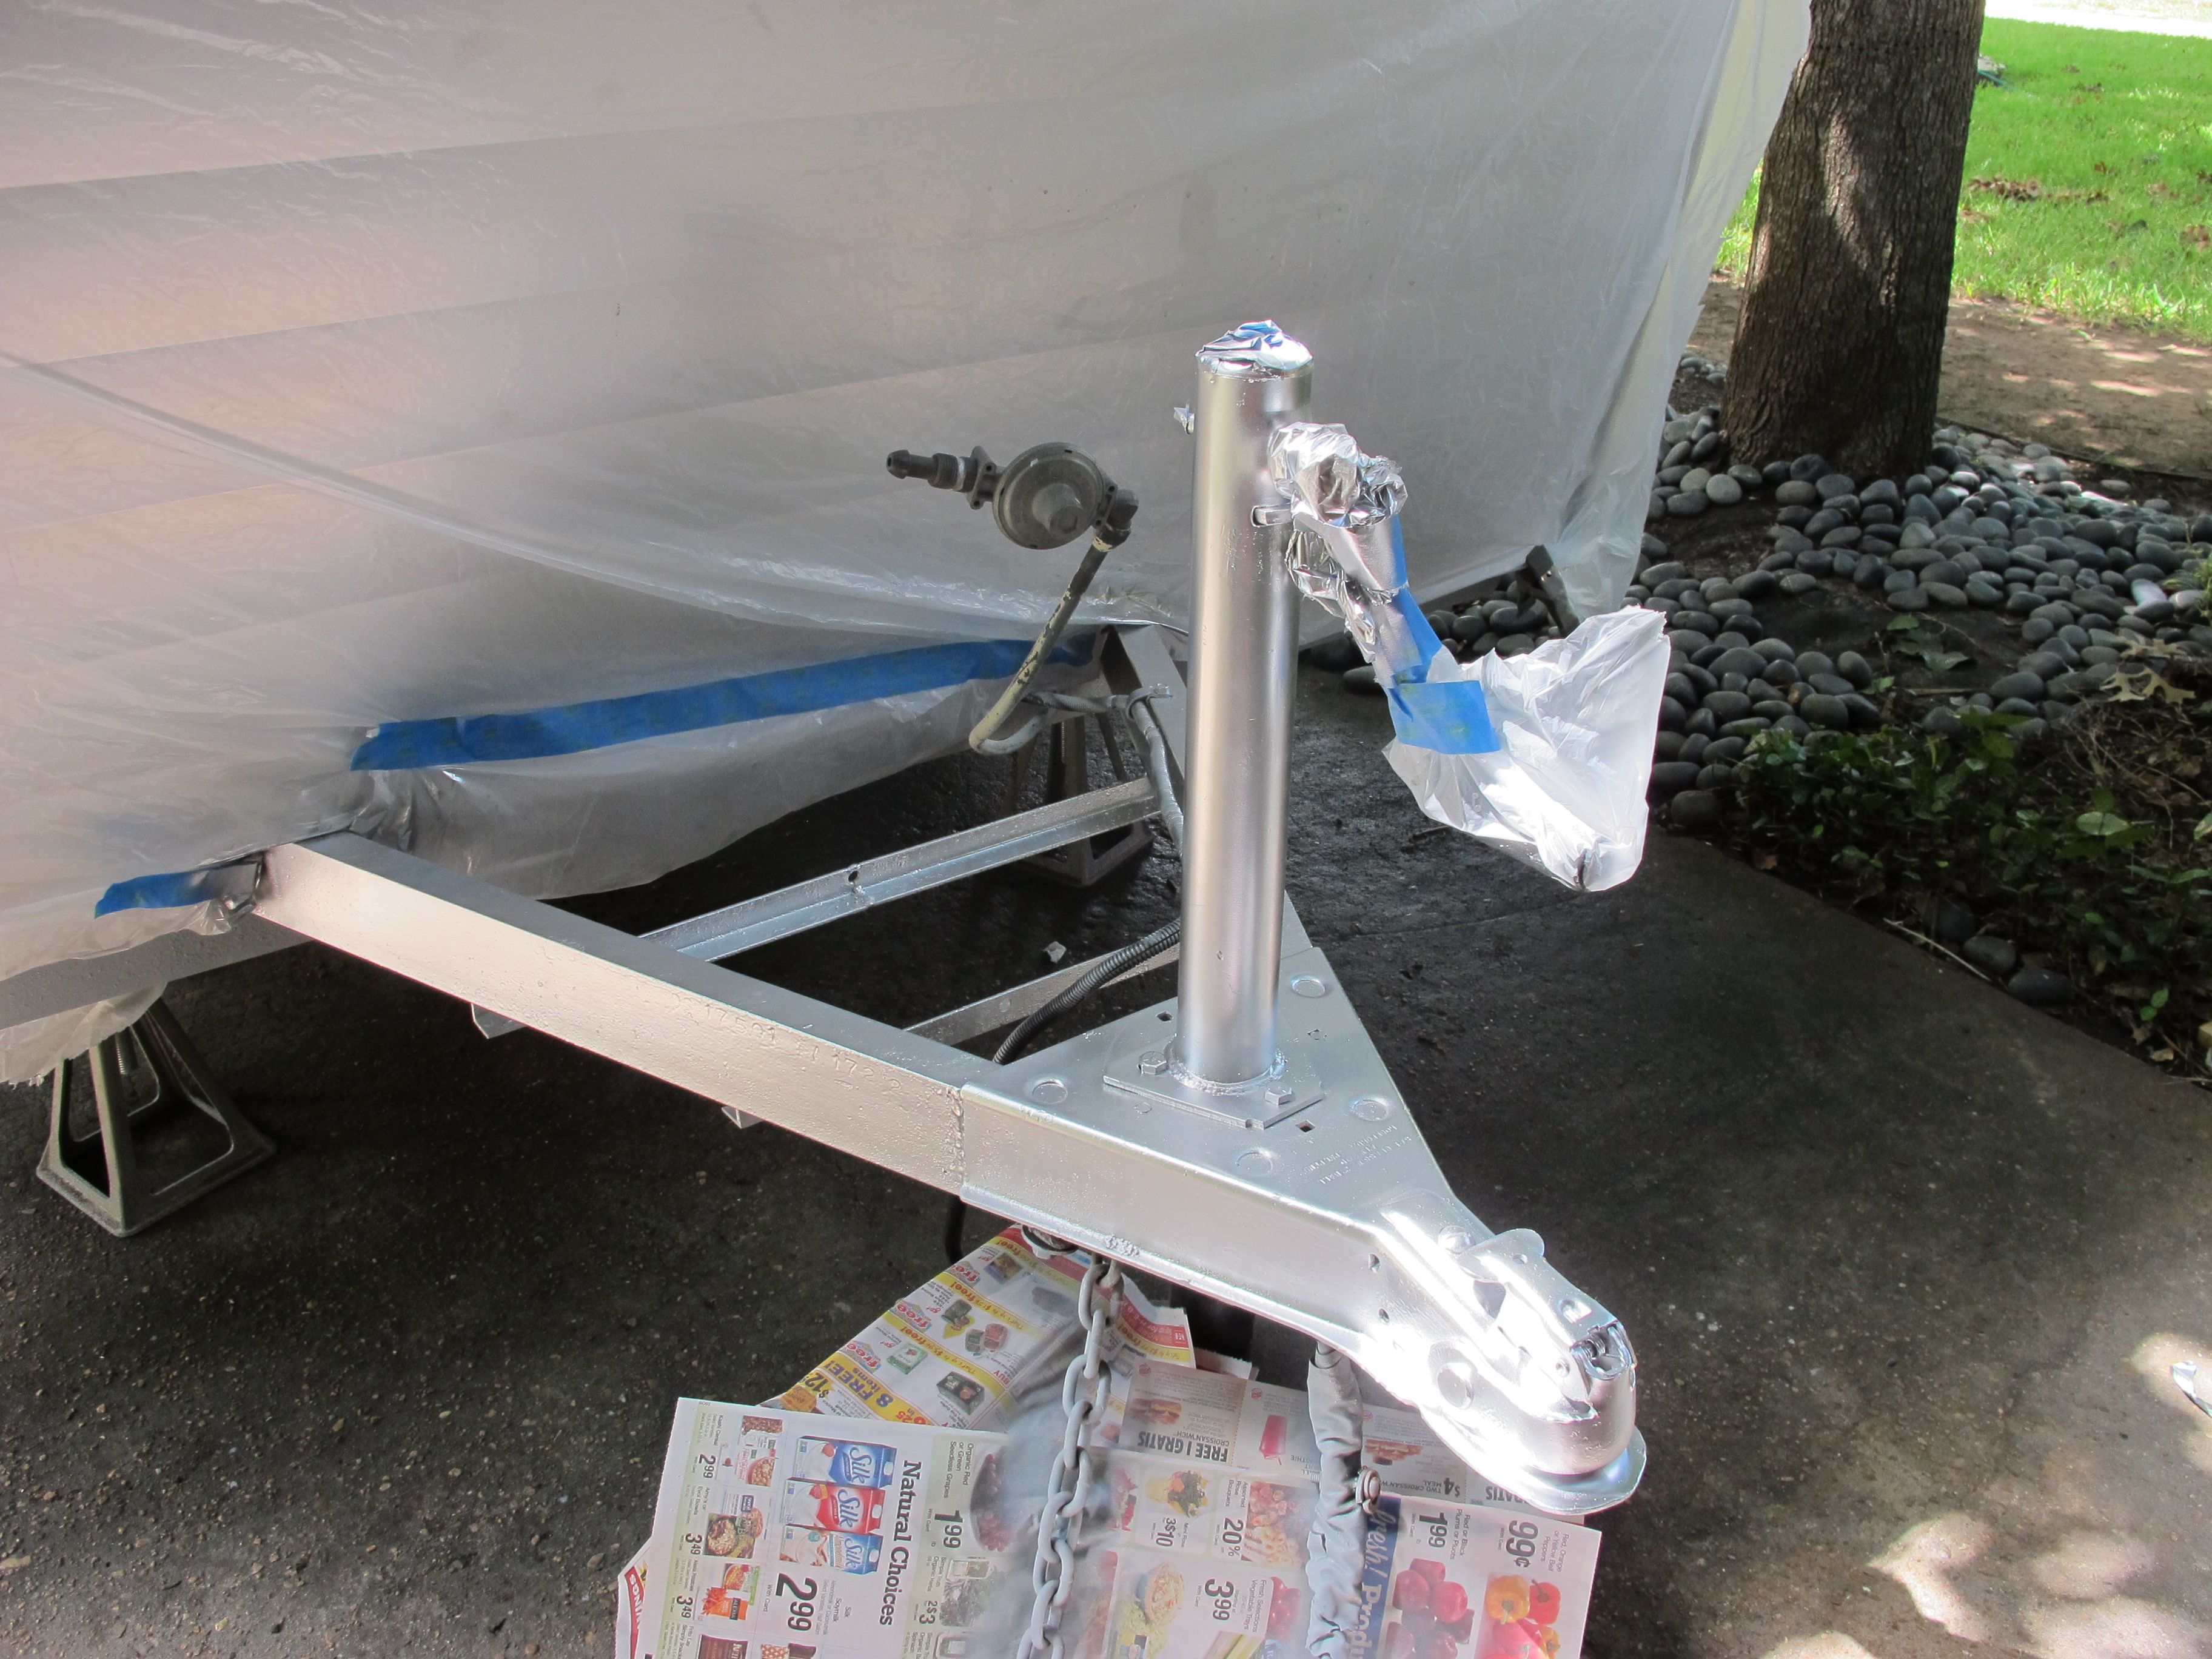
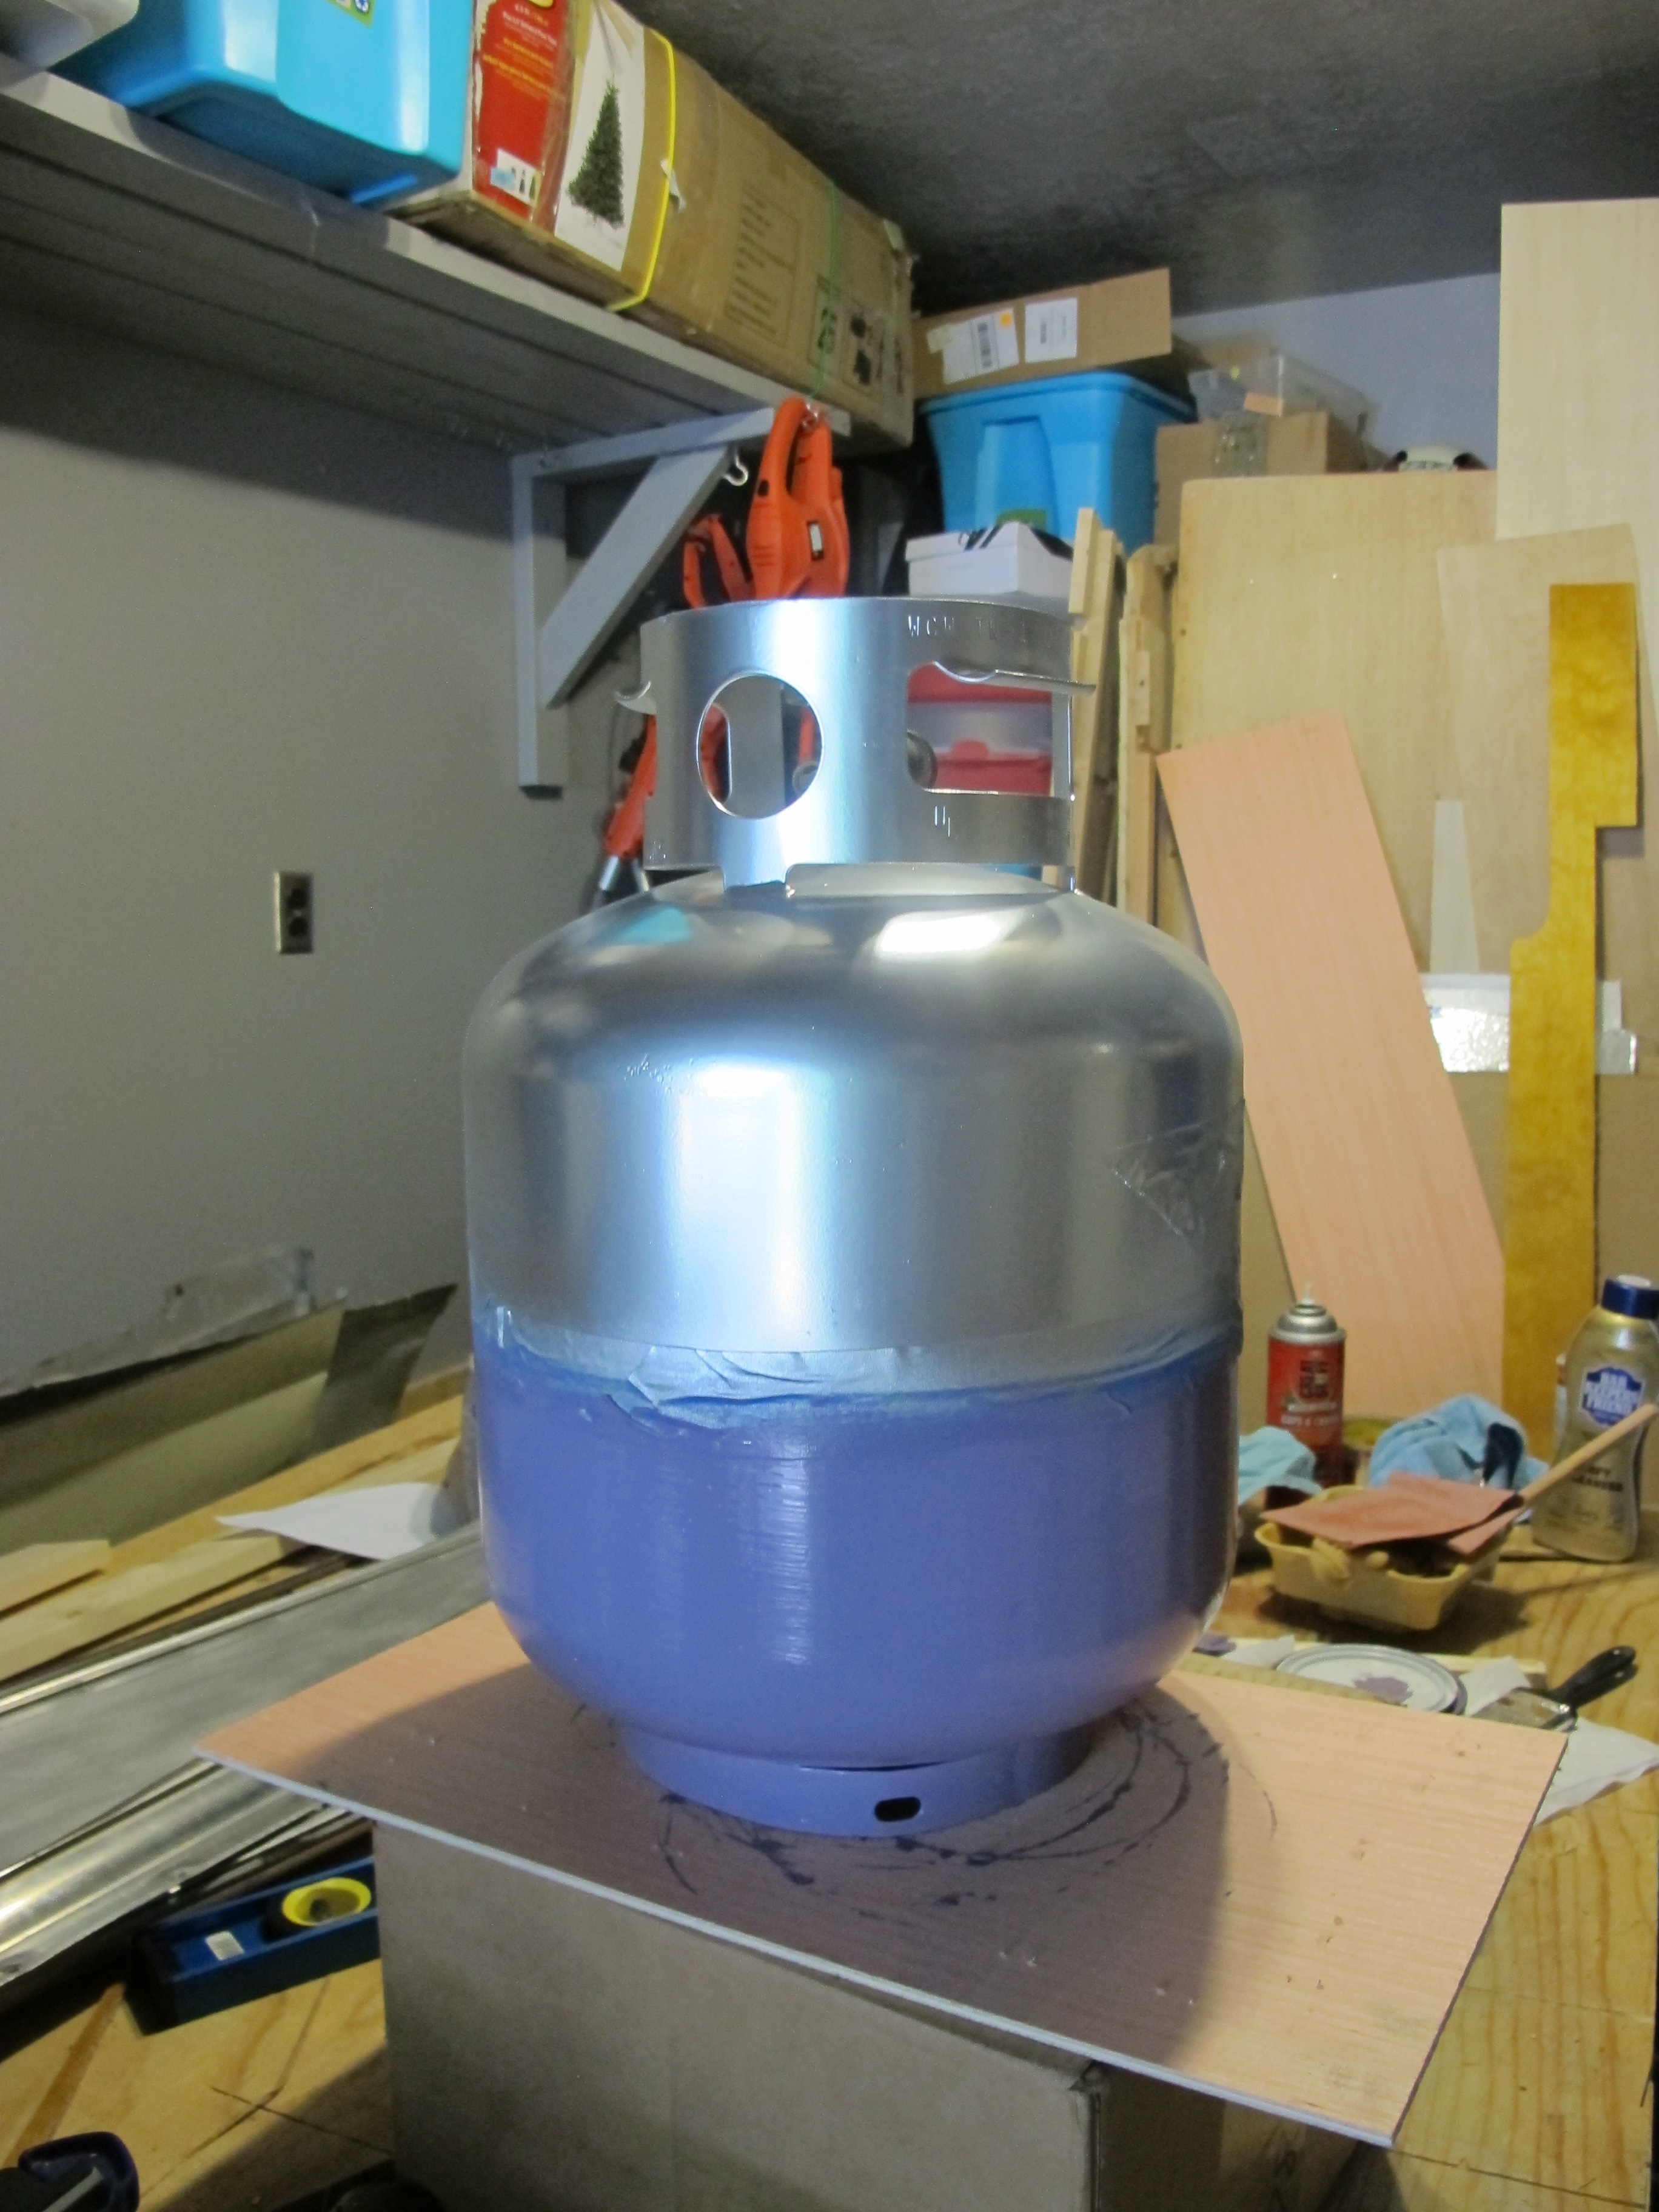
View of the tongue with my custom painted tank. I still need to take it to a propane place to see if they’ll actually service this tank. If not, I guess I’ll have to resort to getting a new one. Fingers crossed they’ll accept this one since I put so much work into it!

+IMG_5082

I think she looks quite pretty with my roses in the foreground. 🙂


+IMG_5090

Another view.

+IMG_5094

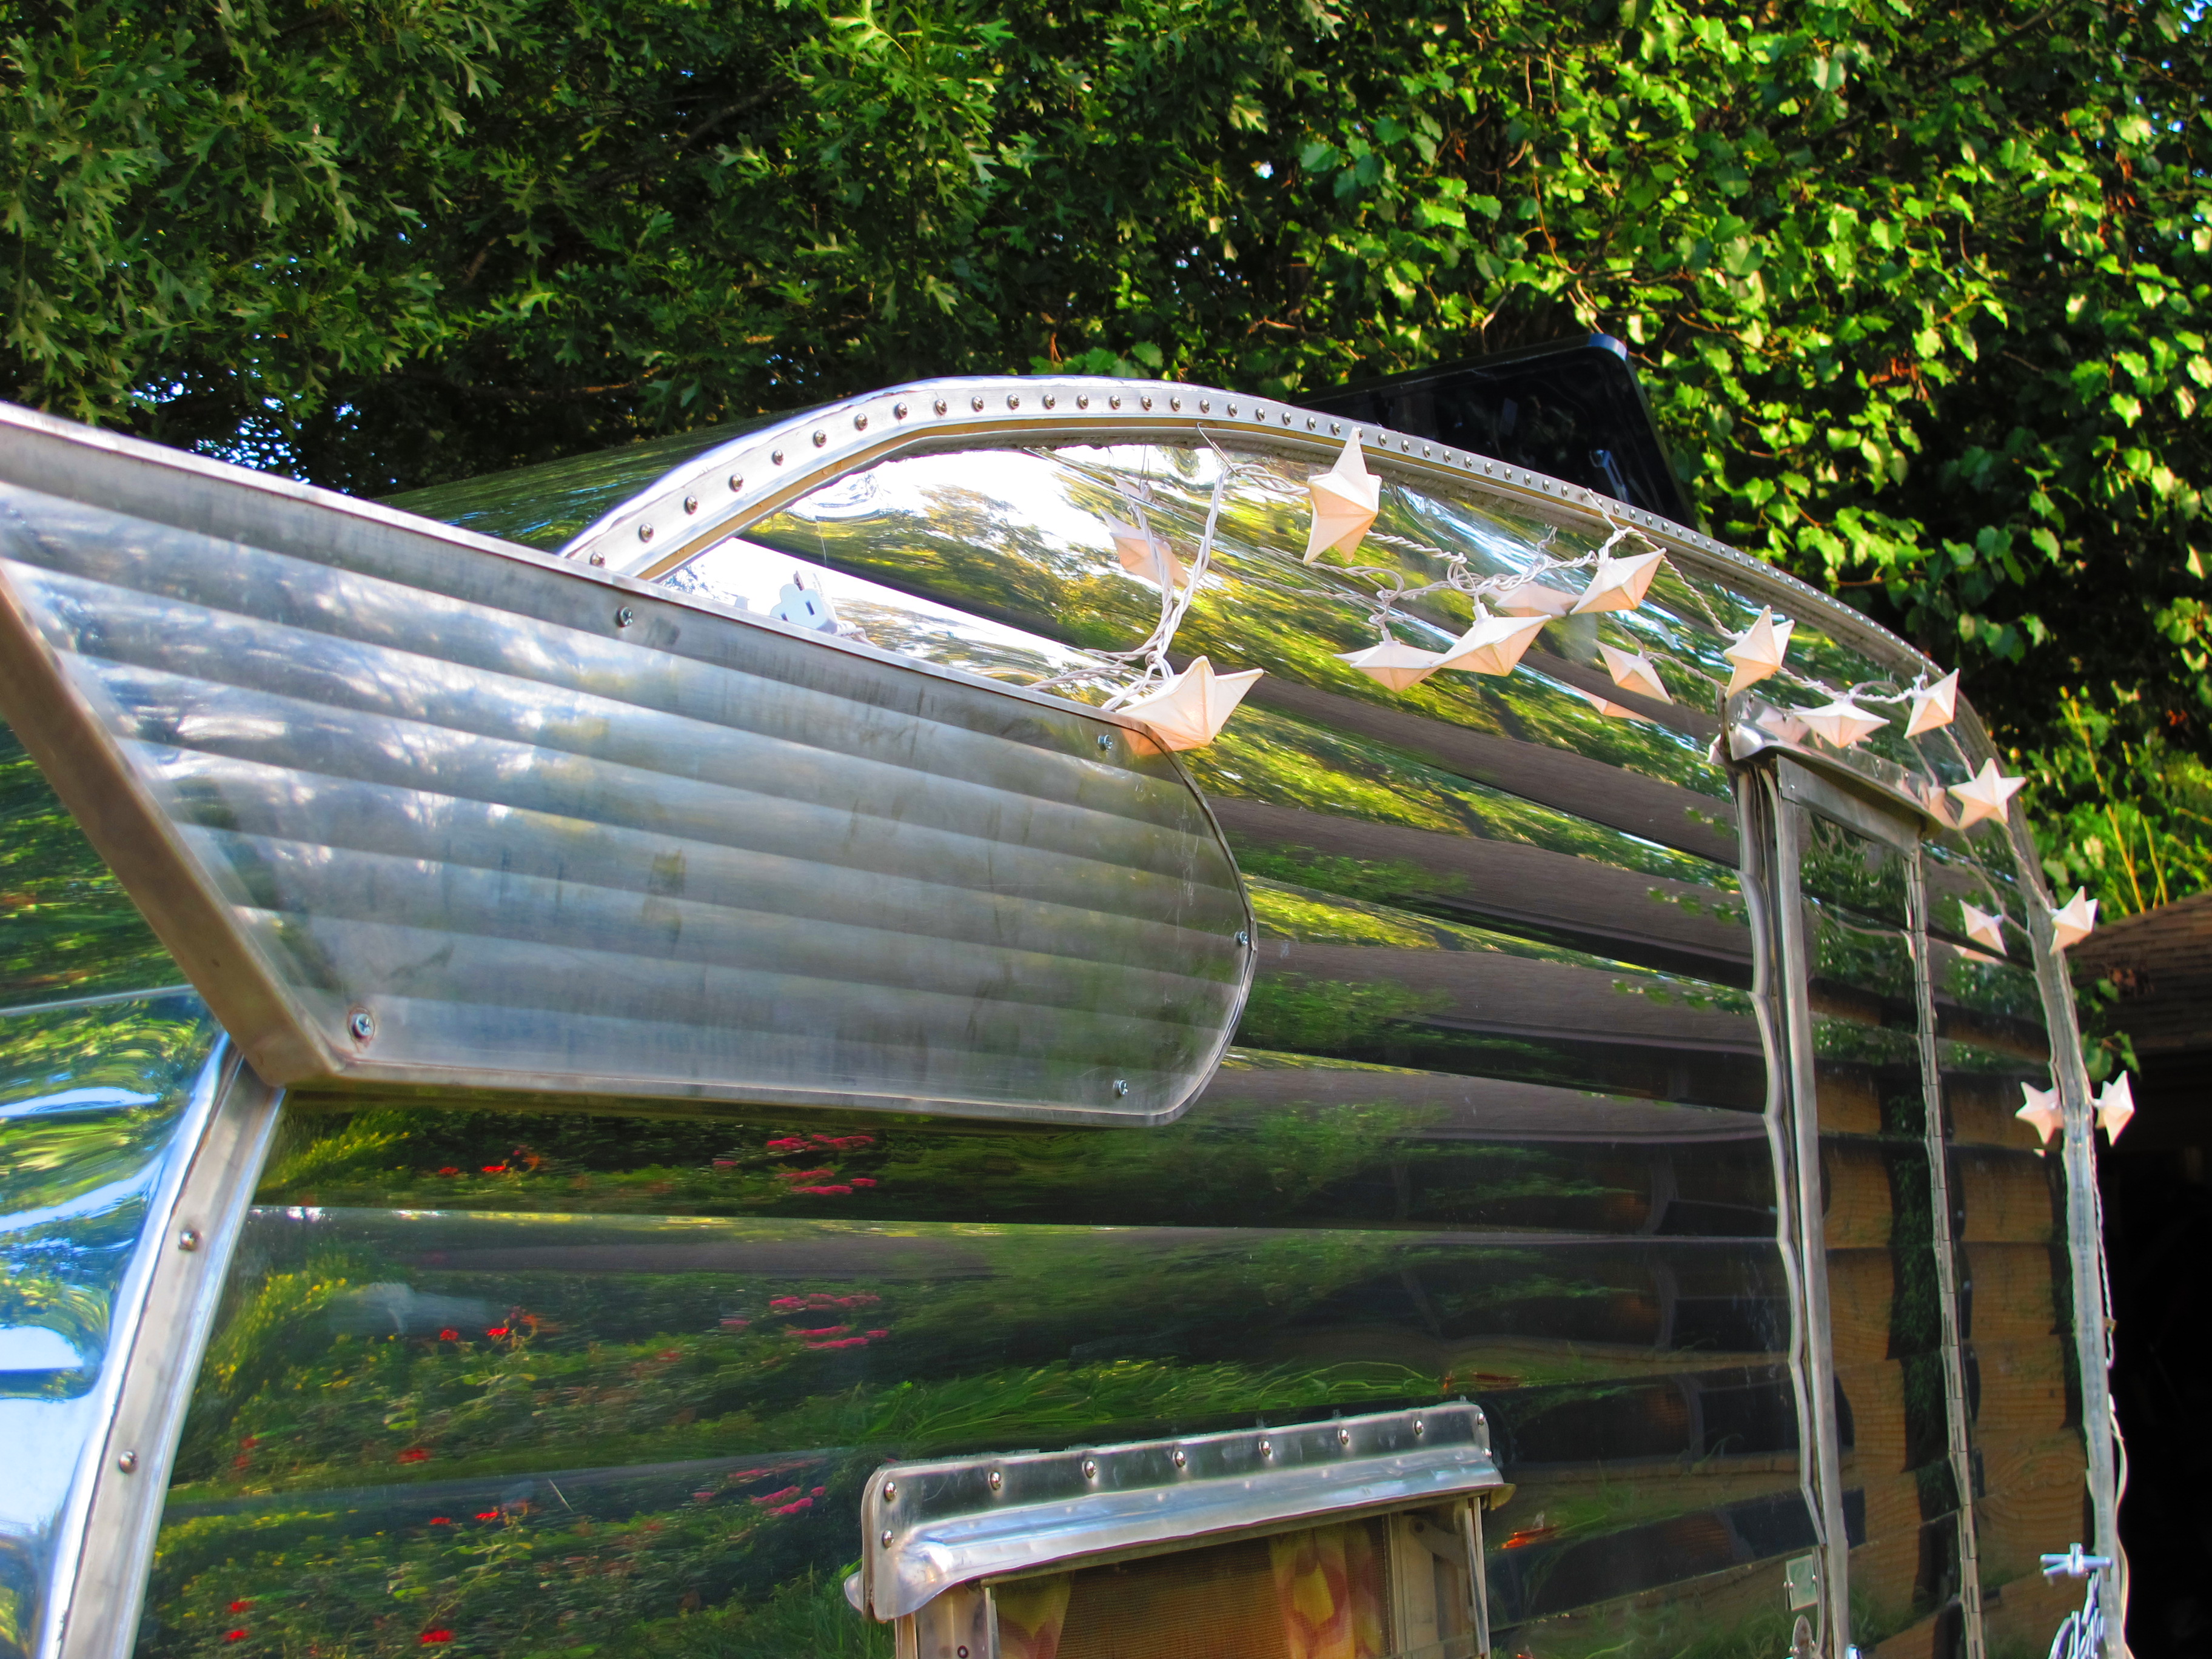
She had to have these little twinkle lights.

+IMG_5104

+IMG_5099

Street side. The new 30 amp stainless inlet looks pretty good here I think.

+IMG_5105

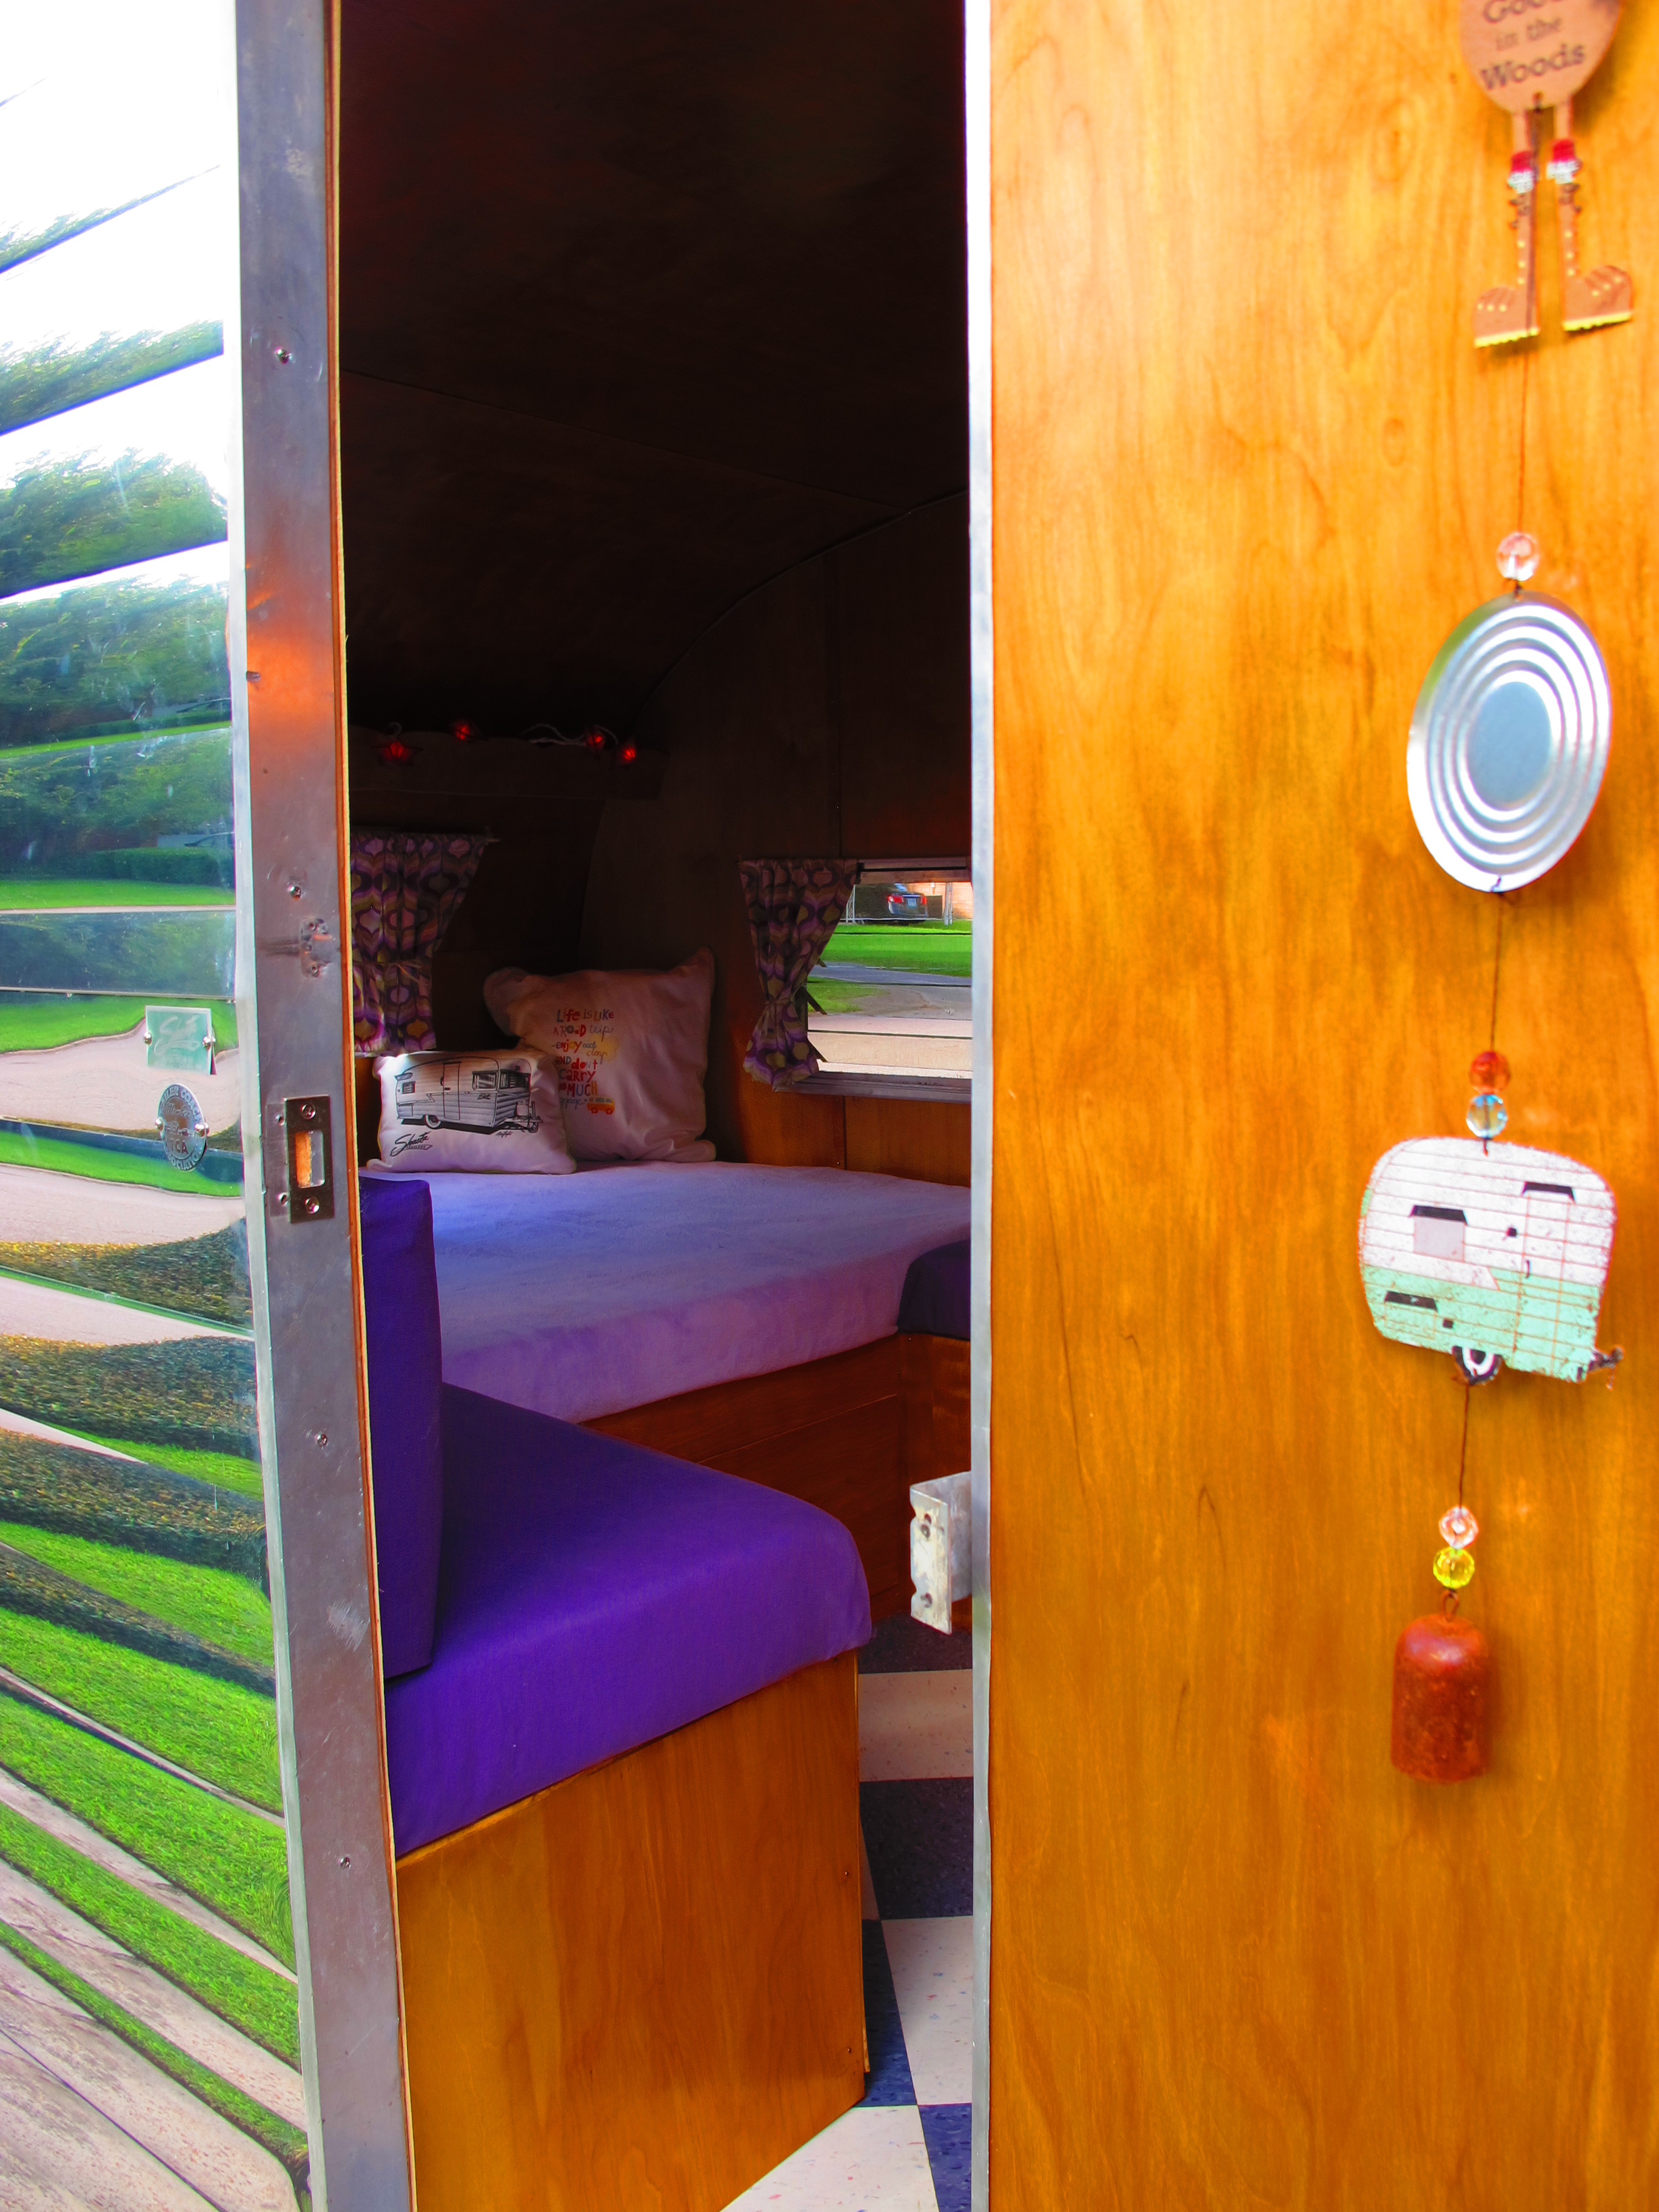
The wind chime hanging on the door was a gift from a coworker that she picked up in Alaska. My coworkers have been so supportive throughout this project!

+IMG_5122

Little measuring spoon set that a coworker gave me. They have owls on them!

+IMG_5121

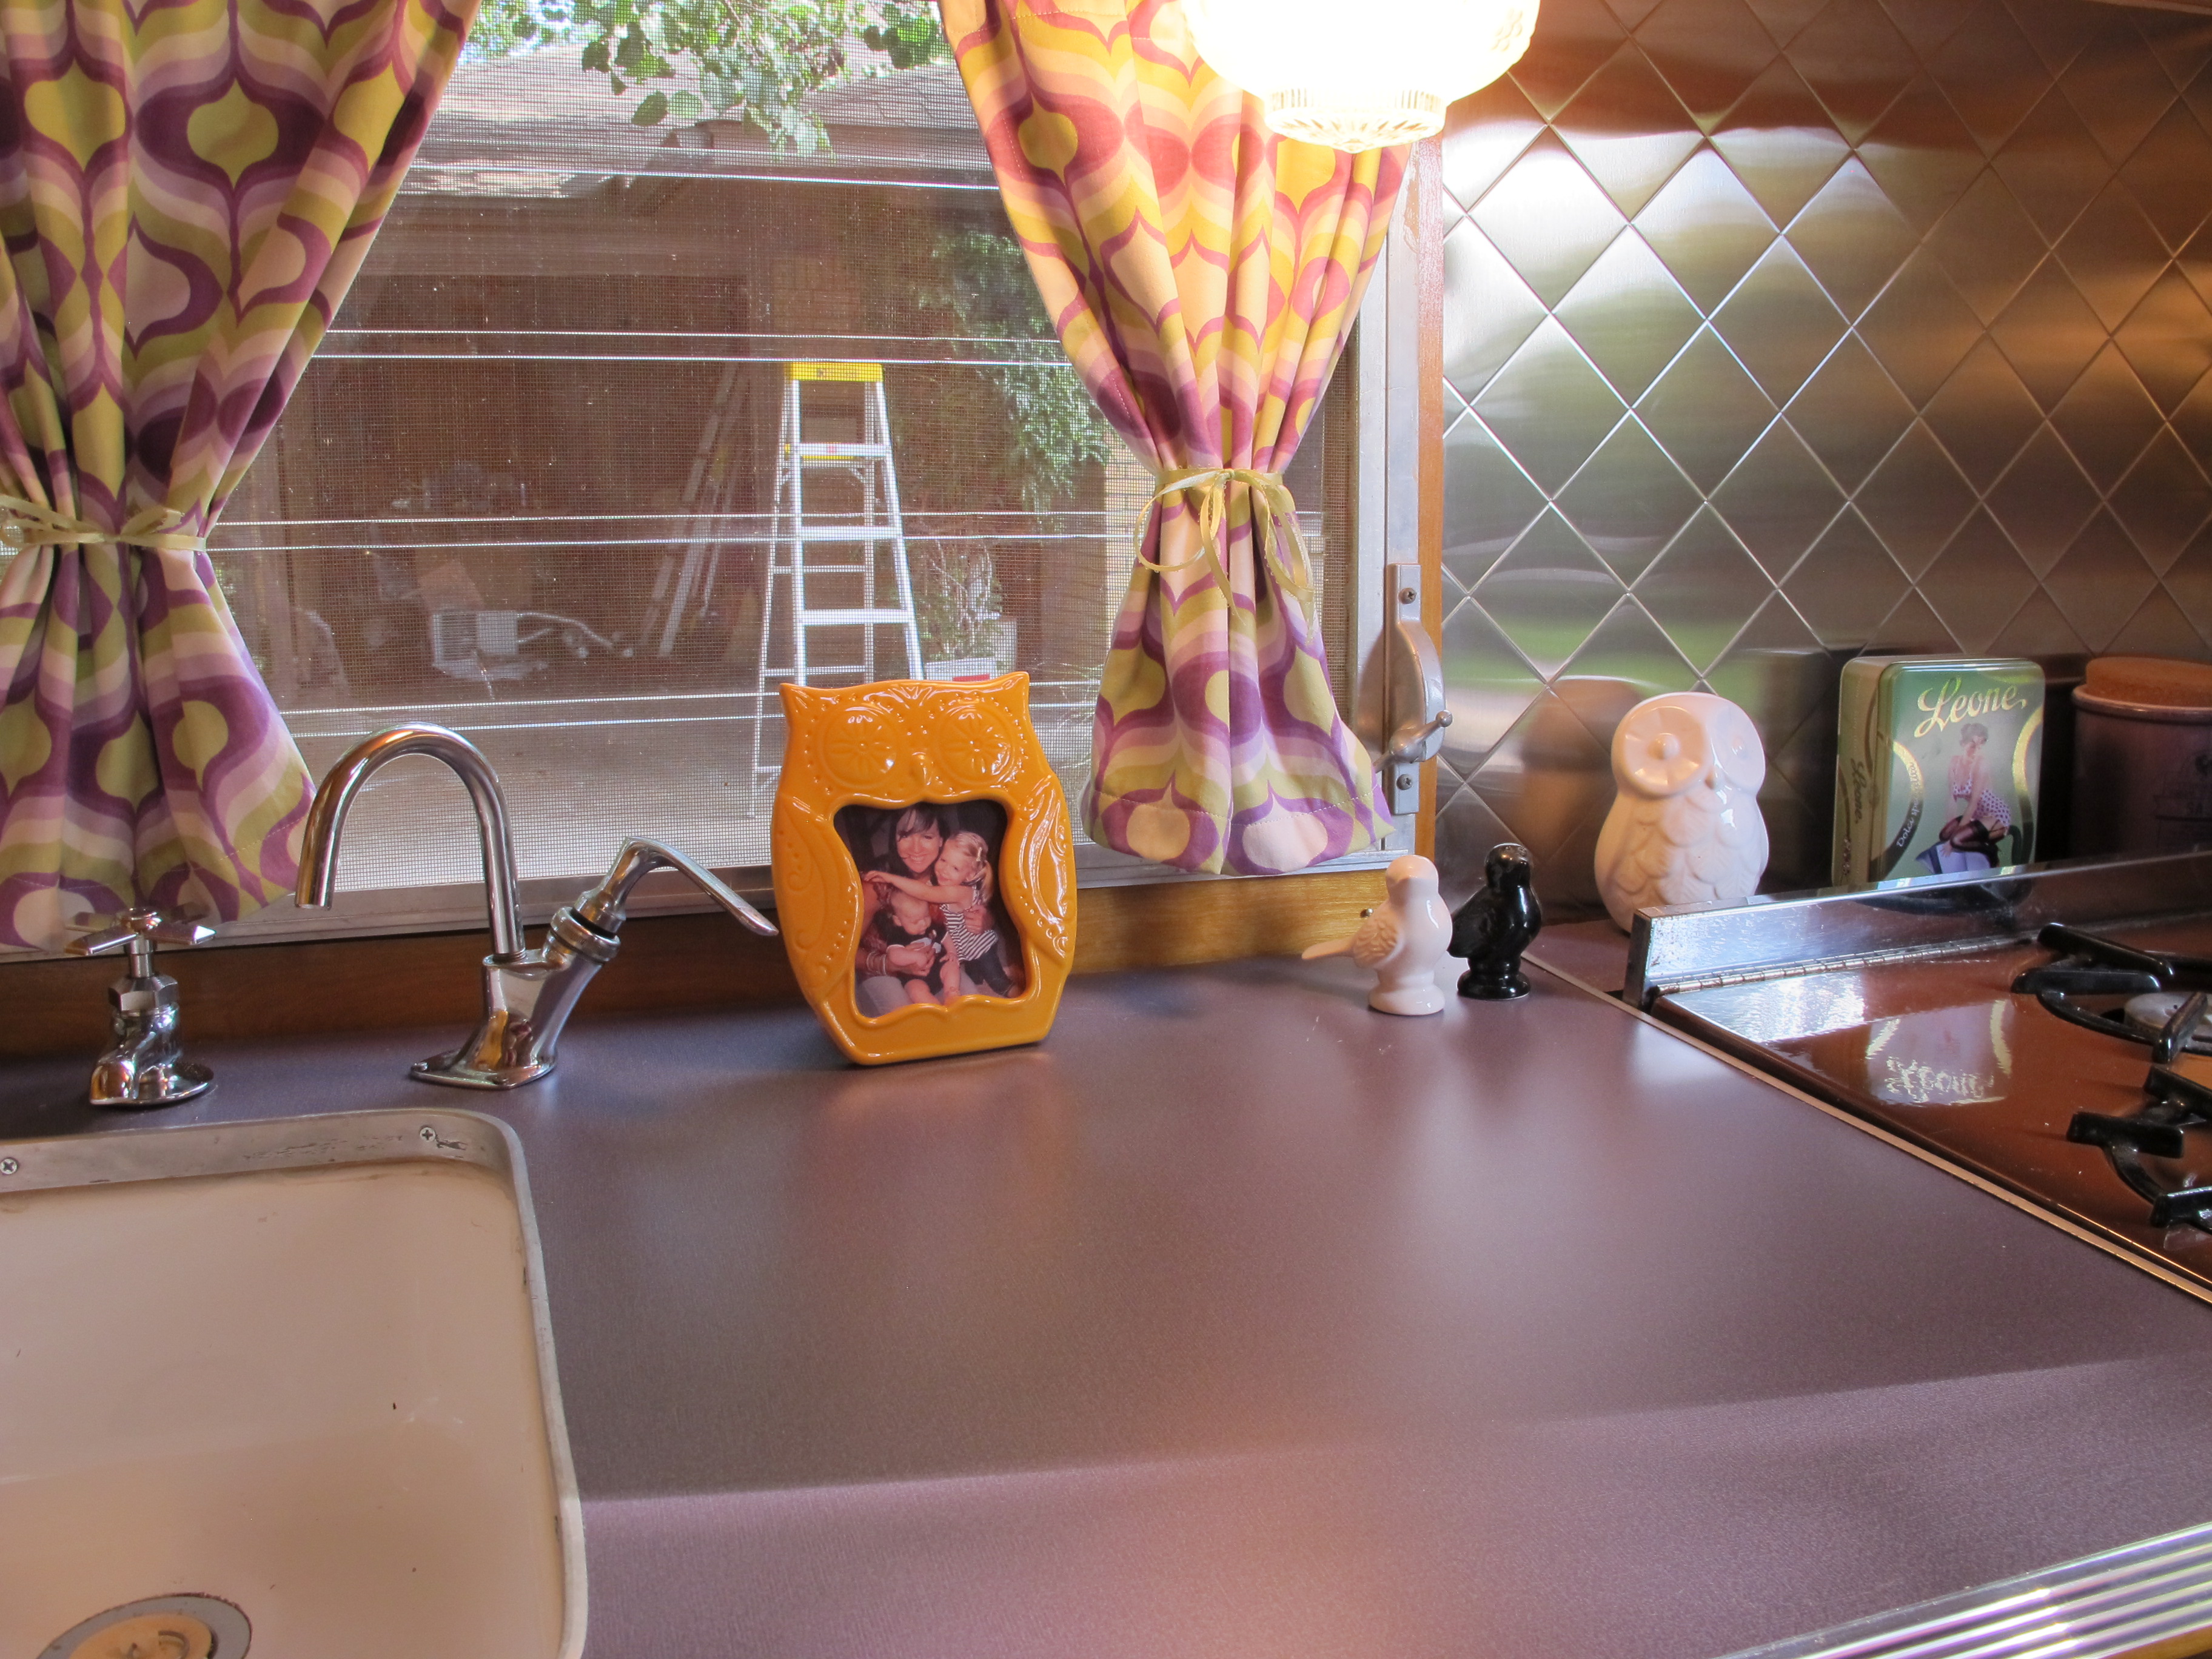
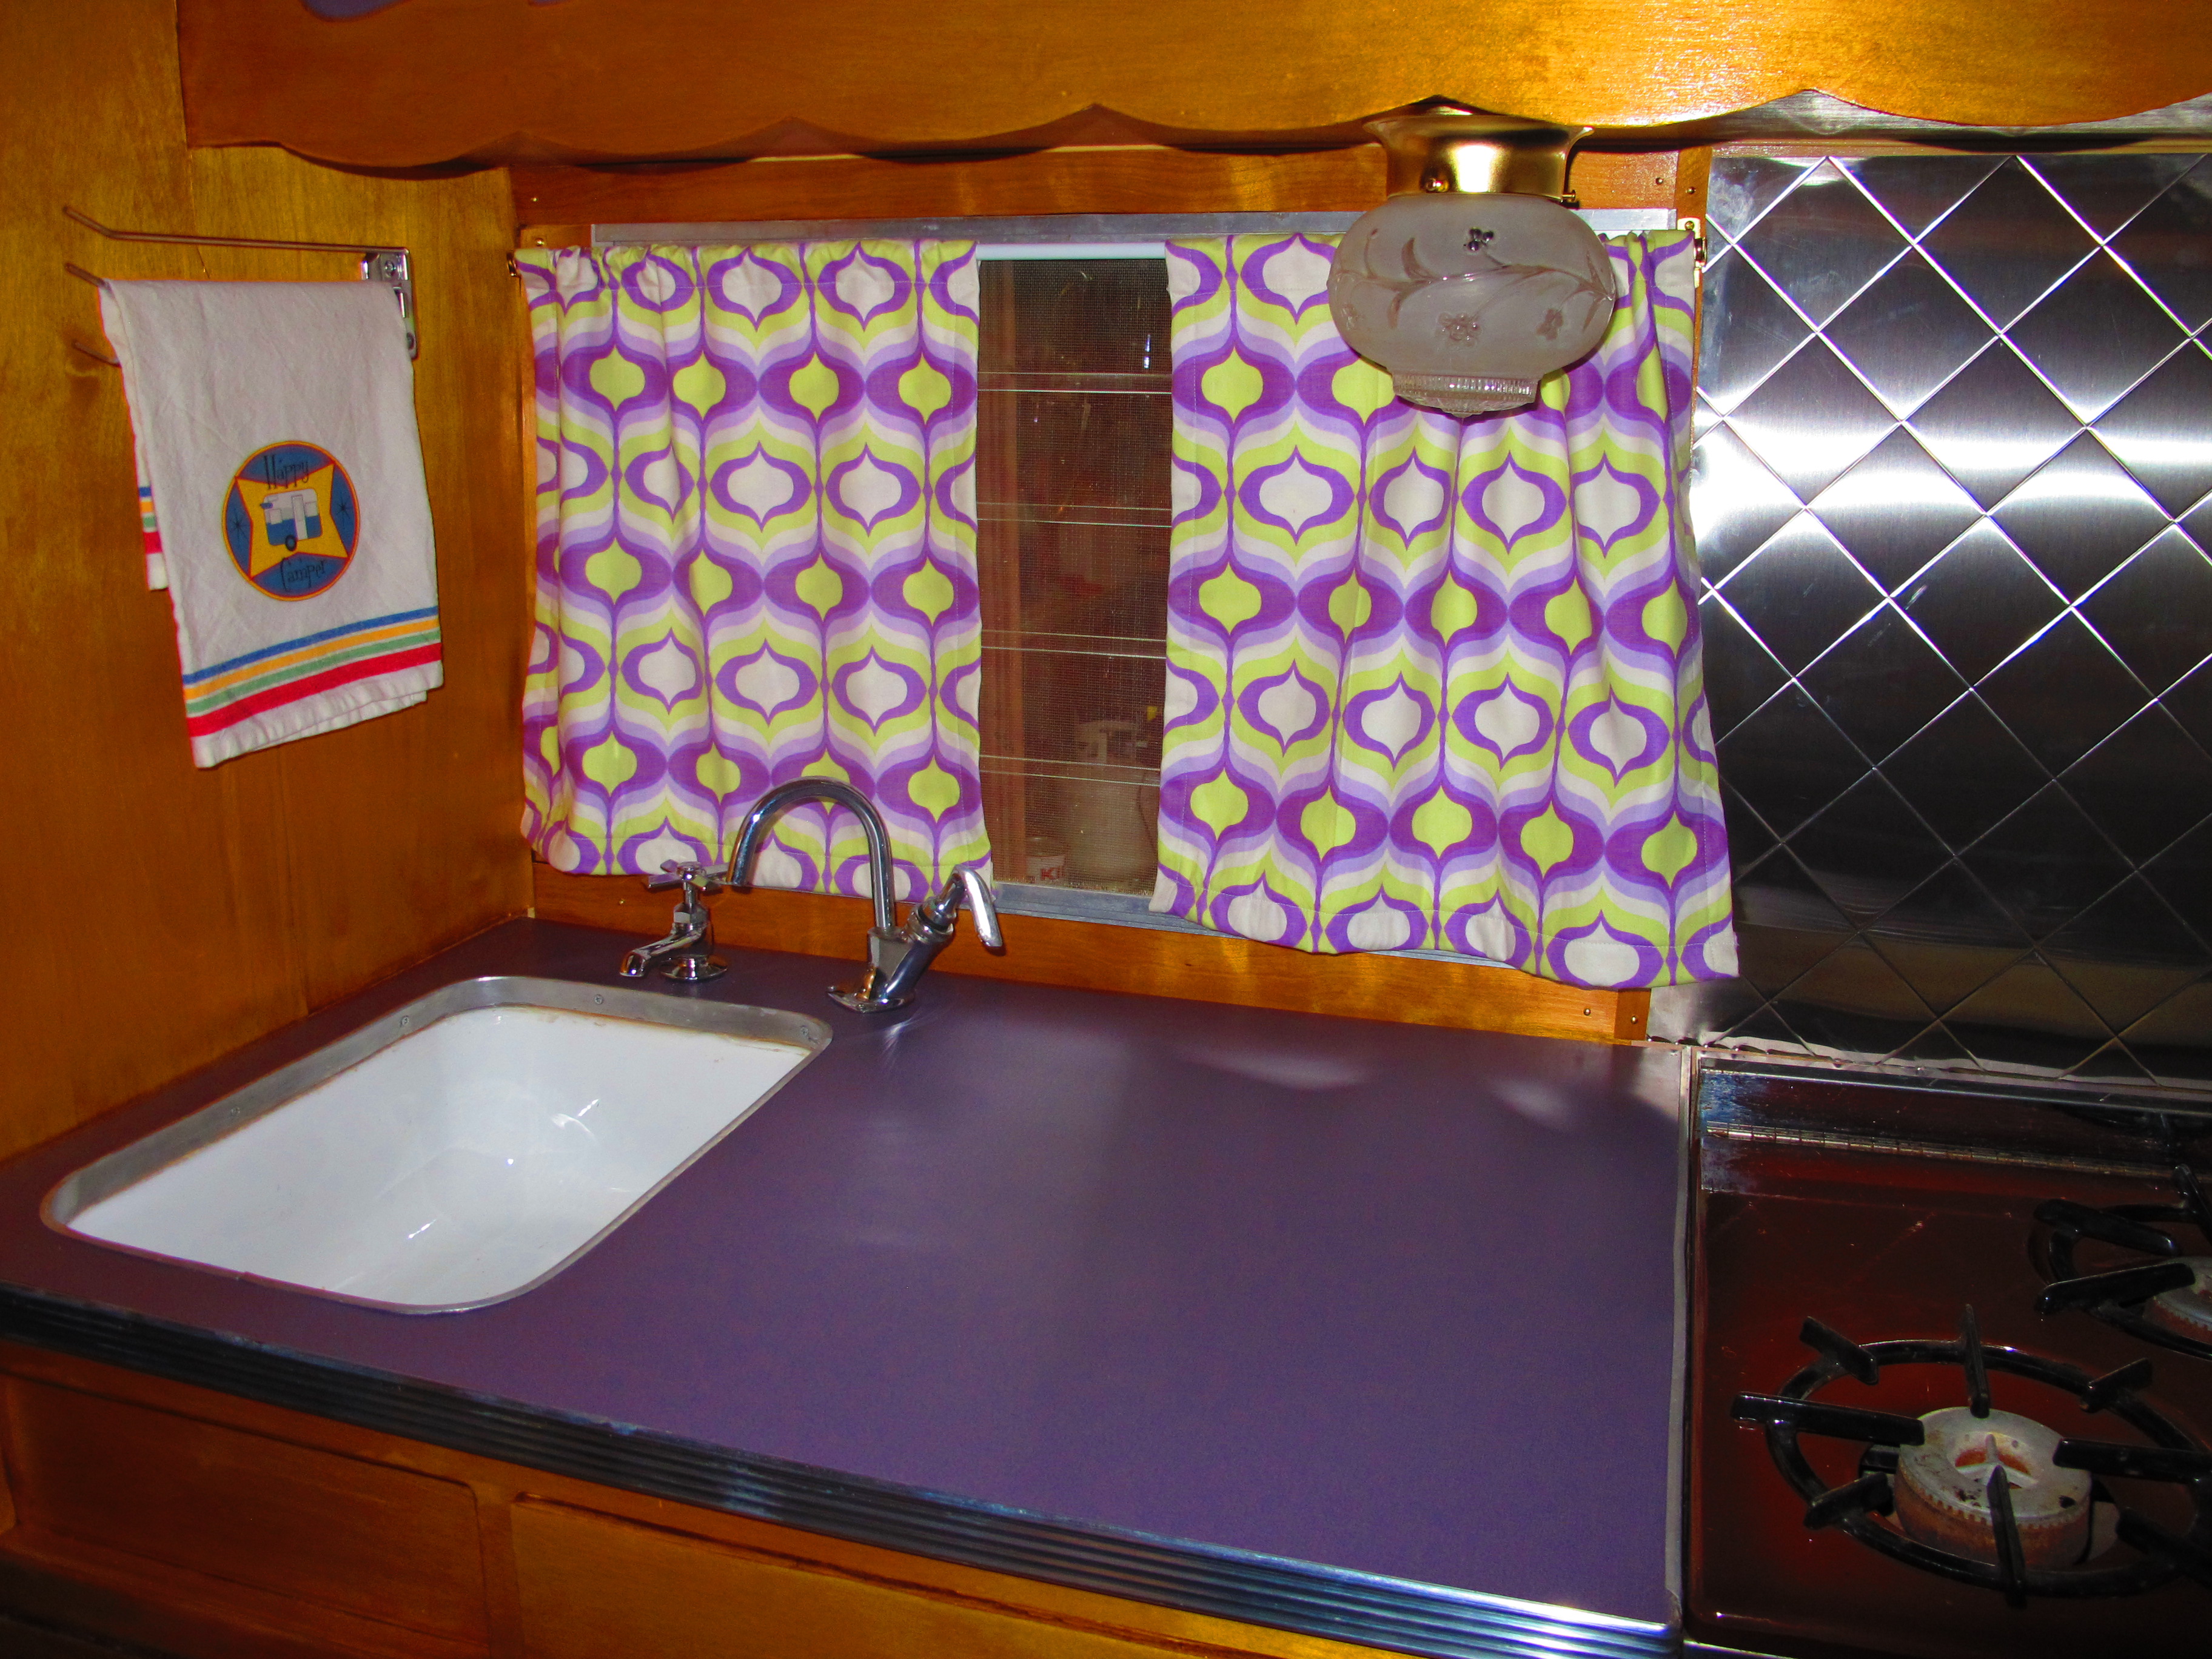
A little more decor for the kitchen.

+IMG_5116

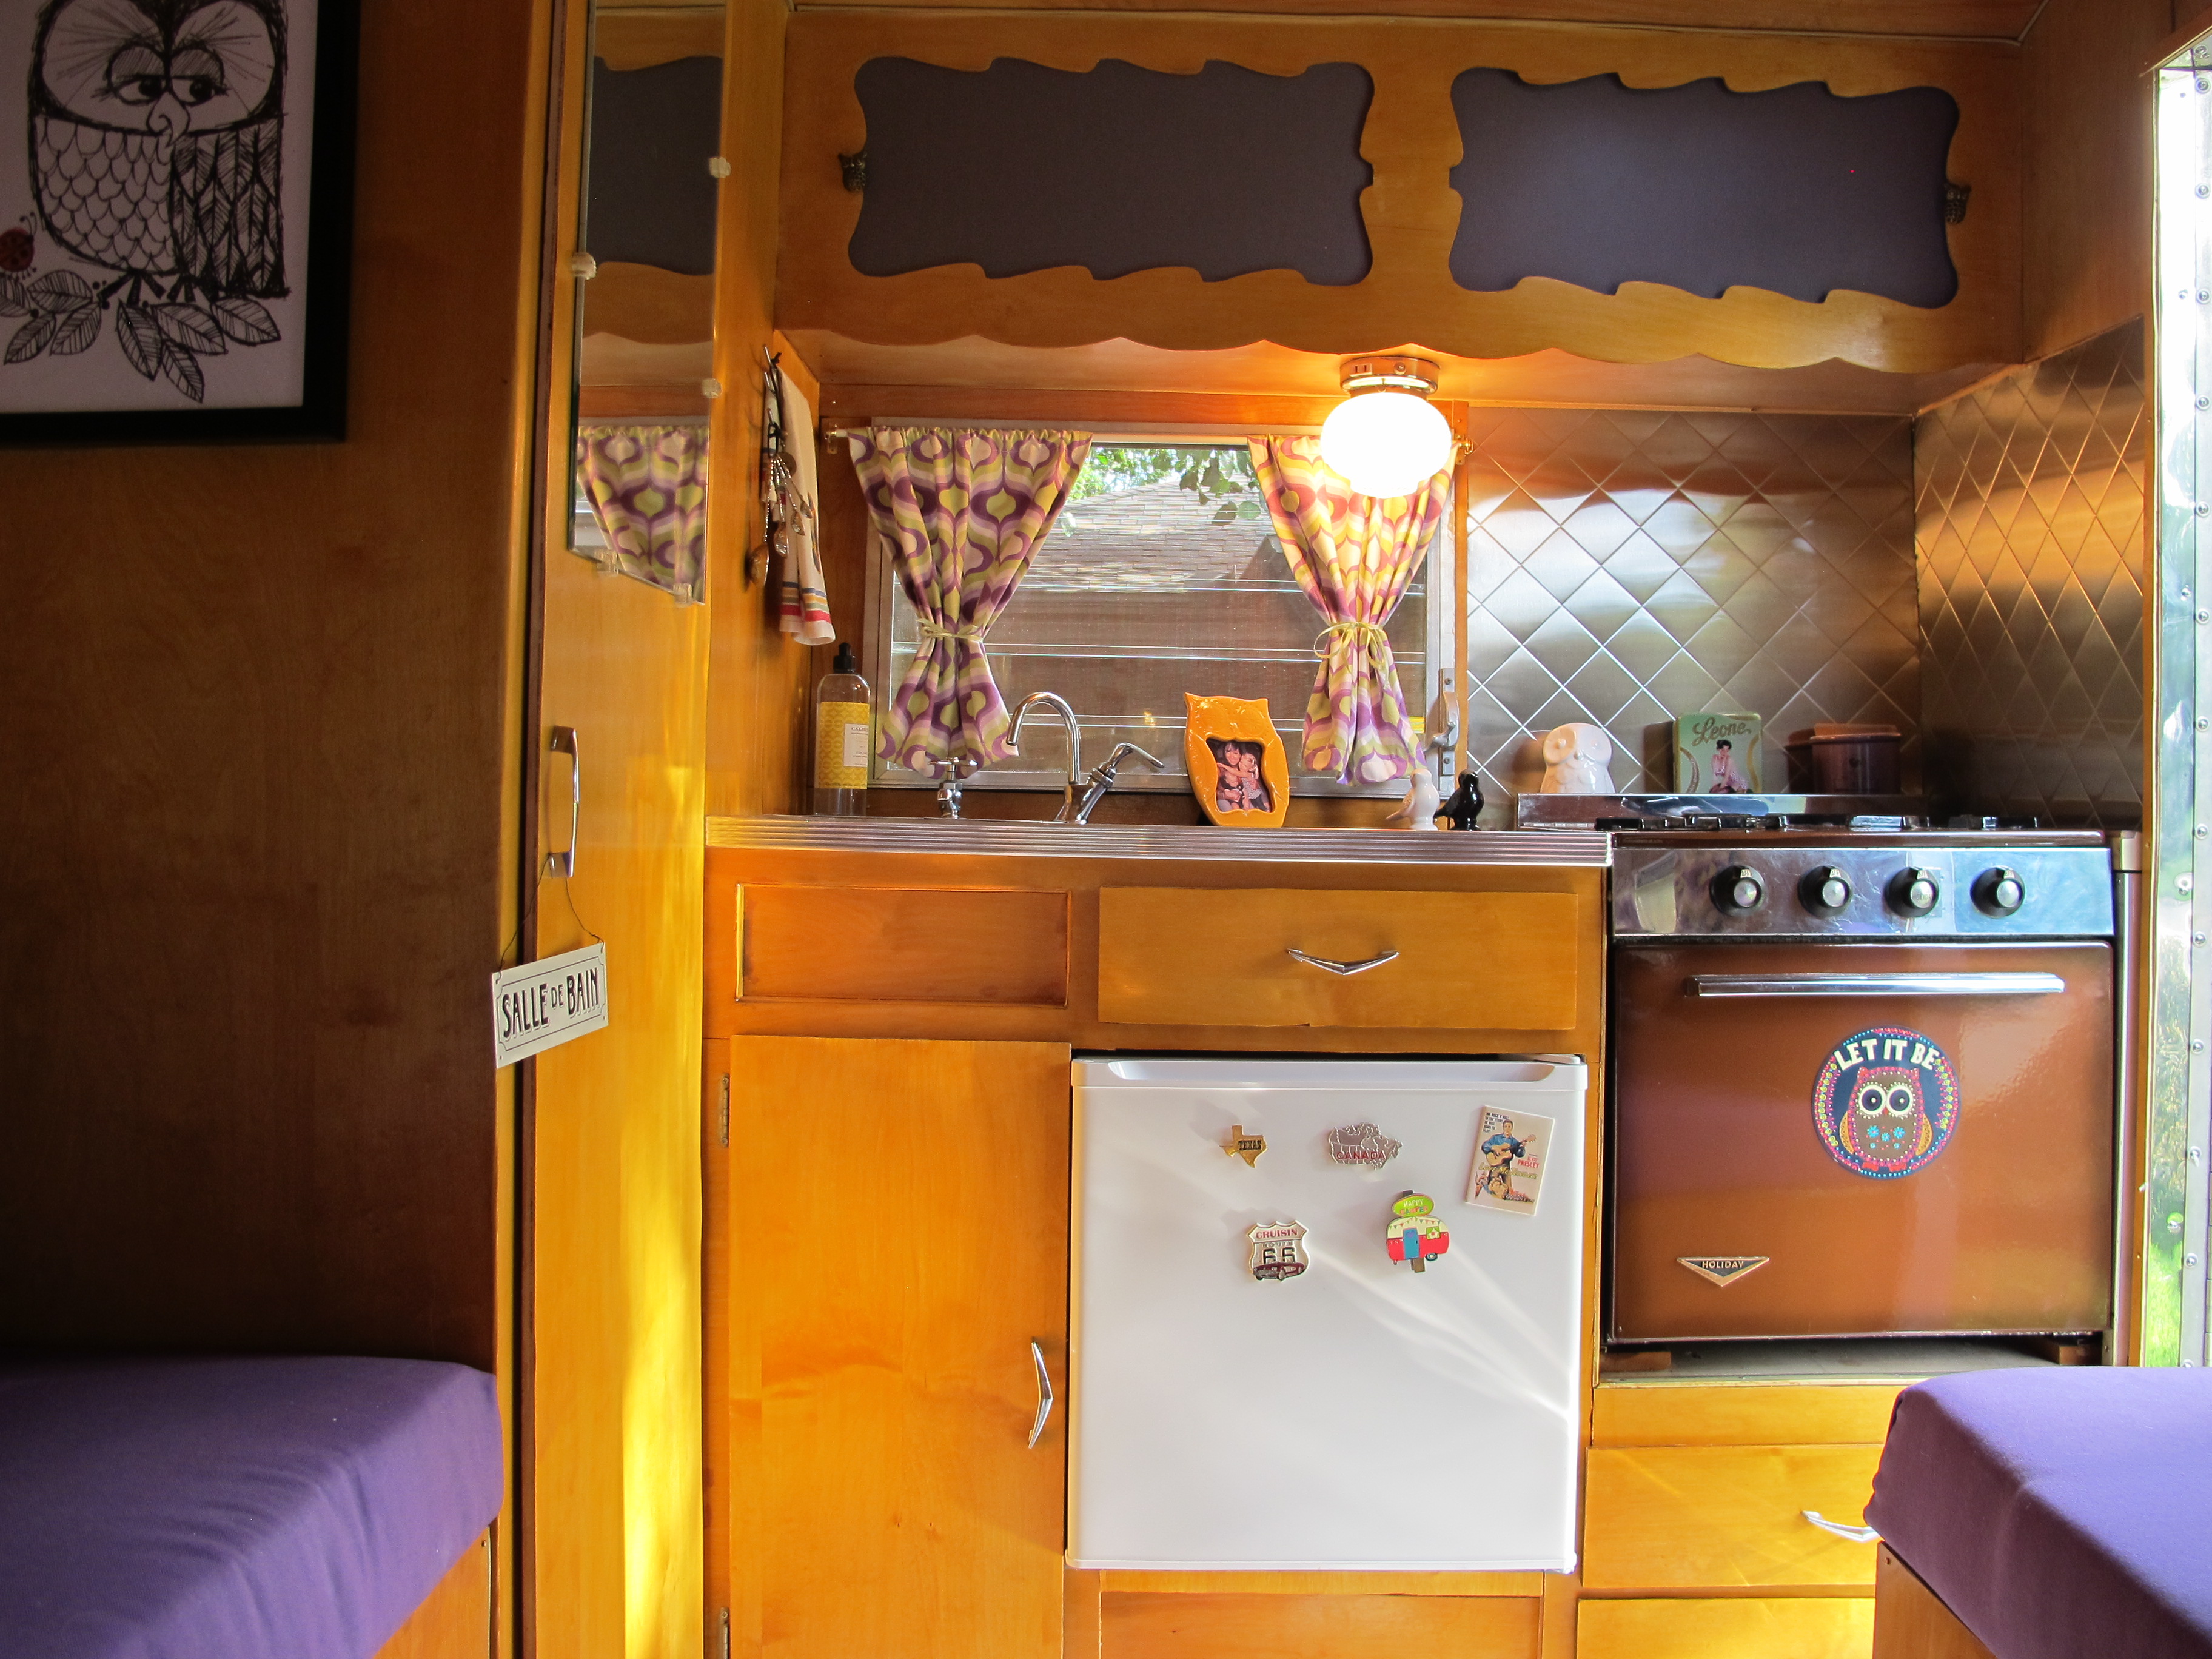
I added some magnets to the fridge and a larger magnet on the stove. Of course, it has an owl on it. 🙂

+IMG_5119

+IMG_5115

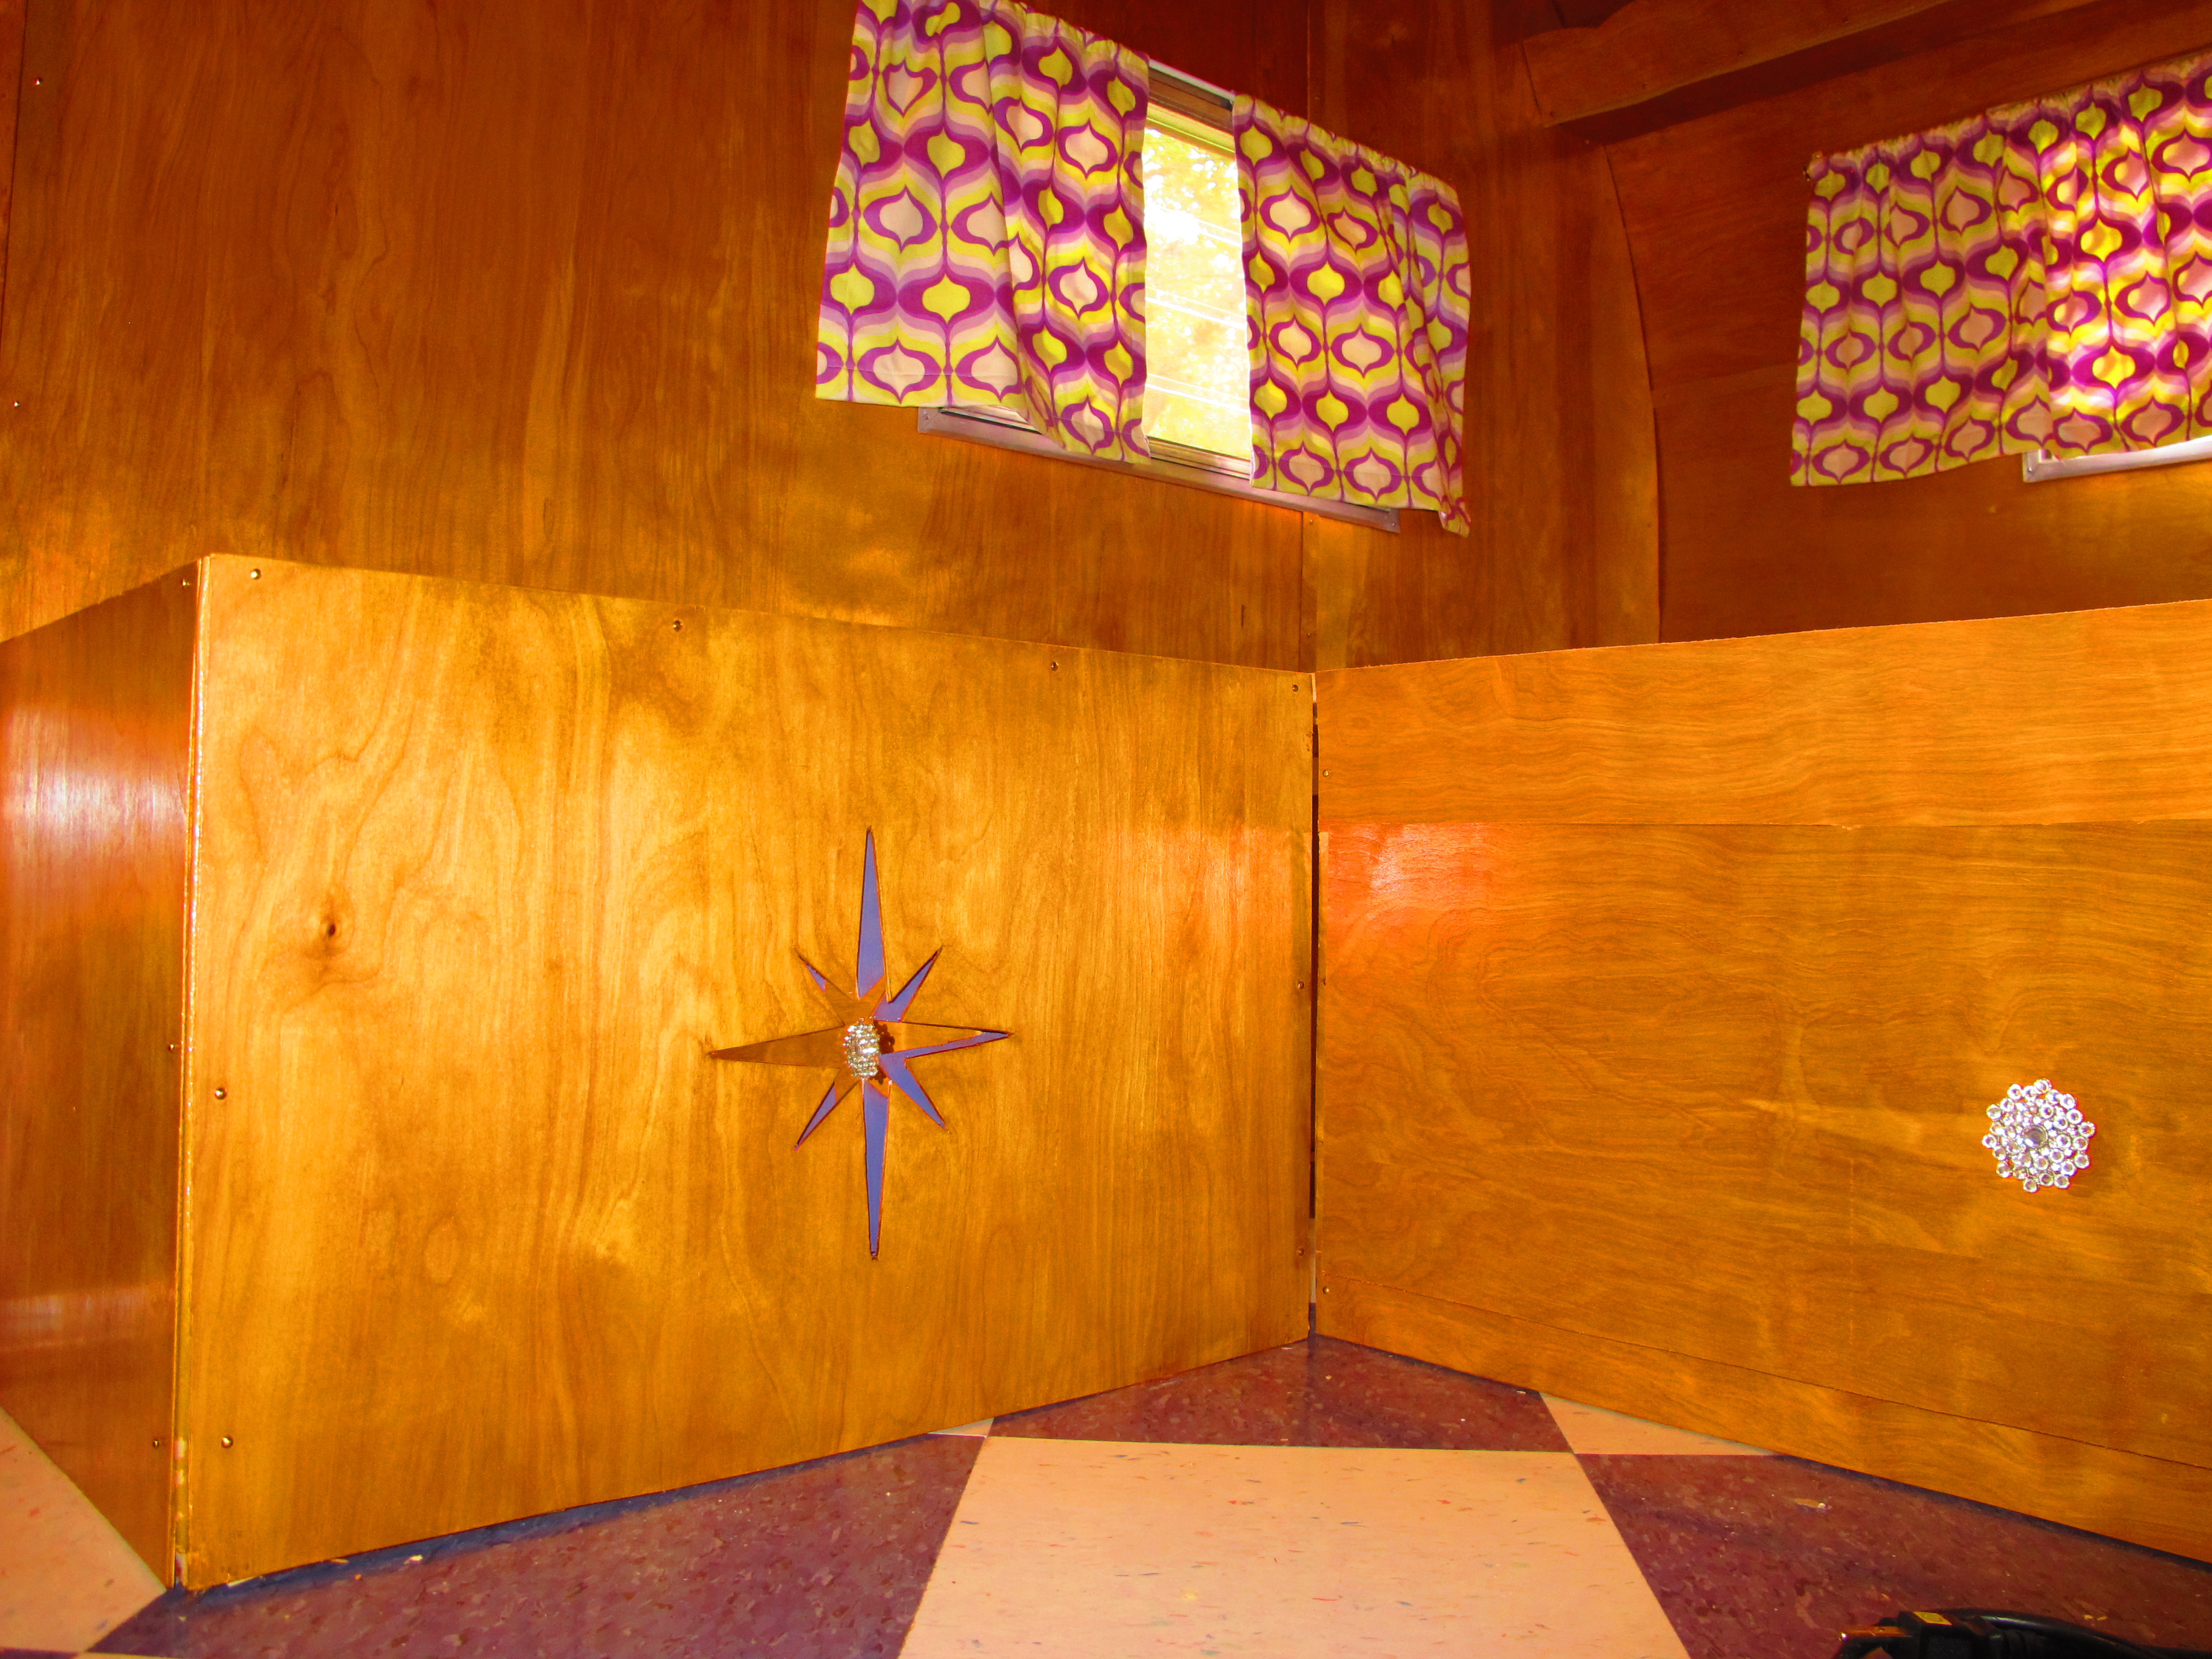
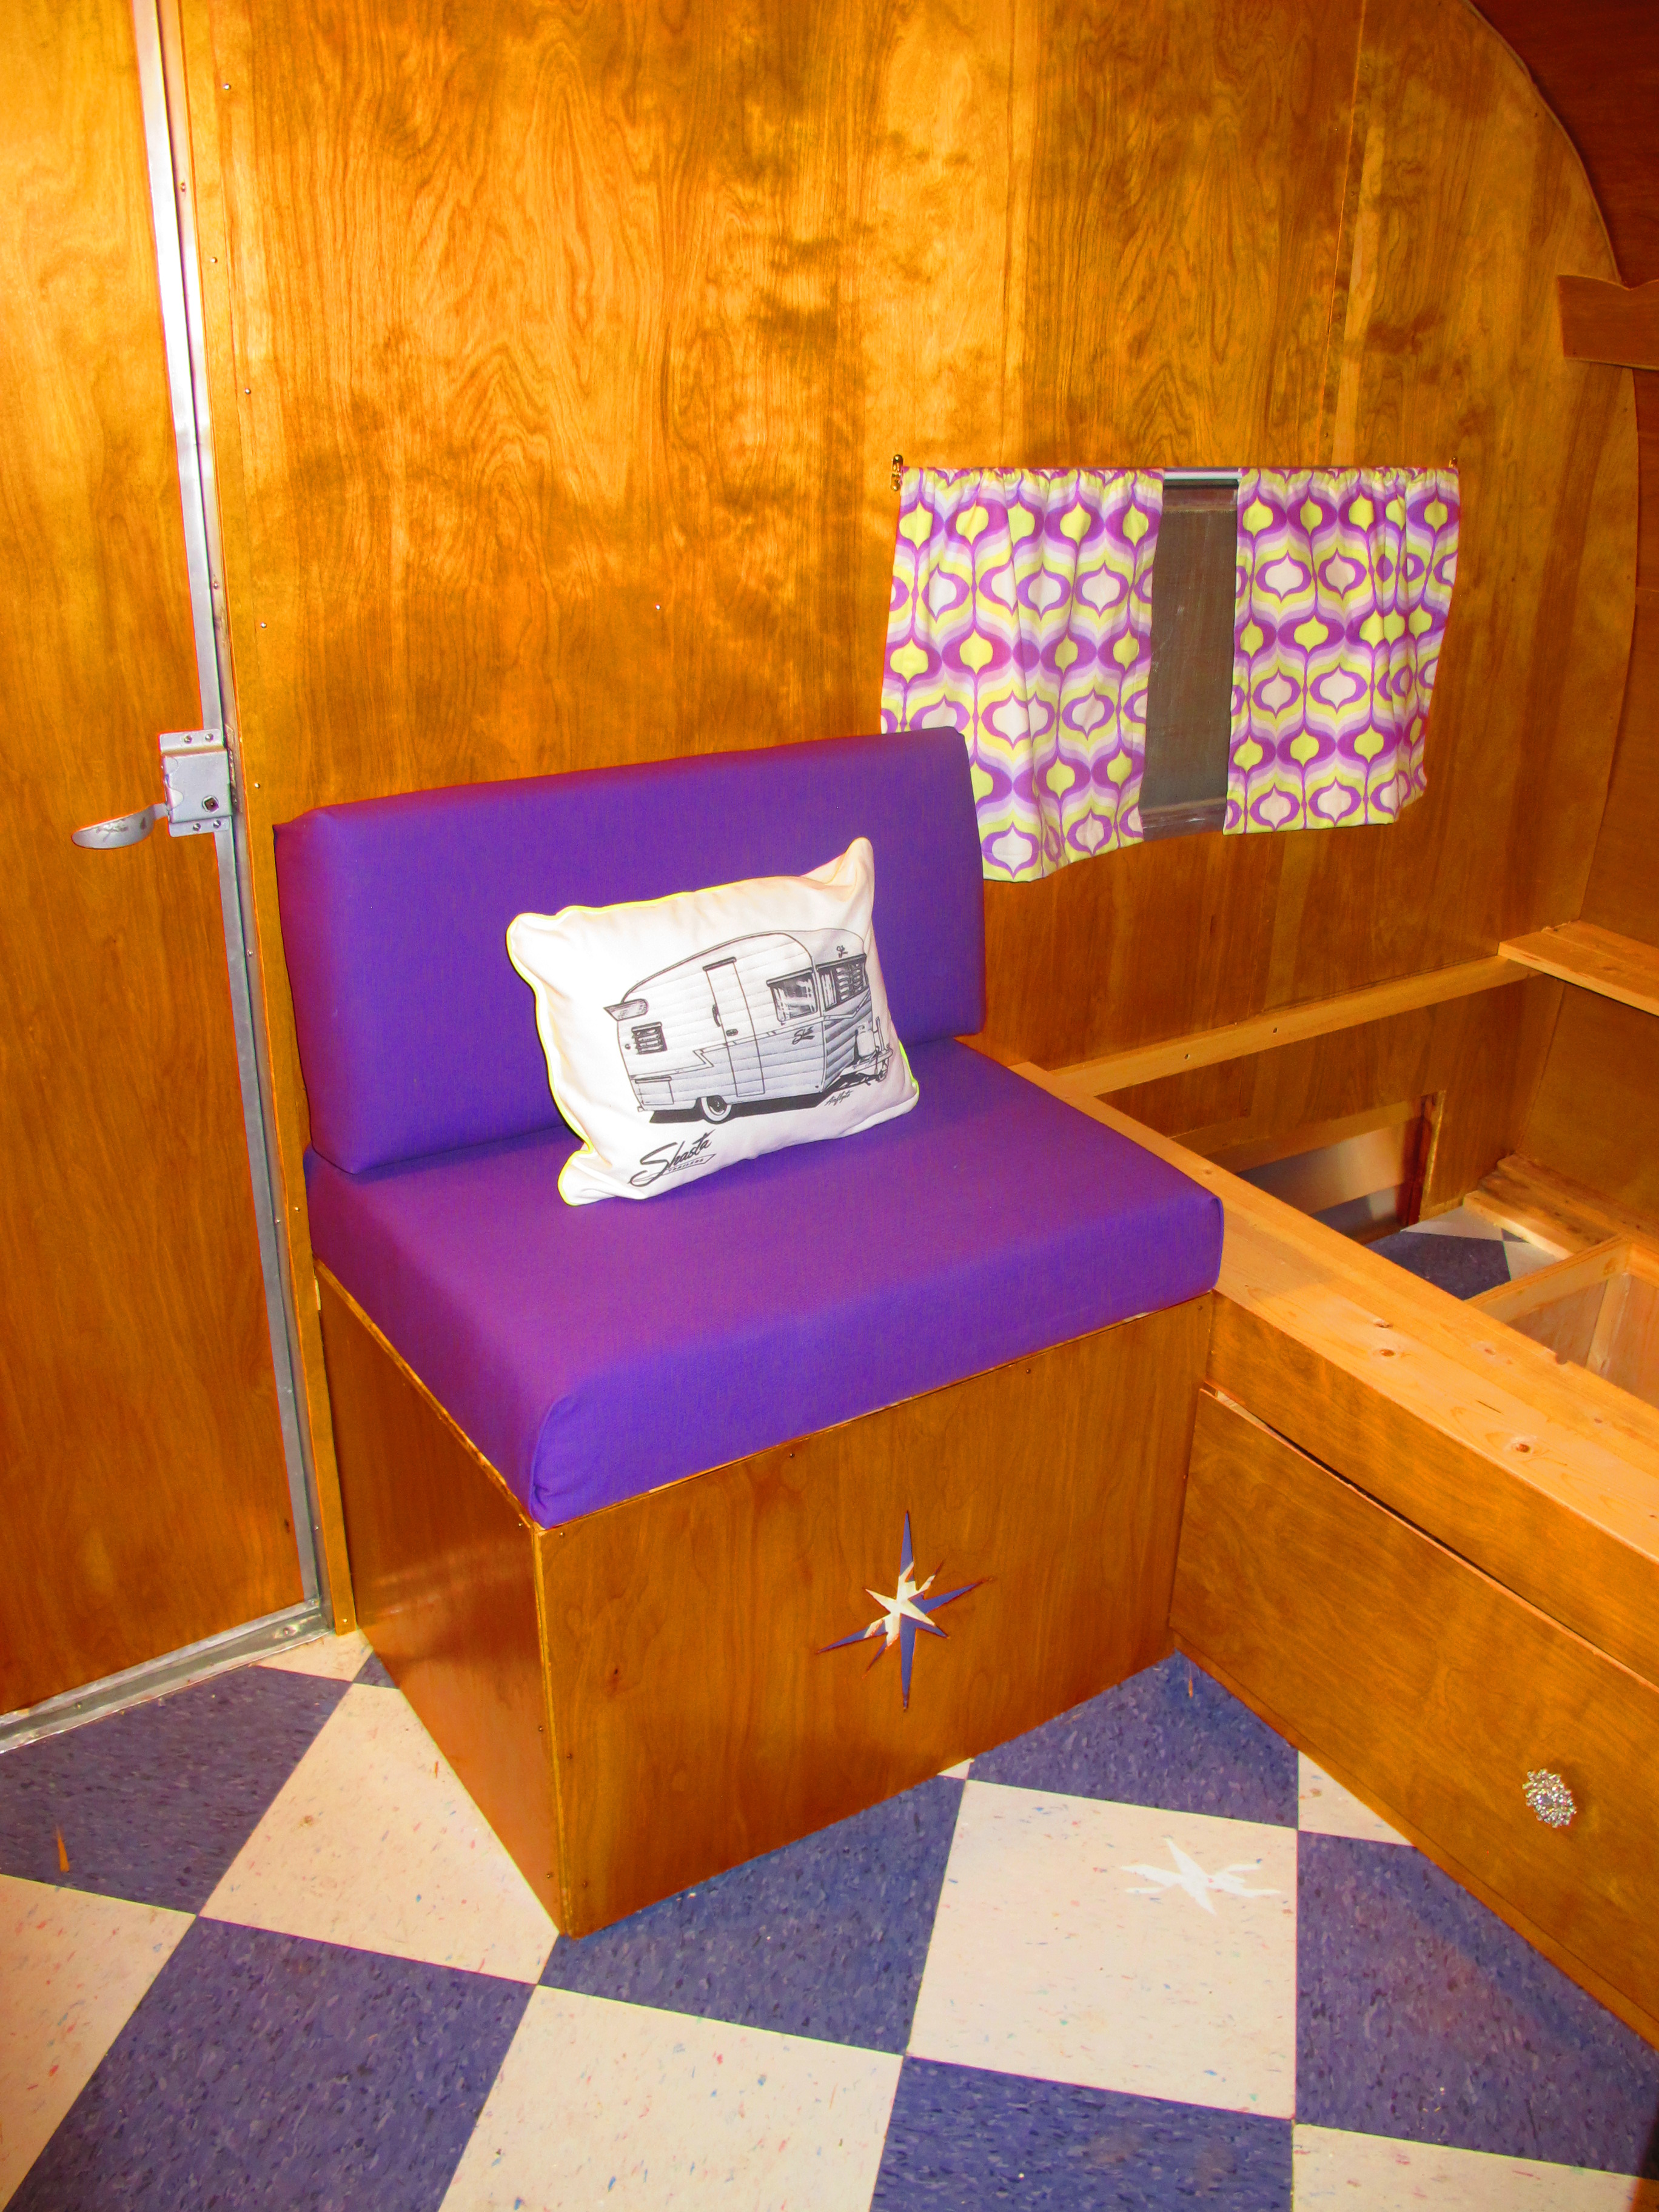
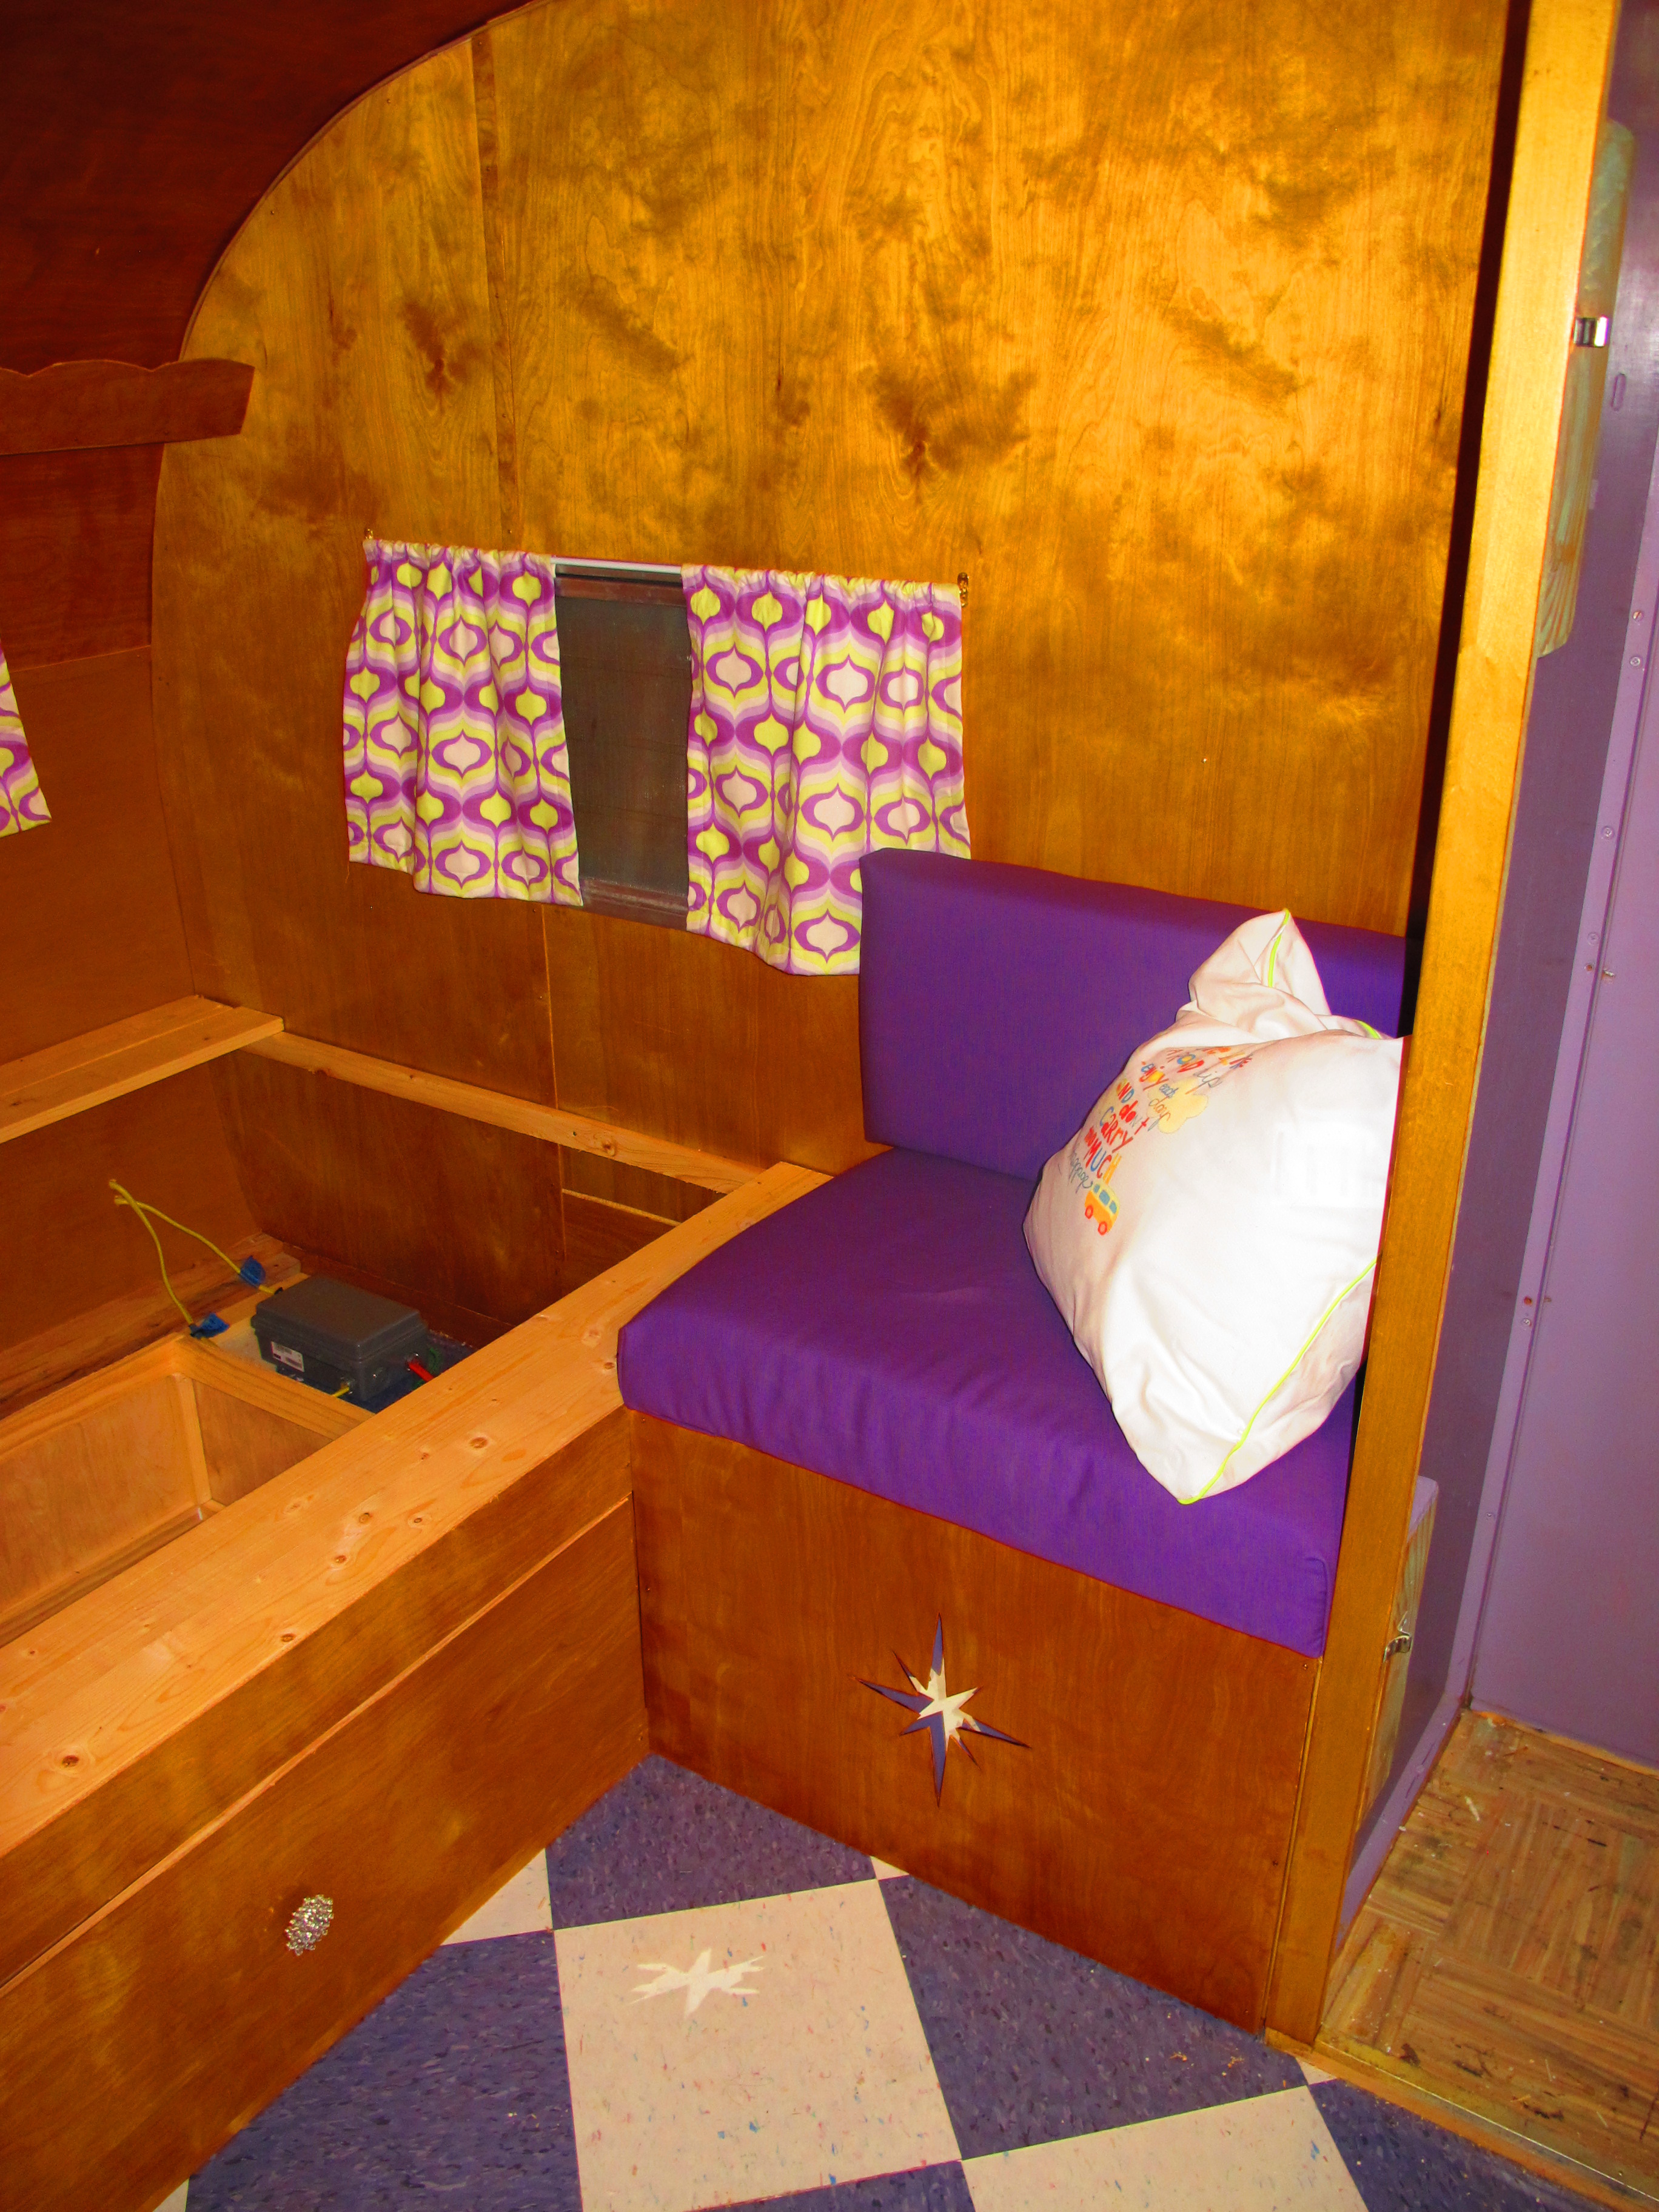
I think the starburst patterns on the benches turned out pretty cool.

+IMG_5114

The framed hipster owl. I also have a couple of fun books on glamping and trailer history.

+IMG_5112

+IMG_5111

A better view of the bed and benches. So cozy!

+IMG_5109

+IMG_5124

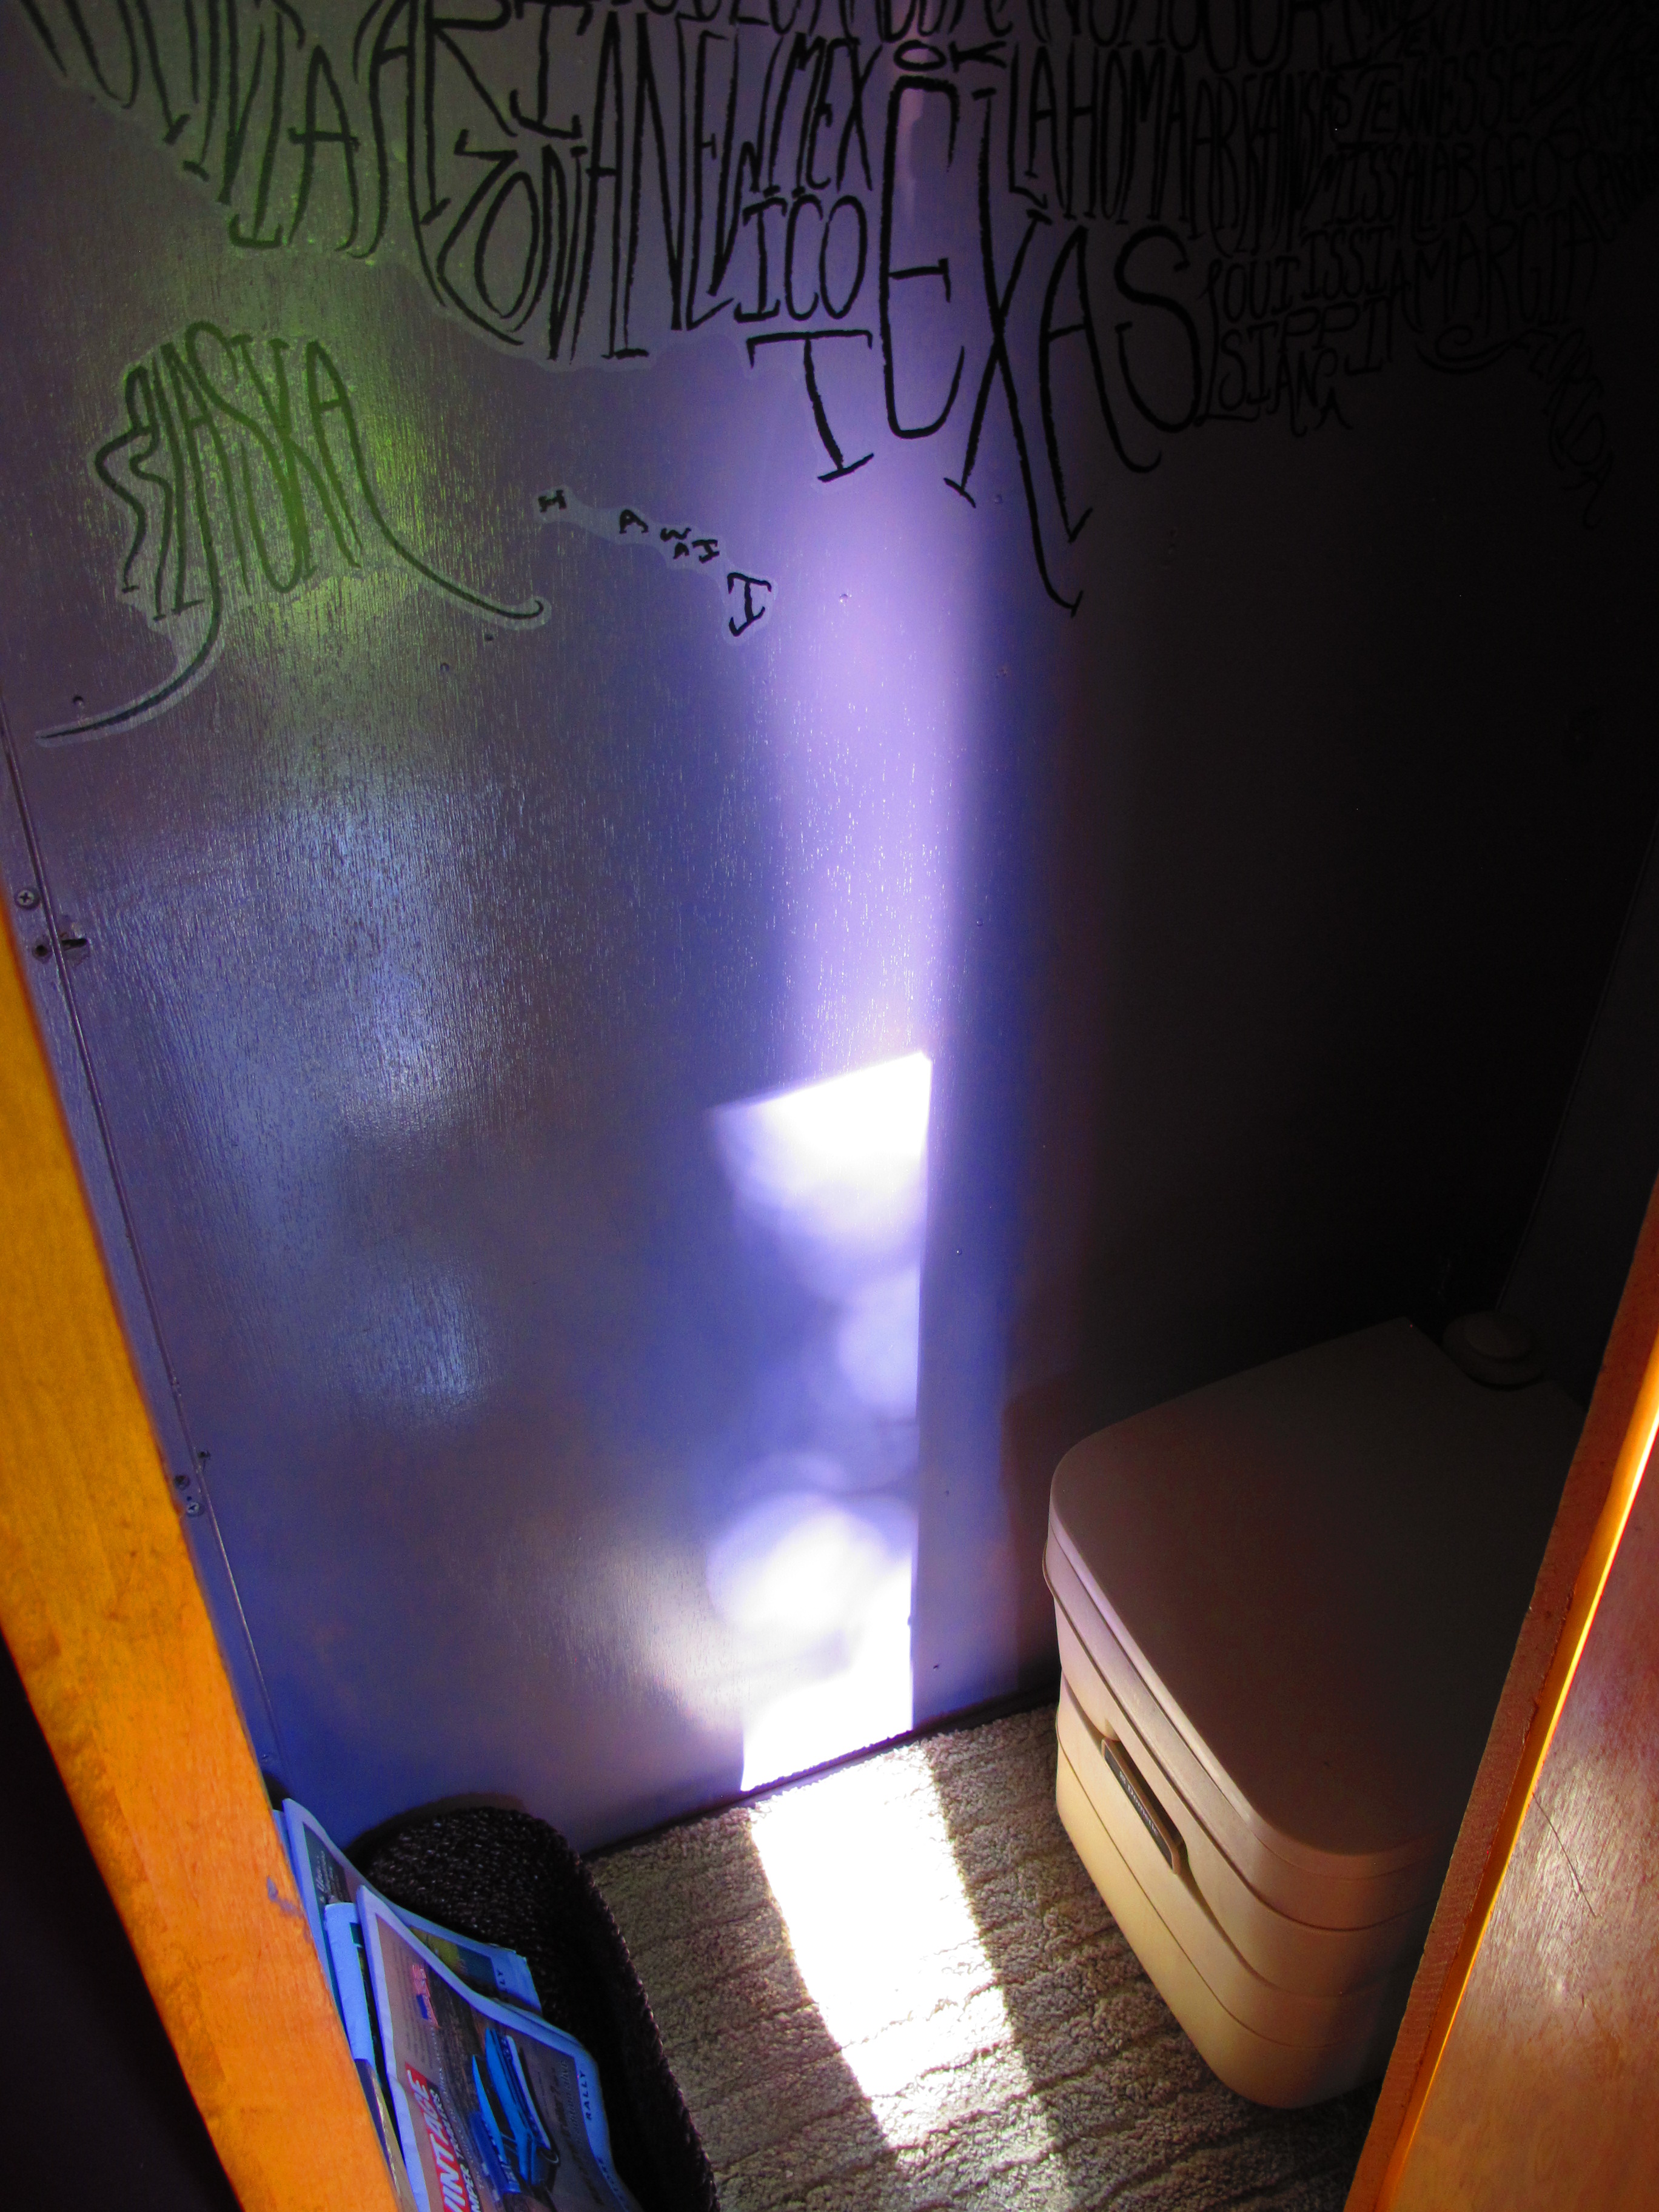
Little bathroom complete with vintage trailer reading material (not that I’ll be spending a lot of time in here). haha

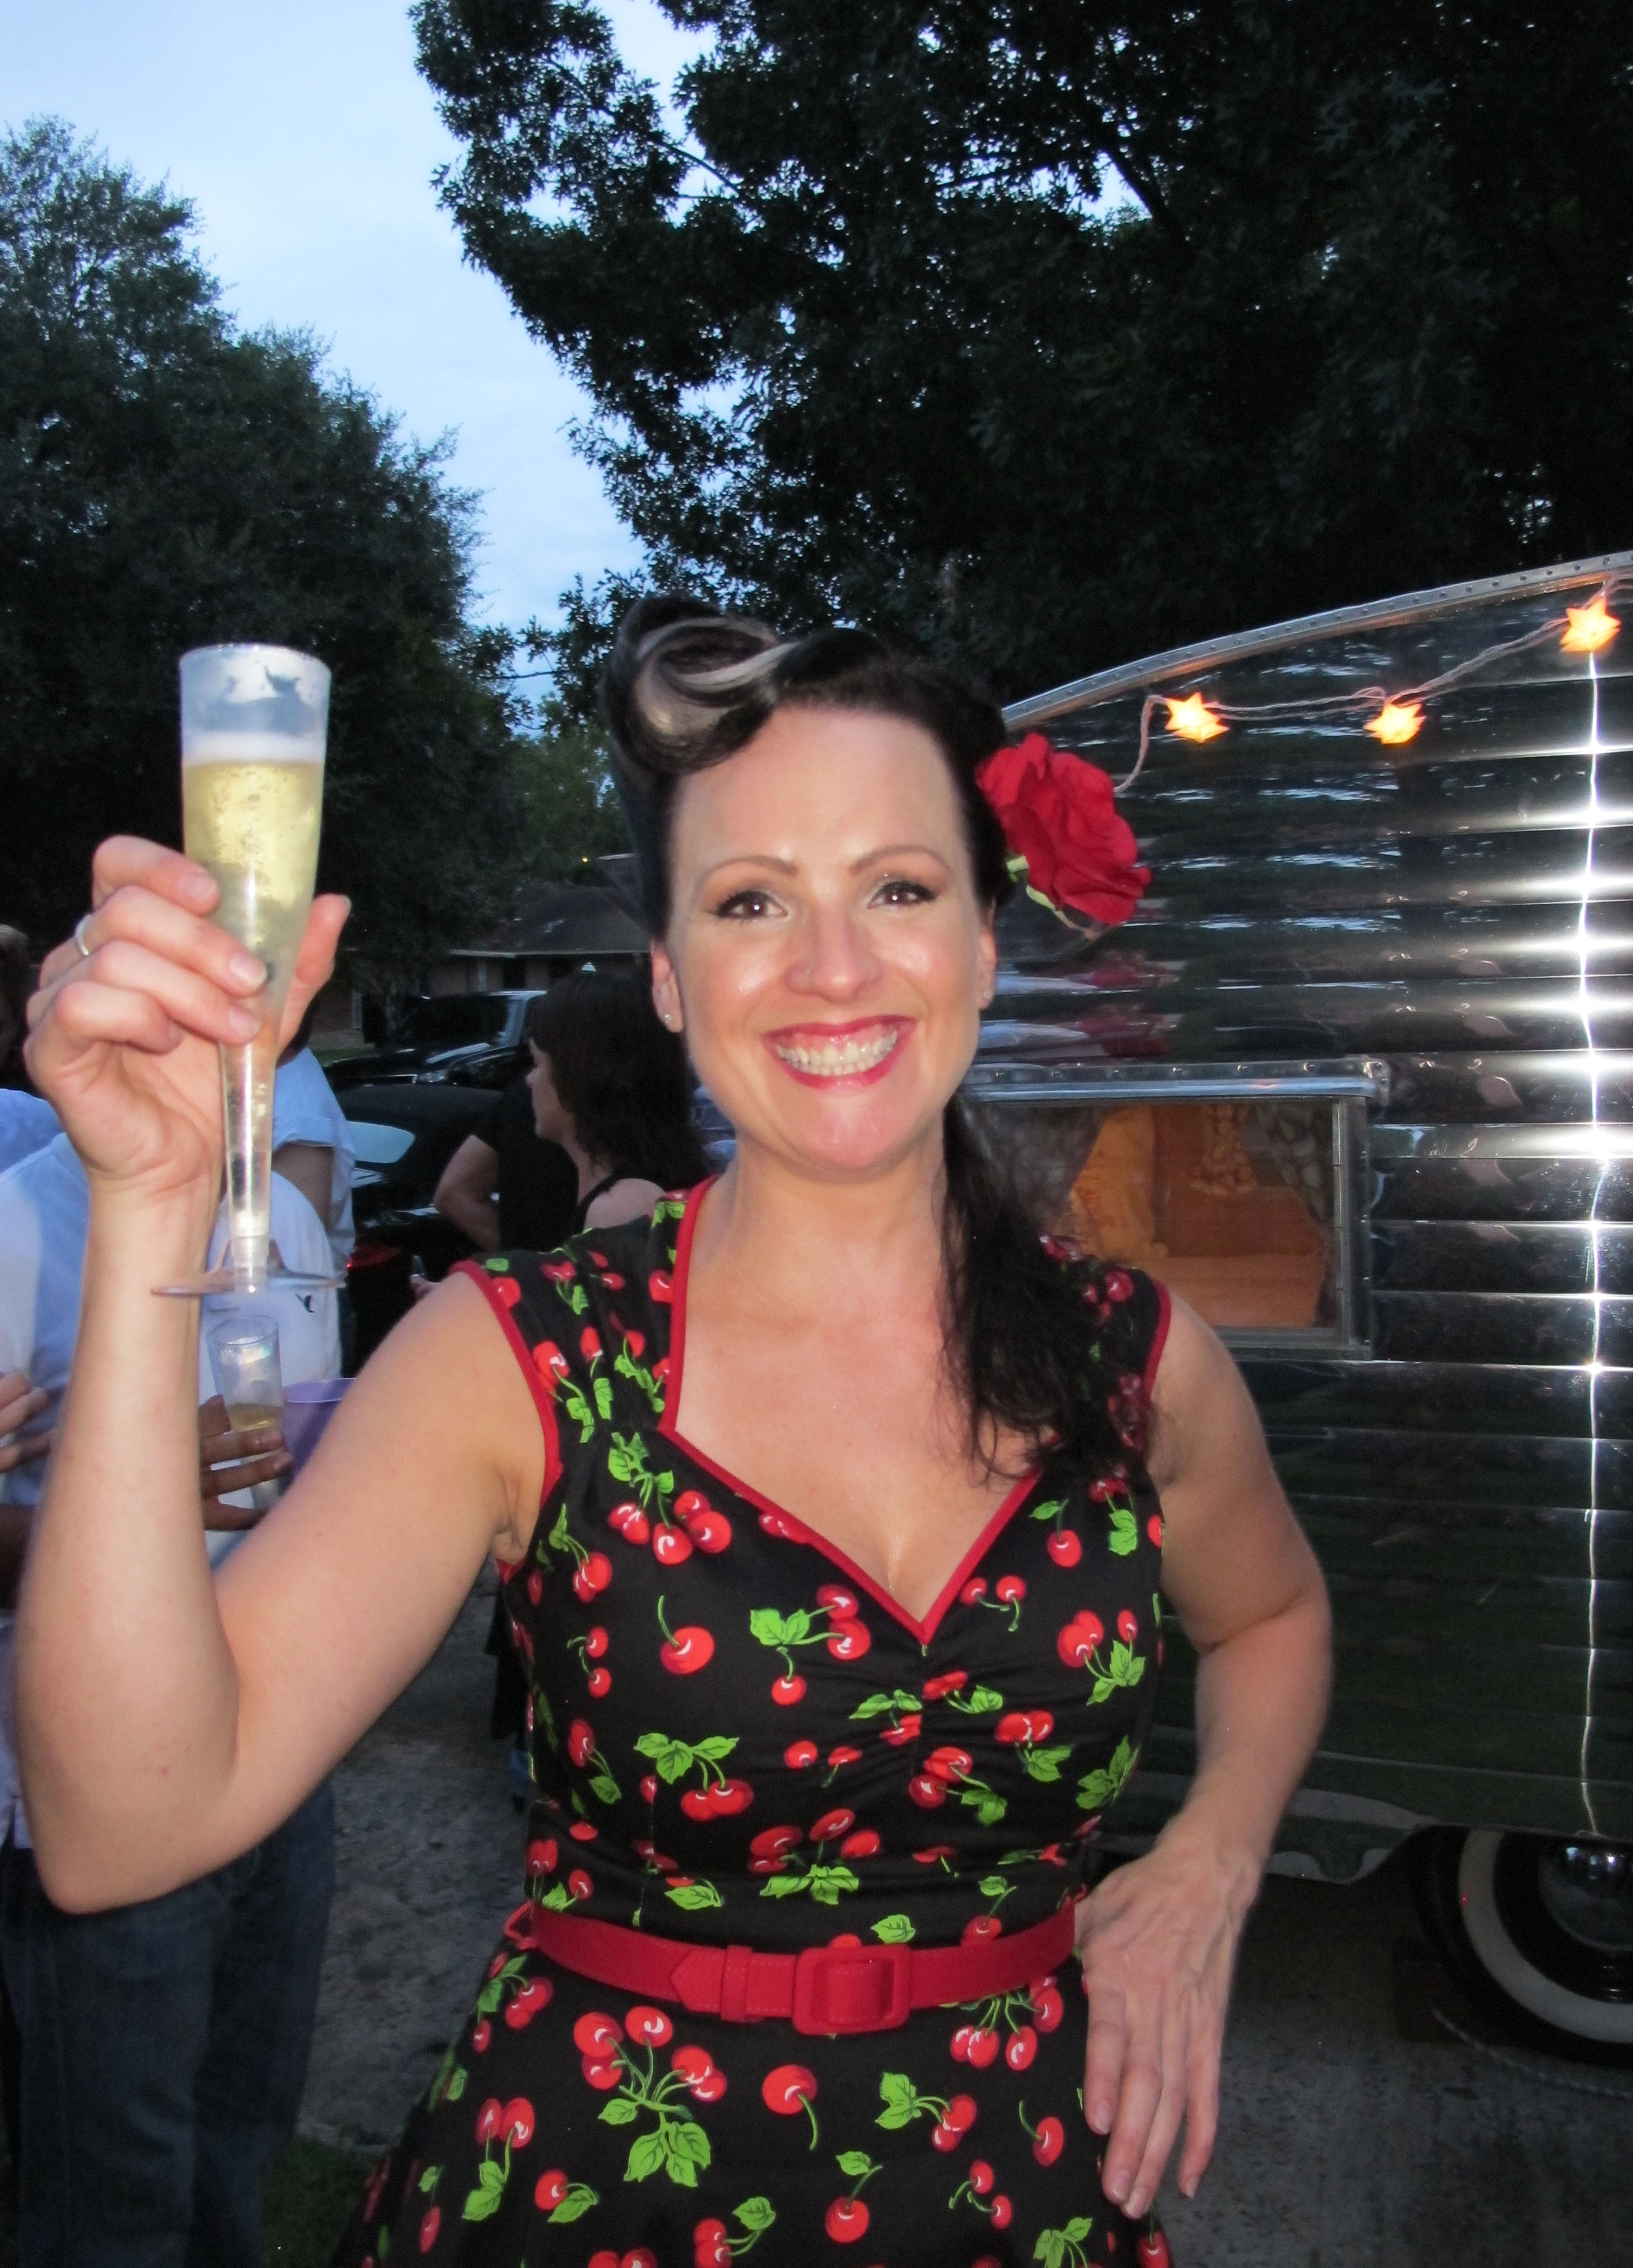
I had about 40 people show up for the party, and it was a great time!  Everyone was very excited to see the finished product.  I asked everyone to dress up in 1950s/60s outfits to get in the mood.  I ordered my dress, shoes, and petticoat from www.pinupgirlclothing.com.  I love that site!  They have the cutest pin up clothes, and the quality is great.

pIMG_5135_edited-1

My best friend, Jennifer, and I all dressed up for the party!

pIMG_5142_edited-1

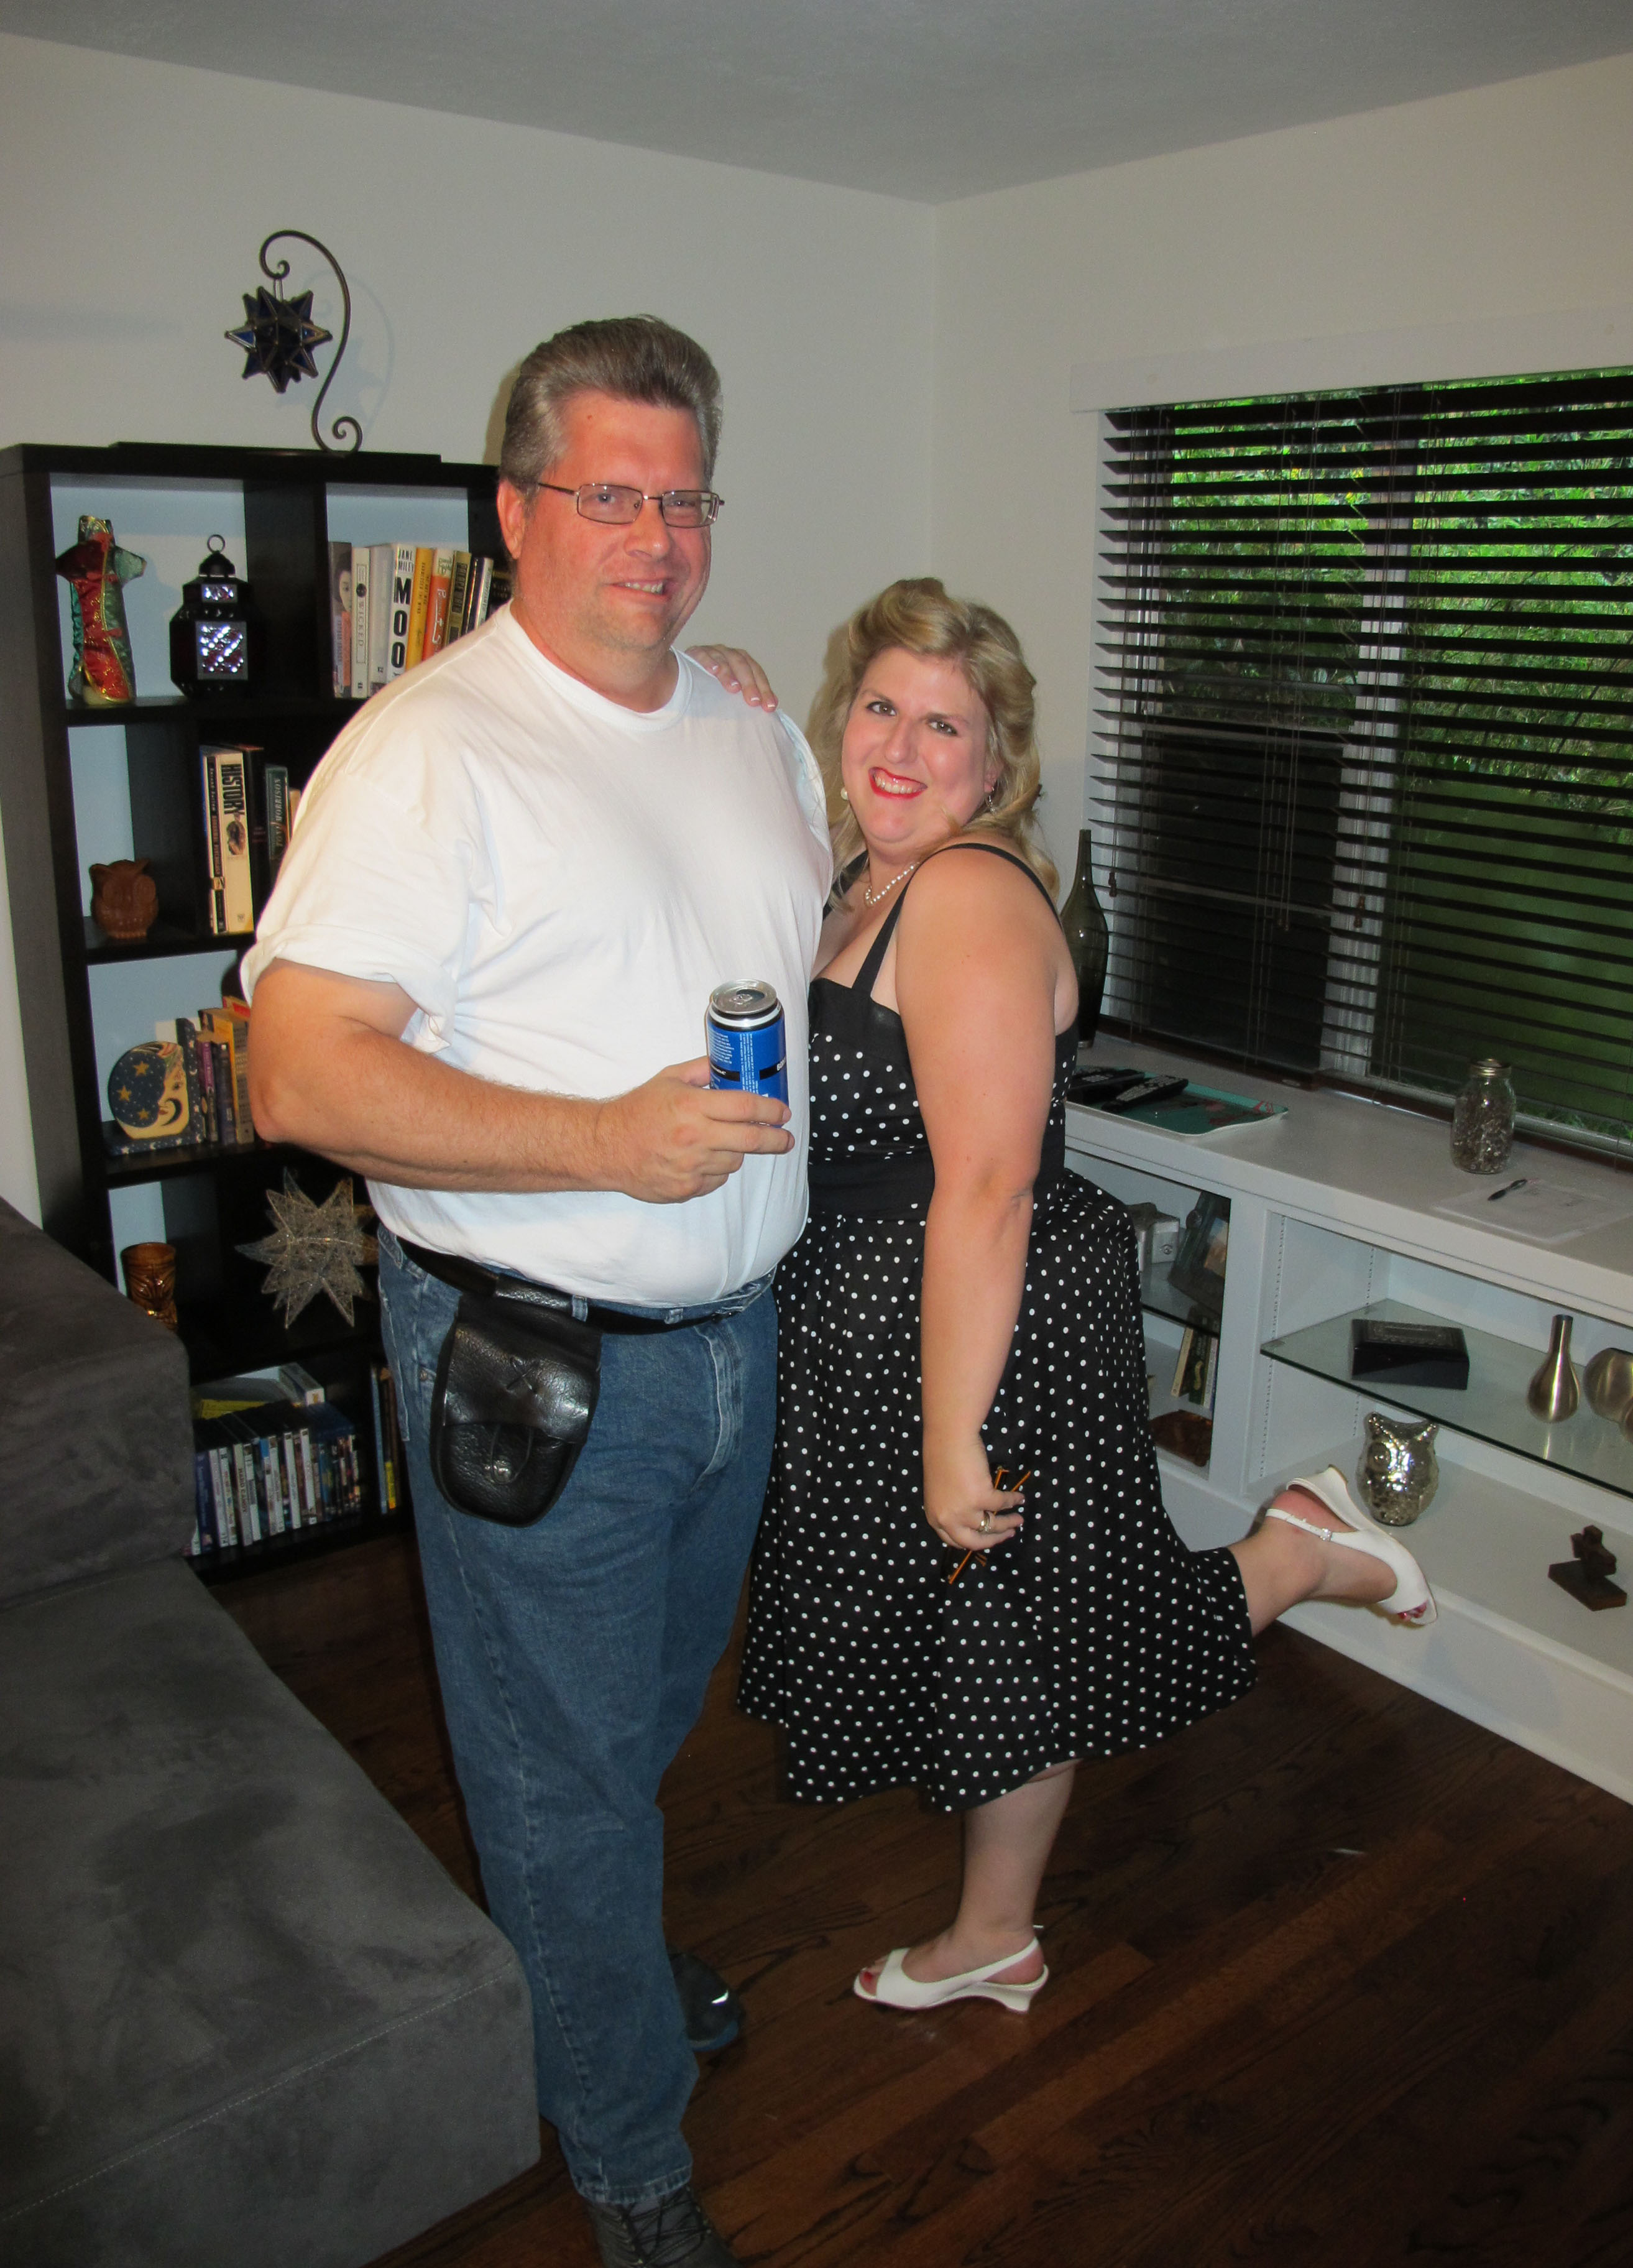
My coworker, Natalie, and her husband, Kevin.

pIMG_5145_edited-1

This is my friend and stylist, Josafatt. He did my hair! I wish I could do it this way every day, it was so fun!

Jen&Ayk

Jennifer and her boyfriend, Ayk.

IMG_5167

Everyone is gathered around for the big unveiling!

pIMG_5148

I had the tarp over Junebug so that I wouldn’t spoil the surprise.
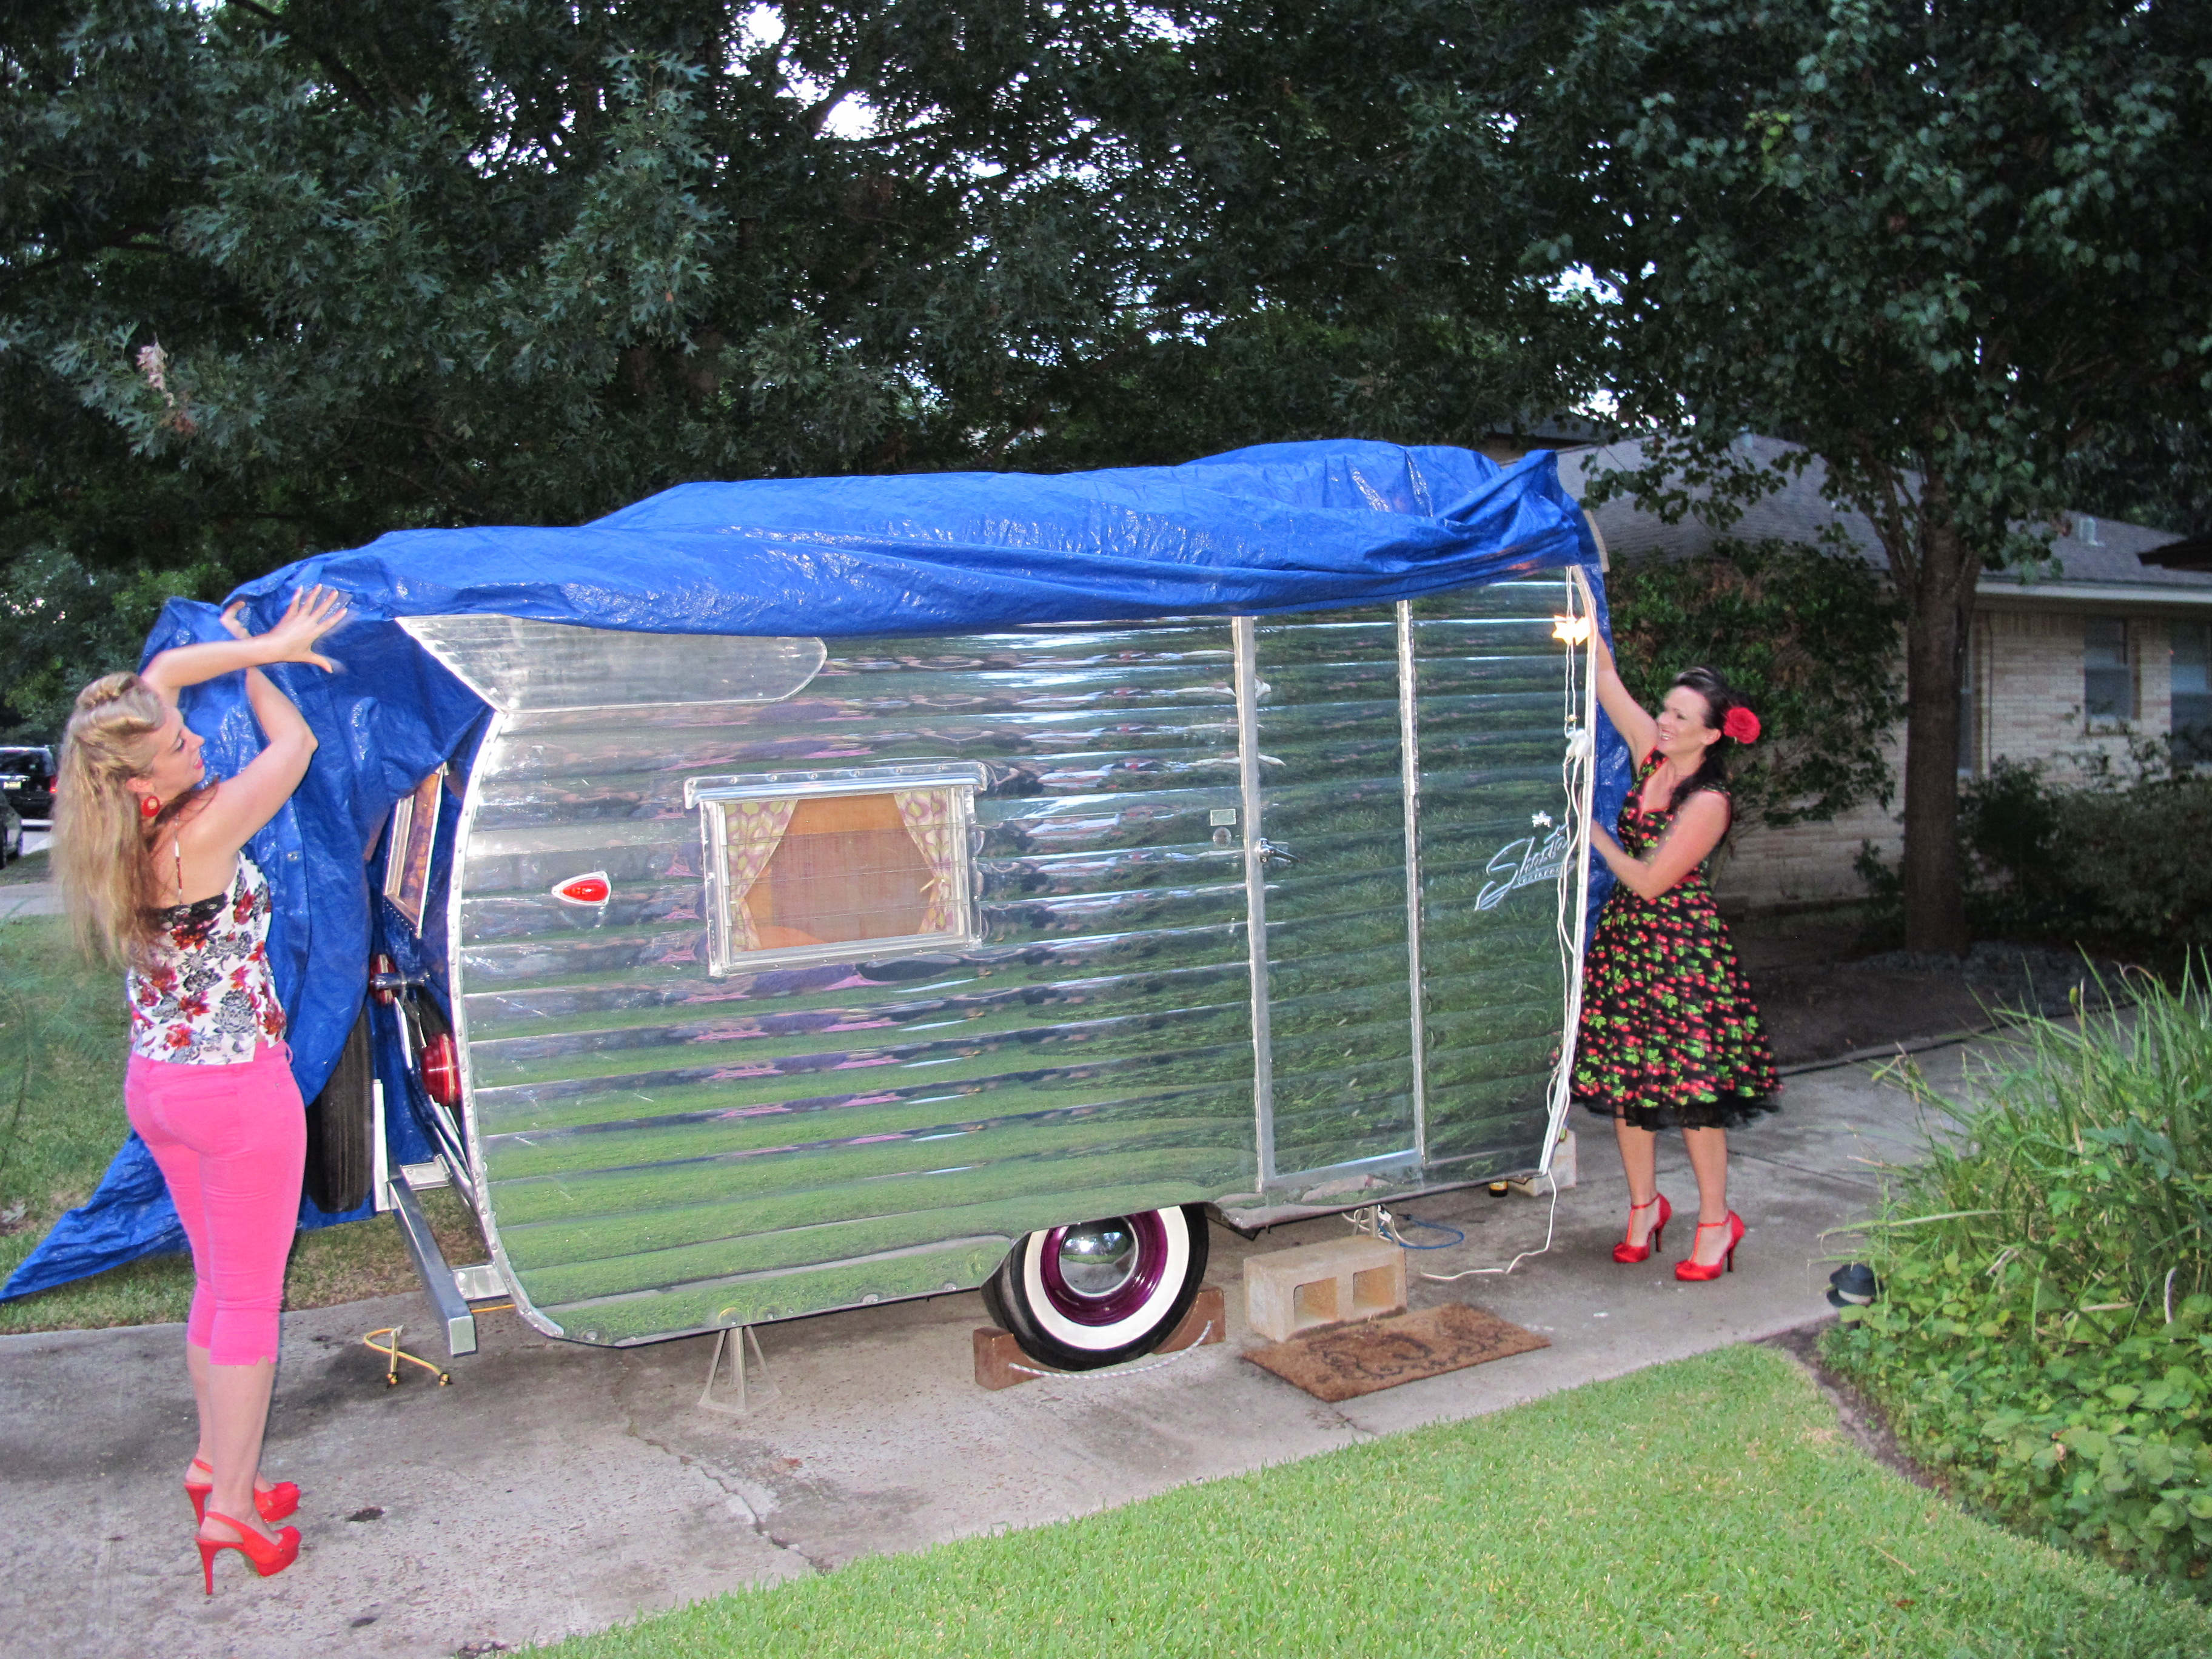
pIMG_5163

And here she is!!

pIMG_5169_edited-1

I’m about to open the door to let everyone take a peek inside!

pIMG_5173

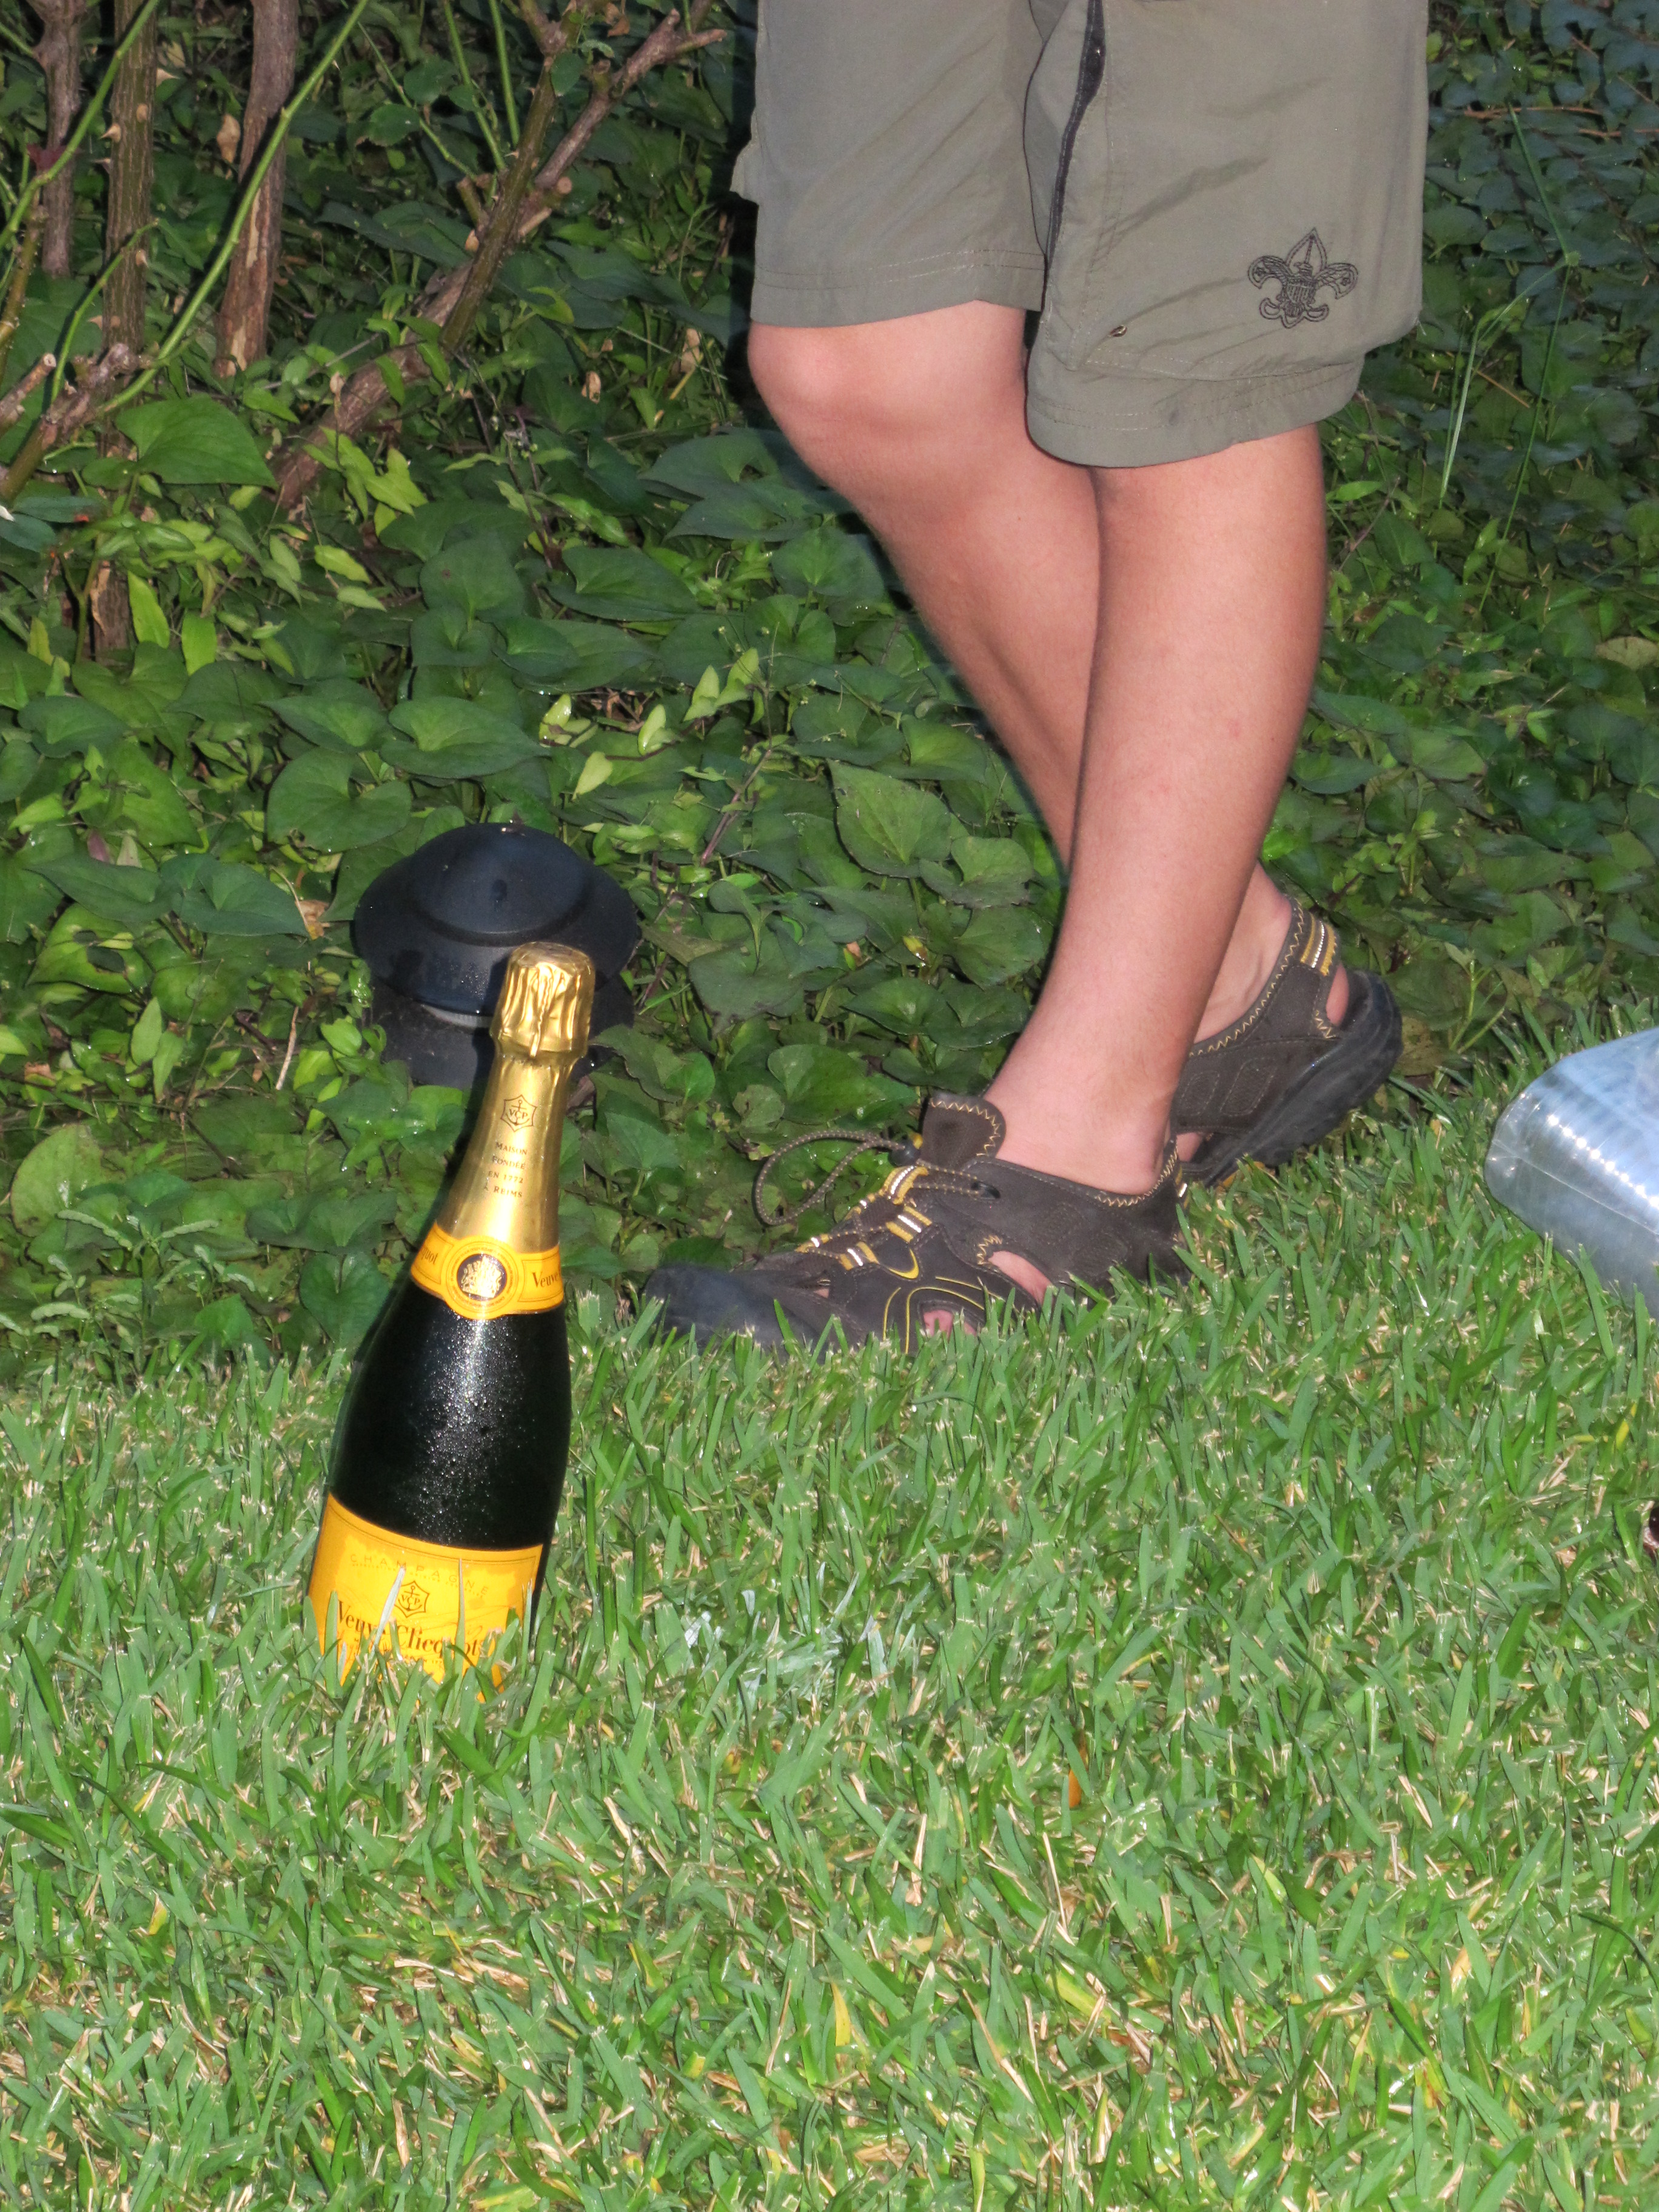
My friend, Thomas, spared no expense and brought multiple bottles of Veuve Clicquot to celebrate the big event!

pIMG_5179_edited-1

Cheers!! I’m overjoyed to be done (almost) with this big project!!

cheers_edited-1

I tried to give a speech here but it wasn’t the best since I didn’t prepare ahead of time, oh well, hoepfully no one cared. haha

pIMG_5198_edited-1

Here I am about to christen Junebug. I didn’t want to waste any Veuve Clicquot, so I used a bottle of beer instead. 🙂 To be safe, I wore my cut resistant gloves donated to me by my neighbor, Jarred.

pIMG_5187

Baxter loves a good party!

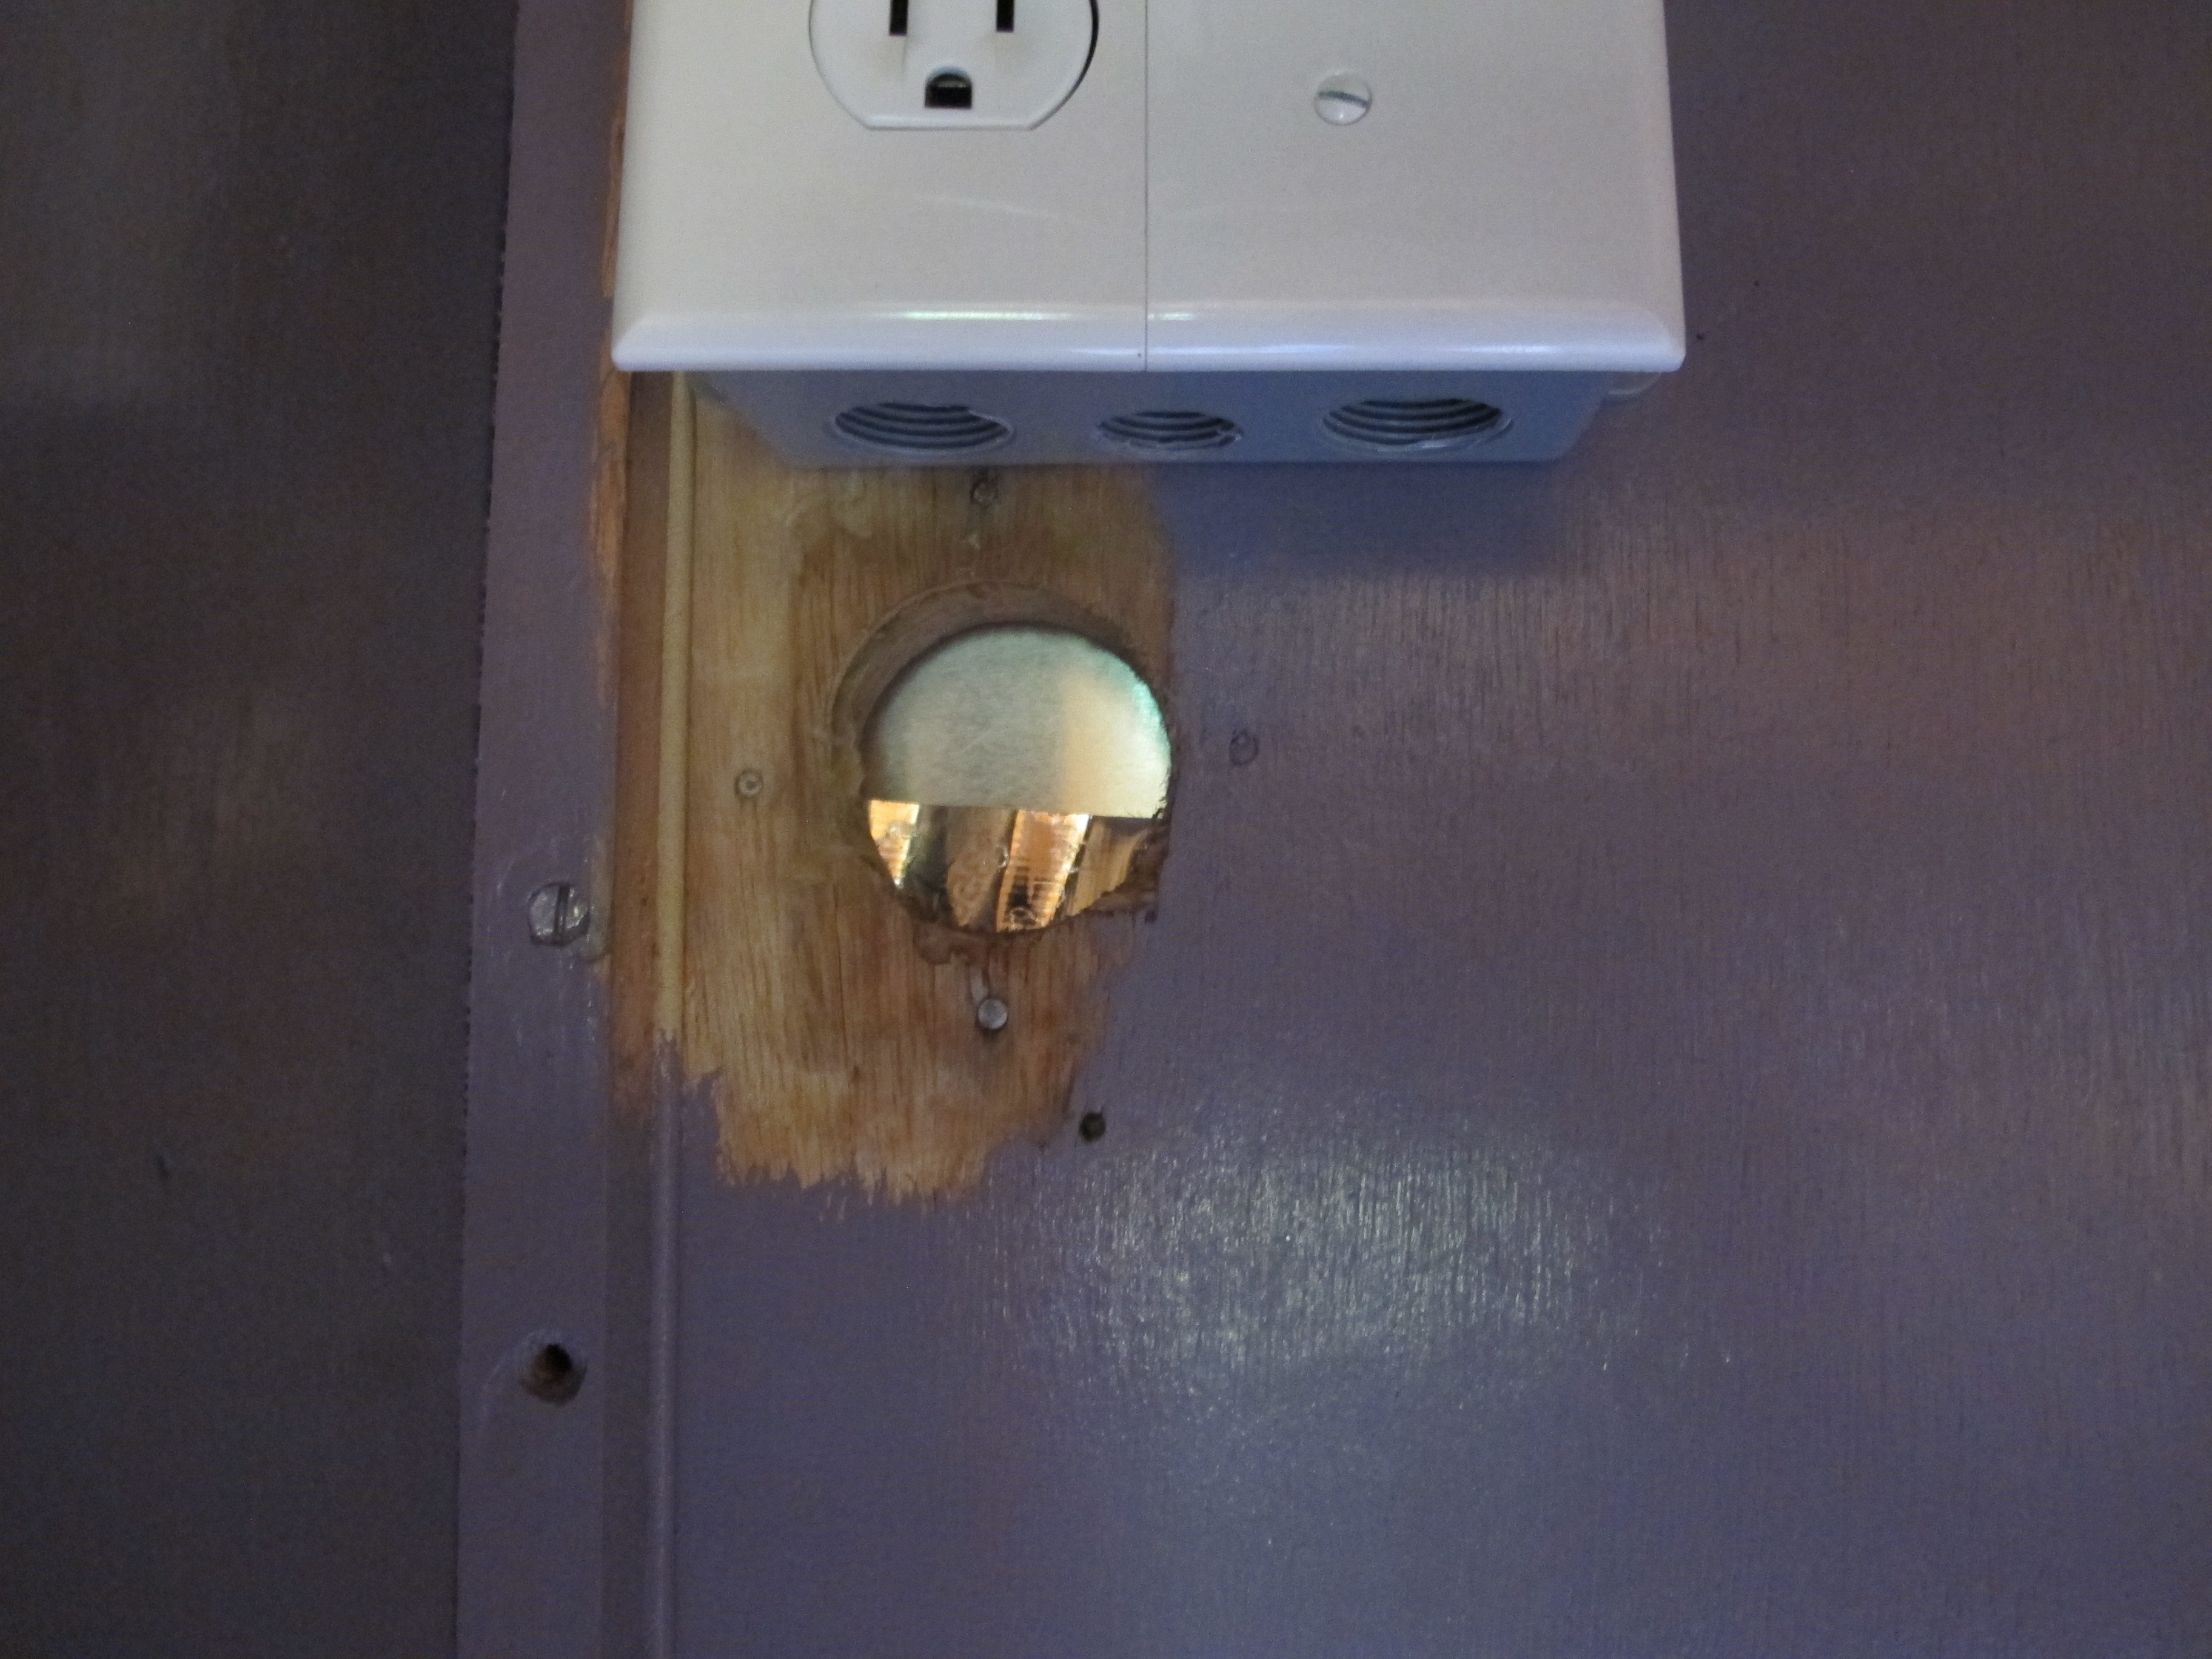
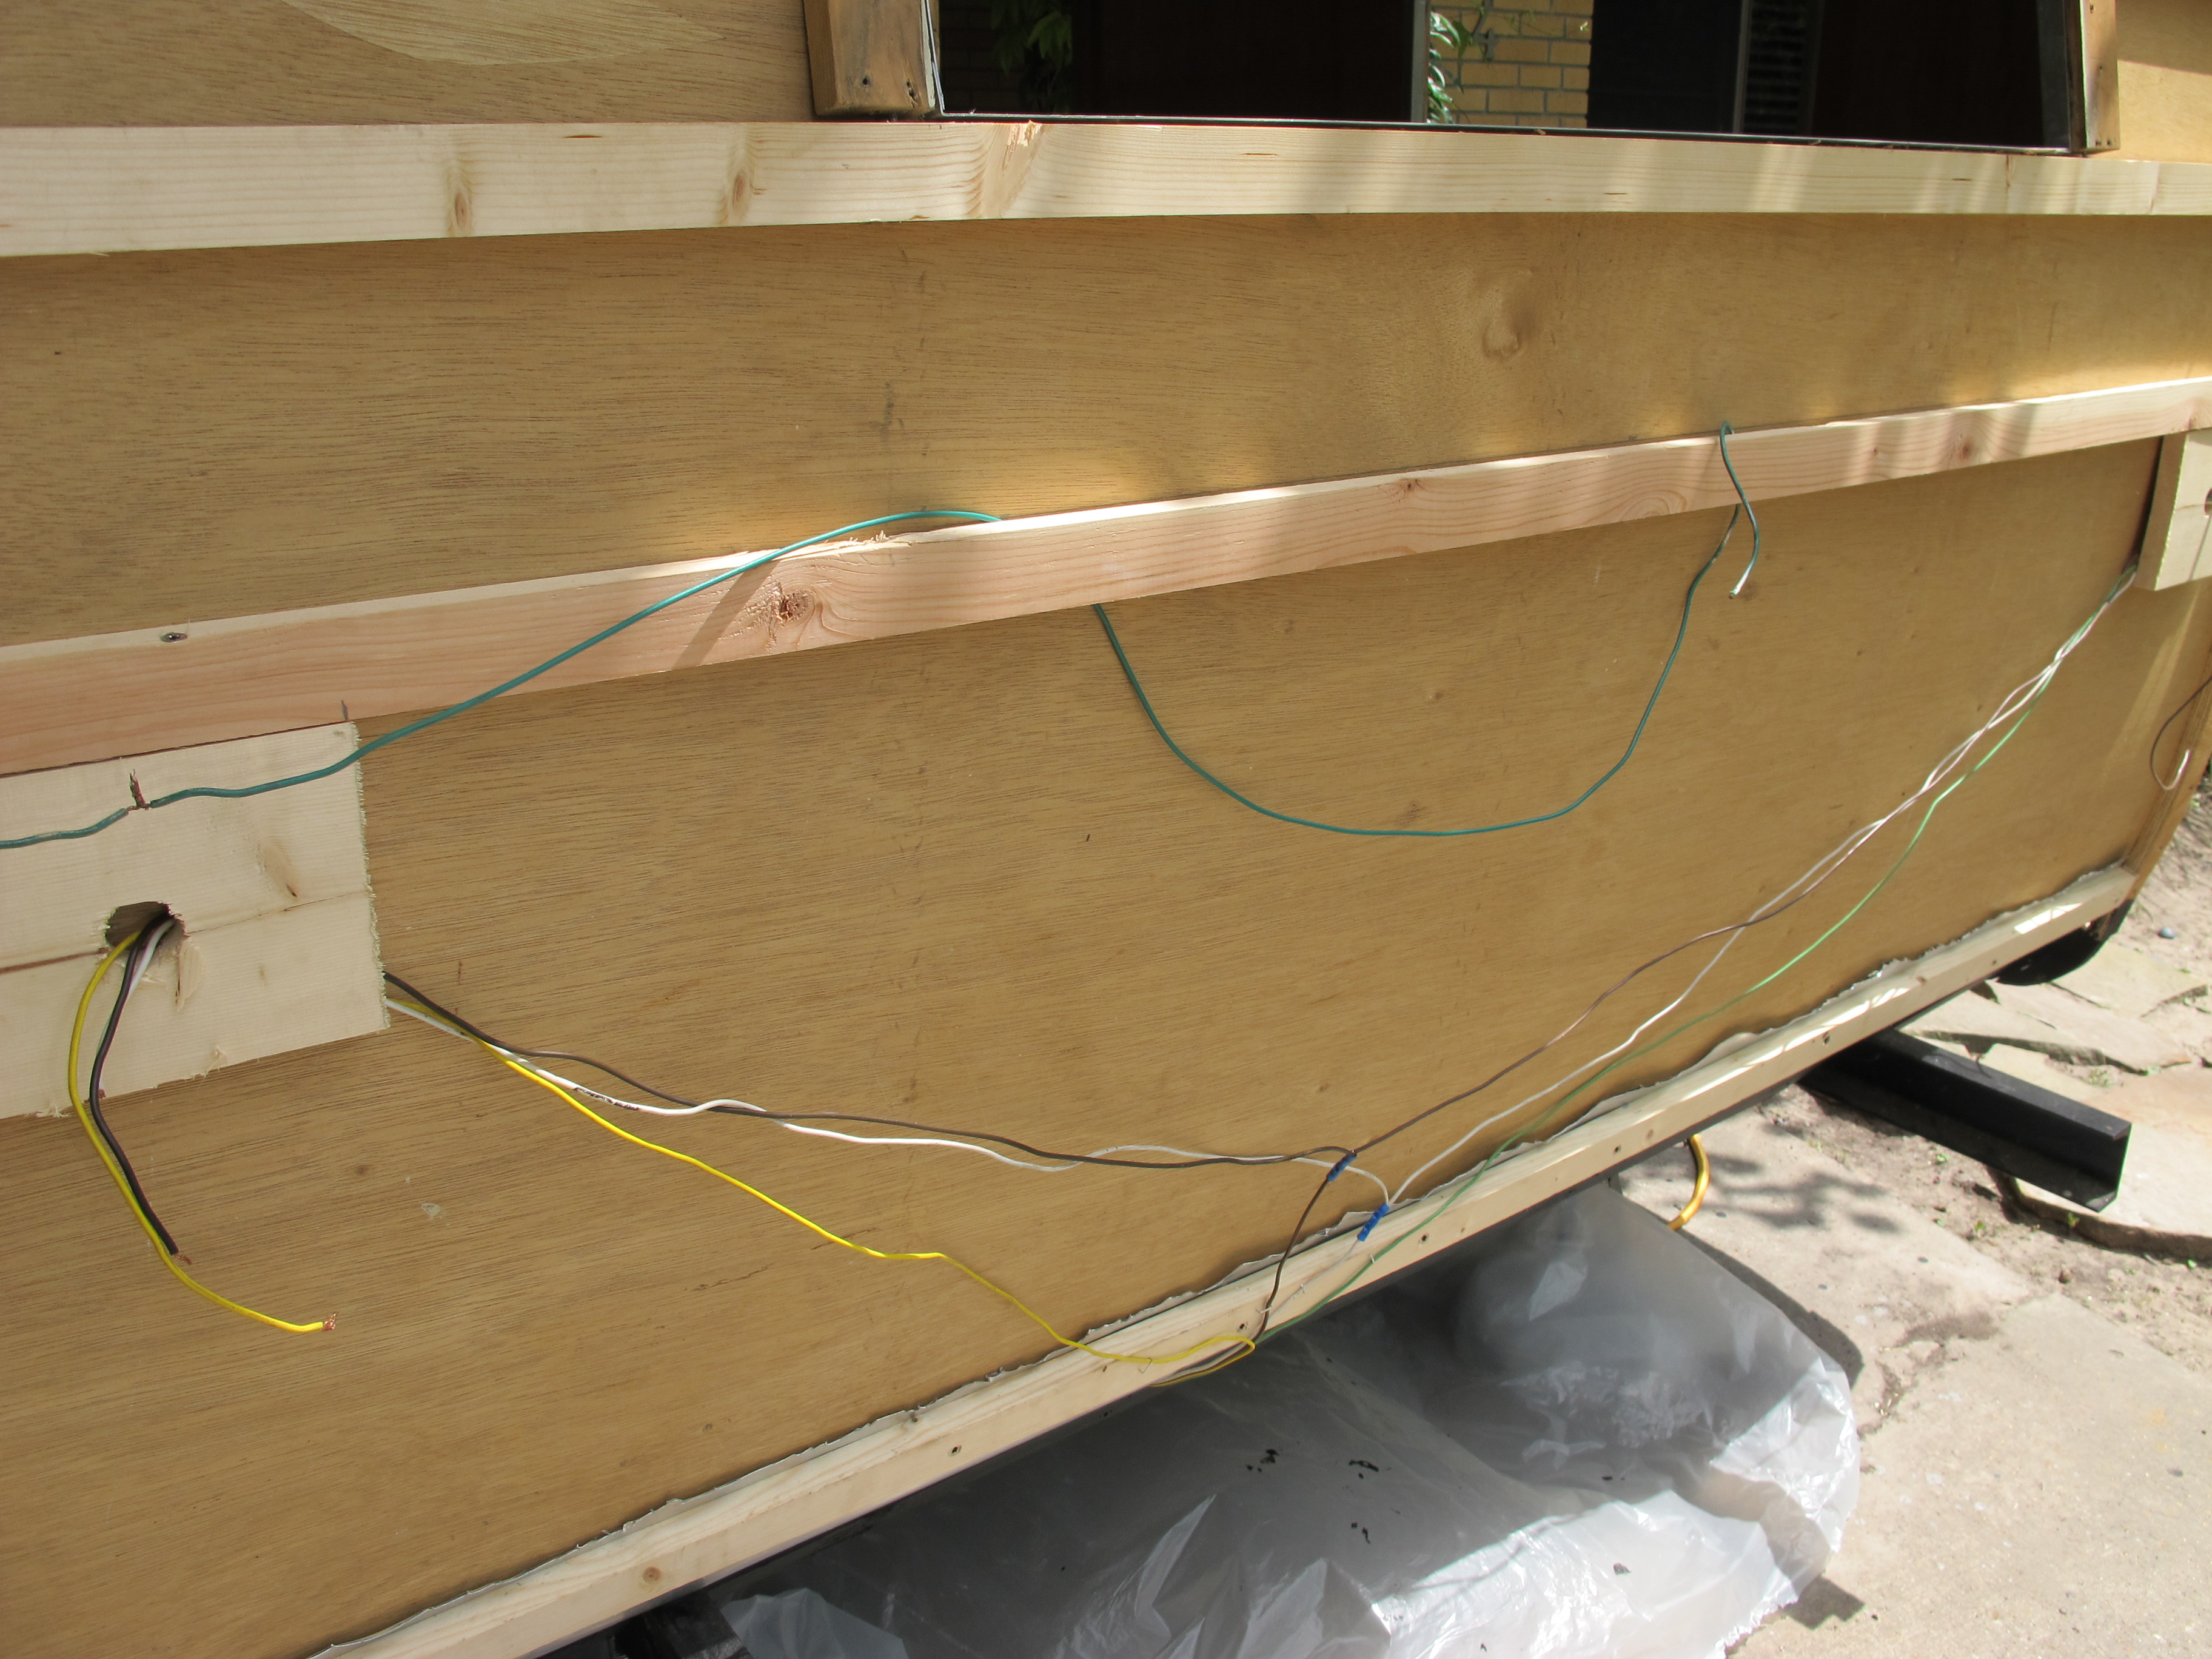
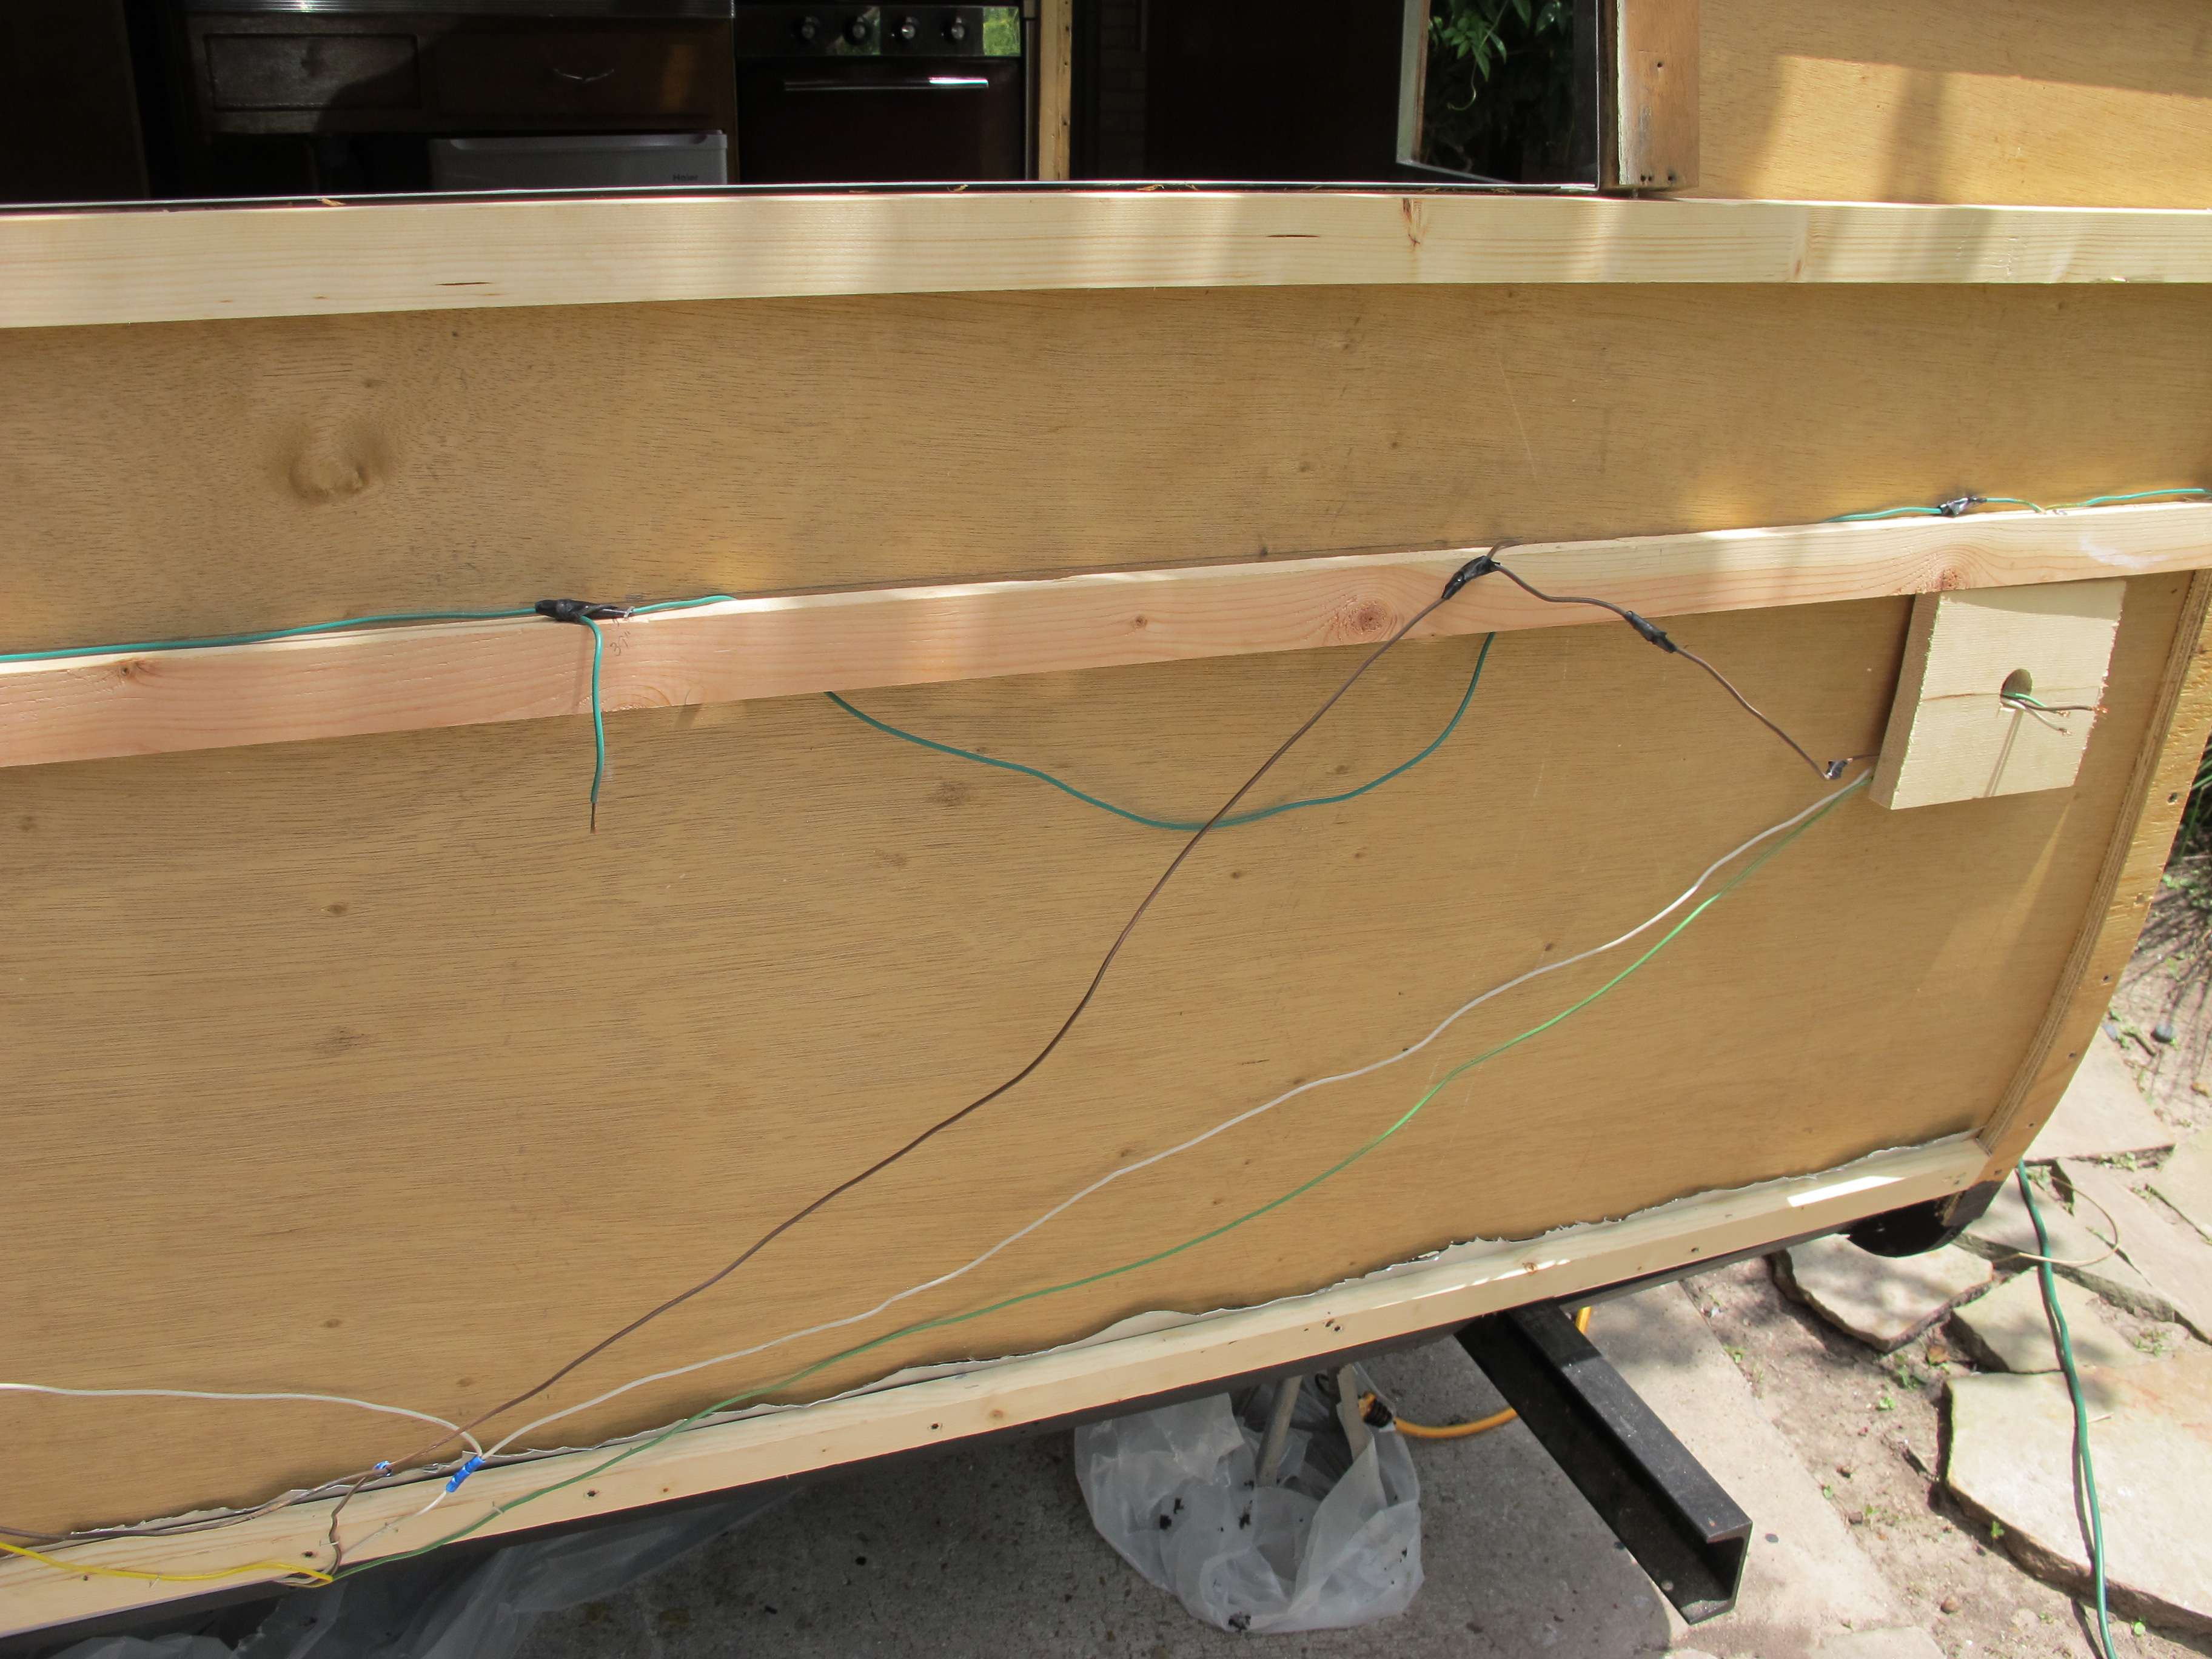
I was supposed to go to the TCT vintage camper rally in Lake Charles, Louisiana this weekend.  Unfortunately, I am having problems with my tail lights and I decided I couldn’t go.  I didn’t wire them myself, I had Oscar do that, and now they don’t work properly.  confused  The weird part is that they work fine when they’re plugged into Oscar’s Ford Explorer.  For some reason, they don’t work right when connected to my VW Tiguan.  I’m sure it’s some kind of compatibility issue, but I don’t know how to fix it.  I’m taking Junebug to the place that installed my wiring and hitch on the Tiguan either tomorrow or Saturday morning, depending on the weather.  I even ordered new tail lights from www.vintagetrailersupply.com and that didn’t fix the problem.

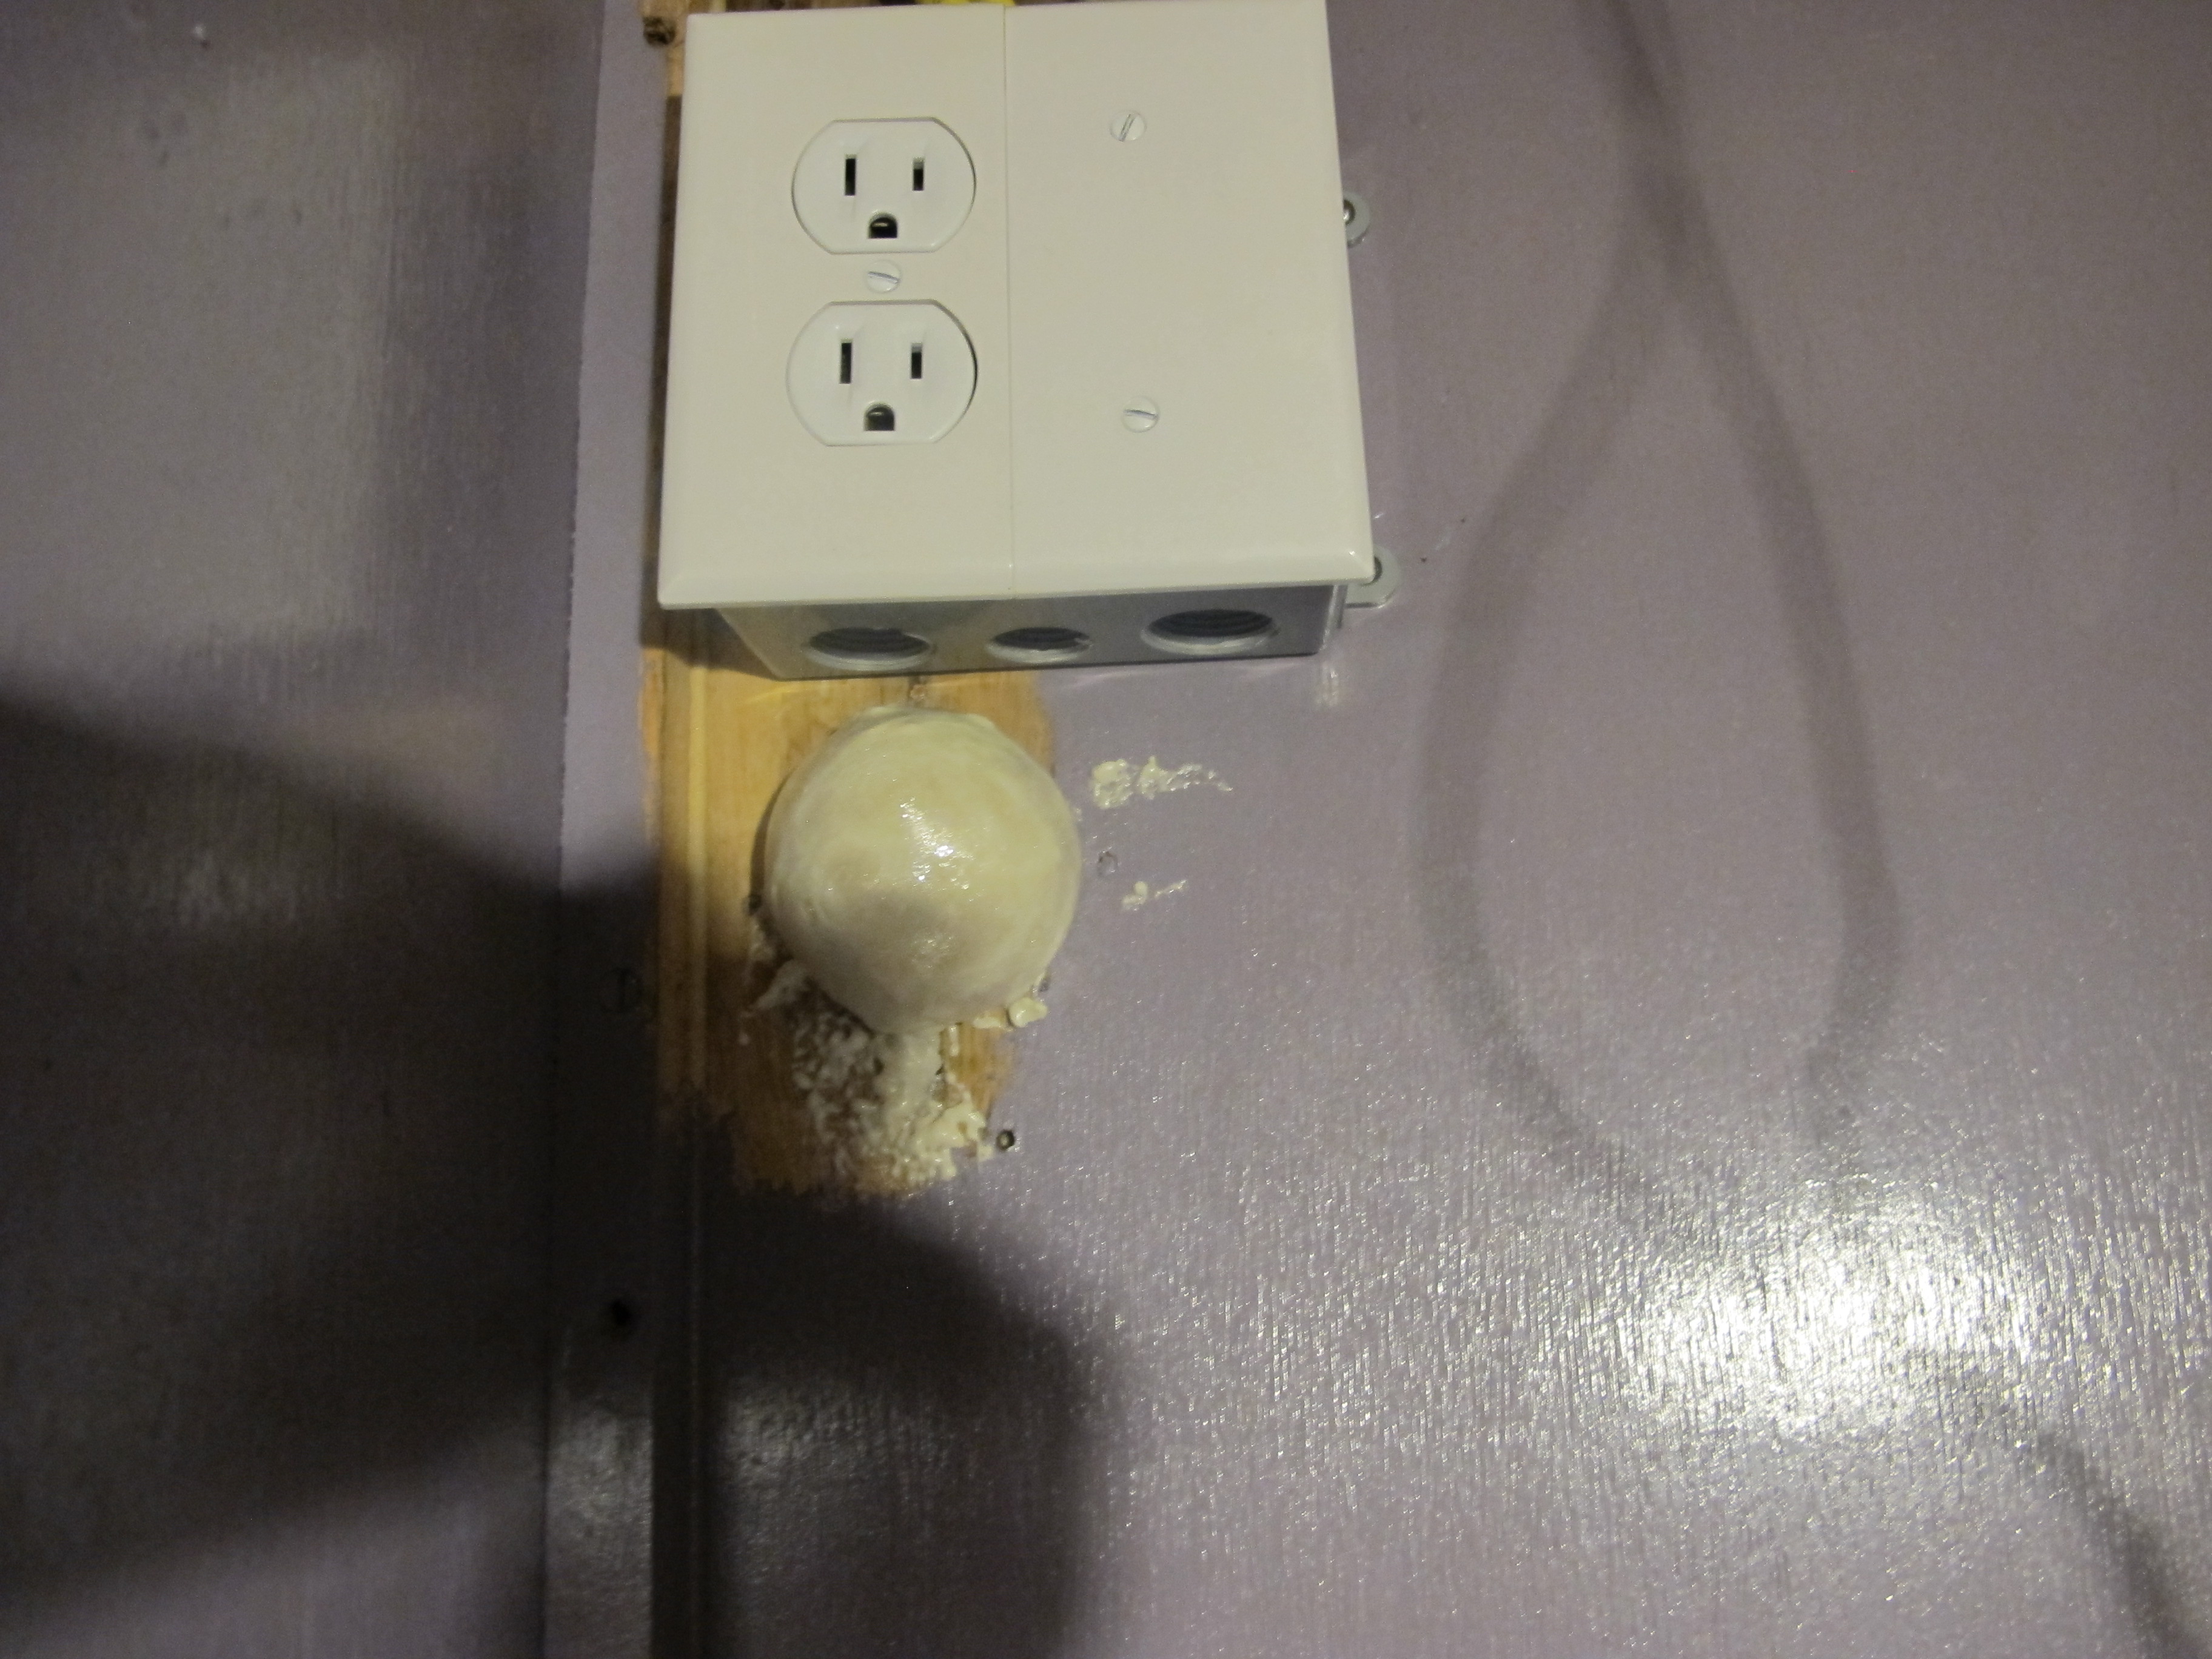
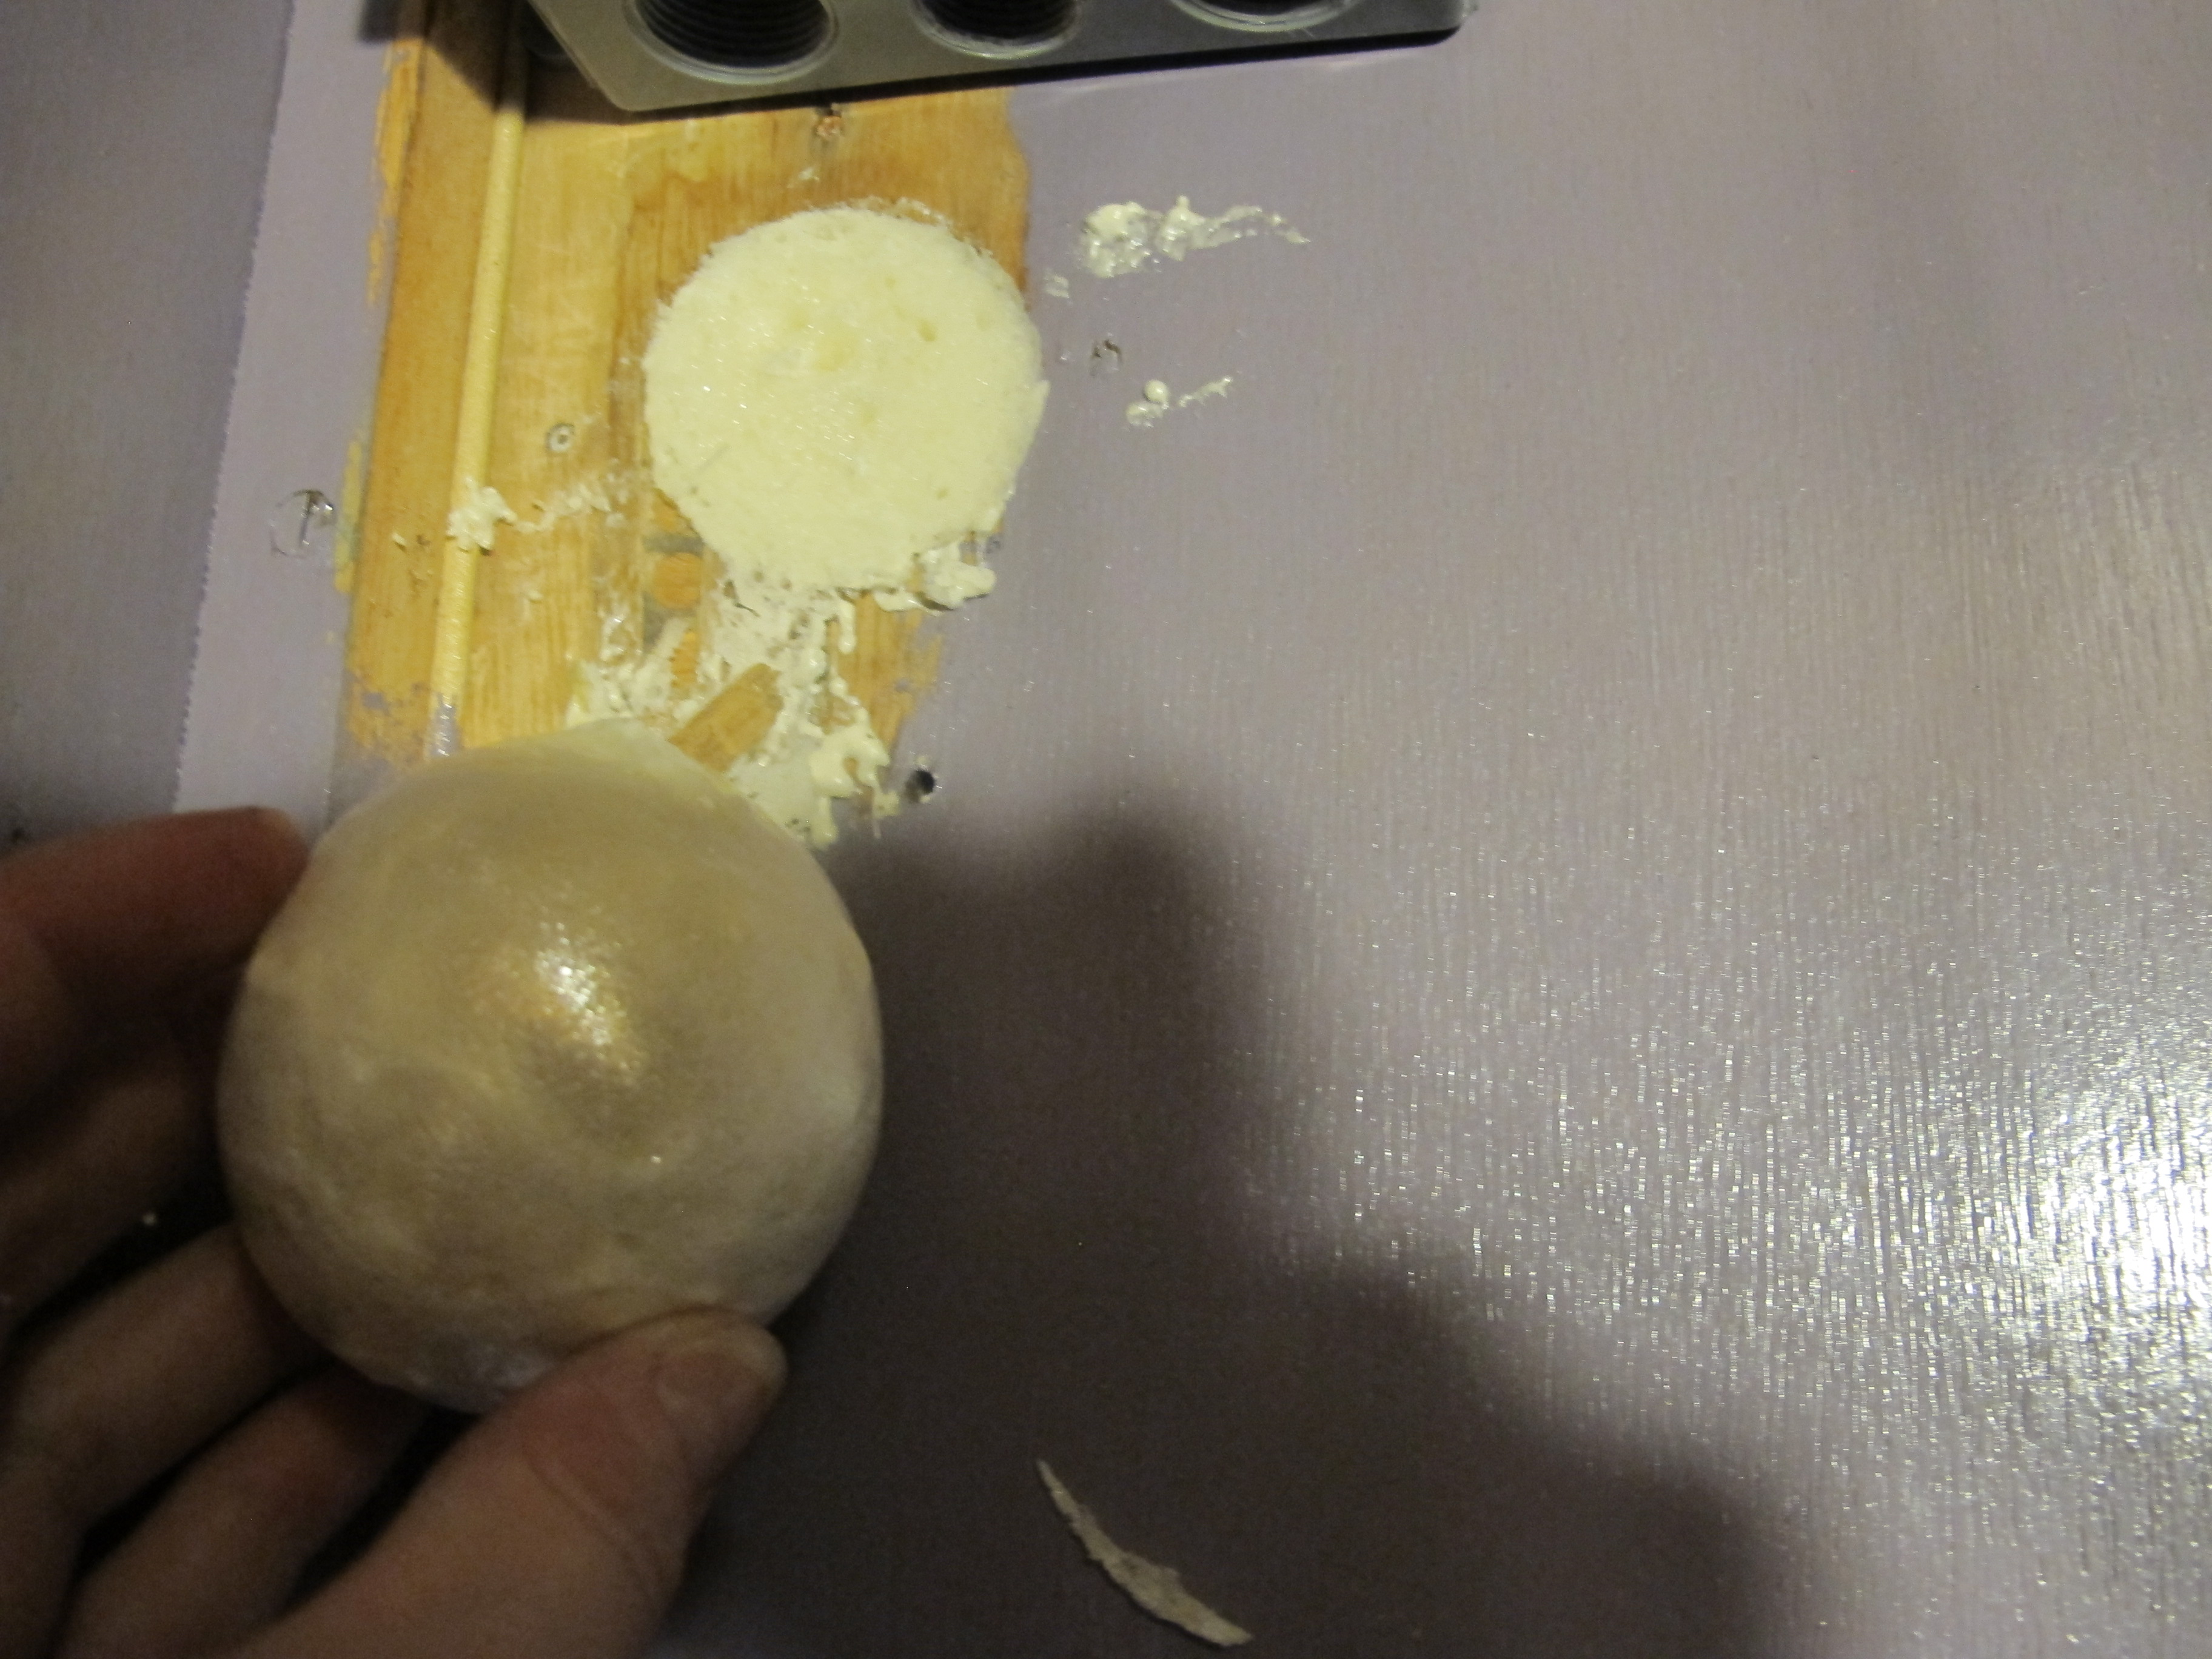
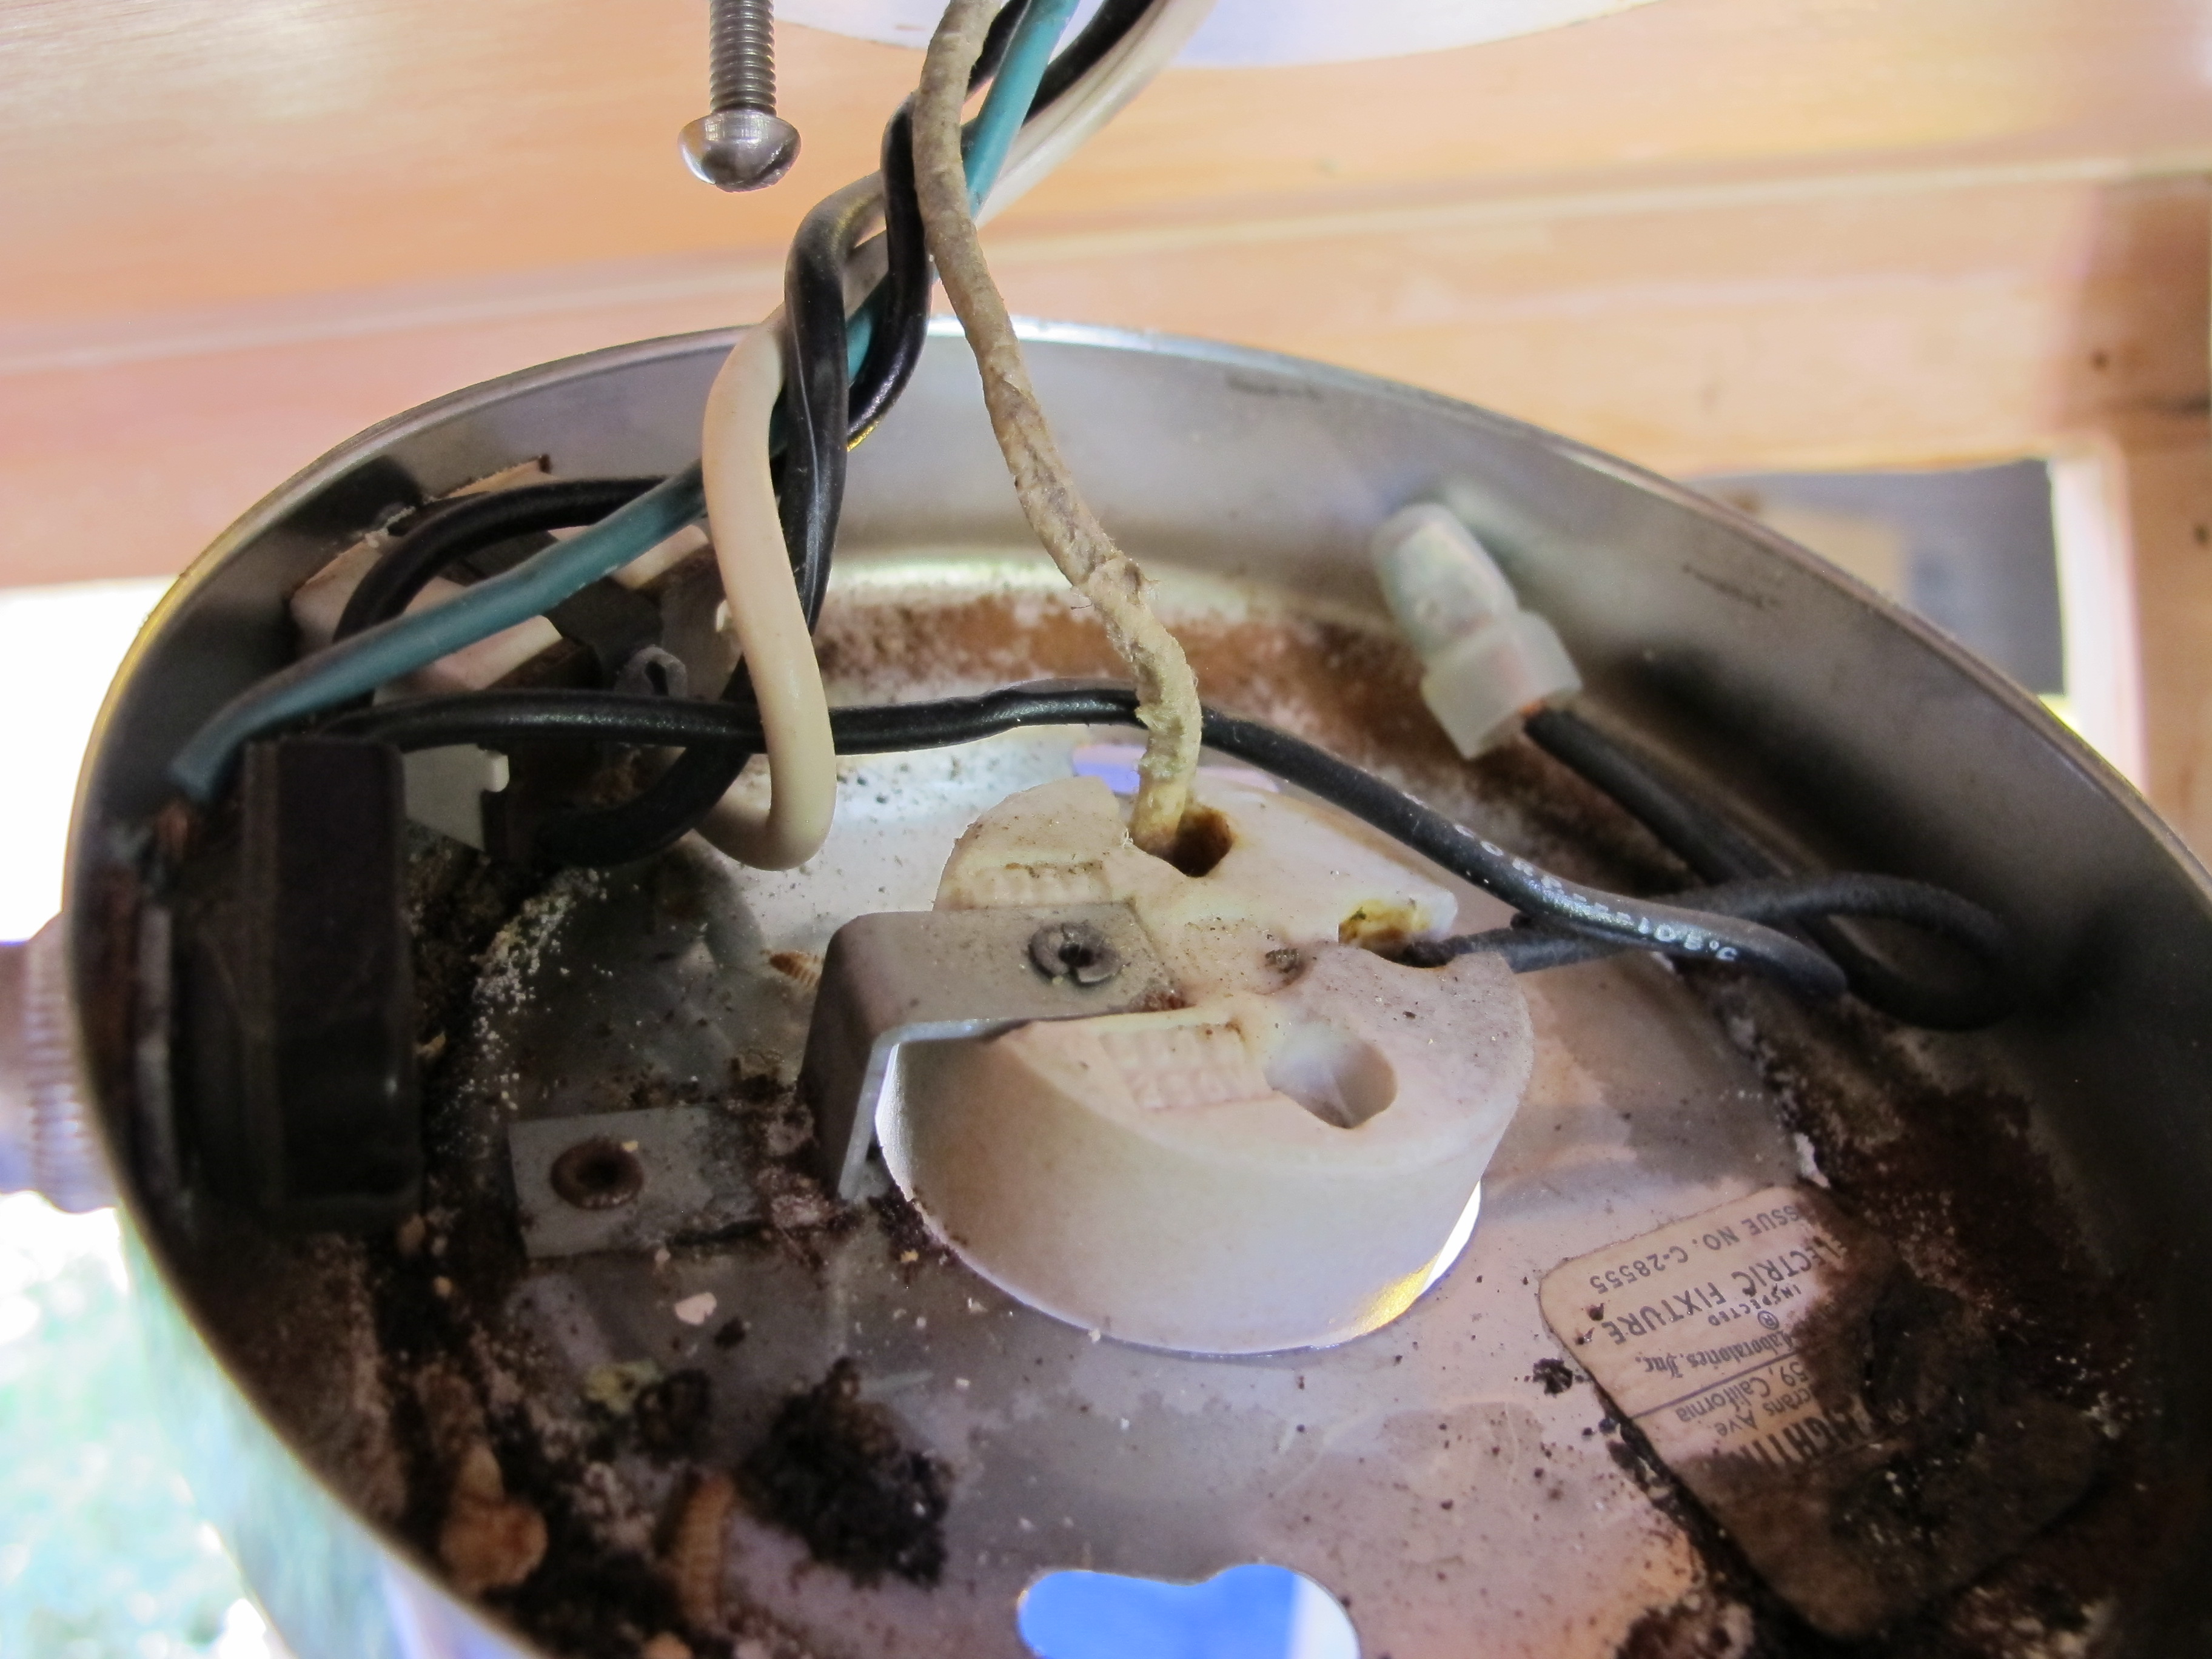
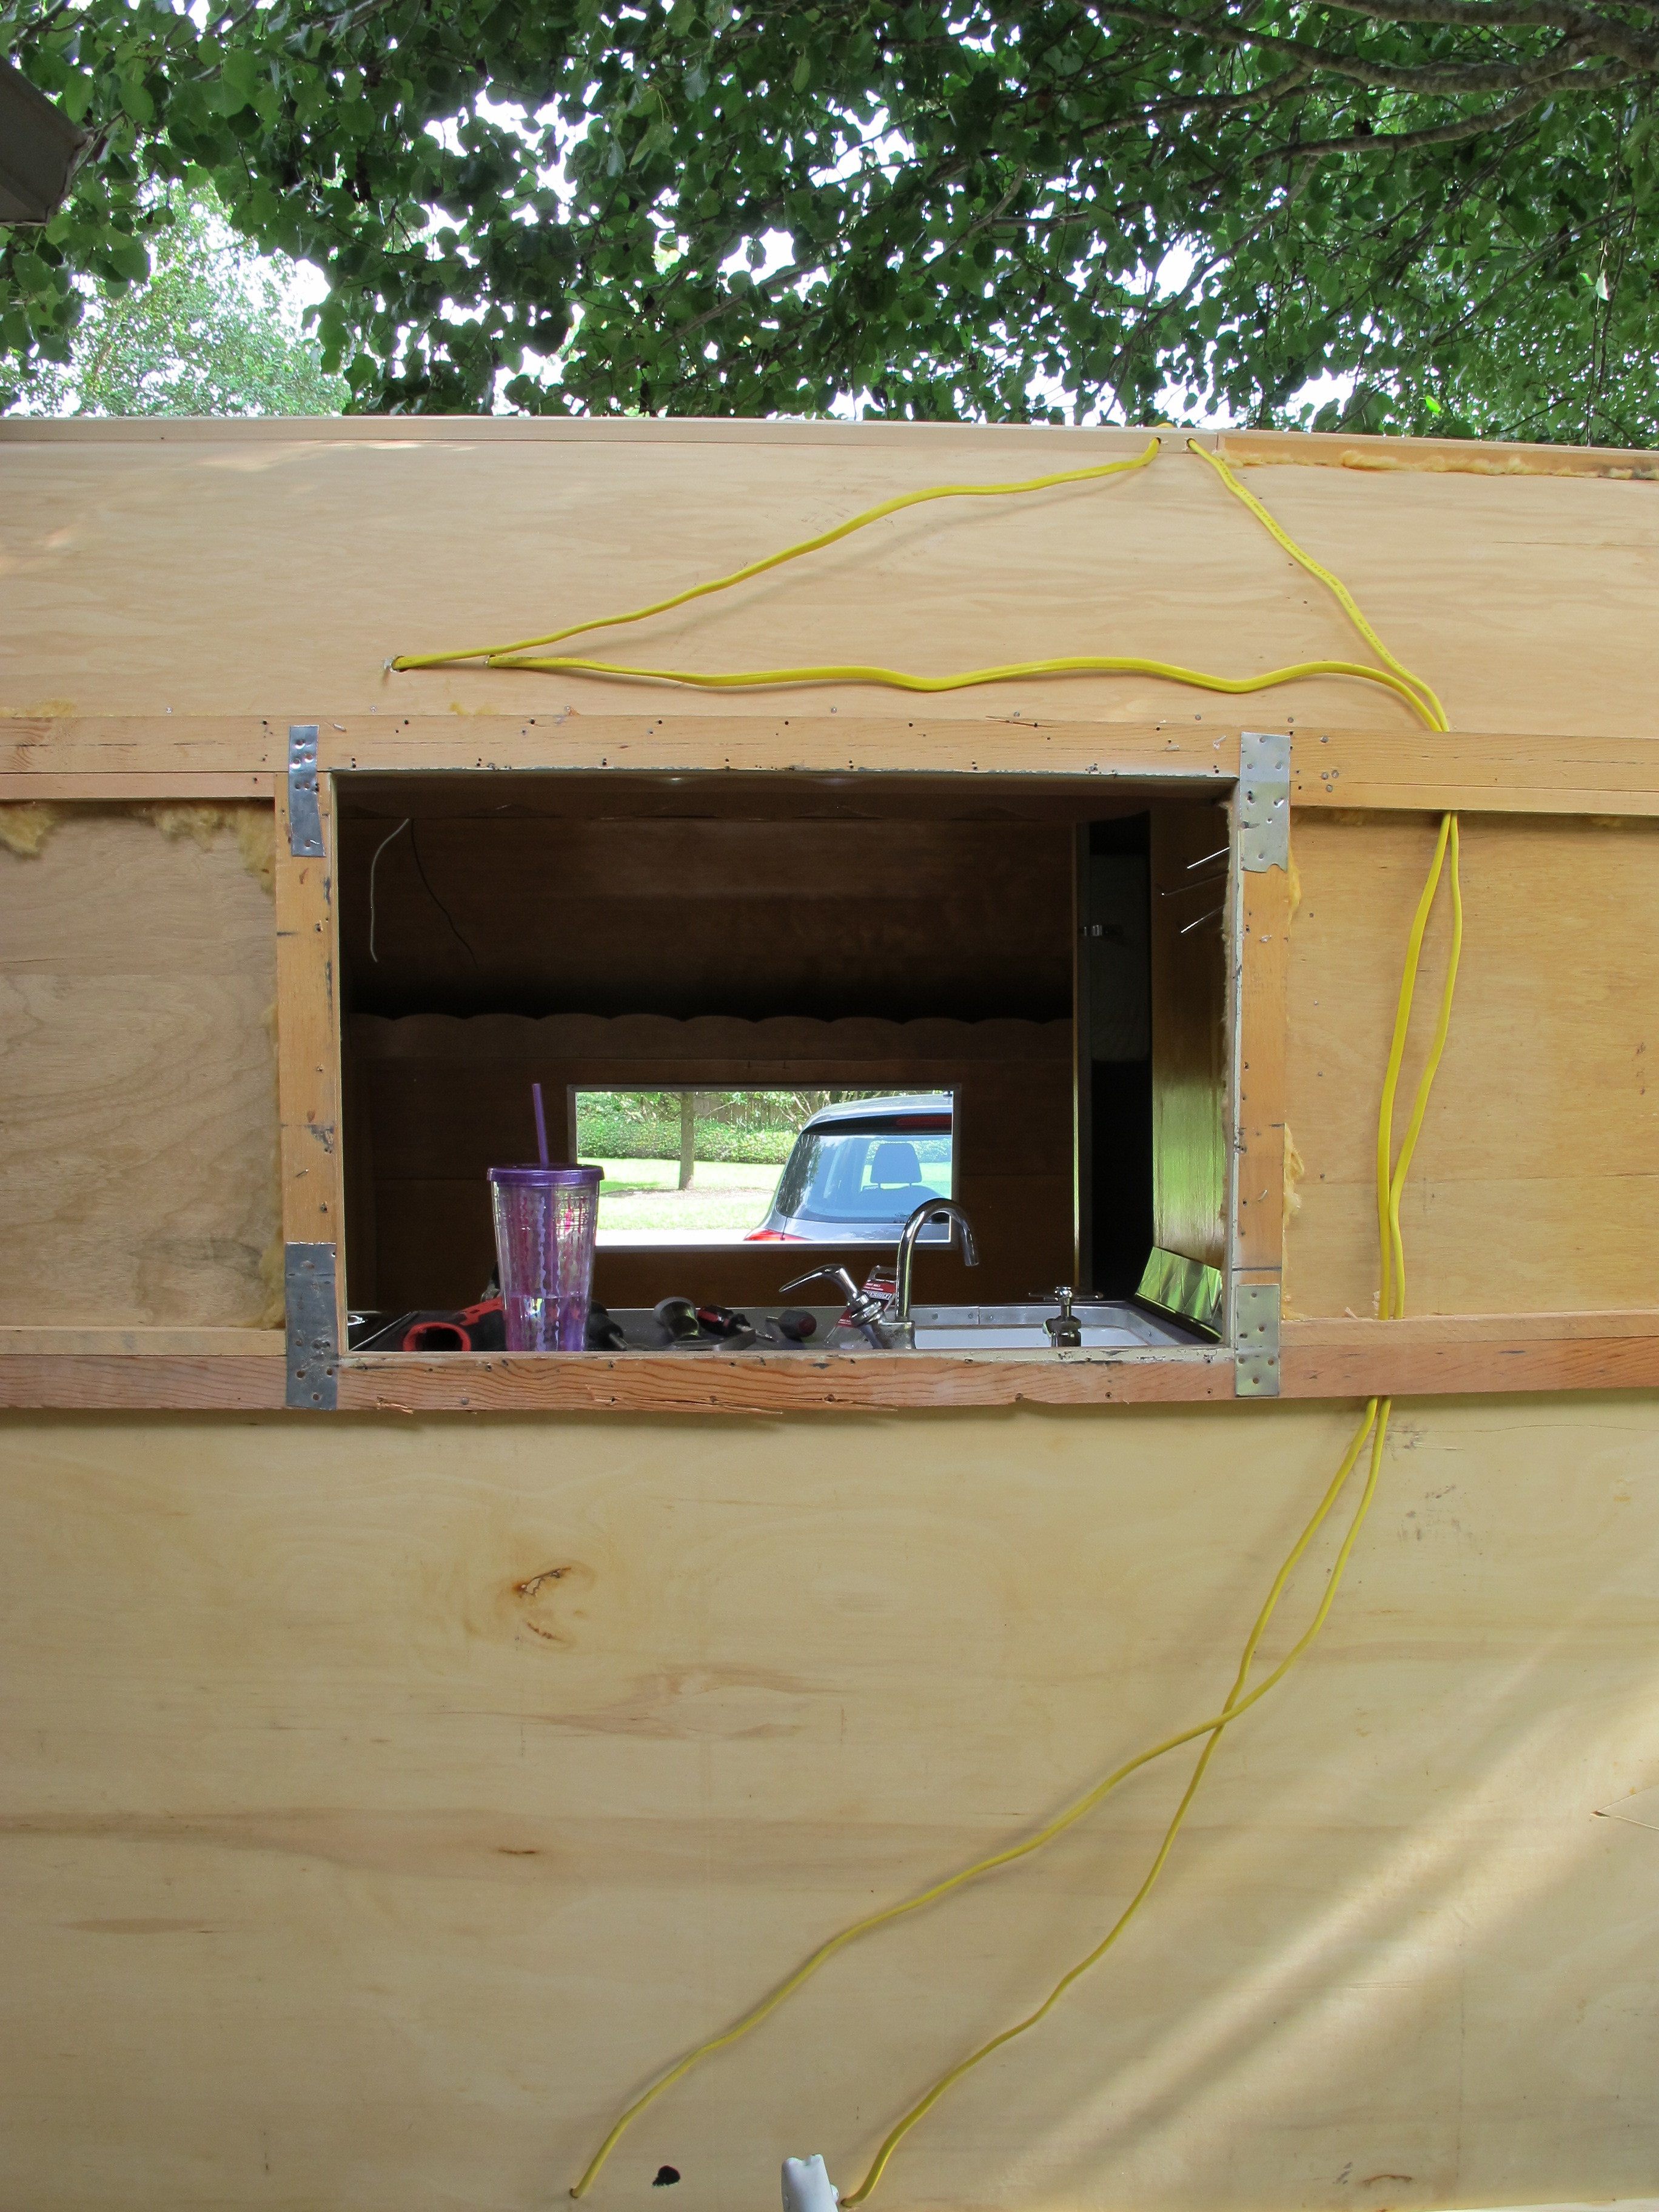
My plan for the weekend is to hopefully get the tail lights fixed, then finish building the new screen door.  I also borrowed a soldering iron from my friend Casey’s boyfriend, so that I could solder all of the wire connections together in the camper.  I am still a little nervous they might come loose while I’m towing the camper somewhere and then become hazardous when I’m camping due to exposed wires.  I thought if I really wanted to be on the safe side, I could solder the wires together and melt some shrink wrap over them to ensure they don’t come apart.

I am planning to go to Austin next weekend for a baby sprinkle, so I’m thinking I may take Junebug there for the first big trip since the restoration.  We’ll see, it all depends on the tail lights!  Either way, I’m definitely taking her to her first vintage camper rally the weekend of October 10-11 to join the Texas Vintage Trailer Club’s rally in Fentress, TX.  Can’t wait!


Kodachrome


When I was in high school, we used to listen to Simon and Garfunkel almost daily.  My friends and I loved their song Kodachrome the most and would sing along to it all the time.  I don’t know why, maybe because they sing about high school or maybe just because it’s a happy song.  Either way, the song brings back happy memories.  I’m listening to the song now as I write this, and it has a slightly different meaning to me.  He sings about how Kodachrome makes every day look like a sunny day.  I can only assume he means the film, which they discontinued in 2010.  It makes me think of Facebook and how people usually tend to post only the best and happiest photos.  I guess Facebook is my generation’s Kodachrome. haha

The reason I chose to title this post Kodachrome was because I discovered the beauty of chrome spray paint today..and I will be posting photos, so it seemed fitting.  biggrin


I wanted to paint the spare tire today as well as the hitch and bumper.  While I was at it, I also painted the propane tank.  I think it turned out pretty cool!

IMG_4931

First, I went to AutoZone and got the spray paint. I bought some primer as well as the chrome and purple paint for the wheel.


IMG_4933

Next, I cleaned the spare tire with degreaser. It’s an old tire, so hopefully I won’t need to use it. I will likely get new tires for the trailer at some point, and then I can put one of those on the spare tire mount.

IMG_4941

I taped off the tire so it wouldn’t get paint on it.

IMG_4942

After primer

IMG_4946

Purple!

spare tire_blurred license

Mounted again and I also painted the bumper with the chrome paint.

IMG_4932

This is the piece that fits over the front of the spare tire to hold it onto the bumper.

IMG_4935

After two coats of purple. I also painted the nuts. 🙂


And now to the front of the camper.


IMG_4936

After painting the hitch with primer, I noticed some numbers on the side. This must be my VIN!

IMG_4939

Primed the propane tank too

IMG_4940

Hitch is primed

IMG_4943

After one coat of chrome paint


I wanted to do a similar design on the propane tank as my camper will have (once I get it painted).

IMG_4945

I taped off the stripe and coated the top half with chrome.


IMG_4955

Getting ready to paint on the purple.


IMG_4962

Both colors are on and waiting for them to dry so I can pull off the tape.


IMG_4963

Finished product! I think the stripe is a little too fat but that was the only size painter’s tape I had so oh well.

I also painted a few other details that needed to be installed.

IMG_4966

This is the door catch so the front door can be propped open.


IMG_4952

This is the Shasta emblem that I paid a lot for. I just had to have it!

IMG_4954

Not quite the same as getting it rechromed, but it looks pretty good and a lot cheaper too!

Next, I set out to install my new Fantastic Vent.  It proved to be a difficult task (what a surprise), because I had inserted some additional framing pieces underneath the skin to make it sit a little higher (to help the water run off) and they were making the hole too small for the vent.  I couldn’t just take them out because they were all attached to make a square.  So…I had to get out my oscillating tool and saw away at the sides until I got it to be big enough for the fan to fit inside.  It took a while, but at least I finally got it installed!

IMG_4967

Hole from the interior.

IMG_4968

After trimming away at the edges and cutting out the hole in the skin.

IMG_4969

And it’s finally in!

I still need to seal it again with Dicor lap-leveling sealant. http://www.amazon.com/Pack-Dicor-Self-leveling-Lap-Sealant/dp/B00H554R98/ref=sr_1_2?ie=UTF8&qid=1409626405&sr=8-2&keywords=dicor+lap+sealant   I don’t have any, so I need to pick some up at the RV shop.  I’m keeping the cover on Junebug now anyway so I’m not in a rush to finish sealing it just yet.

IMG_4970

Here it is from the inside. I still need to add the frame piece to cover up the edges and tuck the wires in.

IMG_4996

The interior frame piece that fits around the hole for the fan sticks up too high, so I needed to trim it. Unfortunately, I didn’t have a good tool for this and ended up using my tin snips. It made the edges all jagged. I haven’t installed it yet because I want to see if I can smooth the edges first.

IMG_4997

I had to order a 12v to 115v converter so that I could power my Fantastic Vent since I don’t have 12v set up in my camper at the moment. Luckily, this part went better than my overall electrical wiring experience, and it worked the first time!

The fan works great, and I can’t wait to use it when I’m camping and don’t need the AC.

IMG_4973

My newly painted hitch and propane tank look pretty snazzy. 🙂

IMG_4979

Here’s a pic with the vent hood open. It’s translucent, so it adds a little light in the camper even when closed.


I installed the Shasta emblem and I think it looks really cool!  I was worried maybe you couldn’t see it very well since it’s silver and the skin is silver.  I think it still shows up just fine though.  I think I’m on the right track to finish on time now!   The electrician is coming tomorrow to make sure my wiring is done well, and then I’m on the home stretch!  smile  Have a good week and I’ll be back next weekend!

shasta emblem_edited

Sigh of Relief

Posted on

Today went much better than yesterday, all I had to do was stay AWAY from the electrical wiring.  haha  I went back to doing some other things in Junebug that I’m much better at.  I feel like I got a lot done and am feeling pretty good about how things are looking!

It was raining this morning, so I decided to run some errands before getting started.  I needed to return some things to Lowe’s and pick up some new items, plus go grocery shopping.  I finally found the other matching mirror at Target that I had been searching for so that I could install it behind the star cutout in my bench.  I already had one and needed another one.

When I got home, I started working on finishing the benches.  I also bought some spray foam gap filler so I could fill in the holes in the closet where the drains used to be.   I thought about closing the holes some other way, but this seemed like the easiest.   It worked great!  Later I will sand it down and paint over it.

IMG_4879

Here’s the hole where the power inlet used to be.

IMG_4880

These holes were for the sink drain and vent. There were galvanized pipes here, and I promptly did away with those. They were taking up way too much space!

IMG_4882

The hole after spraying some foam into it. It expanded into a bubble, it was kind of funny.

IMG_4899

After it dried, I cut the excess off with a kitchen knife. This stuff works great!

After installing the mirrors behind the star cutouts in my benches, I noticed the mirror was reflecting the backside of the wood, and it wasn’t pretty.  I decided to remove the mirrors and paint the backside purple so it would look better.  Then I reinstalled the mirrors and secured the benches to the floor.

IMG_4891

While the purple paint was drying, I decided to hang the curtains.  You can see them in the above photo, but I’ll post another one here at a different angle.  I think they look so nice against the shellacked wood!

IMG_4911

I also finished adding some wood trim around the window in the kitchen.

IMG_4904


My friend, Tracy, gave me this doormat with a J on it.  I’ve been using it for the house, but now I can also use it for Junebug, how perfect!  biggrin

IMG_4894


Next, I needed to add some vinyl welt in the seams between the walls and the ceiling.  I was supposed to do this before I attached the ceiling panels, but I totally forgot.  oops  My cutouts for the wall panels weren’t exactly the right size, so I needed to add the welt (similar to the original design) to cover up the gap.  I nailed it in using tiny nails so they weren’t too noticeable.  It isn’t perfect, but I think it looks pretty good and it covers the gap.   I actually found this welt through a boat supplier.  It’s meant for marine upholstery, but it works great for this purpose too!   http://veada.com/marine-vinyl-boat-upholstery/vinyl-welt-cord-piping.html.


IMG_4897

Before

IMG_4912

After

IMG_4913

Street side – after

I also added some trim pieces to the door frame.

IMG_4909

Here’s a picture of the exterior street side.  Can you spot the mistake I made cutting the new skin and had to cover up?  I don’t think it looks too bad.  You can see it, but it’s not a glaring mistake at least.

IMG_4916


While I was at Target, I picked up a couple of frames for my owl art that I plan to hang in Junebug.  Oh yeah, in case I didn’t mention it before, I’m obsessed with owls and plan to have an owl theme in Junebug. smile

IMG_4918


I was really hungry after doing all of the things I just mentioned, so I took a break and made myself a filet mignon with grilled okra and portabella mushroom.  I burned my filet a little because the grill’s fire was too hot.  Luckily, the flavor was still awesome and I thoroughly enjoyed it.  After eating, I got back to work.  I wanted to finish making the bench seats today.

In order to make the seats, I had to take apart the seat backs that I had made back in December.  I wanted to reuse the foam and material since it was so expensive.   I also removed the material from the long seat cushions since I didn’t need those to be purple anyway because they’ll be covered up with bedding.  The foam wasn’t the right size, so I had to cut it and piece together a couple of different sizes to get it to work.   Once wrapped with the batting and material, I don’t think the seam in the foam will be noticeable.


IMG_4917

Foam cut and ready for the batting.

I discovered that my good serrated kitchen knife worked great to cut through the foam!  I wish I would have discovered that the first time I was making these seat cushions.   Live and learn I guess.

IMG_4919

Batting is stapled down and the cushion is ready for the material.


IMG_4920

Adding the material.


IMG_4921

Seat cushion is complete!


IMG_4922

All the seat cushions and seat backs are now complete! The black cushions in back are the original ones from the camper and will be used for the bed. They are actually pretty comfortable!

IMG_4930

Seat on curb side. I added my Shasta pillow for the full effect. It looks pretty cute!

IMG_4929

Here’s the street side seat. I sat on it to try it out and it’s quite comfy!

Tomorrow, I’m planning to finish the bed and closet, then install the Fantastic Vent if it’s not raining.  If it’s raining, I may only be able to do interior work.  I also need to finish moving the hole in the floor leading to the exterior plug underneath the camper.  This wasn’t an urgent item, but it needs to be done, especially with the electrician coming on Tuesday.

I’m feeling pretty excited now that everything is coming together!  I can’t wait to get more done tomorrow.  smile


Crunch Time!

Posted on

I just sent out the Evite for Junebug’s unveiling party this past week.  Evite even had a little Shasta camper template so it couldn’t have been more perfect for the event!  The date is September 12th and now the pressure is on to finish.

I thought since I now had September 12th as my new deadline, I would get extra done this weekend, but that’s not really how things went.  On Saturday, I applied a third coating of paint stripper to the drip rail.  I let it sit and went in the garage to finish rebuilding the door.  I thought the door wouldn’t take me that long to finish because I finished stripping the paint off the frame pieces during the week.  Unfortunately, it took me almost all day!  I initially thought it would be a good idea to add some putty tape around the edges of the door frame to seal it.  That didn’t work at all.

IMG_4829


What ended up happening was that the putty tape was too thick and I couldn’t get the frame piece around it because it’s supposed to fit tightly.  Then I tried some gutter seal, and that just made a big fat mess everywhere, so I gave up and didn’t add any sealant.  If some water gets in there, oh well.

Once I was done rebuilding the door, I got ready to install it.  I first put the screen door back in the door frame because it was still attached to the hinge.   It was at that time that I noticed the screen no longer fit in the doorway!  When I retiled the floor on top of the old tiles, it added just enough extra height to the floor that the screen was too long.  ugh  I was planning to make a new screen door one day, so I guess that day will come sooner than I imagined!

I removed the screen door and then installed the door.  After I found the handle for the exterior and interior, I went to look for the keys and then realized I had no idea where they were.  I searched high and low and still haven’t found the stupid keys!  I usually don’t lose things, but this project has made such a mess of my garage and house that I have been losing things right and left.  I went ahead and installed the handle, but now it won’t lock unless you’re inside the camper.  I may have to pay to have it rekeyed…again.

Later that day, I tried scraping off the remaining paint from the drip rails.  Unfortunately, some of the paint would not budge.  I ended up deciding to use the wire wheel on it to scrape the rest off.  It leaves scratches all over the aluminum, but I was too tired of messing with it.  Even using the wire wheel, it is taking me ages to get all the paint off!  I still have two more pieces of drip rail to go before they’re all cleaned and ready to install.

Today (Sunday), I installed the drip rails that were finished and ready.  I also spent an hour at Lowe’s looking for various pieces I needed to get my AC installed correctly.  I had to get a bit creative, but I’ll save that post for another day.  smile

After installing the drip rails, I also installed the license plate.  It is really starting to come together!  I’m still a little nervous that the tail lights won’t work when I hook them up again.  Fingers crossed that none of the wires come loose under all the skin!

IMG_4837

The lines don’t exactly match up on the left side of the door for some reason. It’s not that noticeable so I’m hoping no one will see it. I’m definitely not taking the door off and starting over!

IMG_4836

Awning rail installed! There’s one screw sticking out a little because I ran into a screw behind it that was holding the frame together. I think I may cut this screw short so that there’s still a screw in that hole.

It’s really starting to look like a complete camper again!

IMG_4839IMG_4840


I’m going to try to work on the electric wiring during the week this week just to get a bit of a head start on the weekend.  My new 30 amp plug and cord came in the mail today, but I’m still waiting for the 15 amp adapter that I will need to test it out at home.  I still need to finish installing the breaker box and all of the receptacles first anyway.  Next week’s post should be electric!  hehe

Working Vacation – Day Five

Posted on

This is the most exhausting vacation I’ve ever had.  But, I’m having fun, so that’s all that matters.  Well…at least most of the time anyway.

Today was a good day.  Except the part where I realized I made the frame the wrong size for my Fantastic Vent because I didn’t read the directions.  I swear, this project is turning me into a guy more and more each day. hahaha (just kidding guys)

I had two random people stop by while out for their evening walk to see what I was doing and tell me it was looking good.  That made me happy.  Both of my neighbors also stopped by multiple times today and the mailman is even friendlier.  I think one of the best things about this project is how much of a conversation starter it is.  I just love how it makes others around me curious, and then I end up talking to people I wouldn’t have otherwise.  Especially my neighbors, we are definitely a lot closer as a result of this project.  I think that’s pretty cool.  smile emoticon


I almost finished everything on my list today.   I still have to finish installing insulation on the street side and part of the rear.  The insulation took longer than I expected due to all of the trimming required.  I made quite a mess too, and it looked like it had snowed a beautiful layer of styrofoam all over my driveway.  haha

The first thing I did was finish the tail light wiring.  I had to do quite a few splices in the “hot” wire so that it connected with the side running lights and the license plate light.  The hot wire is supposed to be brown, according to the industry standard, but I didn’t have any more brown wire, so I had to make do with the leftover green wire.  It should still work.  I didn’t test it out yet, but I will do that tomorrow before installing all the skin.   Fingers crossed it works!  I have to turn the camper around in my driveway and temporarily install all the tail lights, then hook it up to my car to test.  I don’t have a little external tester, so this is the only way.  Kind of inconvenient but oh well.

IMG_4704

Before

IMG_4705

After many splices, it’s all connected!


Next, I started in on the wiring.  For a short period.  Until I realized that I had better fix the frame that I didn’t measure correctly.  In my last post, I mentioned that I thought the Fantastic Vent stuck up too high.  Well, once I actually read the directions, I realized that the interior piece is supposed to be trimmed to size, so it’s not supposed to stick up that high.  And it’s narrower, so I had to take apart my frame for the vent and start over.  Now, it should work!

After repairing my mistake, I got back to the wiring.  I started with the fridge plug, and worked my way backward.  Oh, and I decided to scrap the idea of using a 15 gallon fresh water tank.  I will sell the tank and just use a 7 gallon drum under my sink whenever shore water is not available.  That will be much easier and free up the space under the bed for my new “power chord” as someone on my favorite forum, Vintage Trailer Talk, called it.  The power chord will have the new breaker box as well as a couple of junction boxes that lead to my various electrical outlets and lights.  I’m installing an external plug on the front of the camper with its own dedicated circuit breaker for the AC to plug into.  This way I will only need one plug when camping.  I had initially thought I would plug in the AC to a separate outlet, but just in case that’s not an option, this will also work.  I’m also upgrading my electrical system to 30 amp and installing new outlets near all of the light fixtures so that I don’t have to use the outlet attached to the fixture.  I think this will work better.

Here’s what the kitchen fixture looked like when I took it apart today.  It’s kind of rusty and the wires don’t look too great.  I might try to replace the wires attached to the fixture if I can. I will also clean up all of the rust inside before I reinstall it.

IMG_4706

It was a pain in the butt drilling holes in all of the support beams in order to thread my electrical wires through all of them.  My arms got so tired and I was worried the whole time that I would accidentally drill a hole through my ceiling panel.  Luckily that did not happen.  Once I started drilling the holes, I realized that I might poke a twist nail into the hole and puncture one of my wires when I installed the trim inside the camper, so I decided I had better install all of the trim first, then finish with the wiring.

IMG_4710 IMG_4711

And here’s a pic of all of the wiring threaded through the holes and going to the locations where I’ll install new outlets or to existing fixtures!  I will finish wiring everything later, once the skin is on.  You’ll notice that the color of the wire is yellow.  This is because I upgraded all of the wires to 12 gauge.  The old wiring was only 14 gauge, which is fine for lights and outlets, but it needs to be 12 gauge since I’m upgrading to 30 amp.

IMG_4714

I didn’t like the idea of my wires running down the sides of the camper, so I kept them to the roof, front, and rear only. Both circuits are entering the camper on the bottom left, which leads to where I will be installing the power chord.

IMG_4713

The black and white wire is for the Fantastic Vent, which is 12 volt. Eventually, I plan to set up my system to have a 12 volt battery that charges either from my tow vehicle while driving or while I”m plugged into shore power. In the meantime, I’m running these wires to the nearest outlet and will attach a 12v plug to the other end. I am planning to buy a converter that will plug into a normal outlet as well as the 12v plug, then convert the 120v power to 12v. This will allow me to use my Fantastic Vent without damaging it.

IMG_4712

Pic of the front of the camper with the new wires installed. One is going to the fixture and then a second coming from the fixture to the outlet for the fridge. There is also another separate wire leading to the base of the camper where I will be installing an external plug for the AC.

This task took me most of the day.  The last thing I accomplished today was to install most of the insulation.  It wasn’t that difficult to do, but it was time consuming, and also a bit frustrating where there were wires because the rigid foam insulation wouldn’t lay down flat.  I also bought Reflectix bubble insulation for the really curvy parts of the roof.  Glad I did, they were much easier to install thanks to the flexibility of the material.  I just have the street side and part of the rear to complete tomorrow and then the skin can go on!  IMG_4715IMG_4716

IMG_4717

I have to get up early tomorrow because my helpers are coming over around 10:30am and I still have to finish up the insulation as well as run by Aztec Rentals to pick up my pneumatic stapler and then to Lowe’s to pick up some additional staples and tape for the insulation.

The new skin is unrolled in my living room at the moment…well the sides anyway.  I thought it would be a good idea to unroll them so they would flatten out a bit.  This is just the backside.  I took a peek under the protective film on the front side, and it was so shiny!  I’m excited about how nice it’s going to look!  Hopefully I can write again tomorrow with some beautiful pictures of the new skin!  biggrin

new skin