Today went much better than yesterday, all I had to do was stay AWAY from the electrical wiring. haha I went back to doing some other things in Junebug that I’m much better at. I feel like I got a lot done and am feeling pretty good about how things are looking!
It was raining this morning, so I decided to run some errands before getting started. I needed to return some things to Lowe’s and pick up some new items, plus go grocery shopping. I finally found the other matching mirror at Target that I had been searching for so that I could install it behind the star cutout in my bench. I already had one and needed another one.
When I got home, I started working on finishing the benches. I also bought some spray foam gap filler so I could fill in the holes in the closet where the drains used to be. I thought about closing the holes some other way, but this seemed like the easiest. It worked great! Later I will sand it down and paint over it.
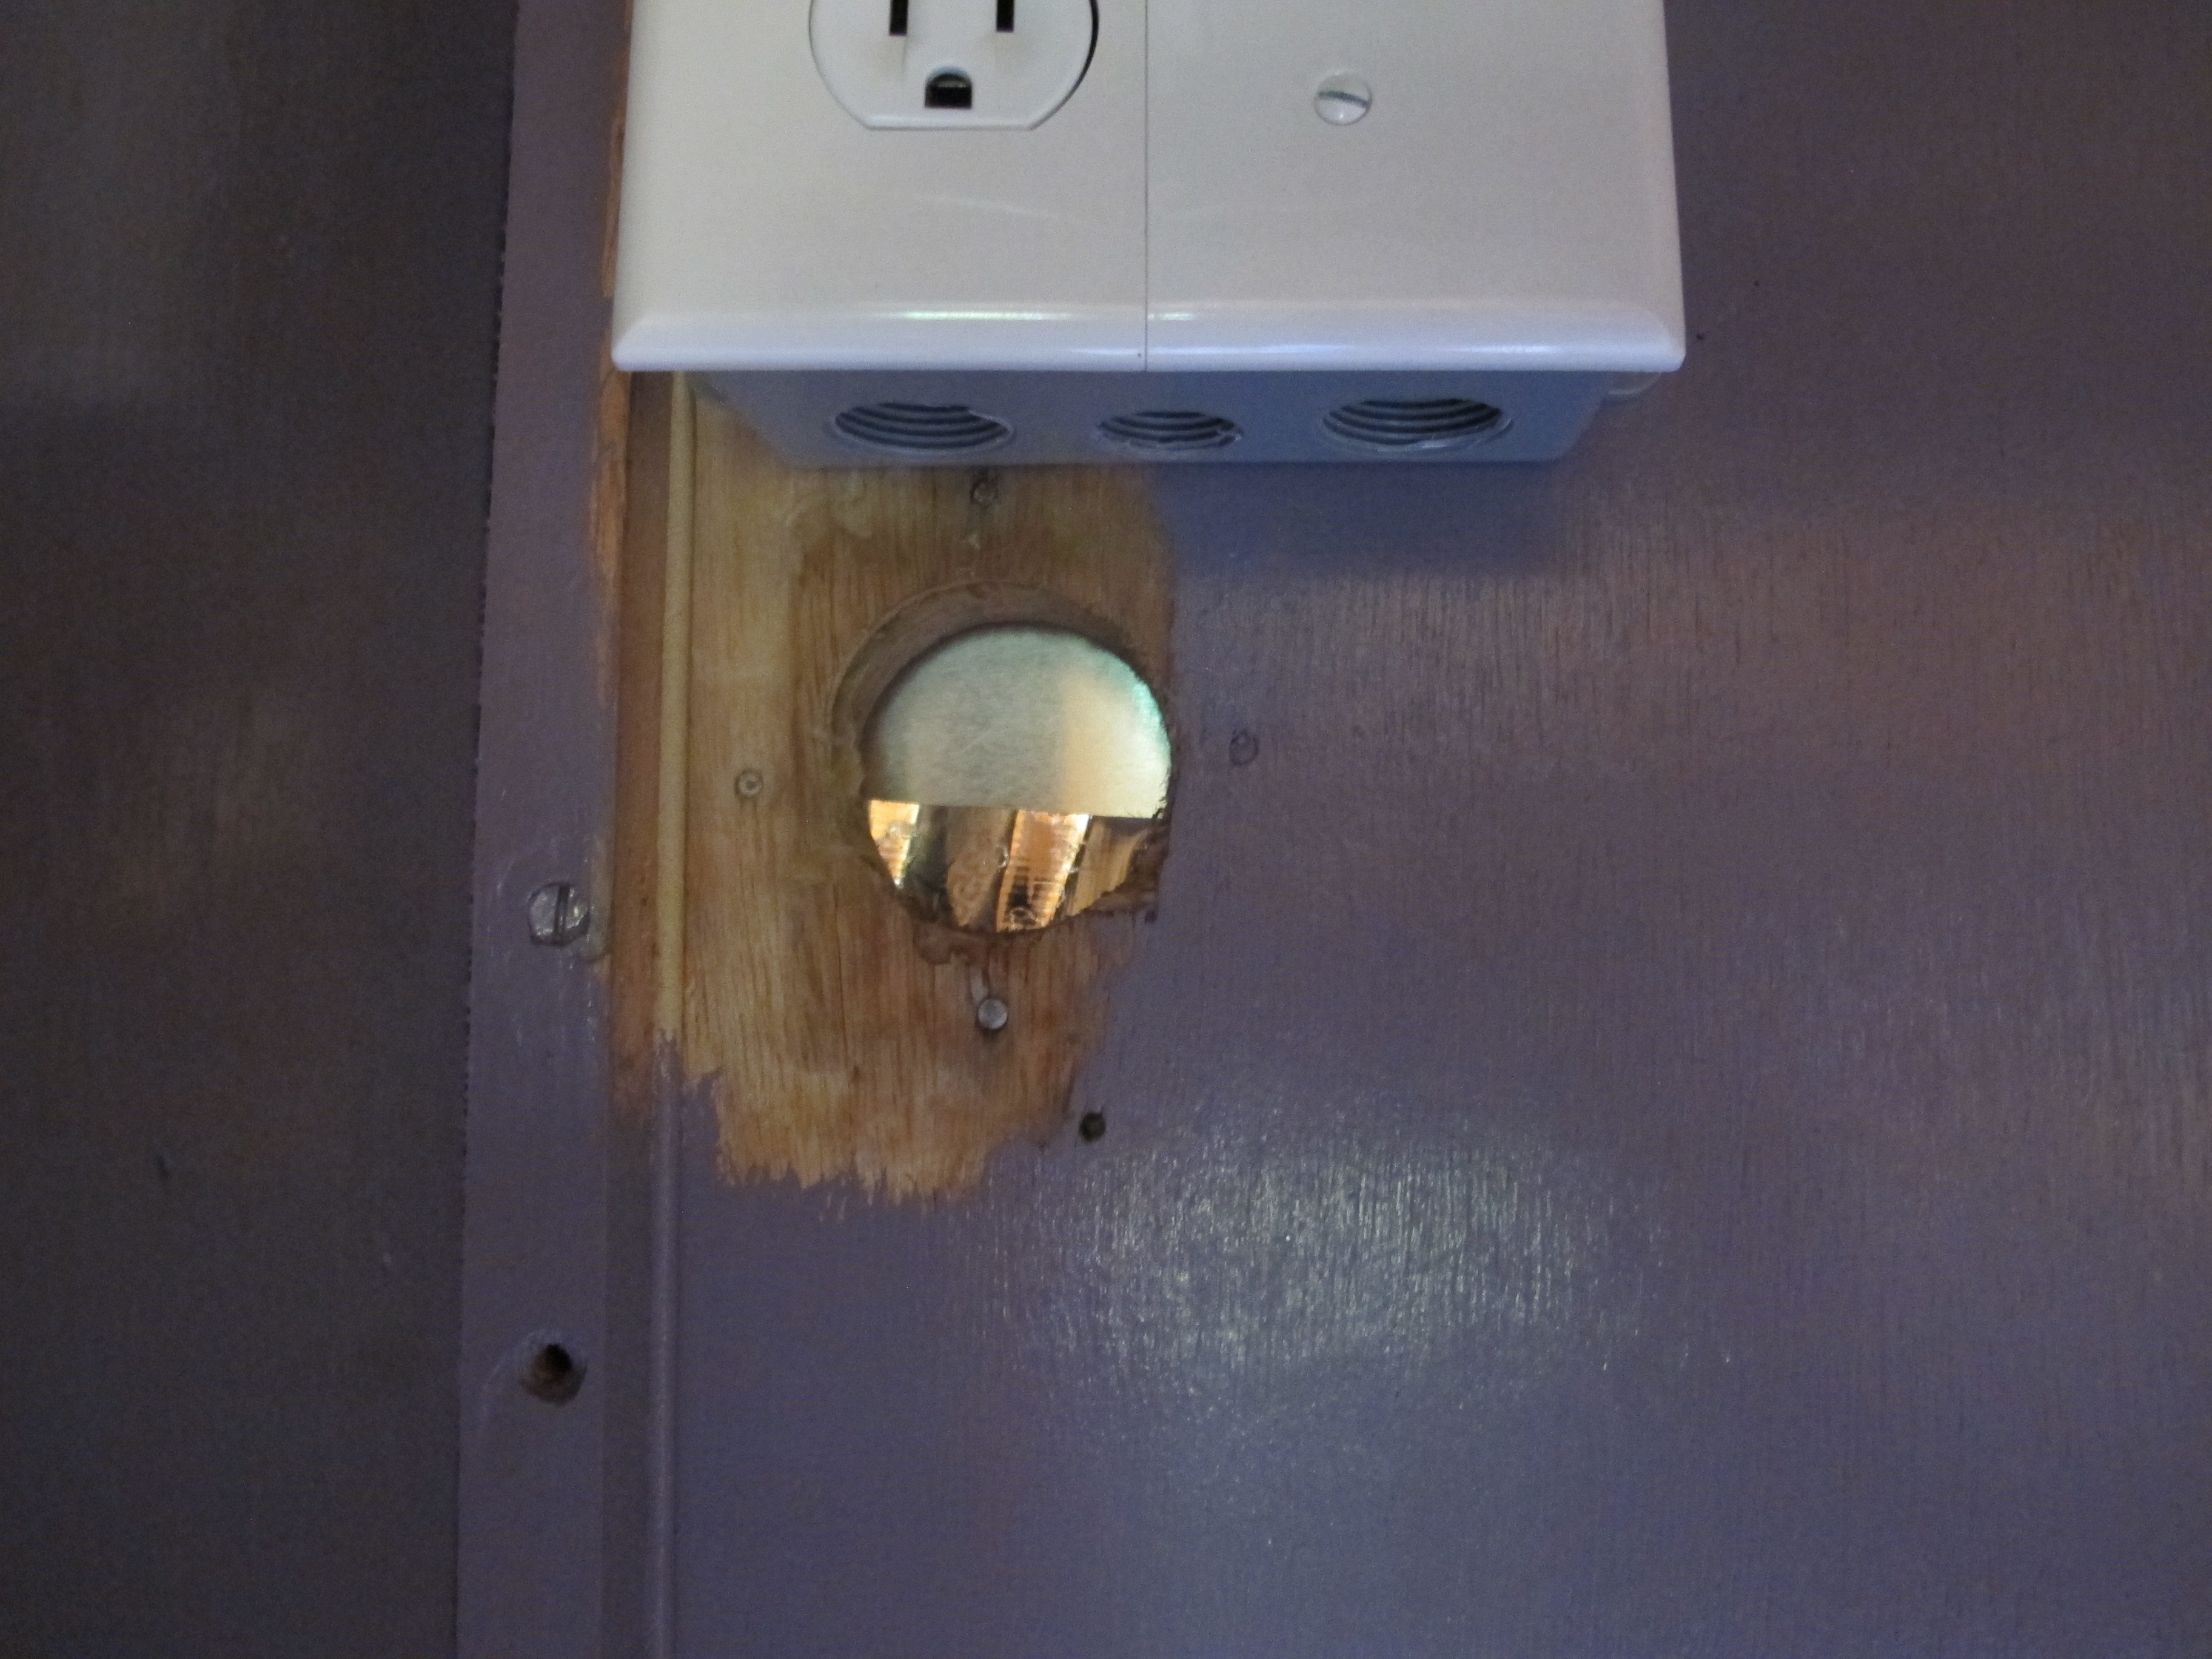
Here’s the hole where the power inlet used to be.
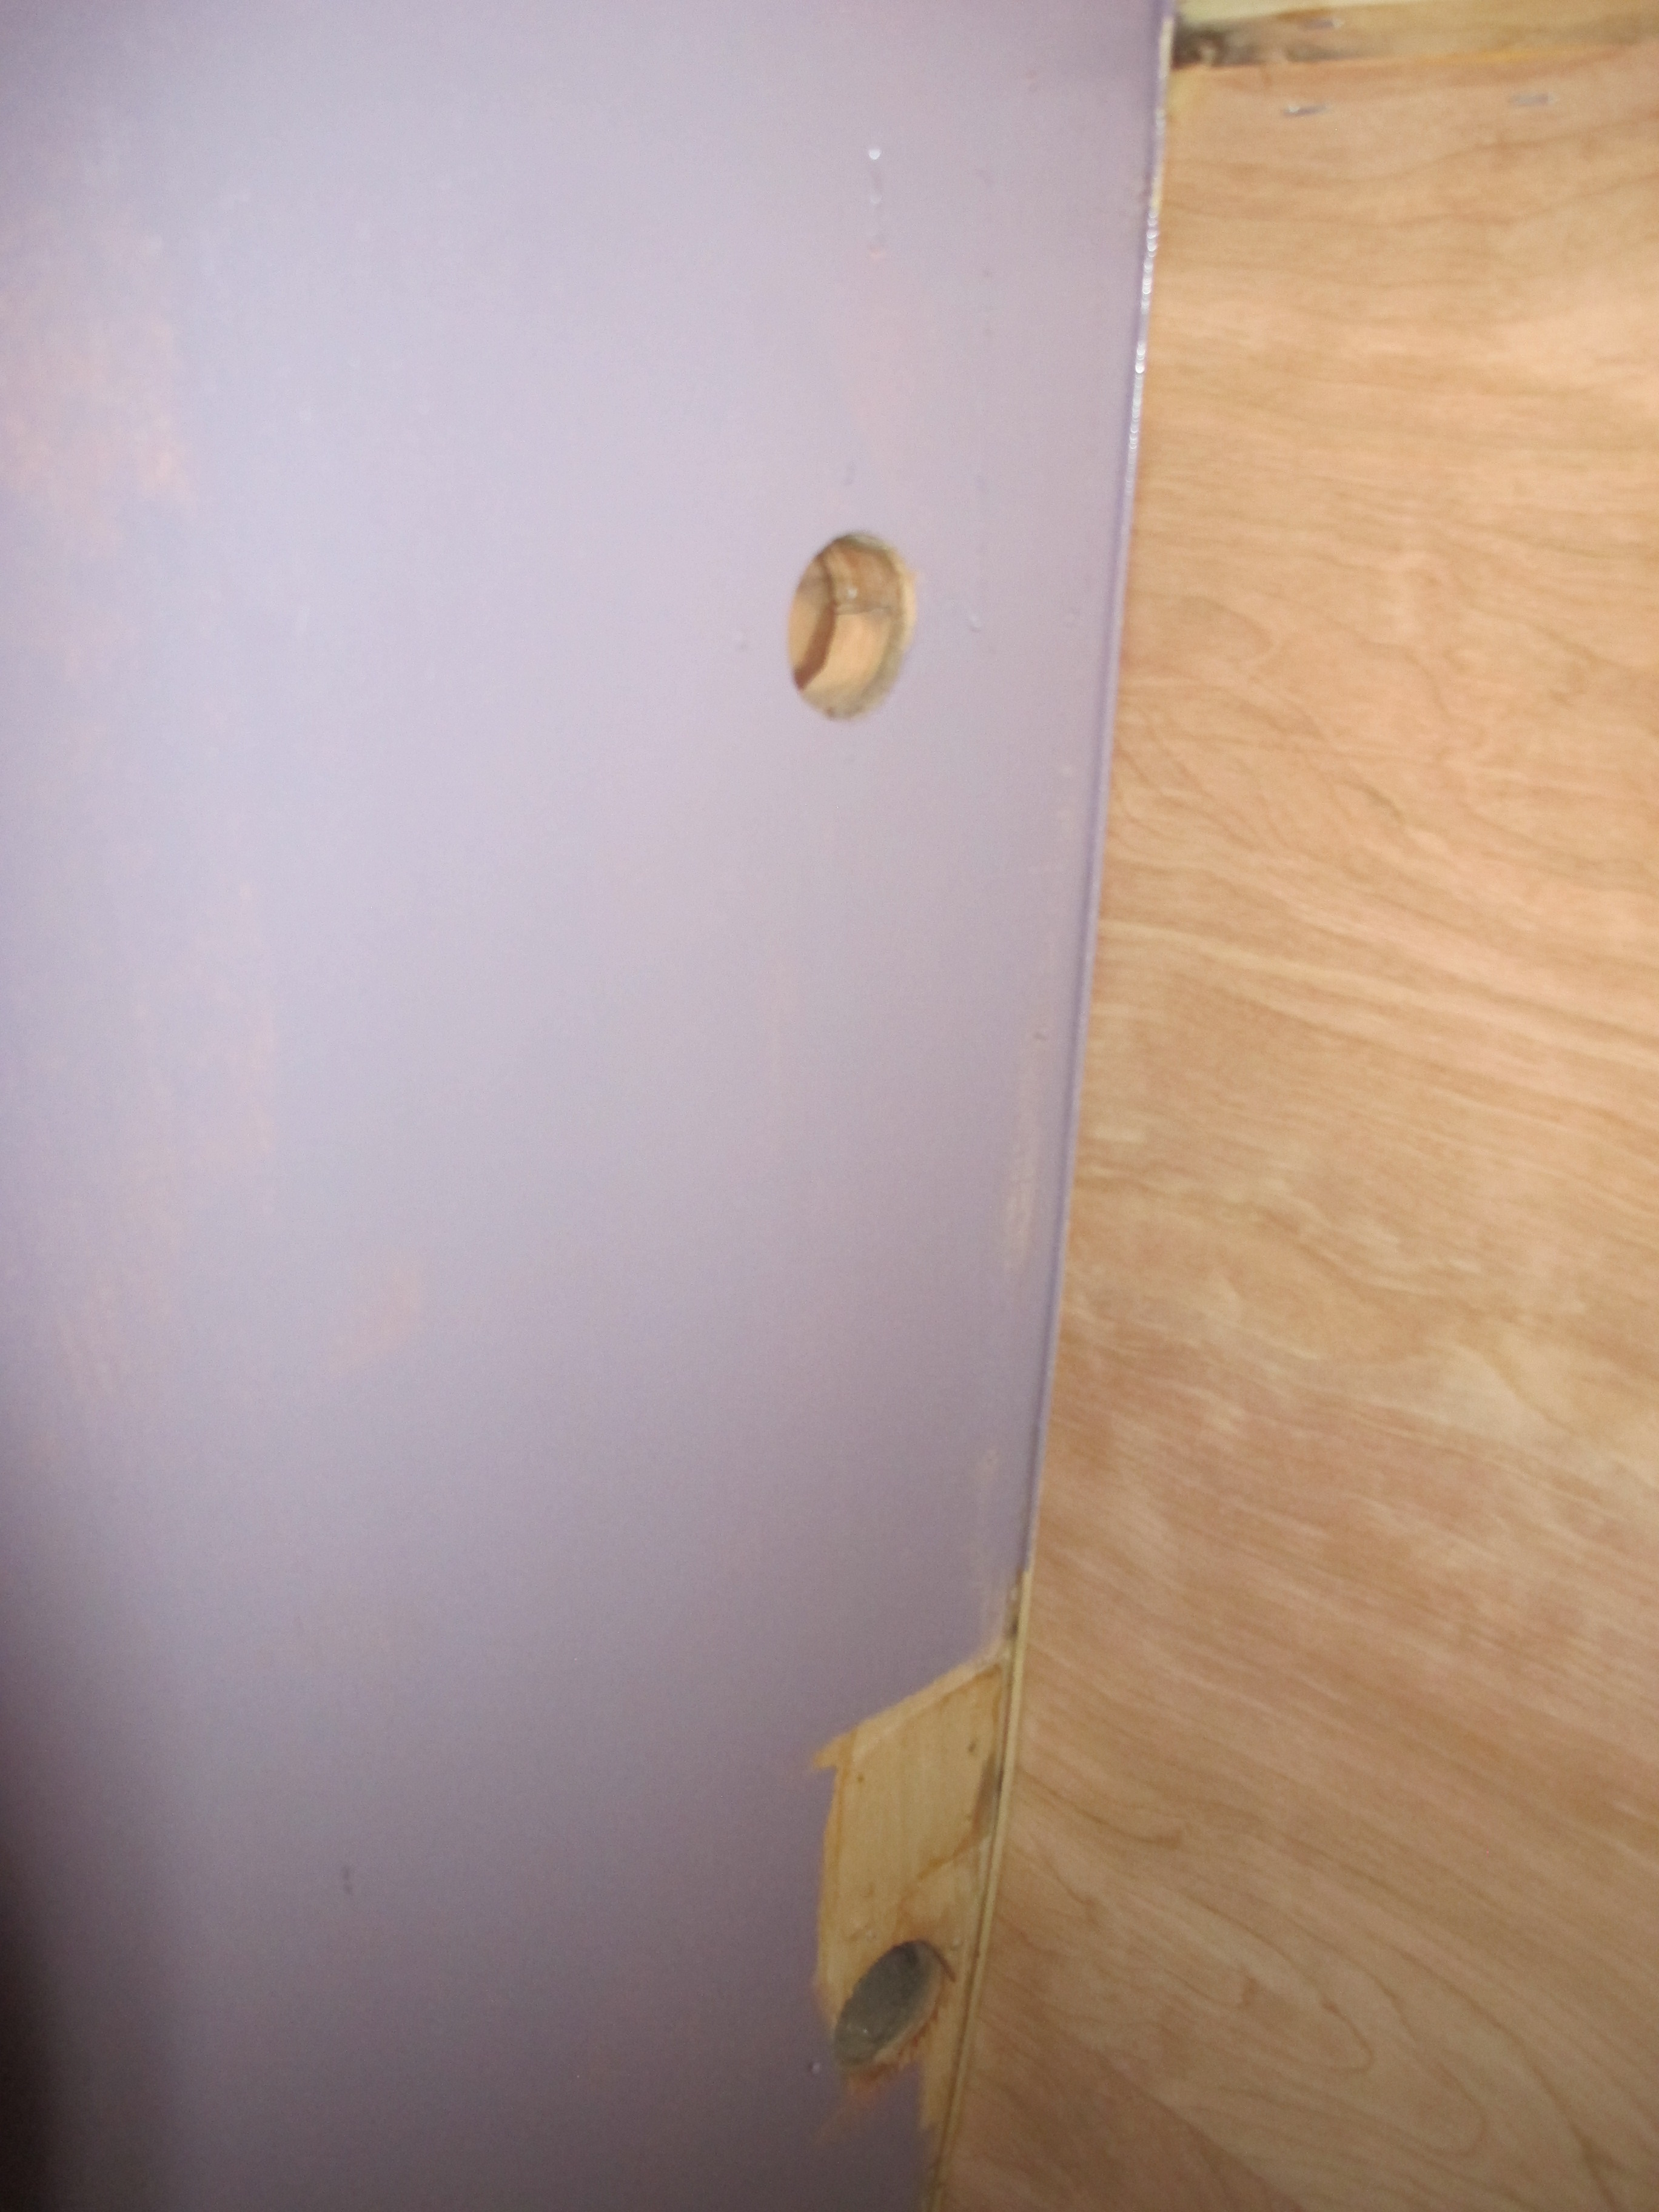
These holes were for the sink drain and vent. There were galvanized pipes here, and I promptly did away with those. They were taking up way too much space!
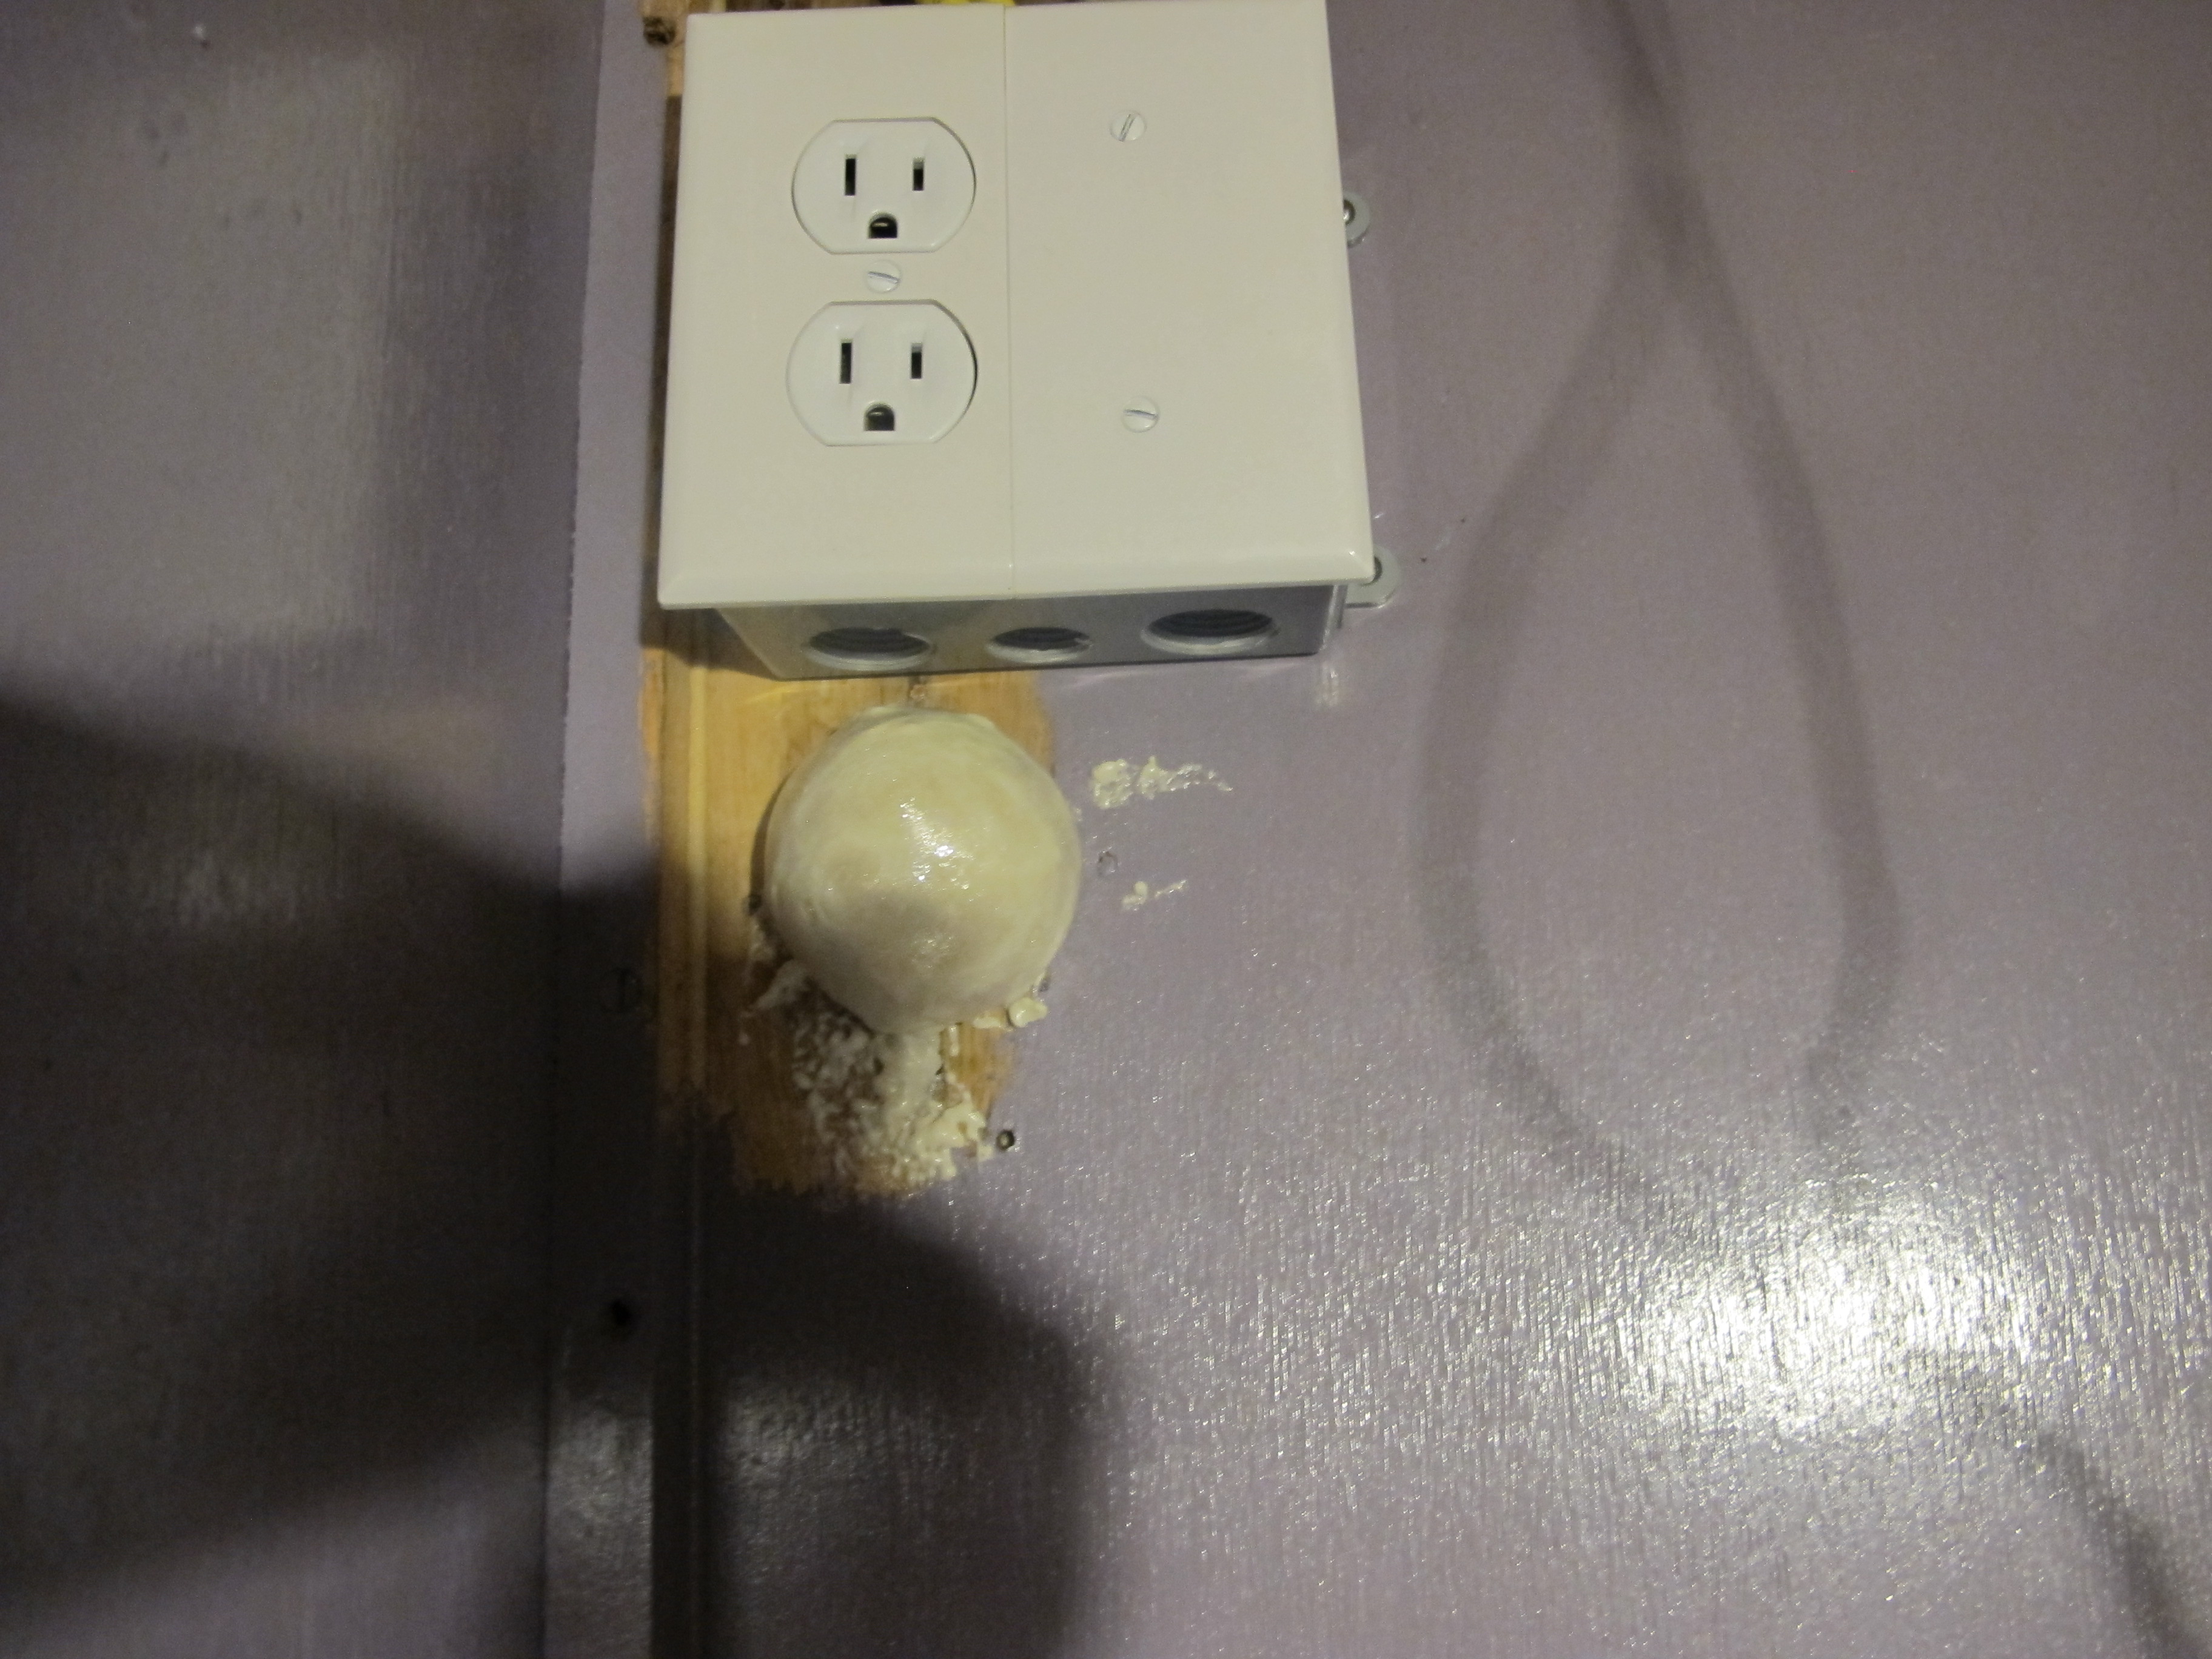
The hole after spraying some foam into it. It expanded into a bubble, it was kind of funny.
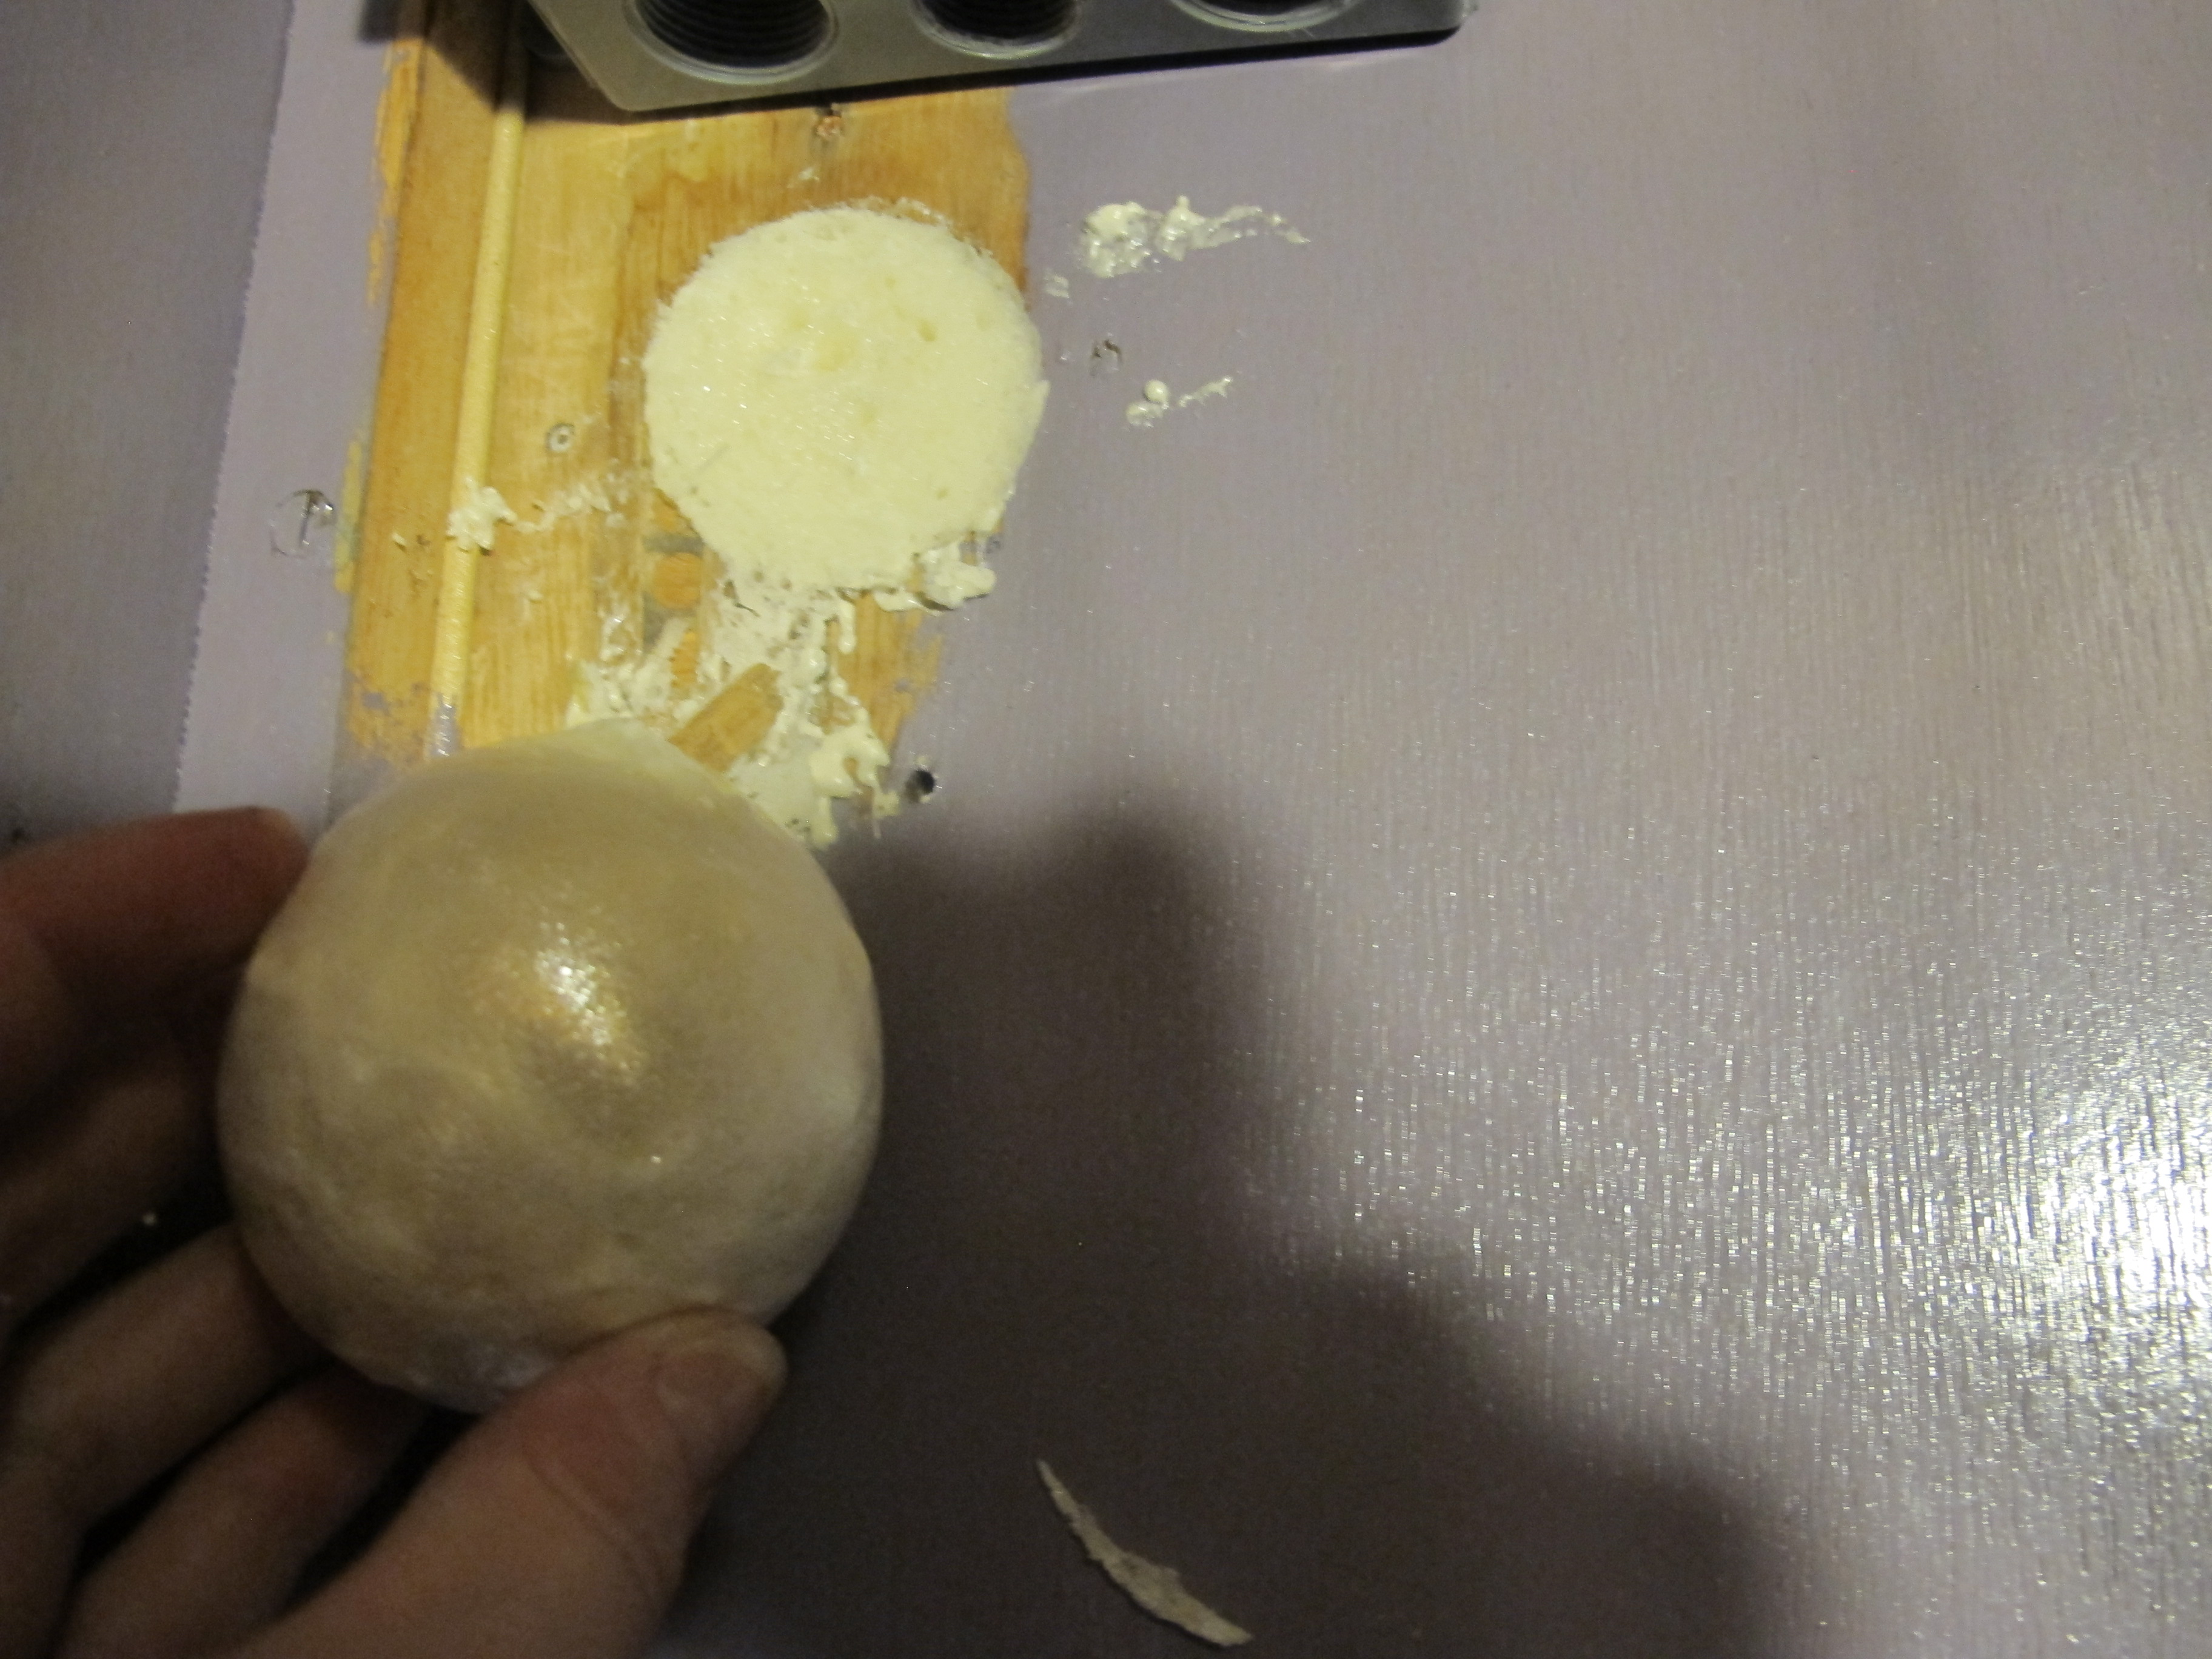
After it dried, I cut the excess off with a kitchen knife. This stuff works great!
After installing the mirrors behind the star cutouts in my benches, I noticed the mirror was reflecting the backside of the wood, and it wasn’t pretty. I decided to remove the mirrors and paint the backside purple so it would look better. Then I reinstalled the mirrors and secured the benches to the floor.
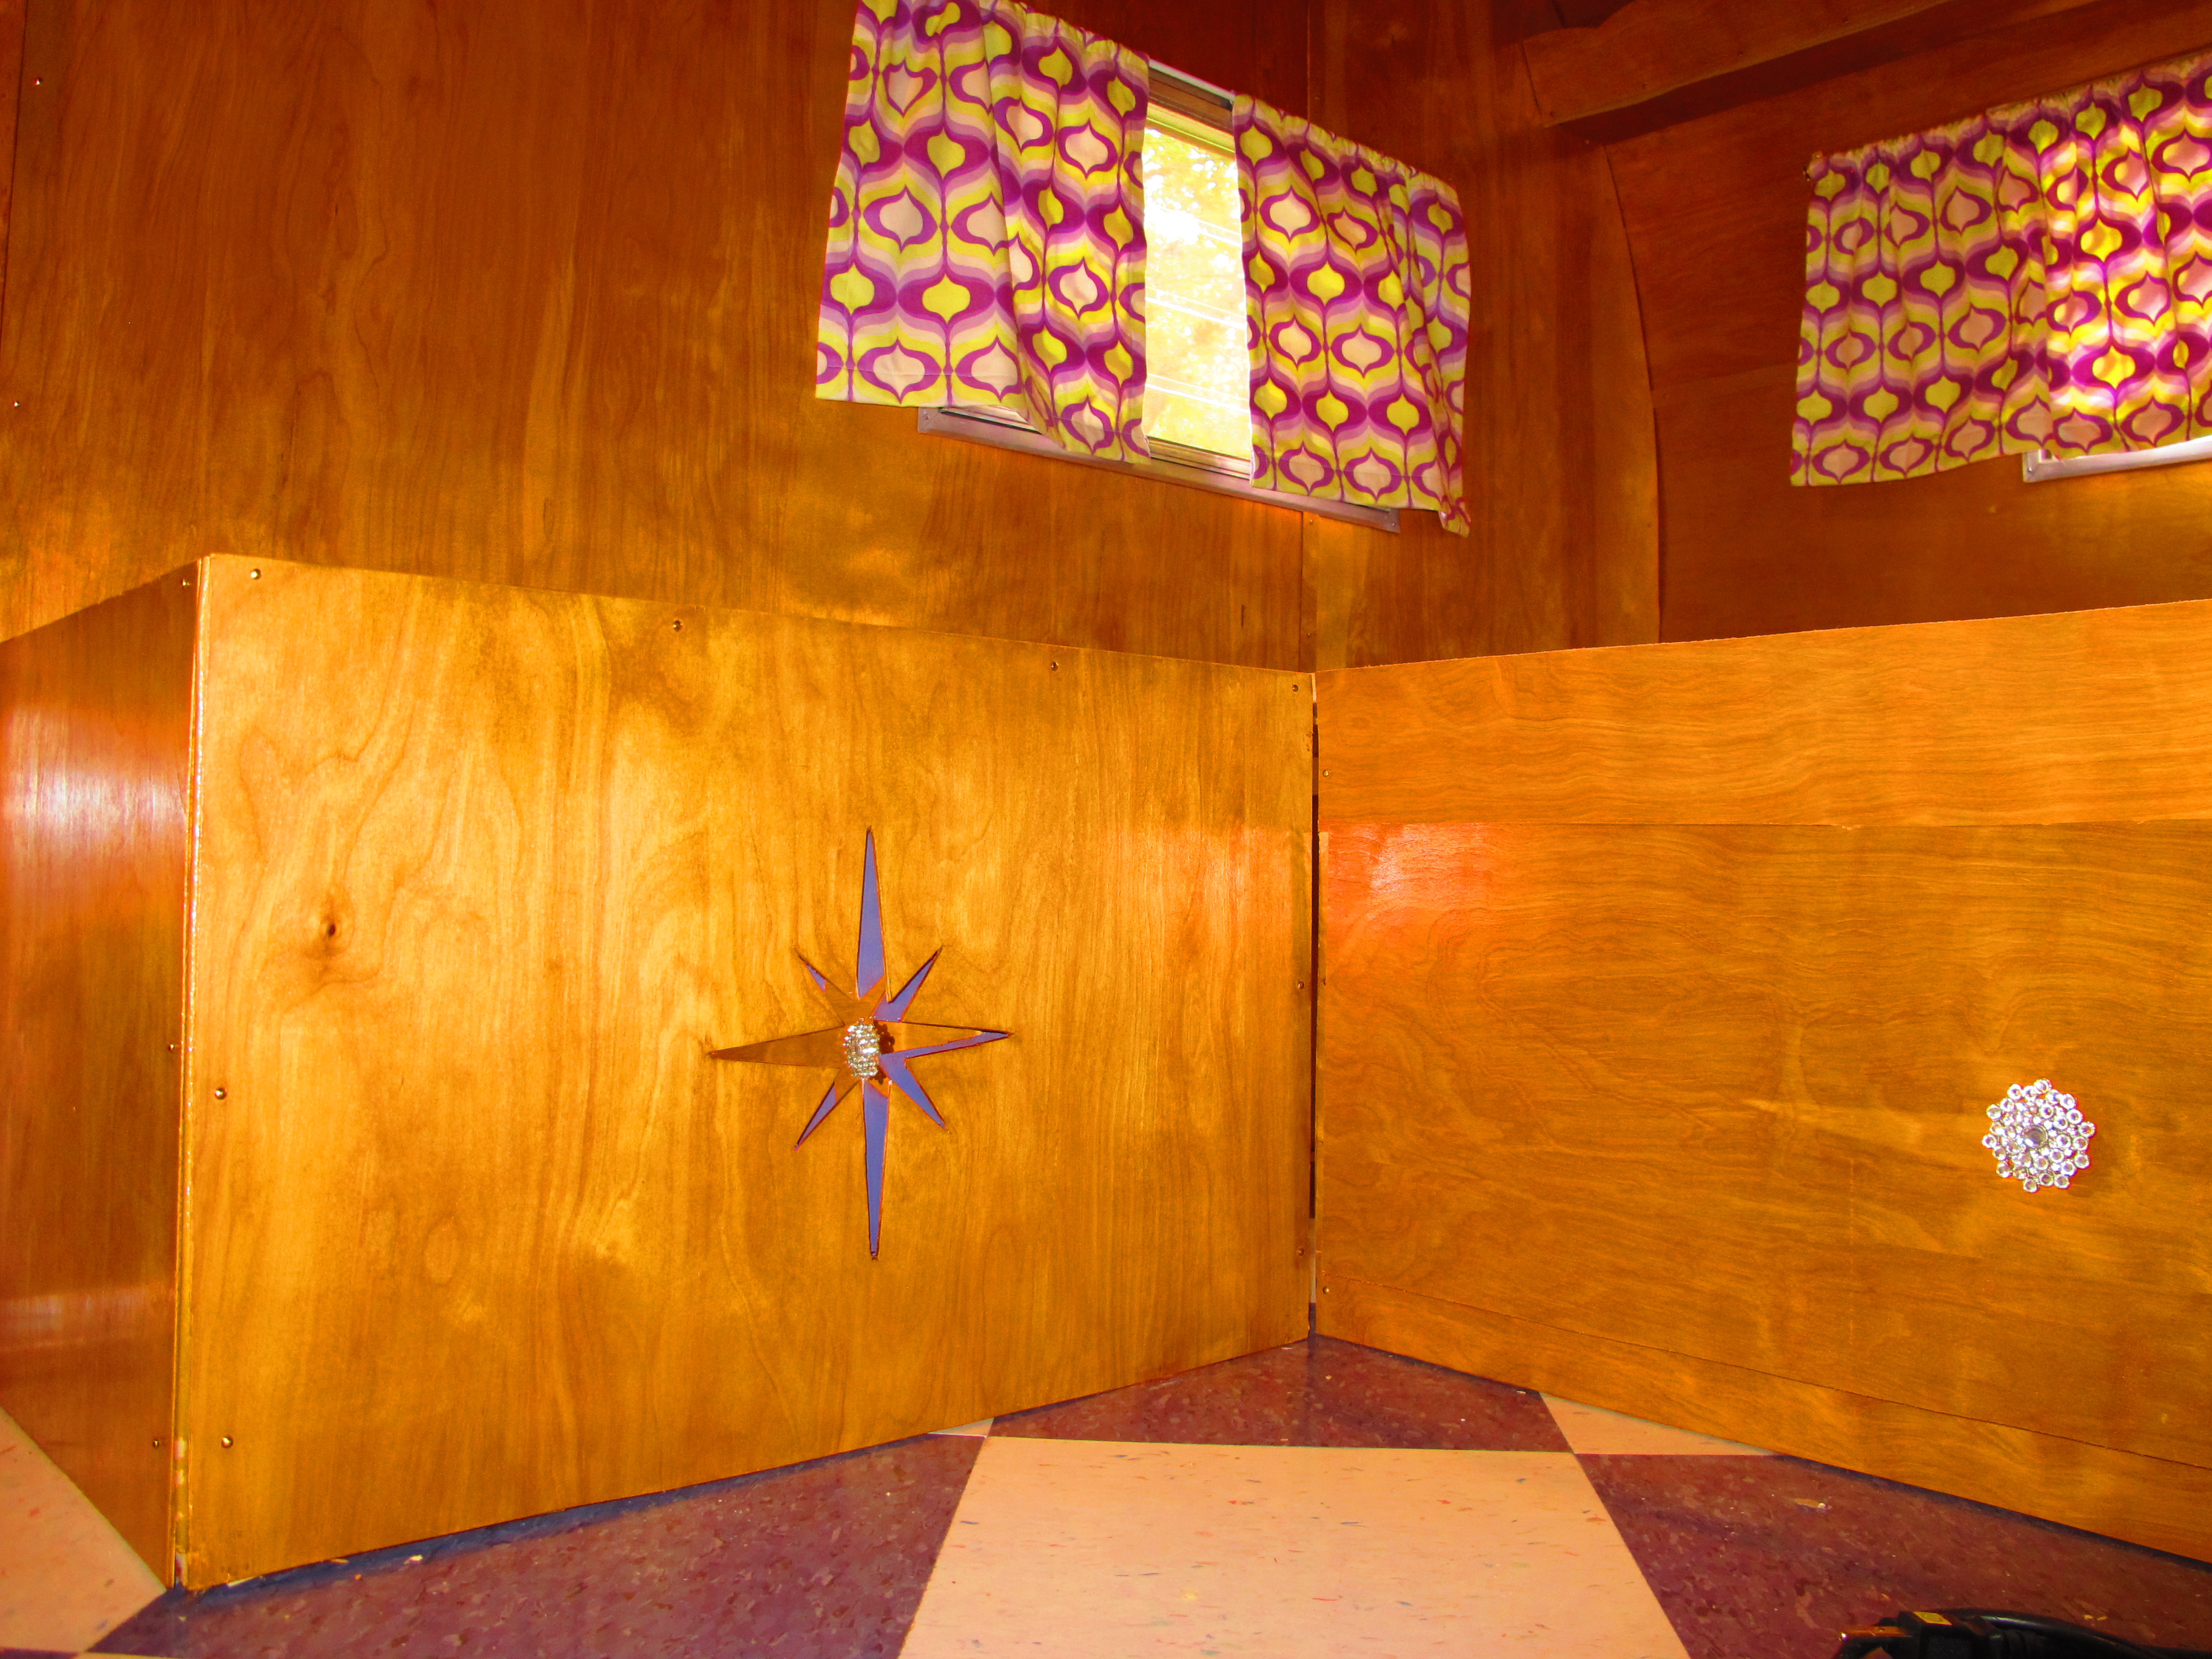
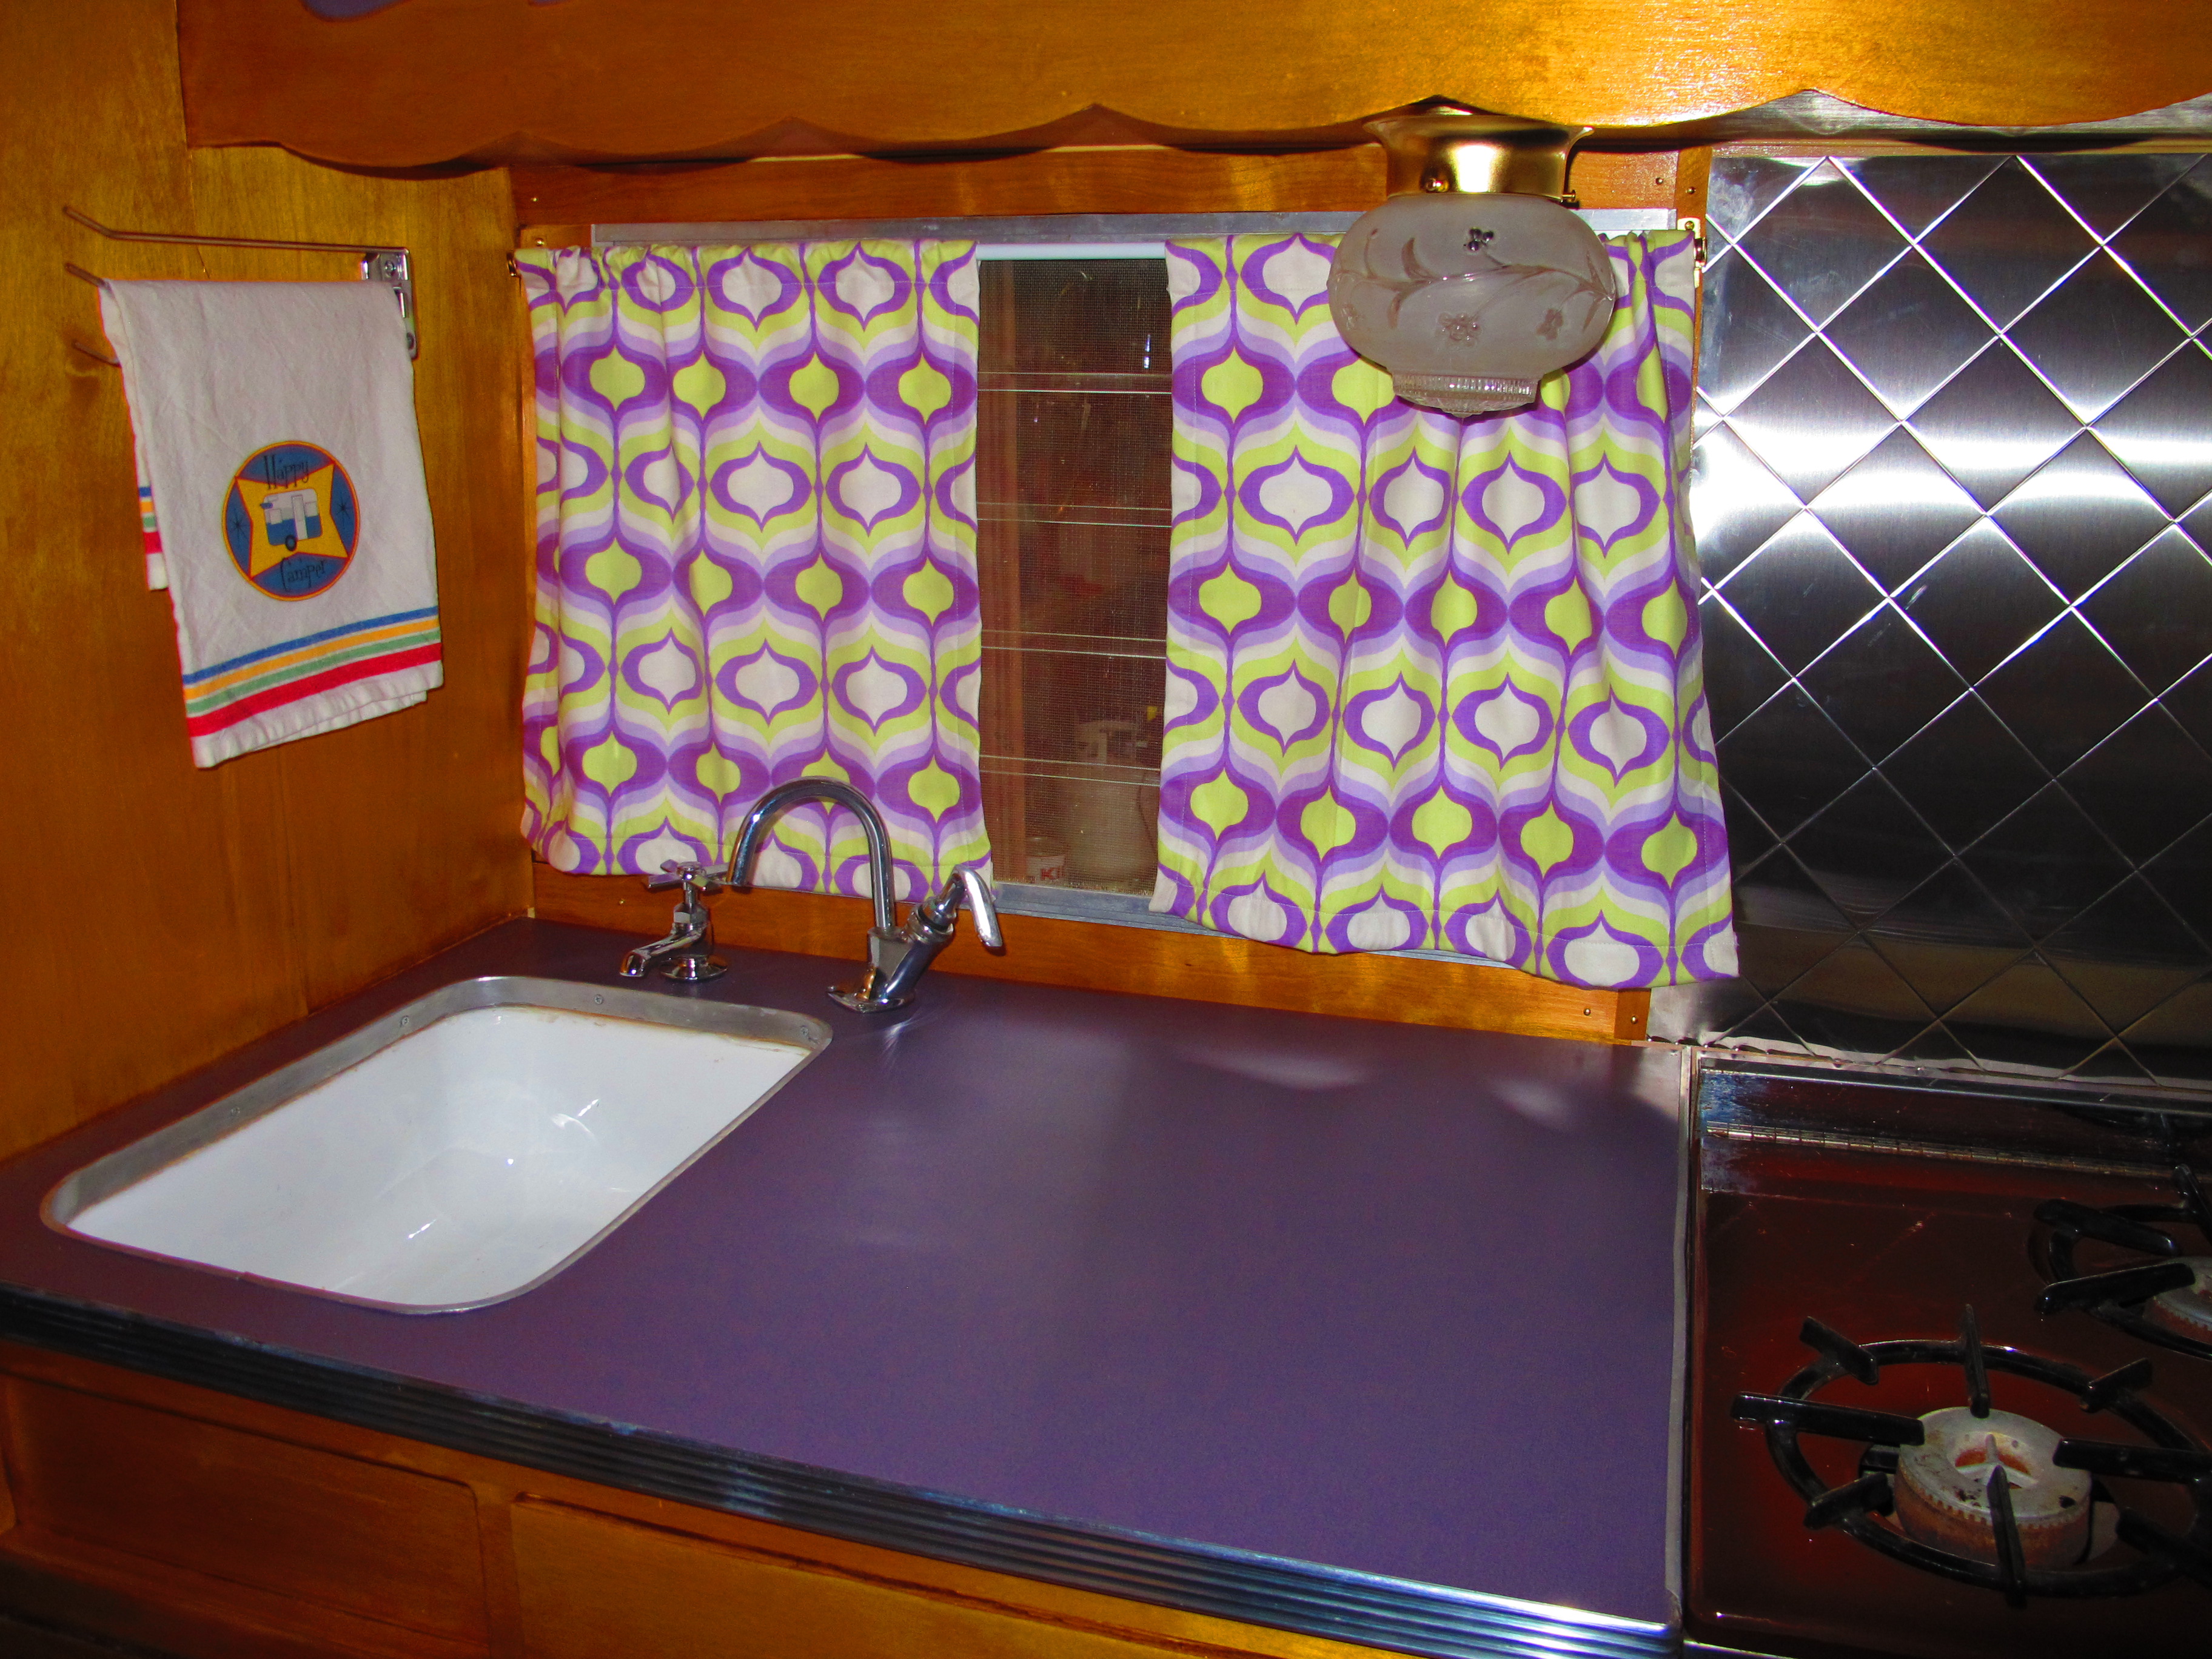
While the purple paint was drying, I decided to hang the curtains. You can see them in the above photo, but I’ll post another one here at a different angle. I think they look so nice against the shellacked wood!

I also finished adding some wood trim around the window in the kitchen.
My friend, Tracy, gave me this doormat with a J on it. I’ve been using it for the house, but now I can also use it for Junebug, how perfect! ![]()

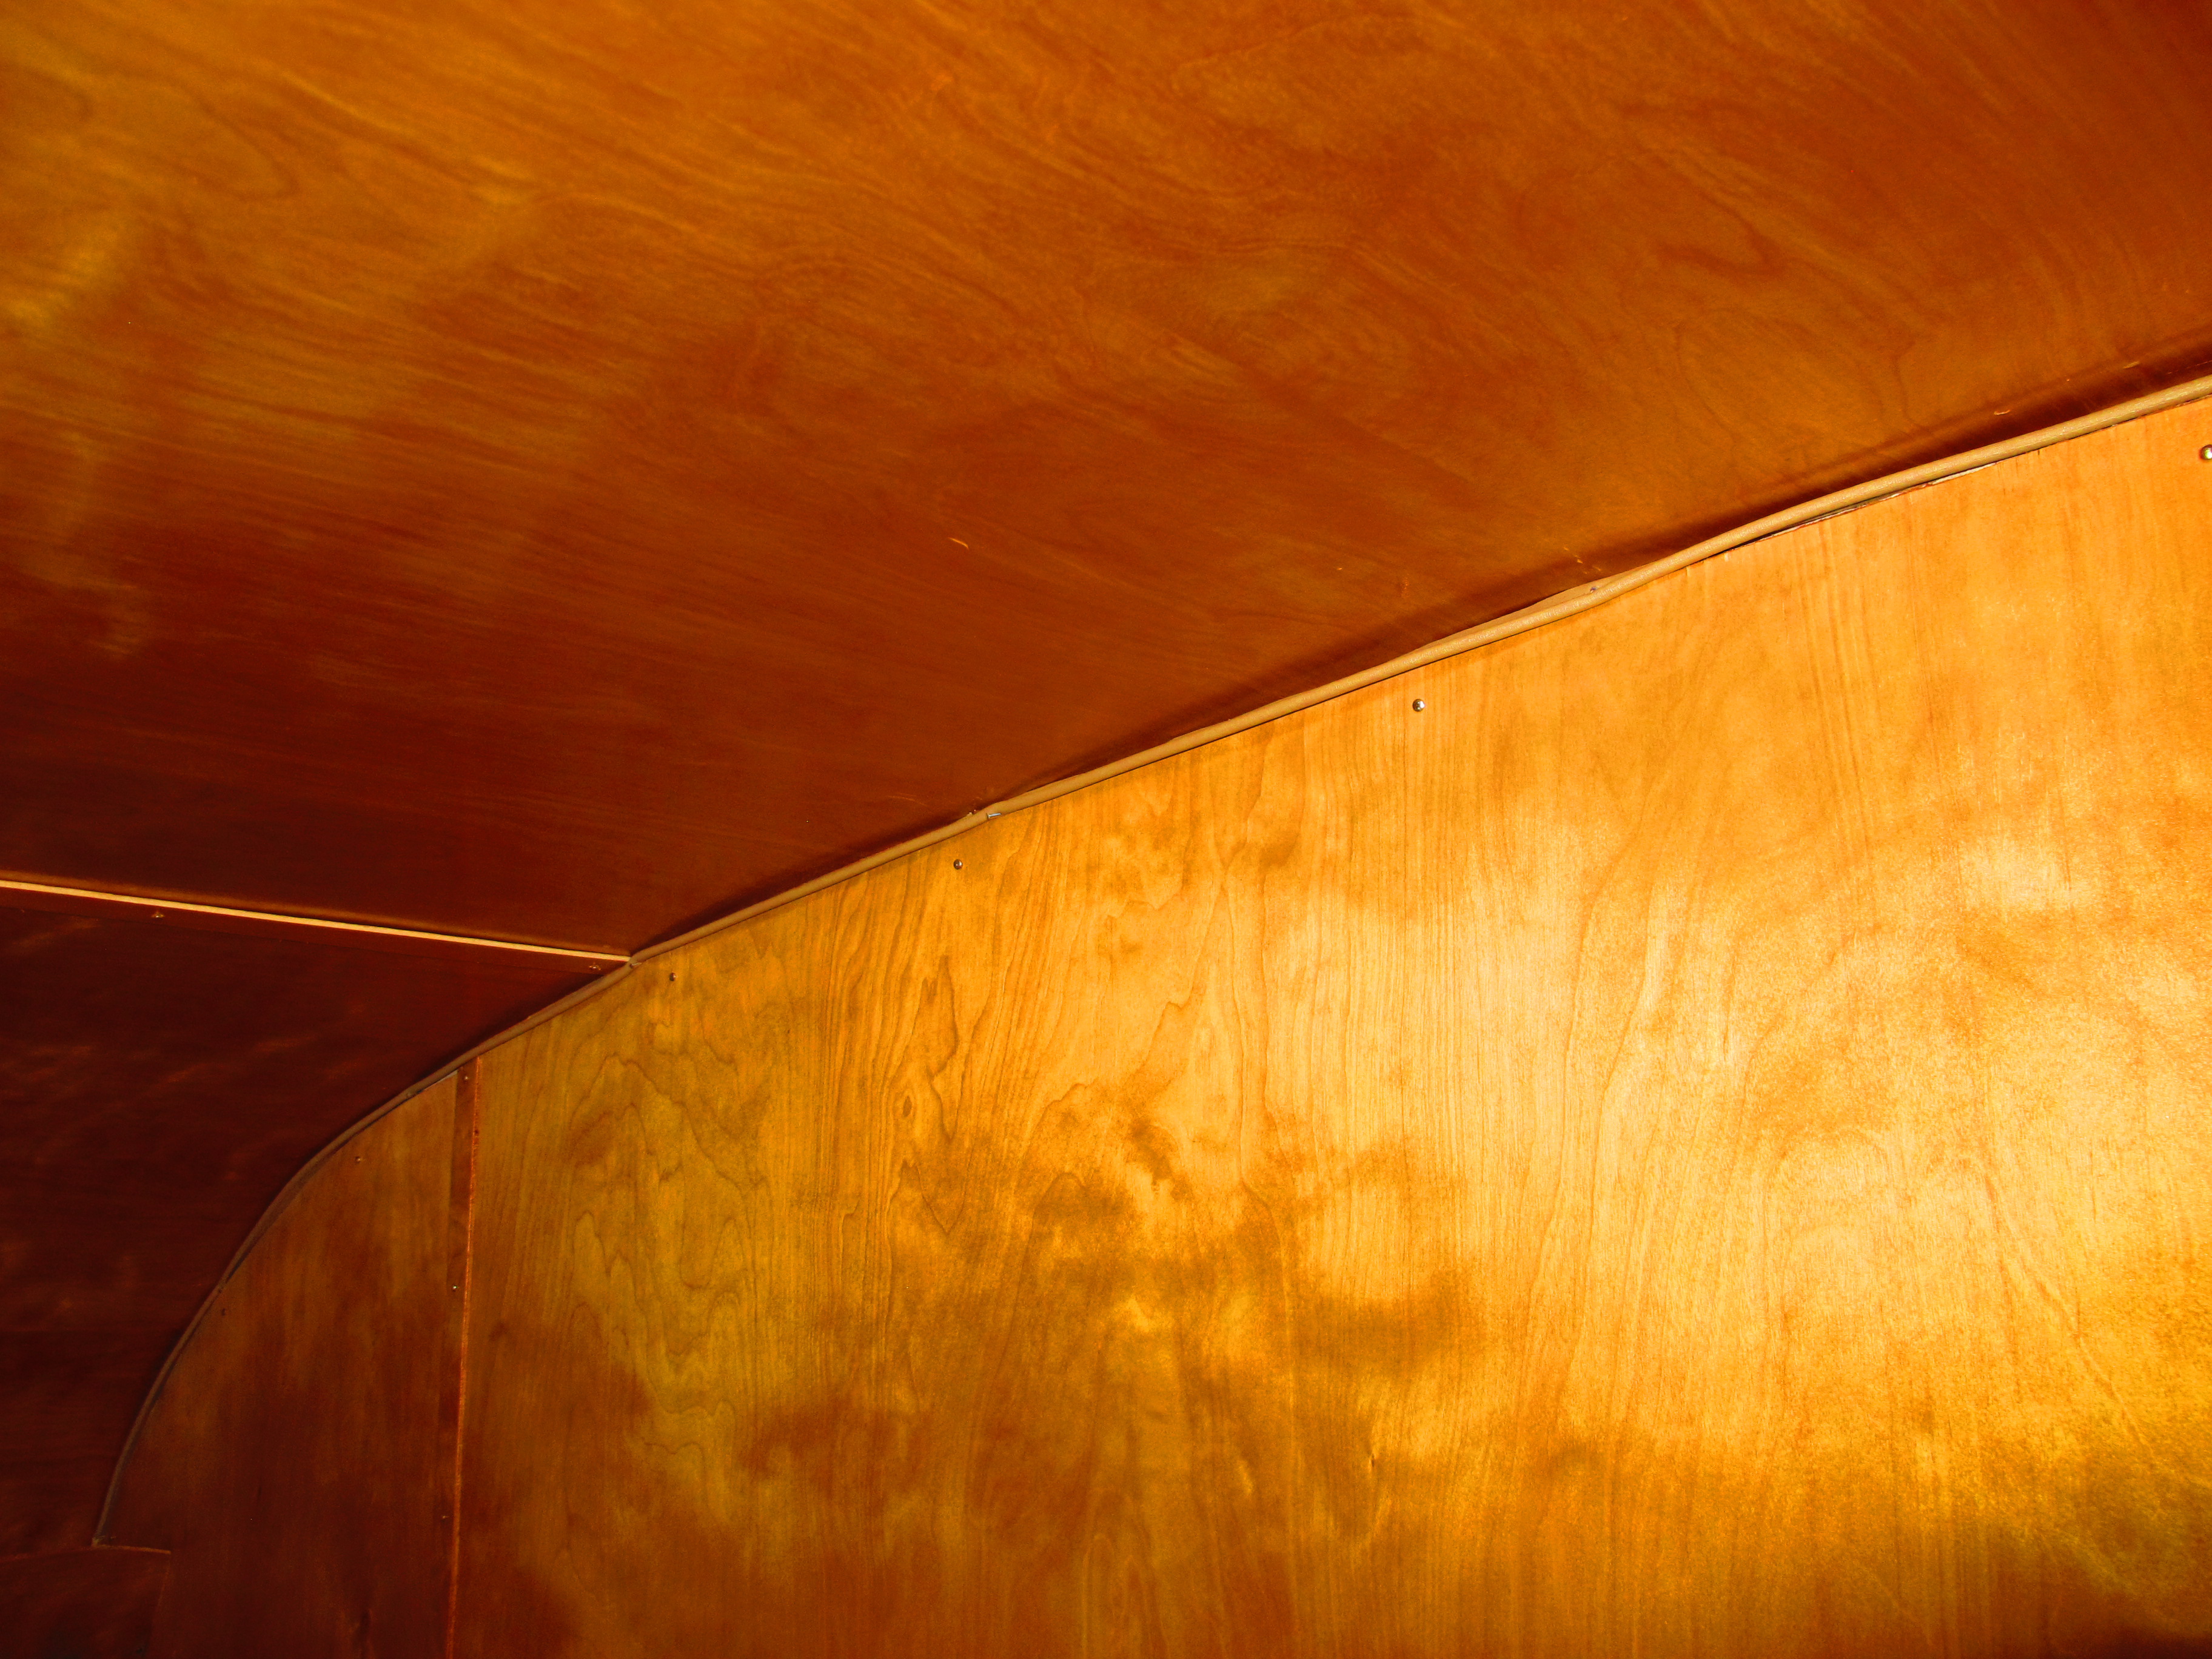
Next, I needed to add some vinyl welt in the seams between the walls and the ceiling. I was supposed to do this before I attached the ceiling panels, but I totally forgot. oops My cutouts for the wall panels weren’t exactly the right size, so I needed to add the welt (similar to the original design) to cover up the gap. I nailed it in using tiny nails so they weren’t too noticeable. It isn’t perfect, but I think it looks pretty good and it covers the gap. I actually found this welt through a boat supplier. It’s meant for marine upholstery, but it works great for this purpose too! http://veada.com/marine-vinyl-boat-upholstery/vinyl-welt-cord-piping.html.
Before

After
Street side – after
I also added some trim pieces to the door frame.

Here’s a picture of the exterior street side. Can you spot the mistake I made cutting the new skin and had to cover up? I don’t think it looks too bad. You can see it, but it’s not a glaring mistake at least.

While I was at Target, I picked up a couple of frames for my owl art that I plan to hang in Junebug. Oh yeah, in case I didn’t mention it before, I’m obsessed with owls and plan to have an owl theme in Junebug. ![]()
I was really hungry after doing all of the things I just mentioned, so I took a break and made myself a filet mignon with grilled okra and portabella mushroom. I burned my filet a little because the grill’s fire was too hot. Luckily, the flavor was still awesome and I thoroughly enjoyed it. After eating, I got back to work. I wanted to finish making the bench seats today.
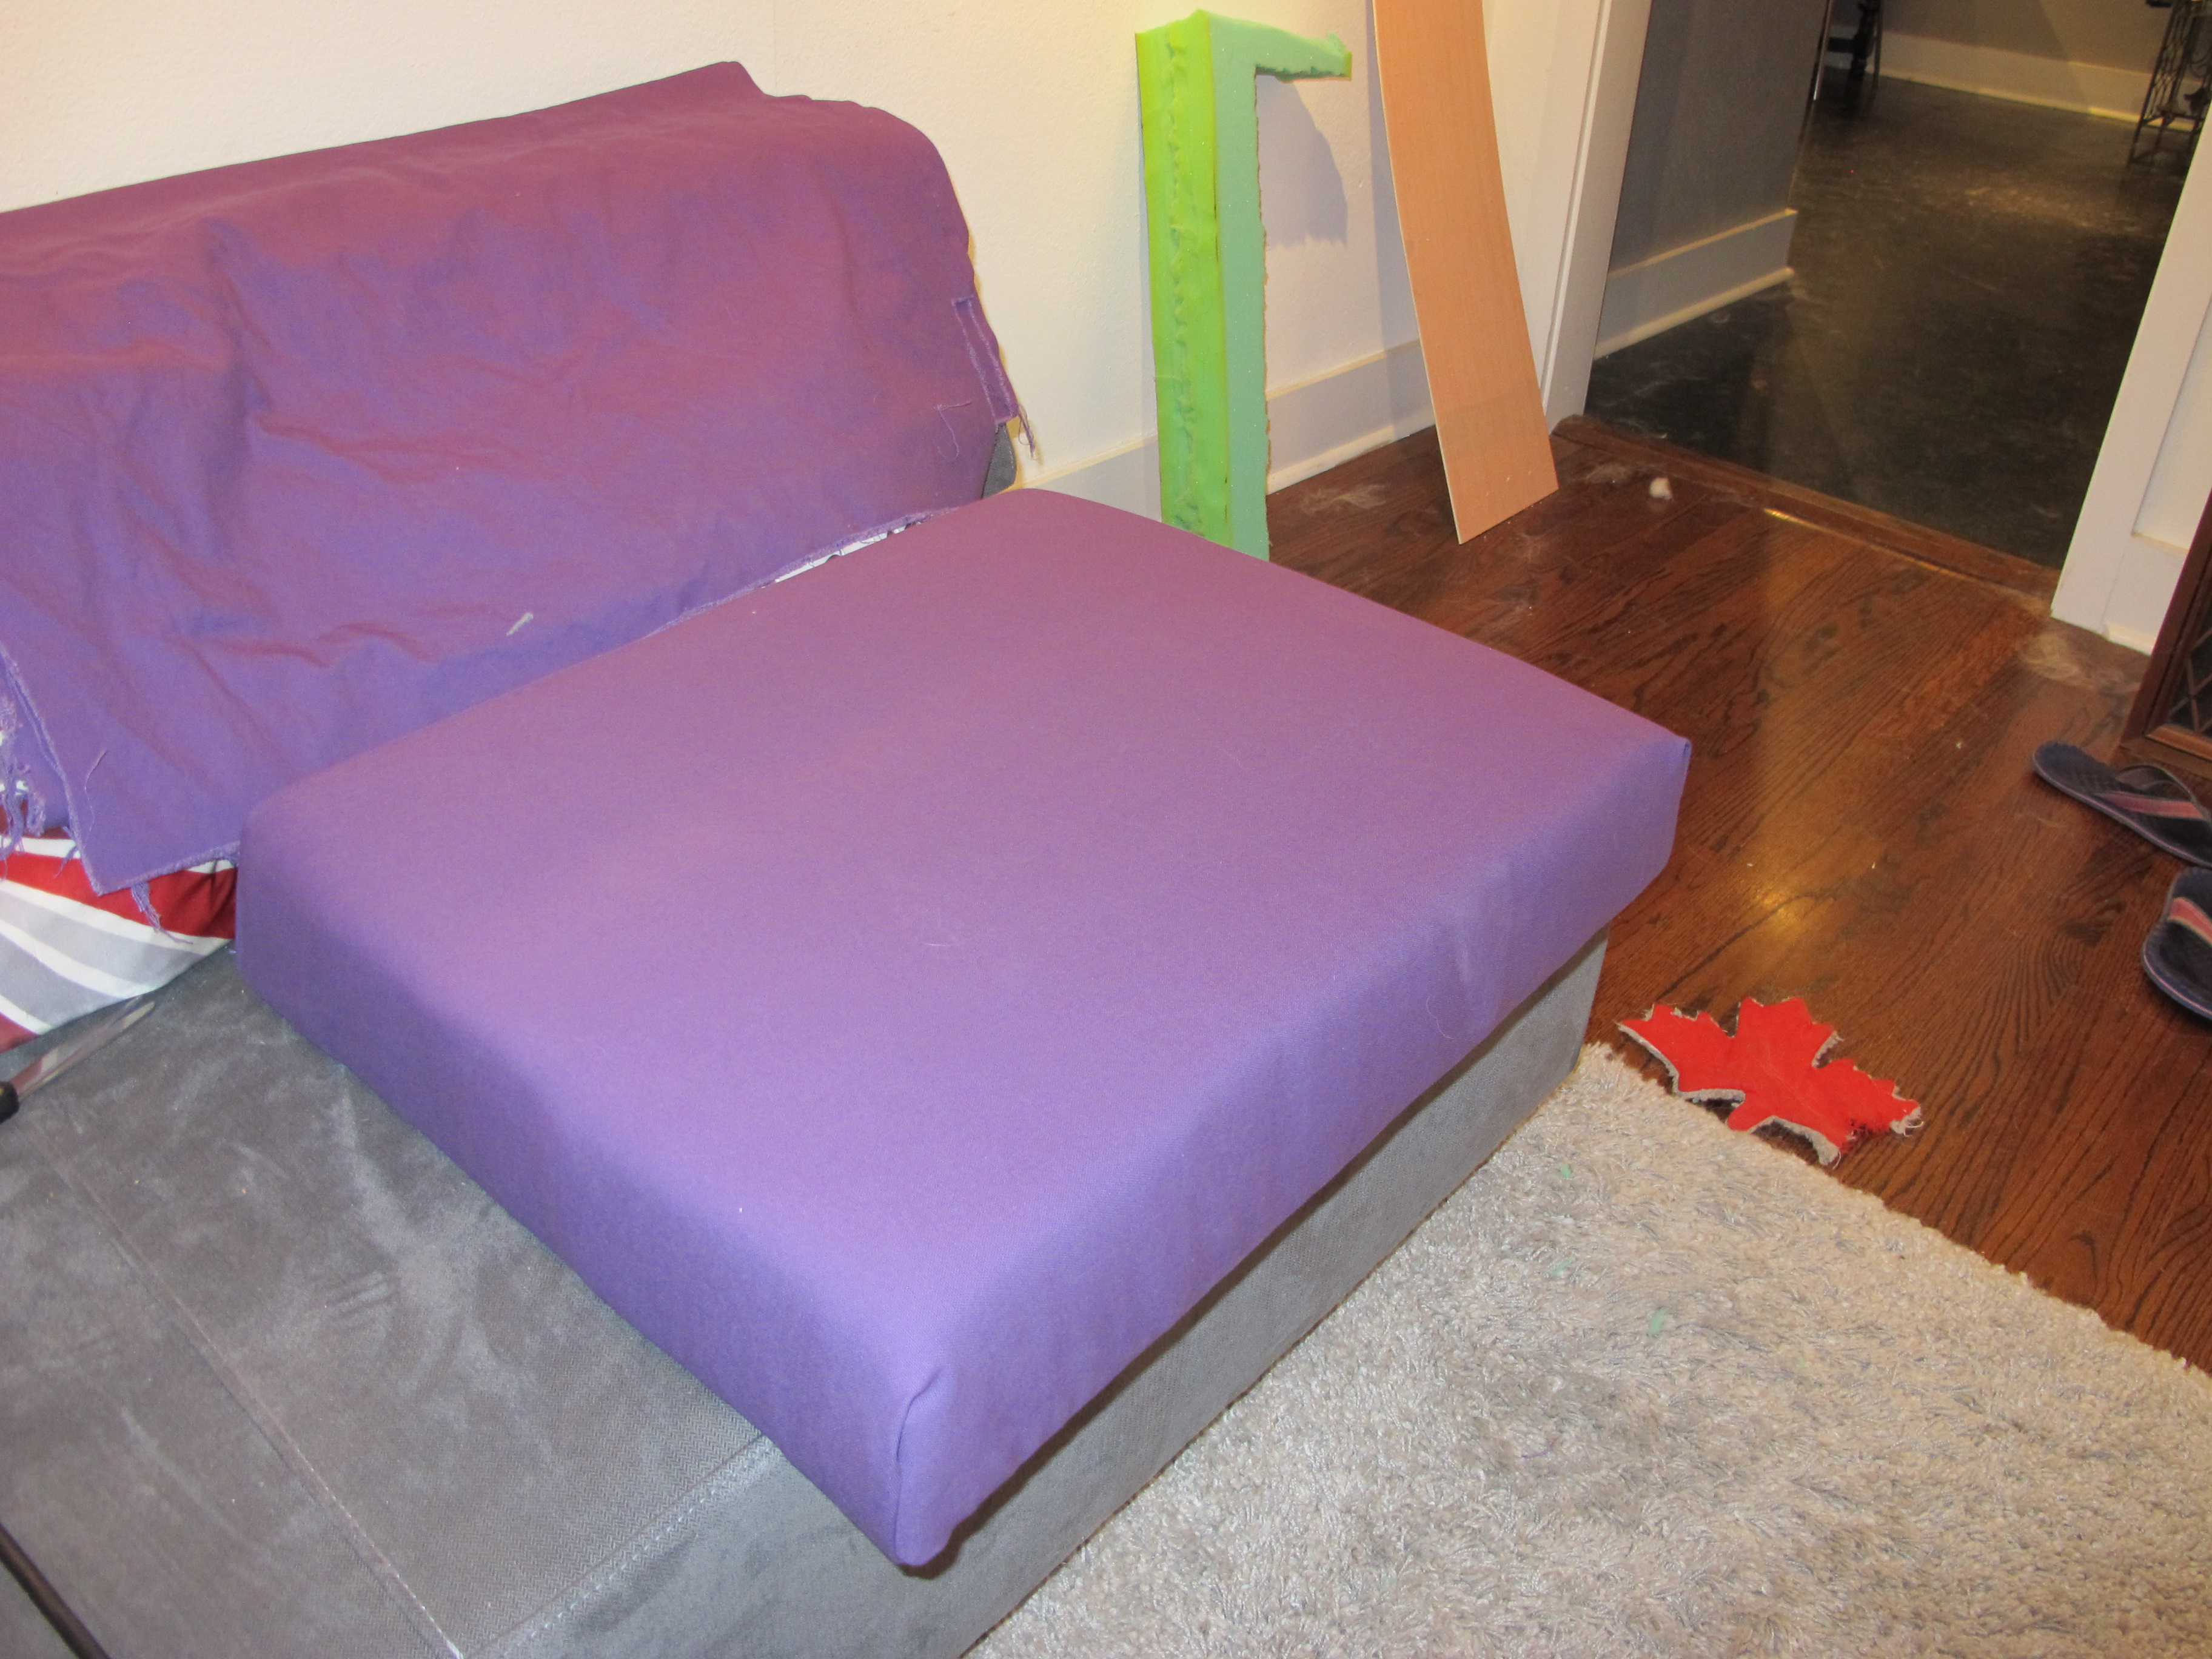
In order to make the seats, I had to take apart the seat backs that I had made back in December. I wanted to reuse the foam and material since it was so expensive. I also removed the material from the long seat cushions since I didn’t need those to be purple anyway because they’ll be covered up with bedding. The foam wasn’t the right size, so I had to cut it and piece together a couple of different sizes to get it to work. Once wrapped with the batting and material, I don’t think the seam in the foam will be noticeable.

Foam cut and ready for the batting.
I discovered that my good serrated kitchen knife worked great to cut through the foam! I wish I would have discovered that the first time I was making these seat cushions. Live and learn I guess.
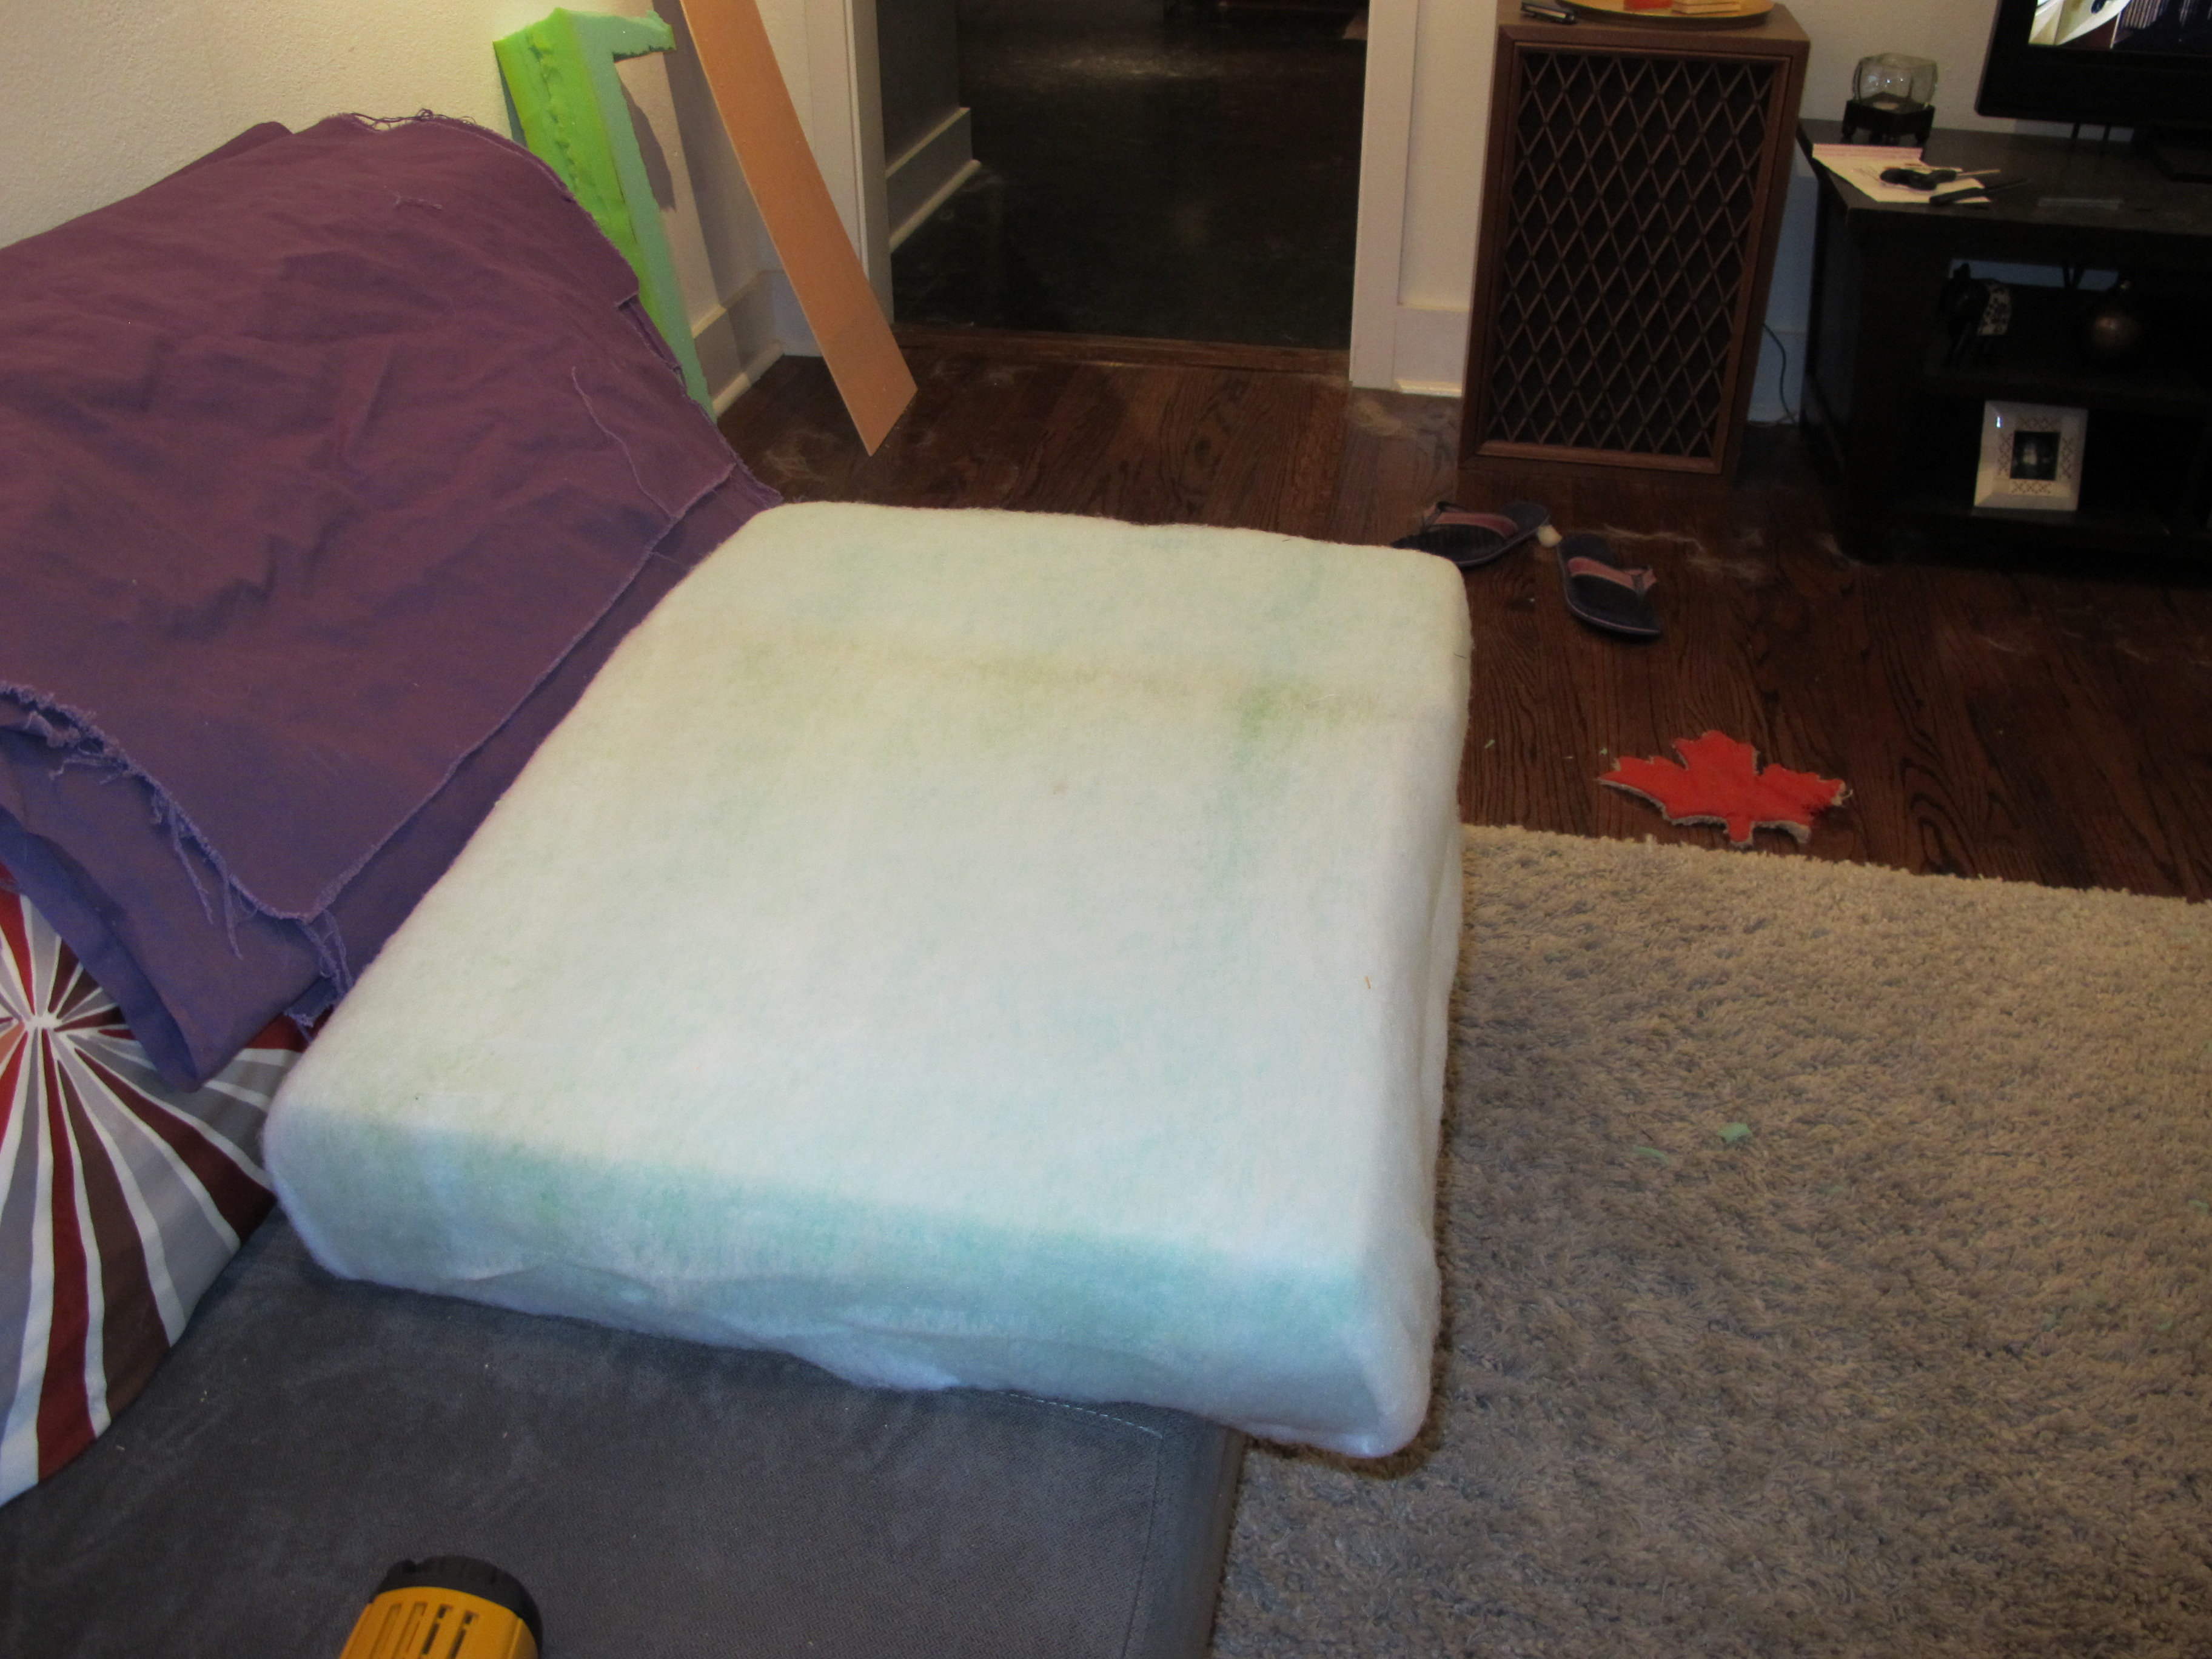
Batting is stapled down and the cushion is ready for the material.

Adding the material.
Seat cushion is complete!

All the seat cushions and seat backs are now complete! The black cushions in back are the original ones from the camper and will be used for the bed. They are actually pretty comfortable!
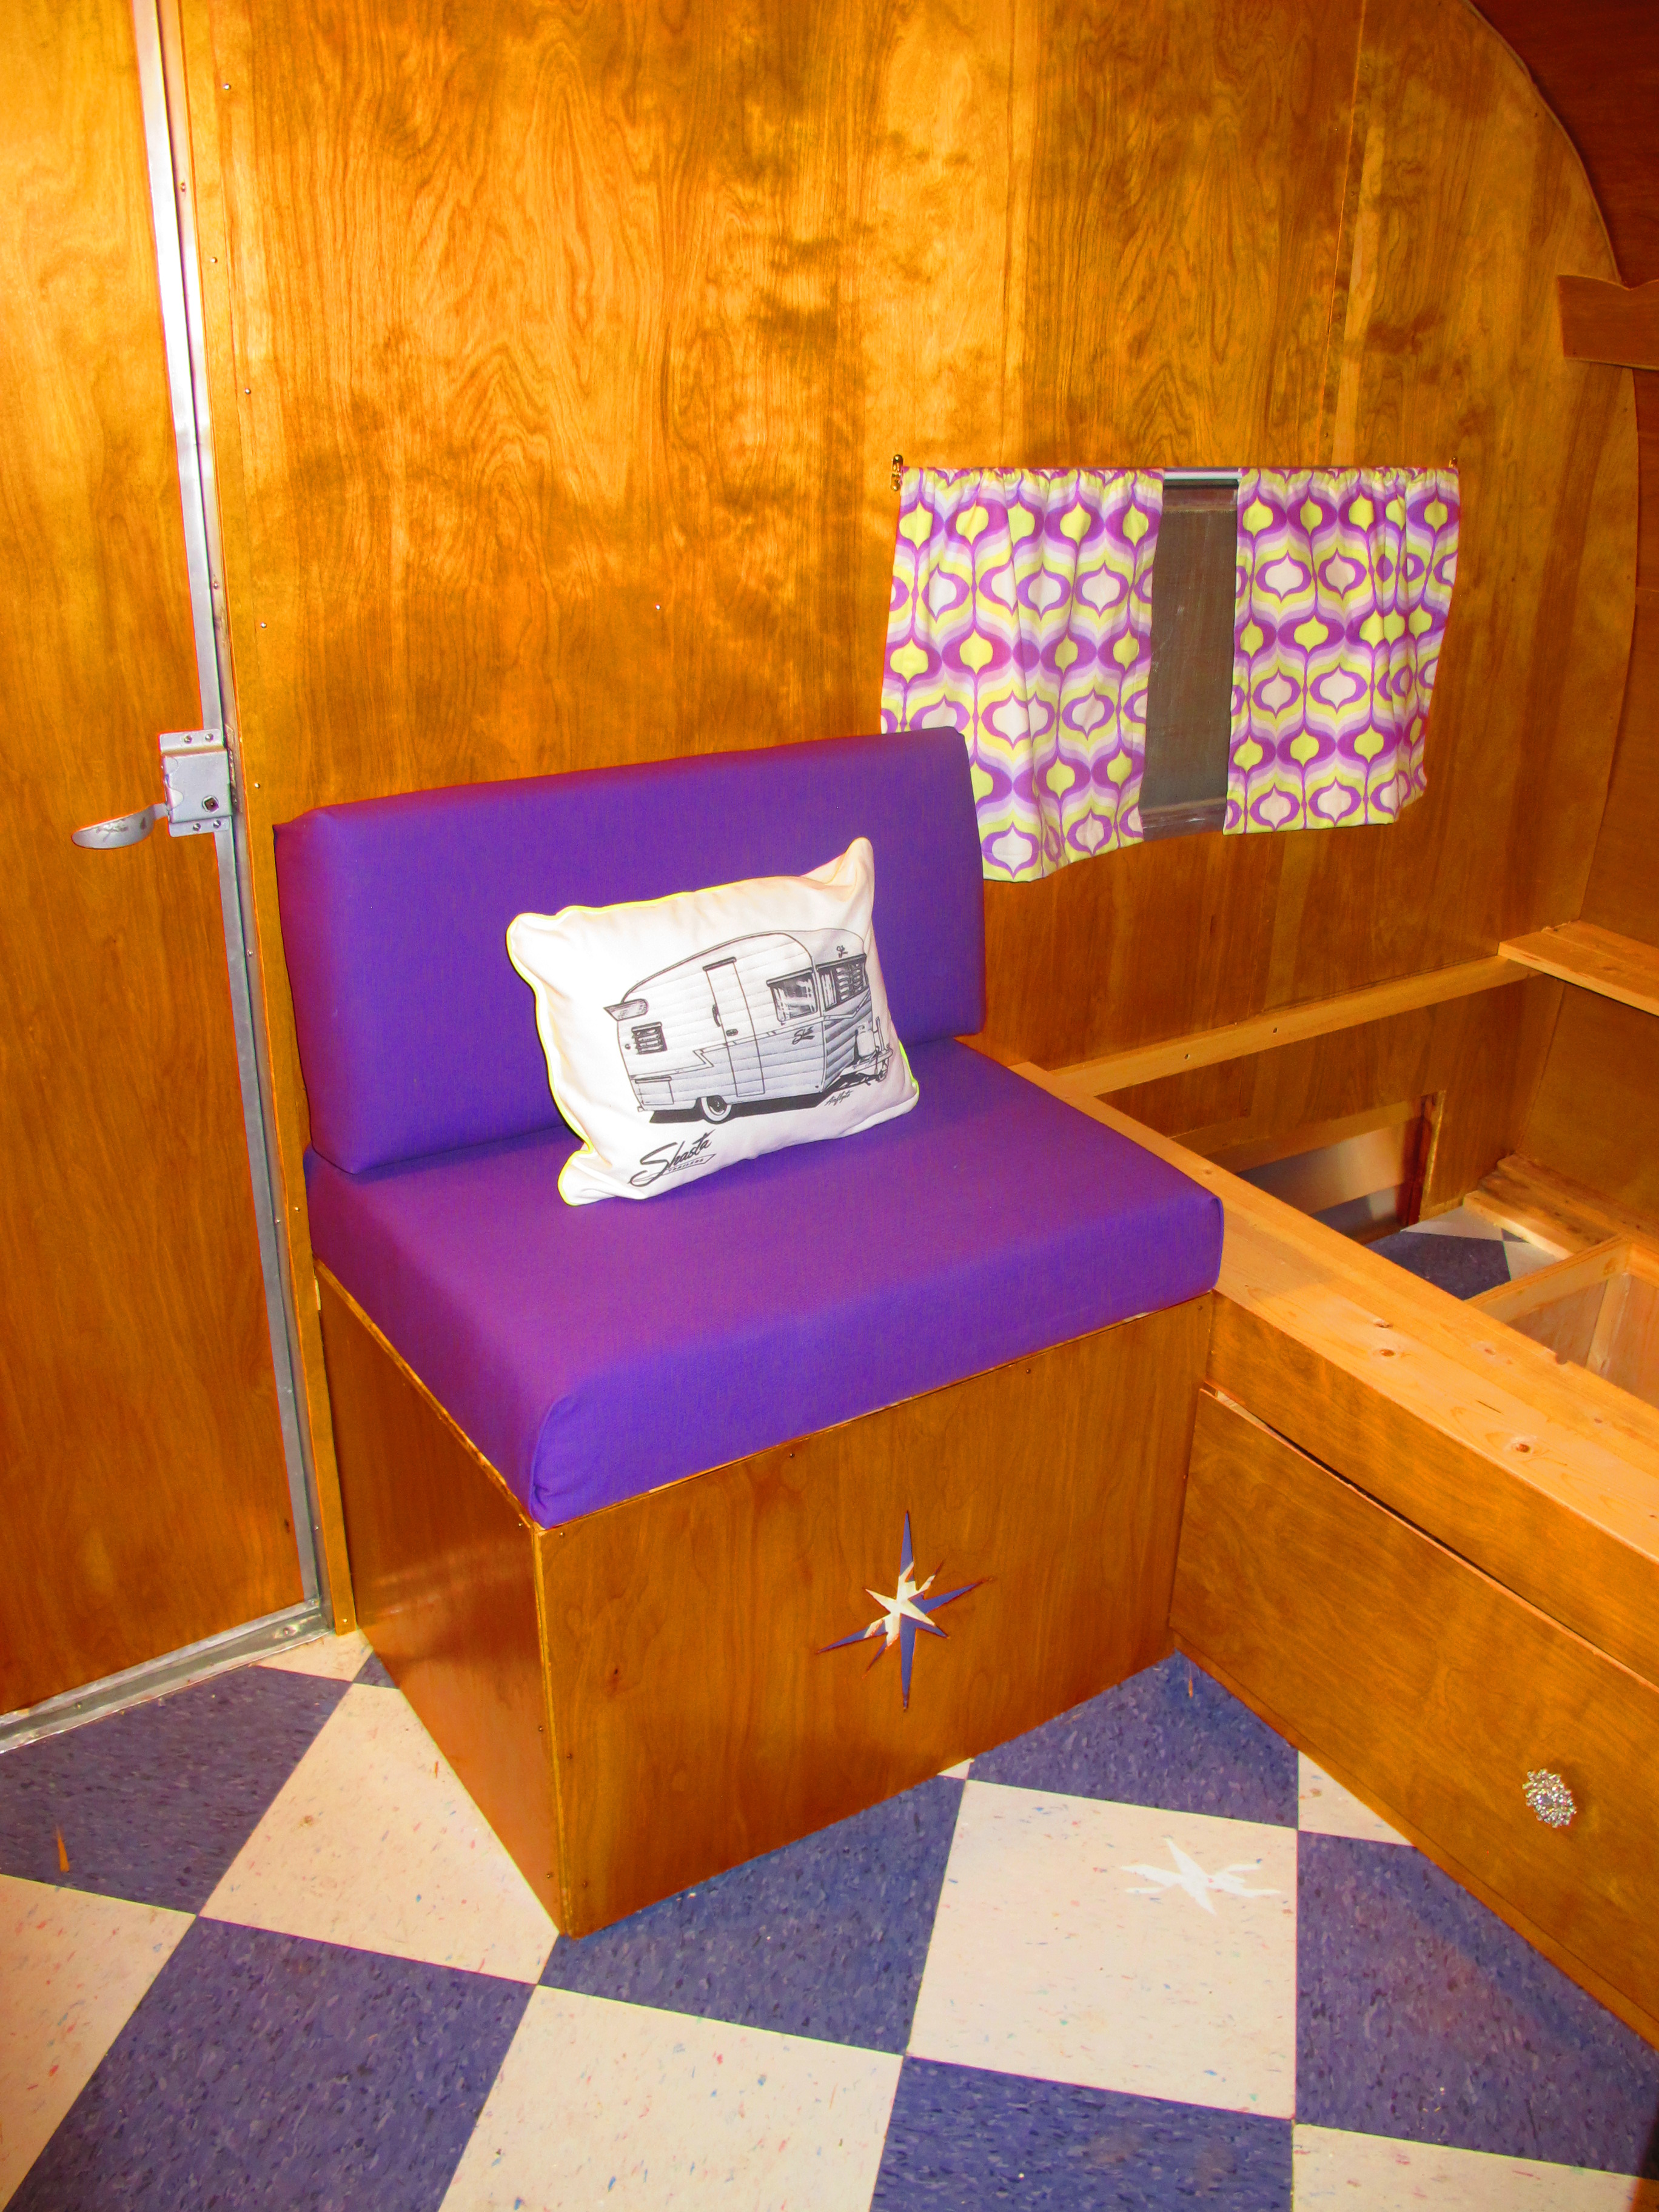
Seat on curb side. I added my Shasta pillow for the full effect. It looks pretty cute!
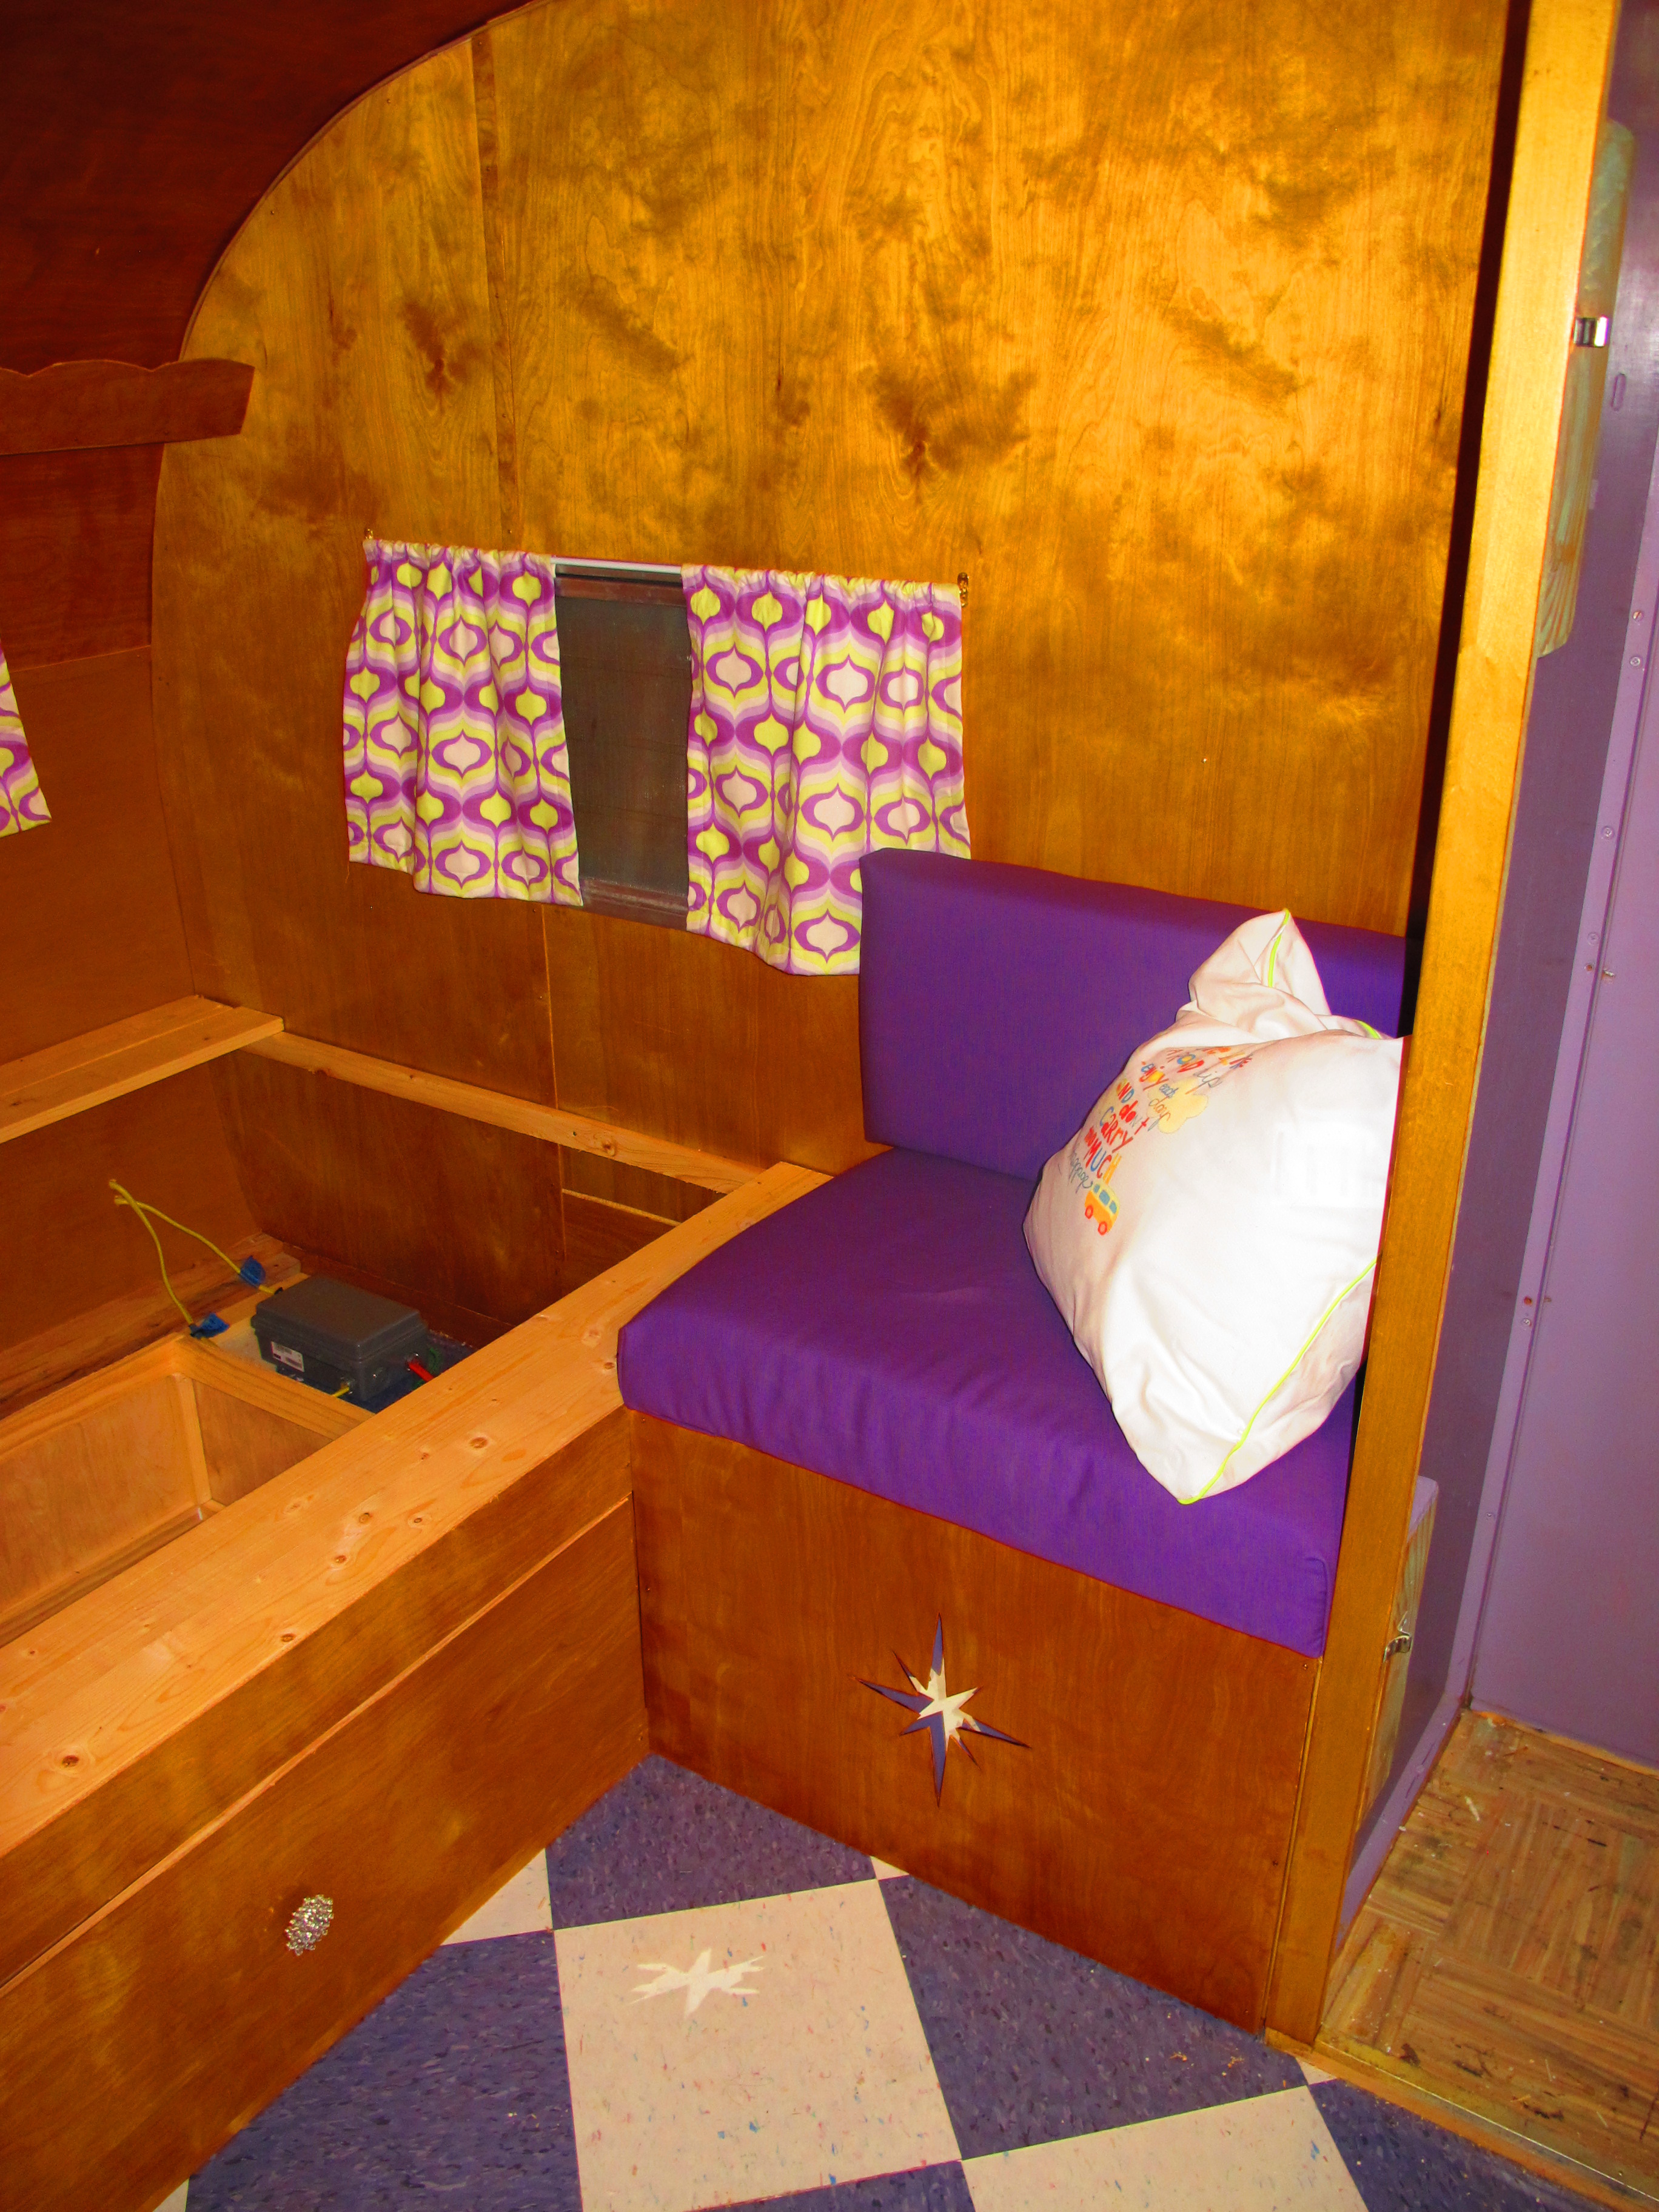
Here’s the street side seat. I sat on it to try it out and it’s quite comfy!
Tomorrow, I’m planning to finish the bed and closet, then install the Fantastic Vent if it’s not raining. If it’s raining, I may only be able to do interior work. I also need to finish moving the hole in the floor leading to the exterior plug underneath the camper. This wasn’t an urgent item, but it needs to be done, especially with the electrician coming on Tuesday.
I’m feeling pretty excited now that everything is coming together! I can’t wait to get more done tomorrow. ![]()

Lookn’ good! Love the purple with the wood.
Thanks! Yeah I’m really pleased with how everything is finally coming together! I woke up really early this morning because I was too excited to sleep! Haha
I agree with you– the curtains look great against the veneer. Can’t wait to see her with all the finishing touches. I wish we lived close enough to come to the reveal party.
Thanks! I wish you guys lived closer too, I really want you to see it in person!
I Love this camper!!!! We also have a Shasta we are just starting to work on and hopefully it will turn out as great as yours. I have a question for you. Where exactly is your ac unit? We currently have ours in the rear wall where we would like to have our bed to be. We want to place it somewhere out of the way.
Thanks Regina! It has been a long road and a lot of work, but it’s so worth it in the end! I can’t wait for this weekend since I’m taking Junebug to her first vintage camper rally! 🙂 I think the easiest way to answer your question is to refer you to my previous blog post about the AC installation. https://junebugflying.com/2014/08/24/determination/ That should give you all the info you need on how I set mine up. I didn’t want to use a window unit or roof unit since my camper was so small, so the Climateright unit was just the right solution. Keep in mind, it’s not the cheapest solution by any means, but I wanted something that would be out of the way like you said in your comment. If you have any questions after you read my post on it, feel free to contact me. Good luck with your restoration on your Shasta!