When I was in high school, we used to listen to Simon and Garfunkel almost daily. My friends and I loved their song Kodachrome the most and would sing along to it all the time. I don’t know why, maybe because they sing about high school or maybe just because it’s a happy song. Either way, the song brings back happy memories. I’m listening to the song now as I write this, and it has a slightly different meaning to me. He sings about how Kodachrome makes every day look like a sunny day. I can only assume he means the film, which they discontinued in 2010. It makes me think of Facebook and how people usually tend to post only the best and happiest photos. I guess Facebook is my generation’s Kodachrome. haha
The reason I chose to title this post Kodachrome was because I discovered the beauty of chrome spray paint today..and I will be posting photos, so it seemed fitting. ![]()
I wanted to paint the spare tire today as well as the hitch and bumper. While I was at it, I also painted the propane tank. I think it turned out pretty cool!

First, I went to AutoZone and got the spray paint. I bought some primer as well as the chrome and purple paint for the wheel.

Next, I cleaned the spare tire with degreaser. It’s an old tire, so hopefully I won’t need to use it. I will likely get new tires for the trailer at some point, and then I can put one of those on the spare tire mount.

I taped off the tire so it wouldn’t get paint on it.
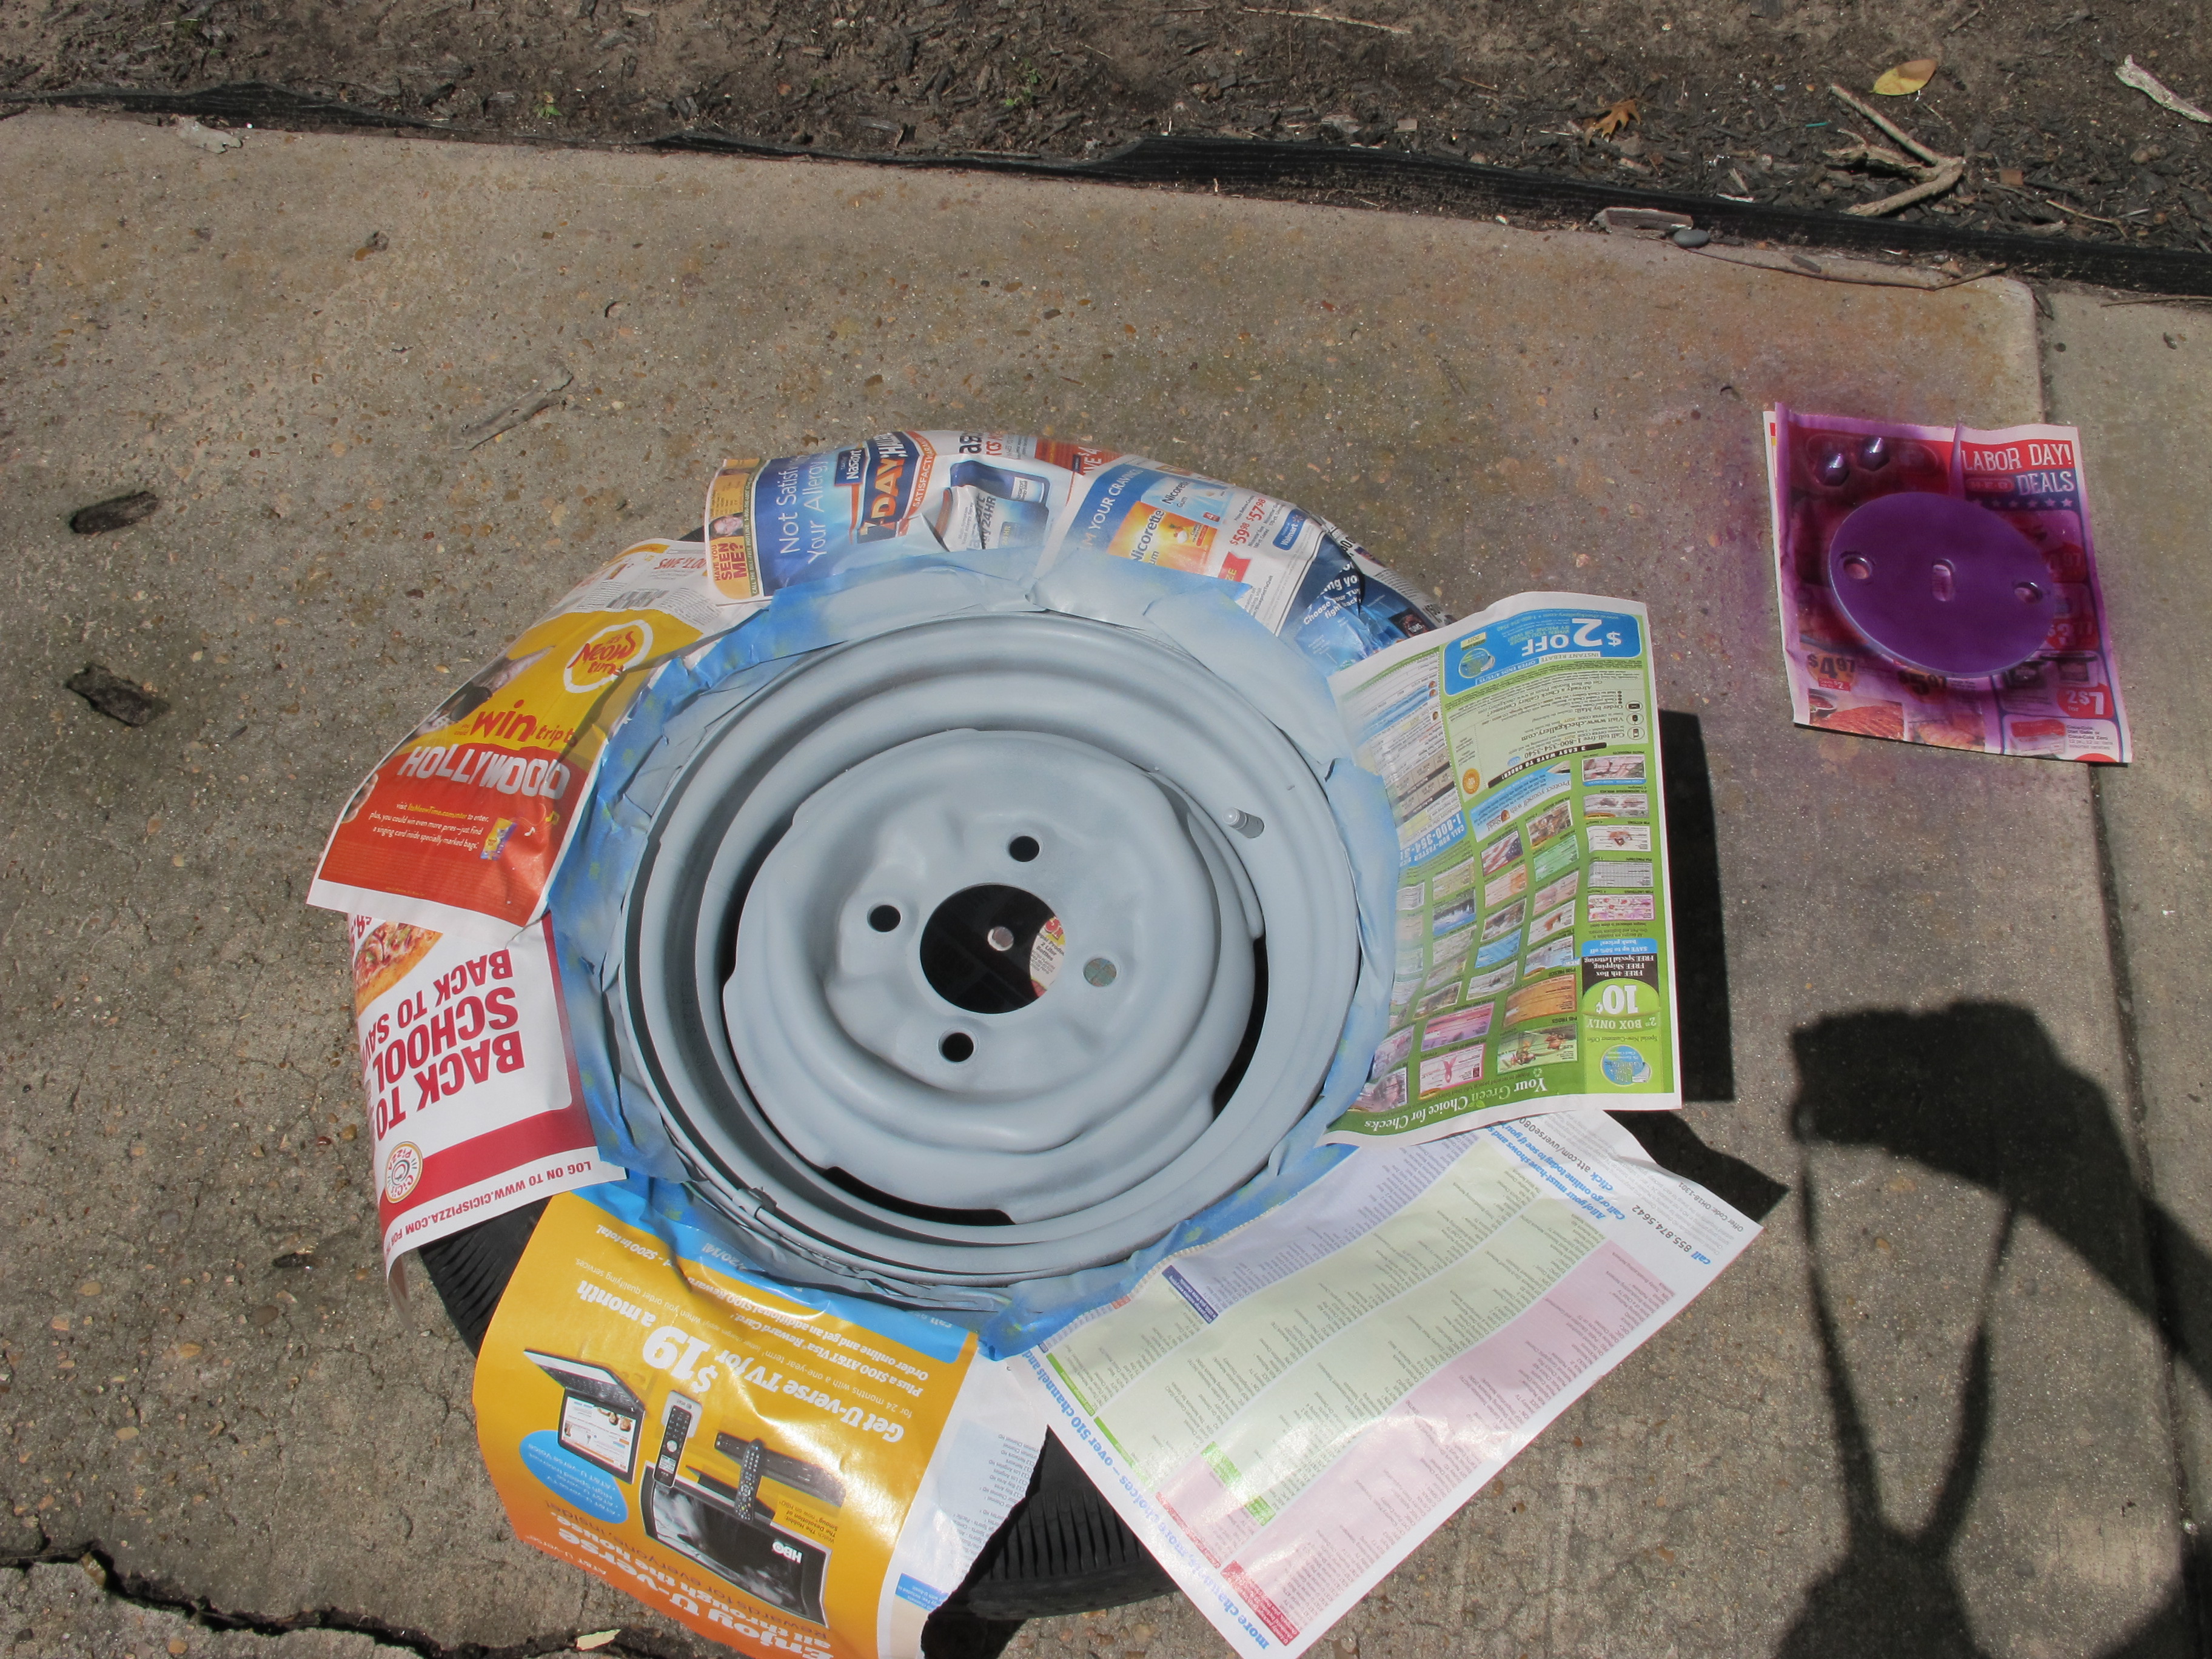
After primer

Purple!

Mounted again and I also painted the bumper with the chrome paint.
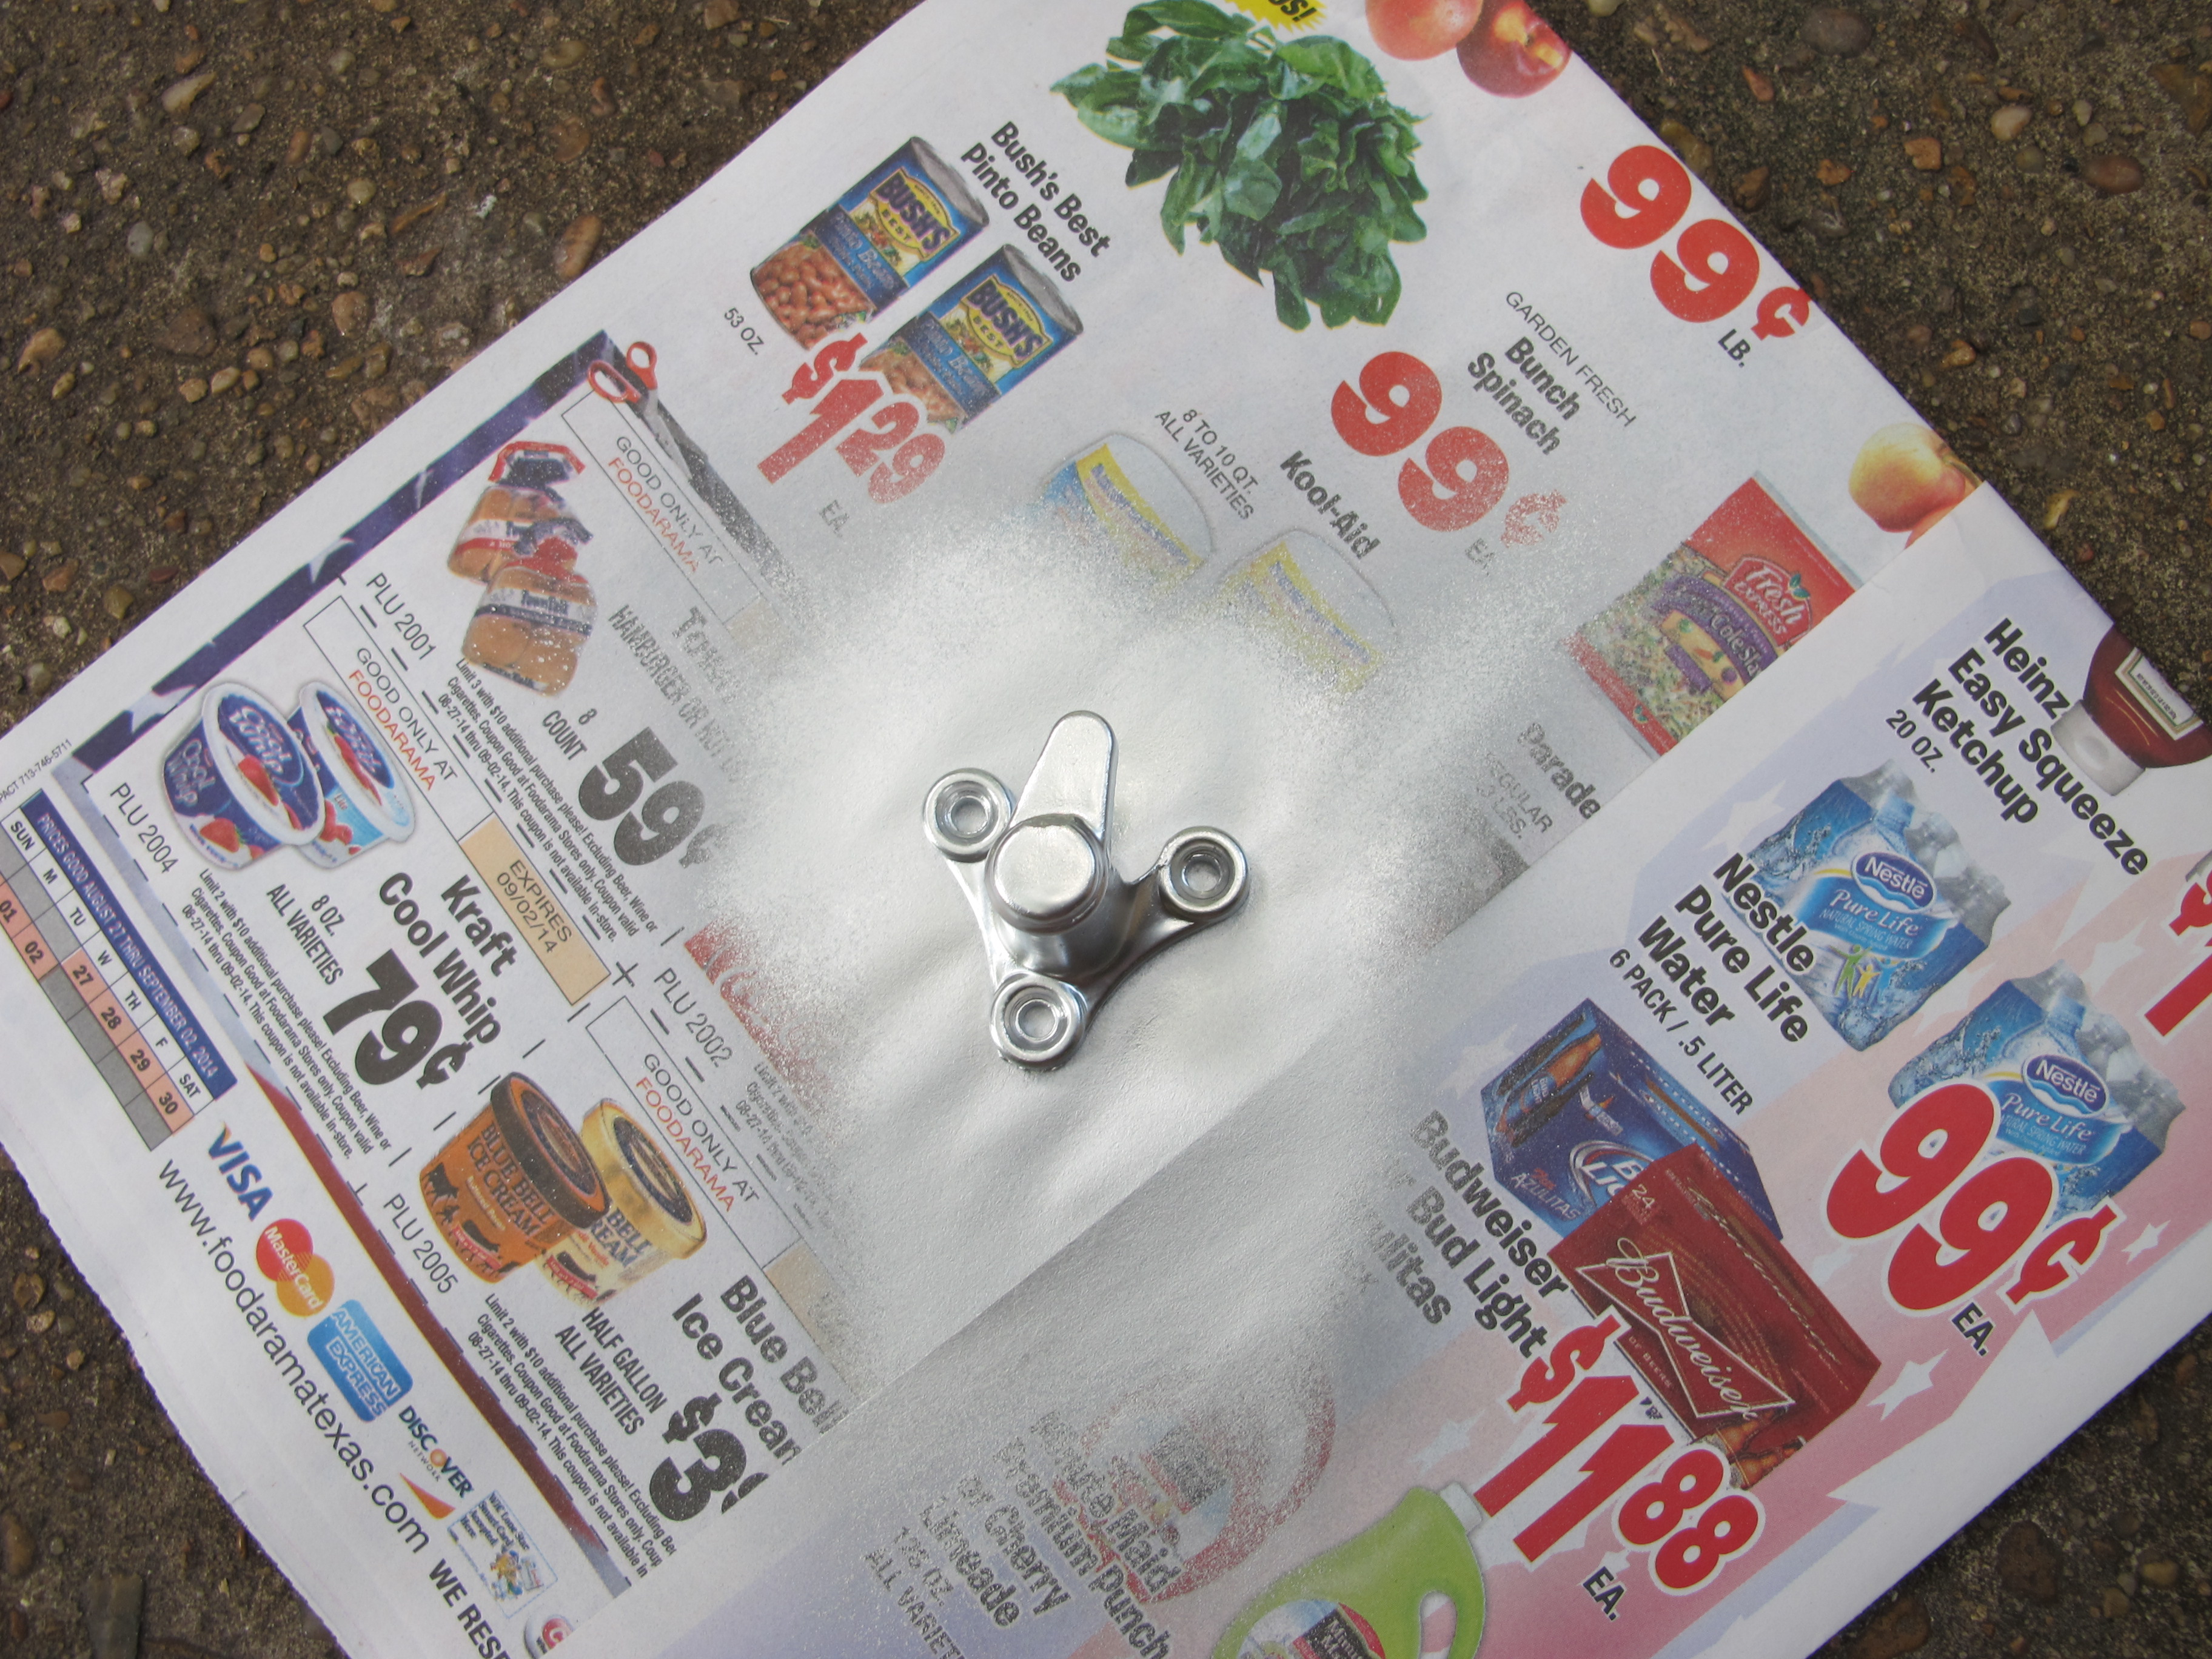
This is the piece that fits over the front of the spare tire to hold it onto the bumper.

After two coats of purple. I also painted the nuts. 🙂
And now to the front of the camper.

After painting the hitch with primer, I noticed some numbers on the side. This must be my VIN!

Primed the propane tank too

Hitch is primed
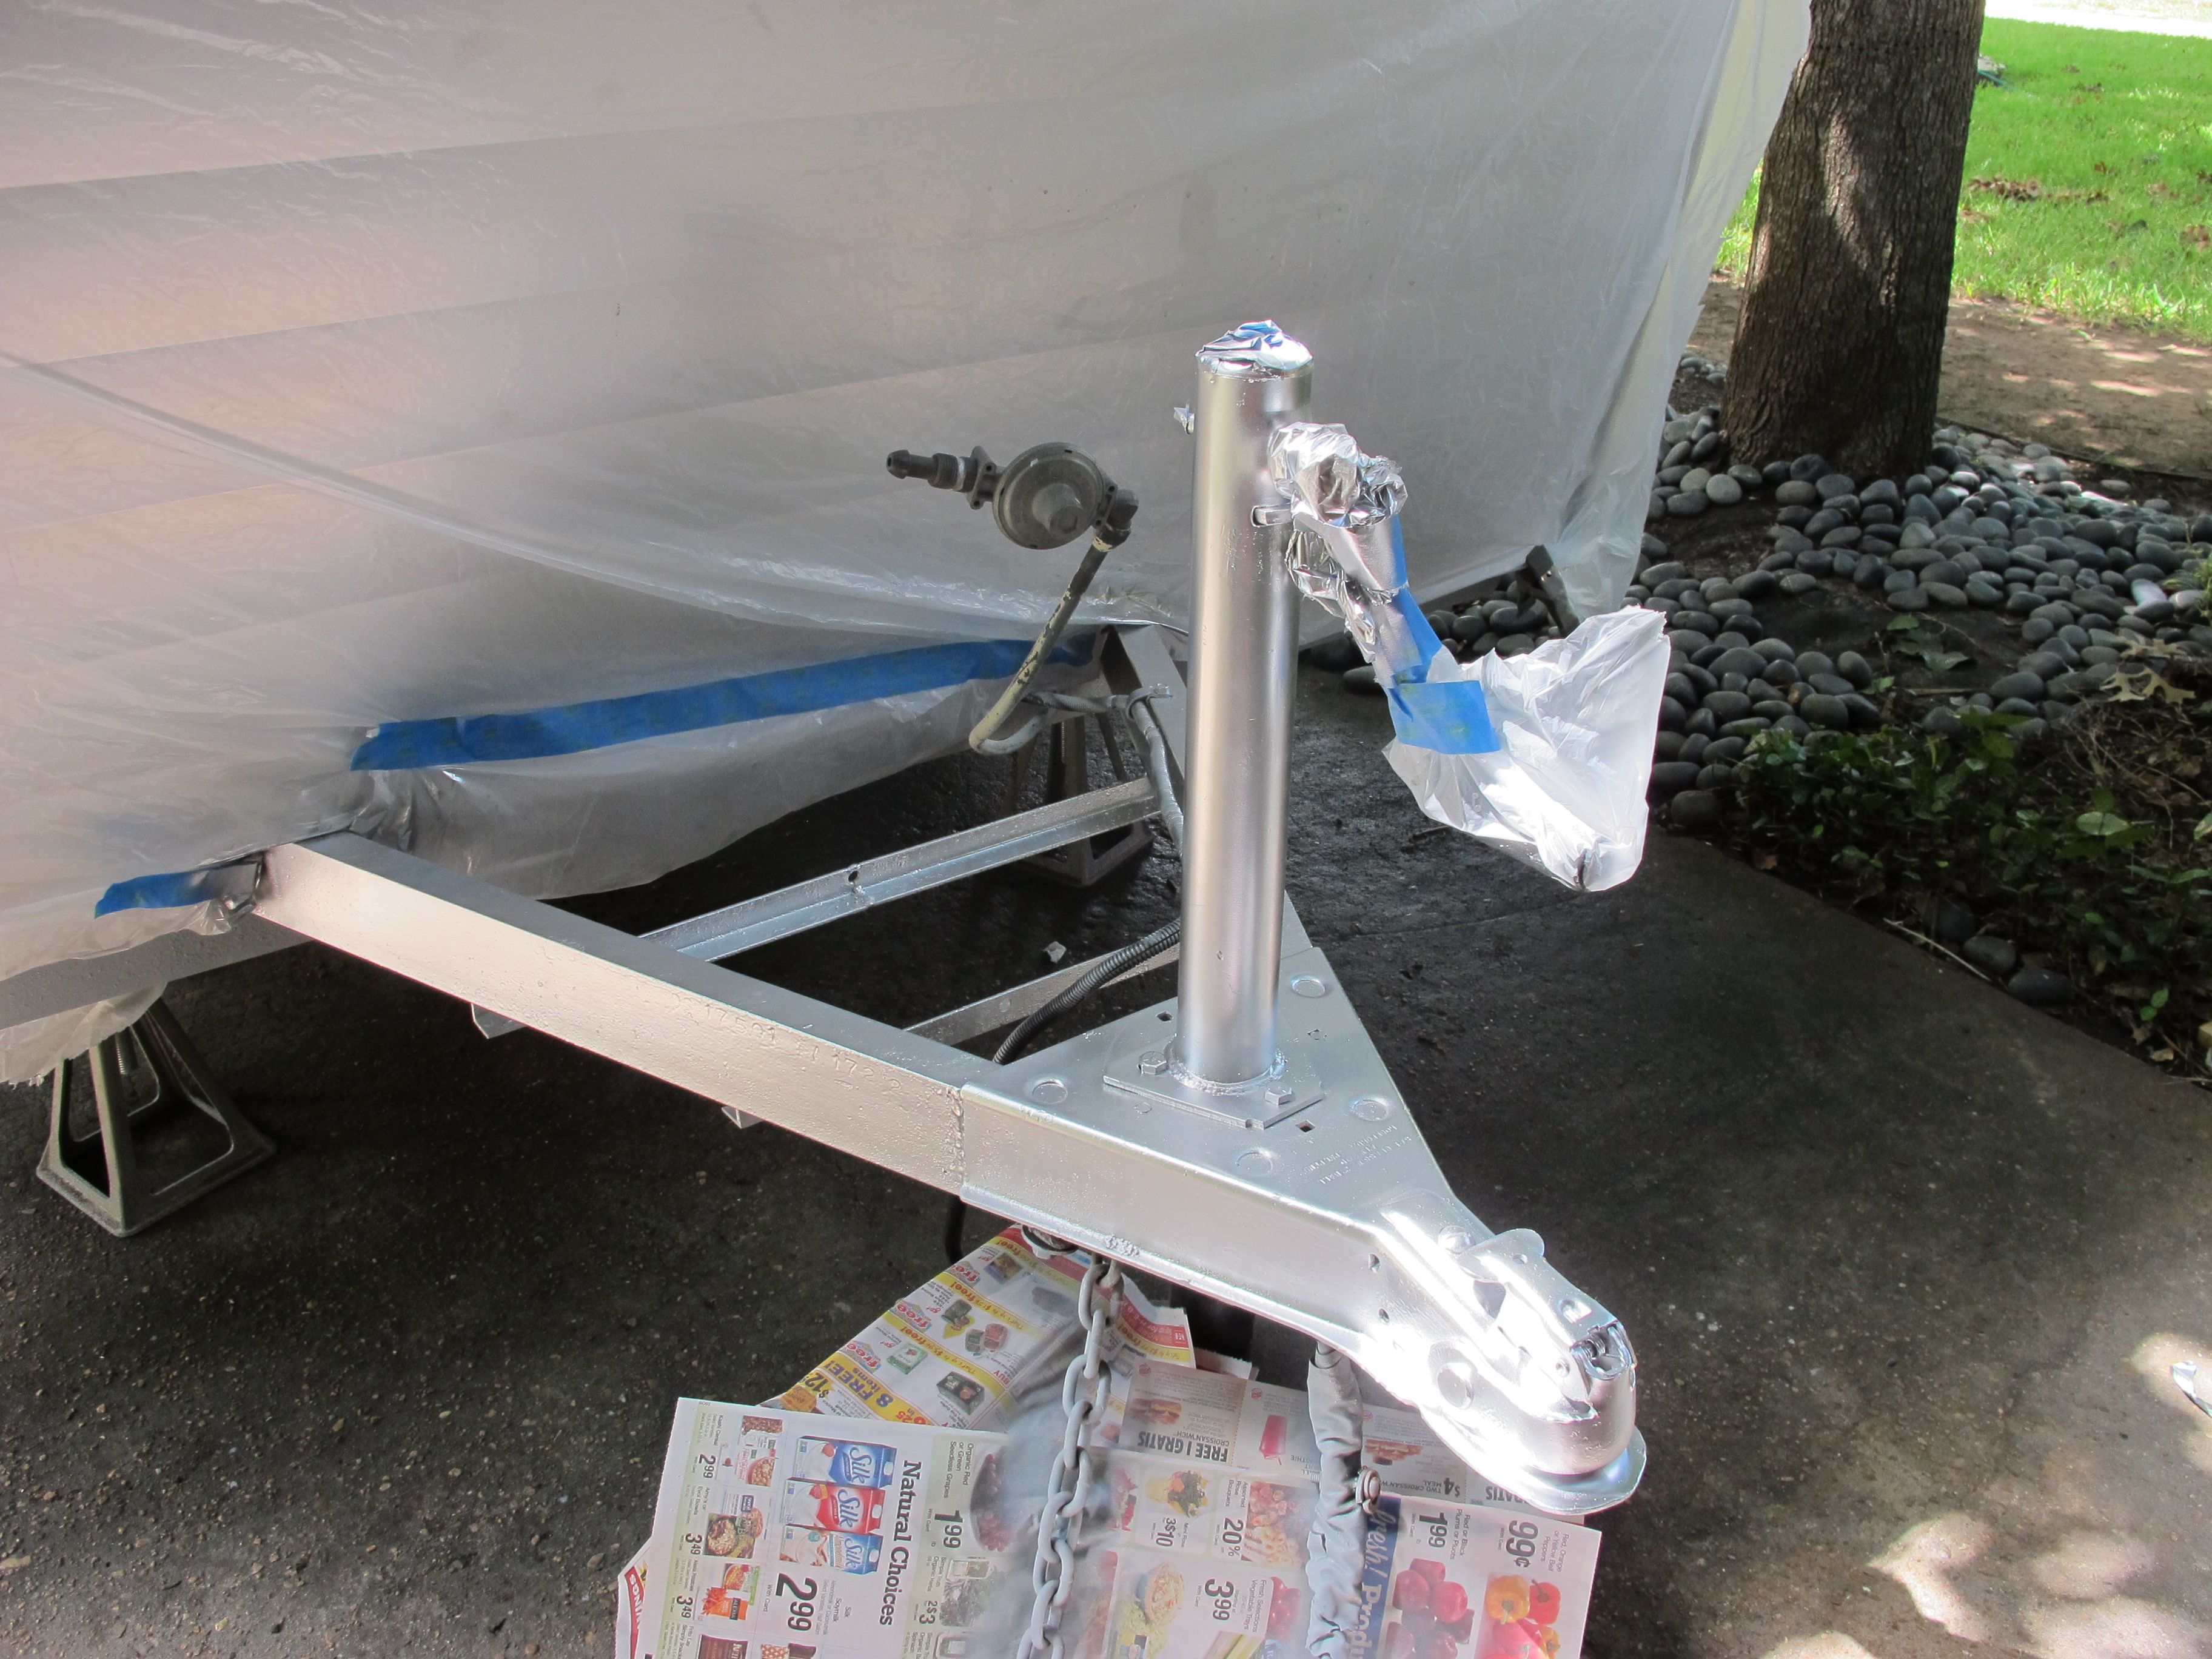
After one coat of chrome paint
I wanted to do a similar design on the propane tank as my camper will have (once I get it painted).

I taped off the stripe and coated the top half with chrome.
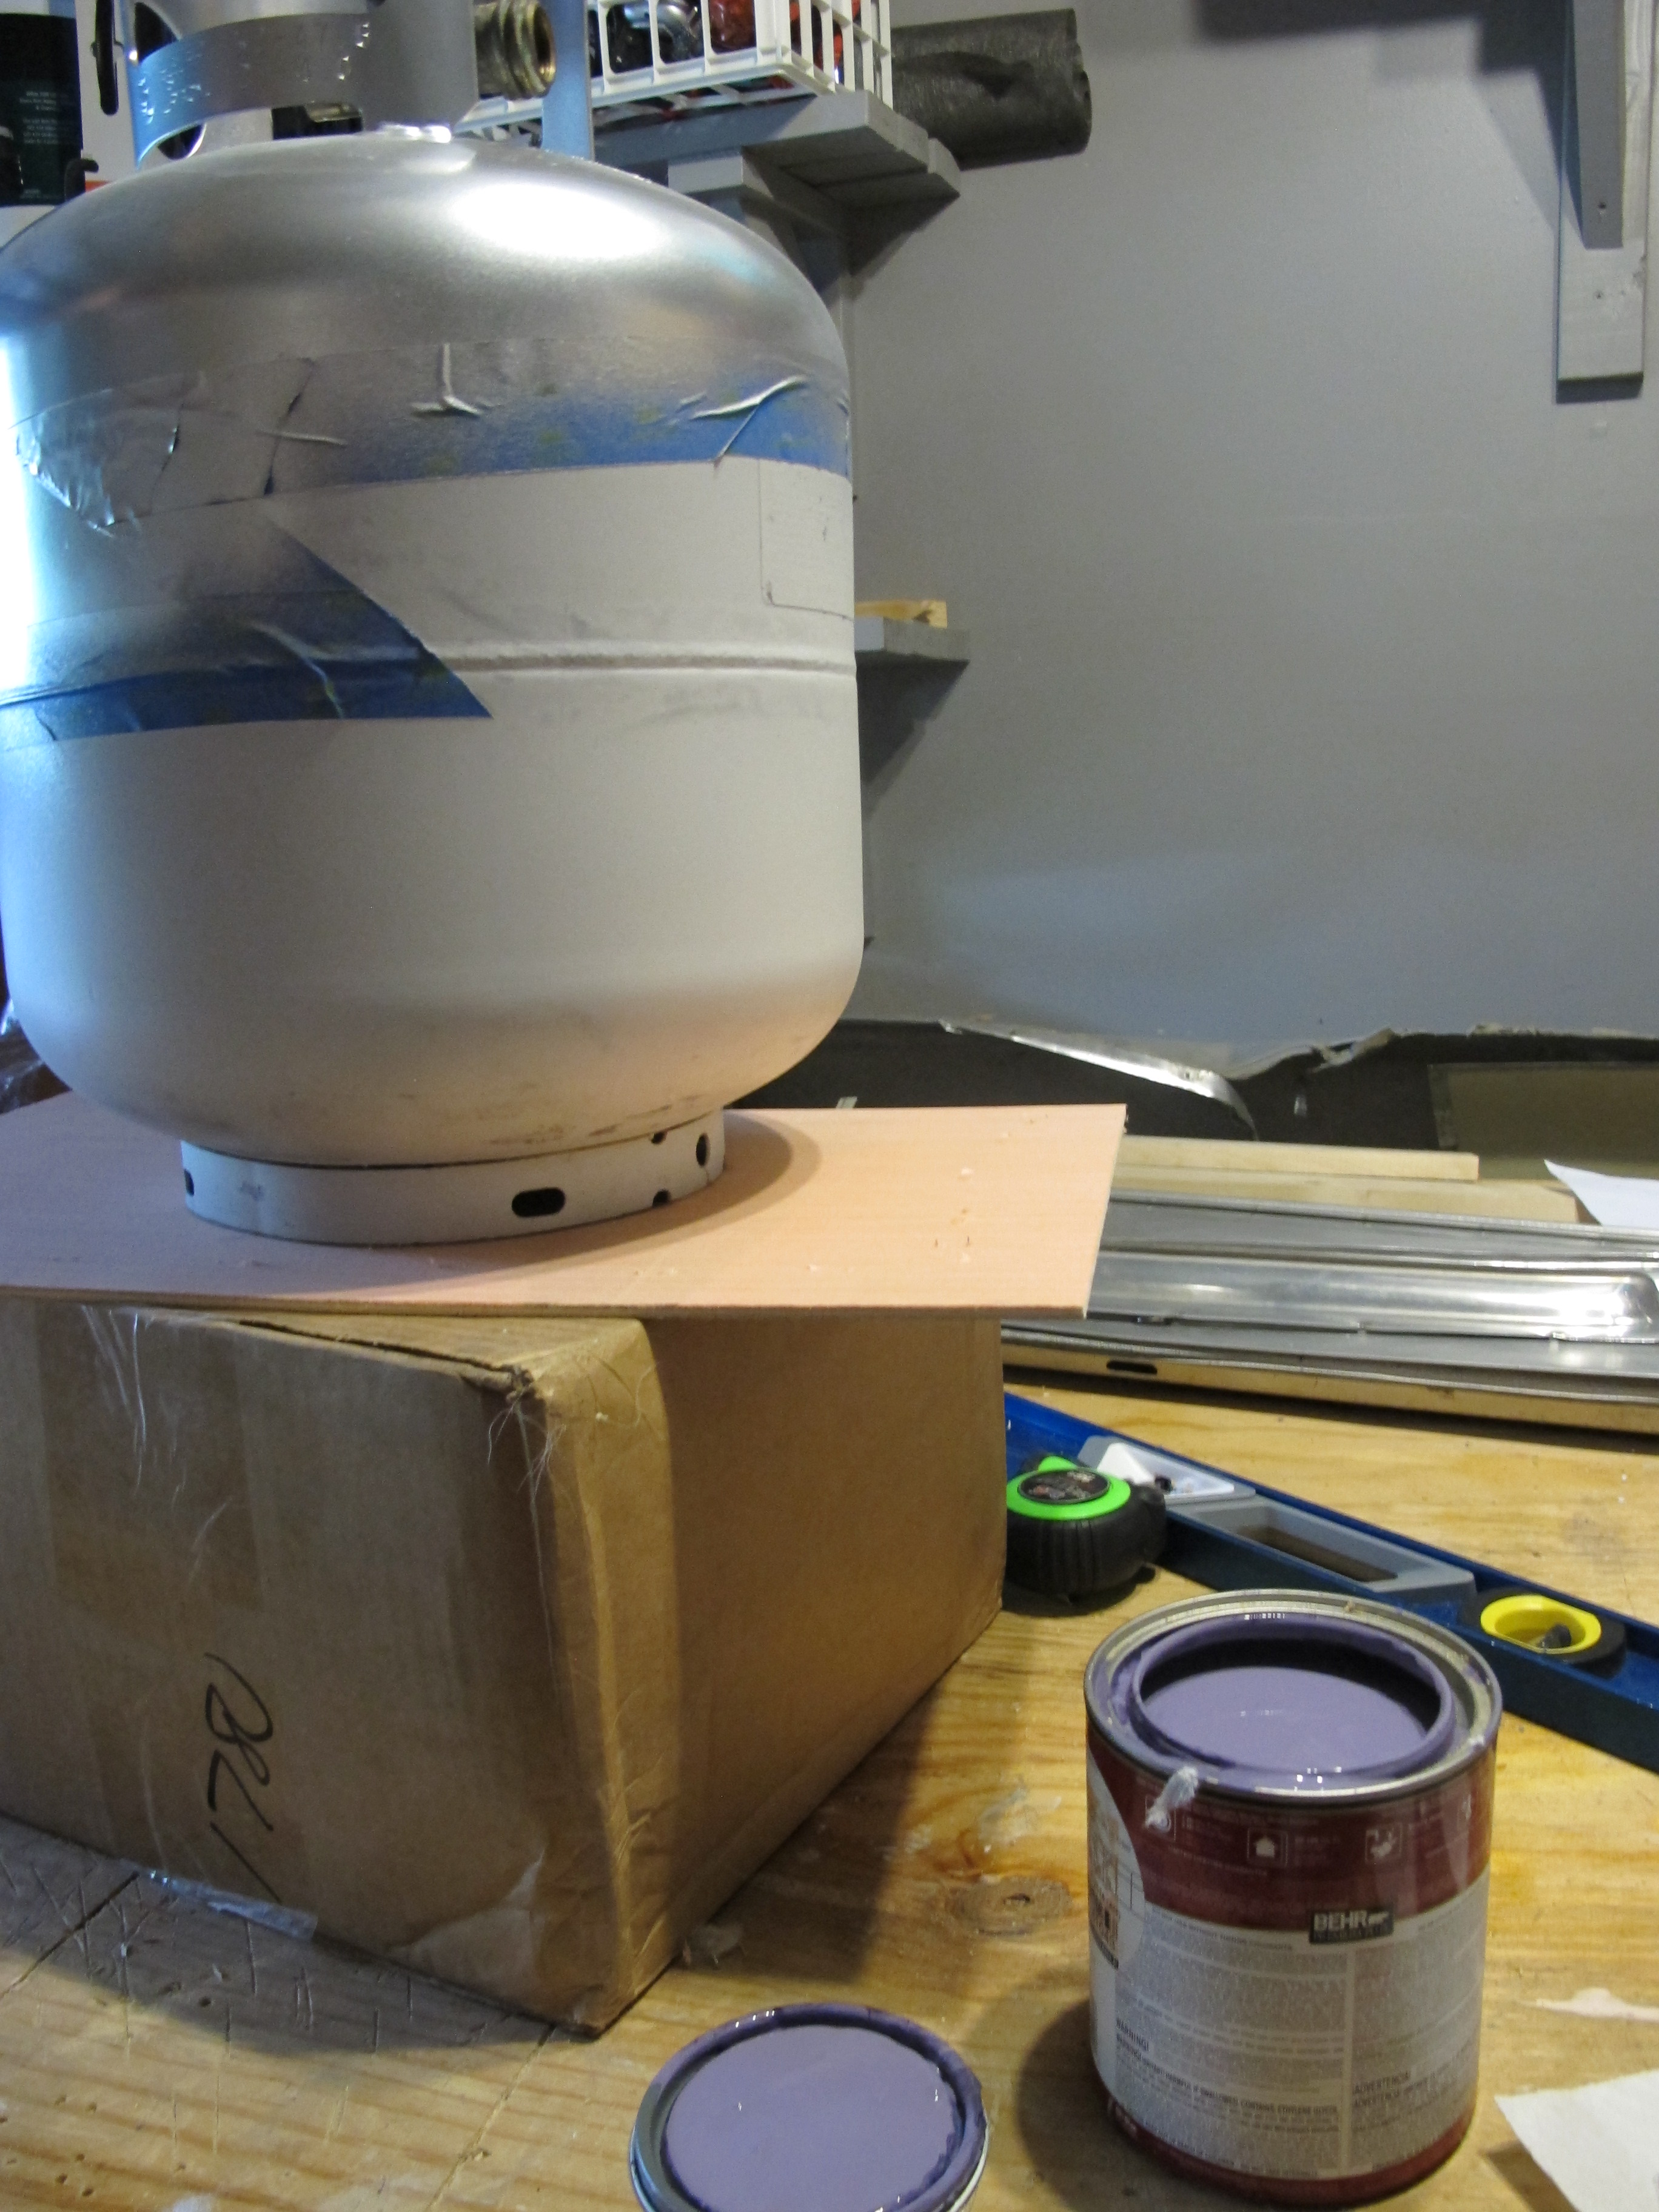
Getting ready to paint on the purple.
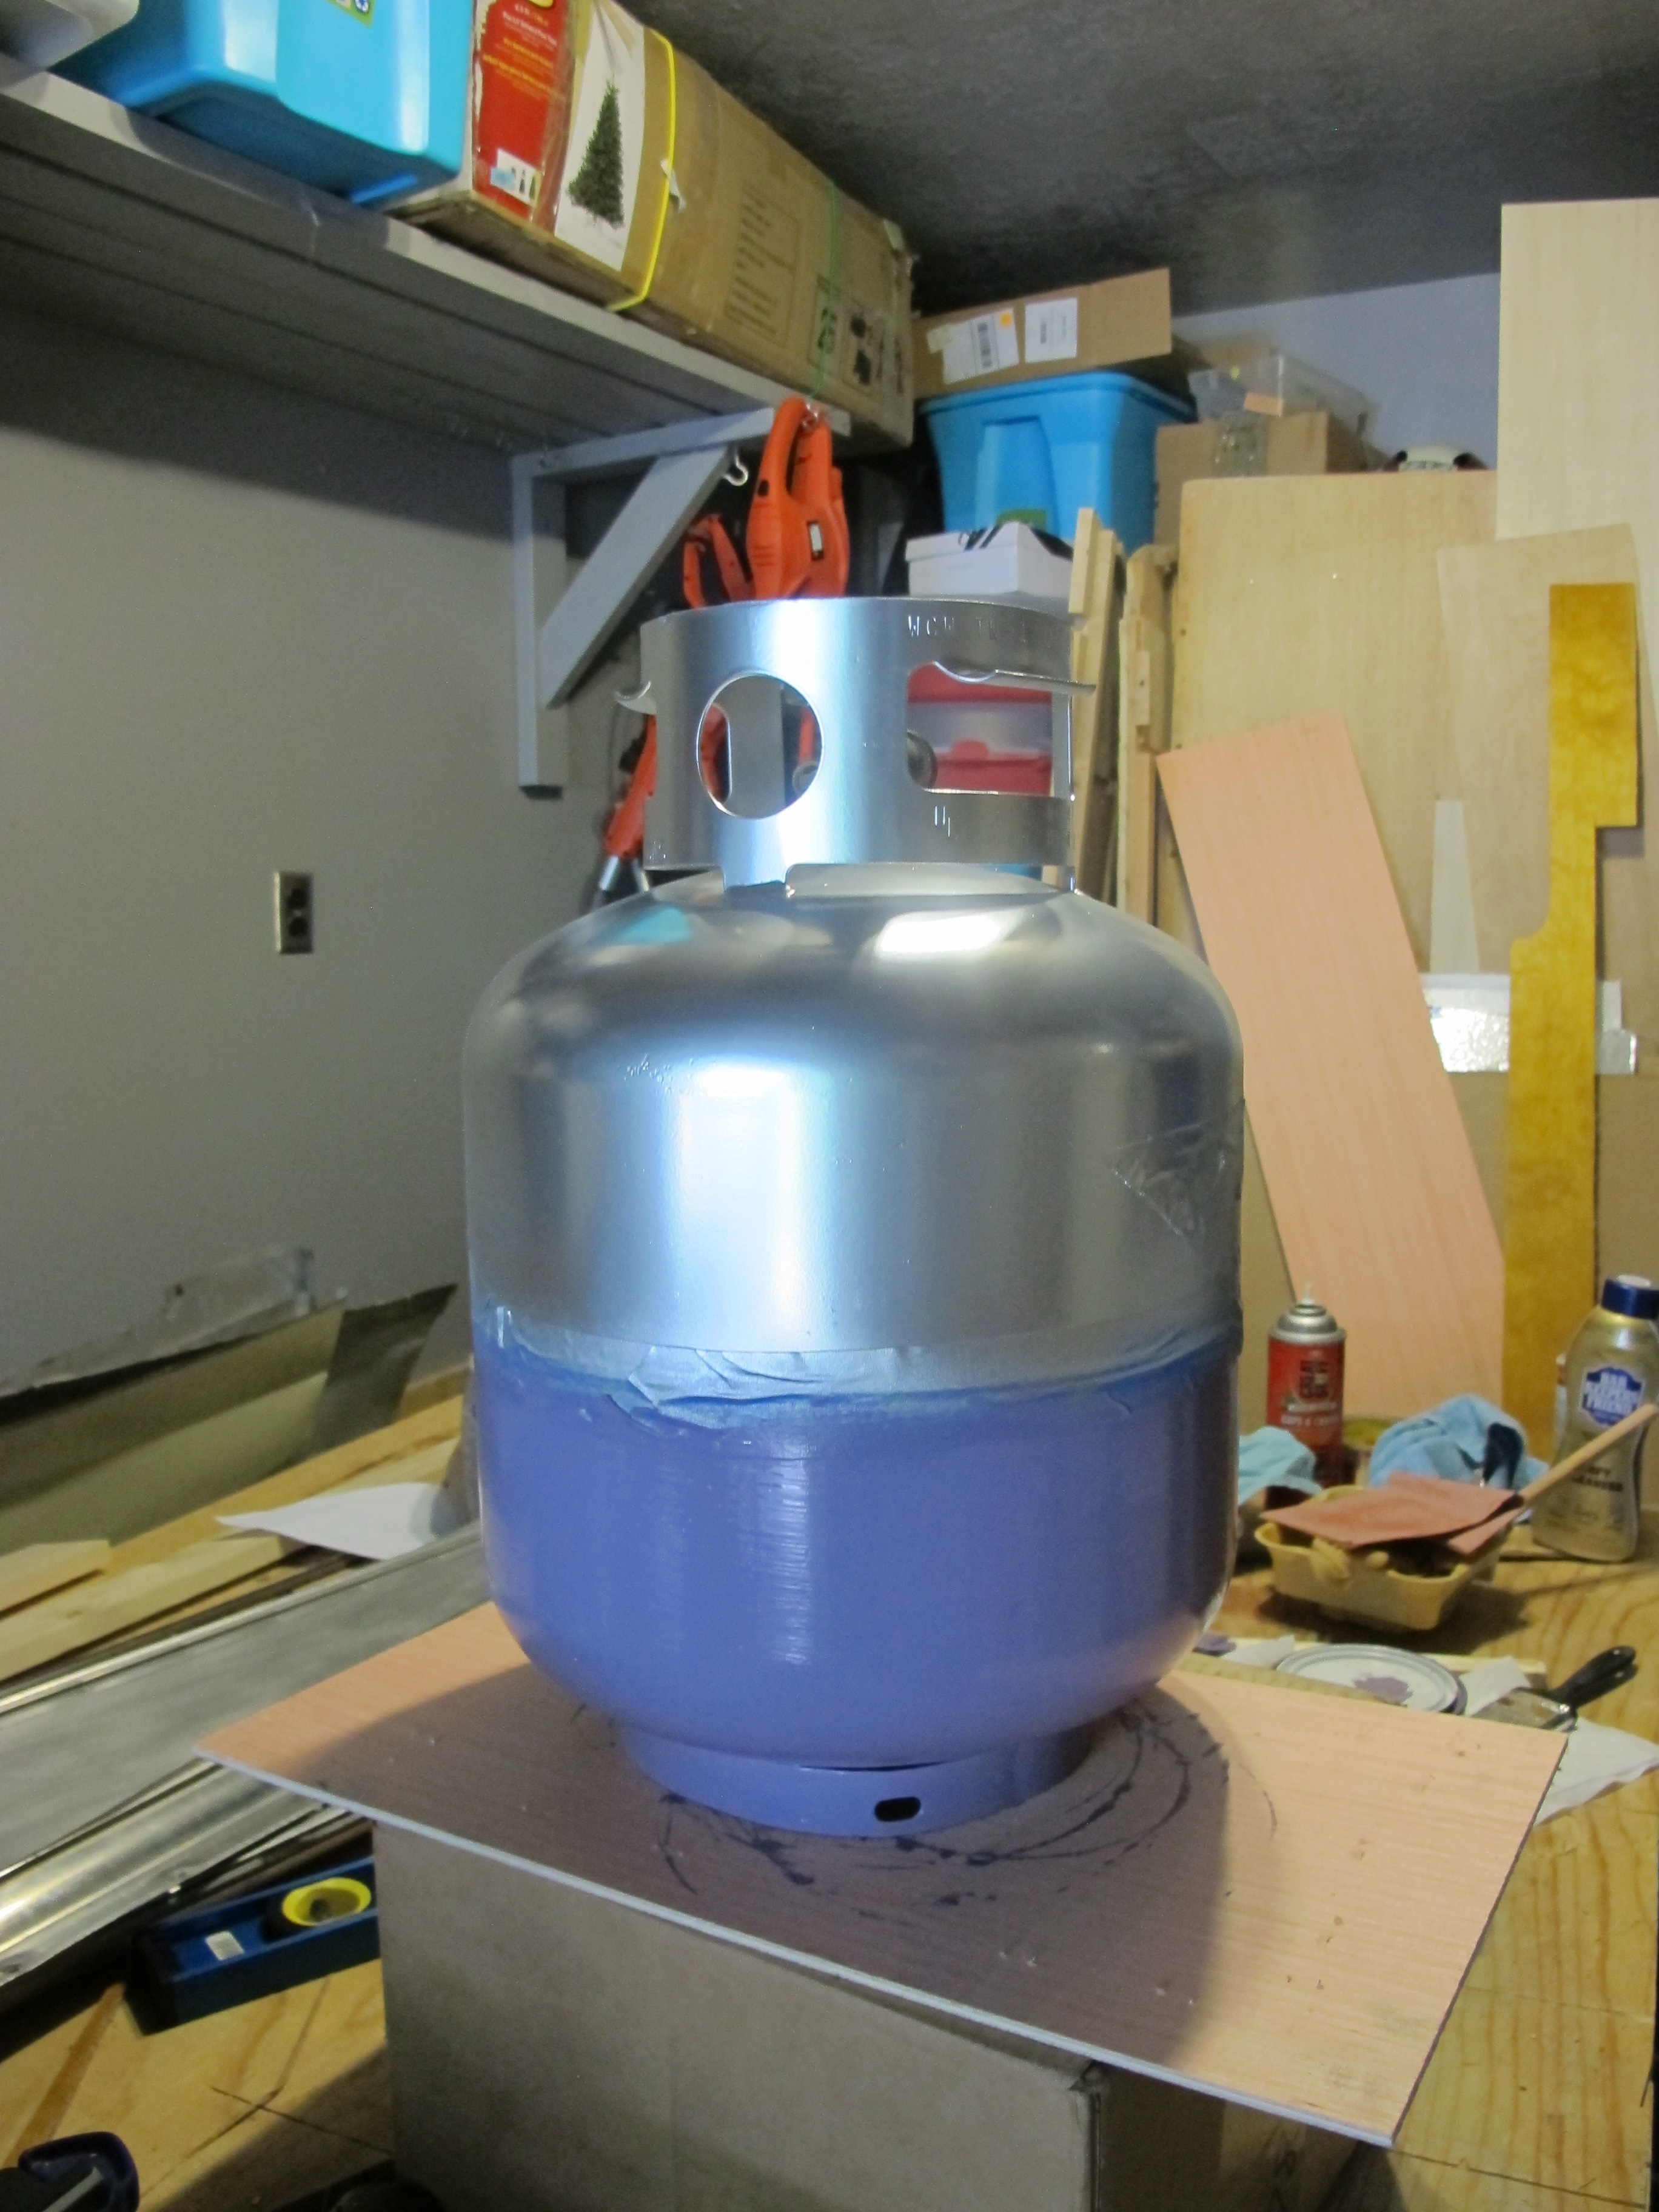
Both colors are on and waiting for them to dry so I can pull off the tape.

Finished product! I think the stripe is a little too fat but that was the only size painter’s tape I had so oh well.
I also painted a few other details that needed to be installed.
This is the door catch so the front door can be propped open.

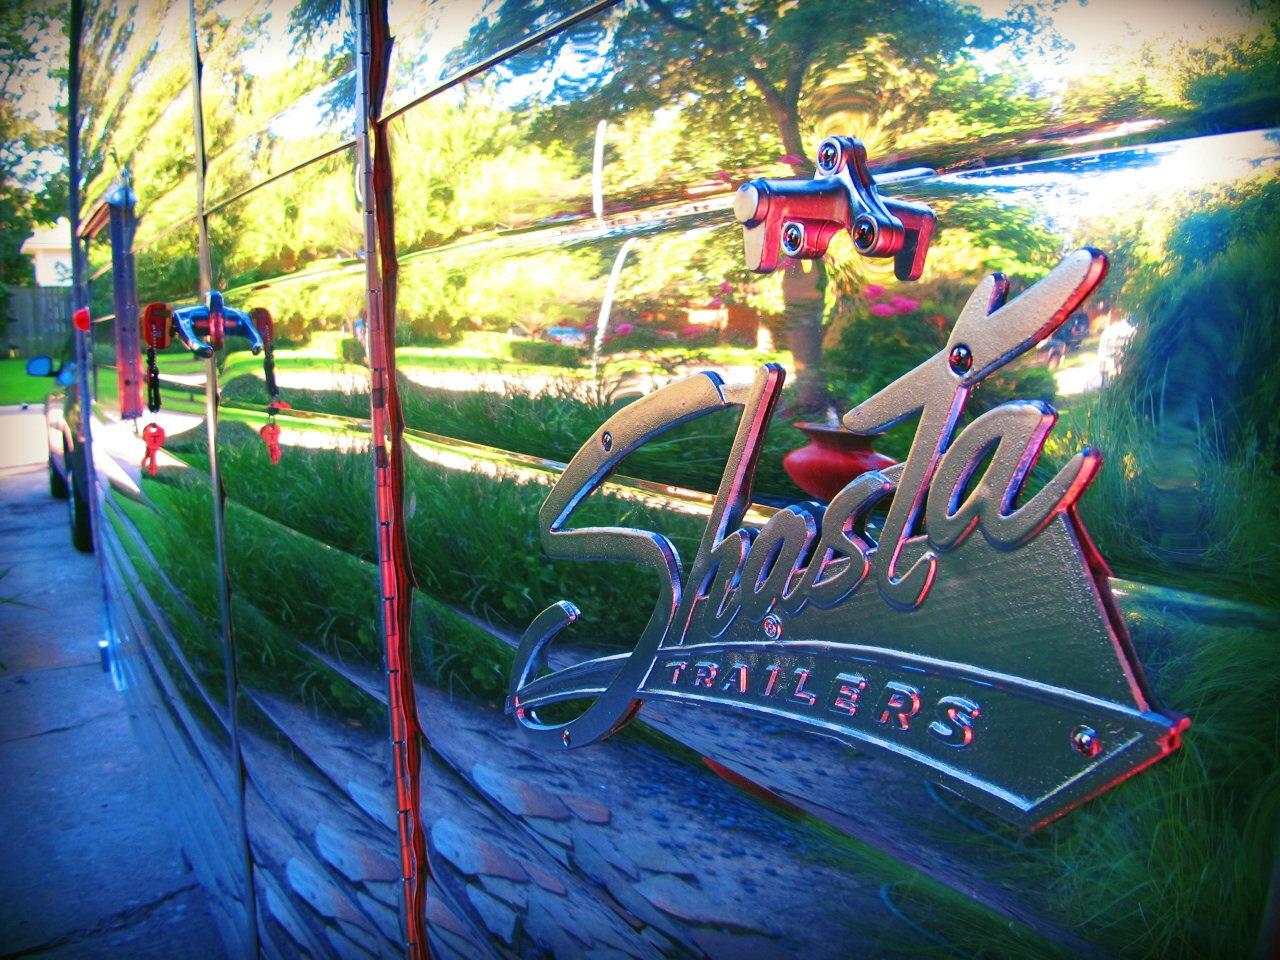
This is the Shasta emblem that I paid a lot for. I just had to have it!

Not quite the same as getting it rechromed, but it looks pretty good and a lot cheaper too!
Next, I set out to install my new Fantastic Vent. It proved to be a difficult task (what a surprise), because I had inserted some additional framing pieces underneath the skin to make it sit a little higher (to help the water run off) and they were making the hole too small for the vent. I couldn’t just take them out because they were all attached to make a square. So…I had to get out my oscillating tool and saw away at the sides until I got it to be big enough for the fan to fit inside. It took a while, but at least I finally got it installed!

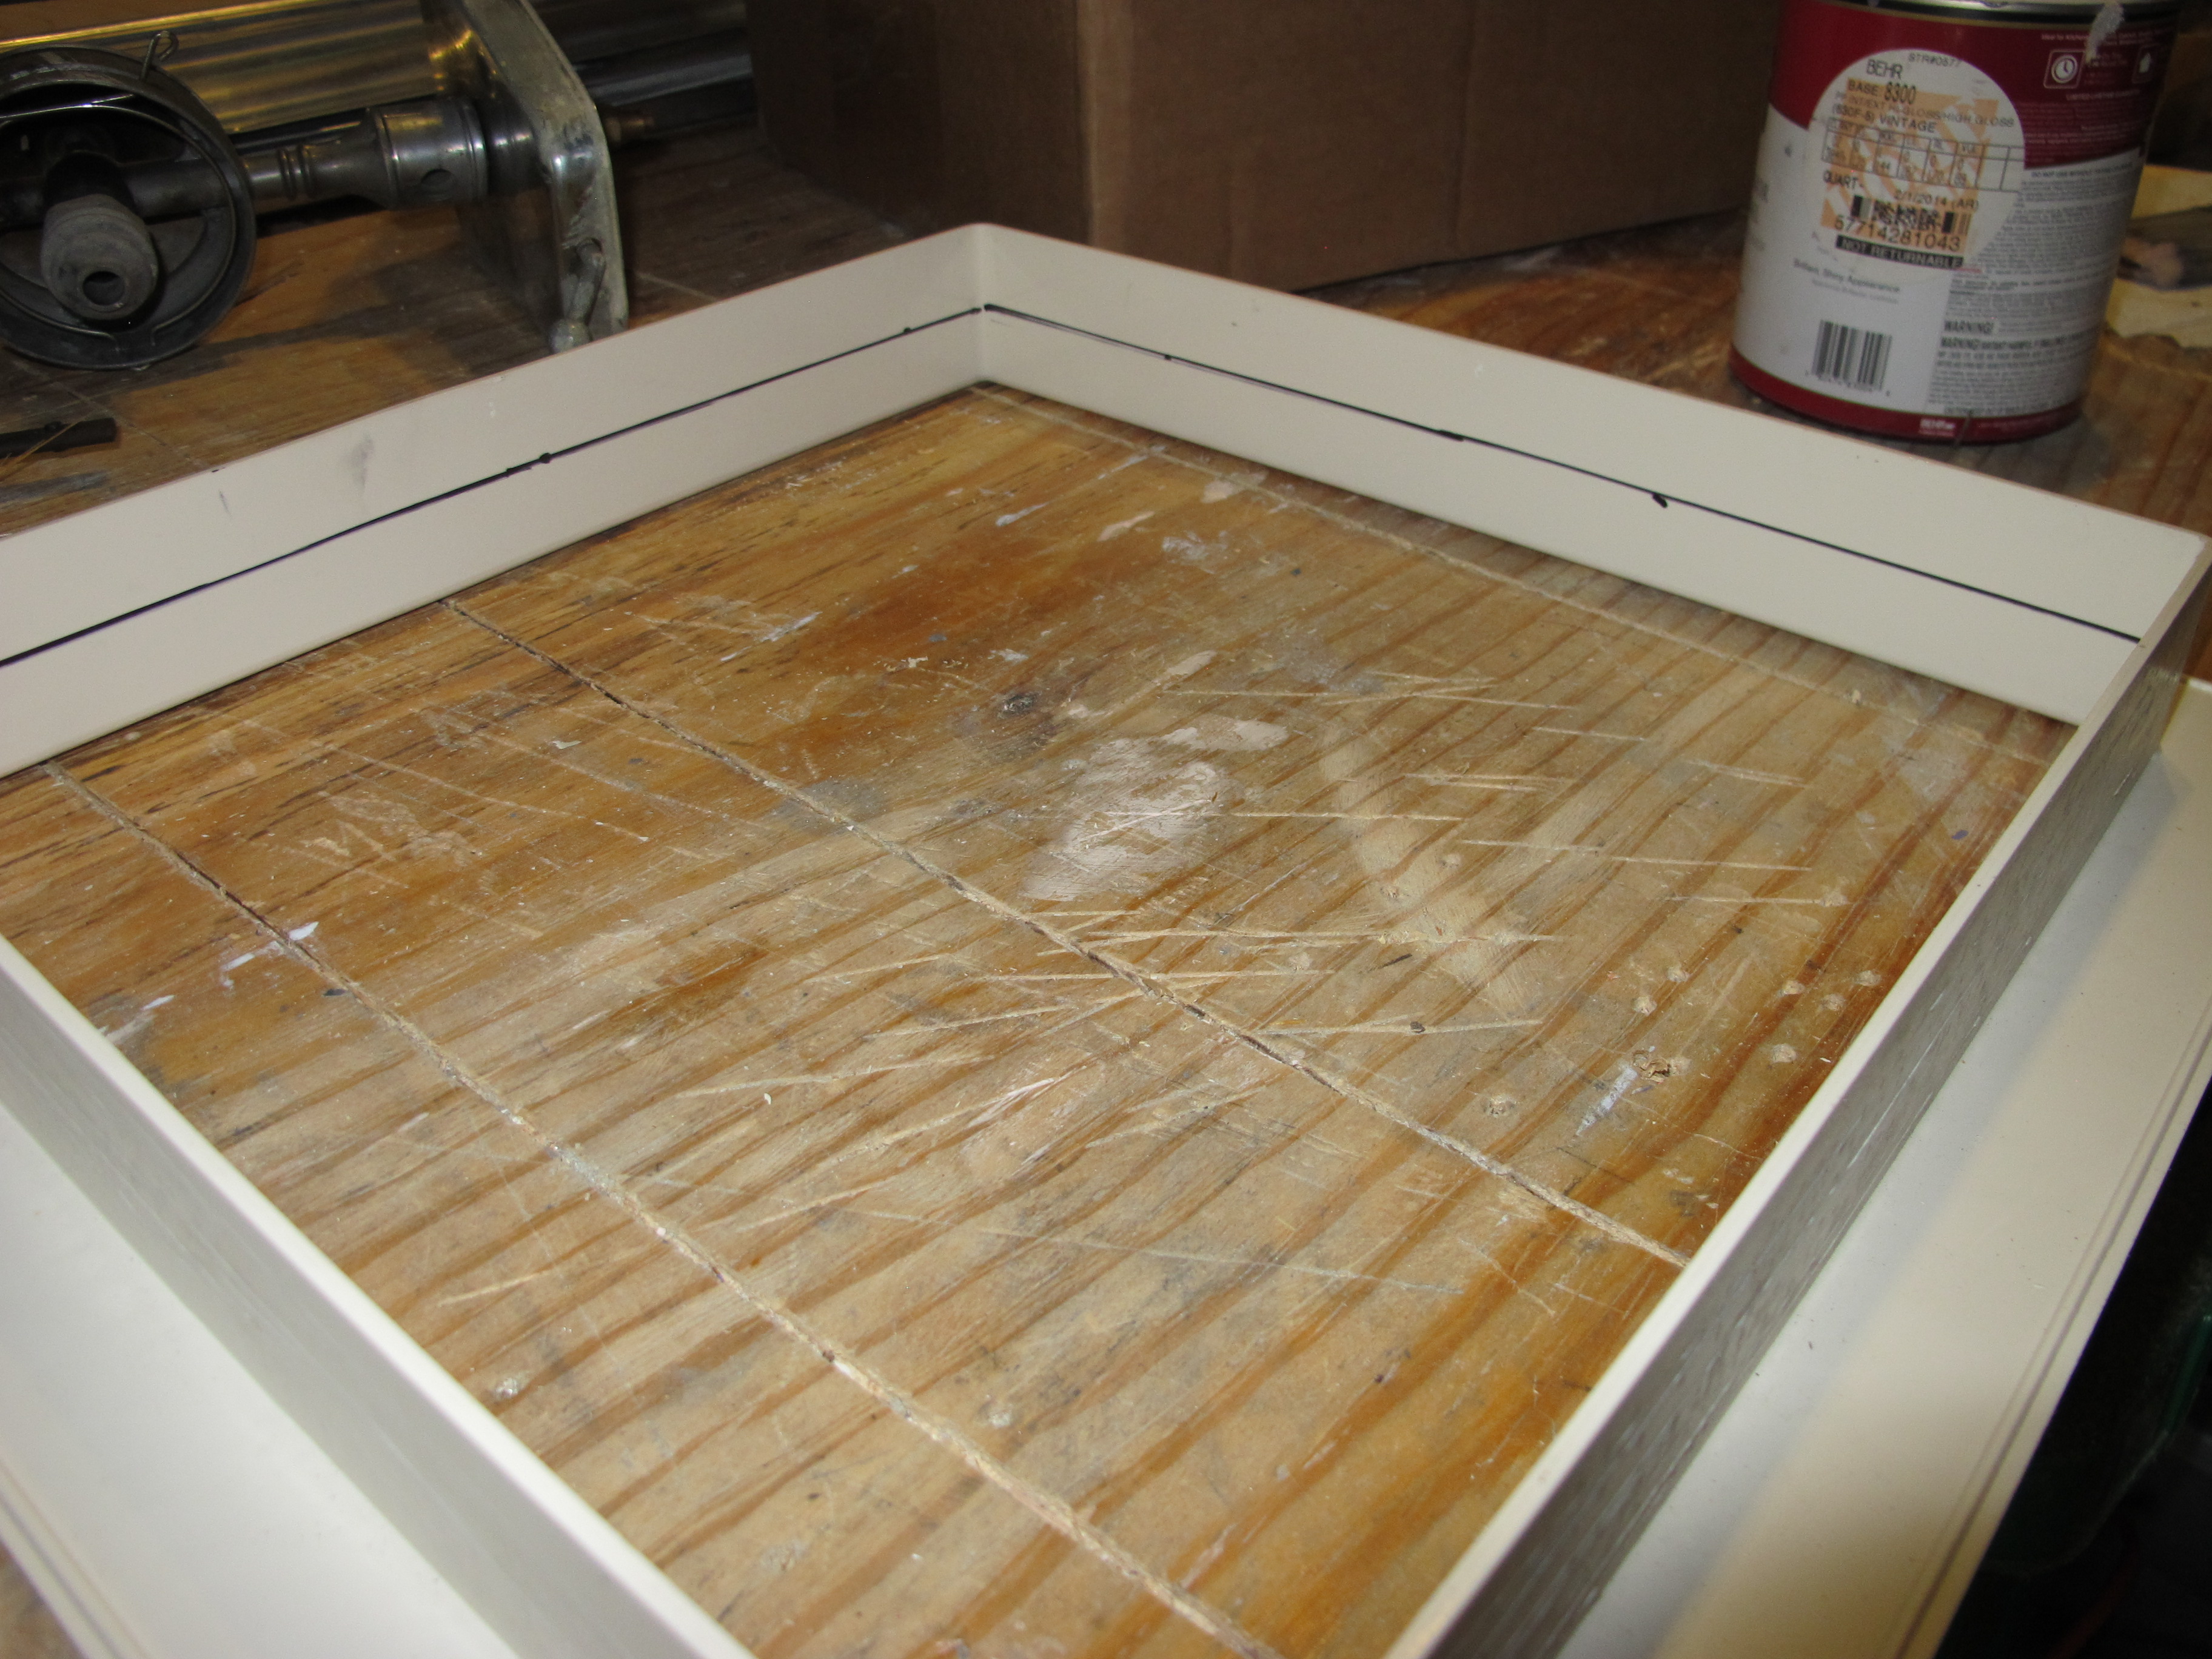
Hole from the interior.
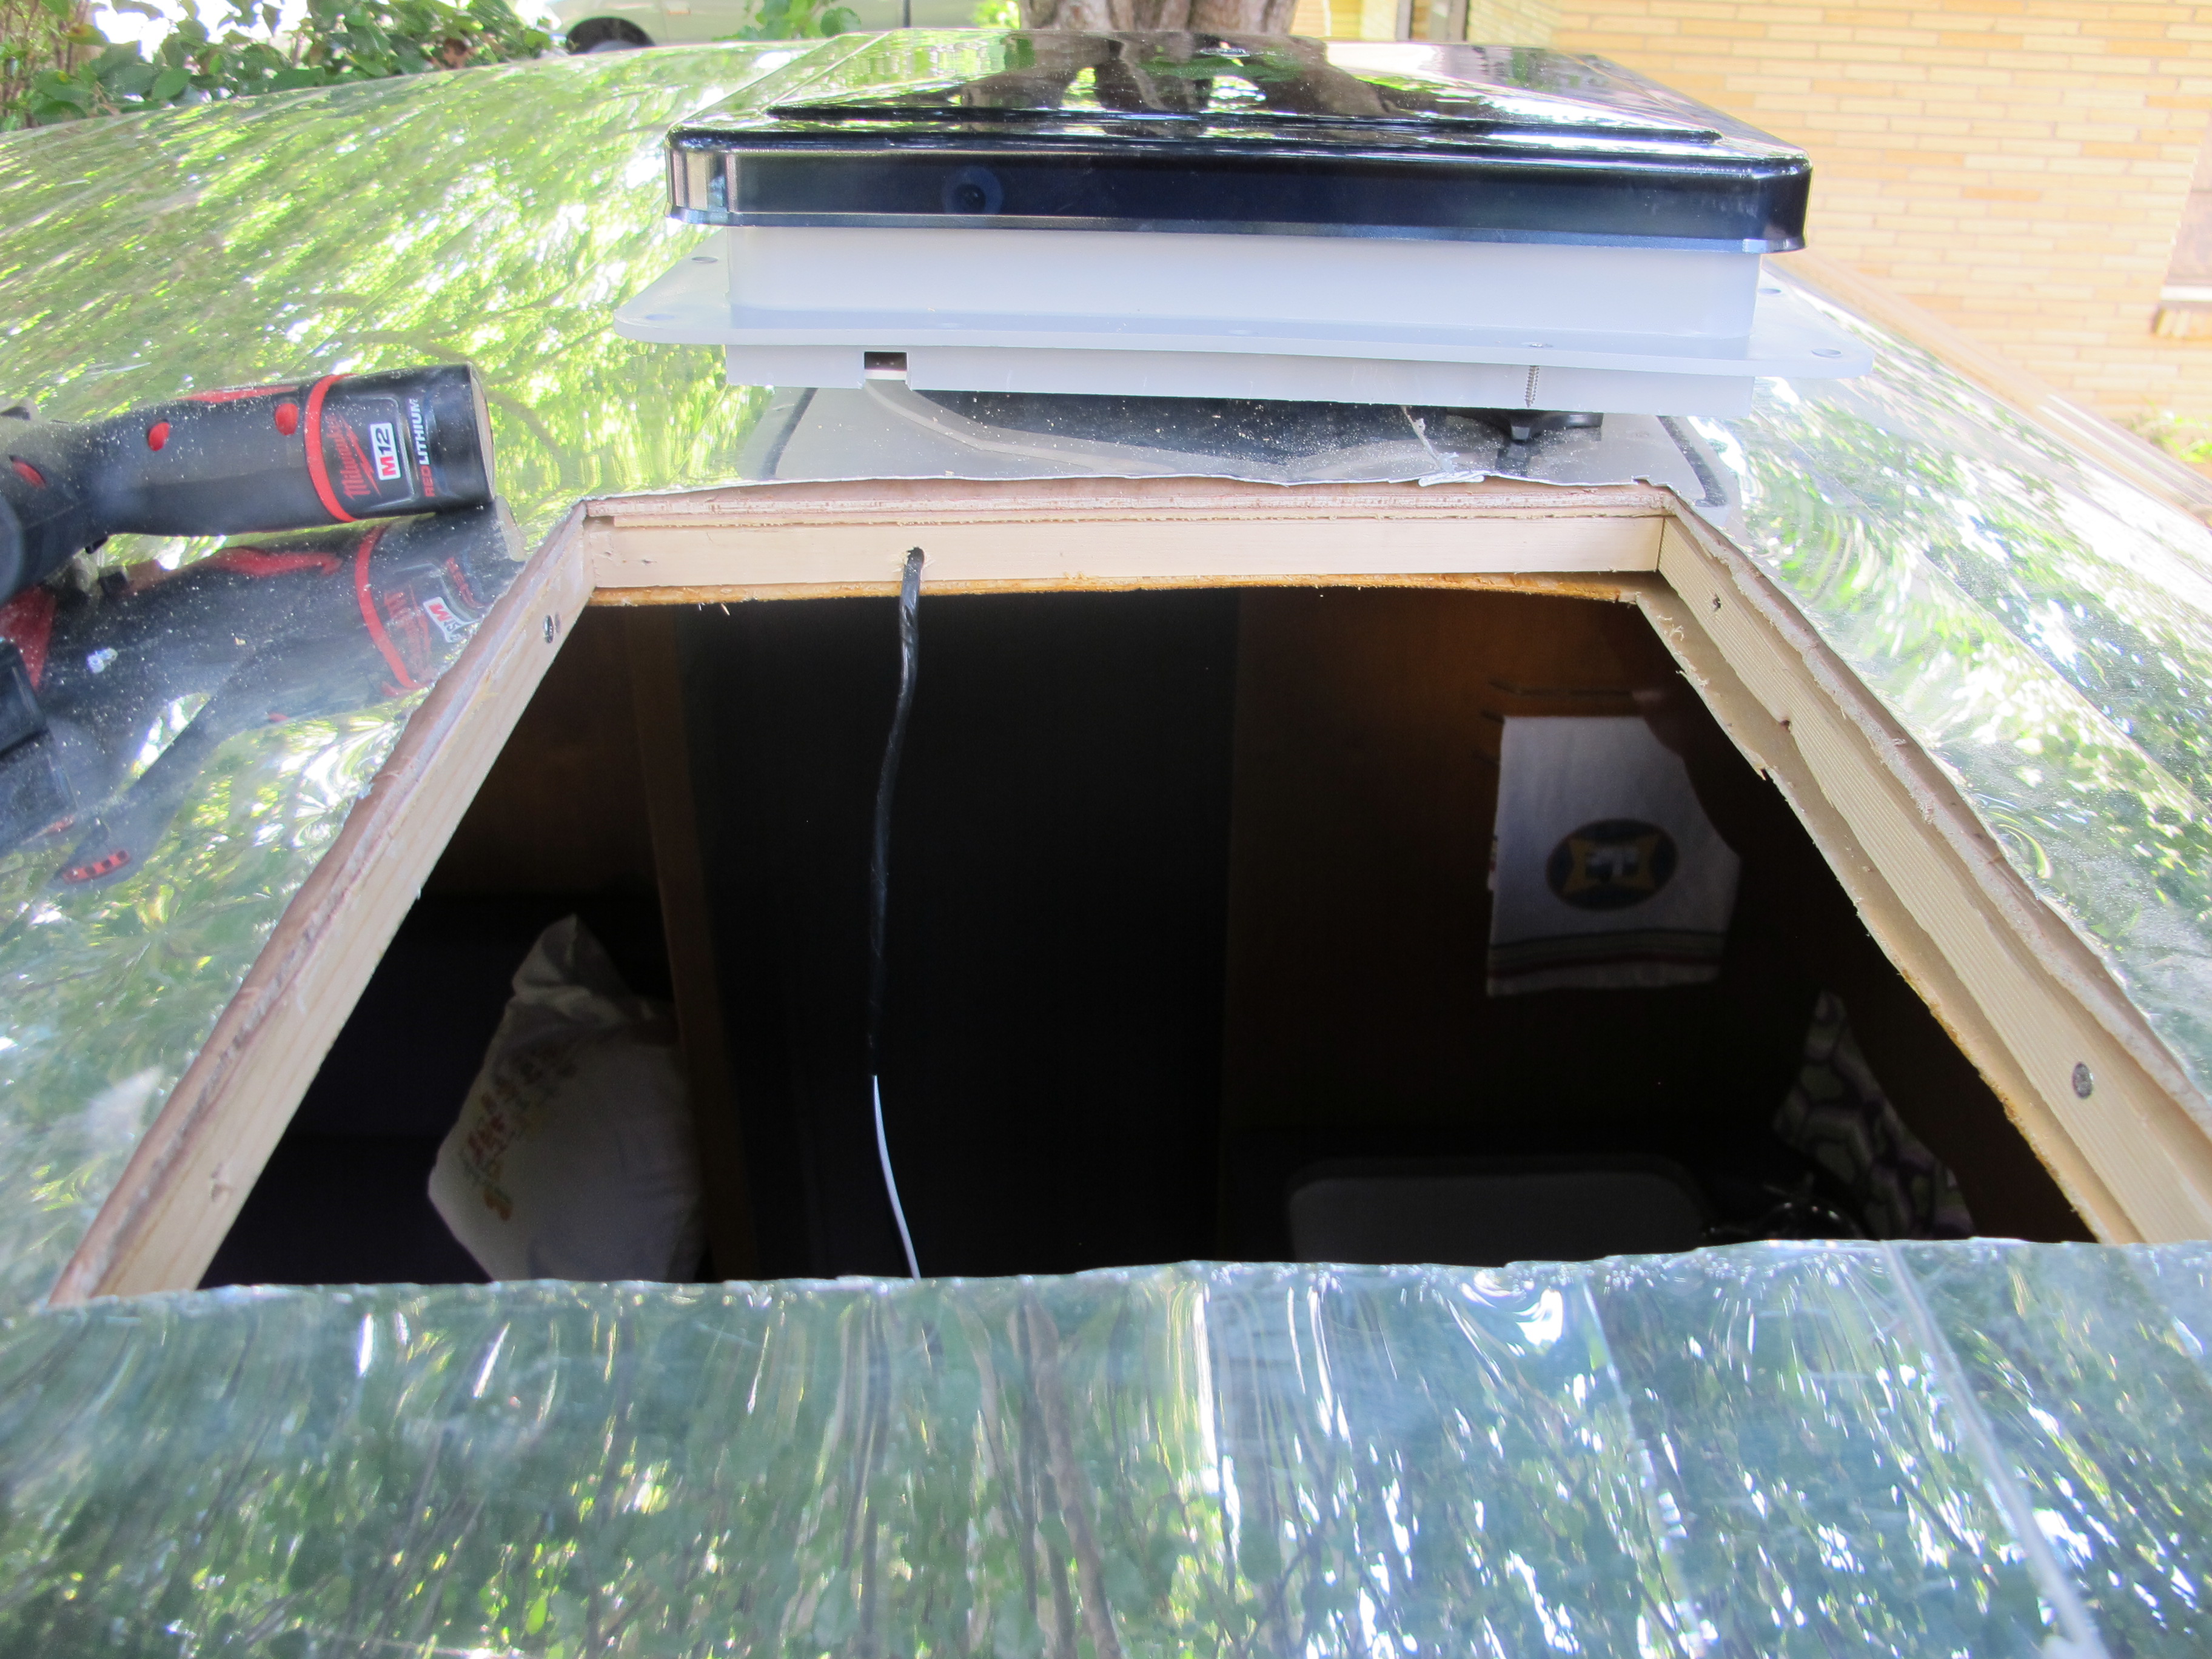
After trimming away at the edges and cutting out the hole in the skin.

And it’s finally in!
I still need to seal it again with Dicor lap-leveling sealant. http://www.amazon.com/Pack-Dicor-Self-leveling-Lap-Sealant/dp/B00H554R98/ref=sr_1_2?ie=UTF8&qid=1409626405&sr=8-2&keywords=dicor+lap+sealant I don’t have any, so I need to pick some up at the RV shop. I’m keeping the cover on Junebug now anyway so I’m not in a rush to finish sealing it just yet.

Here it is from the inside. I still need to add the frame piece to cover up the edges and tuck the wires in.
The interior frame piece that fits around the hole for the fan sticks up too high, so I needed to trim it. Unfortunately, I didn’t have a good tool for this and ended up using my tin snips. It made the edges all jagged. I haven’t installed it yet because I want to see if I can smooth the edges first.

I had to order a 12v to 115v converter so that I could power my Fantastic Vent since I don’t have 12v set up in my camper at the moment. Luckily, this part went better than my overall electrical wiring experience, and it worked the first time!
The fan works great, and I can’t wait to use it when I’m camping and don’t need the AC.

My newly painted hitch and propane tank look pretty snazzy. 🙂

Here’s a pic with the vent hood open. It’s translucent, so it adds a little light in the camper even when closed.
I installed the Shasta emblem and I think it looks really cool! I was worried maybe you couldn’t see it very well since it’s silver and the skin is silver. I think it still shows up just fine though. I think I’m on the right track to finish on time now! The electrician is coming tomorrow to make sure my wiring is done well, and then I’m on the home stretch! ![]() Have a good week and I’ll be back next weekend!
Have a good week and I’ll be back next weekend!

It borders on the surreal the work you’ve done! You definitely fall into the ” I am Woman, hear me ROAR” category!!
Please allow me to make 1 humble suggestion? How would it look if you painted the rough surface area of the Shasta badge the same color as your wheels??
Thanks Douglas! Really appreciate you taking the time to check out my blog! I had thought about painting the Shasta emblem purple but I am eventually going to paint the lower half of Junebug purple, so I decided against it. I think that would look good against the silver though, good suggestion.
Look good? Naw, that’d look smooth up freakin’ awesome!! There’s an example of what I’m talking about on the http://www.flikr.com under 1956 Shasta, “This Old Camper” I think it is.
Be ever so well, Douglas
This was great to look at your blog with all your trailer details. My husband & I absolutely are addicted to these trailers! We have a 1965 Aladdin! We completely restored her, “Penney Lane”. We refinished all her interior wood, her seats got new foam & we covered one side of them in Pendleton wool. We made her new curtains to match, took all her windows out, resealed them, hand polished all her chrome (even surrounding her windows). She has a new floor & sports a new top of the line automotive paint job on her exterior. She’s our baby! My hubs & I designed some vintage trailer logo shirts to contribute to a great cause of helping at risk youth get off the streets as Portland Oregon has the highest number of homeless youth then any other place in the US. Check out the four designs we did! There’s even an Aladdin!!! We have a Shasta we will be restoring. So of course we made Shasta Shirts too! https://www.etsy.com/shop/TheNorthLives?ref=hdr_shop_menu
Hi! Sorry for the delay, I haven’t logged into my blog in a long time. Once I finished my project, I got busy doing other things and fell behind on writing blog posts. I have still been using my camper a lot and I got married this year and my husband loves it too! I will definitely check out your tshirts, thanks for the link!