
I can’t remember what life was like before Junebug. What did I do with all of my time?? Sure, I had other hobbies, but I didn’t do anything nearly as obsessively as I work on this project. It’s kind of like trying to imagine my life before the internet or my iPhone. haha Maybe I was just relaxing more or perhaps watching more movies.
Both of my neighbors admitted yesterday that they doubted me in the beginning and didn’t think I could do this project on my own. Little did they know, I am a very determined person, and when I put my mind to something, I will do it no matter what! One of my neighbors also said that I had done a good job for a girl. ![]() That offended me, and I told him so. He then backtracked and said he meant that he didn’t think there were many girls who would take on this sort of project. He might be right, but I’m hoping maybe some other women who aren’t sure about doing something like this will come across my blog and see that they can do it! All you need is time, money, and a lot of determination.
That offended me, and I told him so. He then backtracked and said he meant that he didn’t think there were many girls who would take on this sort of project. He might be right, but I’m hoping maybe some other women who aren’t sure about doing something like this will come across my blog and see that they can do it! All you need is time, money, and a lot of determination.
This weekend, I got a lot done, but I still didn’t completely finish my electrical system like I had planned. I had no idea how difficult 12 gauge wiring was going to be to deal with. I still feel pretty good about where I’m at, although I’ve only got two weekends left until the unveiling party, so I am a little worried about time. I will probably have to work on a few things during the week just to be sure I finish in time! Luckily, my next two weekends are three day weekends, so that really helps.
I think I mentioned in my last post that I had lost my keys. Wouldn’t you know, they were hanging on a nail in the garage the whole time! I have become so disorganized with this project, this is unlike me! I now have a little camper key cover on my keys. Maybe this will help. If nothing else, it’s cute. ![]()

I was off on Friday, so I got up early and started working on finishing the exterior of Junebug to get her ready to take to Oscar’s shop to finish the bumper and spare tire mount. I had to finish stripping the paint off of the drip rail, and of course, it took forever! I don’t know how that paint was so stuck on there.
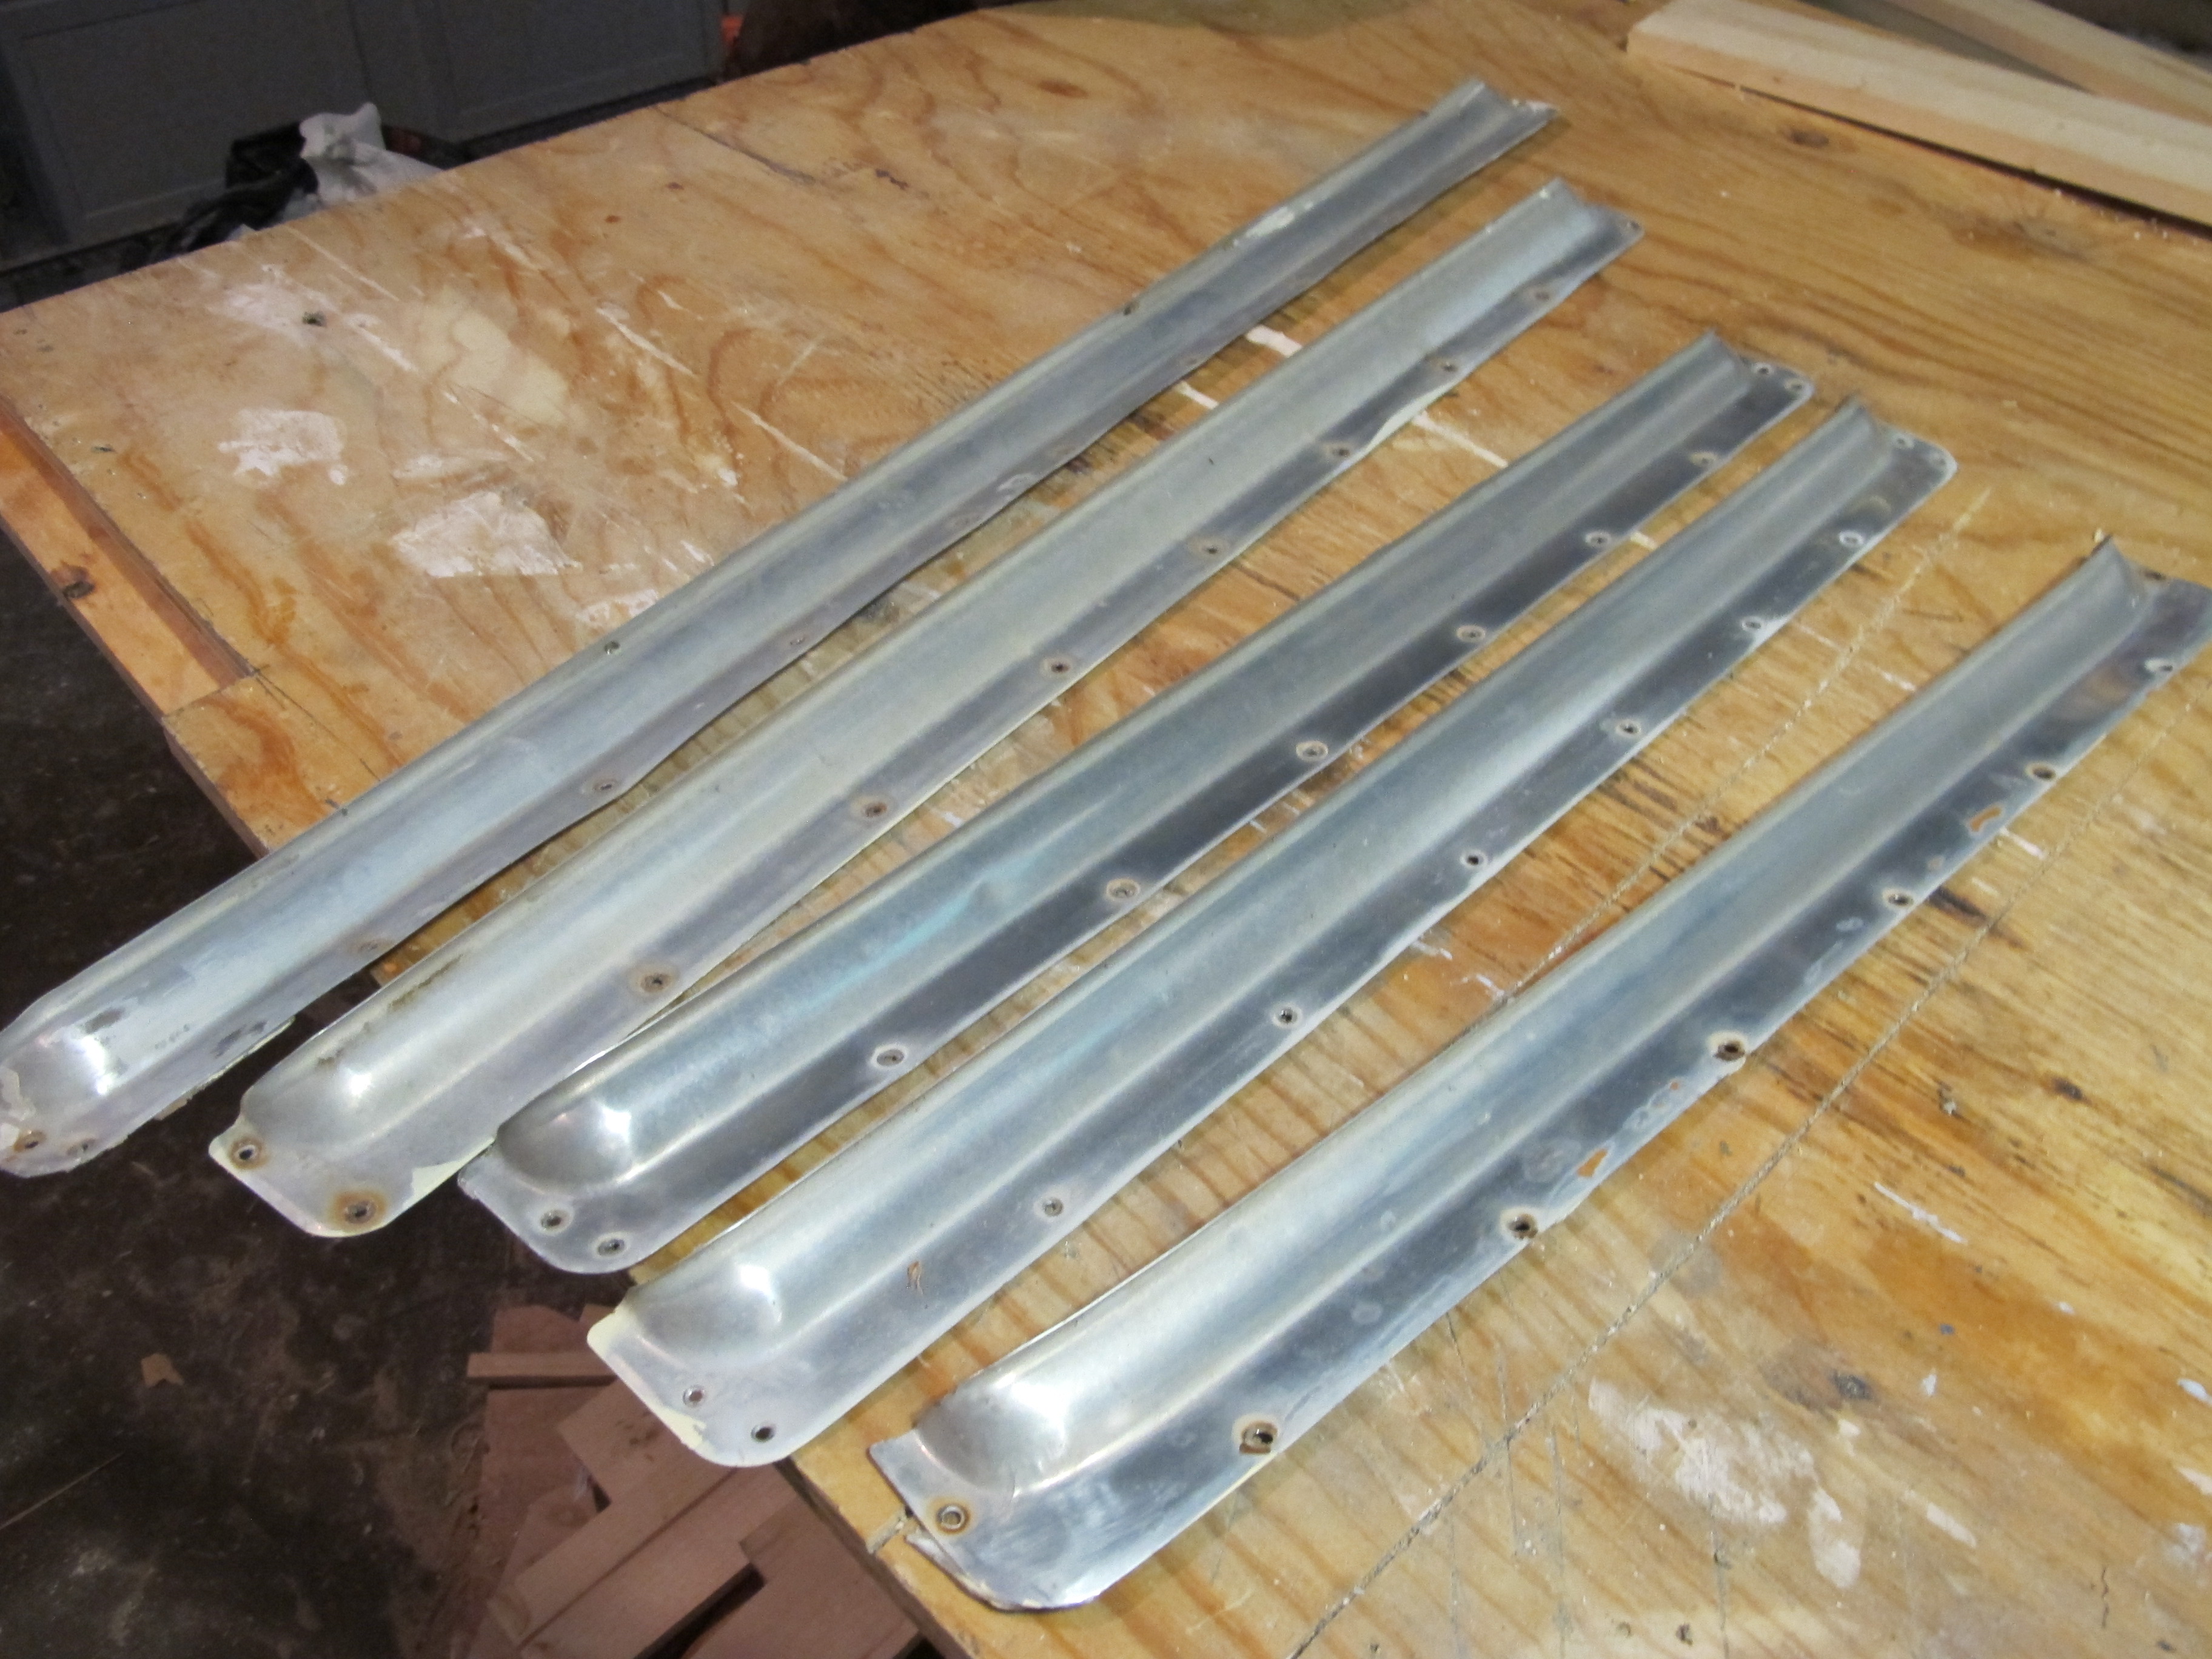
After doing that, I polished the eyebrows and installed them over all of the windows.
Before

After
Oh, by the way, I’m not going to post any more full exterior or interior pictures until after my unveiling party on September 12th. I don’t want to ruin the surprise for my friends who will be coming to the party and also read this blog. For anyone who can’t make it to the party, sorry, but I promise to post lots of pictures after that!
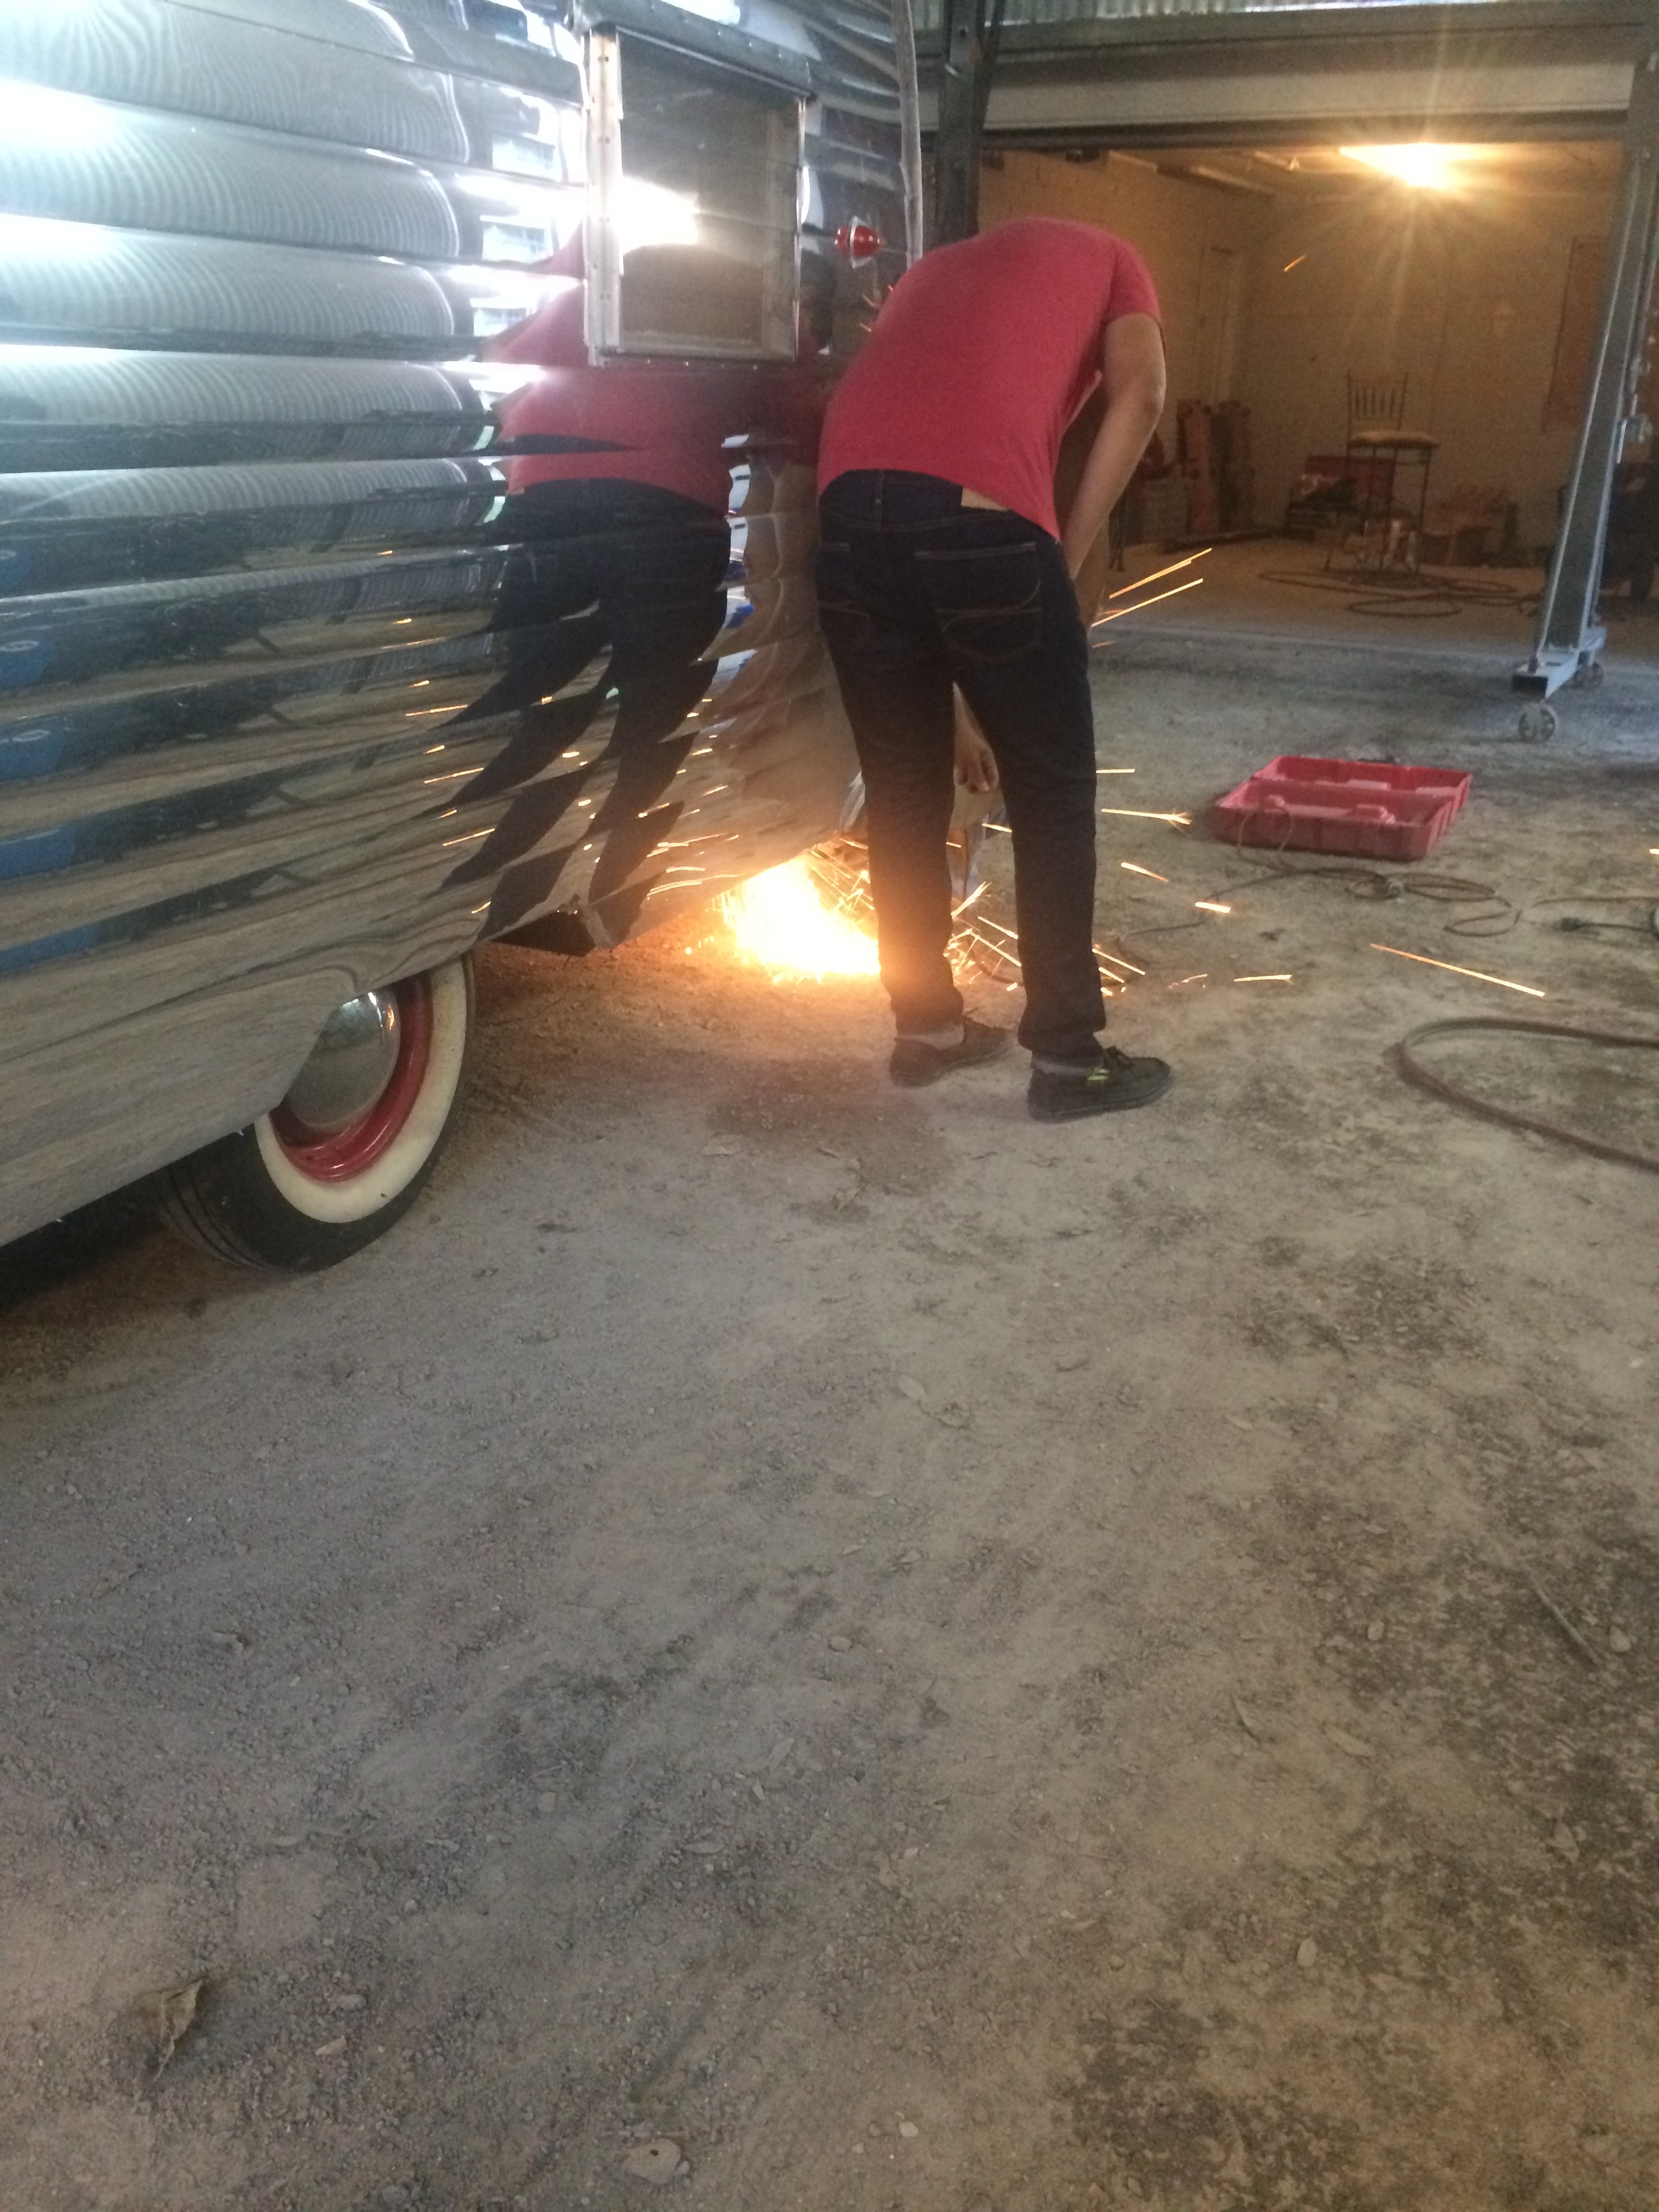
It took me most of the day on Friday to finish up the exterior, and around 6pm, I started getting Junebug ready to go to Oscar’s shop. I noticed that my jack had become really hard to turn. I got the camper out of the driveway and hooked up to my car, but I couldn’t get the jack to go back up so I could get on the road. Apparently, it had decided to break on me. grr My nice neighbor came to the rescue, and he helped me remove the jack and put it in my car. I went on my way to Oscar’s place to see if he could help me with it. Once I arrived at Oscar’s shop, he immediately got ot work on my bumper with his son and his friend as his assistants. I got really nervous with the welding so close to my beautiful pre-polished aluminum skin. That stuff scratches so easily!! They put a few new scratches in it, but in the end, it turned out fine. I snapped a couple of photos while they weren’t looking. hehe

I’ll wait to post a pic of the finished bumper with the spare tire mount. It still needs to be painted, and I want to wait until after the unveiling to show it off anyway.
I noticed that my side running lights and license plate light didn’t work properly when plugged into my car. I was really worried I had wired them wrong, but when Oscar hooked Junebug up to his two vehicles, everything worked great!
Since it was late on Friday when I took Junebug to Oscar’s place and my jack had quit working, I decided to leave her overnight at his shop and pick her up in the morning. On Saturday morning, I took my VW to Master Hitch since that’s where I got the wiring installed, and they said everything was working perfectly in it. ugh I guess I’m going to have to take my VW and Junebug to Master Hitch because it doesn’t seem like the problem is my camper. Luckily the most important lights are working, the brakes and blinkers. I went ahead and bought a new jack while I was at Master Hitch, and Oscar installed it for me. It only cost $29, so that was a relief. It works great too!

I’m planning to paint it when I finish painting the hitch. I can’t decide if I want to paint it silver or purple.
On the drive home from Oscar’s shop, I noticed Junebug was swaying a little bit. She didn’t sway at all before, so I’m wondering if it’s the new bumper and spare tire. I had to install the spare tire to the side in the rear so it wouldn’t cover up the license plate. I’m thinking this is messing up the weight distribution. Hopefully by the time I install the propane tank and fill up Junebug with stuff, it will all even out.
After getting home on Saturday, the first thing I did was install the two holes for the AC. I wanted to finish wiring the receptacles inside the camper, but I knew it would be way better to do that with the AC on!
I got my AC from ClimateRight. It’s an 8200 btu unit that is AC only, no heat. A little space heater warms up Junebug just fine, so I didn’t need a heater. This little AC sits outside the camper and connects via two hoses that are actually the hoses you would use for a dryer exhaust. Their website said to install the two holes for the hoses on the side of the camper, but I thought that would be ugly. I decided to drill two holes in the floor underneath the kitchen cabinets for my intake and output. I haven’t finished making it look pretty yet, but it’s working great! I got this kind because a window unit would look ugly (in my opinion) and Junebug’s frame isn’t strong enough to support a roof unit. Other people have installed a window unit under the bed and vented it through the baggage door or through the floor, but I didn’t really want to go that route either. This seemed like the best option for me, and so far, I’m happy with the decision. It has a little infrared remote control that serves as the thermostat so it knows the temperature inside the camper at all times.
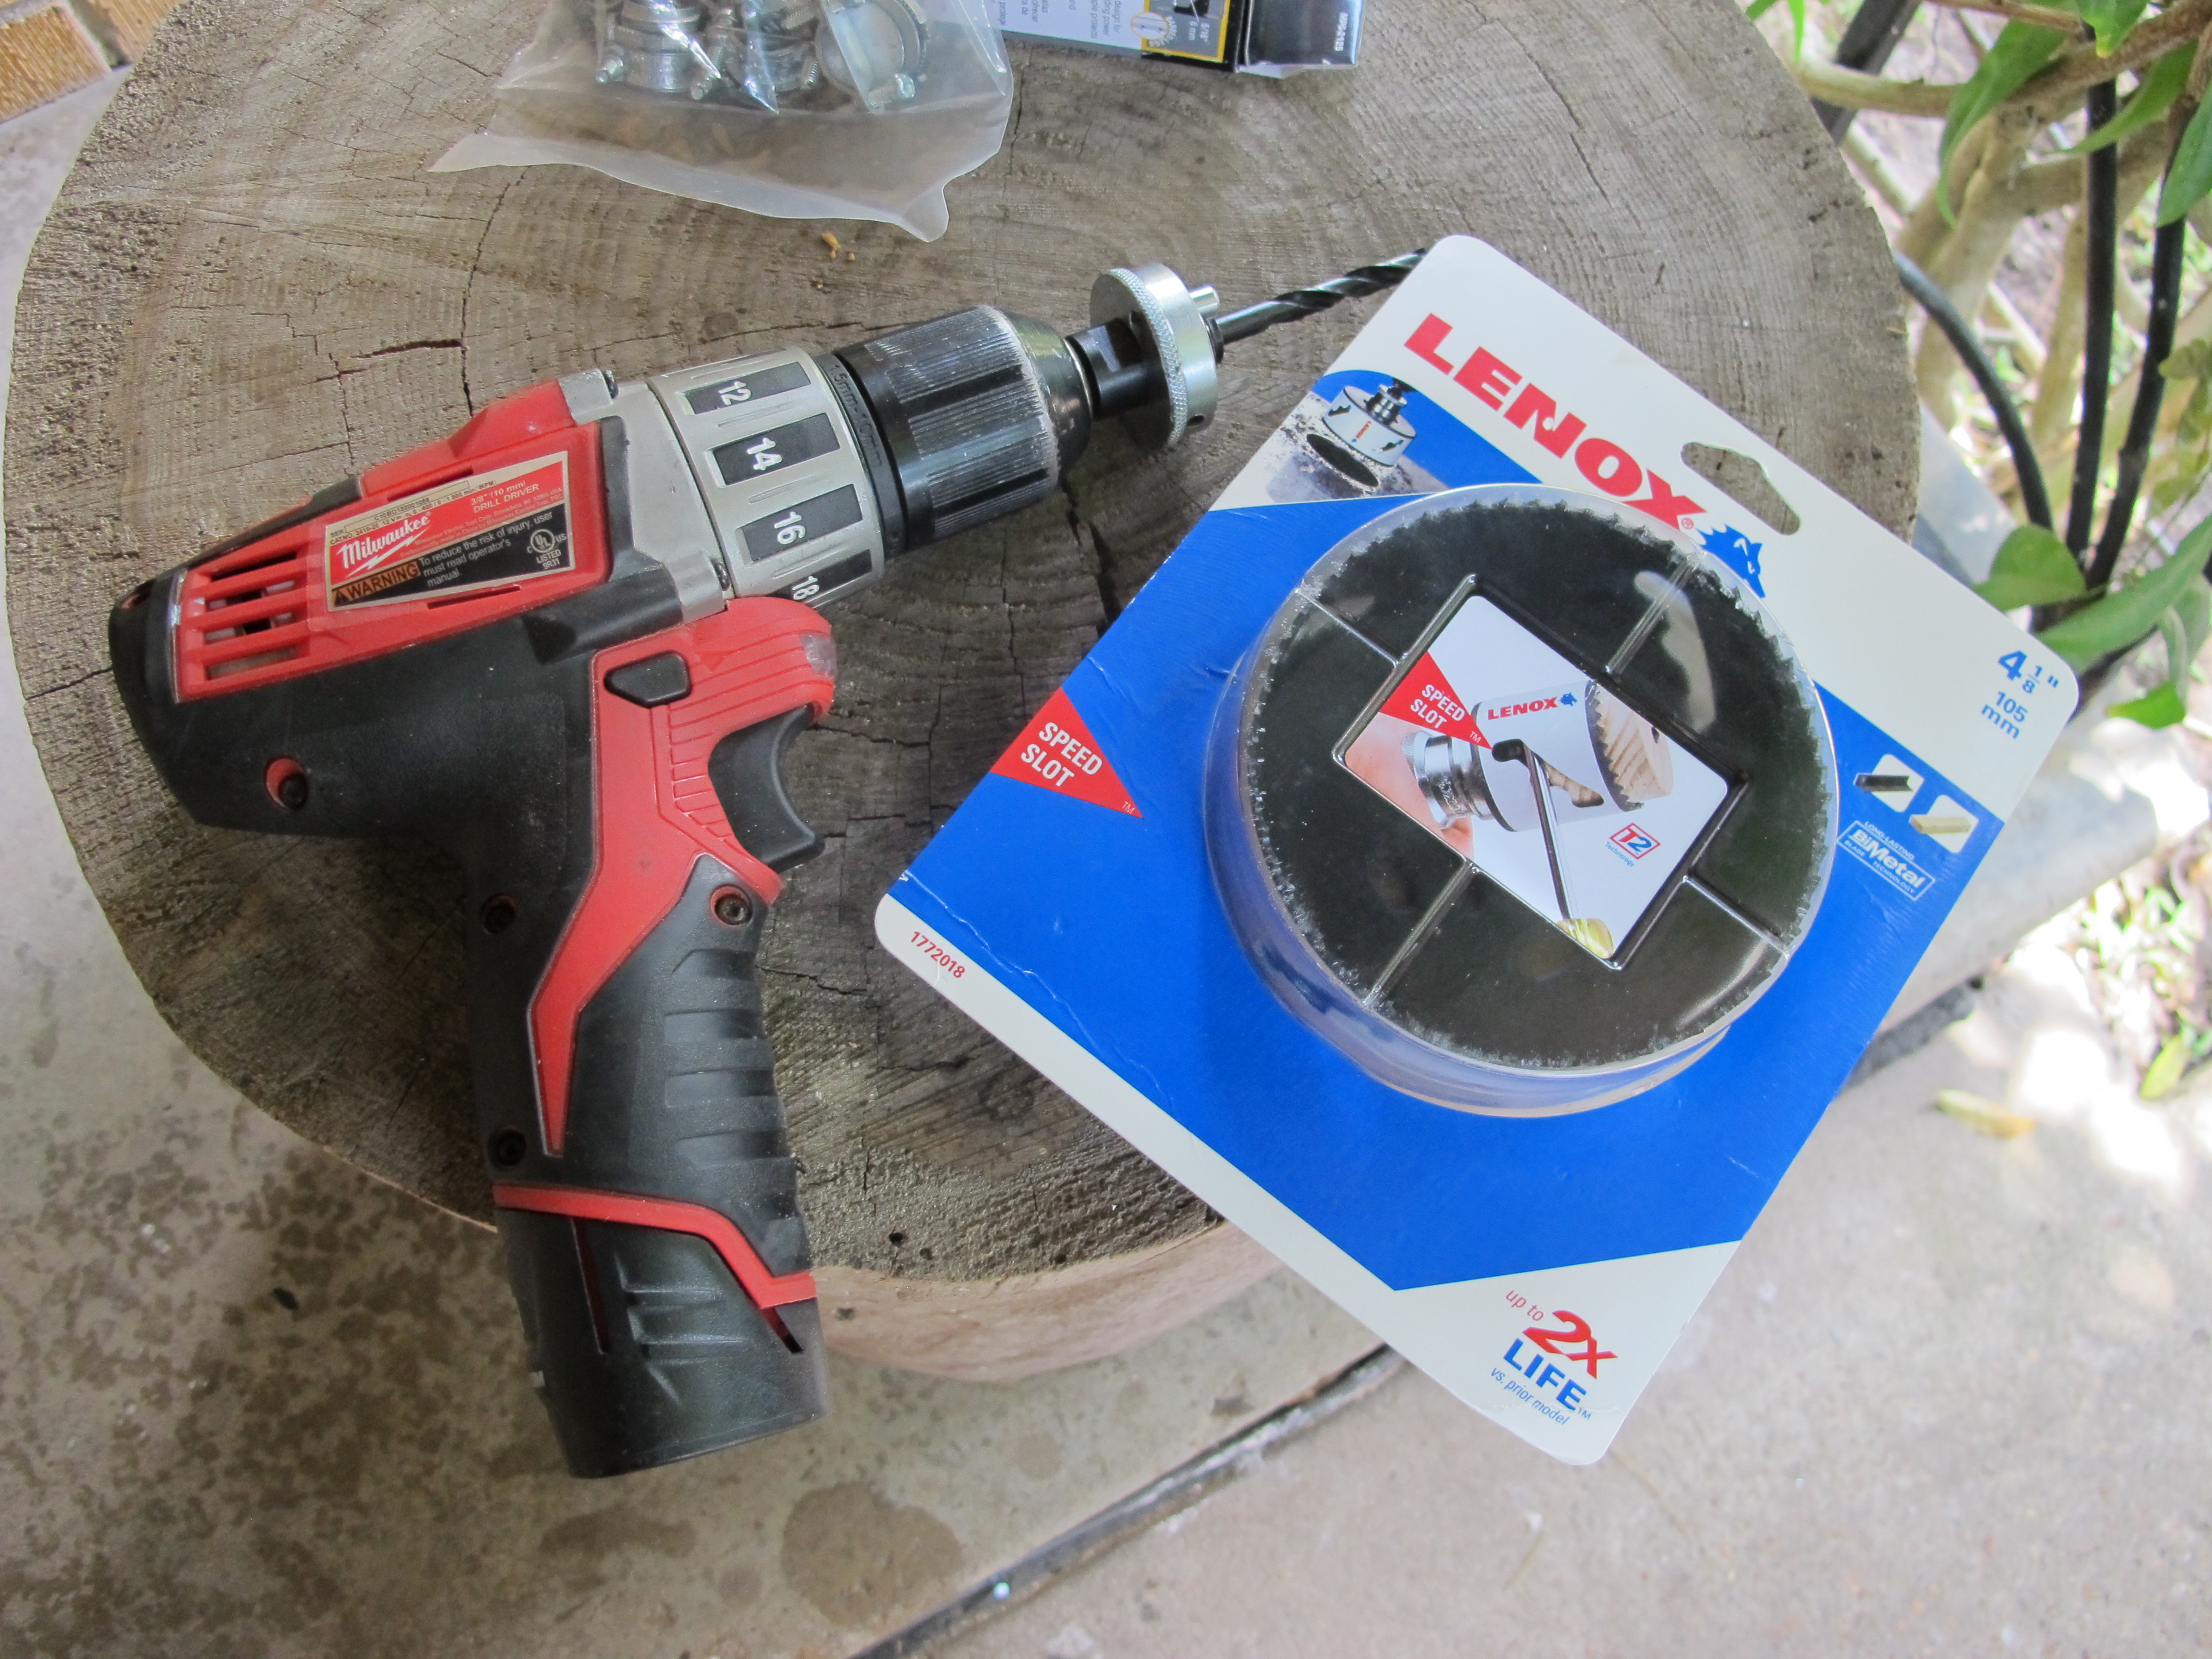
I had to buy a hole saw and the attachment to go with it. It cost around $40 for both so it wasn’t cheap!

One of the holes I had to cut was going to go through the old asbestos tile. I was a little nervous about this, so I wore my mask and kept spraying the floor with water while I was cutting. I then carefully gathered up all of the shavings after I was done.
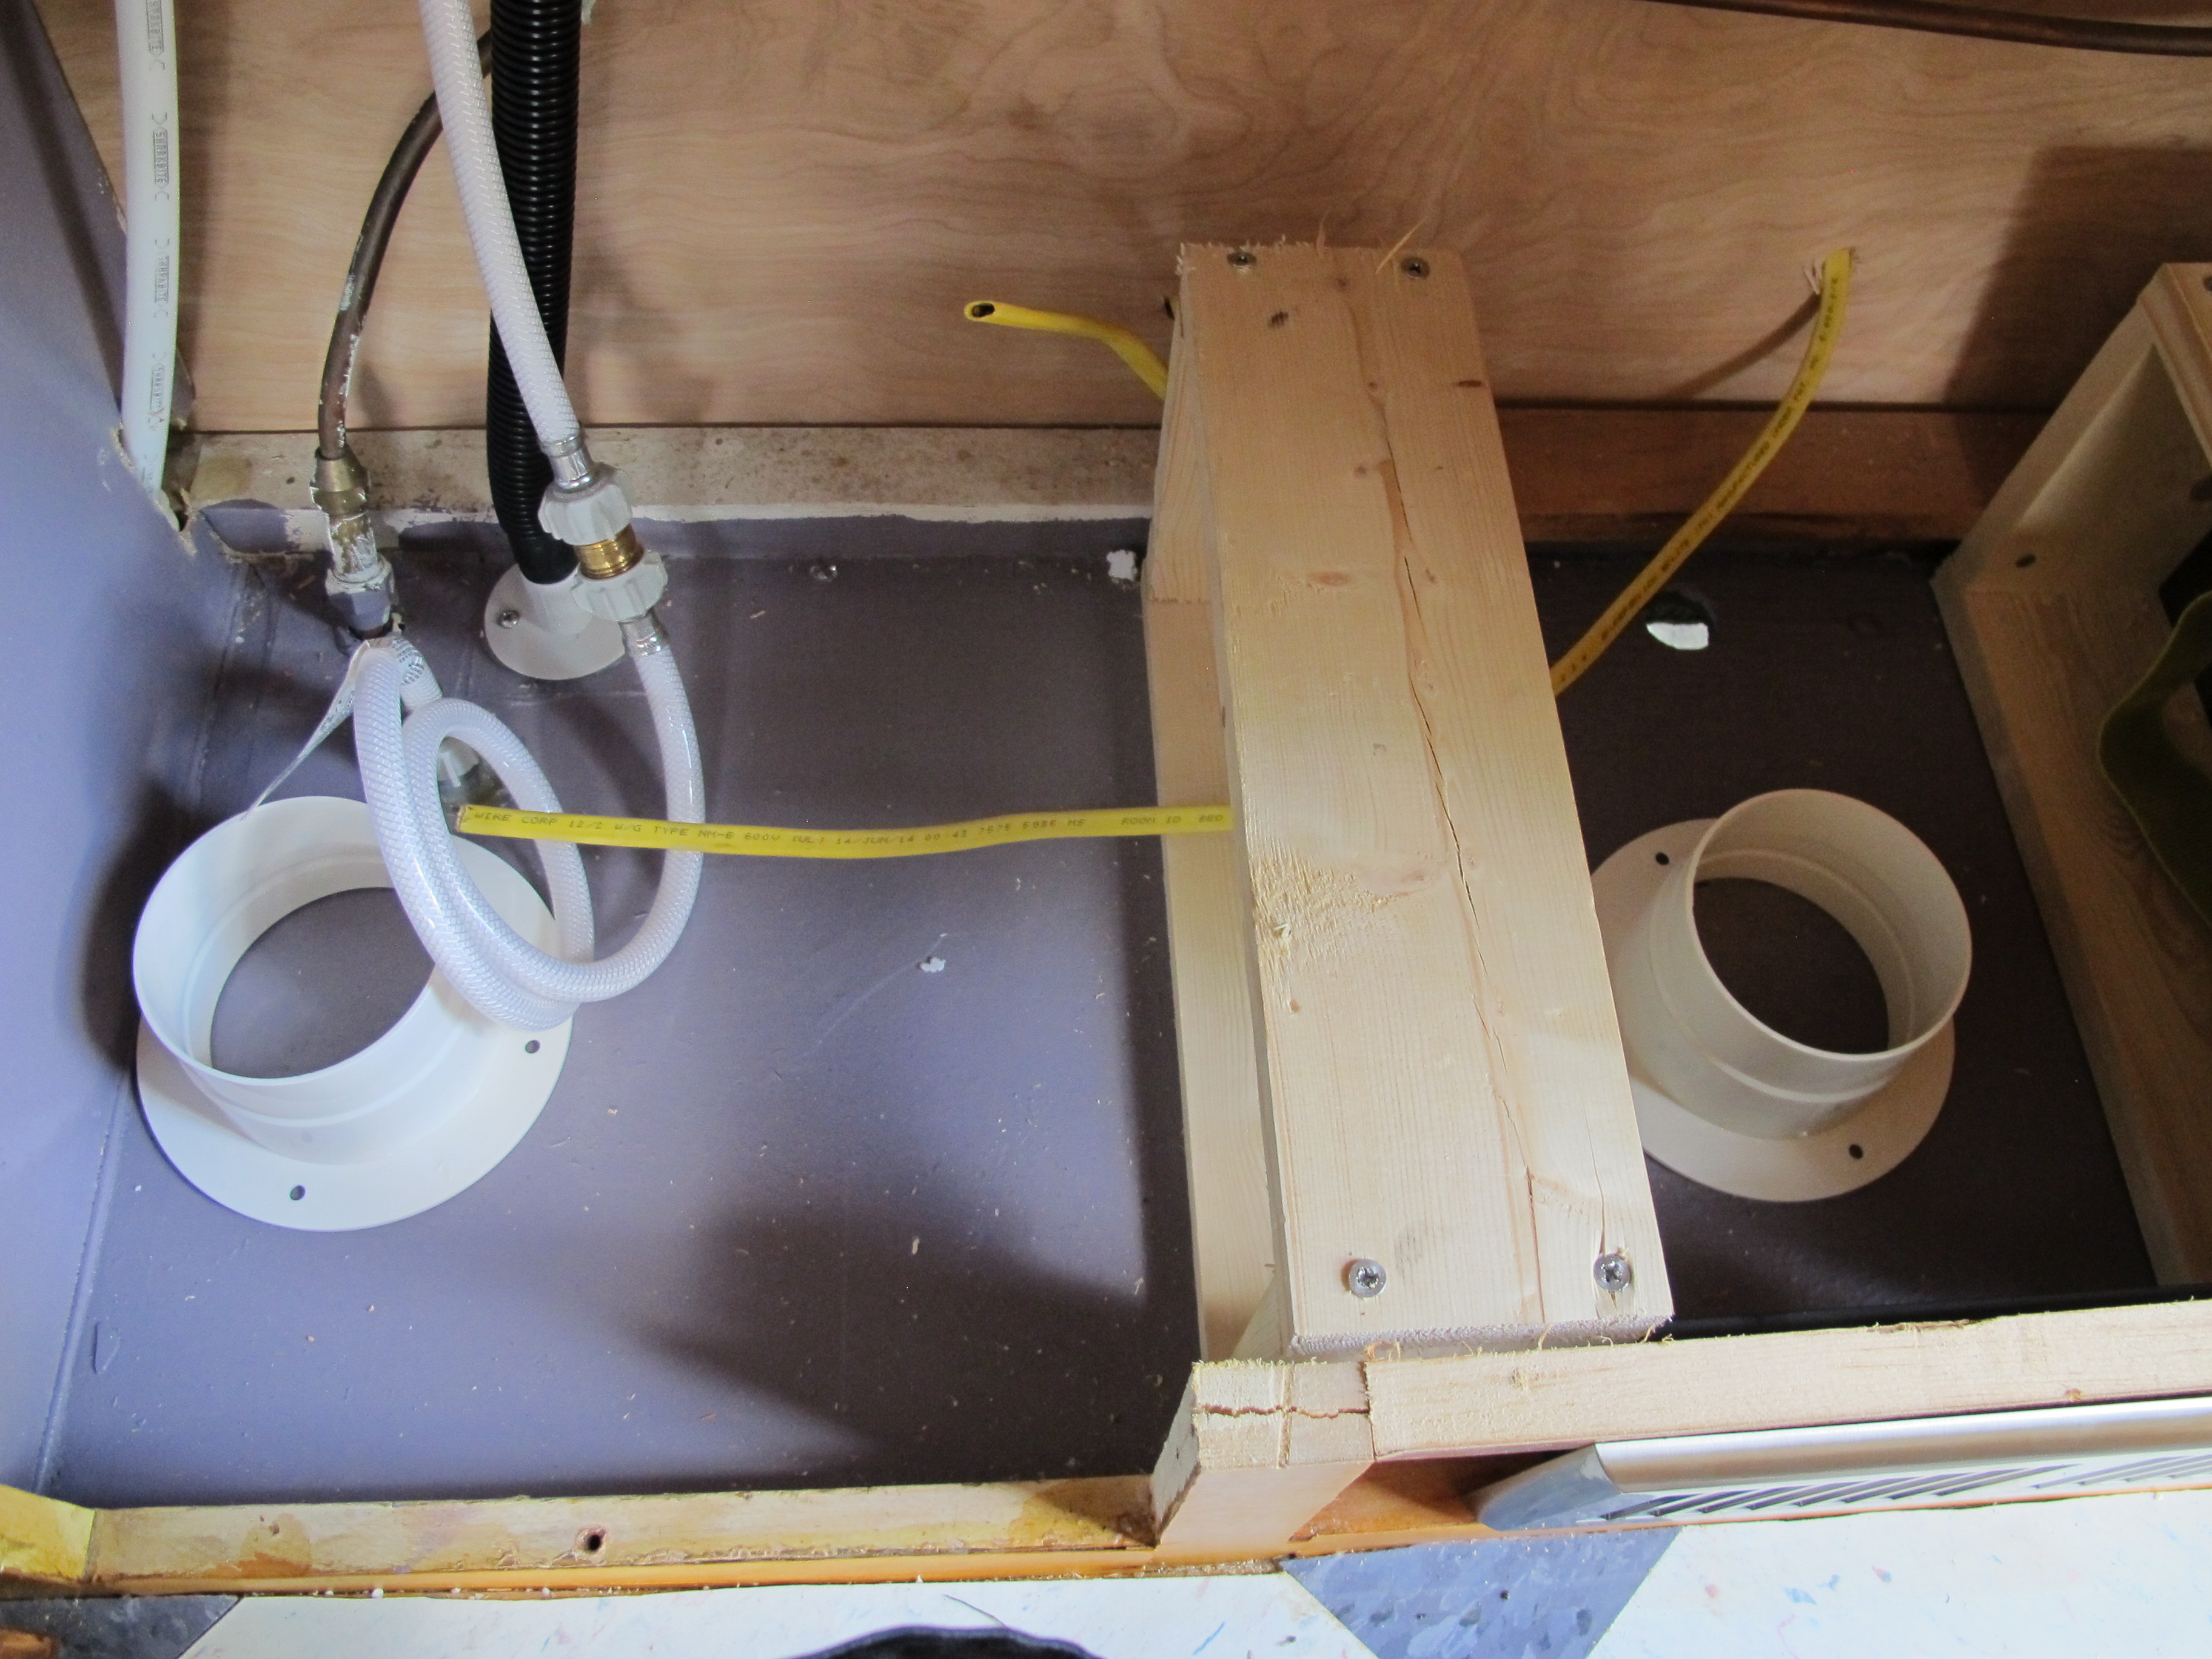
The one on the right will be under the fridge when I put it back in its spot. It’s for the output. The one on the left will be the return air vent, which is under the sink.

Here’s a pic of the one on the right after I drilled the hole and put the attachment in it.

And both are installed! I added some ductwork to the output and a screen to the return to keep particles out. The ductwork is a little too long since I will be putting a piece of wood back in the space below the fridge. I am still trying to decide how to cover the space and have a vent. None of the vents at Lowe’s were exactly what I was looking for.

Here’s the unit hooked up outside. I am going to find a base for it with little wheels. I also need a way to secure it to the hitch so someone doesn’t steal it from the campground. I will worry about those things a little later.
Once I got the AC hooked up, I got to work on the electrical. Unfortunately, it was late in the day, so I didn’t really get anywhere. I made more progress today.
I ended up deciding to replace both the fixture and the fixture box above the dinette. I didn’t like the idea of having the plug on the fixture itself like the original, it didn’t seem as safe. The wires in the original fixture were old too. The only thing I don’t like about the new fixture box is that it’s blue, and you can see the top of it when standing over by the kitchenette. I may go back and replace it with a different one later, I don’t know. I also had to add a j-box between the outlet and the fixture above the dinette and pigtail the wires from the outlet. It was too difficult to get two sets of 12 gauge wire into the little outlet box because it’s so thick. I also had so much trouble accessing the boxes in this space because the ceiling is curved.

Before connecting the wires inside the j-box. The old fixture box is still here.

With new j-box and wires all connected and stapled down. I really hope this works when I hook it up to power!
The 12 gauge wire was so difficult to work with!! It took me forever to hook up each receptacle thanks to the 12 gauge wire.
After finishing the dinette, I installed the outlet under the sink for the fridge. It was an easier one because I only had one set of wires connected to it since it was the end of the circuit.

I then moved over to the closet. I wanted to add an outlet here for general use, but also because I ran the 12v wires from the Fantastic Vent over to this area. I bought a voltage converter and a plug so that I can plug the Fantastic Vent into a normal outlet(it comes in 12v only). Later down the road, I plan to upgrade my system to include a battery so that I can have electricity off grid. That’s too much to take on right now though, so I’m just hooking up the fan this way for now.

I bought some fancy new wire cutters, specifically made for stripping 12 and 10 gauge wire. They really made my life a lot easier.

Here’s the closet receptacle. I bought a double outlet box so I would have room for the wires to the side. I put a cover over this so you can only see the outlet now. I will also be painting the box and area around it purple.
And the pictures below are the fixtures all hooked up again!
I also installed an outdoor plug underneath the camper to plug my AC into. It has its own dedicated circuit (15 amps). It only draws 7.2 amps, but I wanted to be on the safe side and let it have its own. I accidentally picked a spot for the outdoor plug that was too tight initially, so I had to move it, and in doing so, I exposed some of the wire (rated for interior wiring only). I may need to go back and redo it later. I’m going to leave it for now because I have so many other things I need to finish first.
The pictures below are the underside of the camper. On the left, you can see the outdoor plug I installed. Above that is the air vent for the AC. It didn’t come with a cap, and I really needed one, so I was excited to find this adjustable cap at Lowe’s. It expands when you turn the wing nut so that it fits snug inside the opening. I bought two of these to cover the holes where the AC hoses connect when it’s not in use. They worked perfectly for this task!


All that’s left of the electrical system is the power inlet and the breaker box with corresponding wiring. I also need to run a new ground wire. I ran the old one and bolted it to the frame, but it’s a really high gauge and won’t work for my new system. I bought a piece of 8 gauge wire to use for the new ground wire, so I’m going to have to fish it down to the frame, hopefully using the old piece. If that doesn’t work, I may just drill a hole through the floor and run it to the frame that way. I hate to drill more holes in the floor though, I think I may have reached my quota!
Hopefully I’ll have some time during the week to finish installing the breaker box and inlet, otherwise I will start out next weekend a little behind schedule. We’ll see how it goes! Two weeks to go until I need to be finished…deep breaths….

When you were a toddler I was convinced you were the smartest kid ever, but even I didn’t anticipate that you would one day take on a project of this scope. But you are right that your determination is a key quality in seeing you through. Great job, daughter!
I am working on a 72 Shasta to use as a mobile boutique. You have done an uh-mazing job! Congrats! I just received my climate right AC and will be trying an installation into a removeable panel that will fit inside my former refrigerator access door. Wish me luck!!
Thanks! Good luck finishing your AC installation! I’ve been really happy with my climateright so far, it cools my Compact in no time and keeps it cool. I know I’ll sleep well at night during the hot summers 🙂
I meant to add that I bought a wire shelf at Target for my AC and generators. I have cut the uprights down on these shelves before…and they work great for the weight of the AC.
Great idea! I’m going to Target tomorrow so I’ll look for the wire shelves to see if that might work for mine too!