I think there have been a few days where I was really frustrated and wanted to quit, but today takes the cake. I knew I wasn’t talented at electrical work and today proved me right. After spending quite a while hooking up all of the new fixtures and outlets last weekend and during the past week, I was ready to finish hooking up the breaker box, power inlet, and ground wire so I could plug the camper in. I managed to finish the breaker box and shore power inlet pretty quickly, as well as drilling a hole in the floor for the ground wire and attaching it to the frame below the camper.
In order to figure out how to wire the new breaker box in the first place, I consulted my favorite forum, http://vintagetrailertalk.freeforums.net/thread/2368/71-shasta-loflyte-amp-upgrade. The thread I just linked is one that includes step by step instructions on how to upgrade your standard 15 amp system to a 30 amp.

I followed the instructions from the forum on my iPad while I worked.
I removed the 60 amp breaker that this box came with and replaced it with two breakers, one 20 amp (left) and one 15 amp (right). In this pic, I have already connected the 20 amp circuit to the breaker. It will feed the lights and outlets inside the camper.

In this picture, I have connected the 20 amp circuit (seen on bottom of pic) and the shore power inlet. I used 10 gauge wire for the shore power inlet and 12 gauge for the other wiring.

And here’s the box with the last circuit installed that will go to the external outlet for the AC (and twinkle lights :)). Since the AC draws 7 amps of power, I thought it would be best for it to run on its own circuit. You can see that I used a jumper wire to complete the circuit from the 20 amp to the 15 amp breaker. I used 10 gauge wire for the jumper wire.
After connecting all of the circuits, I went outside to hook up my shore power inlet. I had to buy another hole saw for the job. Not sure what I’ll do with these hole saws when I’m done! I ordered my stainless steel 30 amp power inlet from http://www.vintagetrailersupply.com/. I looked around online and they actually had the best price on these. I also ordered a 30′ cord to connect to the shore power plug at the campground. Both of these items are made by the same manufacturer, Furrion. The cord even has an LED light on the end near the plug to indicate if polarity is reversed. If it’s lit blue, that means the trailer is wired correctly and if it’s red, that tells you that the electrical current is not running as it should be, which is probably due to incorrect wiring. I thought this was handy seeing as how there was a good chance I did something wrong on the trailer wiring!

Here’s my stainless steel power inlet and the 2 3/4″ hole saw I needed to make room for it.

Hole is cut and ready to install power inlet.

All installed! It’s nice a shiny, just like Junebug’s skin!

Here’s the interior pic of the power inlet. I accidentally removed a little too much of the sheath over the wires, so I added a bit and taped it down, just for added protection. I’m pretty sure it will be fine but I wanted to be safe. I used screws that were a little too long and they poke through the wall, oops. Luckily this will be hidden by the bed anyway.

I used some insulated staples to secure the wires.

The final task was to connect the ground wire (seen in green). I drilled a hole through the floor and ran it down below the camper and wrapped it around a bolt attached to the frame.
After hooking everything up, I was ready to plug it in! I was so nervous that my knees were literally shaking. I don’t like to mess around with electricity. I went in the garage and plugged in the end of the cord. I went back over to the camper and didn’t see that the light had come on. I stupidly went to the fixture and pulled the chain. It shocked me! ![]() And.. it didn’t turn on. ugh I went back and unplugged the cord. So disappointed… I got online and posted some pictures on Vintage Trailer Talk to see if anyone could help me. I also chatted briefly with a guy who works at RV Masters here in Houston to see if he could help me troubleshoot. We both agreed it was either a problem with the ground or there was a piece of hot wire touching something. I went back outside to check all my connections. I disconnected the light fixture above the bed and then noticed that my ground wires had come loose inside the j-box near that fixture. I reconnected those and everything worked! I unplugged the cord again and reconnected the light fixture above the bed. When I plugged it back in, everything wasn’t working. ugh Back to square one! After at least an hour of messing with it, I realized that one of the hot wires inside the fixture was exposed and was touching the ground wire. This was causing the whole fixture to be live. Once I fixed that, everything was working again, yay!
And.. it didn’t turn on. ugh I went back and unplugged the cord. So disappointed… I got online and posted some pictures on Vintage Trailer Talk to see if anyone could help me. I also chatted briefly with a guy who works at RV Masters here in Houston to see if he could help me troubleshoot. We both agreed it was either a problem with the ground or there was a piece of hot wire touching something. I went back outside to check all my connections. I disconnected the light fixture above the bed and then noticed that my ground wires had come loose inside the j-box near that fixture. I reconnected those and everything worked! I unplugged the cord again and reconnected the light fixture above the bed. When I plugged it back in, everything wasn’t working. ugh Back to square one! After at least an hour of messing with it, I realized that one of the hot wires inside the fixture was exposed and was touching the ground wire. This was causing the whole fixture to be live. Once I fixed that, everything was working again, yay!
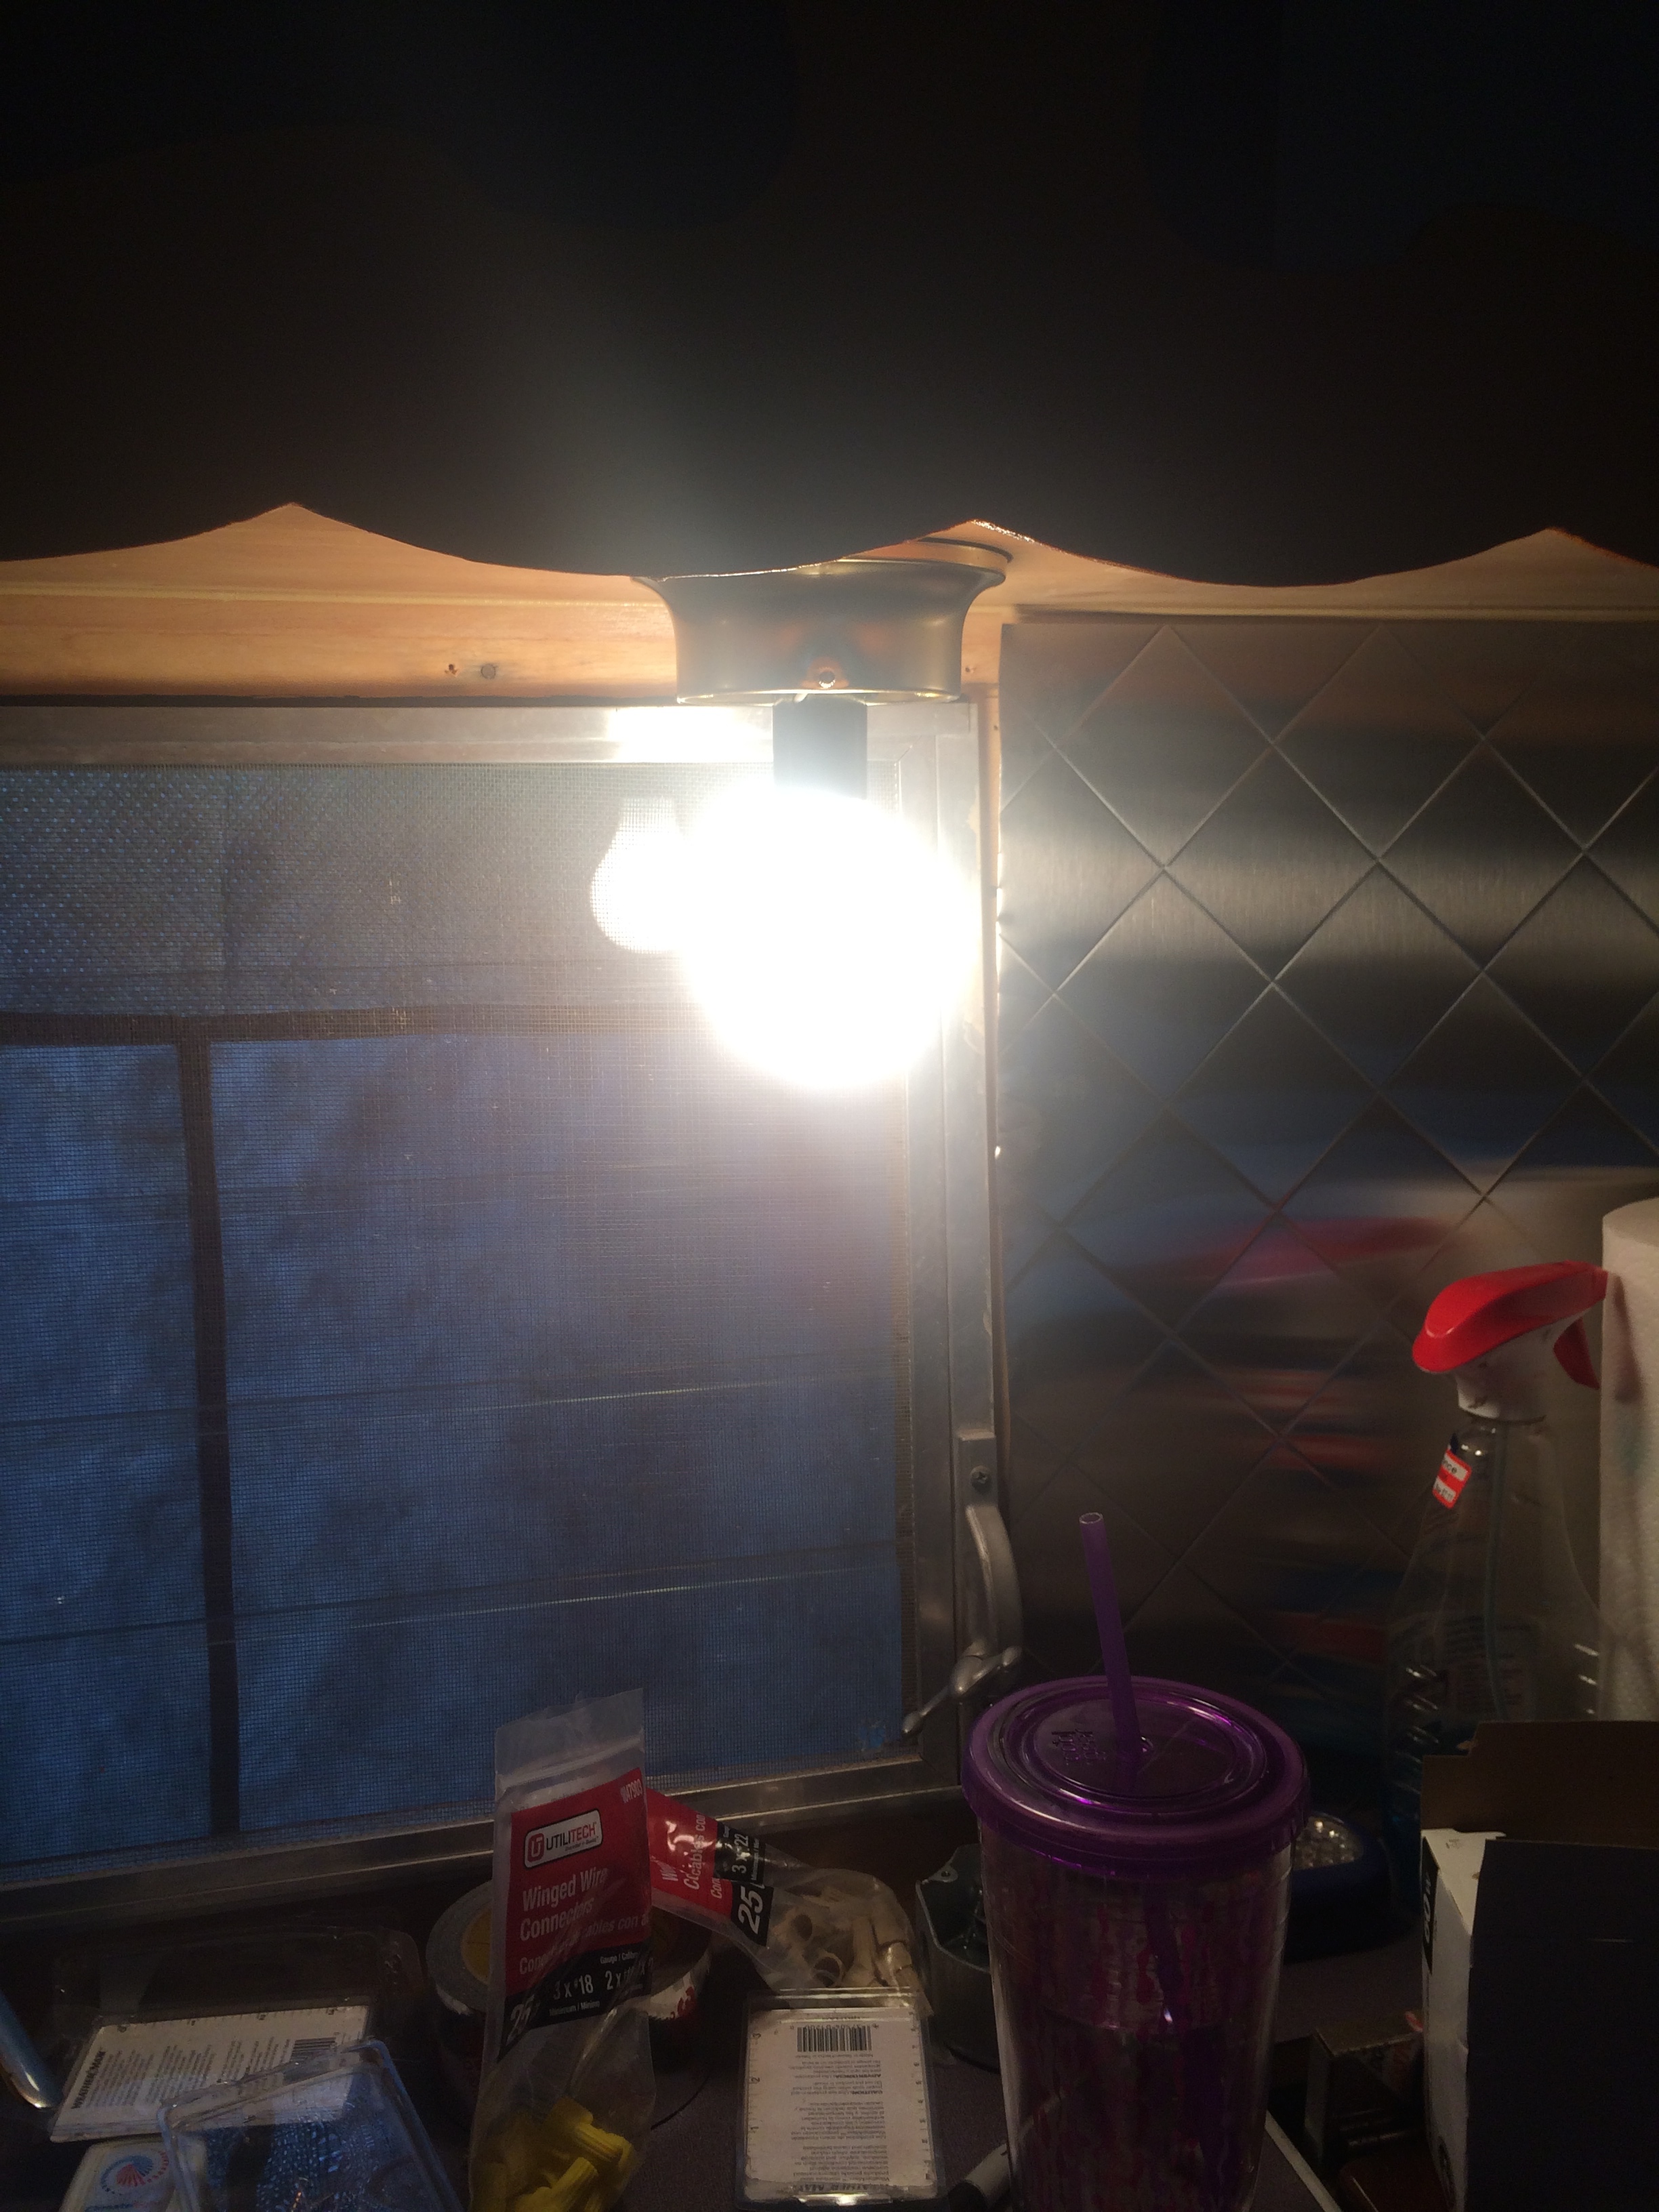
I screwed a light bulb into the fixture above the sink and it worked!
Then I went back to the troublesome fixture above the bed. I put it back together and screwed a light bulb into it. I went back out to plug in the cord, and when I returned it was on!!

Unfortunately, even though it was working, the stupid fixture and the j-box next to it were electrified when I touched them with my voltage sensor. ugh. At this point, I was fed up. I called the guy from RV Masters, and he said he could come by next week with his electrician to take a look at it. I can probably fix it, but I’m wasting a lot of precious time on this when I need to be finishing up other items!
I’m so disappointed that I couldn’t get this all working perfectly on my own. I’m so close I can taste it! That being said, I really don’t want to hurt myself or my camper. I’d better leave it to the professionals.
After giving up on the electrical, I finished a few trim pieces around the kitchen window and secured some smaller pieces of countertop that go around the stove. I also hung some curtains in one of the windows. I didn’t get pictures of these two things. I guess I was too annoyed about the electrical work not to mention I was running out of daylight. I think the curtains are going to look really cute in there!
Here’s the list of everything I still have left to do before the party (in no particular order). The list looks relatively short, but I know how long it takes me to do things so I’m sure it will take me right up until the party to get these things completed. I hope I can do it! I’m starting to feel the pressure..
- Install mirrors in benches (behind starburst cutout)
- Secure bed and benches to floor
- Make cushions for benches
- Finish painting closet and patch holes
- Get electrical system working properly (electrician will take care of this!)
- Install Fantastic Vent
- Paint tongue and bumper (maybe wheels too if time), also paint propane tank
- Install Shasta emblem and other little emblems as well as door catch
- Finish installing vent for AC to go on cabinet face
- Install baggage door
- Polish wings and reinstall
- Seal cracks and staples on exterior with gutter seal
- Finish hanging curtains and add other decorative items
Tomorrow is a new day and I’m not going to let my electrical system woes get me down. I will ignore that for now and get busy on the other items.

Do not make yourself crazy and start making mistakes in a mad dash to finish every last detail. You, and only you, care about tiny things. Your party is to celebrate all you have accomplished! Everyone will be impressed. Know now that somethings will still be “wrong” and be ok with it. And of course, keep working. But don’t let little things take away the feeling of completion when you celebrate. I’ve just read your whole blog and now, even though it is midnight, I want to dash outside and get to work! 🙂 Thank you for sharing your process. I can’t WAIT to see more!
Thanks for the pep talk Jenni! You are right, I can’t worry too much about all the little details. I know there will be things that I won’t get to finish before the party, and I can always finish up those things later when I have time. I have a feeling I will continue to do things to improve Junebug well after I’m technically “finished”. haha I can’t believe you read the entire blog, that’s a lot! I’m so pleased that you are enjoying it, that makes it so much more fun for me to write and share when I know others want to read about it! 🙂
I think Jenni has great advice for you. The end is in sight and you have accomplished so much. Way to go!
Thanks Mom! I am trying not to let the little failures get me down too much. Hopefully I will be able to make some good progress over the next two days on non-electrical stuff since I’m a lot better at that!