Today, I have decided to take on the biggest project yet, removing some of Junebug’s skin in order to repair the open seam in the roof.
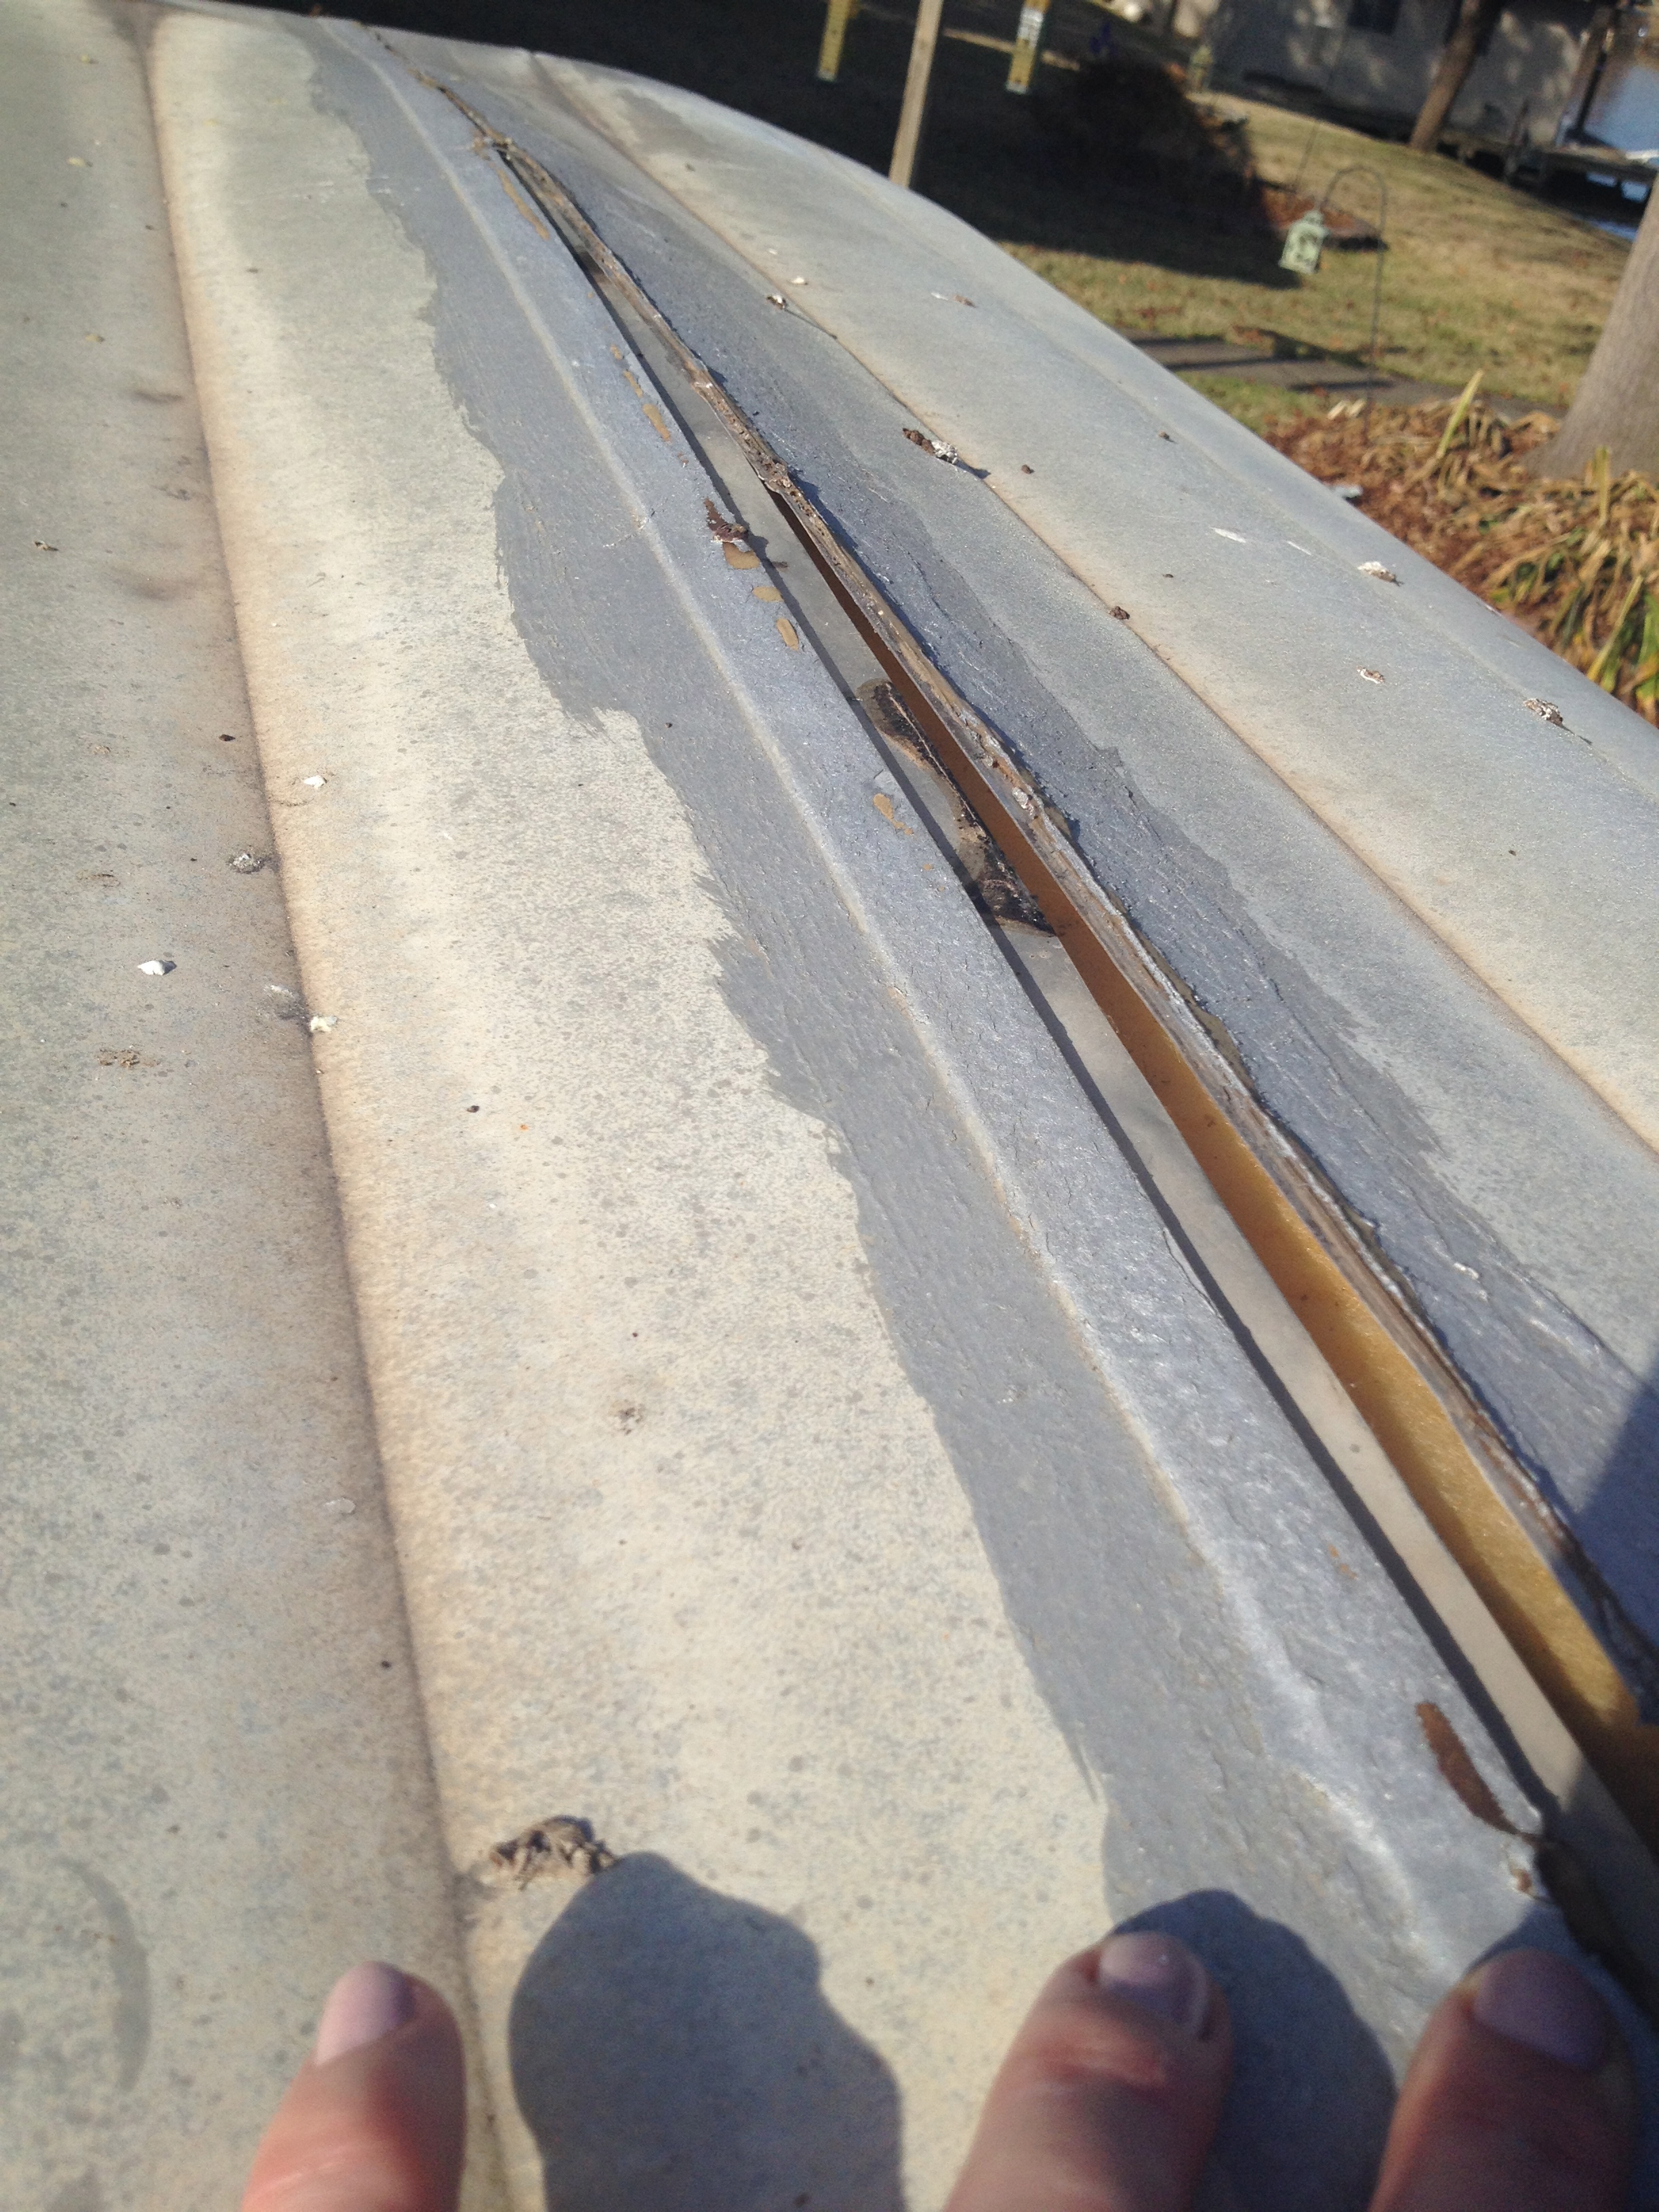
This is the worst seam, it’s completely open and you can see the insulation when I press on the aluminum. Definitely needs a repair pronto!
I just had a nice chat with my new friend, Susan, who restores vintage campers, and she walked me through each of the steps I needed to take in order to complete this repair. I really hope it turns out like it’s supposed to! I will be posting pictures of my progress and maybe even some video, depending on what kind of mood I am in. Stay tuned…
Seven hours later…
So, I spent quite a bit of time initially going to a few stores to get the proper supplies for today’s project. I discovered a pretty good RV supply and repair shop not too far from my house, RV Masters. http://rvmastersinc.com/ They were pretty nice and one of the employees gave me some advice and asked that I bring Junebug by when I’m done so they can see her. I told him I would probably be by before that if I get in over my head. haha At least I know an escape route if all of this gets to be too overwhelming. He reminded me that vintage camper restoration was not a good investment and that it was a labor of love. I know this already, there’s no way I’m getting back my investment on Junebug. I don’t even really care since I don’t know if I’ll be able to part with her after all of the time and effort I’m planning to put into her!
So, rather than post pictures this time, I took some videos to show you my progress. These videos show a lot more than photos can.
Shasta Restoration Part I:
I show all of my tools and the “before” shot of the front of Junebug before I take her apart. I also take off the eyebrow and window in this clip. At this point, I am happy and hopeful because everything is going smoothly.
Shasta Restoration Part II:
In this clip, I remove the first panel of aluminum siding. You can hear and see the frustration and disappointment I am experiencing because not only was it more difficult to remove than expected, but I also am finding quite a bit of dry rot.
After this clip, I called up my friend Susan. She gave me a pep talk and explained what I needed to do to replace the rotted wood before I could replace the aluminum. She also said it helps to keep plenty of wine on hand. haha On that note, I poured myself a glass of wine. I felt better after that, although I’m still kind of thinking, what have I gotten myself into?? The good part is, I needed to discover the rotted wood in order to know I needed to replace it. I would hate to fix up the interior of the camper, only to have it ruined because the framing and siding is in horrible condition which would only lead to leaks and structural damage and ultimately ruin all of my hard work. The bad part is, this is going to take a lot longer than I planned. This shouldn’t surprise me at all, because so far that has been the case with each little Junebug project. Guess I’d better reset my expectations going forward!
So, the saga will resume tomorrow. Tonight, I think I’m going to treat myself to a steak dinner because I worked so hard today. 🙂
