Dear reader: I started writing this on Easter Sunday, but then I ran out of time before I had to go celebrate with my cousins. I am just now getting around to finishing the post a week later, but I didn’t want to rewrite the whole thing so it still has the Easter theme. 🙂
—–
For those who celebrate Easter, it’s a day to celebrate the resurrection of Christ. I was wondering earlier how in the world rabbits also got associated with this holiday, so I did a little research online. I’m not sure how I got by before the internet, I guess I would have actually had to get out of the house and go to the library. haha According to Wikipedia (which I will assume has been vetted by someone knowledgeable), hares used to be thought of as hermaphrodites, meaning they could reproduce while still remaining virgins. ![]() hmm This led to an association with the Virgin Mary which then led to many references to hares in medieval church art. Because rabbits are considered a fertility symbol and springtime is their mating season, they naturally became a symbol of springtime which later led to them being associated with Easter. Originating among the Lutherans, the Easter Hare originally played the role of a judge, evaluating whether children were good or disobedient at the start of the season of Eastertide.
hmm This led to an association with the Virgin Mary which then led to many references to hares in medieval church art. Because rabbits are considered a fertility symbol and springtime is their mating season, they naturally became a symbol of springtime which later led to them being associated with Easter. Originating among the Lutherans, the Easter Hare originally played the role of a judge, evaluating whether children were good or disobedient at the start of the season of Eastertide.
So, in the spirit of the Easter Bunny, today I will be helping my cousin hide eggs for her son and his friend to find. Since I don’t have kids of my own, this is actually my first time participating in an Easter egg hunt since I was little. I think it will be fun and should bring back some memories.

I used to love Easter egg hunts! I was five years old in this picture, taken in 1984 at my grandma’s house. That’s her in the pink. 🙂
It would certainly take an act of God to resurrect Junebug in three days. Since that doesn’t seem to be an option, Junebug is coming back to life at a much slower pace. That being said, I did make some pretty good progress recently. I am really starting to see the how beautiful she is going to be when I’m done and it’s energizing!
I still had skin on the street side of Junebug because I hadn’t needed to remove it yet. I finally removed that last weekend. As you can see, my workspace is my driveway. haha
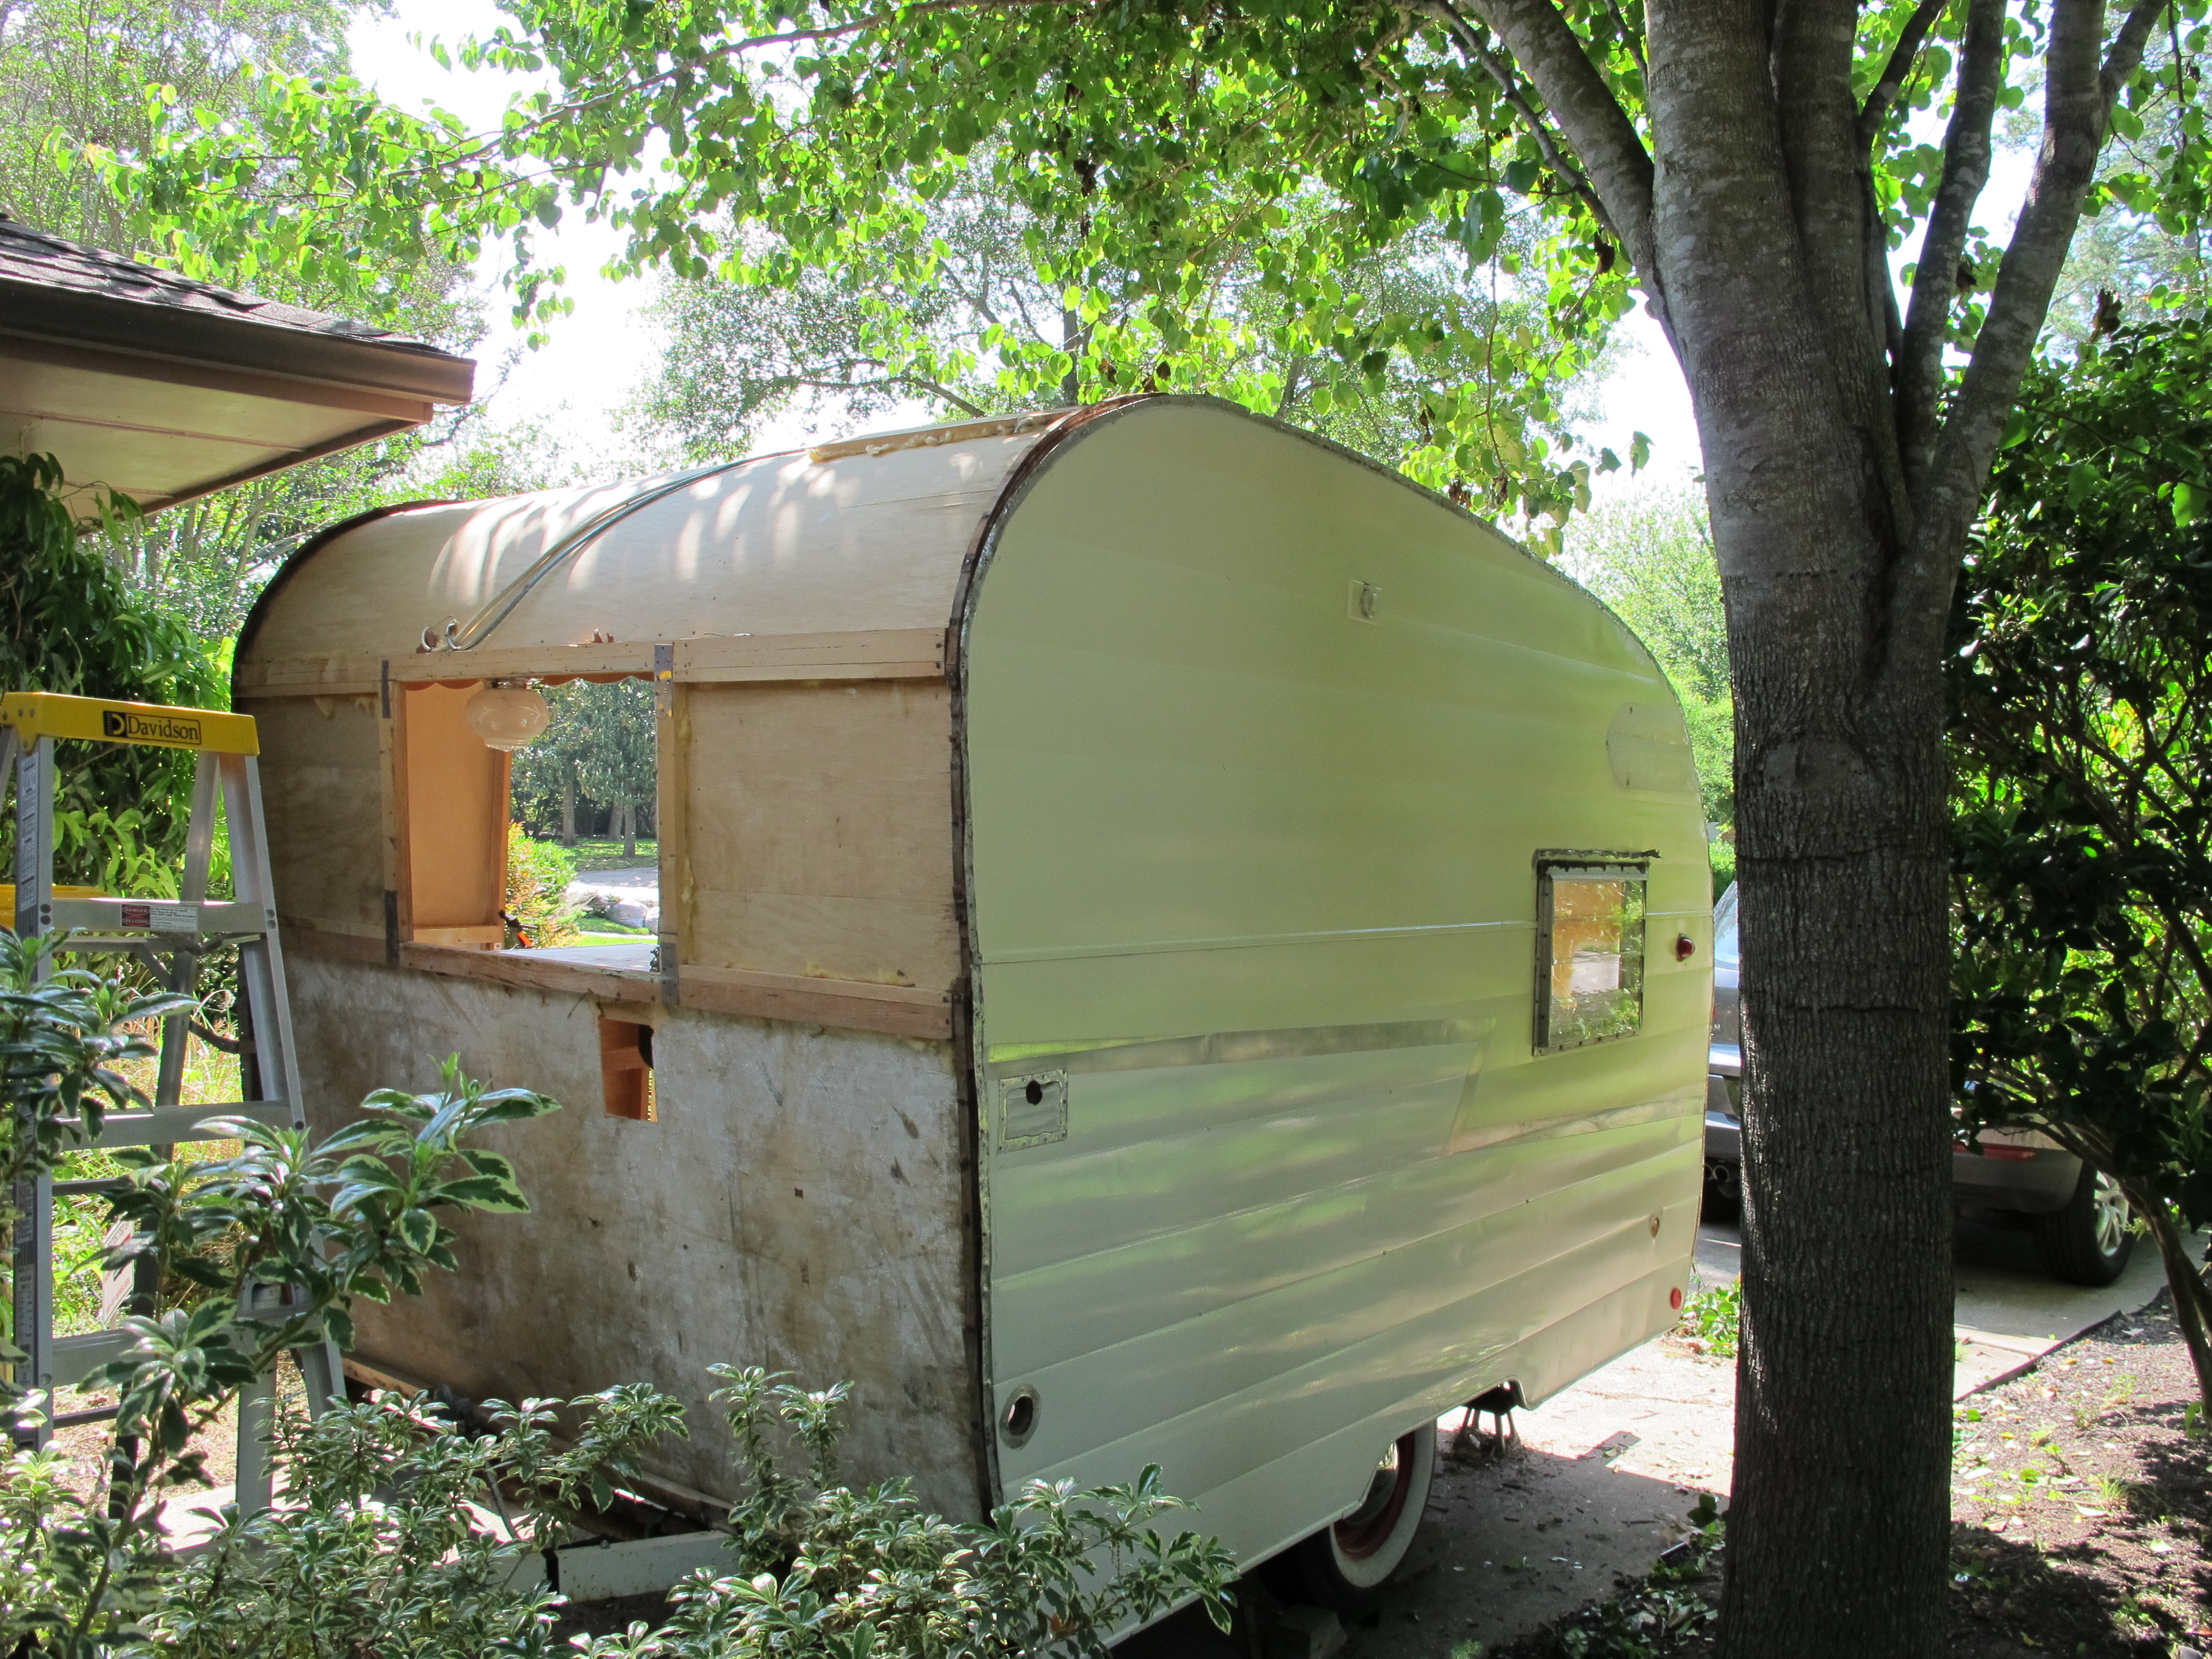
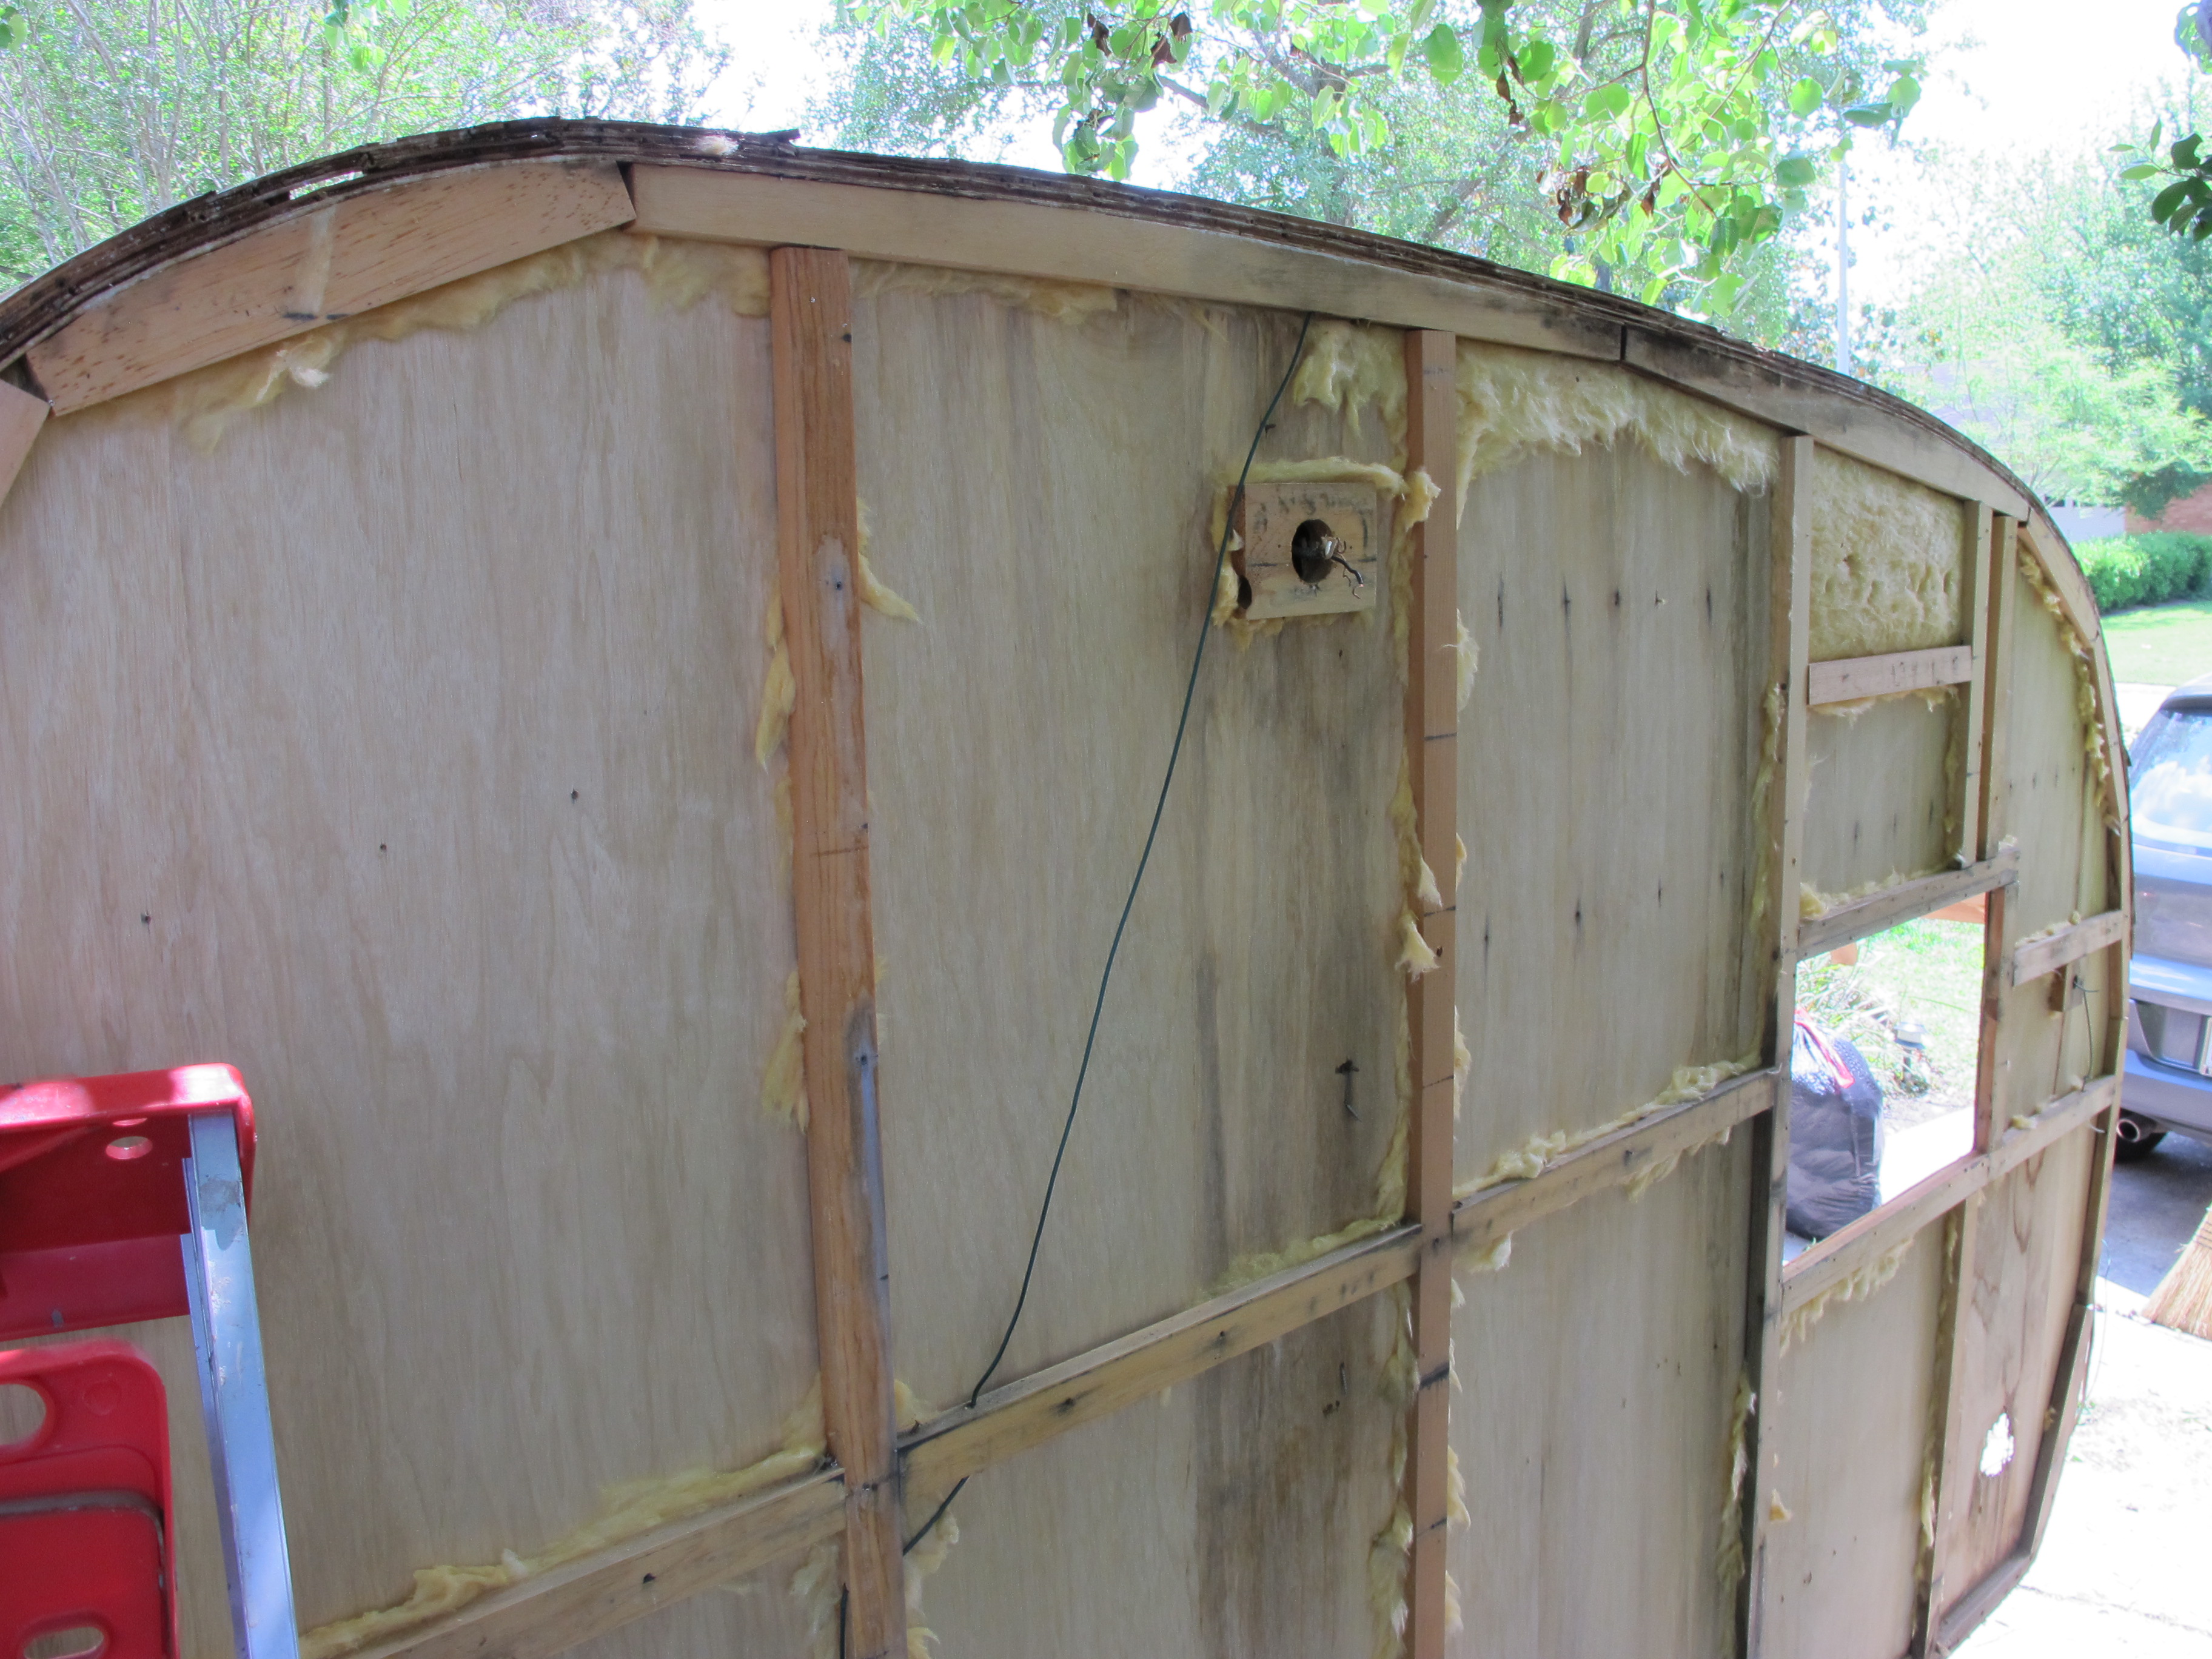
Once the skin and old insulation were removed, I could assess the damage. there was a bit of wood rot along the edges, although not nearly as bad as I expected to find. and there was of course quite a bit of damage around the old water fill hole, but that’s easily fixable since I am planning to replace all of the interior wood anyway.

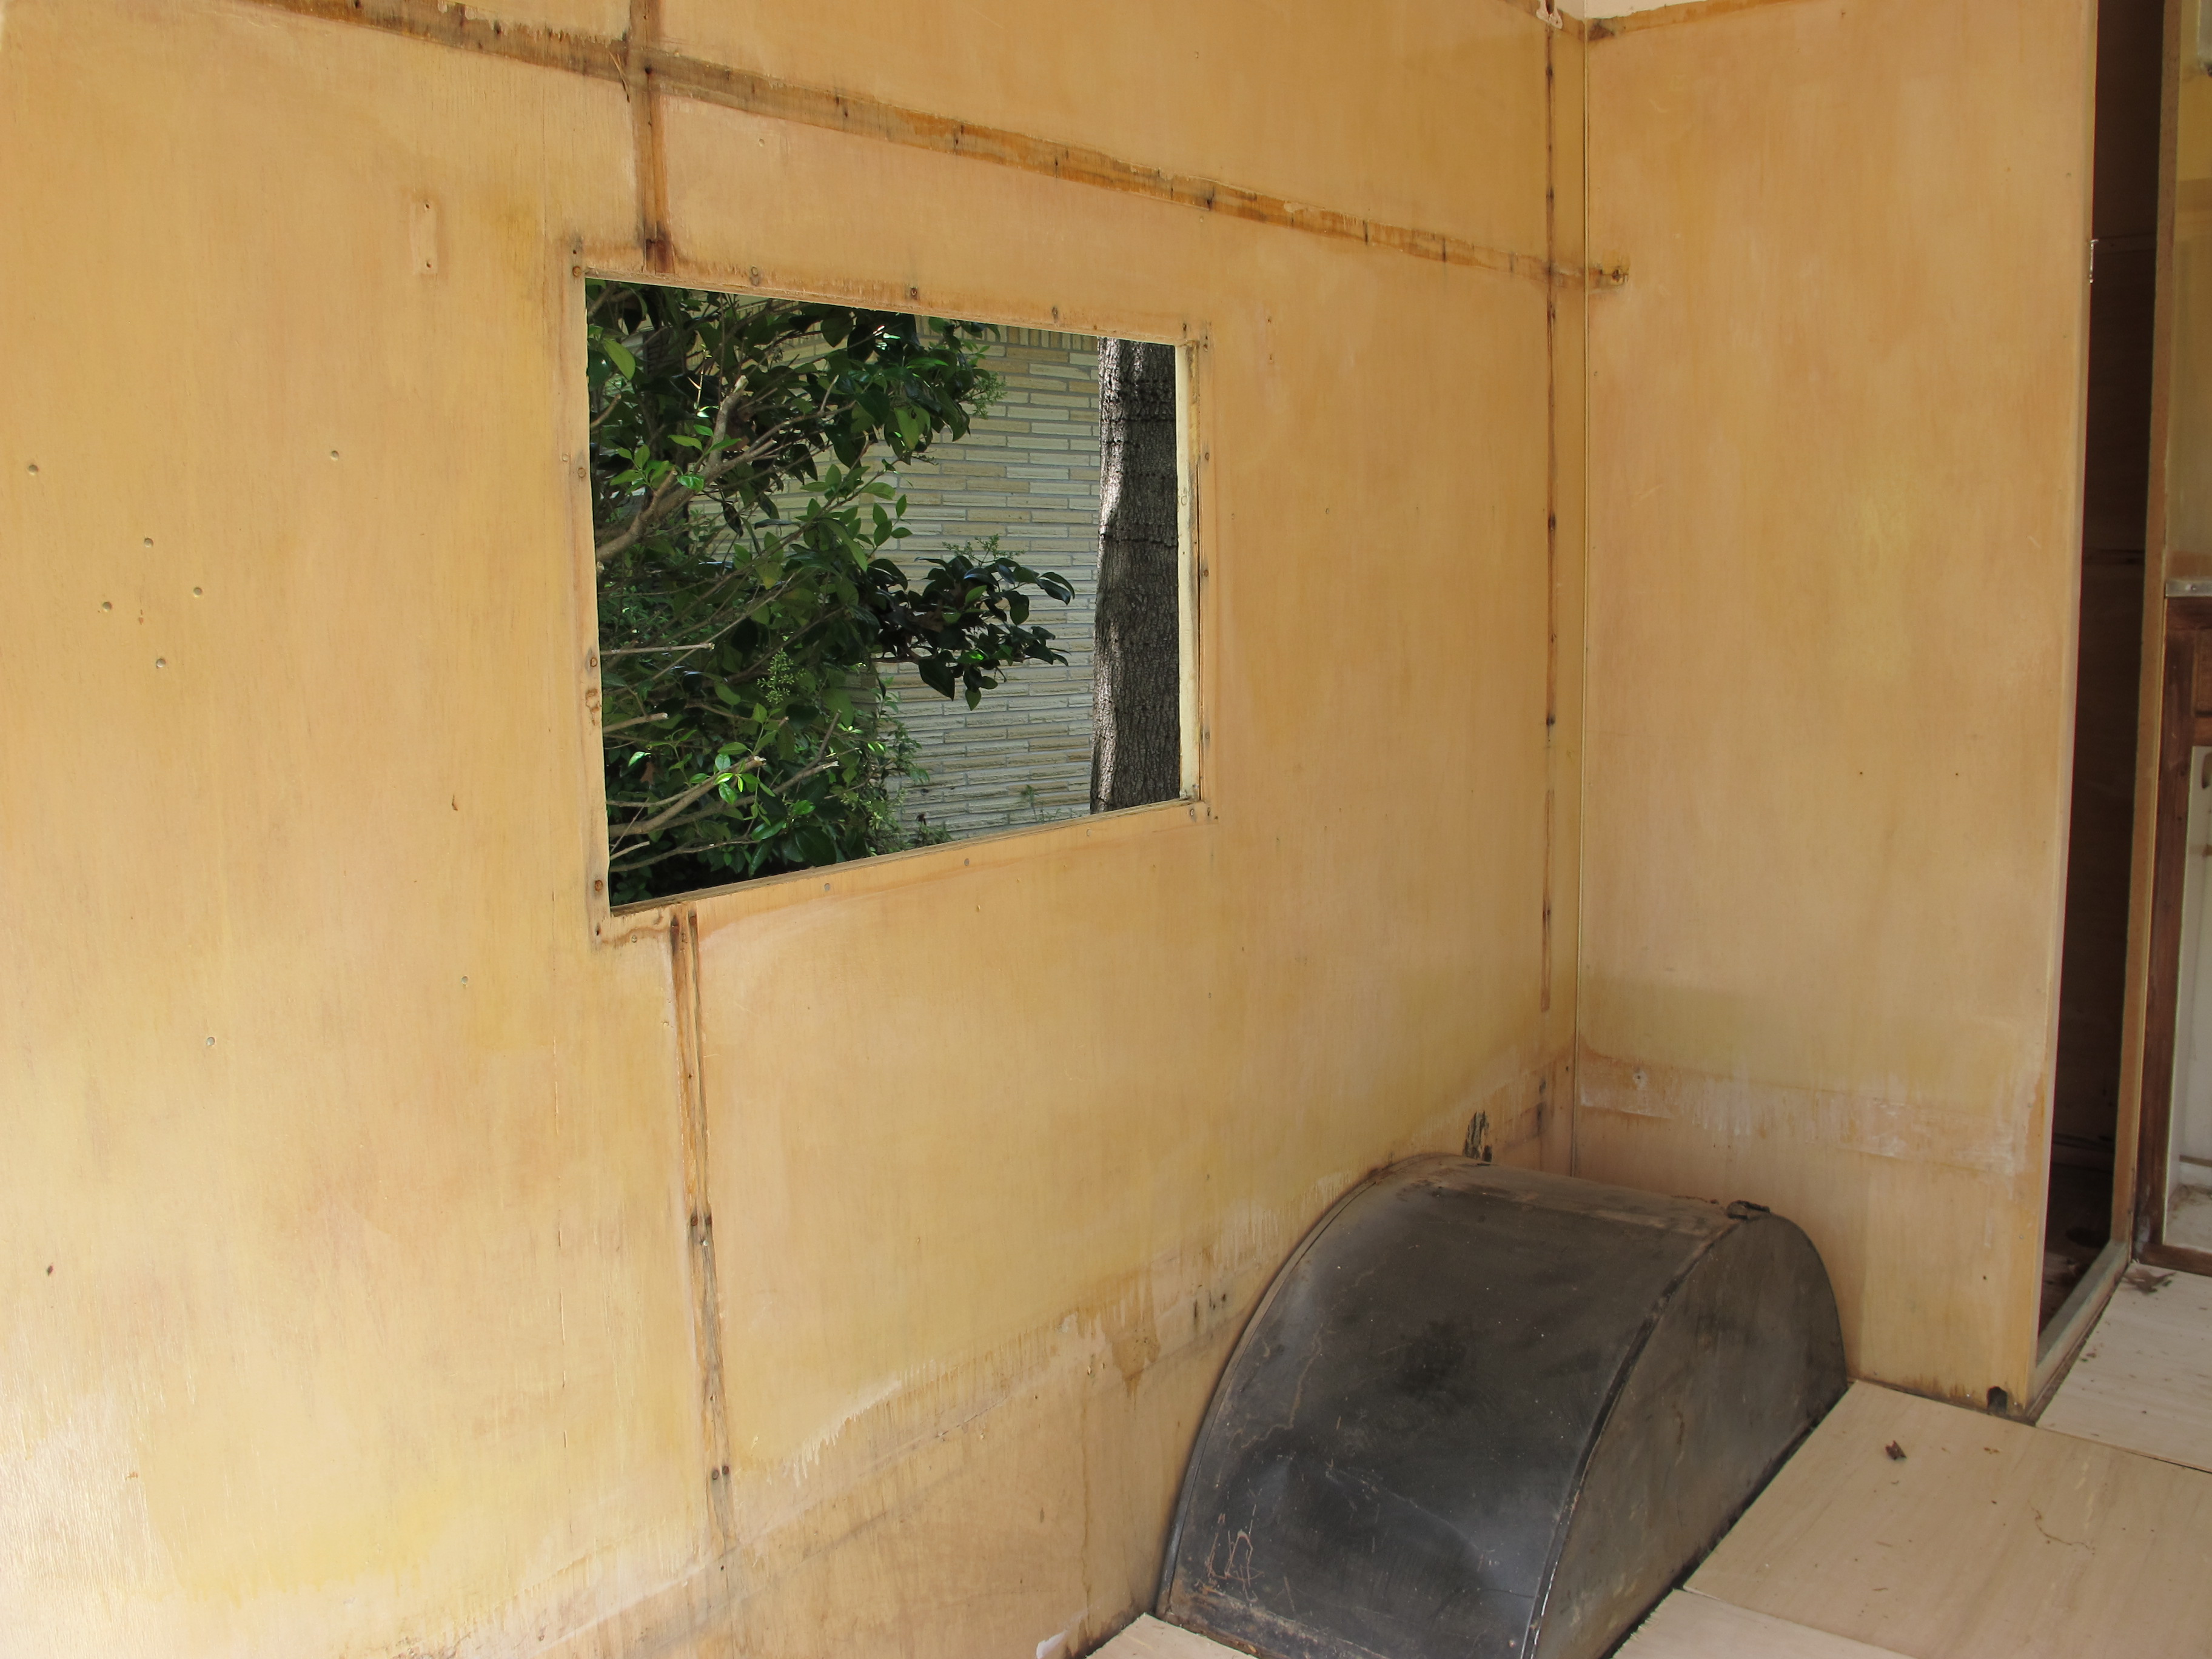
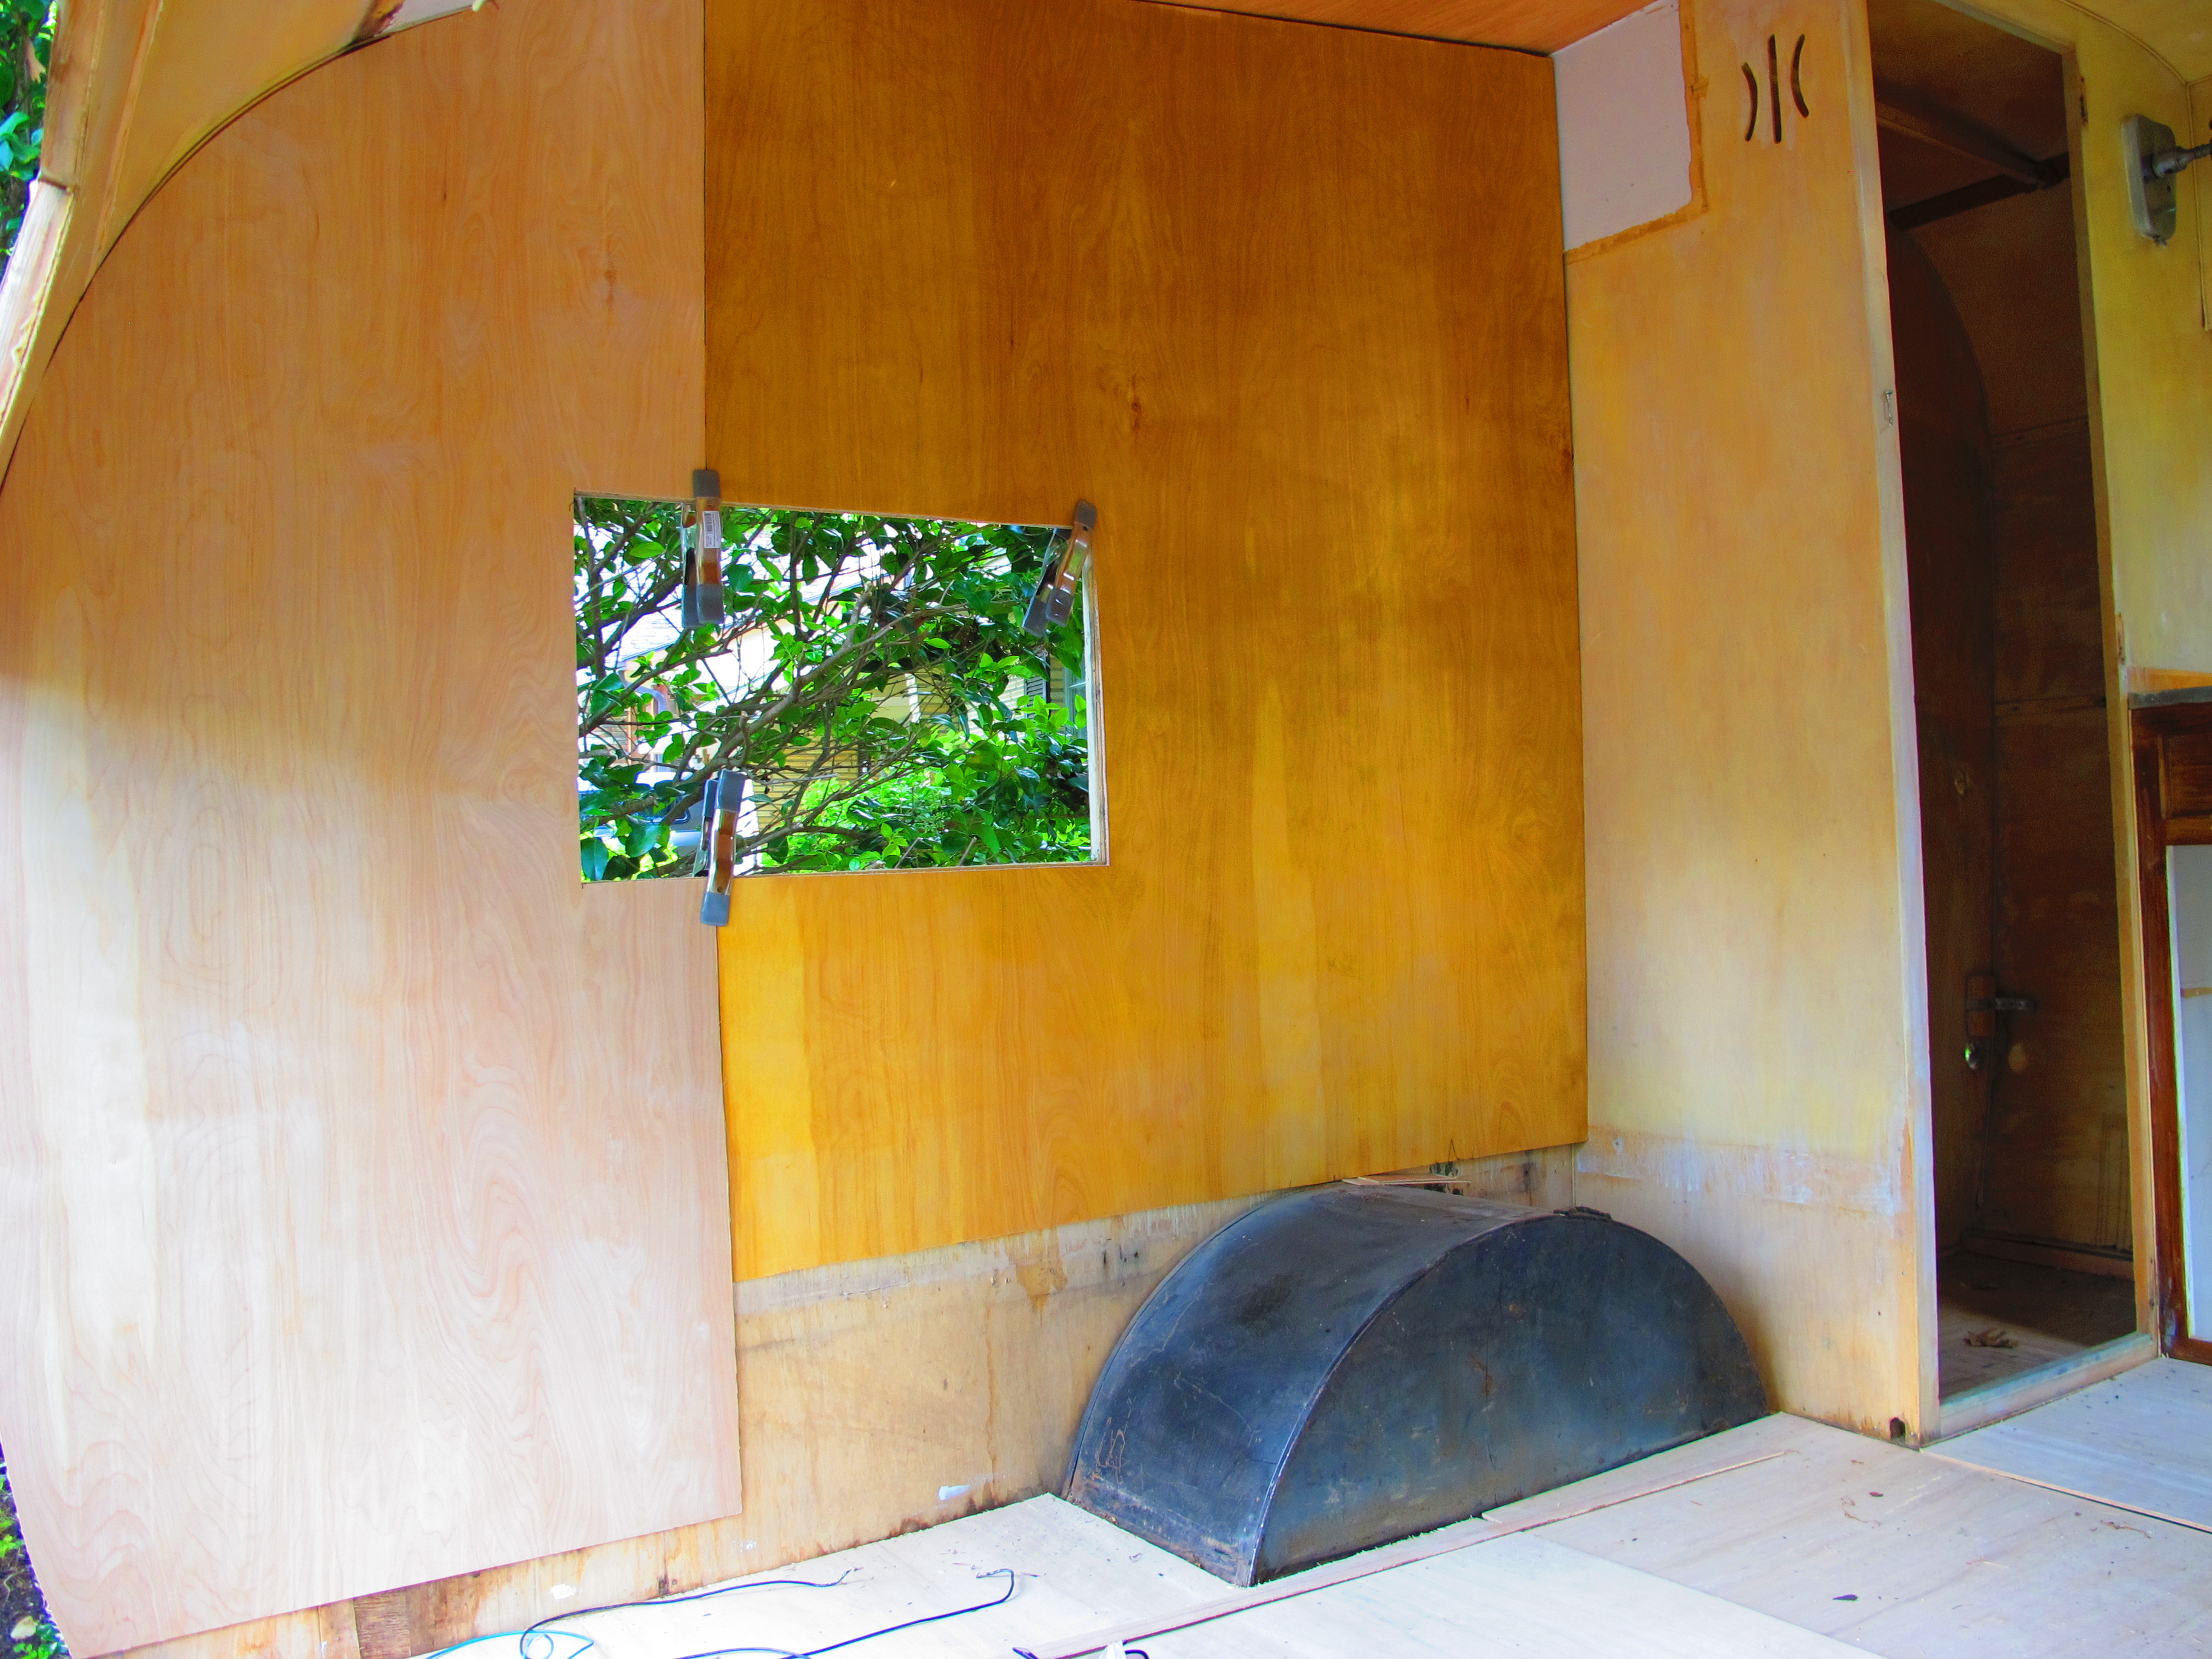
I also finally removed the rail along the interior wall so that I could start cutting the pieces to replace the interior wall panels.
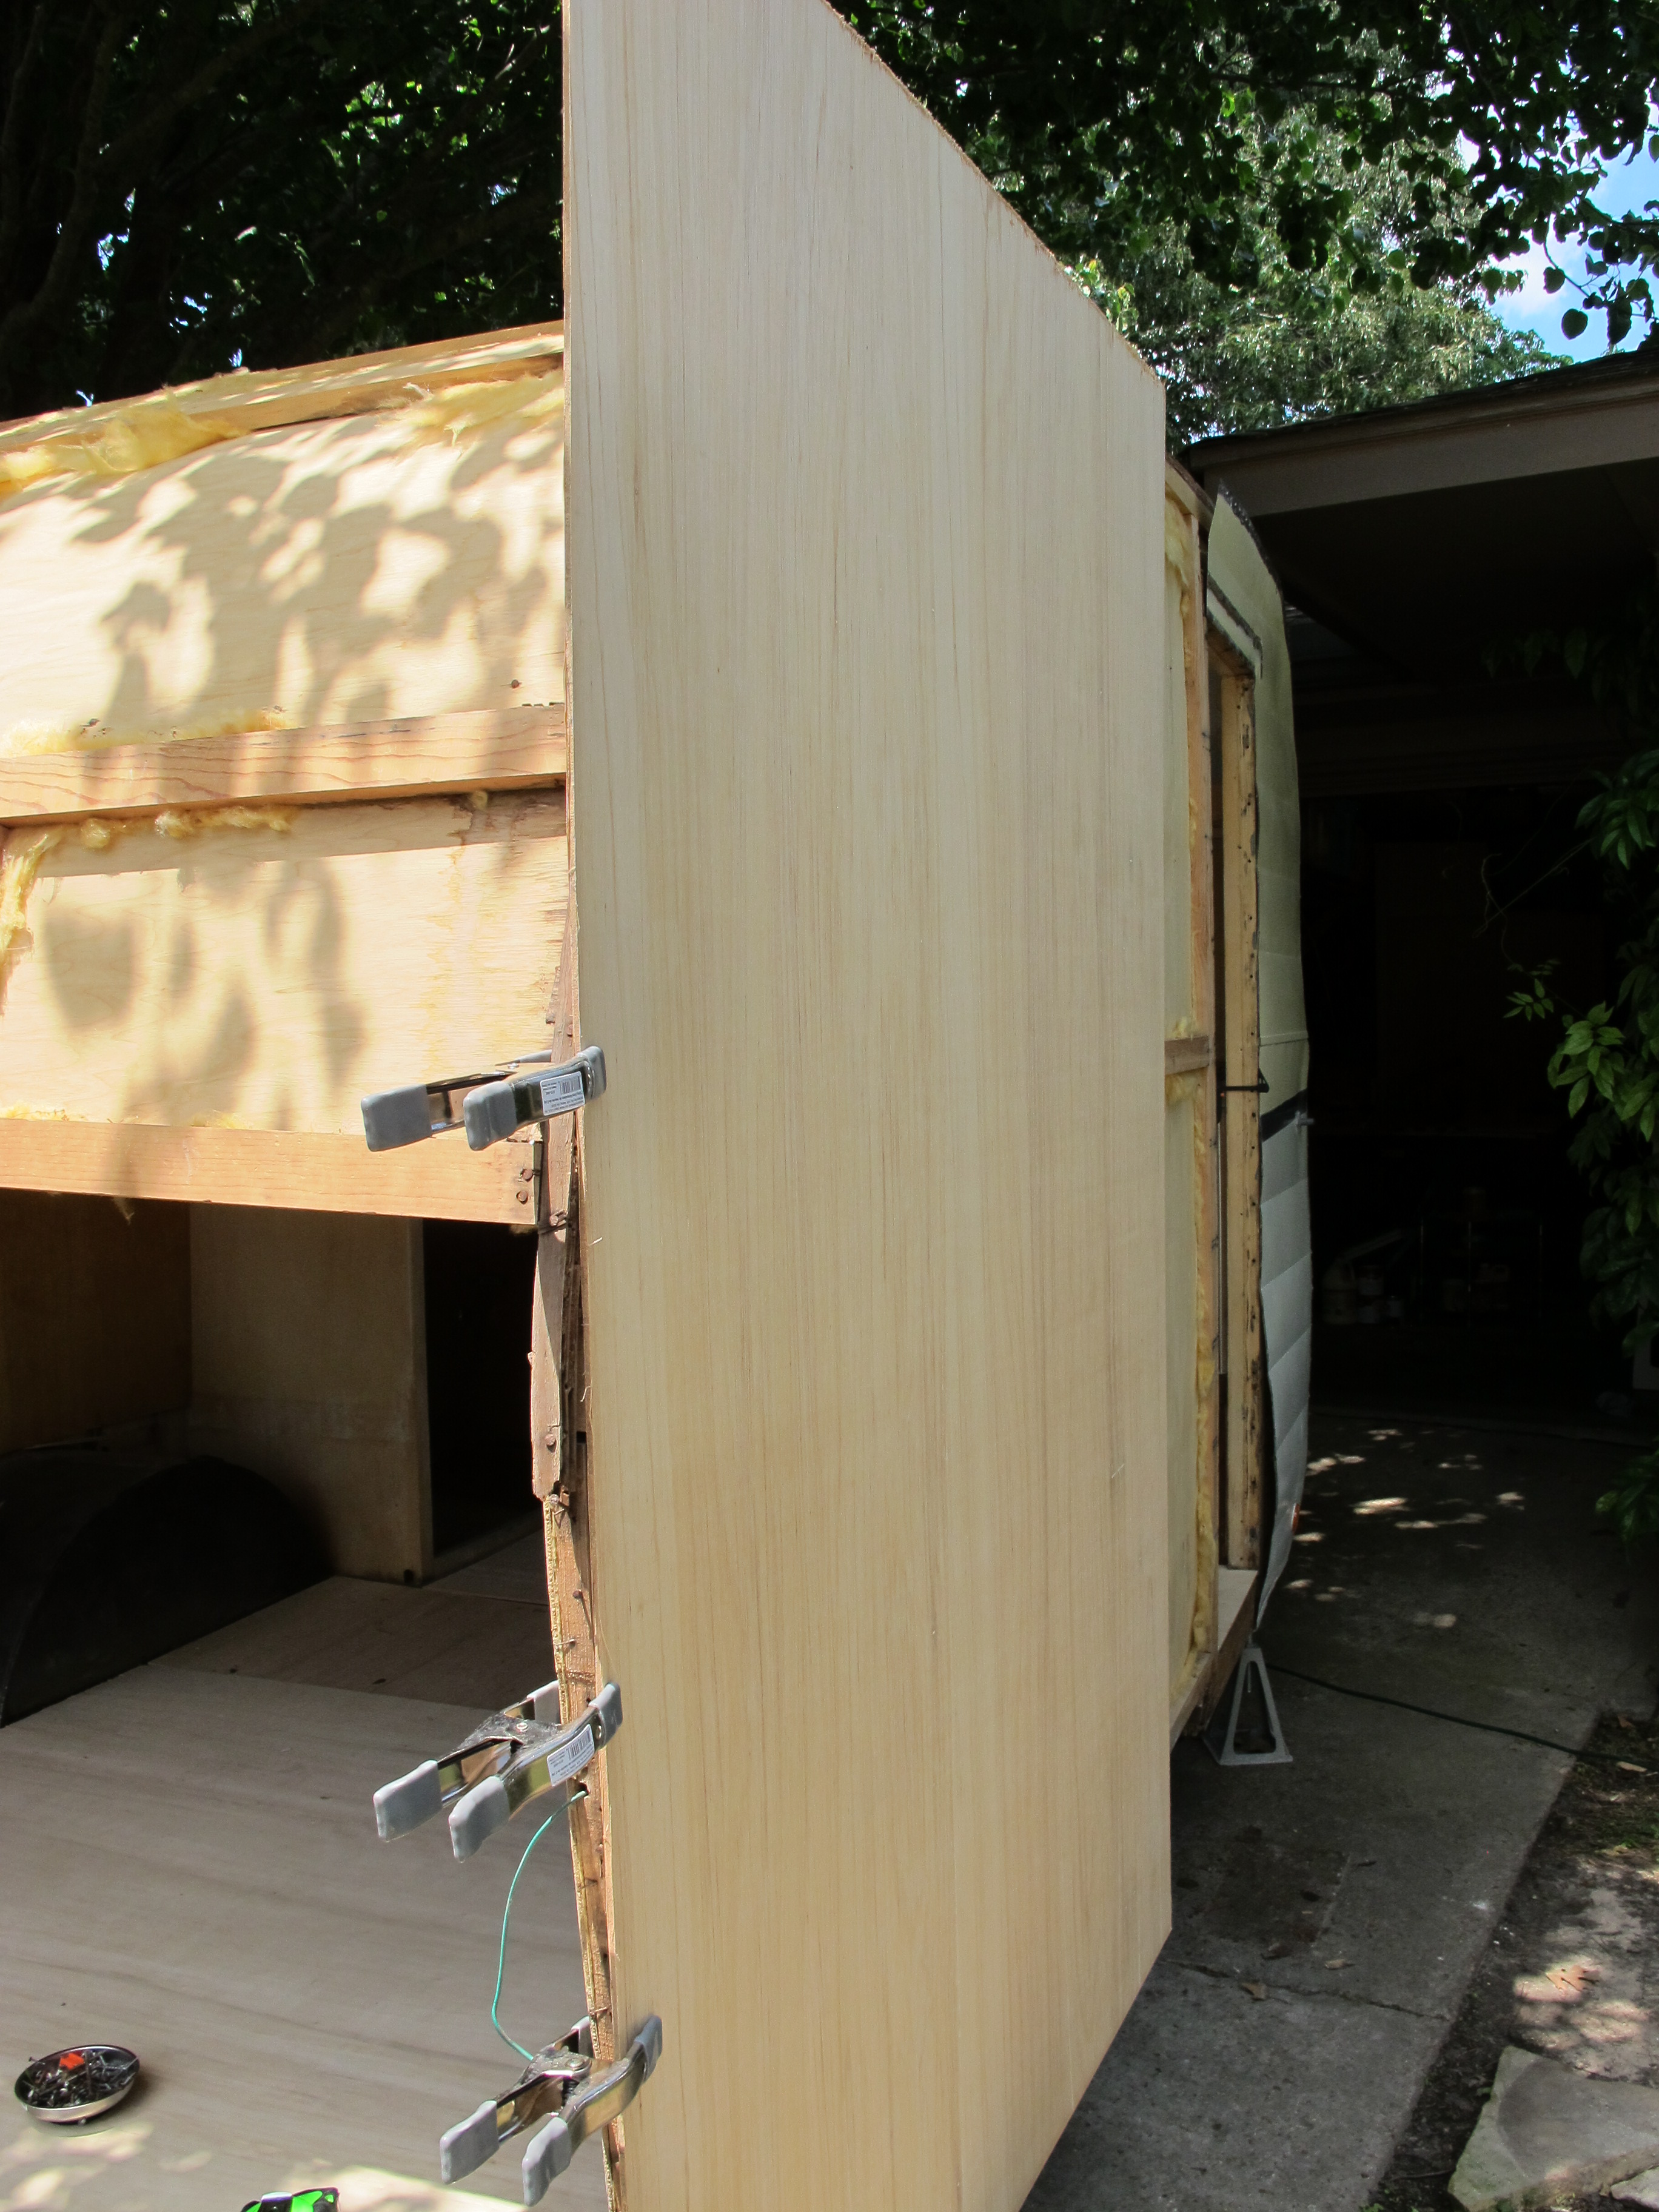
In order to get the shape cut right, I clamped the paneling to the exterior of the camper and drew a line with a pencil around the edge. It wasn’t perfect, so I had to make at least 30 trips back and forth to the garage to make adjustments with my jigsaw.

All of the rotted edging and paneling that you see here will be replaced when I completely replace the ceiling panels. I am just waiting to do that until I have them shellacked and ready to install. I don’t want to apply shellac once they’re installed because painting a ceiling is not ideal and quite messy. 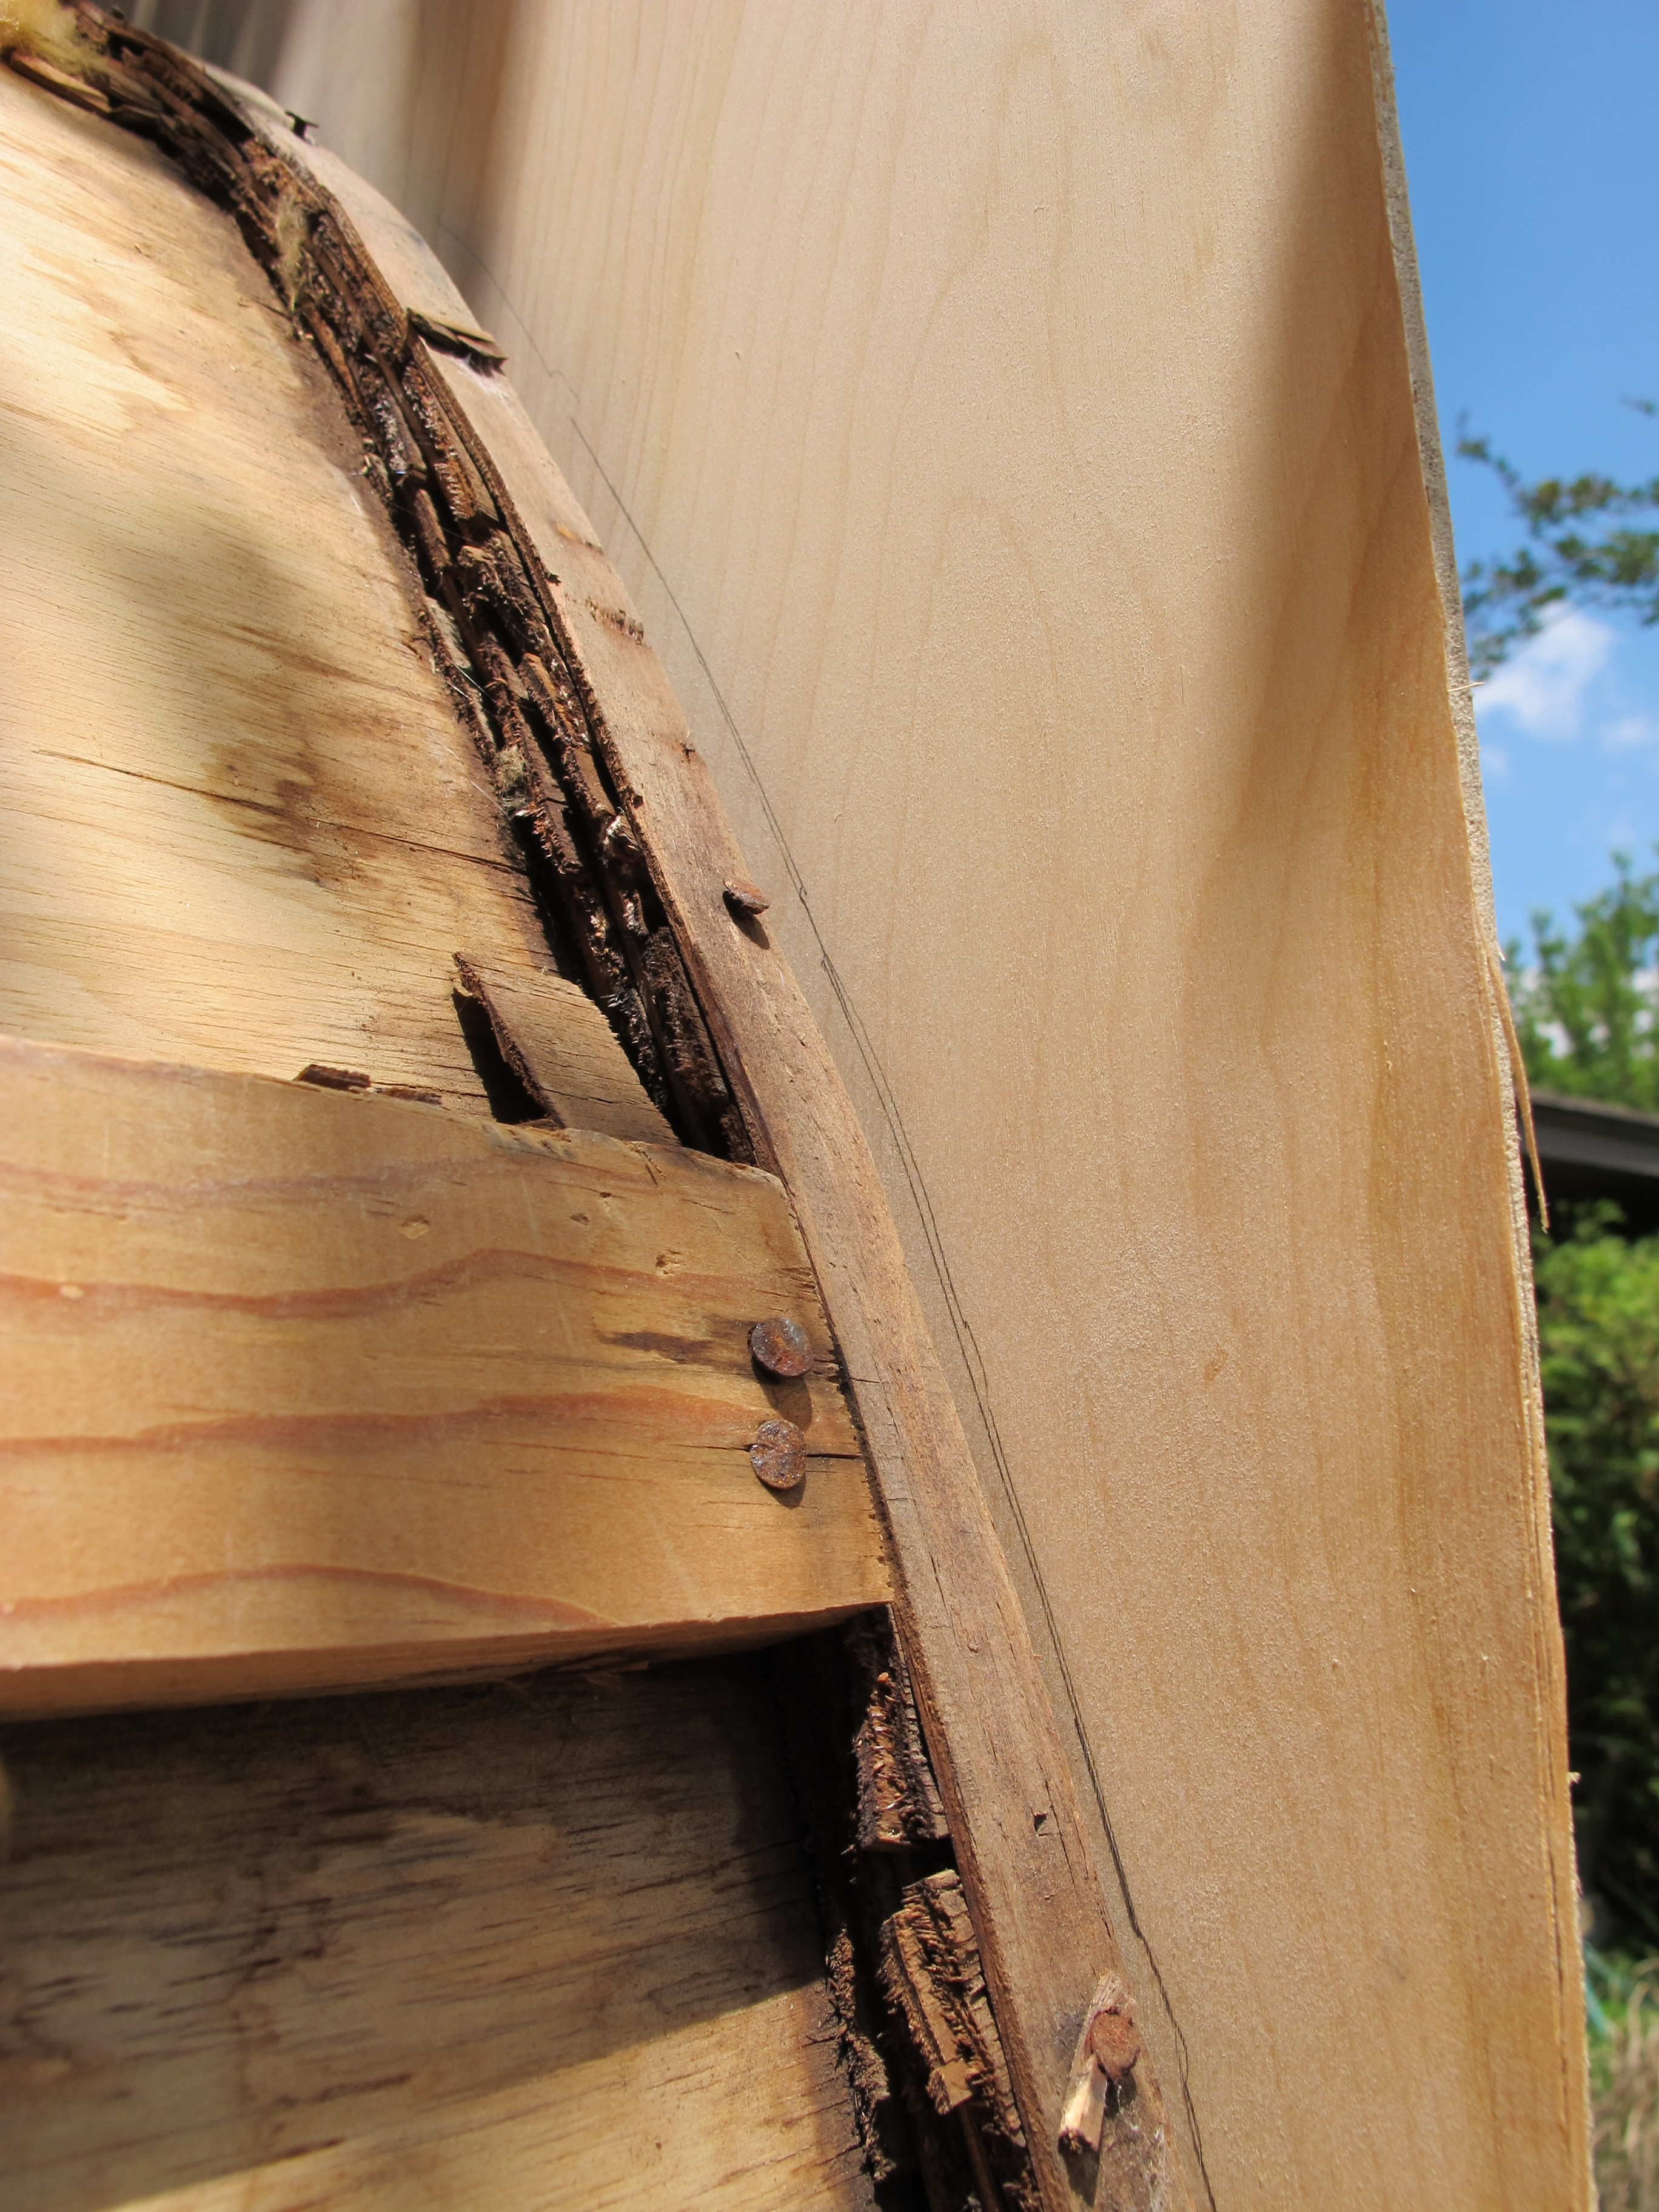
The end result still wasn’t perfect, but pretty close! What you are seeing here is new paneling on the curbside, the panel to the right is natural and the paneling to the left has one coat of amber shellac, hence the color difference. I also cut a small piece for above the door.

And here’s the street side! Once again, you can see that one piece has shellac and the other is still natural. I’ll finish shellacking everything later. I used the panel from the curbside to trace the pattern, and I still had to make adjustments but it wasn’t nearly as difficult on this side. You can see that I left some gaps along the bottom. I’m planning leave some of the old wood there except the really rotted portion, so I’m not as worried about this part because it won’t be seen due to the benches that will be put back in to cover all of that part of the wall. I may add more wood there for consistency, I haven’t decided yet.
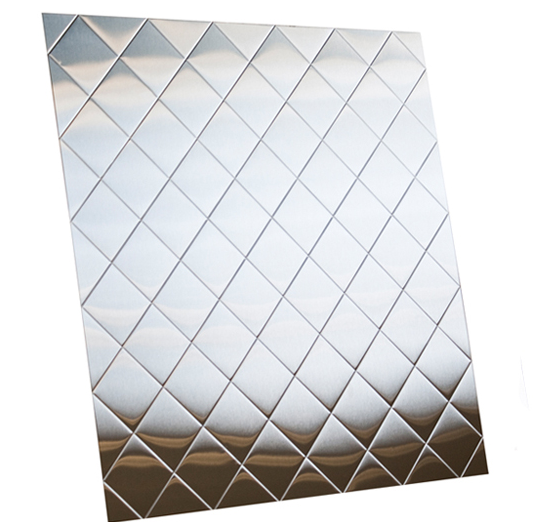
I also ordered a quilted stainless steel backsplash to go around the oven. I’m excited about how it will look! I’m not even going to replace the wood there since the backsplash will cover it anyway and it’s still in good condition. That will save me some time.
I’m hoping to make some more progress tomorrow, so I will try my best to write another post soon with updates.
On another subject, I was super happy today to discover that my screech owls who were living in my backyard have returned! I have two and they are so cute!
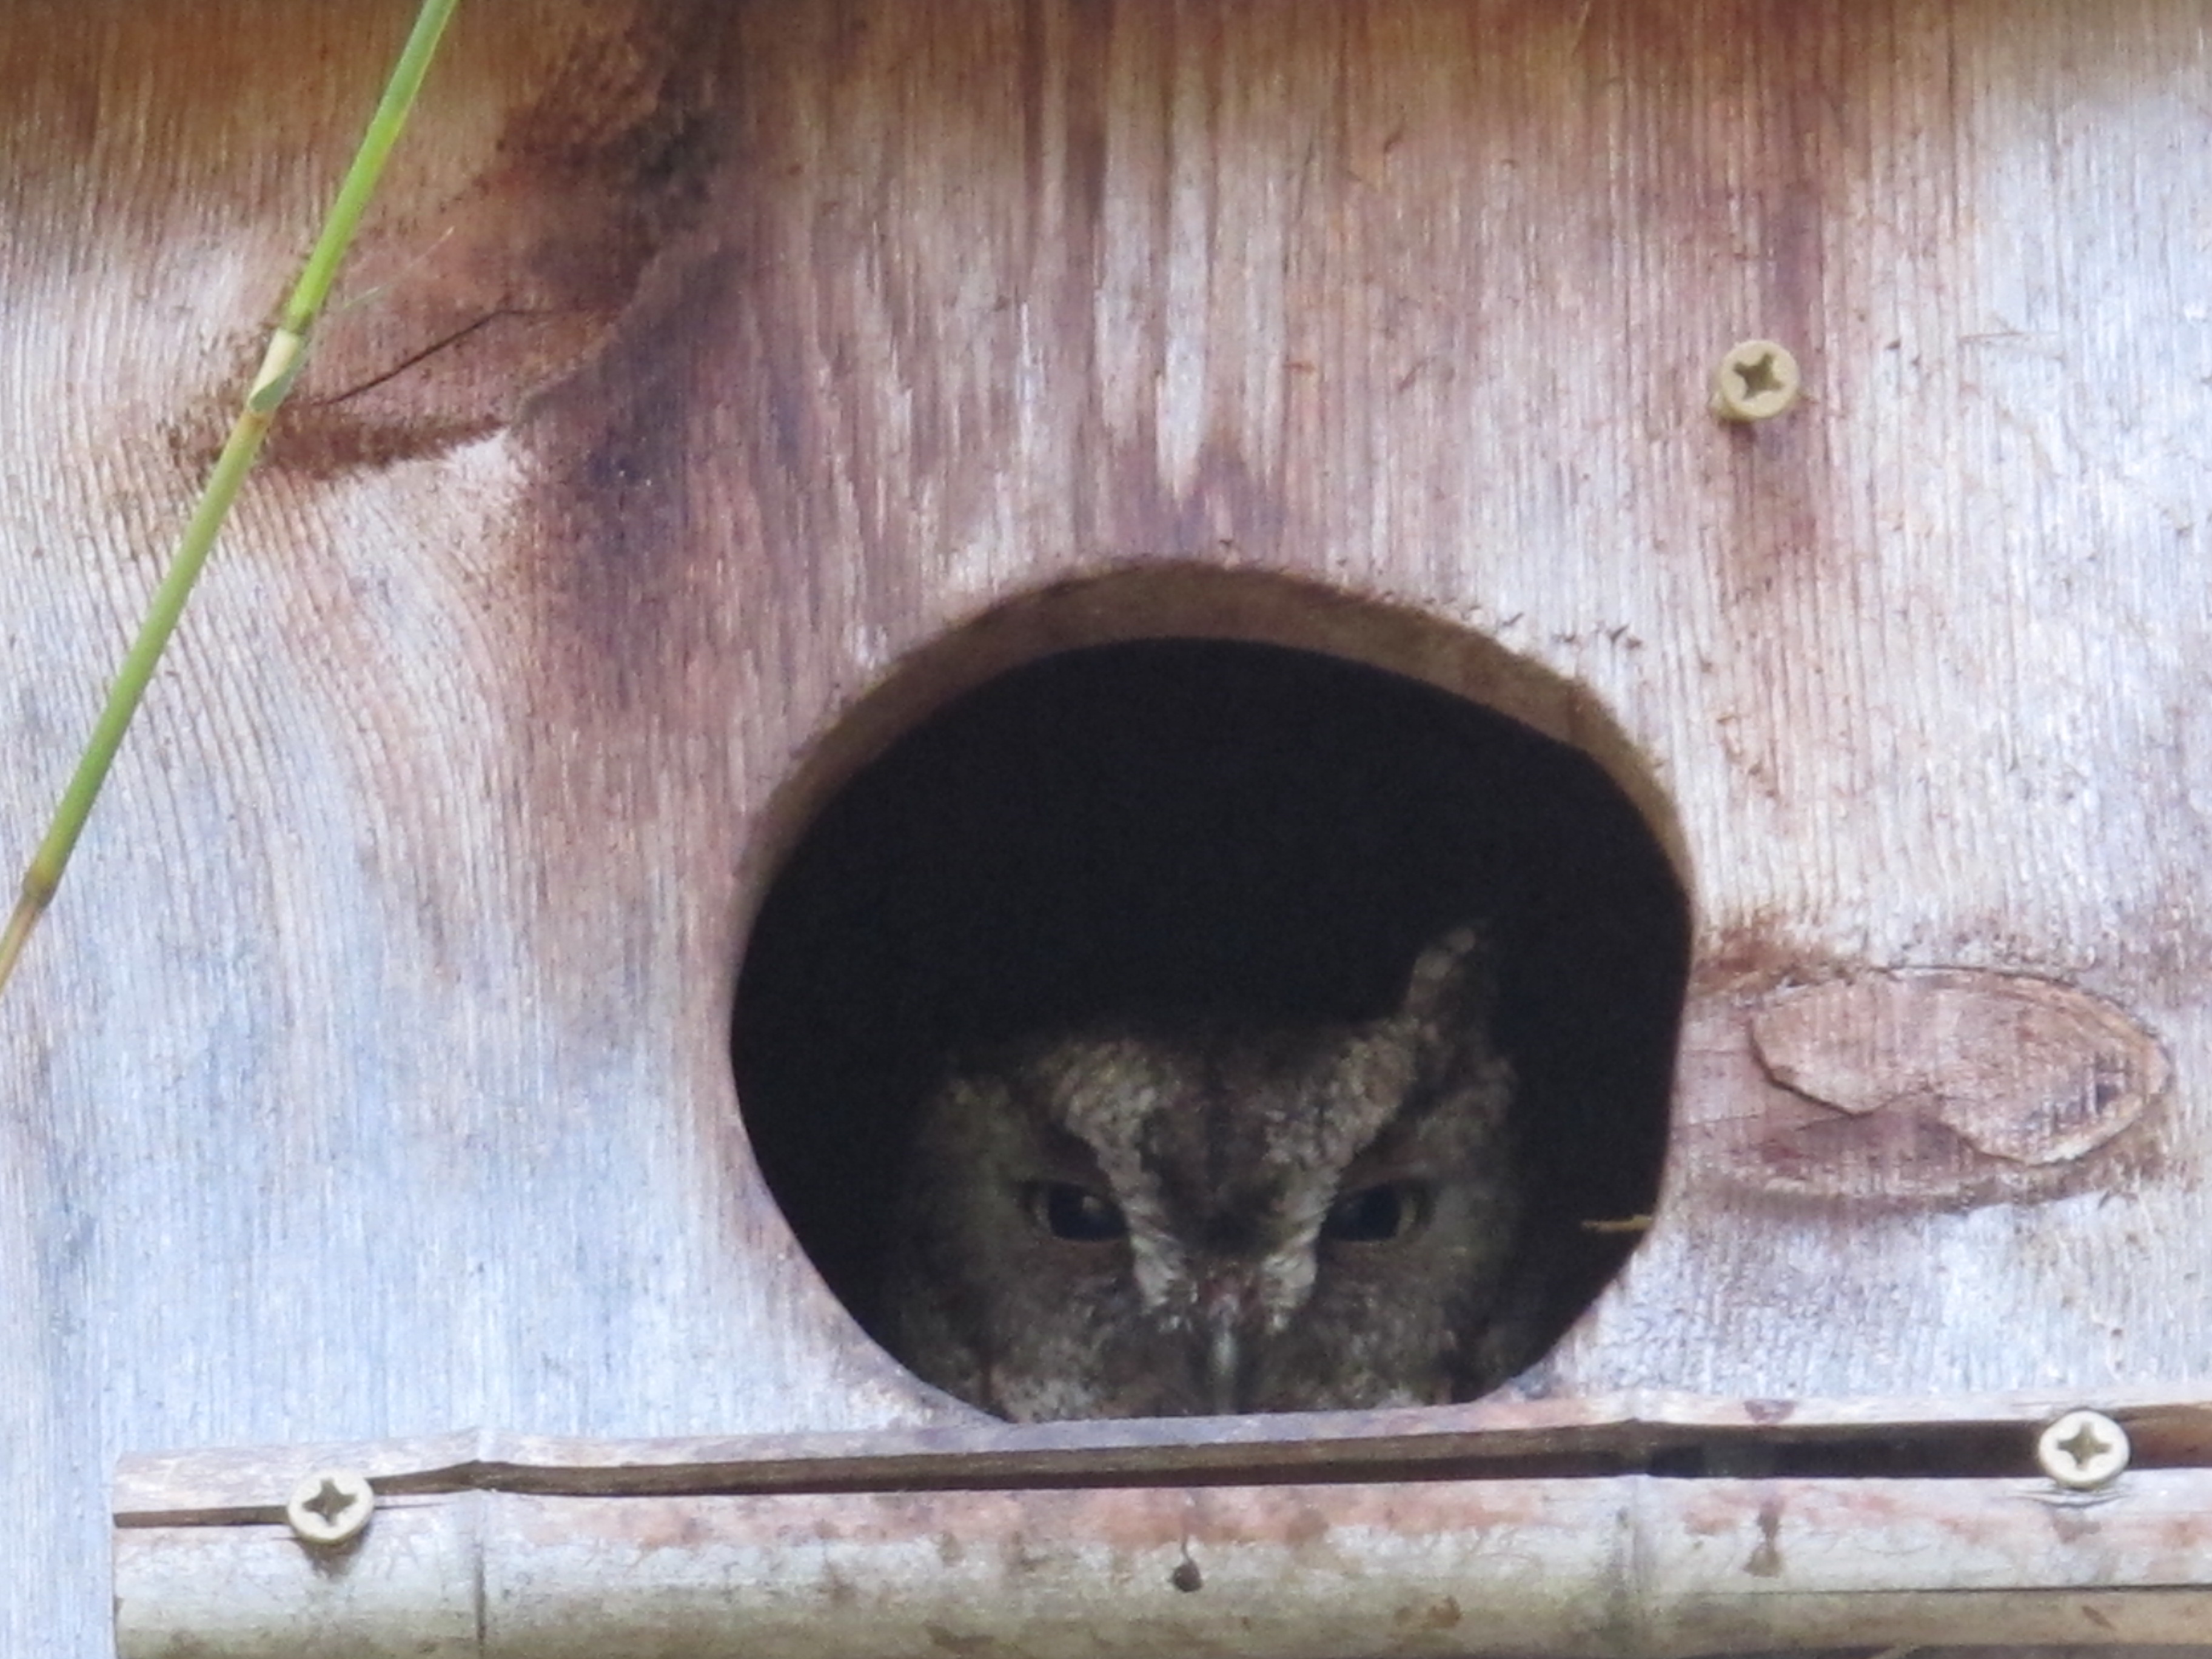
This one is inside the owl house in my backyard that the previous owners built. His name is Otis.
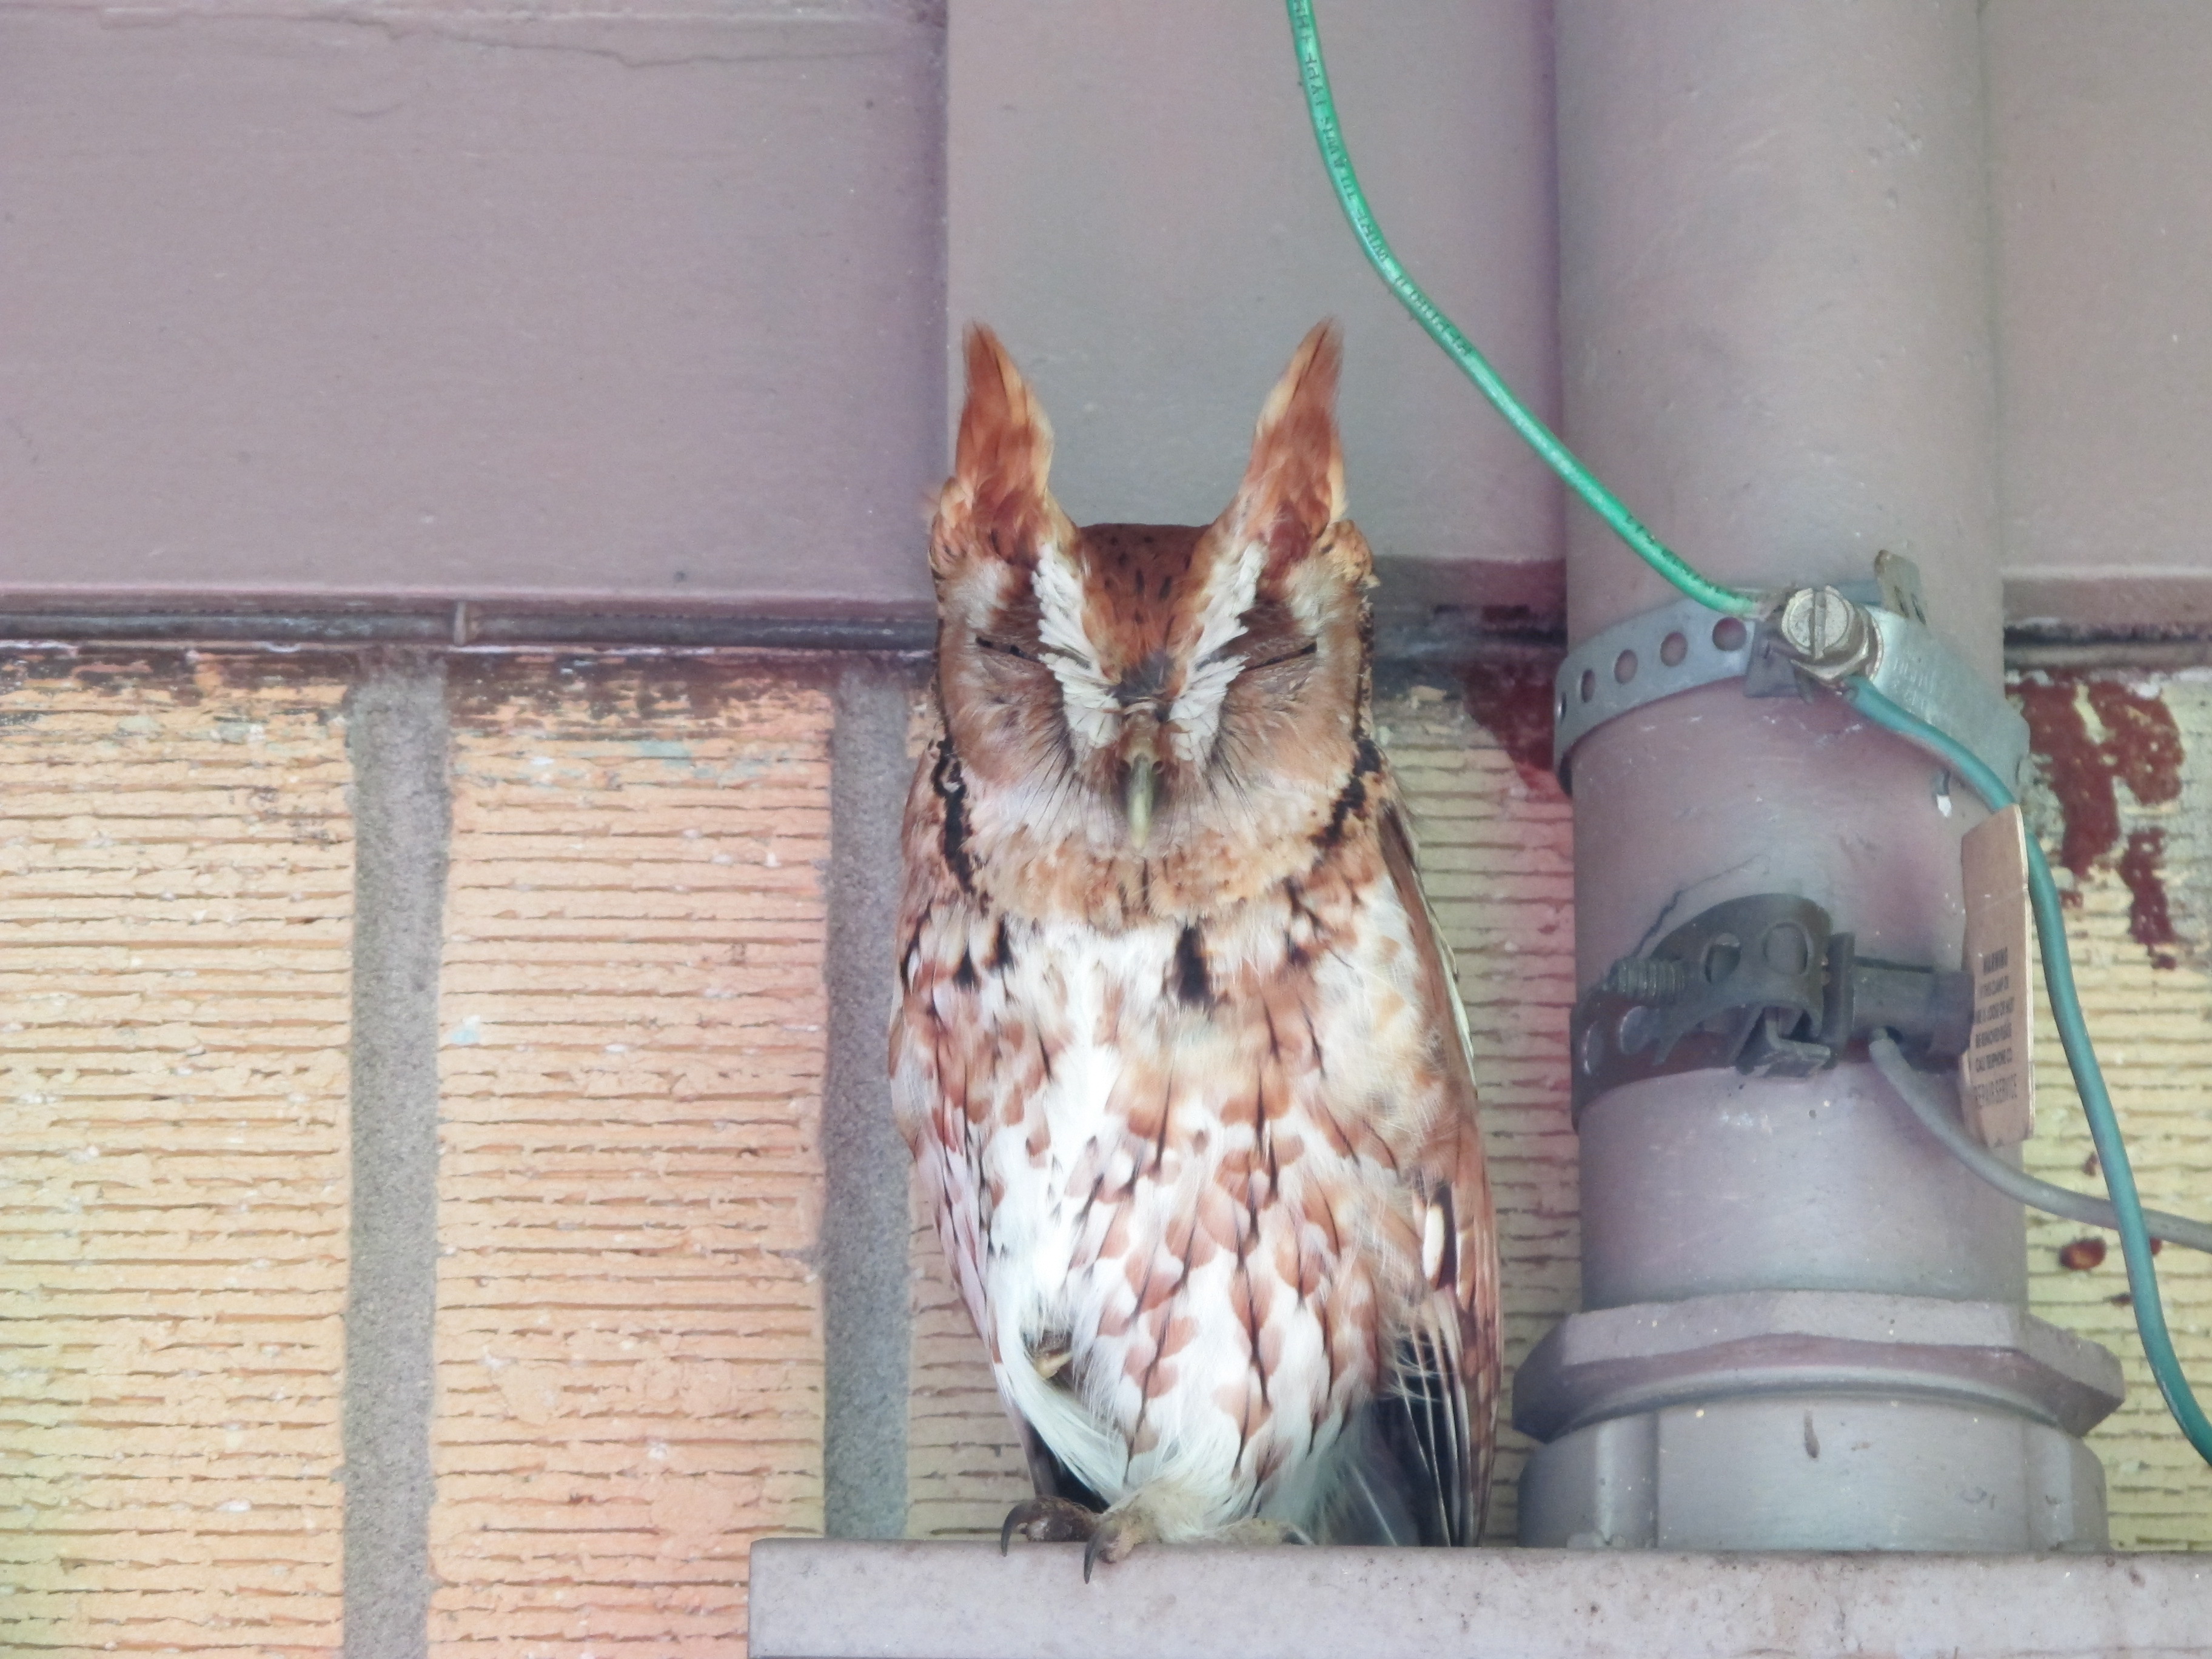
This one is much prettier so I’d like to think it’s a female. I haven’t named her yet, but I guess I should think of a name if she sticks around.

The shellacked wood is beautiful. Also love your segue from Easter to Junebug resurrection.
Thanks! I think it’s fun when I have a theme and can somehow tie it into my update on Junebug. I’m about to start some shellacking. It’s a little late in the day (almost 4:30) but better late than not at all!
Great job! She is looking really good! I love that backsplash pattern and as a matter of fact I repurposed similar backsplash for my 65 Shasta. Originally the quilted aluminum was a shower wall. I deep sixed the shower and stripped the paint off and polished it. Im trying to “low buck” my restore but I already failed at that.LOL Yours is beautiful. Great job!
Thanks! I can’t wait to get back to work tomorrow and make some more progress. I think it’s pretty hard to “low buck” one of these restorations! I’ve already spent way more than I thought I would. haha
Hi there! I’m about to do the same to my camper…removing skin to see what’s going on inside. Good luck! BTW It appears as if your from NM….check out this new group for camping gals on FACEBOOK.. https://www.facebook.com/nmbuffalogals, I’m gonna try to attend….maybe I can meet your Junebug!
Valerie
Hi Valerie,
I actually live in Houston, TX, but I bought Junebug in New Mexico so that’s probably where you got that idea. I really like NM but it’s a bit of a long drive from here unfortunately. I’m planning to go at some point on one of my road trips once Junebug is ready to go somewhere again and I’ll look you up. Good luck removing the skin on your camper, hopefully it doesn’t look too damaged underneath! Either way, you can fix whatever is there. 🙂