I had a rather crappy week at work. I was happy that yesterday was my Friday off (we get every other Friday off, a nice benefit, especially after a bad week). I’m glad I could work on Junebug to take my mind off of things. Unfortunately, the more I do to Junebug, the more […]
Today, I went to Lowe’s and Home Depot and bought a variety of supplies, most notably some acetone, sanding paper, a Milwaukee multi-purpose oscillating tool (with sanding attachment), two cans of Zinsser Amber Shellac, and two cans of the clear shellac. I wasn’t planning to start the shellacking process today, but I figured I might as well get prepared in case I feel like tackling it during the week sometime. I’m not sure if I’m excited about that part of this project or afraid. I guess I’ll find out once I start on it!
So I continued on my quest to remove the roof today, and I finally succeeded! I had more trouble removing the two pieces than expected, thanks to a bunch of screws holding them together that were, of course, covered in sealant.
Shasta Restoration Part 5
In this video clip, I show what the roof looks like before and after I remove the next two sections. I didn’t find any more surprising messages today. But I’m not done uncovering all the wood yet, so who knows what I’ll find!
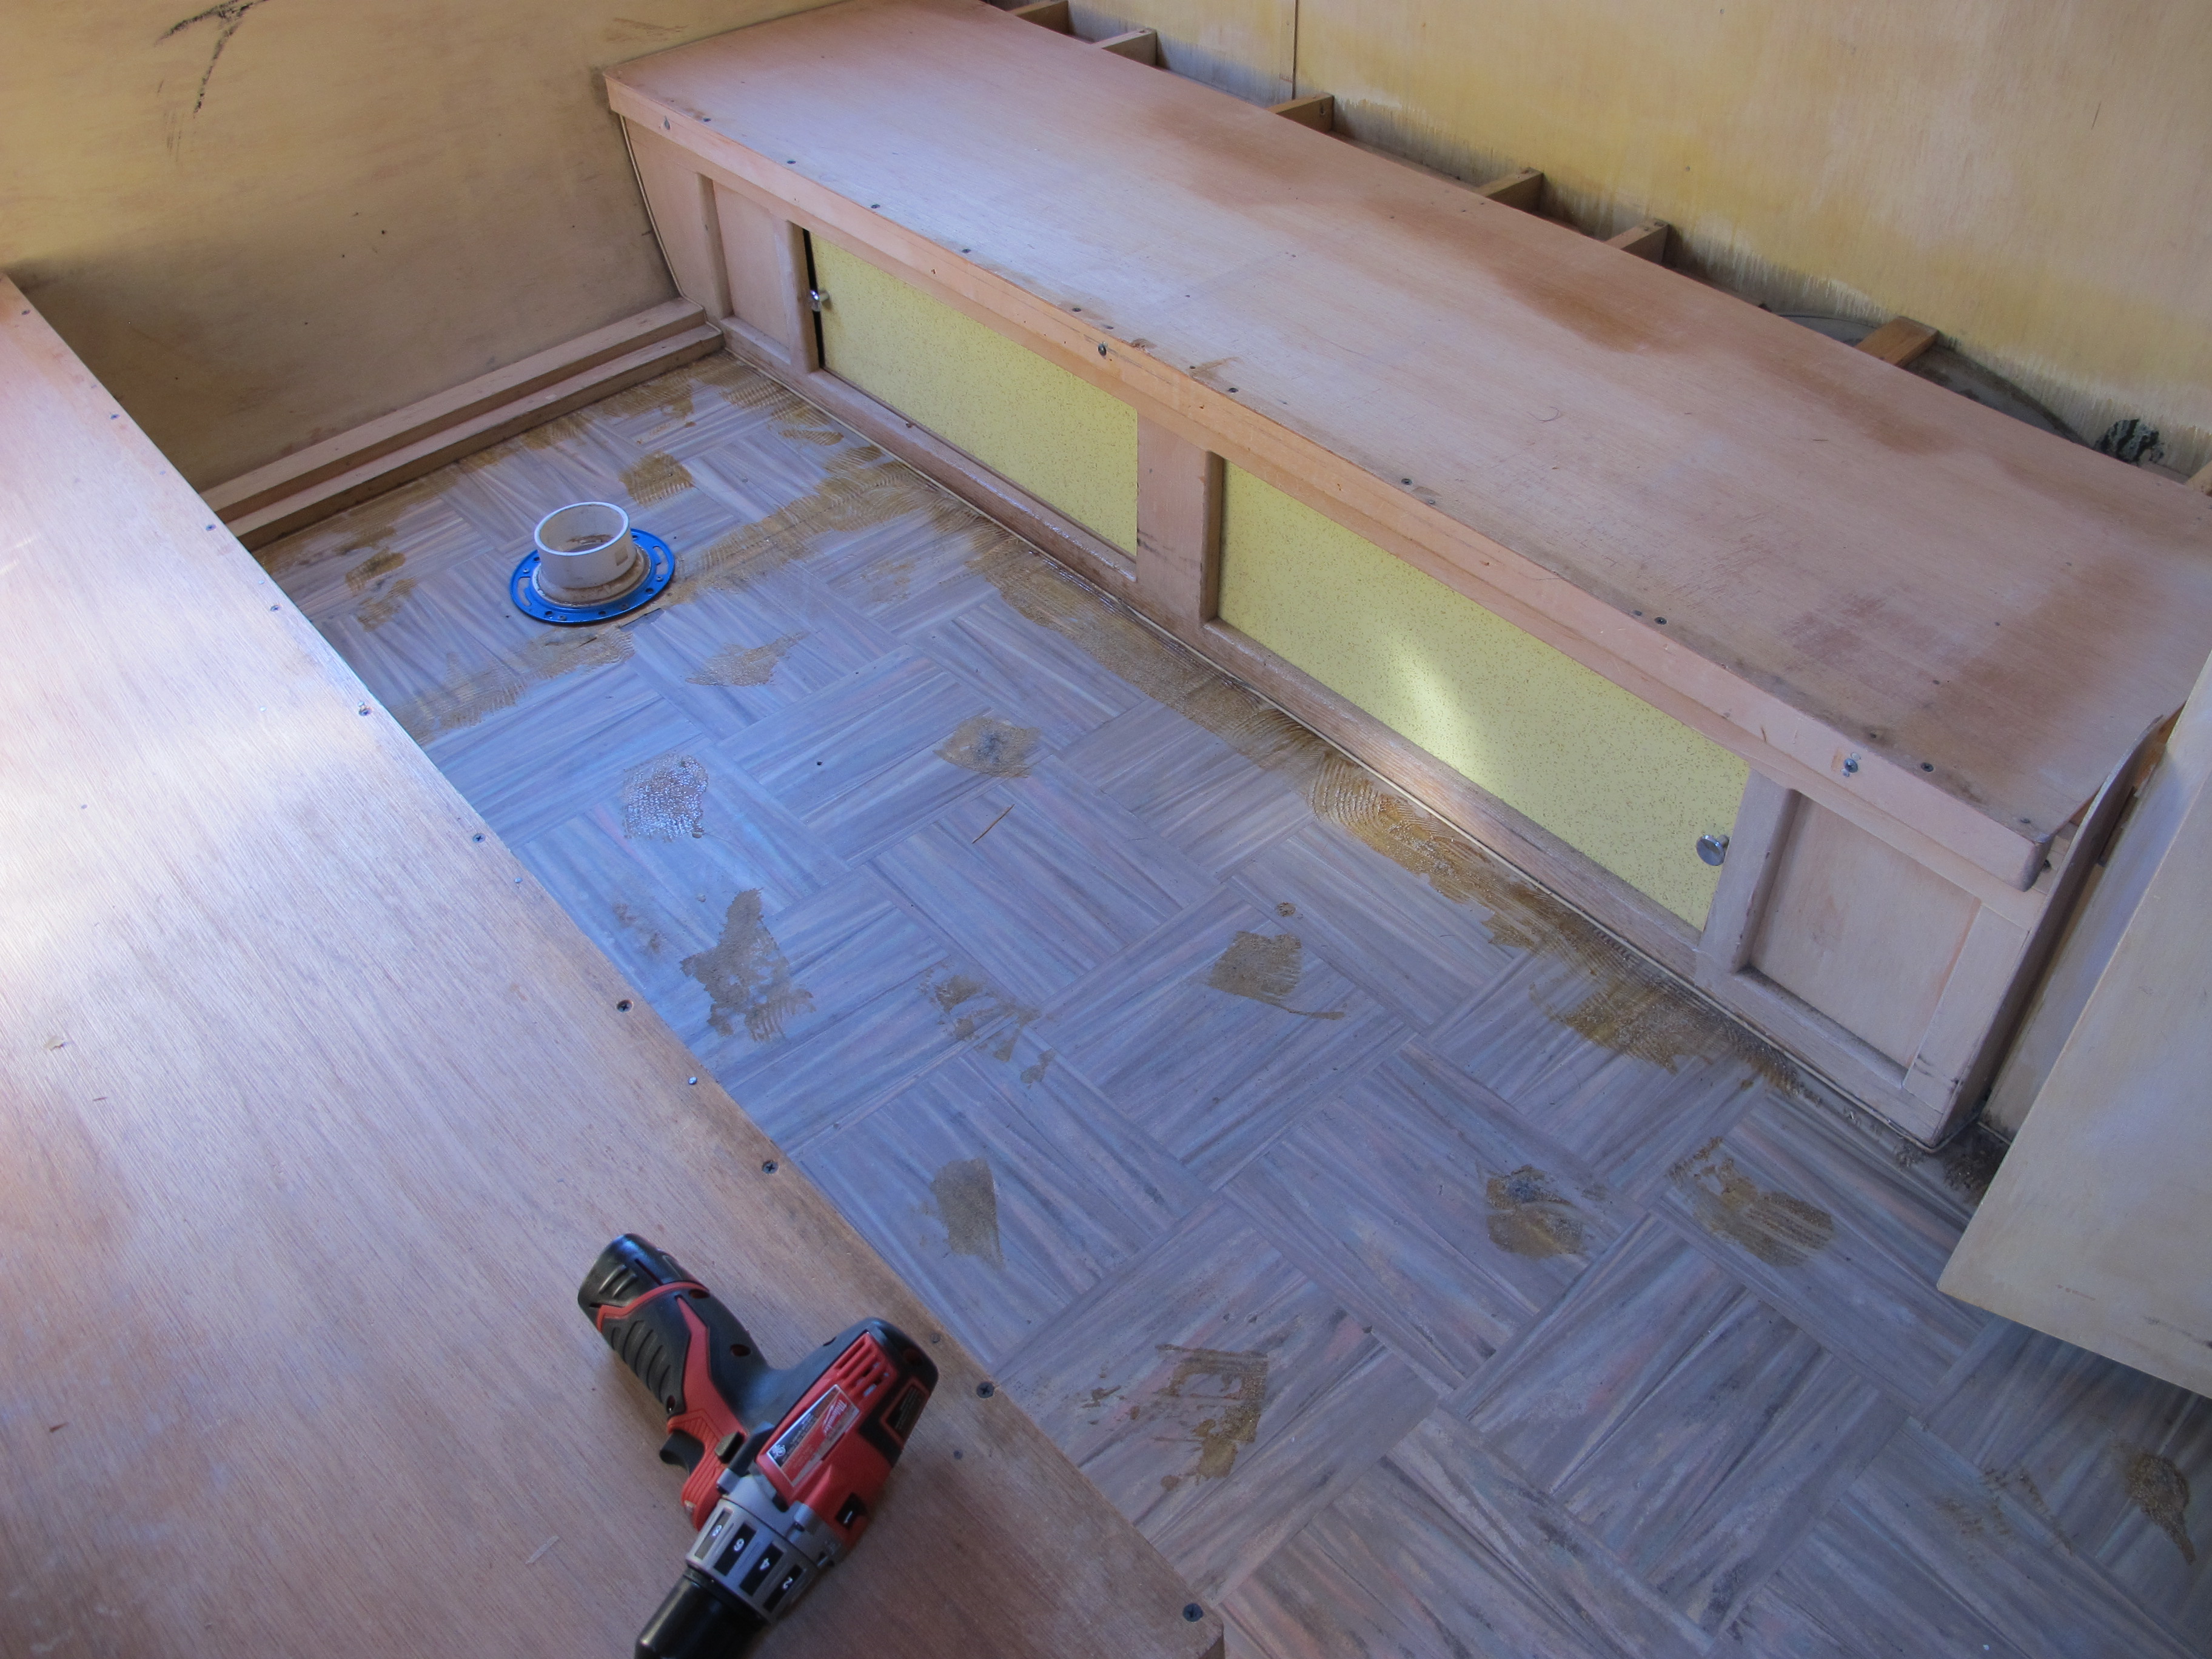
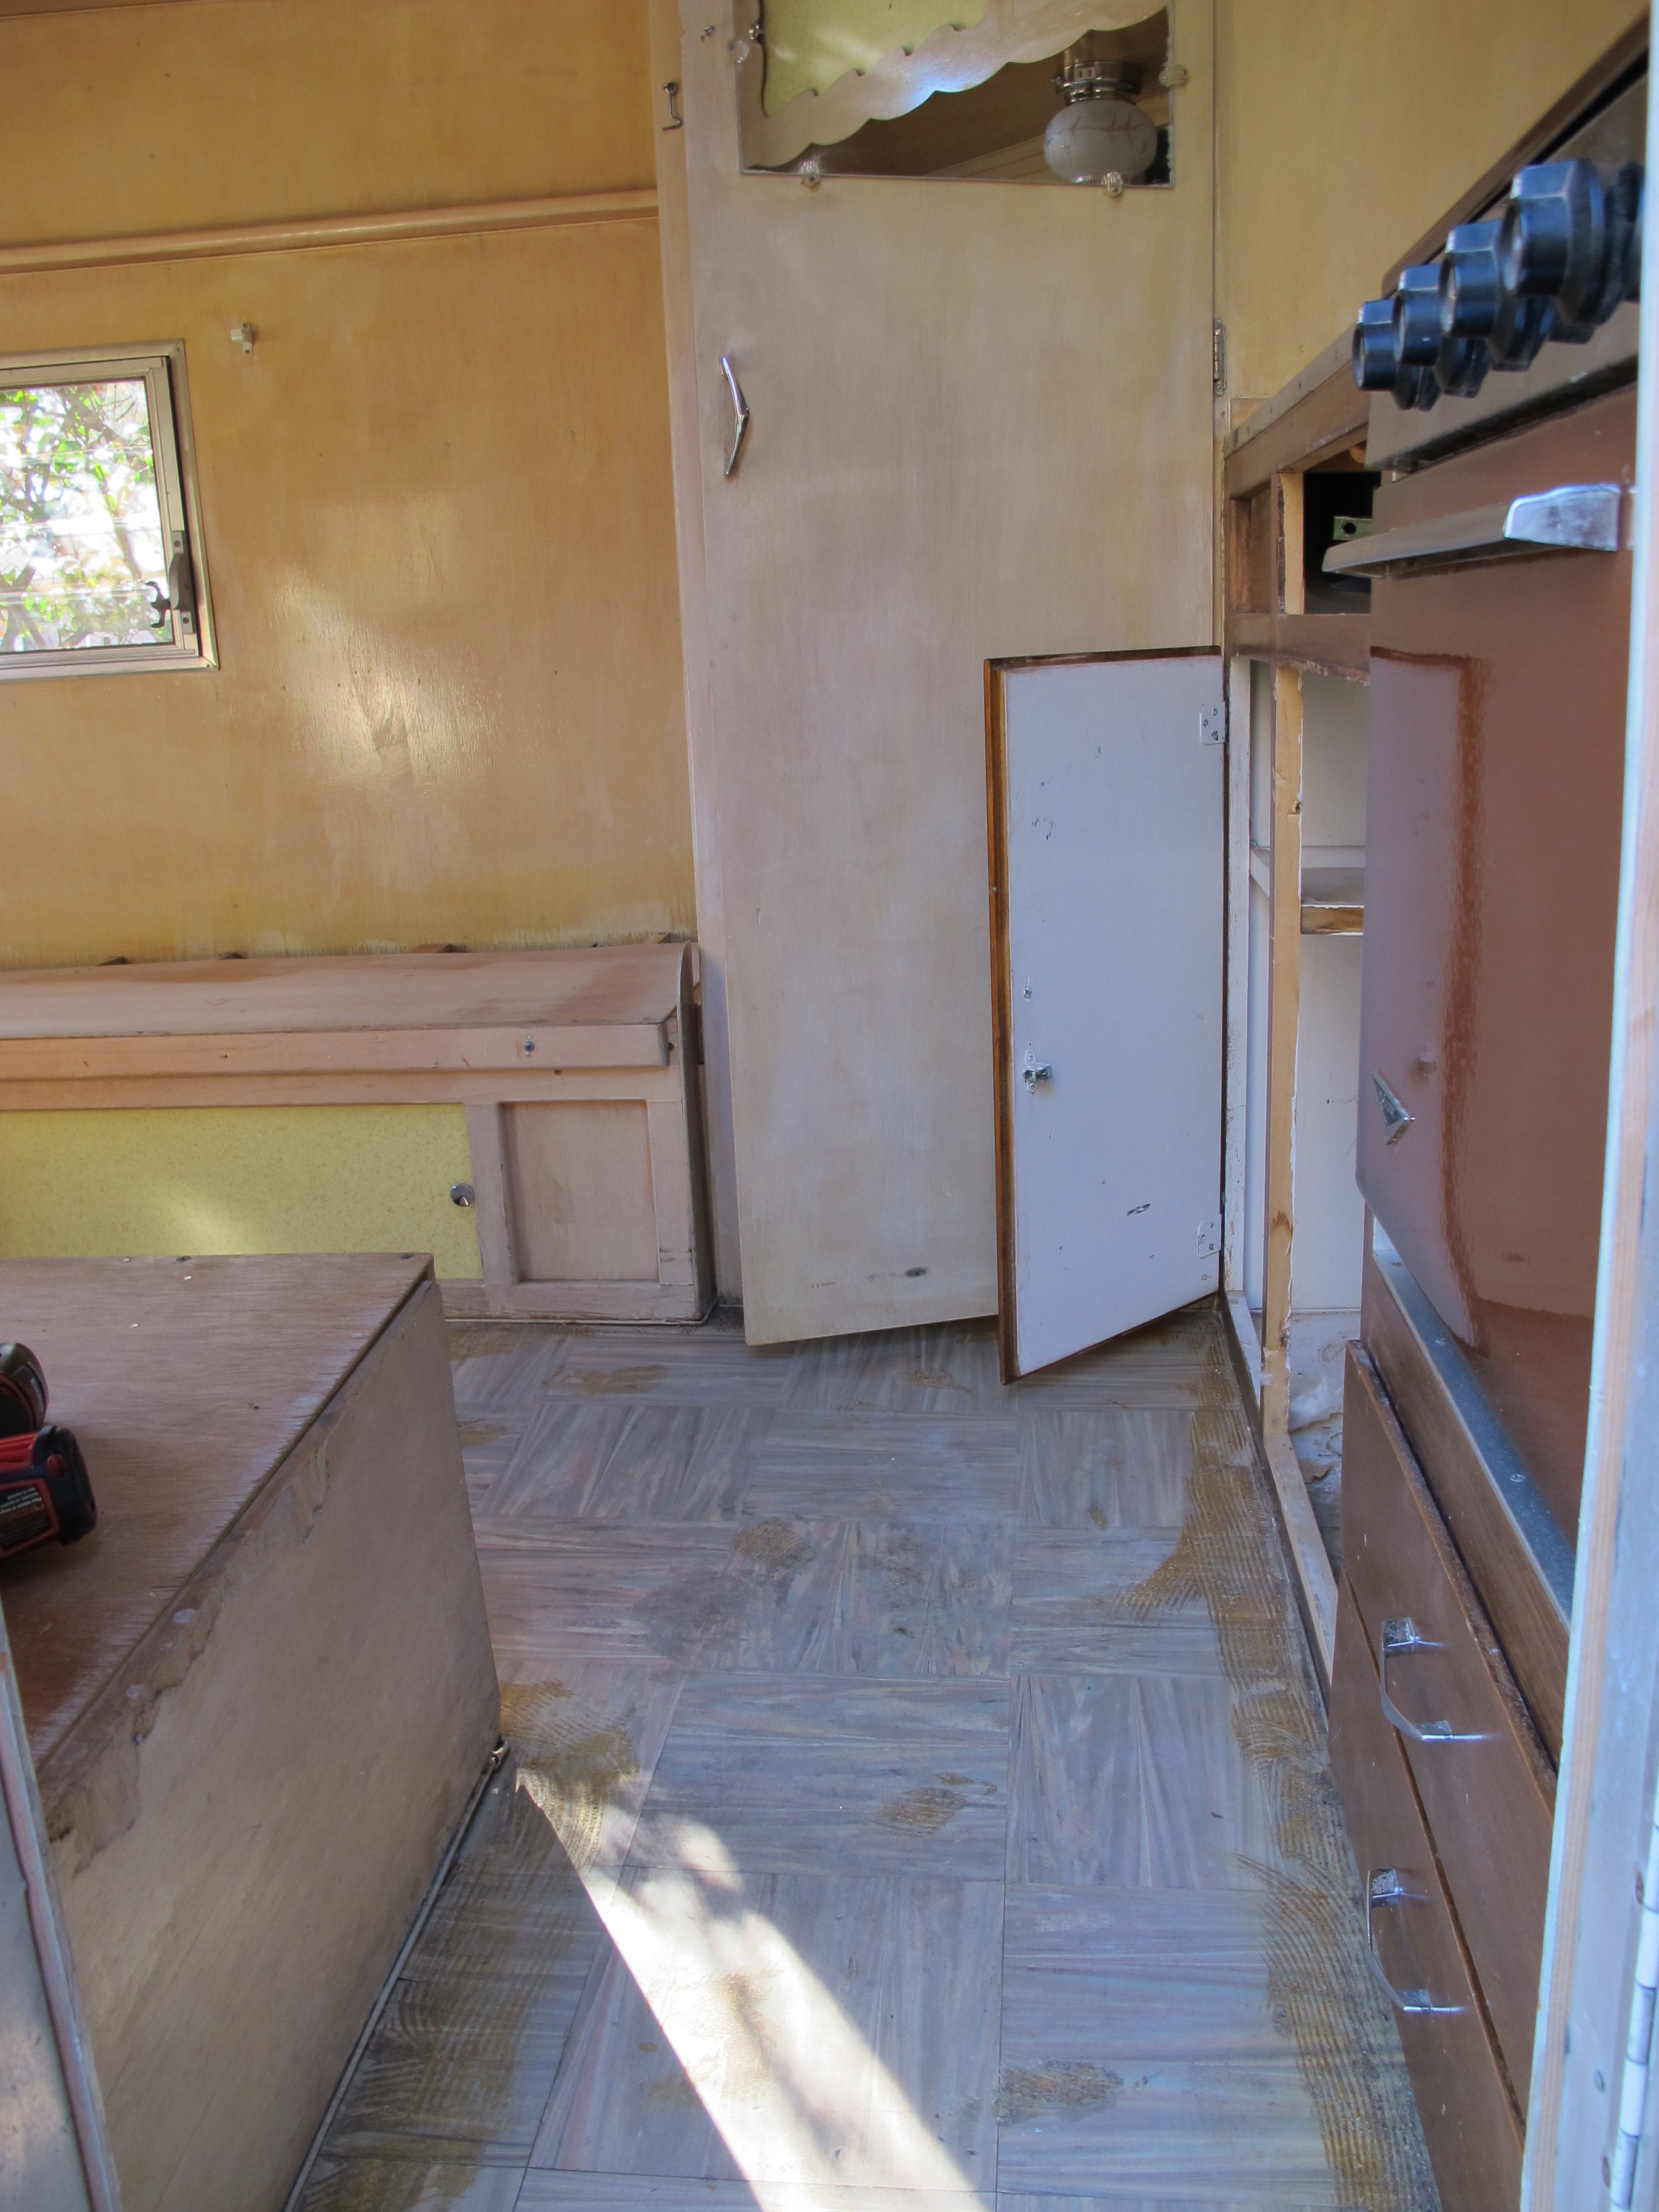
I tried acetone on the tiles to remove the carpet glue and it is working! Unfortunately, it’s going to take me a million years to get it all off. 😦 Another problem I am seeing and haven’t decided whether to take on is that one of my benches has come loose from the floor, and the wood on the bottom of the bench is cracked. I think it was a result of the wrong sized spring that was on the trailer when I bought it. I’m not sure. I think I should probably remove the benches, but I feel like that’s an even bigger project than what i had planned to take on. Then again, this whole project just keeps getting bigger and bigger, so what harm is there in removing a couple of benches? Ok, maybe releasing some asbestos into the air is one problem. ugh
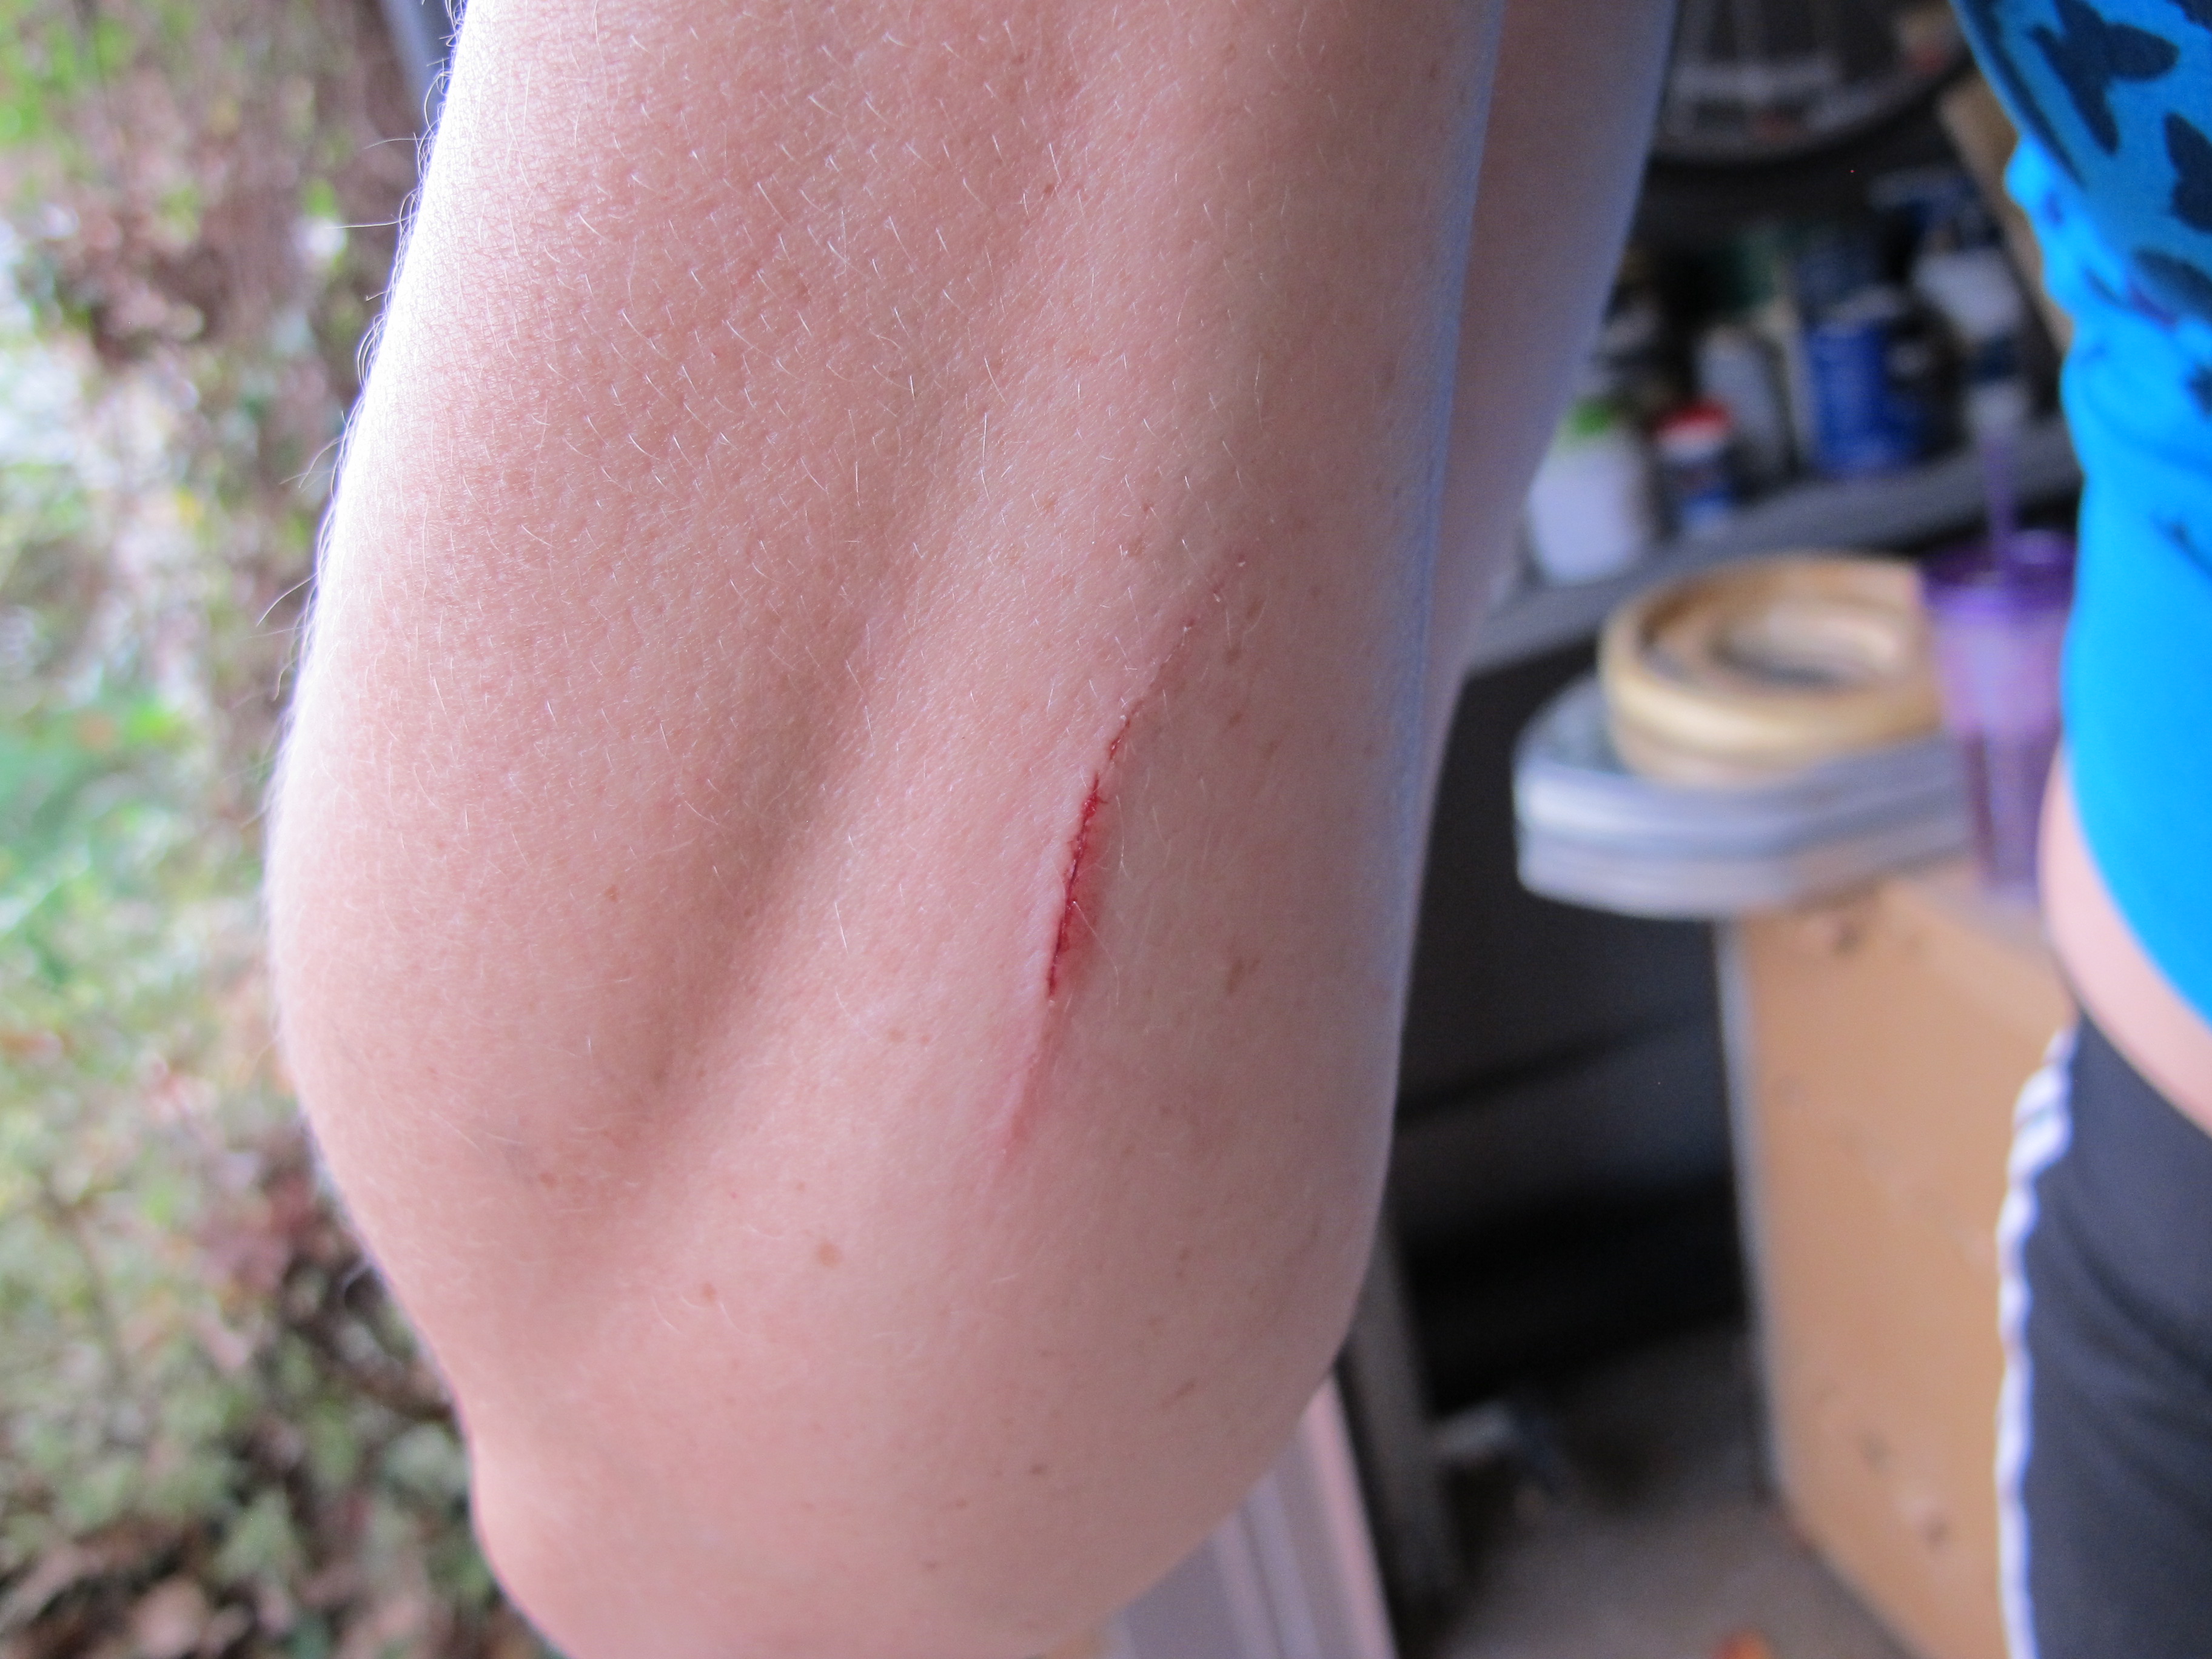
Whenever taking on a project such as this one, it is always a good idea to make sure your tetanus vaccination is up to date. That aluminum is razor sharp!
If you just looked at my garage, you would probably assume a man lives here. But you would be wrong! (unless you count Baxter)
More to come next weekend as I continue to remove the skin. I may also try to remove the cabinets and benches if I can get up the courage. 🙂
I was at work all week, so that’s why you haven’t heard from me in a while. The week was actually pretty eventful. I got a lot done at work, made it to the gym a few times, managed to lose six pounds (healthy diet and exercise really does work wonders!), and I had two dates! 🙂 The dates were with the same guy, a musician I met on this dating app called Tinder (http://www.tinder.com/). I figured I might as well try it since my friend met her boyfriend on there. I normally hate internet dating, but you never know, and as busy as I have been, I hardly ever meet anyone the traditional way. Working on Junebug is fun, but I guess it does make me a little antisocial. haha The first date was great, but the second one last night was kind of a let down. I won’t go into the details, but let’s just say I will add that to my growing list of internet dating failures. Oh well, at least I had this weekend’s project to look forward to instead of dwelling on my failure to find Mr. Right. 🙂
So, now back to my progress today with Junebug. Today, I had intentions of removing the entire roof from Junebug. Unfortunately, things took a little longer than expected, so I was only able to remove one more piece of skin. I didn’t anticipate that it would take me over an hour to remove the stupid vent on the roof thanks to 50 years and several layers of sealant applied around it and over the screws. Have you ever tried to remove a Phillips head screw with sealant in all the cracks? Doesn’t work very well!
Shasta Restoration Part 3
In the video below, I show you a few clips of my long and arduous journey to remove the sealant around the vent and ultimately remove the vent.
Shasta Restoration, Part 4
And in this video clip, the next piece of skin is removed and a lovely surprise is revealed!
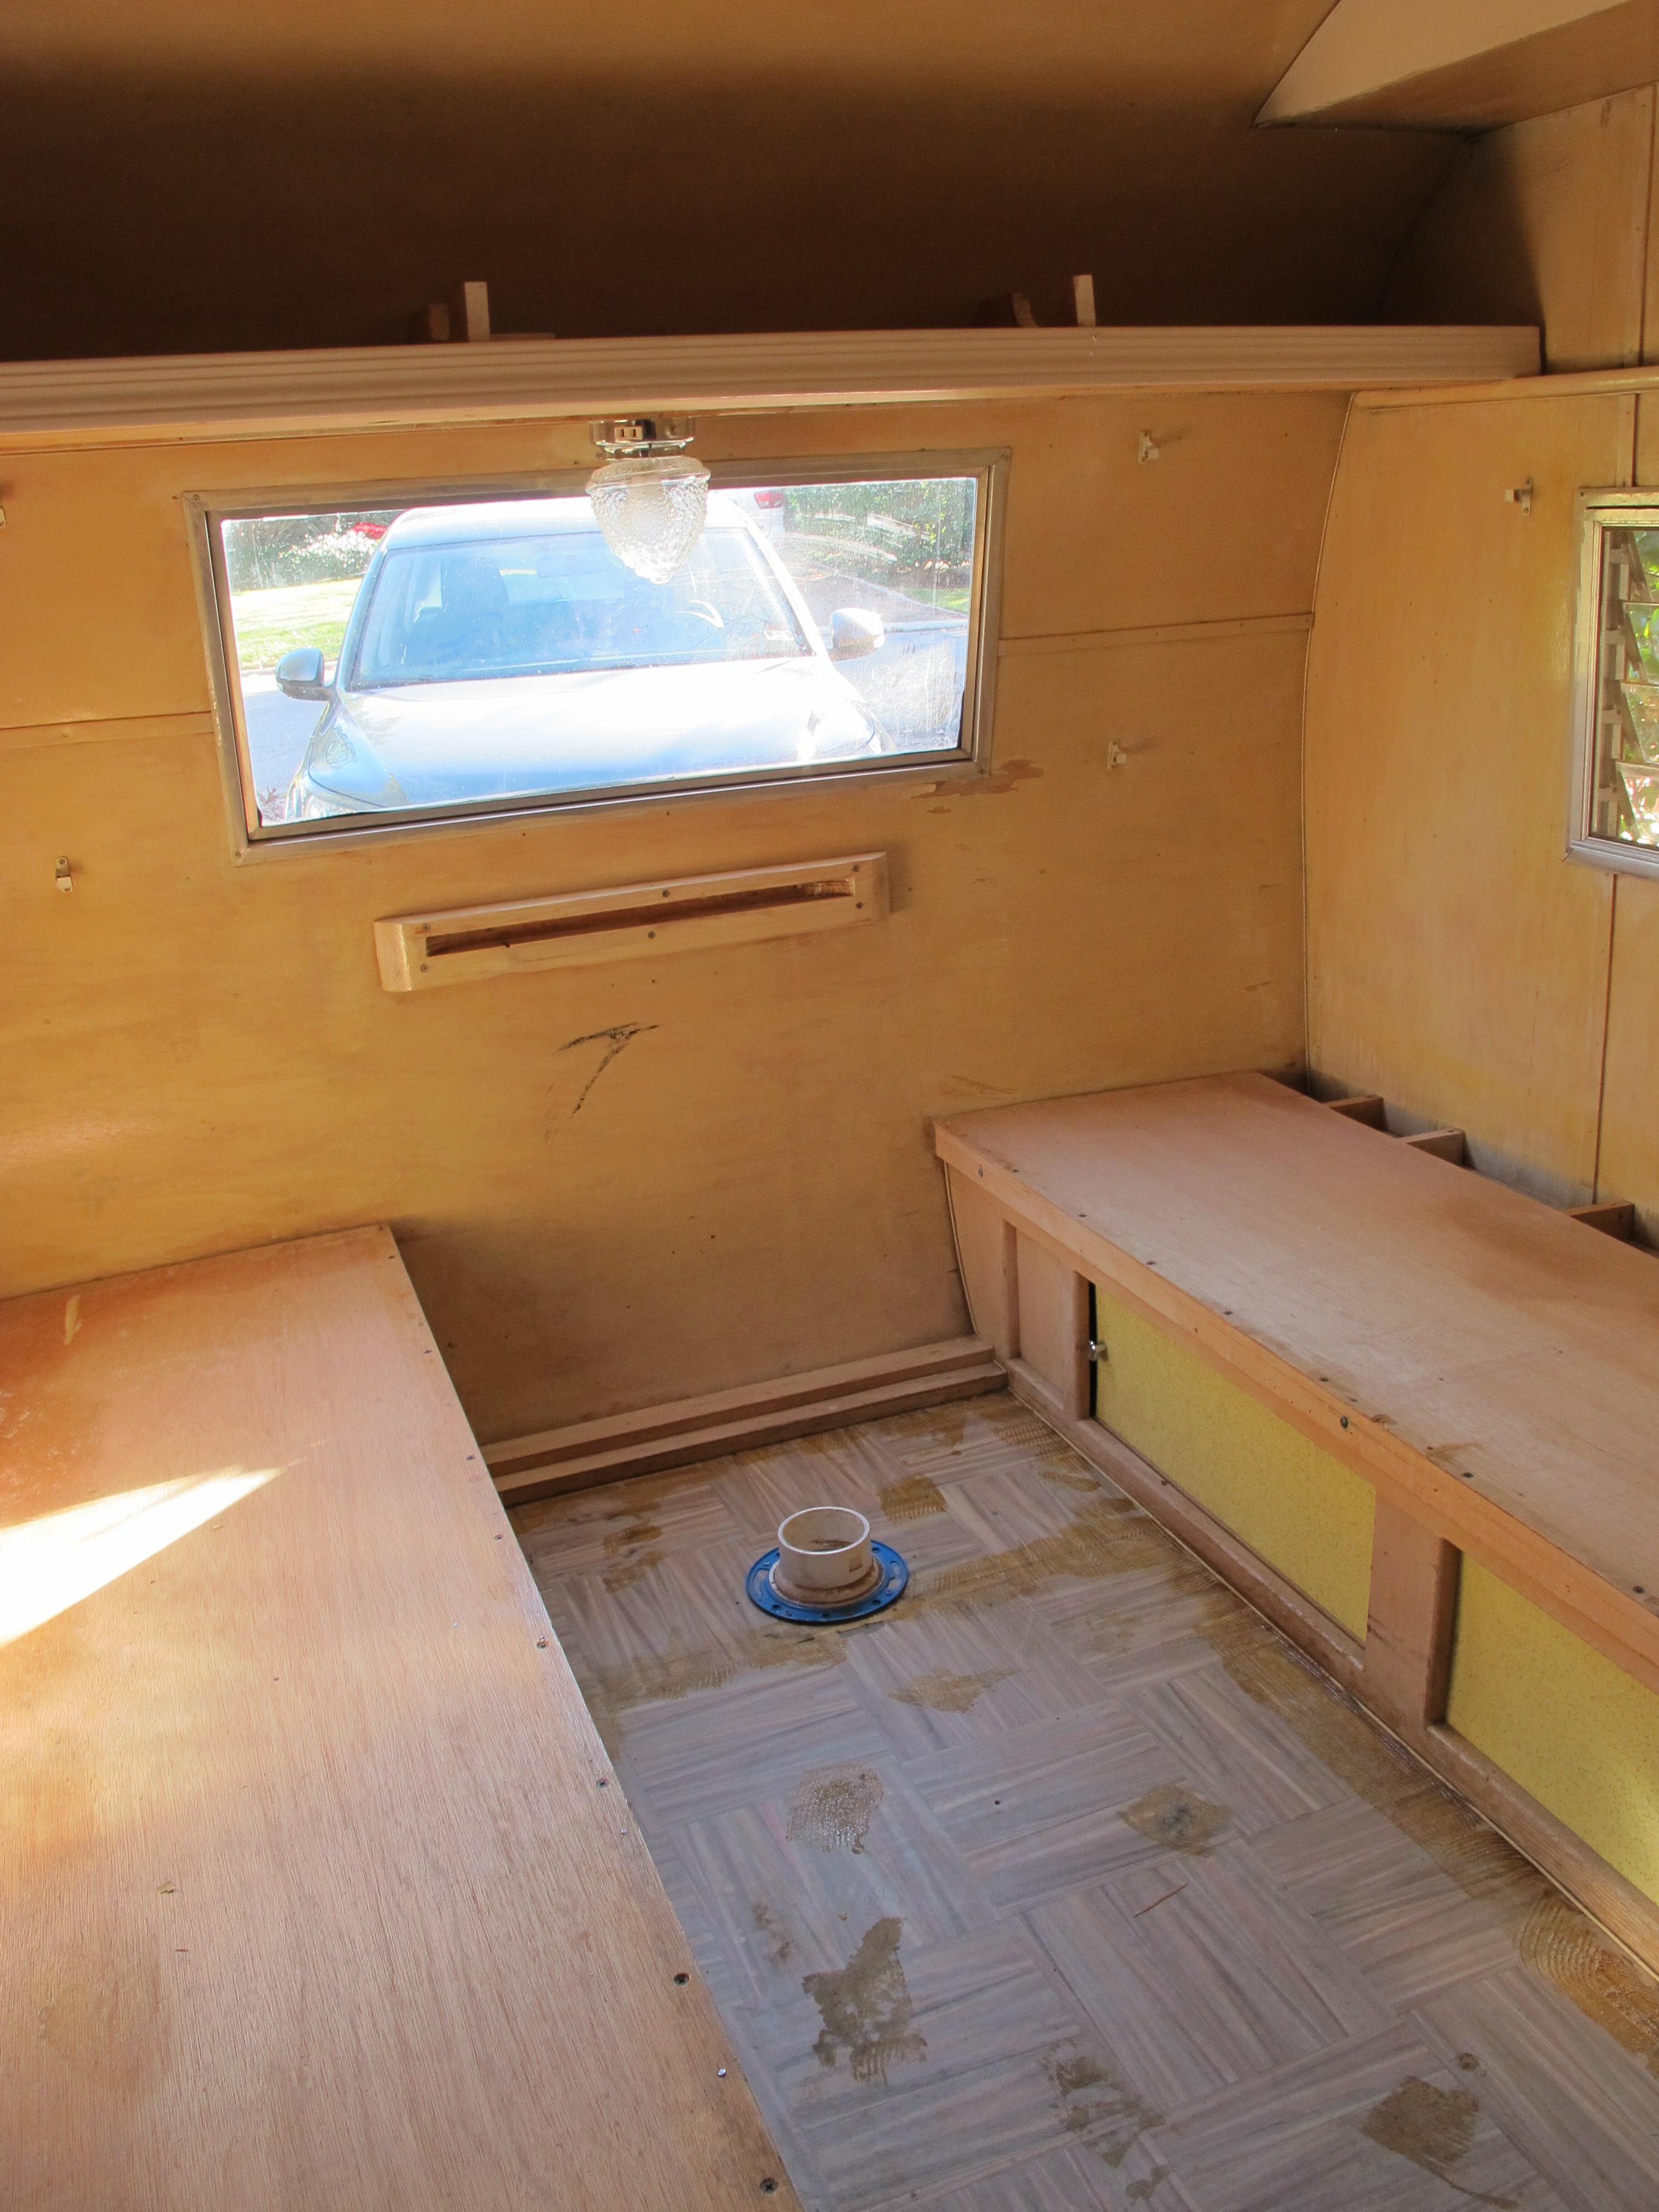
And last but not least, I wanted to share a few more photos of the interior. I removed the seat cushions and the carpet to reveal the original floor tiles! I have heard that they may contain asbestos, so I’m trying to decide what to do with them. I would love to remove the glue and add a wax finish so that I can keep them in Junebug. I think they are pretty cool. I’m going to do some research to see if that’s risky. I already tried removing the carpet glue, and it wasn’t easy. I may decide to give up on keeping them, we’ll see. I’ll keep everyone posted on what I decide of course.
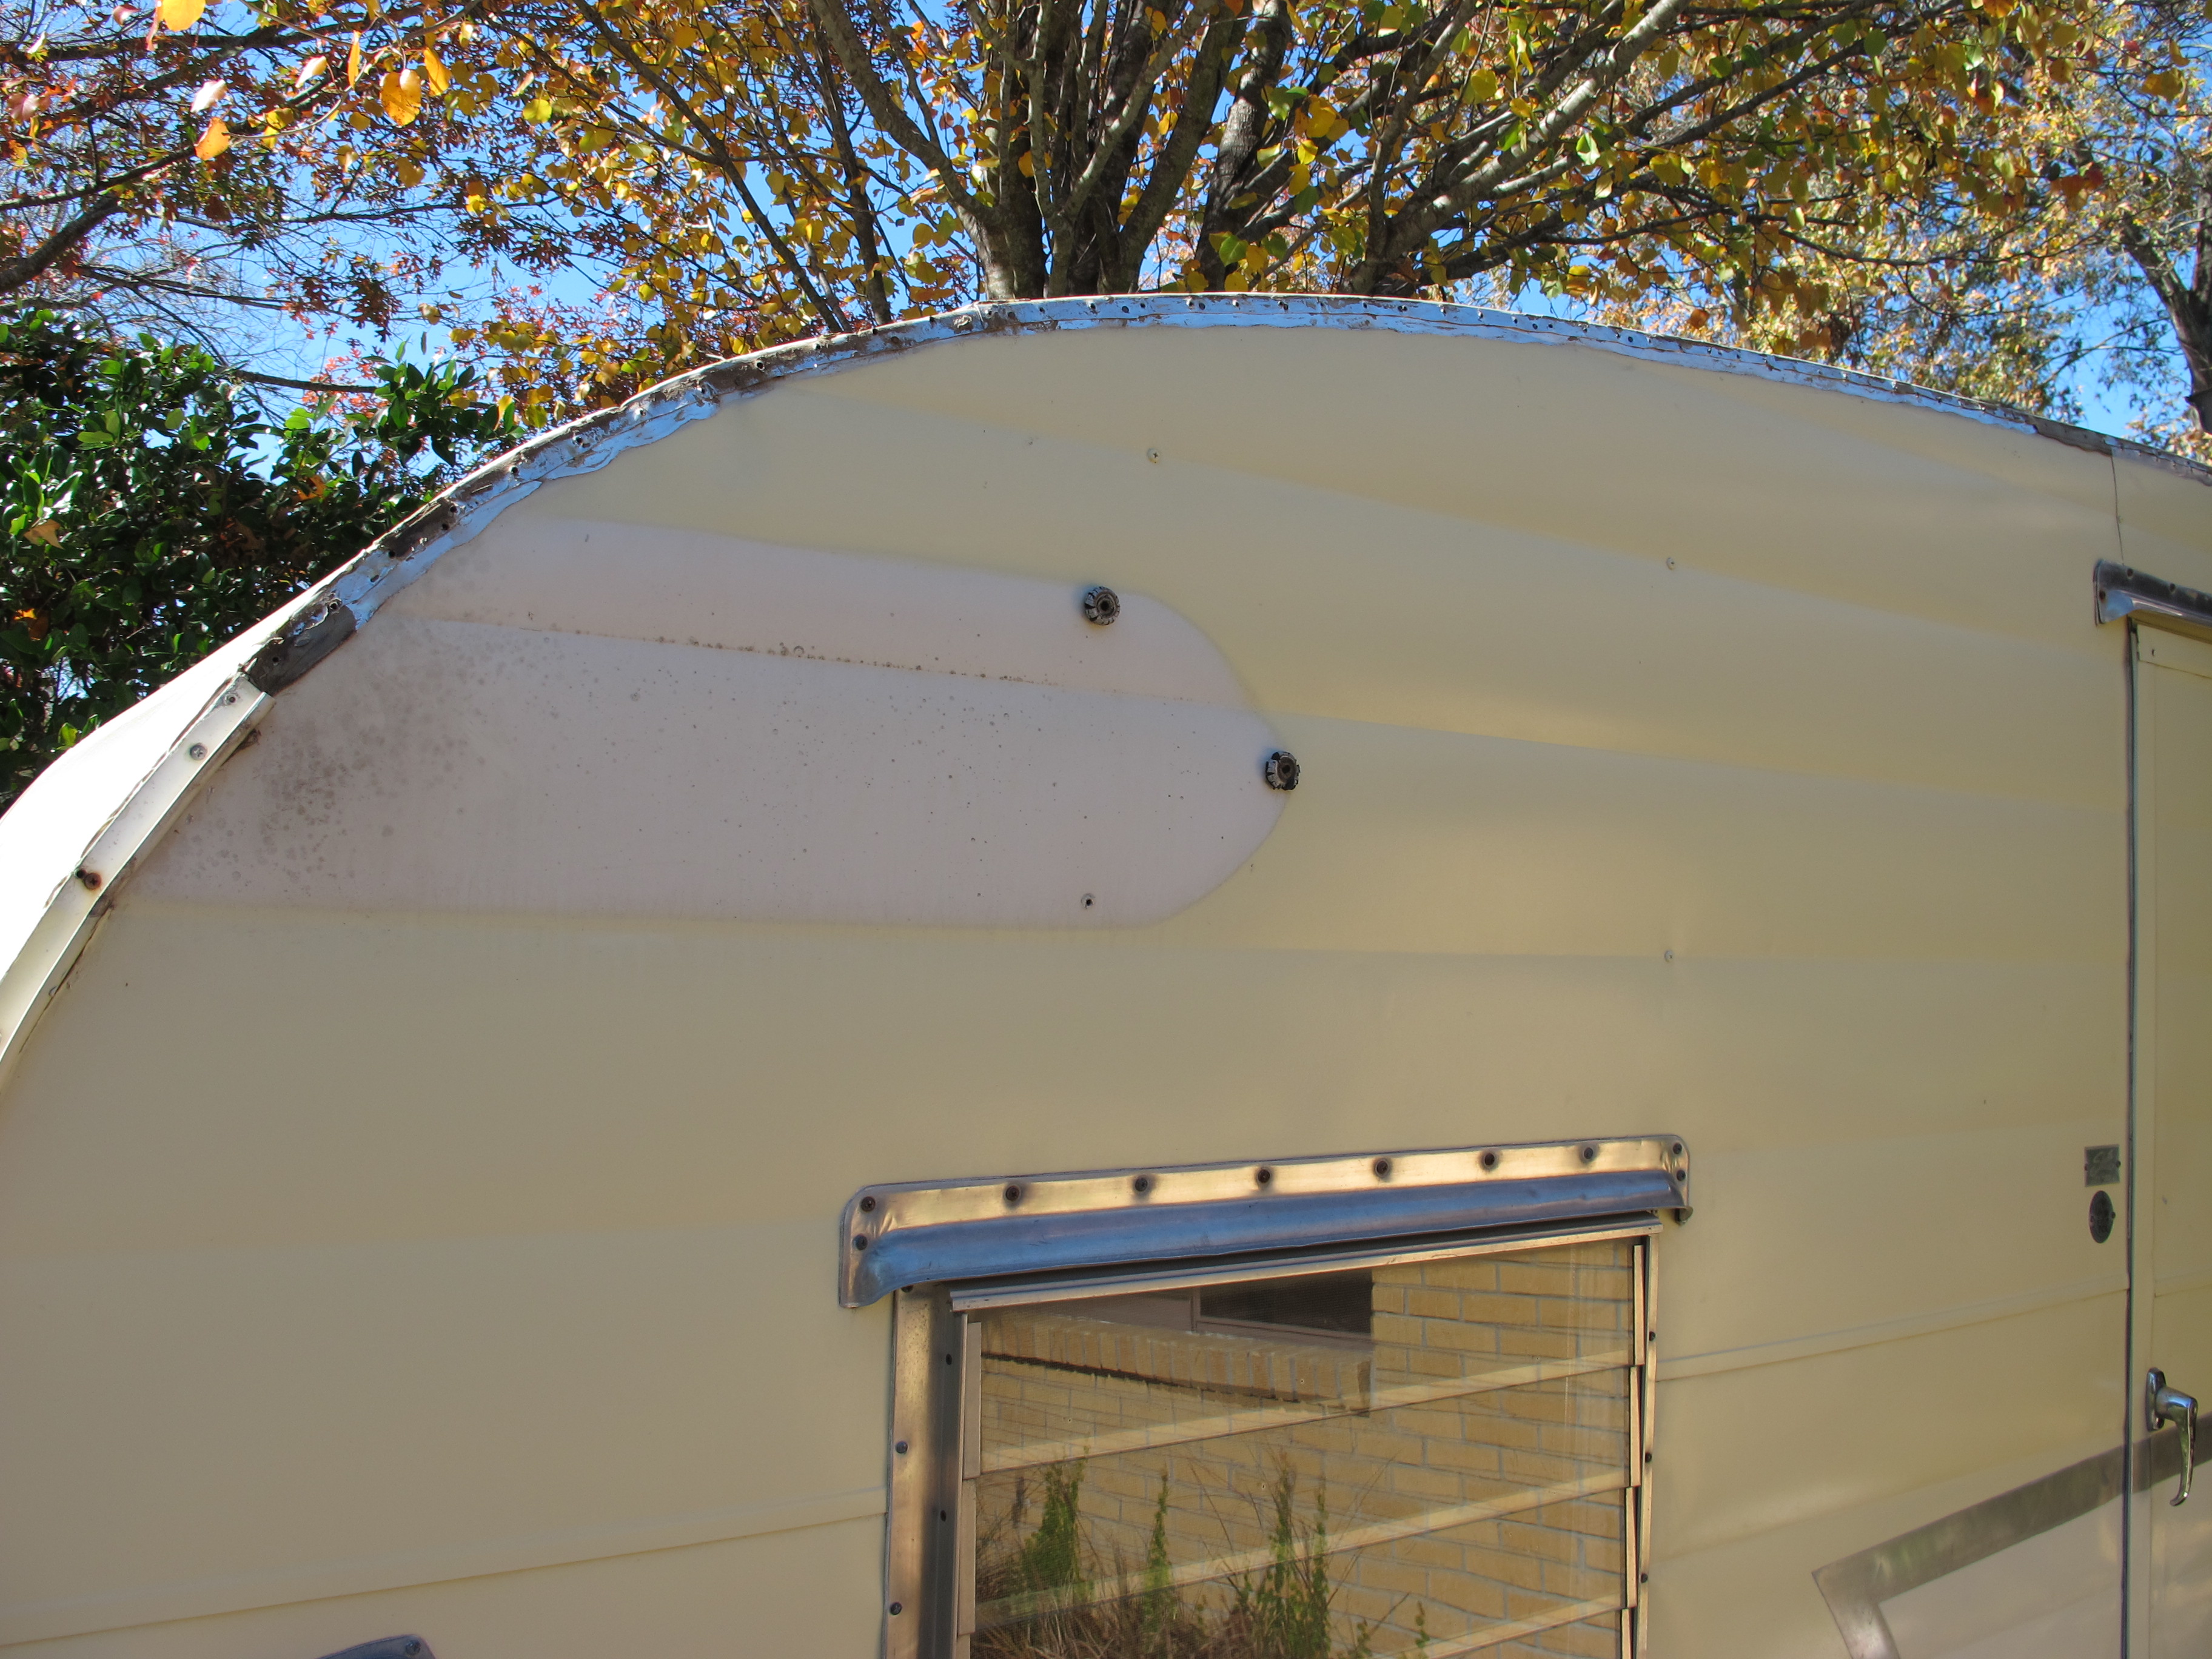
I also removed the wings the other day since they were sharp on the corners, and I was afraid they were going to poke a hole in my new cover. I figured I would need to remove them anyway once I got to that point. You can see where they belong, and Junebug can’t fly without her wings, so I can’t wait until I can put them back on! I read somewhere that I could cover them with a pool noodle to protect my cover, so I will try that once I have everything put back together.
I’m thinking that at the rate I’m going, I may finish this project in time for my retirement! haha
P.S. In case you didn’t watch the video and want to skip to the surprise. Somebody at the Shasta factory was having a bad day…
Today, I have decided to take on the biggest project yet, removing some of Junebug’s skin in order to repair the open seam in the roof.
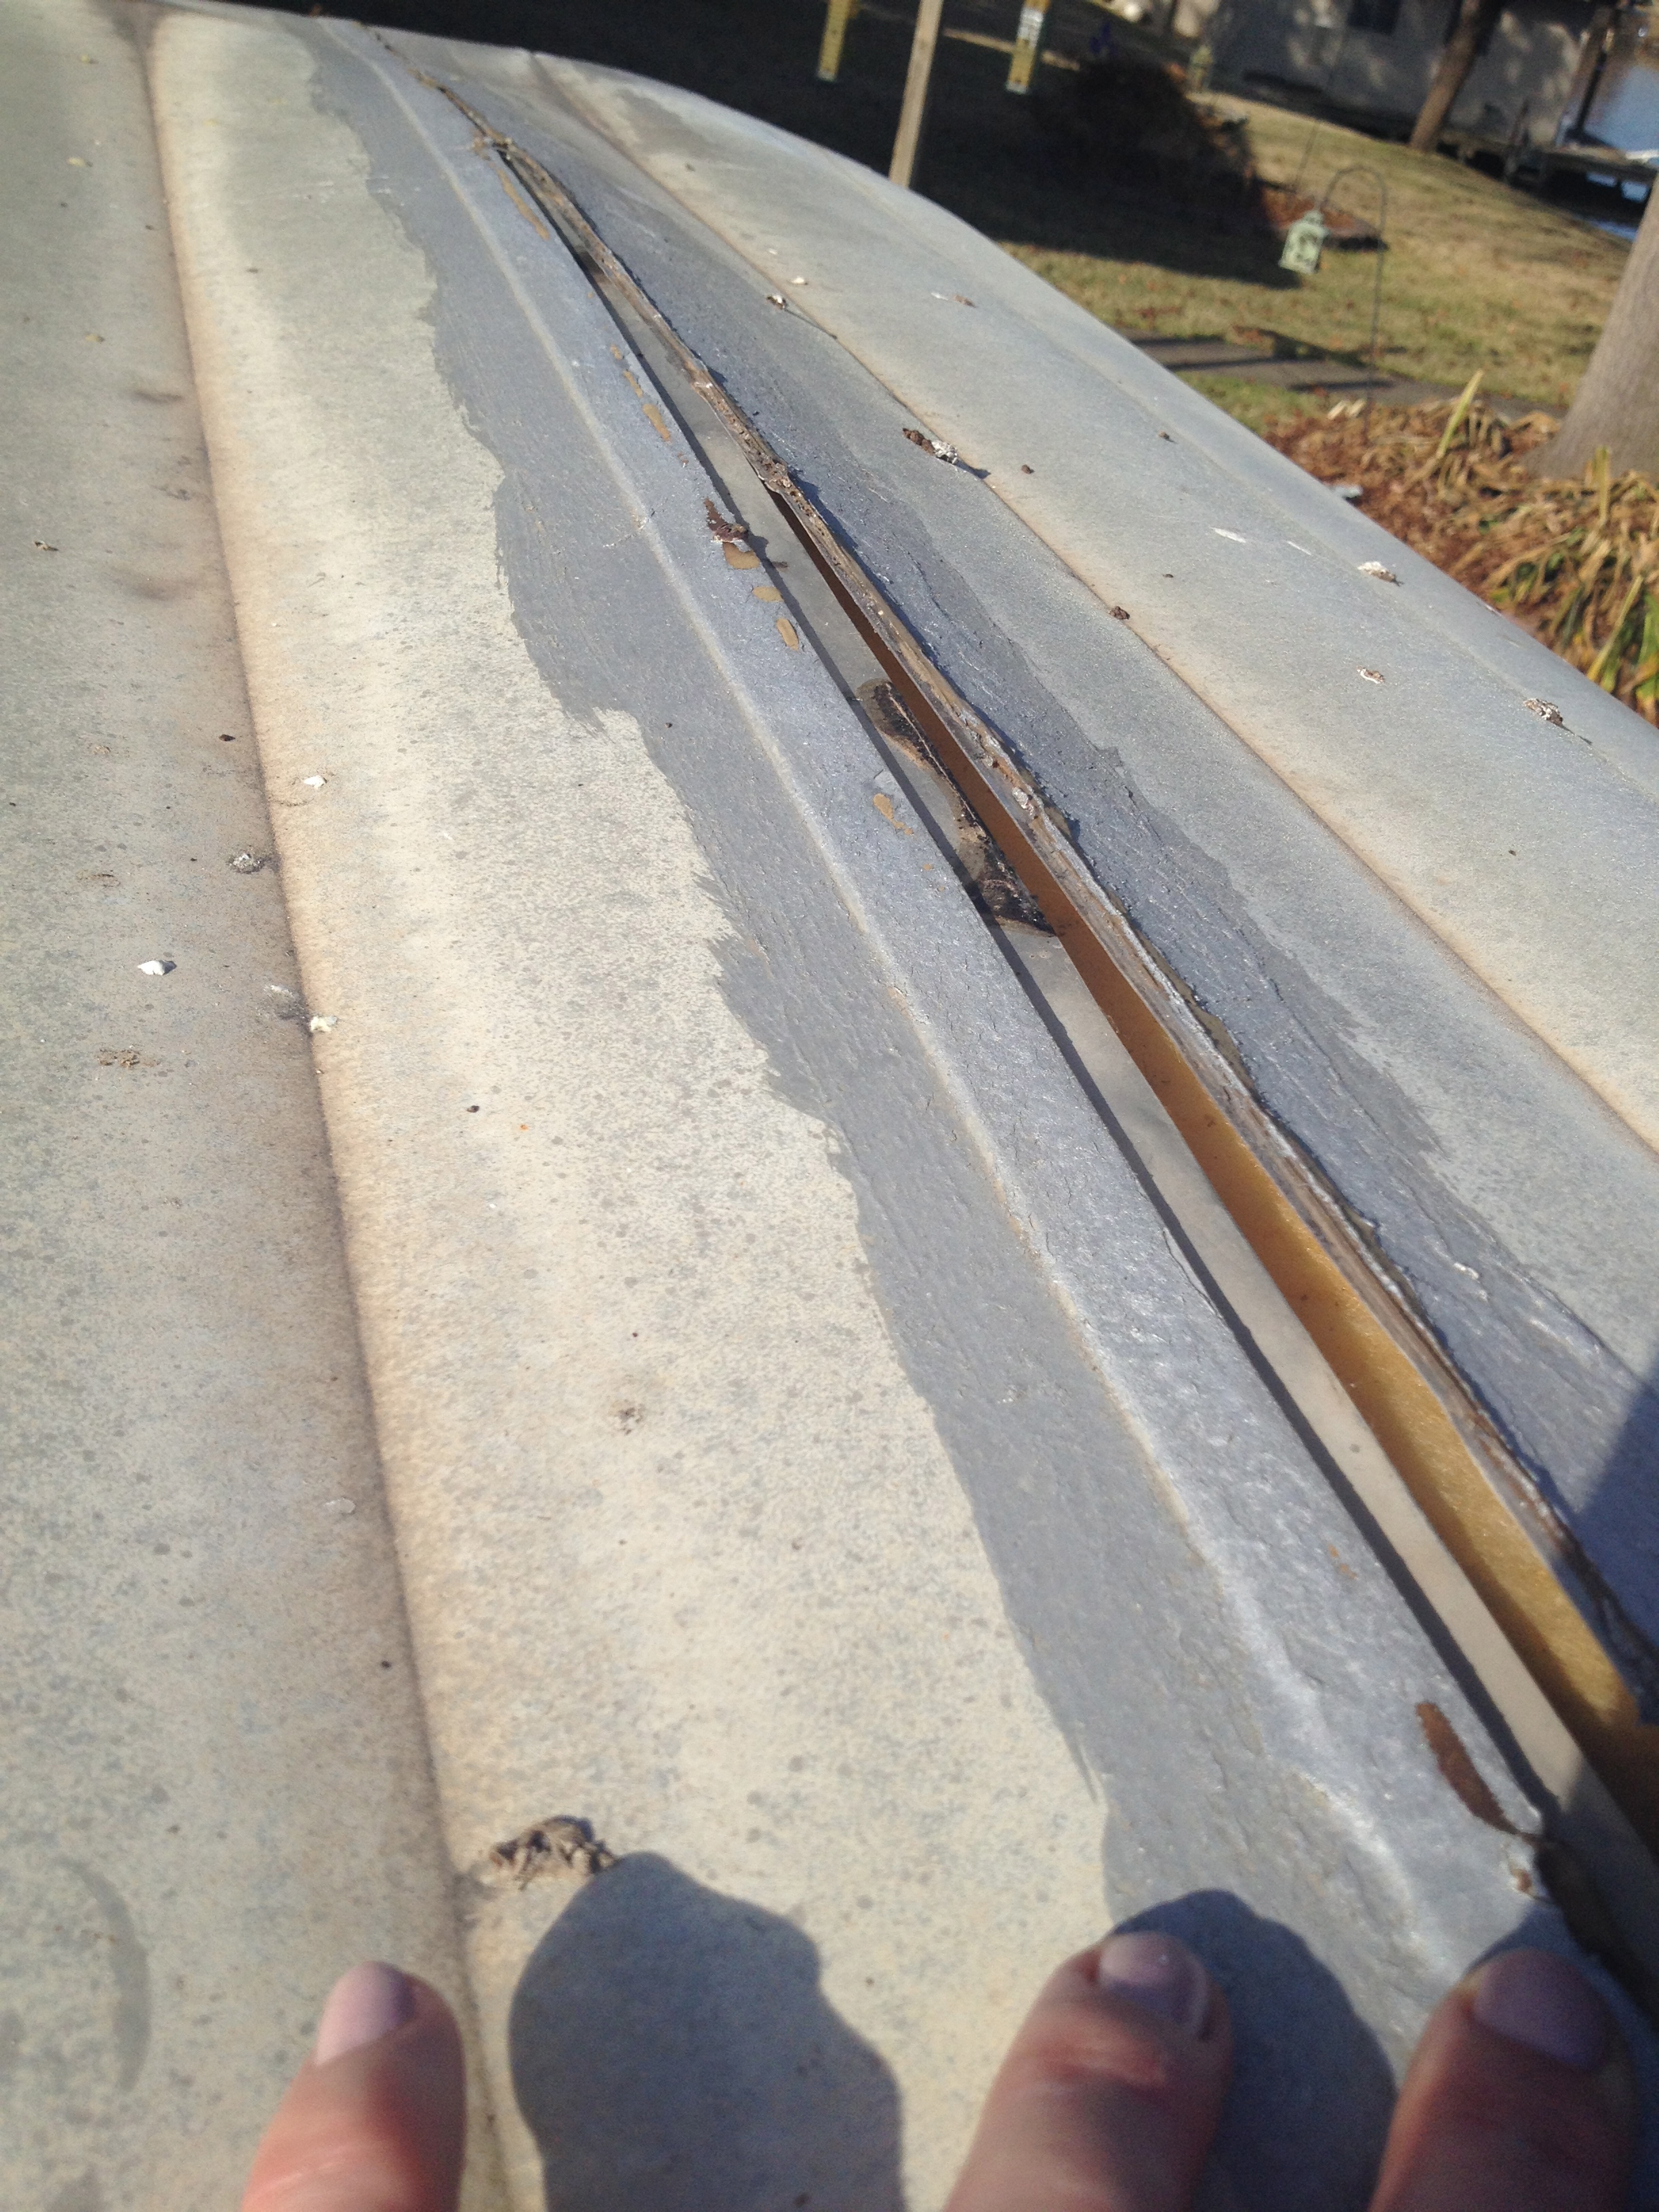
This is the worst seam, it’s completely open and you can see the insulation when I press on the aluminum. Definitely needs a repair pronto!
I just had a nice chat with my new friend, Susan, who restores vintage campers, and she walked me through each of the steps I needed to take in order to complete this repair. I really hope it turns out like it’s supposed to! I will be posting pictures of my progress and maybe even some video, depending on what kind of mood I am in. Stay tuned…
Seven hours later…
So, I spent quite a bit of time initially going to a few stores to get the proper supplies for today’s project. I discovered a pretty good RV supply and repair shop not too far from my house, RV Masters. http://rvmastersinc.com/ They were pretty nice and one of the employees gave me some advice and asked that I bring Junebug by when I’m done so they can see her. I told him I would probably be by before that if I get in over my head. haha At least I know an escape route if all of this gets to be too overwhelming. He reminded me that vintage camper restoration was not a good investment and that it was a labor of love. I know this already, there’s no way I’m getting back my investment on Junebug. I don’t even really care since I don’t know if I’ll be able to part with her after all of the time and effort I’m planning to put into her!
So, rather than post pictures this time, I took some videos to show you my progress. These videos show a lot more than photos can.
Shasta Restoration Part I:
I show all of my tools and the “before” shot of the front of Junebug before I take her apart. I also take off the eyebrow and window in this clip. At this point, I am happy and hopeful because everything is going smoothly.
Shasta Restoration Part II:
In this clip, I remove the first panel of aluminum siding. You can hear and see the frustration and disappointment I am experiencing because not only was it more difficult to remove than expected, but I also am finding quite a bit of dry rot.
After this clip, I called up my friend Susan. She gave me a pep talk and explained what I needed to do to replace the rotted wood before I could replace the aluminum. She also said it helps to keep plenty of wine on hand. haha On that note, I poured myself a glass of wine. I felt better after that, although I’m still kind of thinking, what have I gotten myself into?? The good part is, I needed to discover the rotted wood in order to know I needed to replace it. I would hate to fix up the interior of the camper, only to have it ruined because the framing and siding is in horrible condition which would only lead to leaks and structural damage and ultimately ruin all of my hard work. The bad part is, this is going to take a lot longer than I planned. This shouldn’t surprise me at all, because so far that has been the case with each little Junebug project. Guess I’d better reset my expectations going forward!
So, the saga will resume tomorrow. Tonight, I think I’m going to treat myself to a steak dinner because I worked so hard today. 🙂
I had a rather long and boring day at work today. I tried my best to be productive, but any time I return from a week off, I struggle to get back into the swing of things. On a positive note, only one more day of work and then it’s off again for the rest of the week! I’m going to get back to work on Junebug on Wednesday, otherwise known as the first day of 2014, to get the new year started off right! I’m trying to decide what project(s) to tackle on my days off. I really wanted to start big and take off her skin to reveal what kind of surprises she has in store for me on the inside framing. I’m hoping there aren’t any bad surprises, but you can never tell with a camper that is 53 years old! I know there is a leak and water damage to the interior paneling, so I’m really hoping there isn’t any dry rot going on under there.
I wanted to share some pictures of what Junebug looked like inside when I first brought her home…
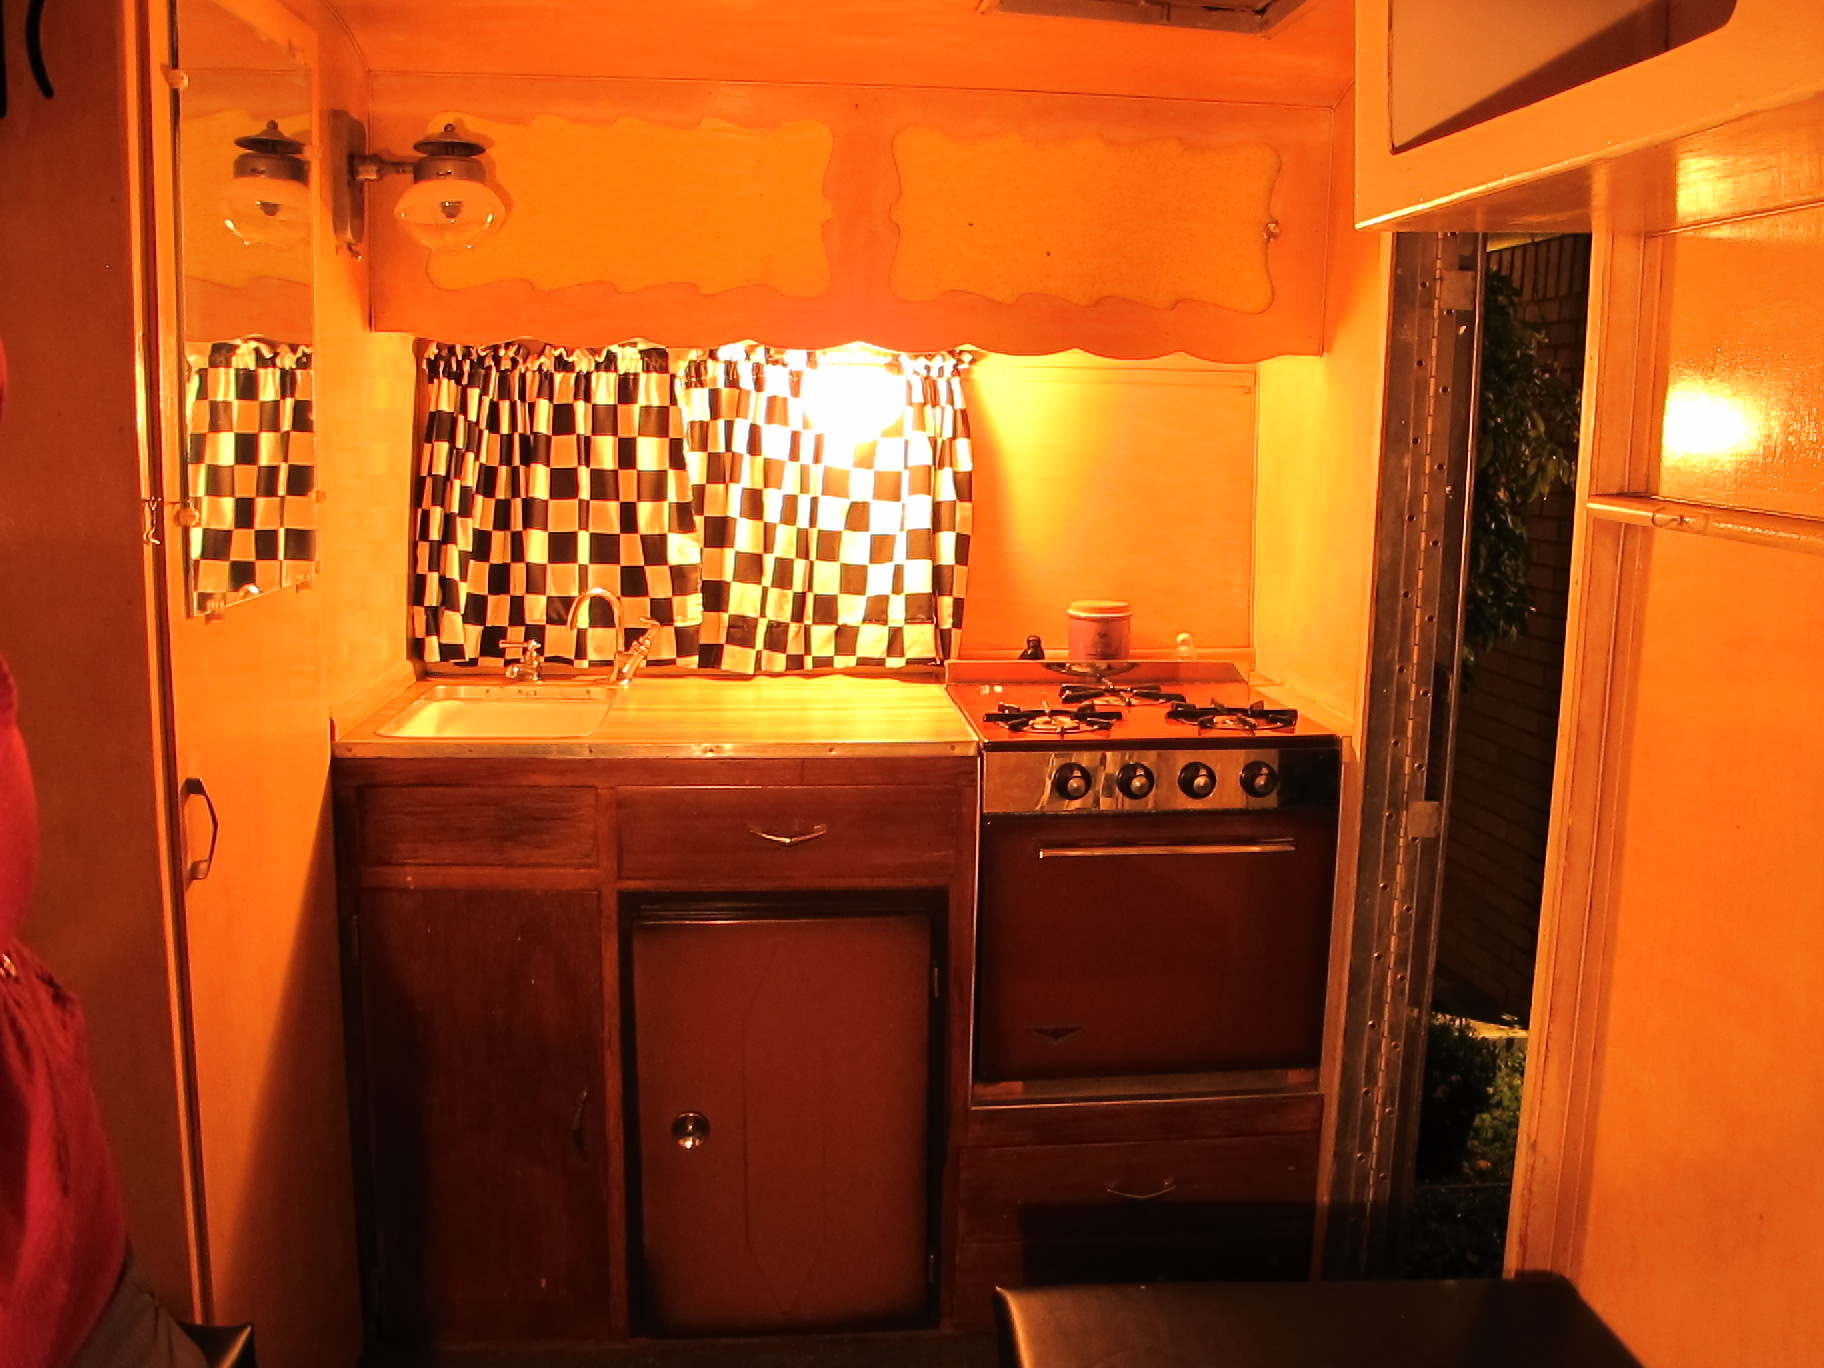
Here’s the kitchenette area. It has the original propane stove and oven as well as the ice box. You’ll also see the original gas lamp in the upper left corner. I don’t think I’ll use that since it probably gets pretty warm.
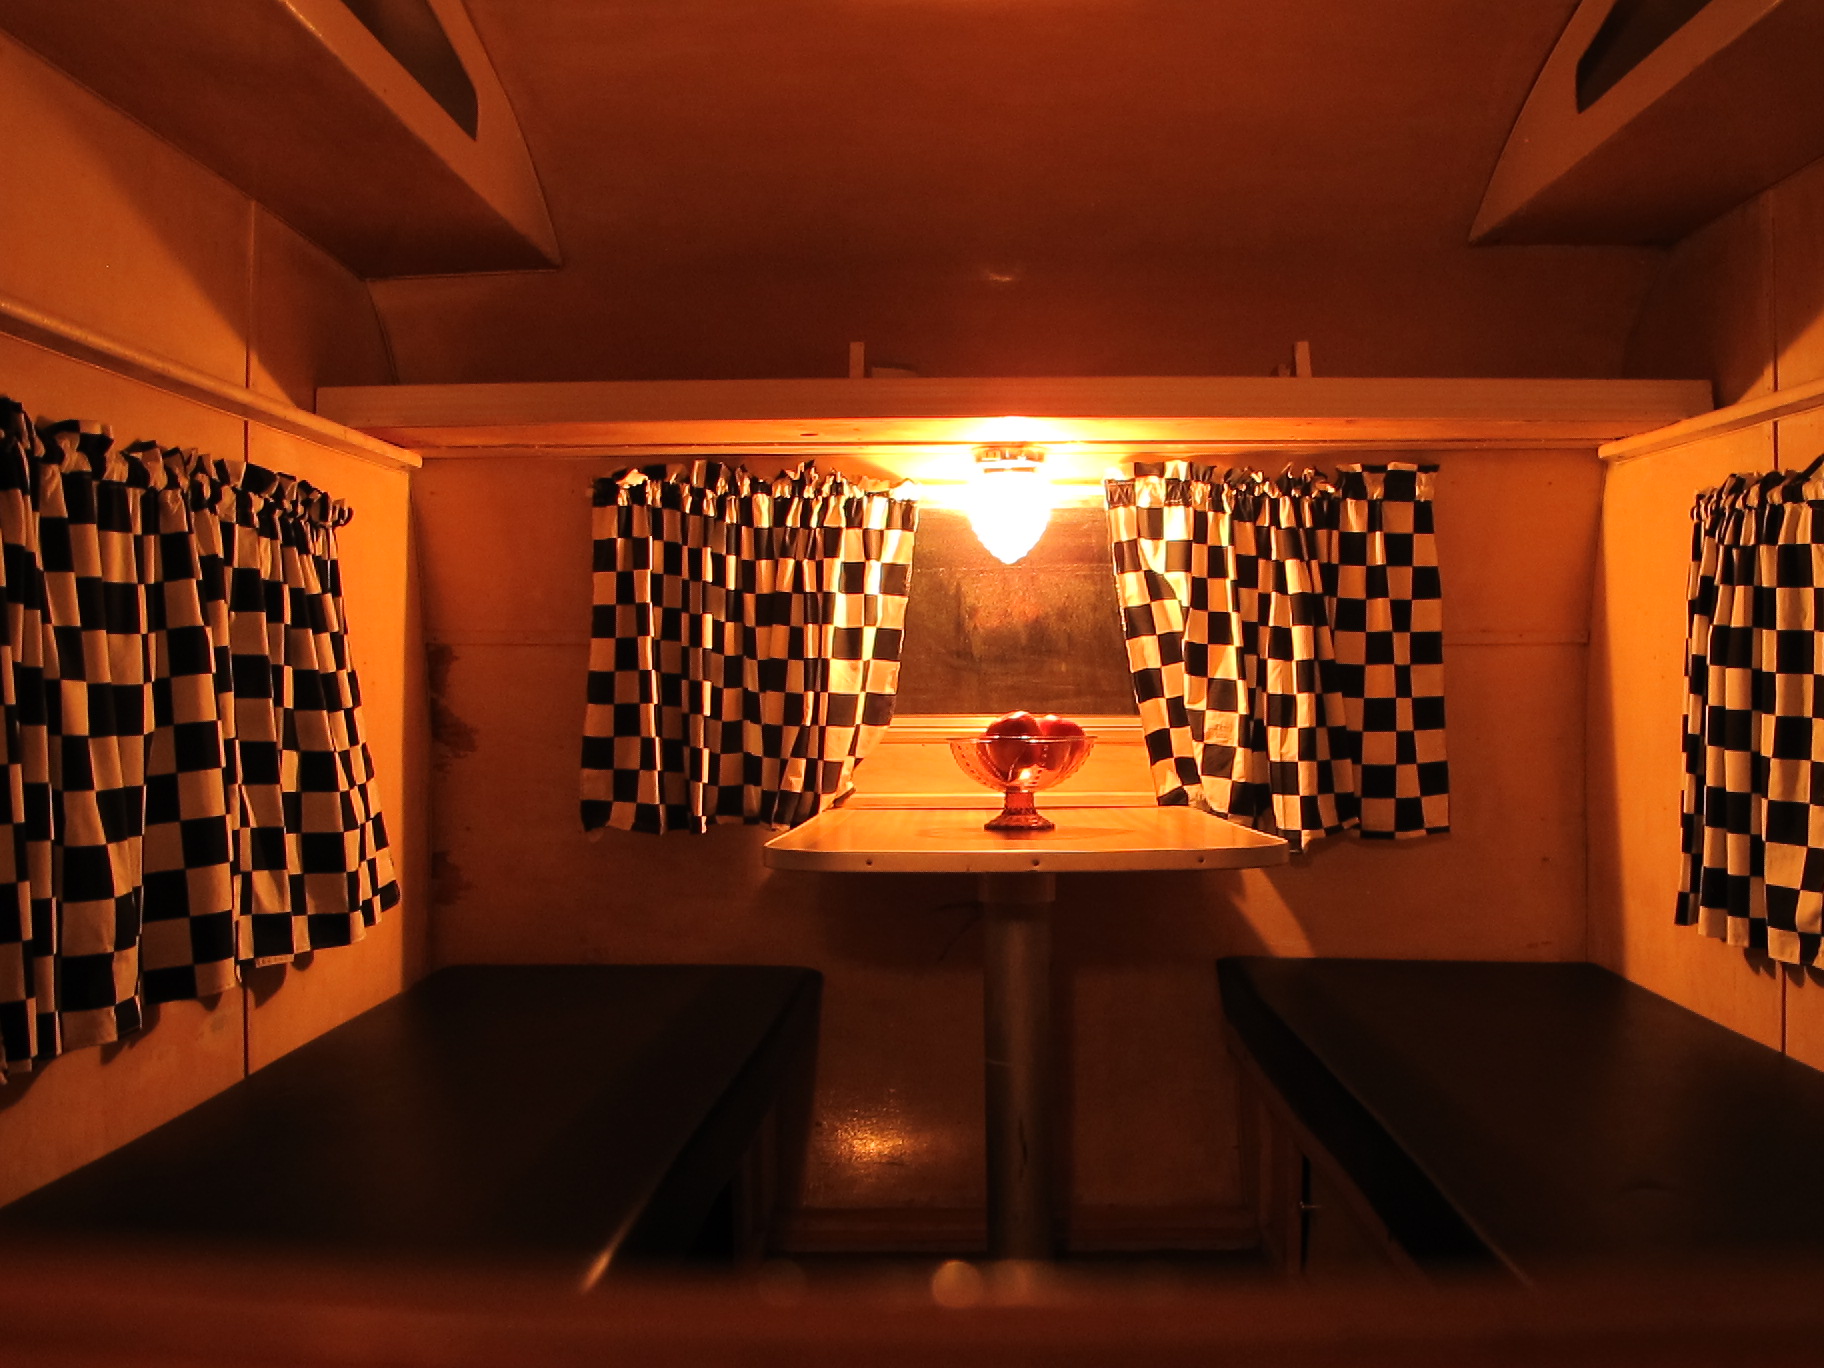
Here’s the dinette. The seats are covered in black vinyl and all the curtains are black and white check. Not completely hideous, but not my style.
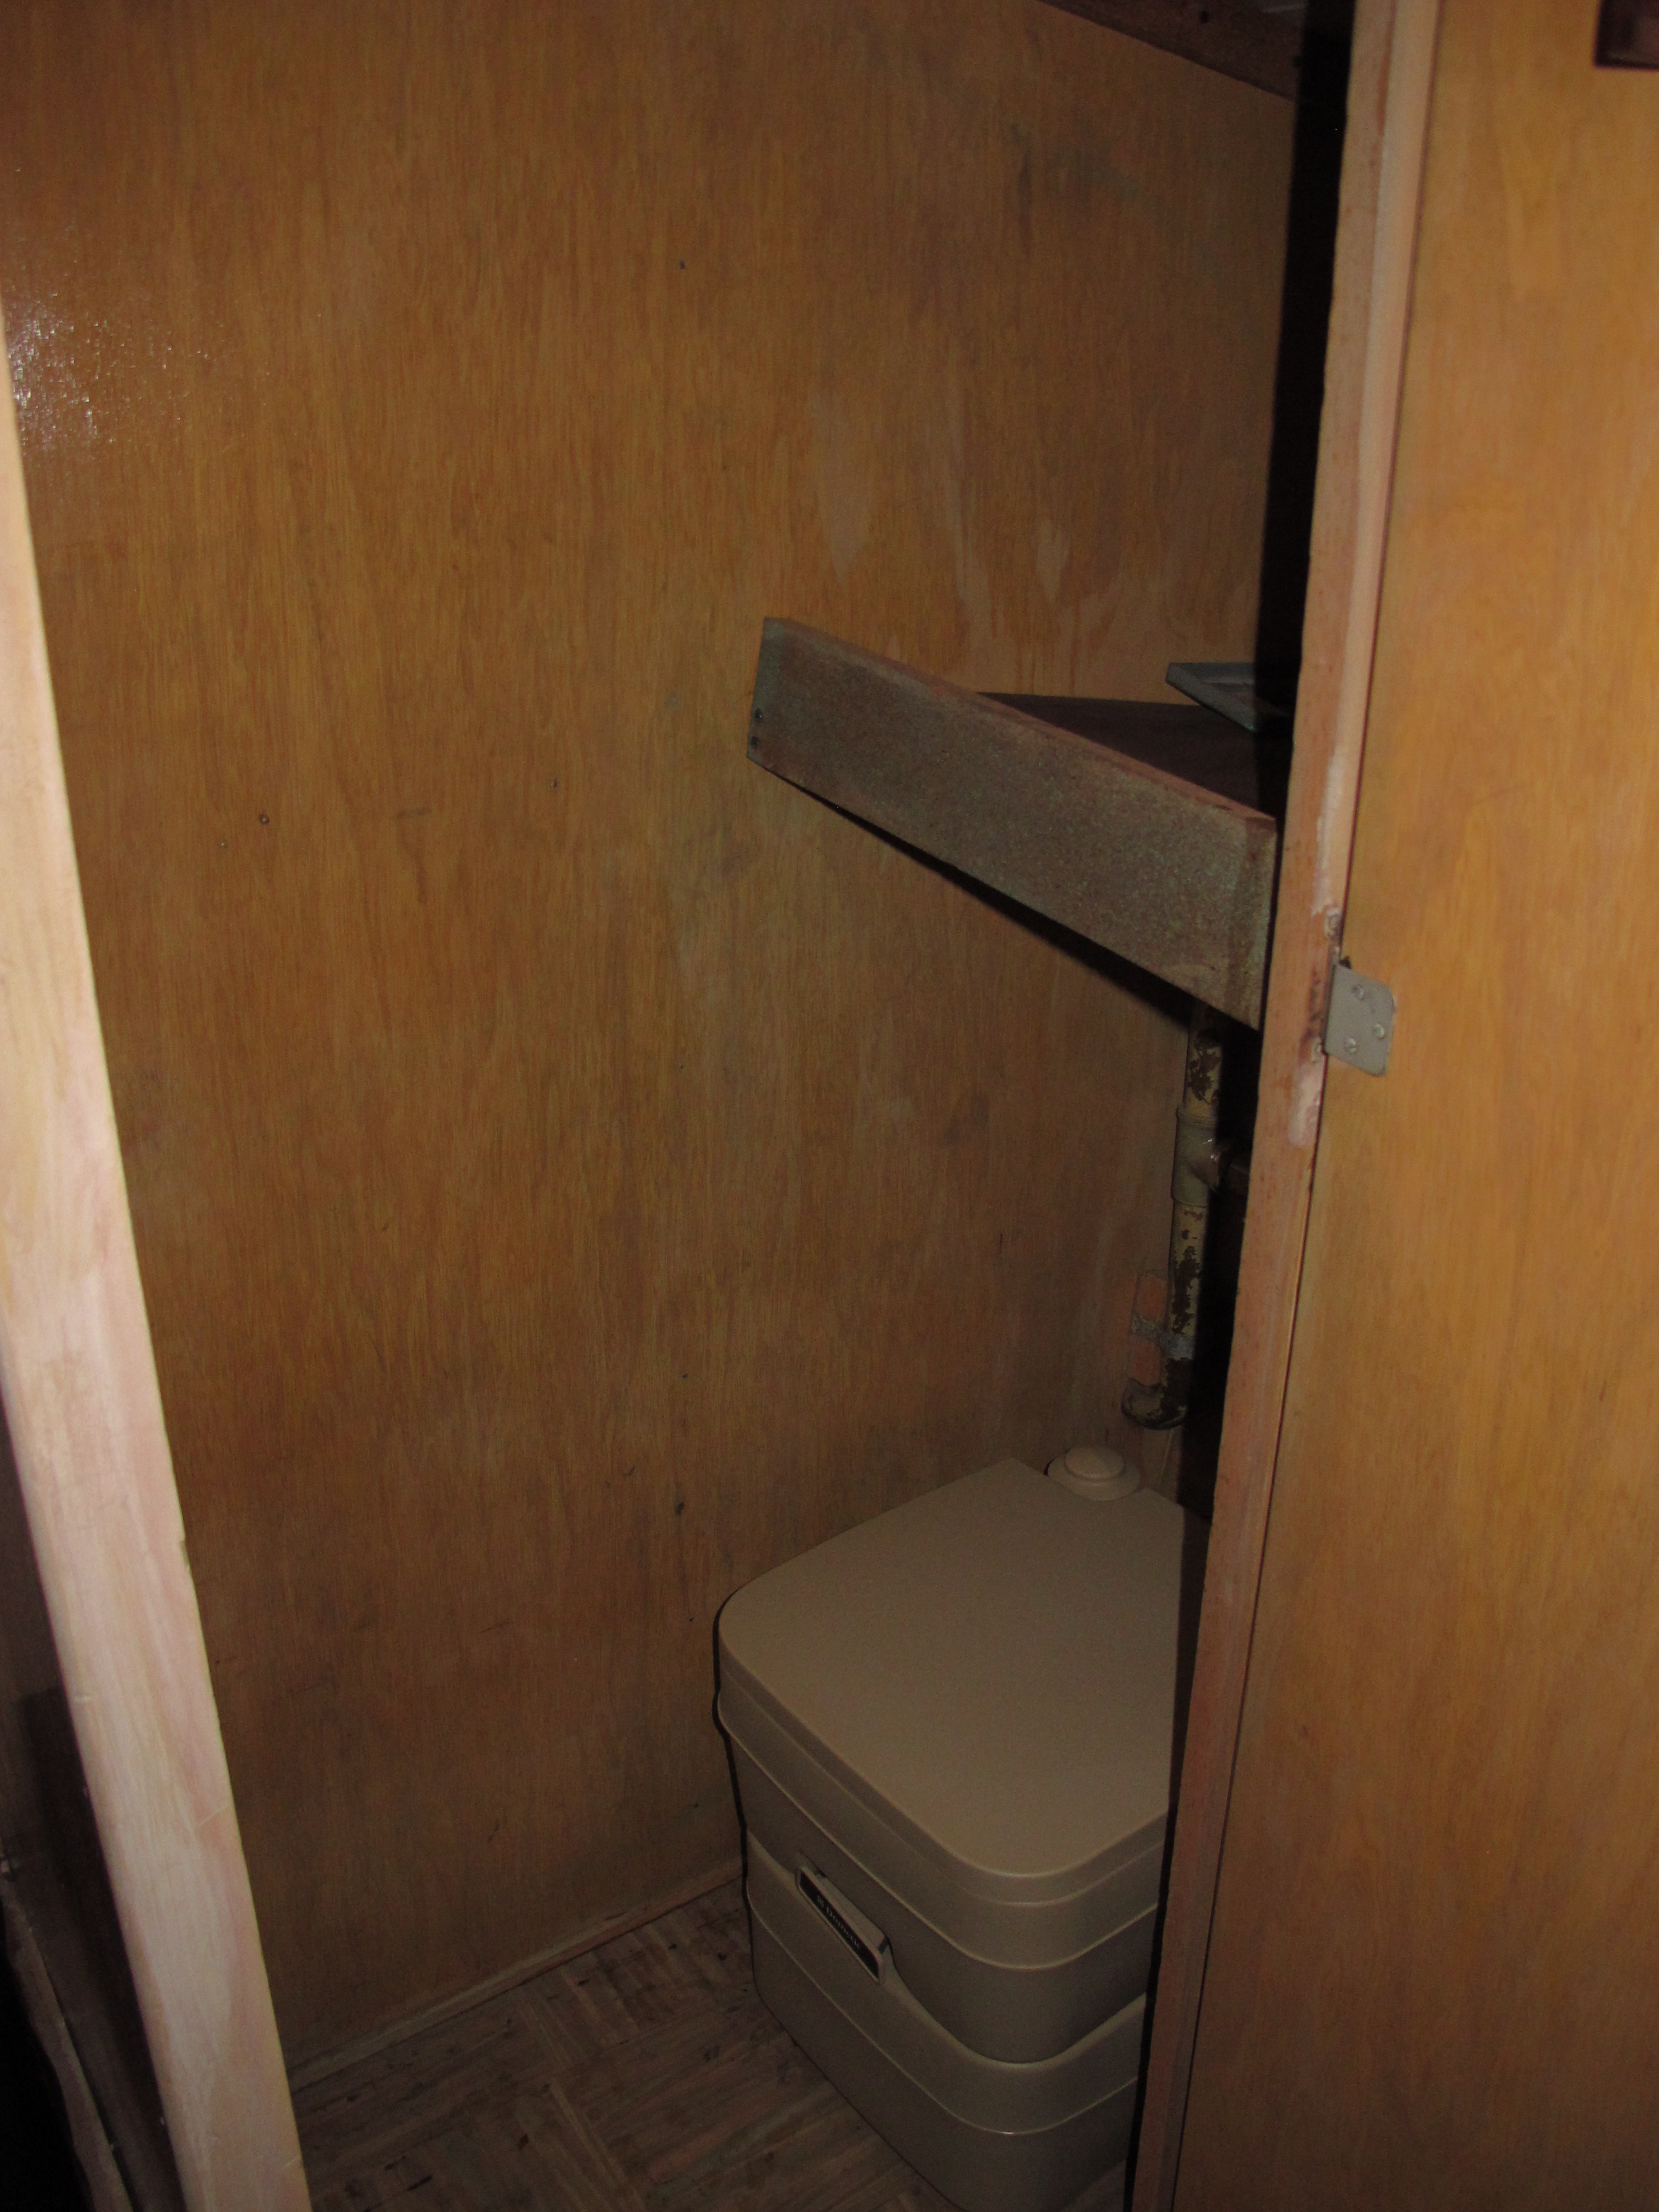
Here’s the closet, which I have turned into a bathroom. I hate the thought of using a porta potty, but in the middle of the night, I do not want to venture outside to find the public restroom or go in the woods, so I’m willing to make a compromise.
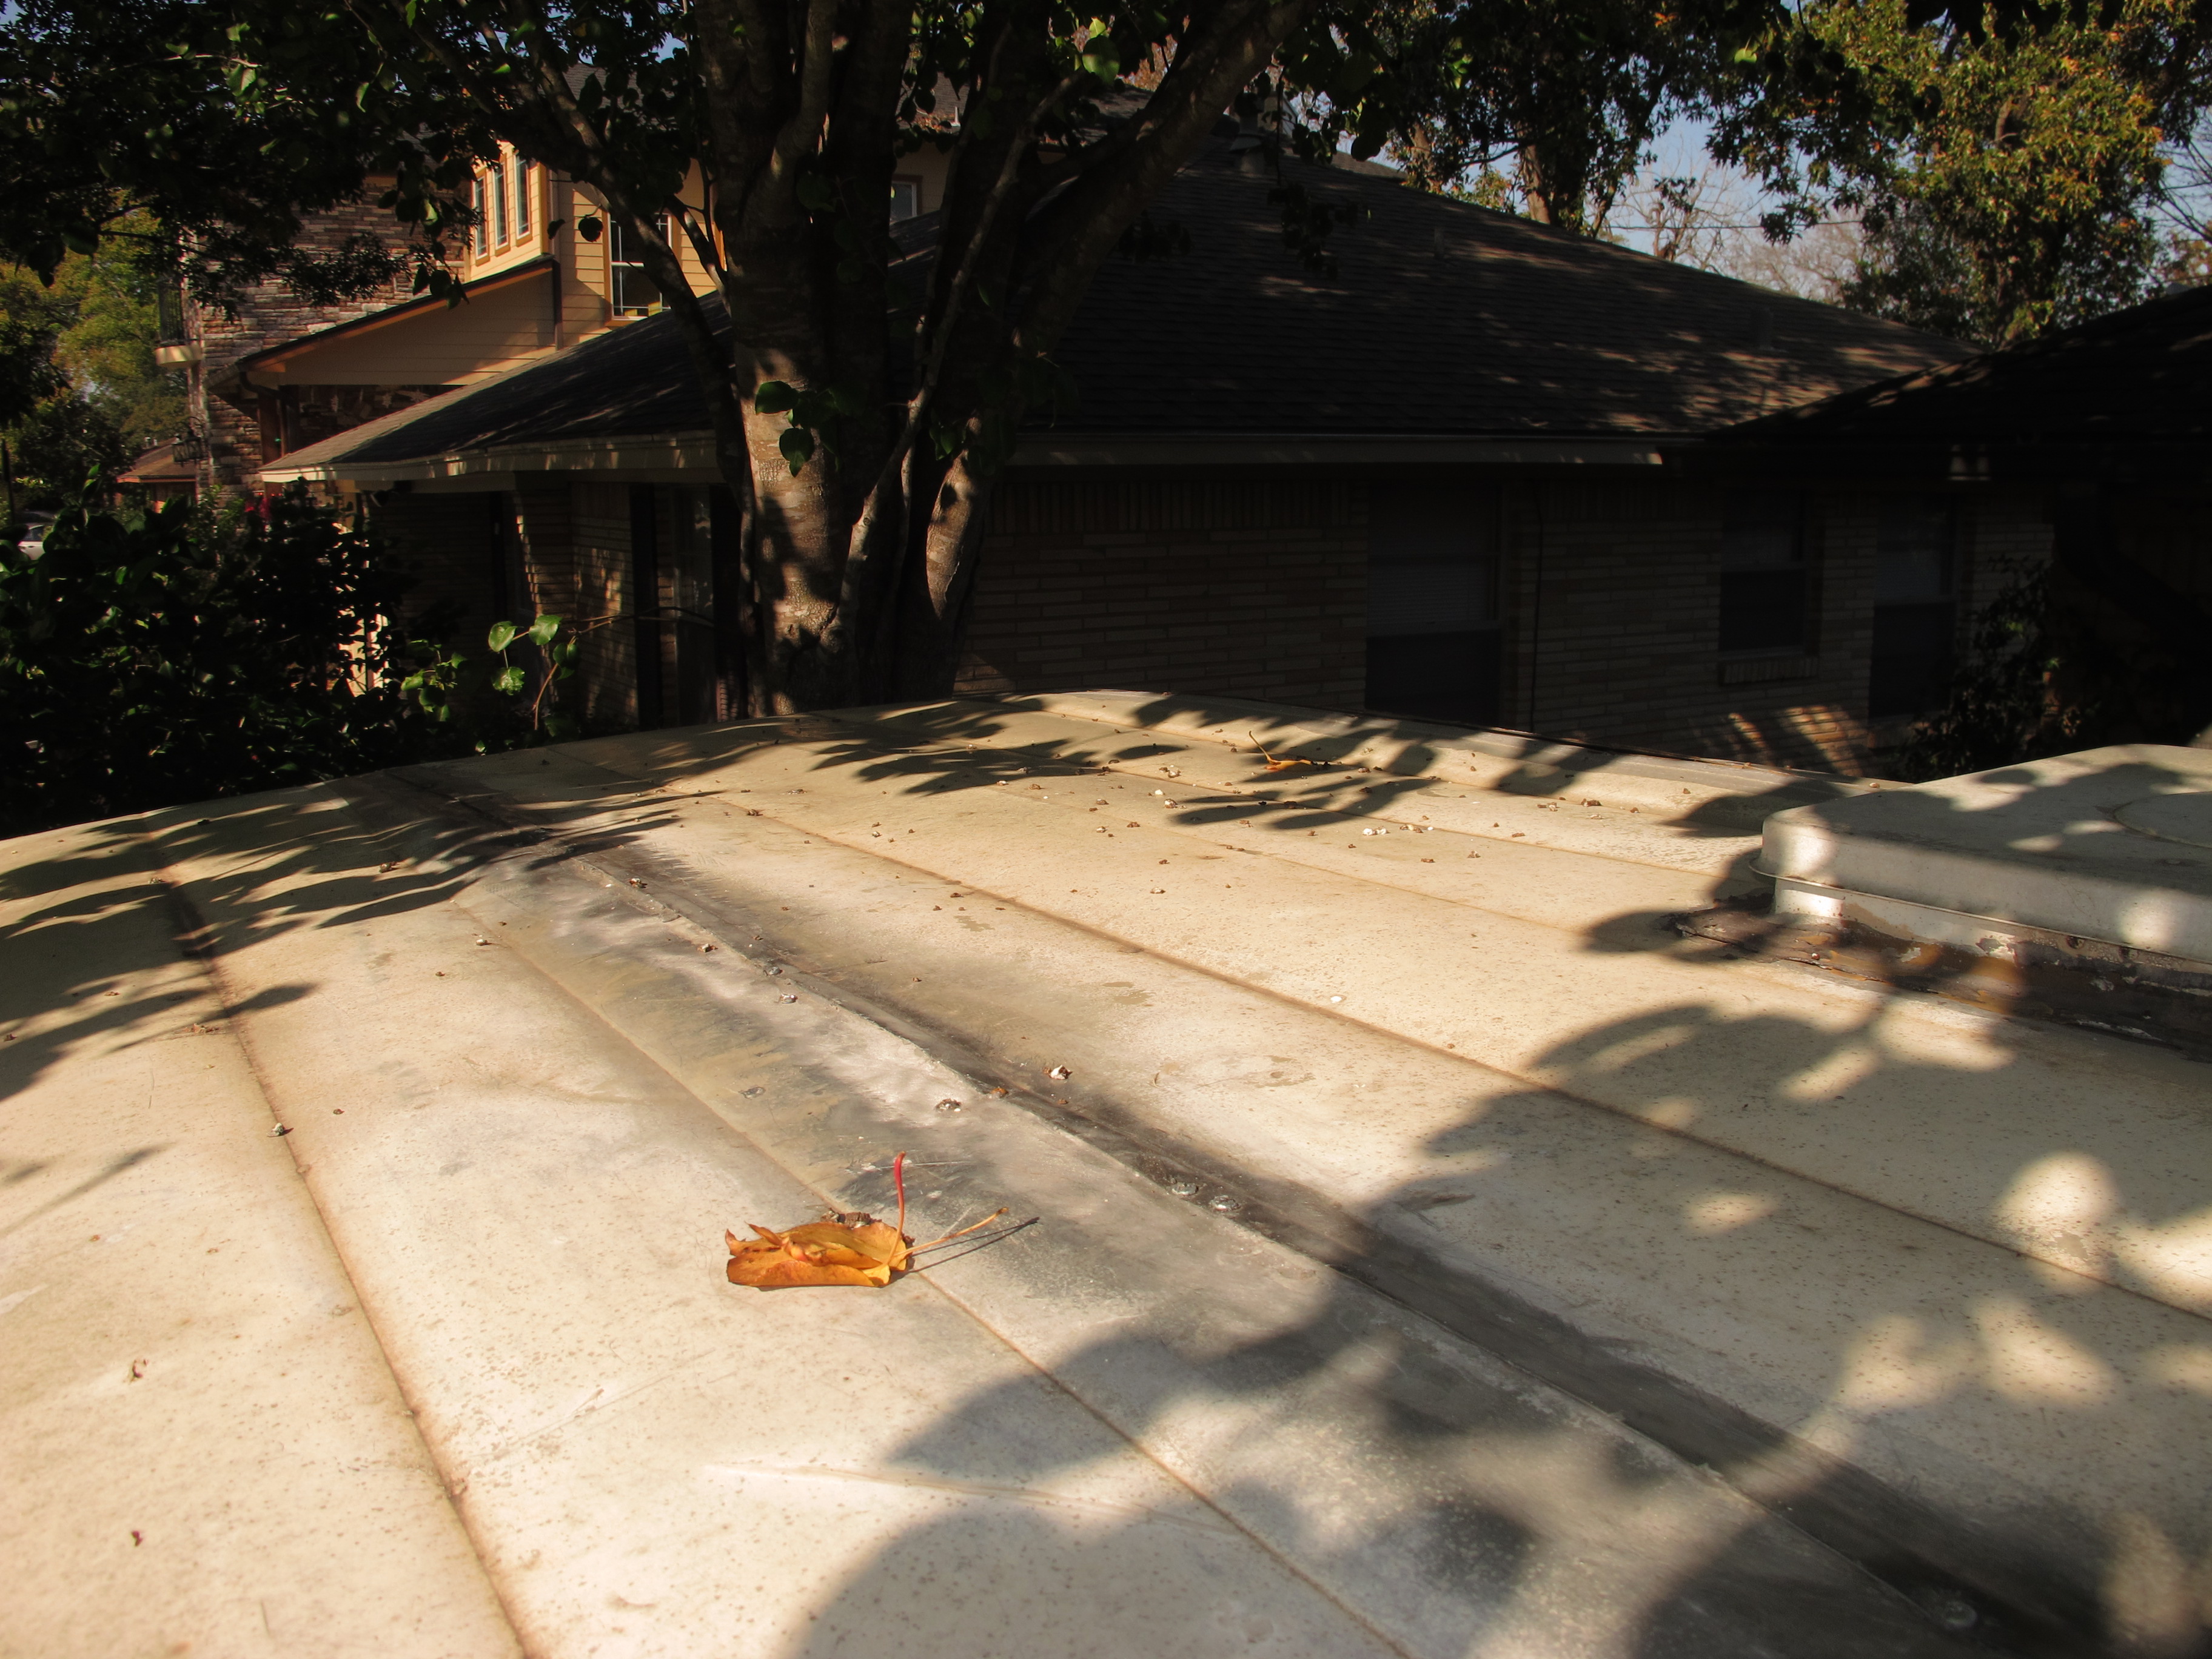
The roof is in pretty poor condition at the moment. Needs to be resealed and screwed back down to the frame. I’m hoping it’s not that way because the frame is rotted. I’ll find out soon!
This is the worst seam, it’s completely open and you can see the insulation when I press on the aluminum. Definitely needs a repair pronto!
Right now, duct tape is my friend. I know, I know, I shouldn’t patch up my camper with duct tape, but it’s only a temporary solution until I have the time to do it the right way!
So I’ve taken on a renovation project, and Junebug is her name. She is a 1961 Shasta Compact camper and I love her already, even with all of her imperfections! I should have started chronicling this adventure back in early December when I first got Junebug, but I wasn’t sure if I had the energy to write everything down. Today I decided it would be worth it, so I’m giving it a go.
I bought Junebug in Lordsburg, New Mexico on December 7th. I drove 14 hours to get her and managed to get exposed to bed bugs in a shady motel along the way. Perhaps that’s why I decided to name her JuneBUG, however I would rather forget that whole incident so as not to sour the experience completely. The son of my mother’s good friend from college volunteered to accompany me on my journey. I took him up on the offer, thinking it would be safer, especially since I was carrying a lot of cash and driving a long way by myself (Baxter was there too, but he doesn’t count since I’m pretty sure he would only be able to love someone to death).
After arriving back home with my new camper, I noticed she was leaning quite a bit to one side. Upon closer inspection (and advice from my friendly neighbors), I realized she had two different springs installed. I took her to the nearest trailer shop to be inspected and repaired. Luckily leaf springs were only about $30 each, so she got two new leaf springs as well as rewired tail lights. Apparently the previous owner had installed the wrong sized leaf spring on one side and wired the tail lights backwards. I’m not sure what he/she was thinking, but I’m glad someone here was able to set her straight. Next I set about trying to find the leak in the roof. I knew that vintage canned ham trailers such as Junebug were prone to leaks, and she was no exception. I could see the water damage to the interior wood and needed to find the source(s). In the meantime, I ordered a waterproof cover for her so that I could protect her from the frequent Houston downpours.
I only had two weeks until Christmas, and I planned to take Junebug to my grandma’s house near Austin, so I had to get moving to get her ready! The house was going to be full, and I wanted this to be Junebug’s first official excursion as well as my first experience not having to fight over the right to have my own bedroom at my grandma’s over the holidays. It’s funny how if you are married, you automatically get rights to your own bedroom just because there are two of you, even if there are others who are older and single who (in my humble opinion) should get first dibs. Oh the injustice!
It’s getting late, so I will continue catching everyone up to date on Junebug’s adventures tomorrow night when I have more time. A demain!
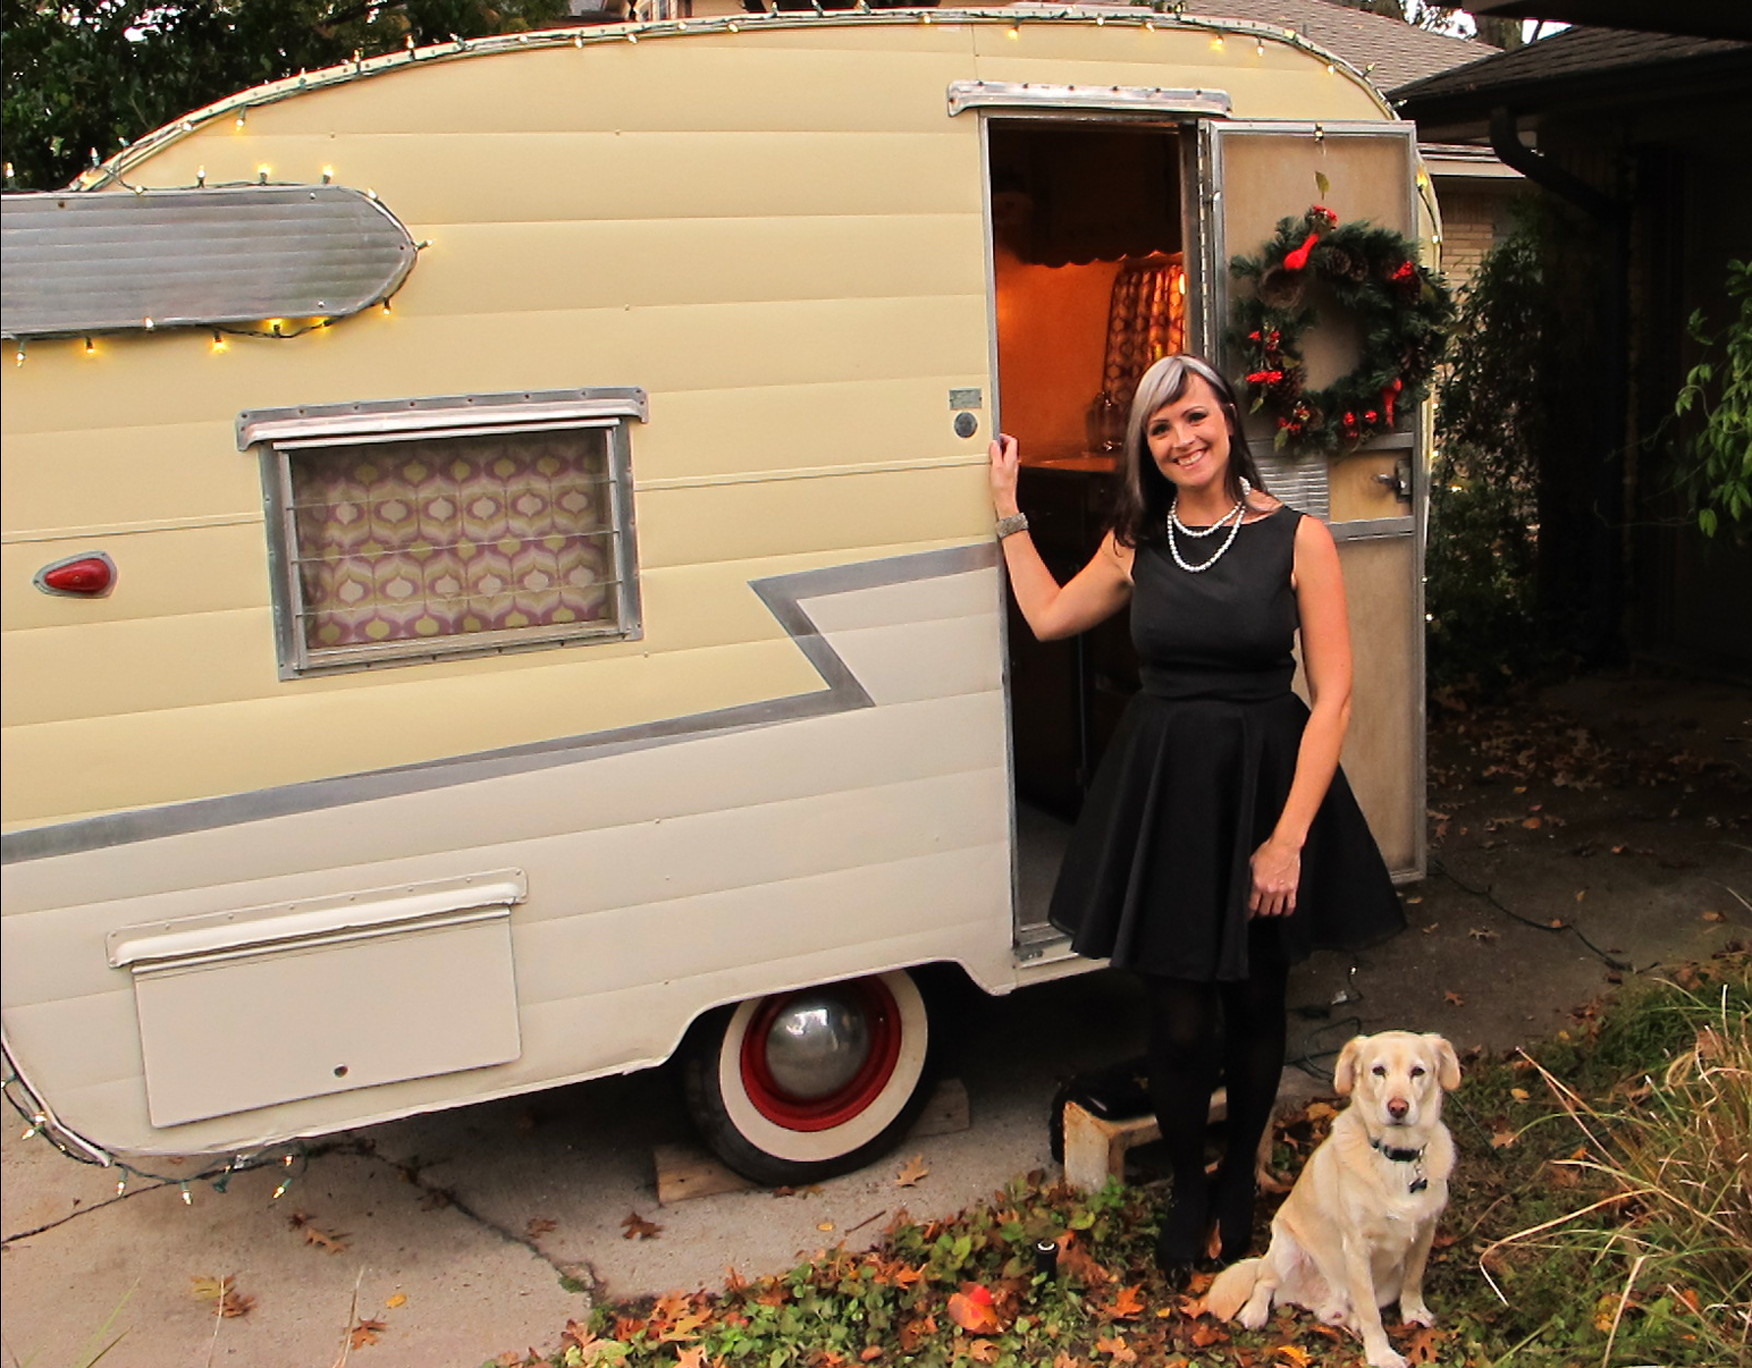
Junebug dressed up for the Christmas card photo!
My little Jetta pulled Junebug all 14 hours back to Texas. She really struggled on the hills, so I’ve now purchased an SUV to tow Junebug in the future. It was worth a try, but I can see why you don’t see more cars towing little campers on the highway. 🙂
This is the hotel we stayed in on our way back from Lordsburg. This is NOT the hotel with the bed bugs. I’m sure the bed bugs were in the Days Inn in Van Horn. The El Capitan was very nice and we actually secured the last room in the whole town thanks to the ice storm passing over the area.
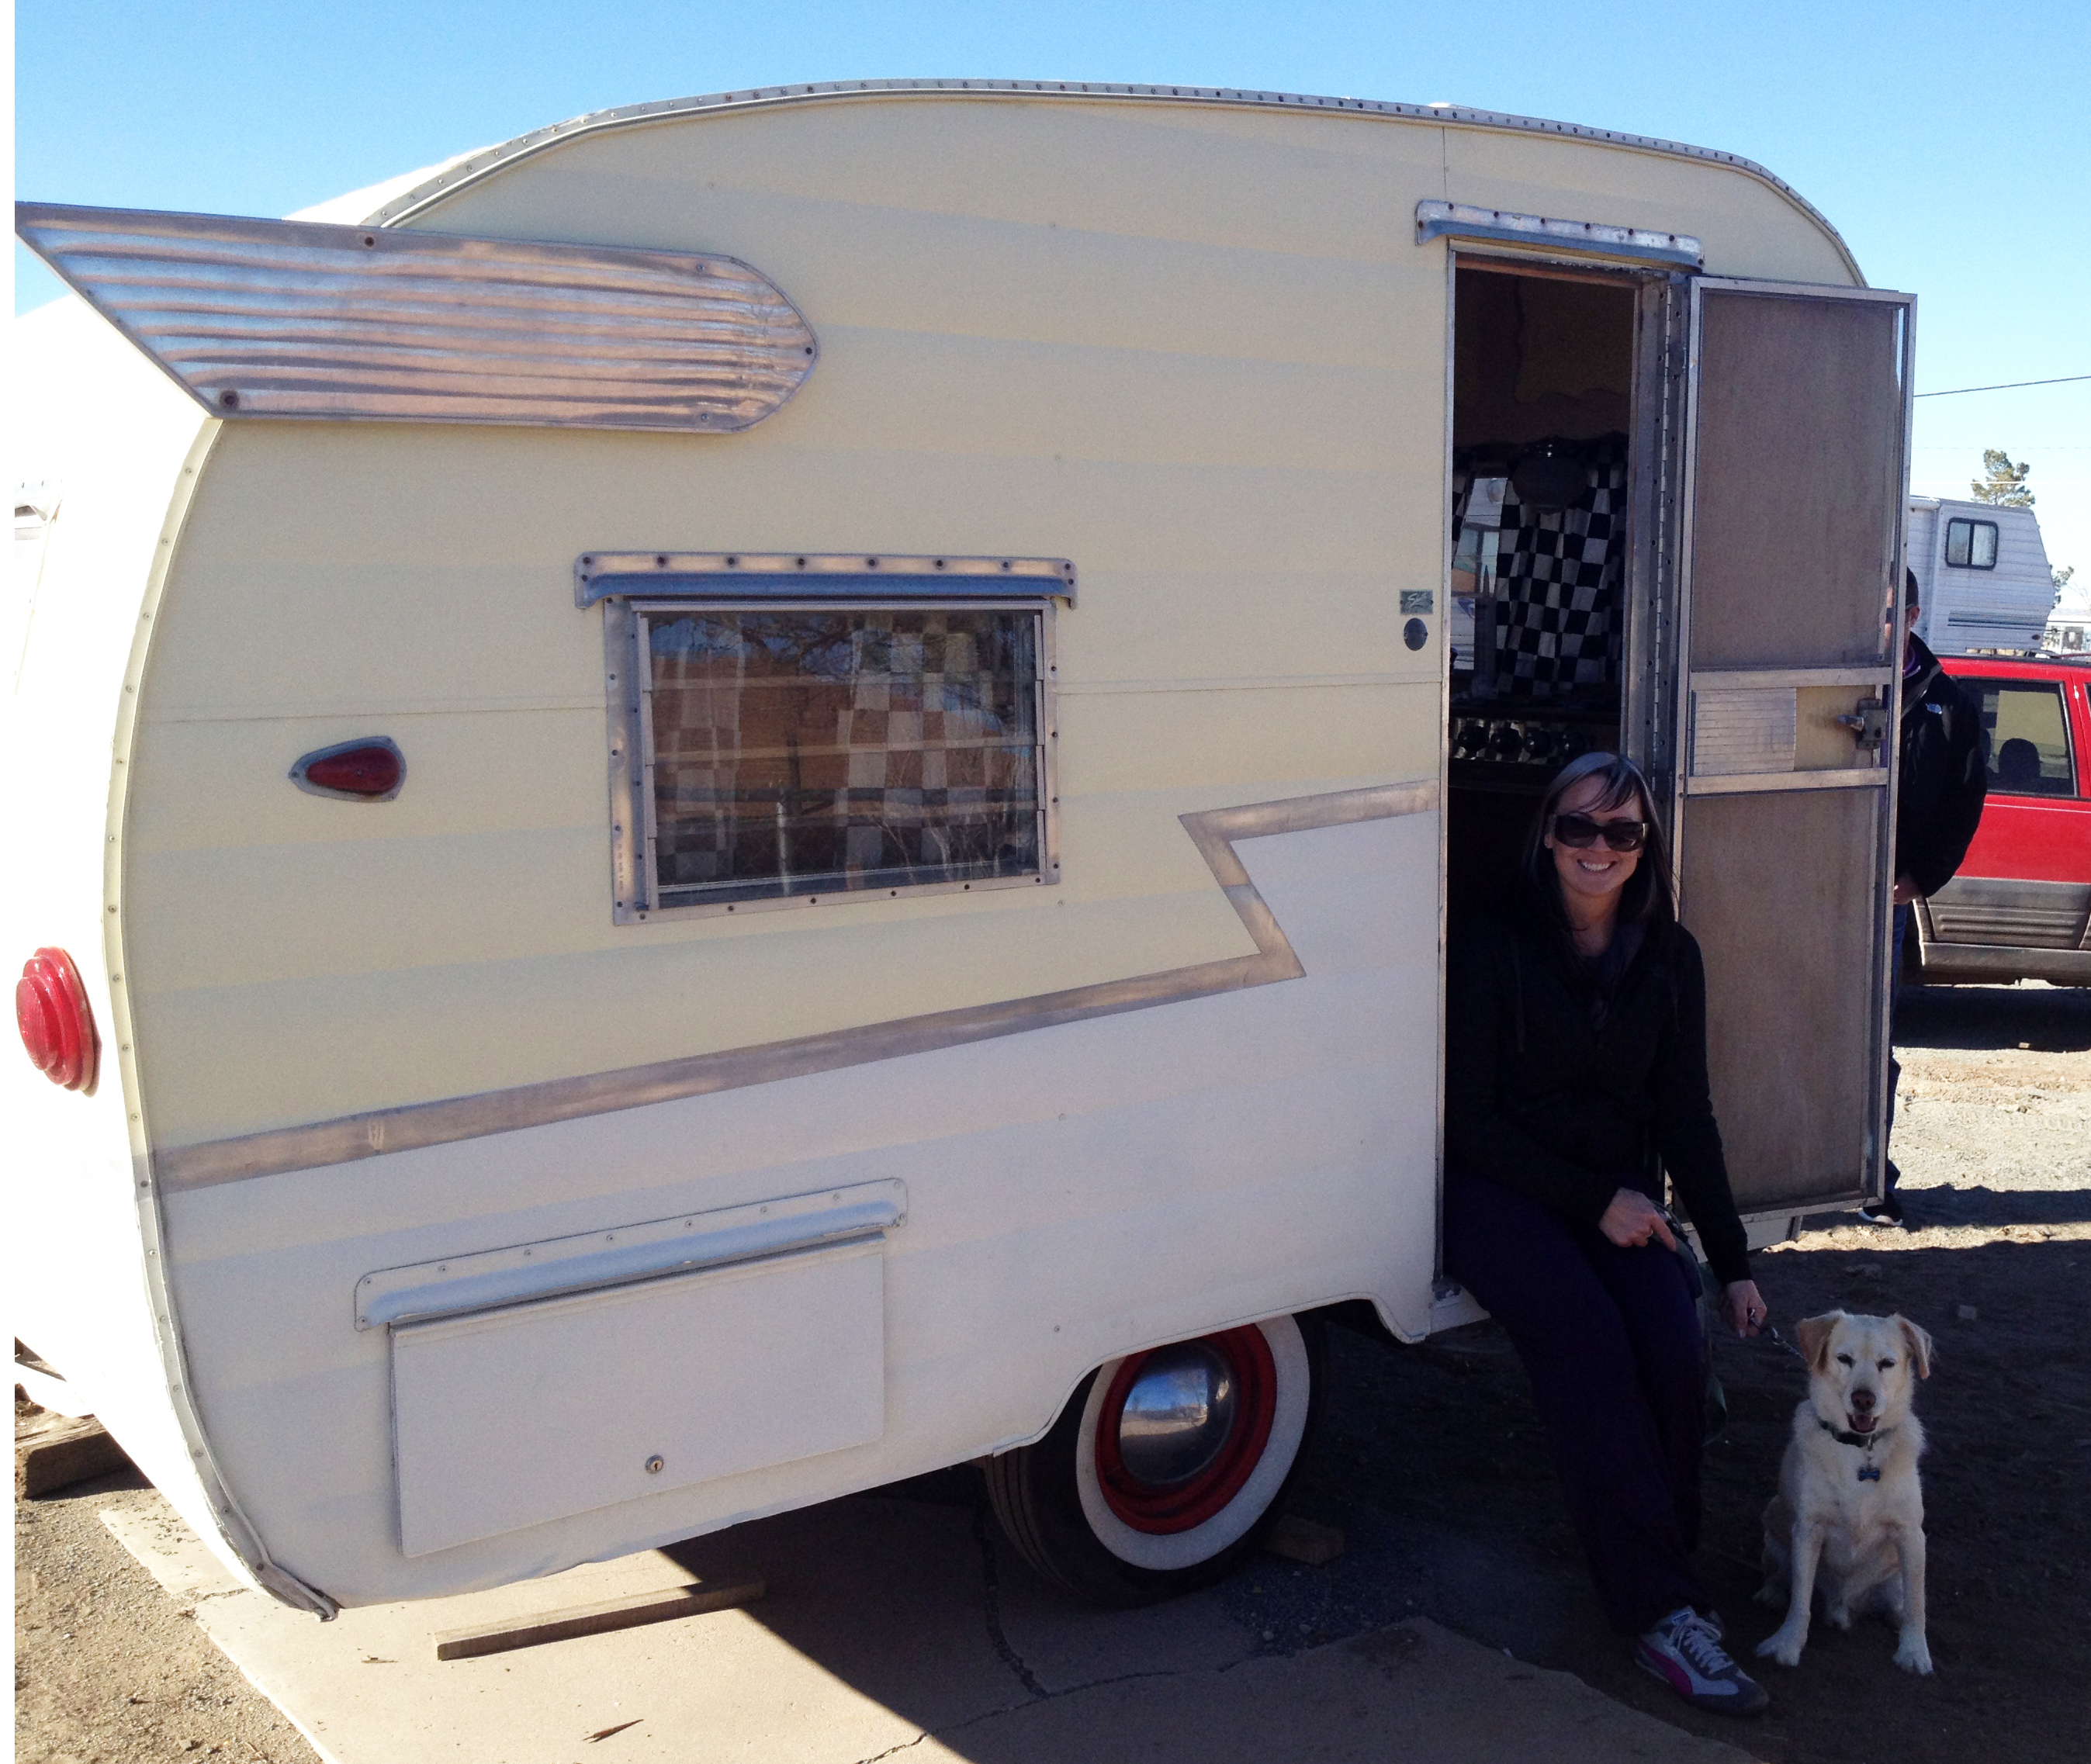
This is a picture of Baxter and me right after we purchased Junebug. I am super excited that my dream of owning a vintage camper has finally come true!
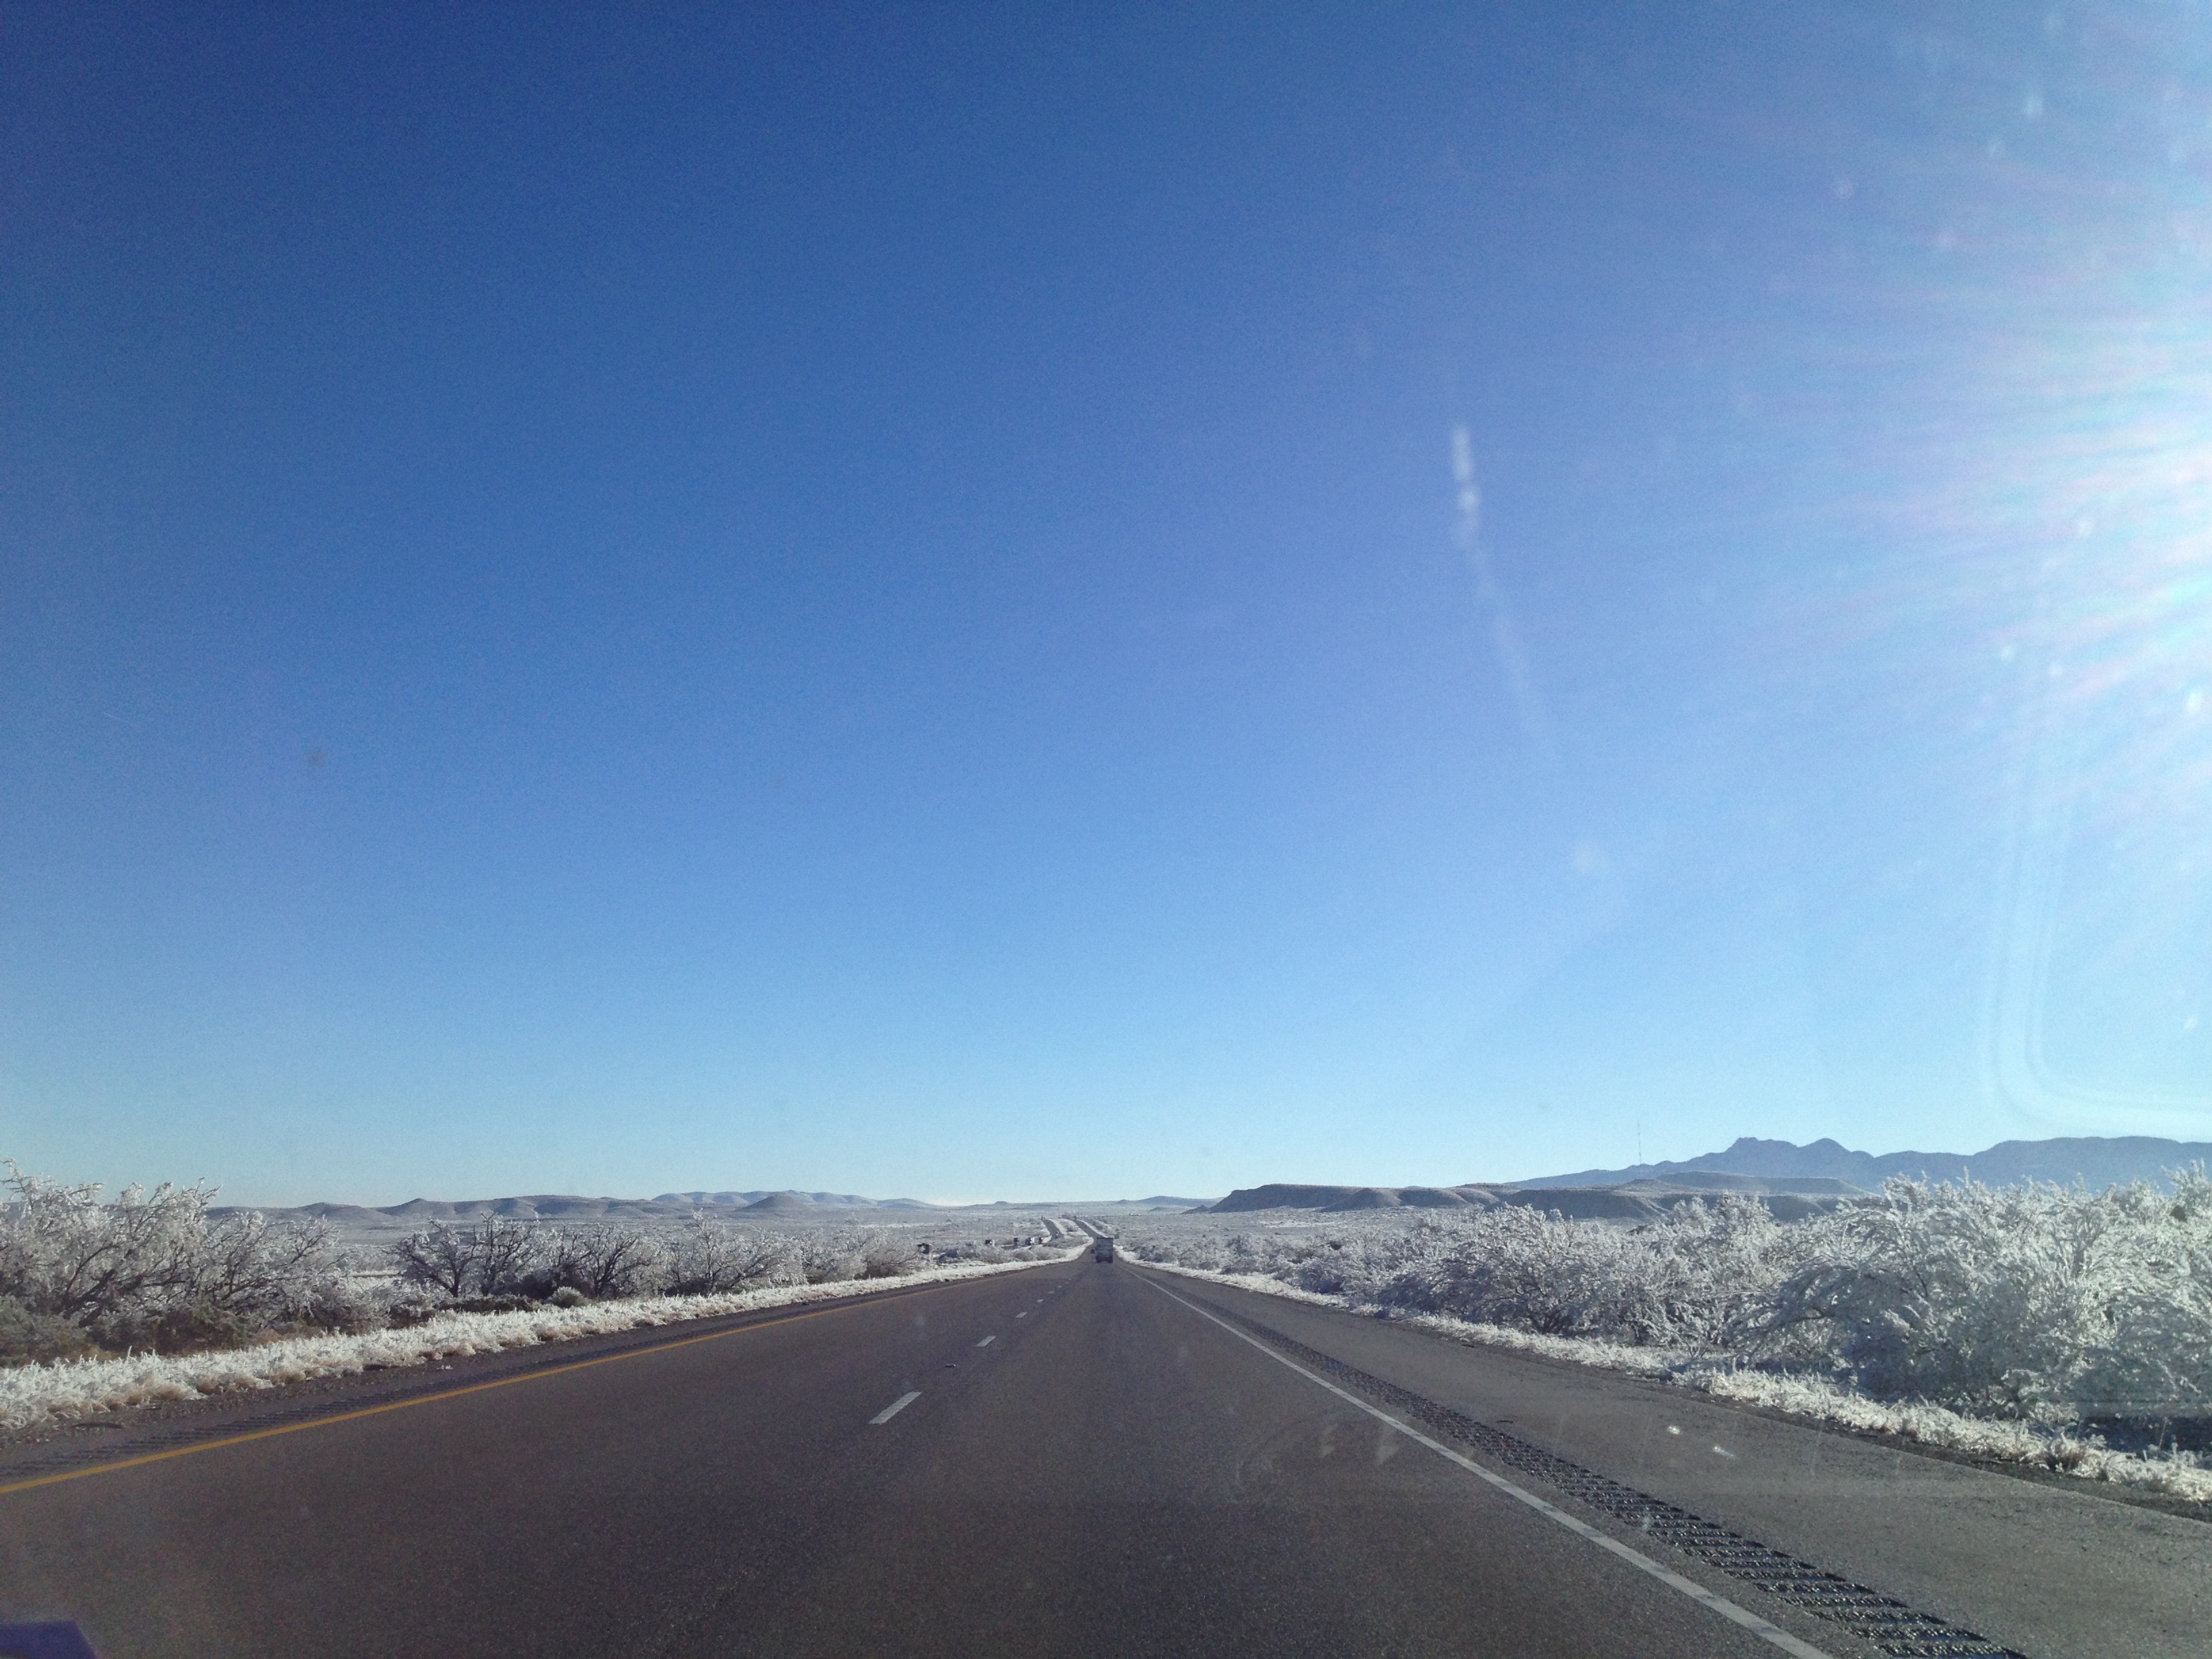
The morning after the ice storm, the roads were clear and we set out to return to Texas with Junebug.