Once again, I’m overdue for a post. I think I got a little burned out after taking Junebug to her first vintage camper rally. As much as I love my beautiful camper, I needed to take a break and focus on other things for a few weeks. I have thoroughly enjoyed being able to have full days on the weekend with nothing to do. Even though working on Junebug was fun for me, it was also very tiring (as any obsession can be I guess), so I hardly relaxed at all for a whole nine months. I have been sitting around all morning in my pajamas, drinking coffee, talking to my mom on the phone, and browsing the internet. Sometimes you just need to have a lazy day. ![]()
The weekend of October 11-12, Junebug, Baxter, and I went to our first vintage camper rally at the Leisure RV Resort near Fentress, Texas. It was being held by the Texas Vintage Trailer Club. I like the Texas Vintage Trailer Club because there are no dues or rules, you just “like” their page on Facebook and you’re in. I wasn’t sure what to expect out of a vintage camper rally. I didn’t know if there would be people my age there or if it would be mostly older couples and retirees who enjoy camping in vintage trailers.
I took Friday, October 10th off work so that I could finish packing that morning and get on the road early, in order to avoid the horrendous Friday Houston traffic. I’m so glad I did that because we made it out of town without any trouble. The drive should have been about 2 1/2 hours driving west down I-10, however it took me a little over 3 hours because I didn’t want to drive over 65 mph. I decided that it was really not safe to go any faster than that with the trailer. It’s interesting to be on the interstate and have every single car and 18 wheeler pass you, going much faster. It’s a very different experience than what I’m used to driving down the highway (I may or may not have a lead foot ![]() ).
).
Once we arrived at the Leisure Resort, I was immediately annoyed because someone was blocking the entrance with their oversized, newer RV. I just don’t like the newer RVs, they are excessively large and ugly (in my opinion). They have no character at all. I had to park behind this monstrosity for about 10 minutes until he moved so that little Junebug could make her way to her spot for the weekend. After checking in, a nice gentleman on a golf cart escorted us to our spot and then he helped guide me so I could back her up properly. It took a little while, but it was much easier with someone standing behind me and telling me which way to turn. I think maybe with a little more practice, I could get the hang of backing the trailer in and won’t need to use my castor wheel every time.
I realized very quickly after parking that my neighbors were Marc and Paige, a couple who I recognized from Vintage Trailer Talk, the forum that I frequented when looking for advice. I was excited to at least recognize some names even though we’d never met, it made me feel a little less alone there. They were very nice and excited to see Junebug. Their trailer, Sparky, was also super cute and it was fun to see it in person after seeing the pictures online.

This is Sparky, a 1957 Siesta, owned by Marc and Paige who are also from the Houston area. You can see Junebug in the background.
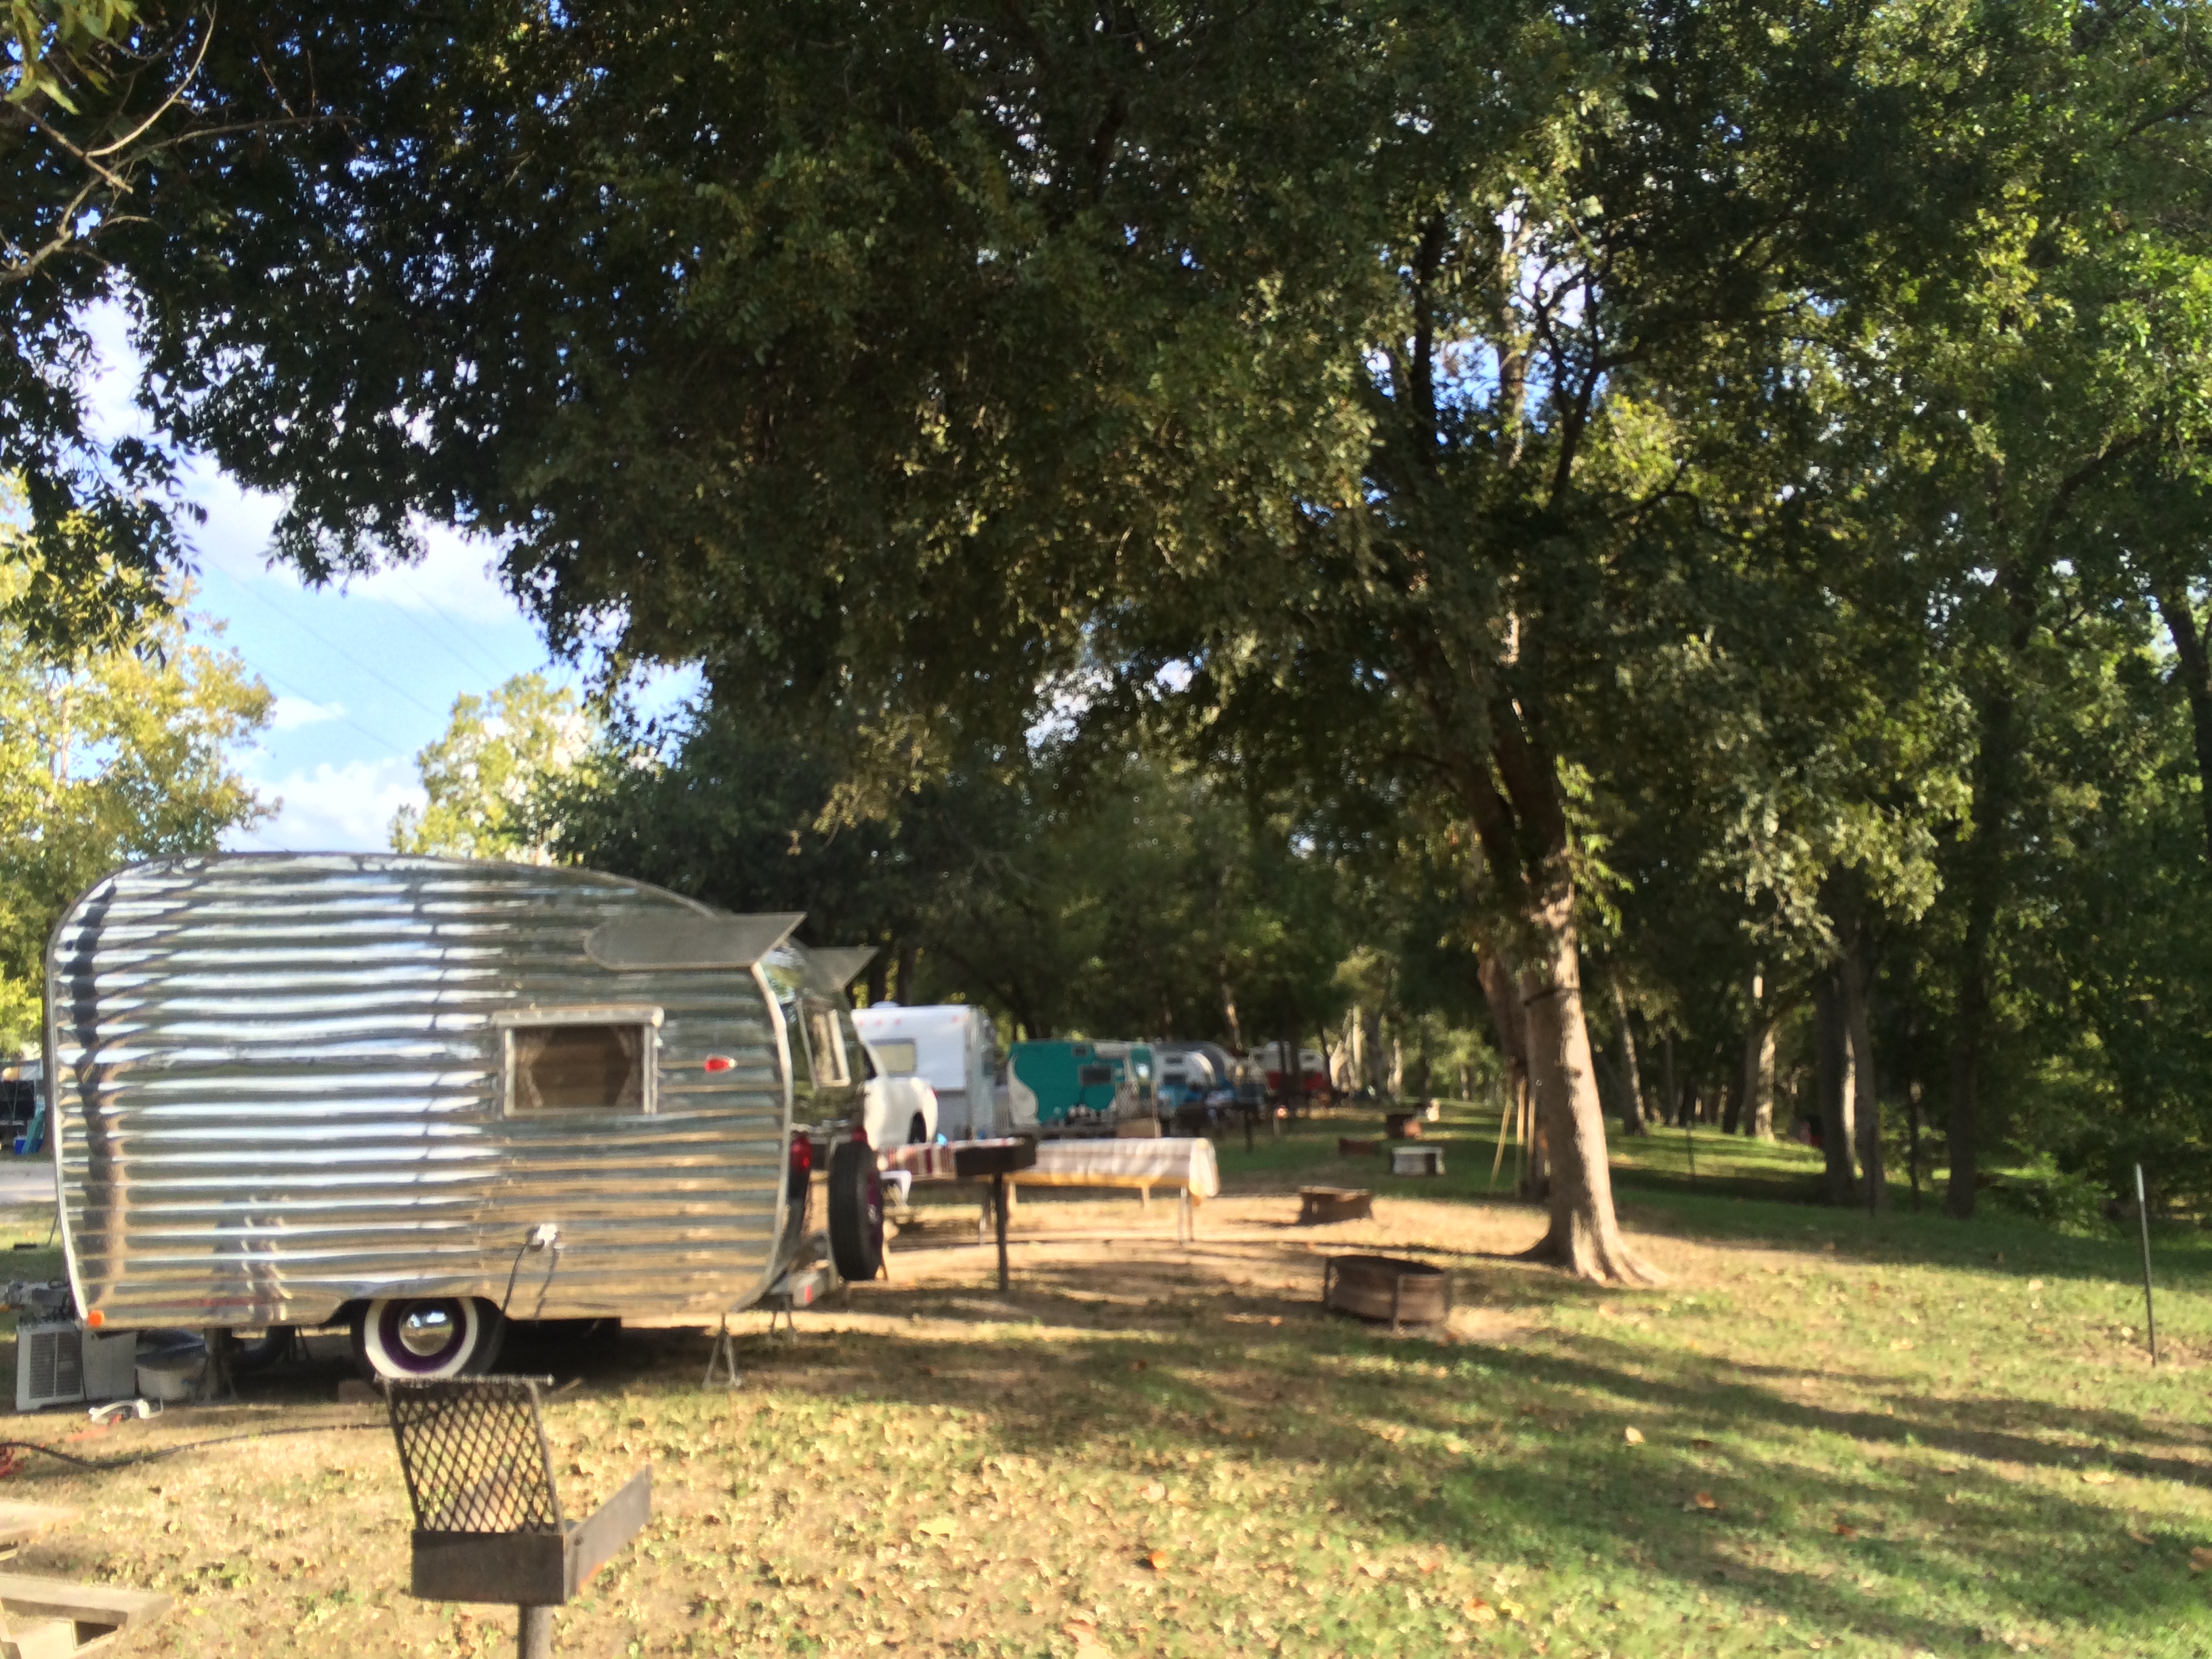
After getting everything all set up and plugged in, I went for a walk around the grounds to check out the other trailers that were there. It was so exciting to see so many trailers in one place! I had died and gone to vintage trailer heaven.![]()
I noticed that most of the other attendees were indeed a bit older than me and mostly couples. That was ok though, the age difference wasn’t really an issue, especially when we have the love of vintage trailers in common!
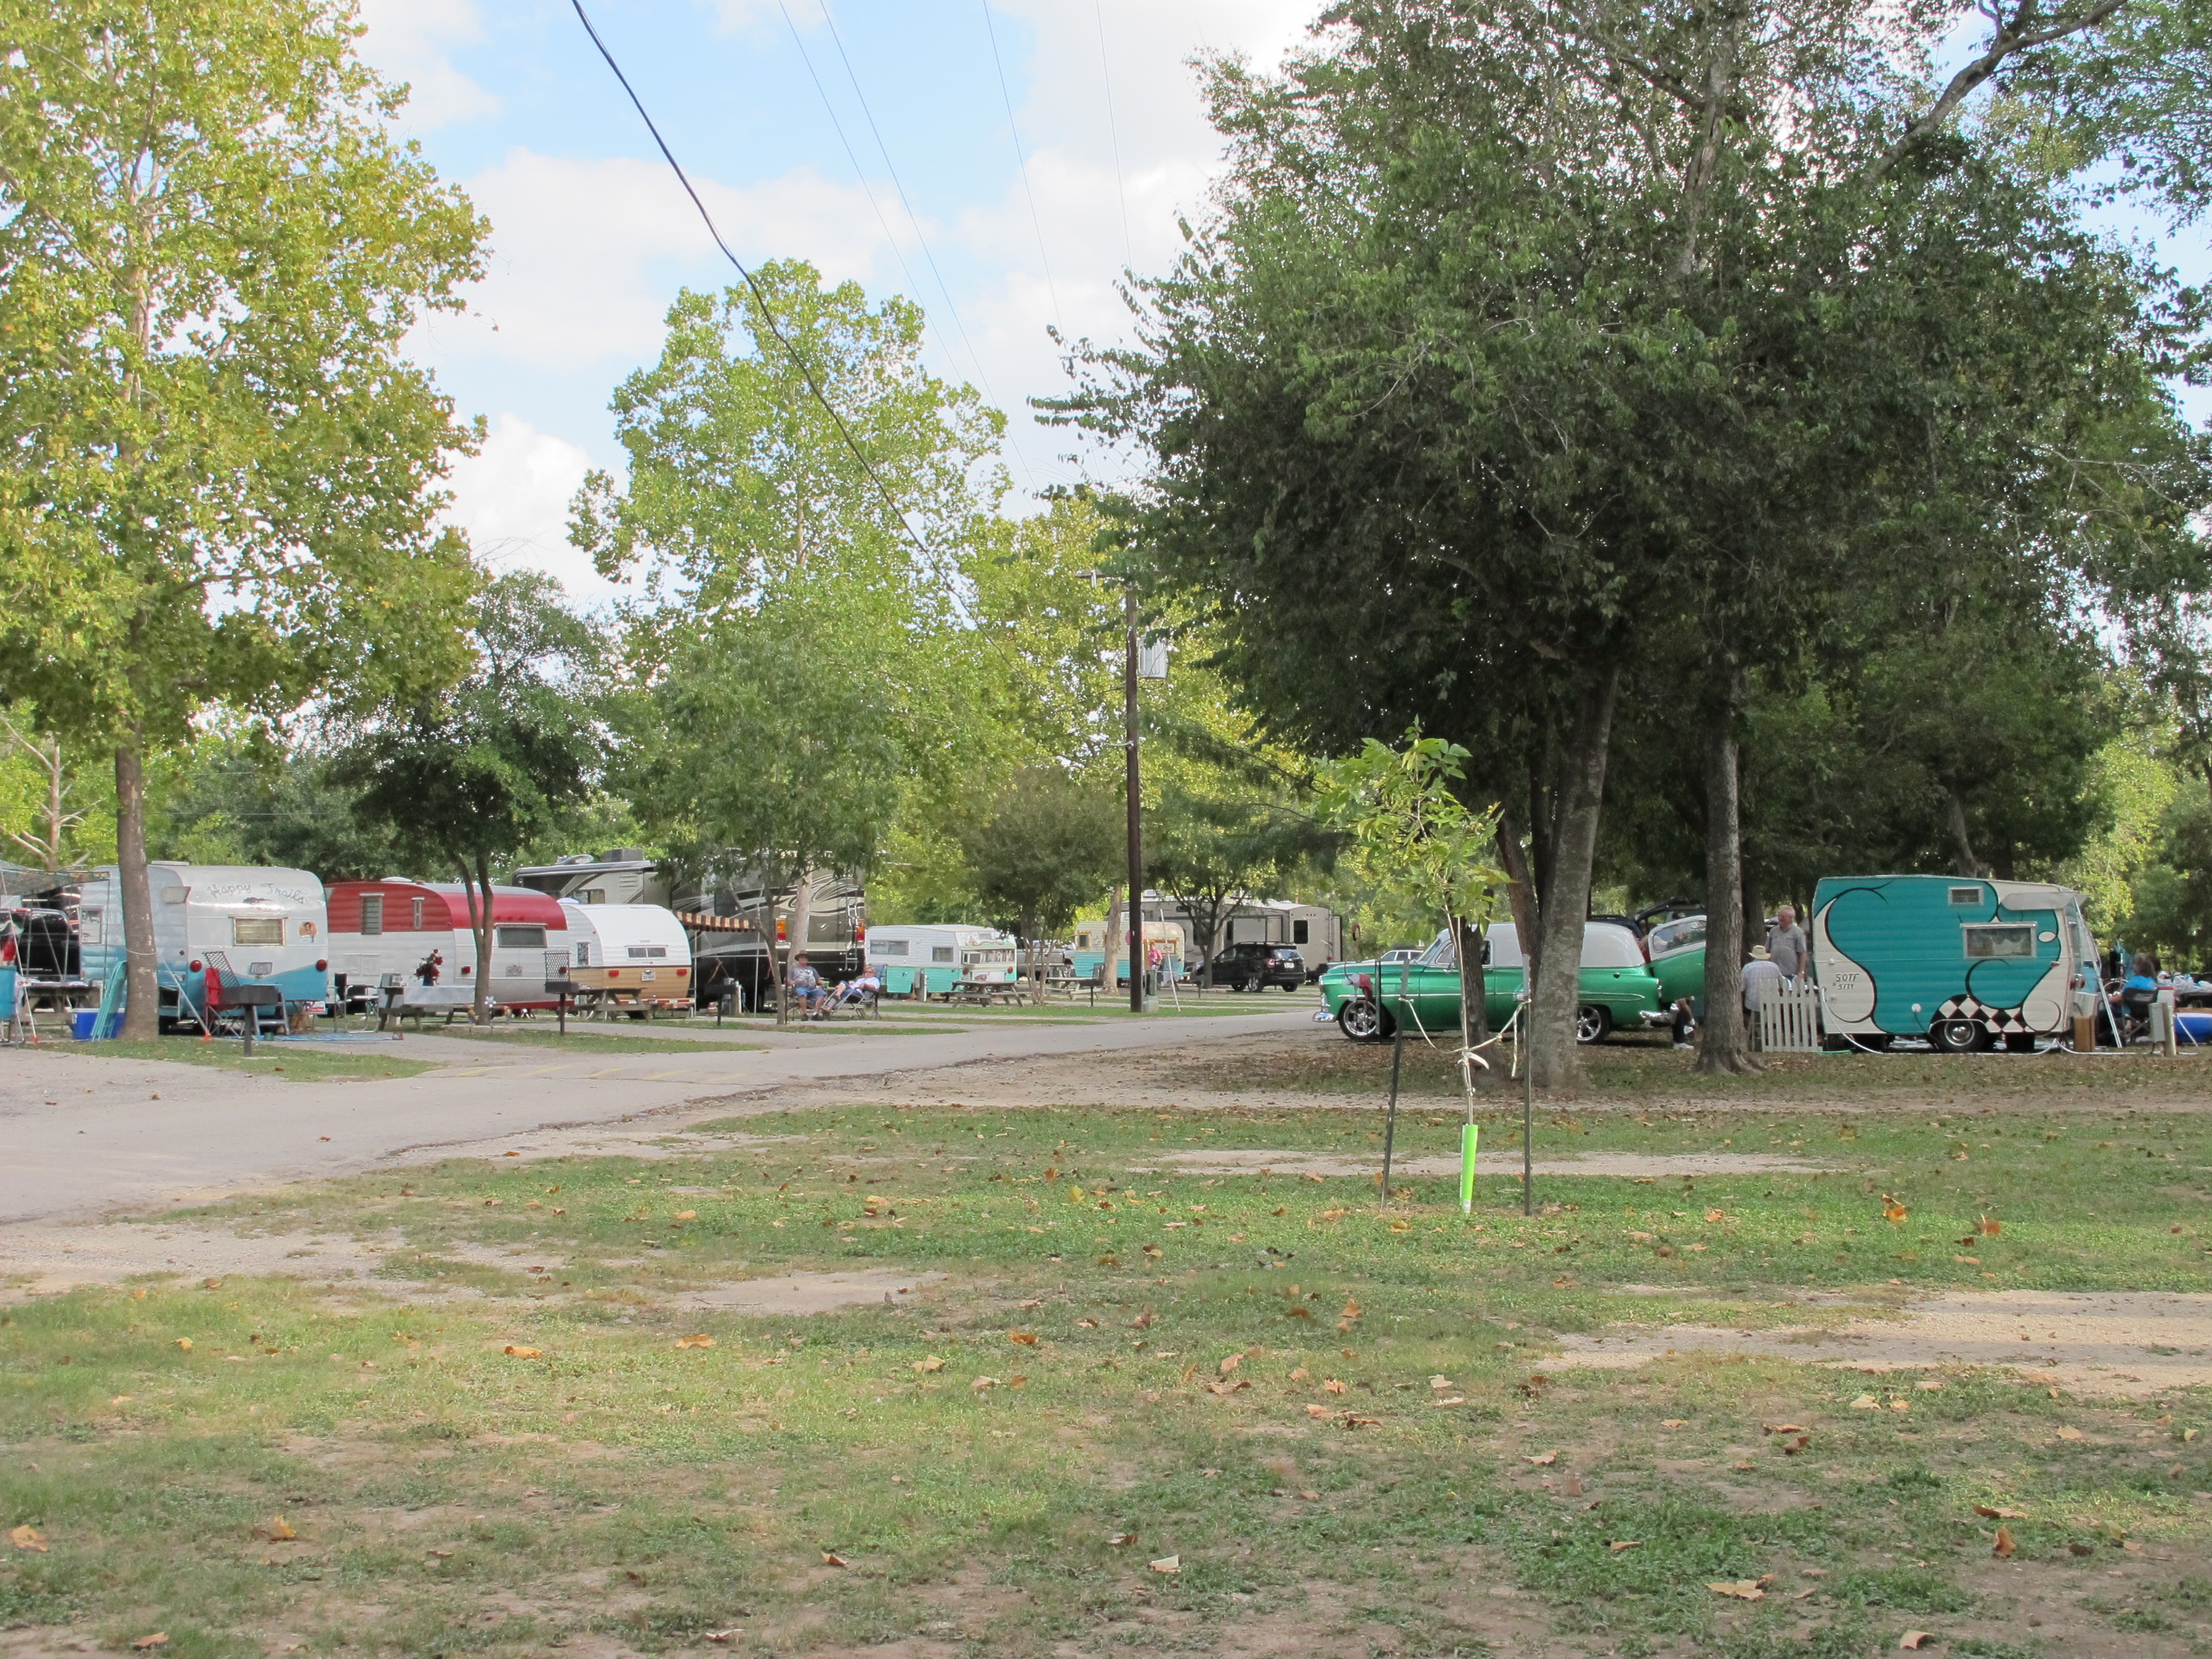
Pretty neat to see all the vintage campers lined up! (one of these is not like the others unfortunately)
Junebug is in her element. You don’t even notice the little blemish on her from when I messed up the skin on this side.
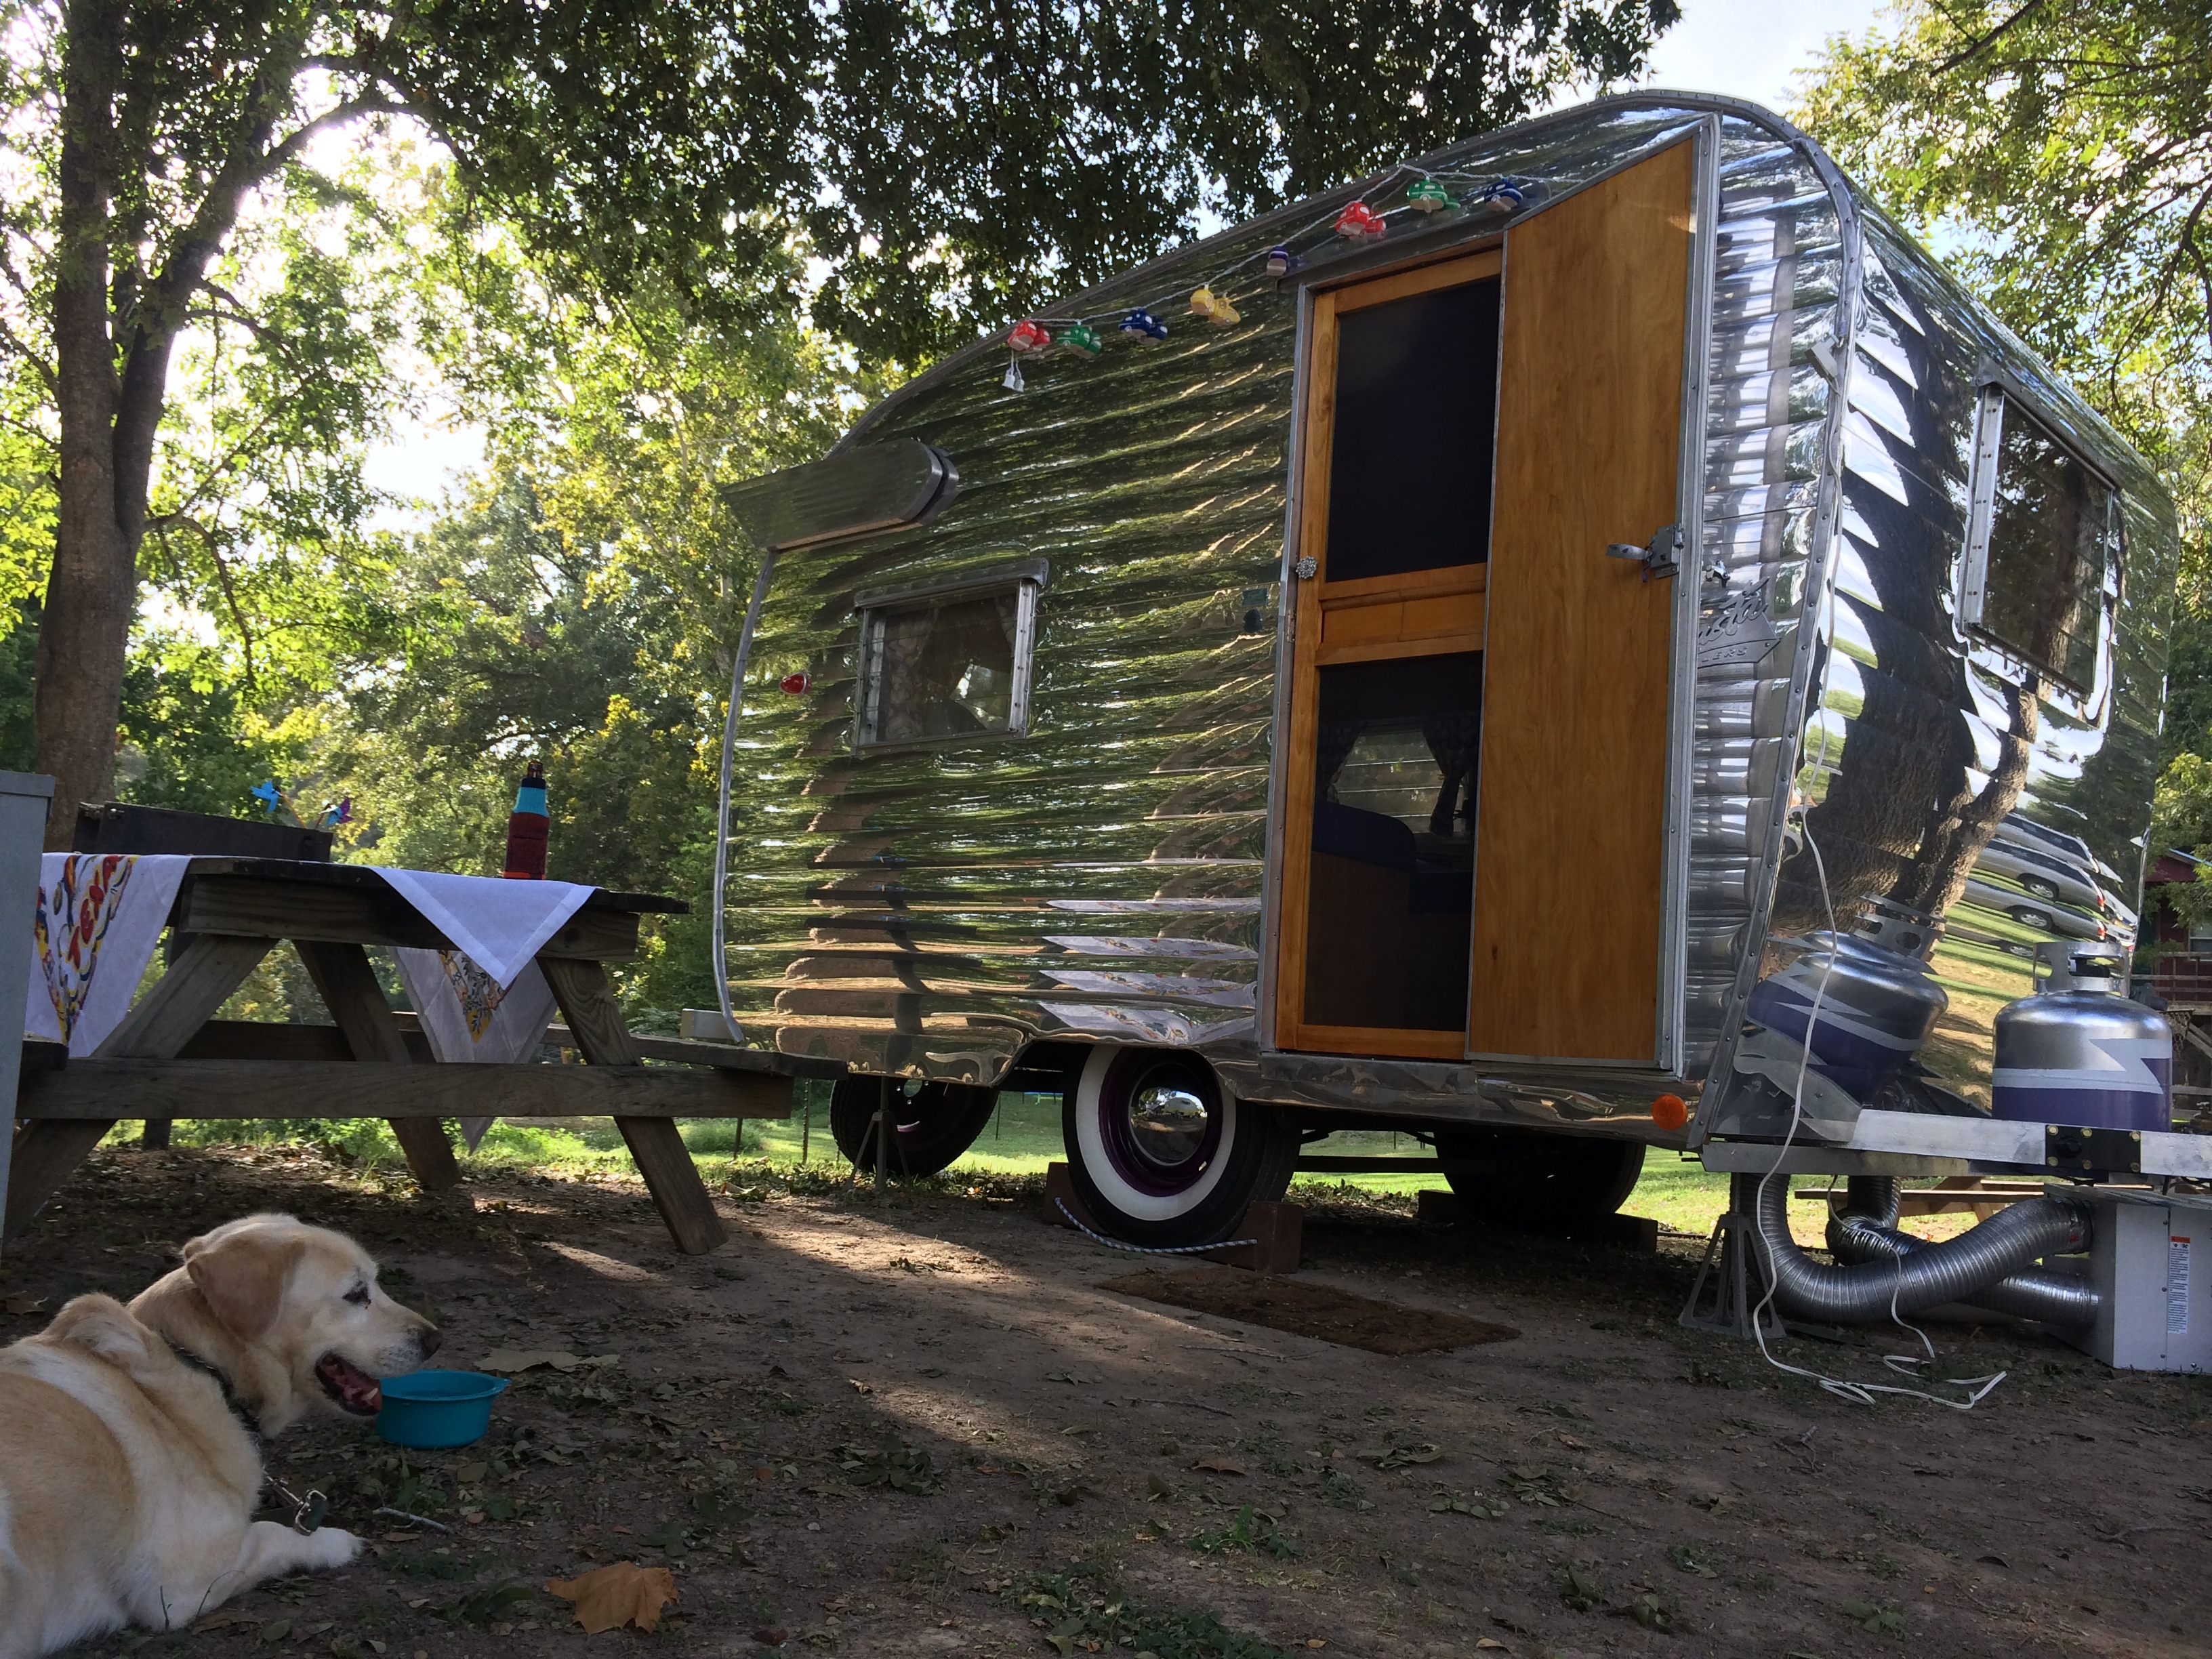
Baxter loves camping. Junebug was looking so shiny next to all of the other campers. Everyone just assumed I spent hours polishing her. haha
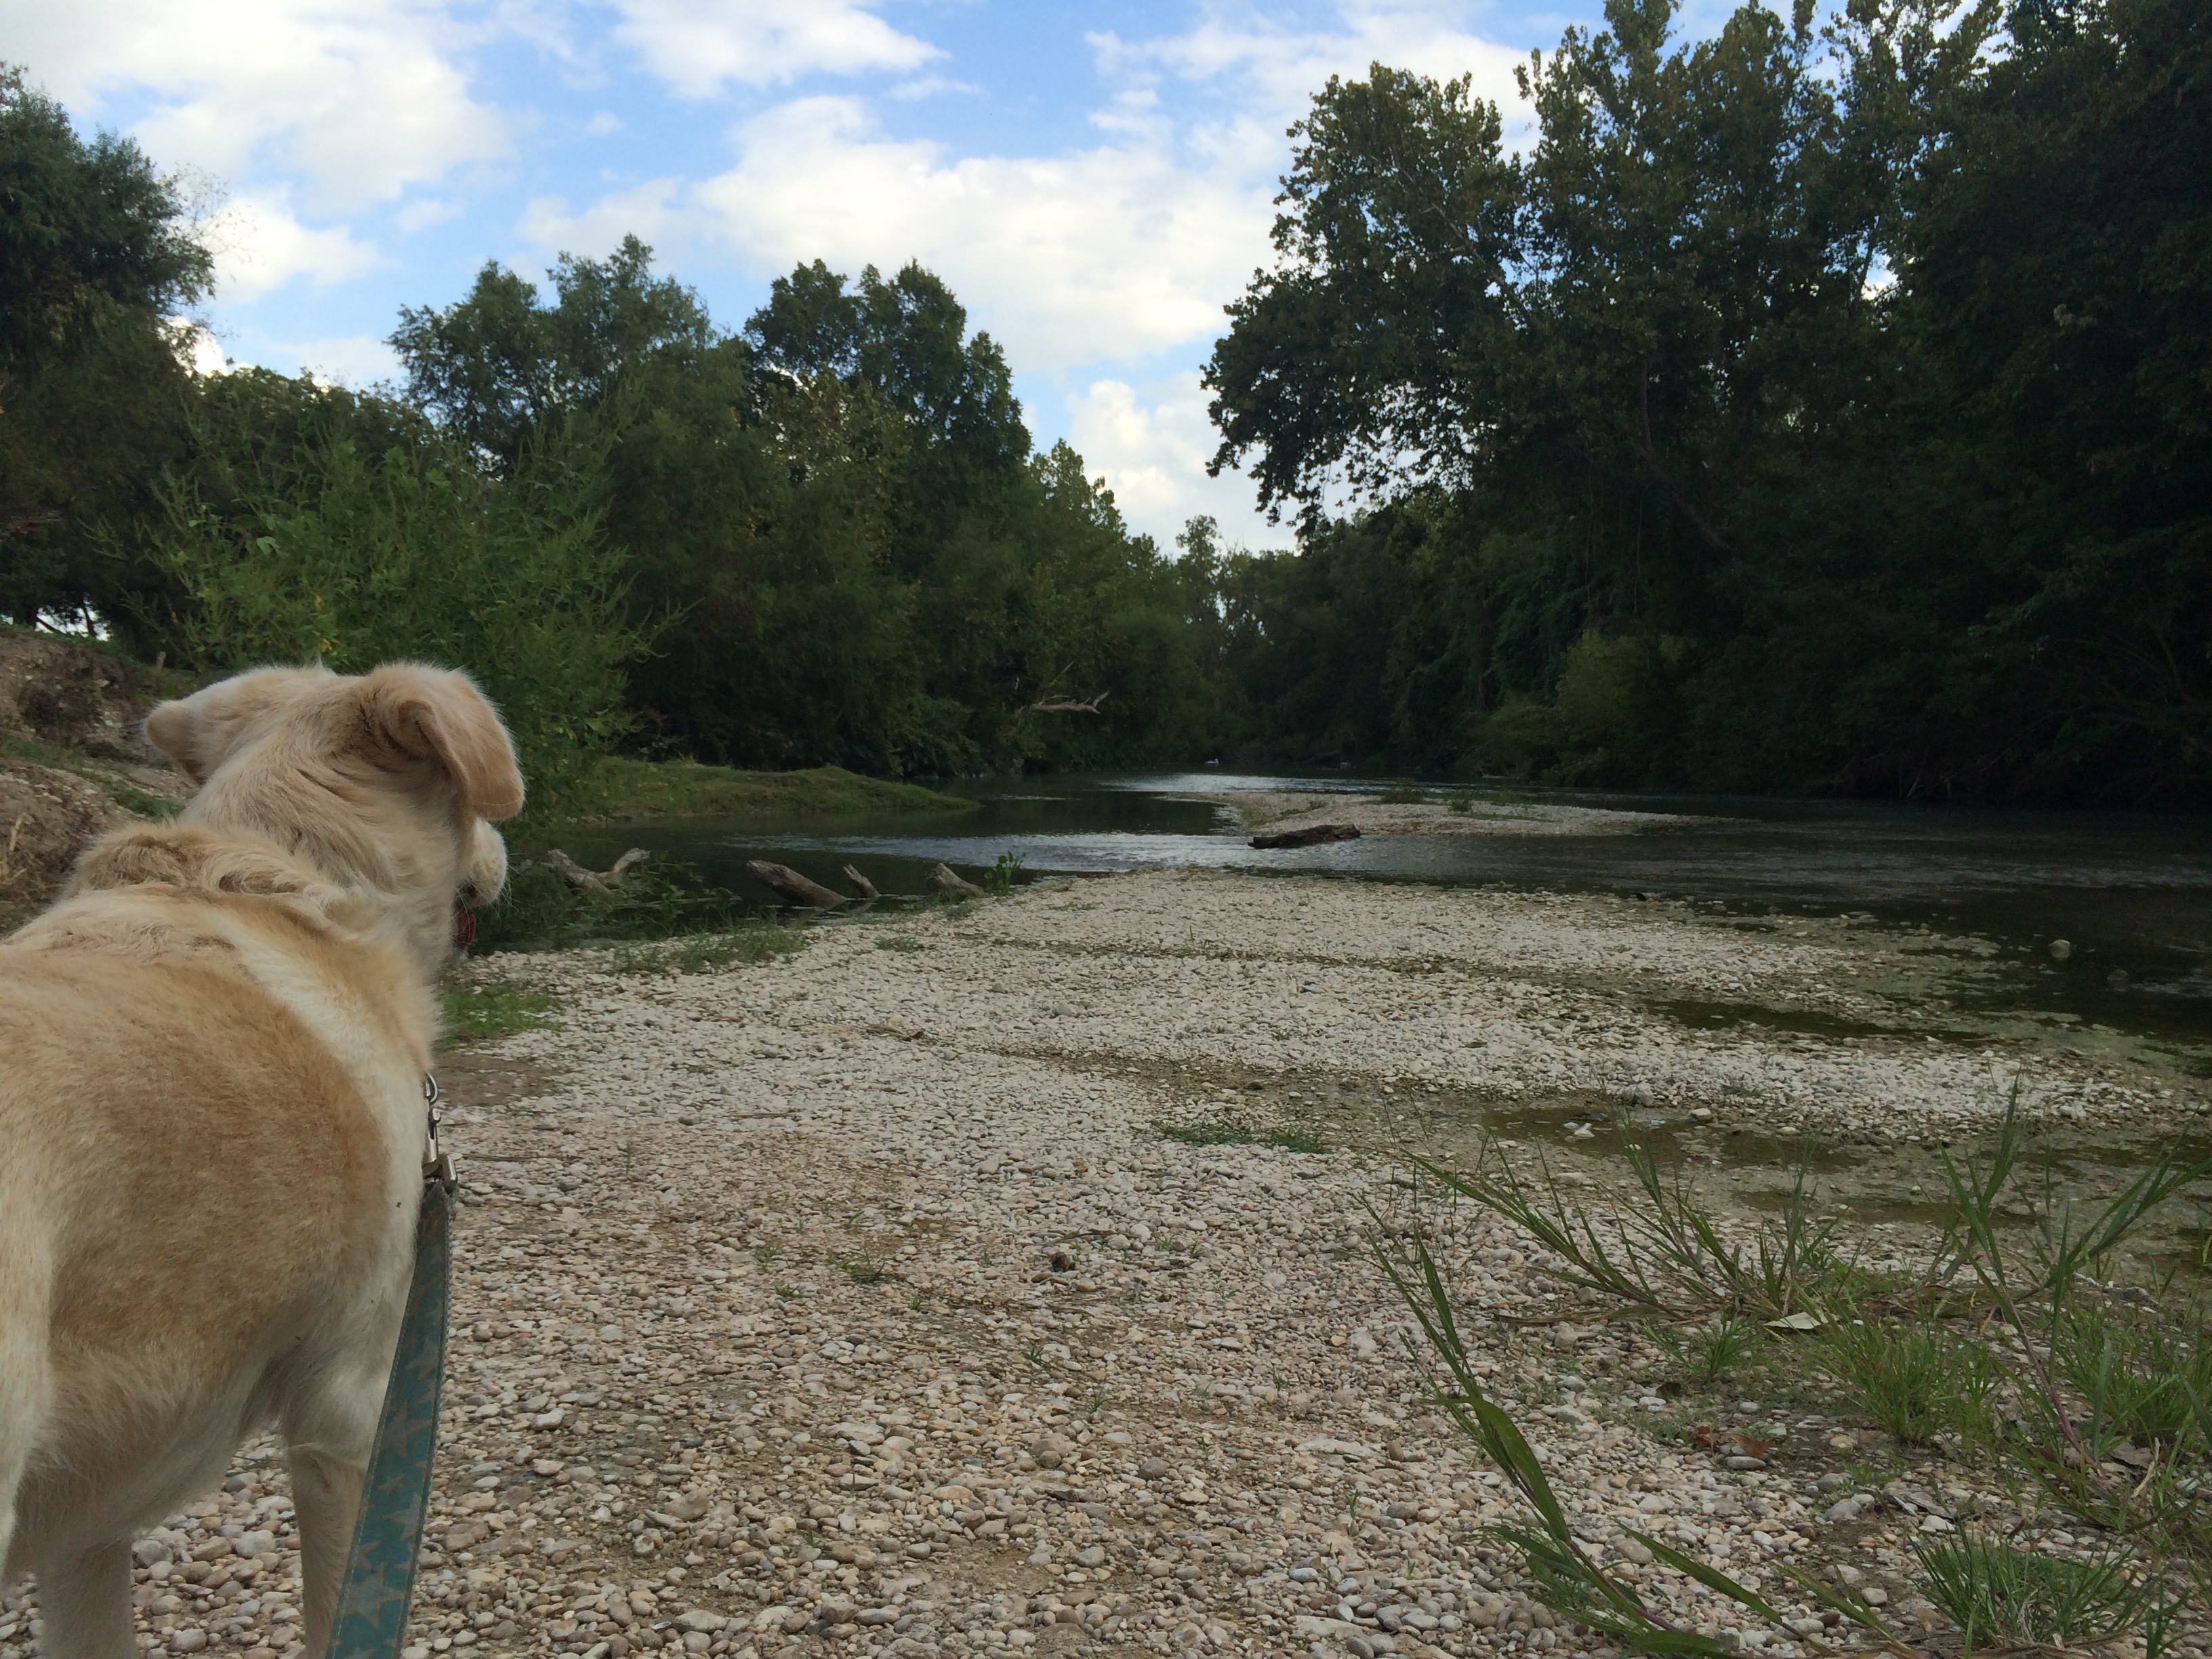
I took Baxter down to the river right next to our campsite. It was such a beautiful location! I will definitely camp here again in the future.
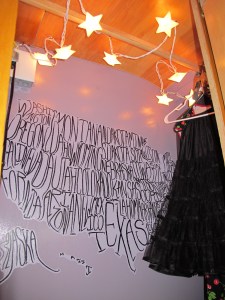
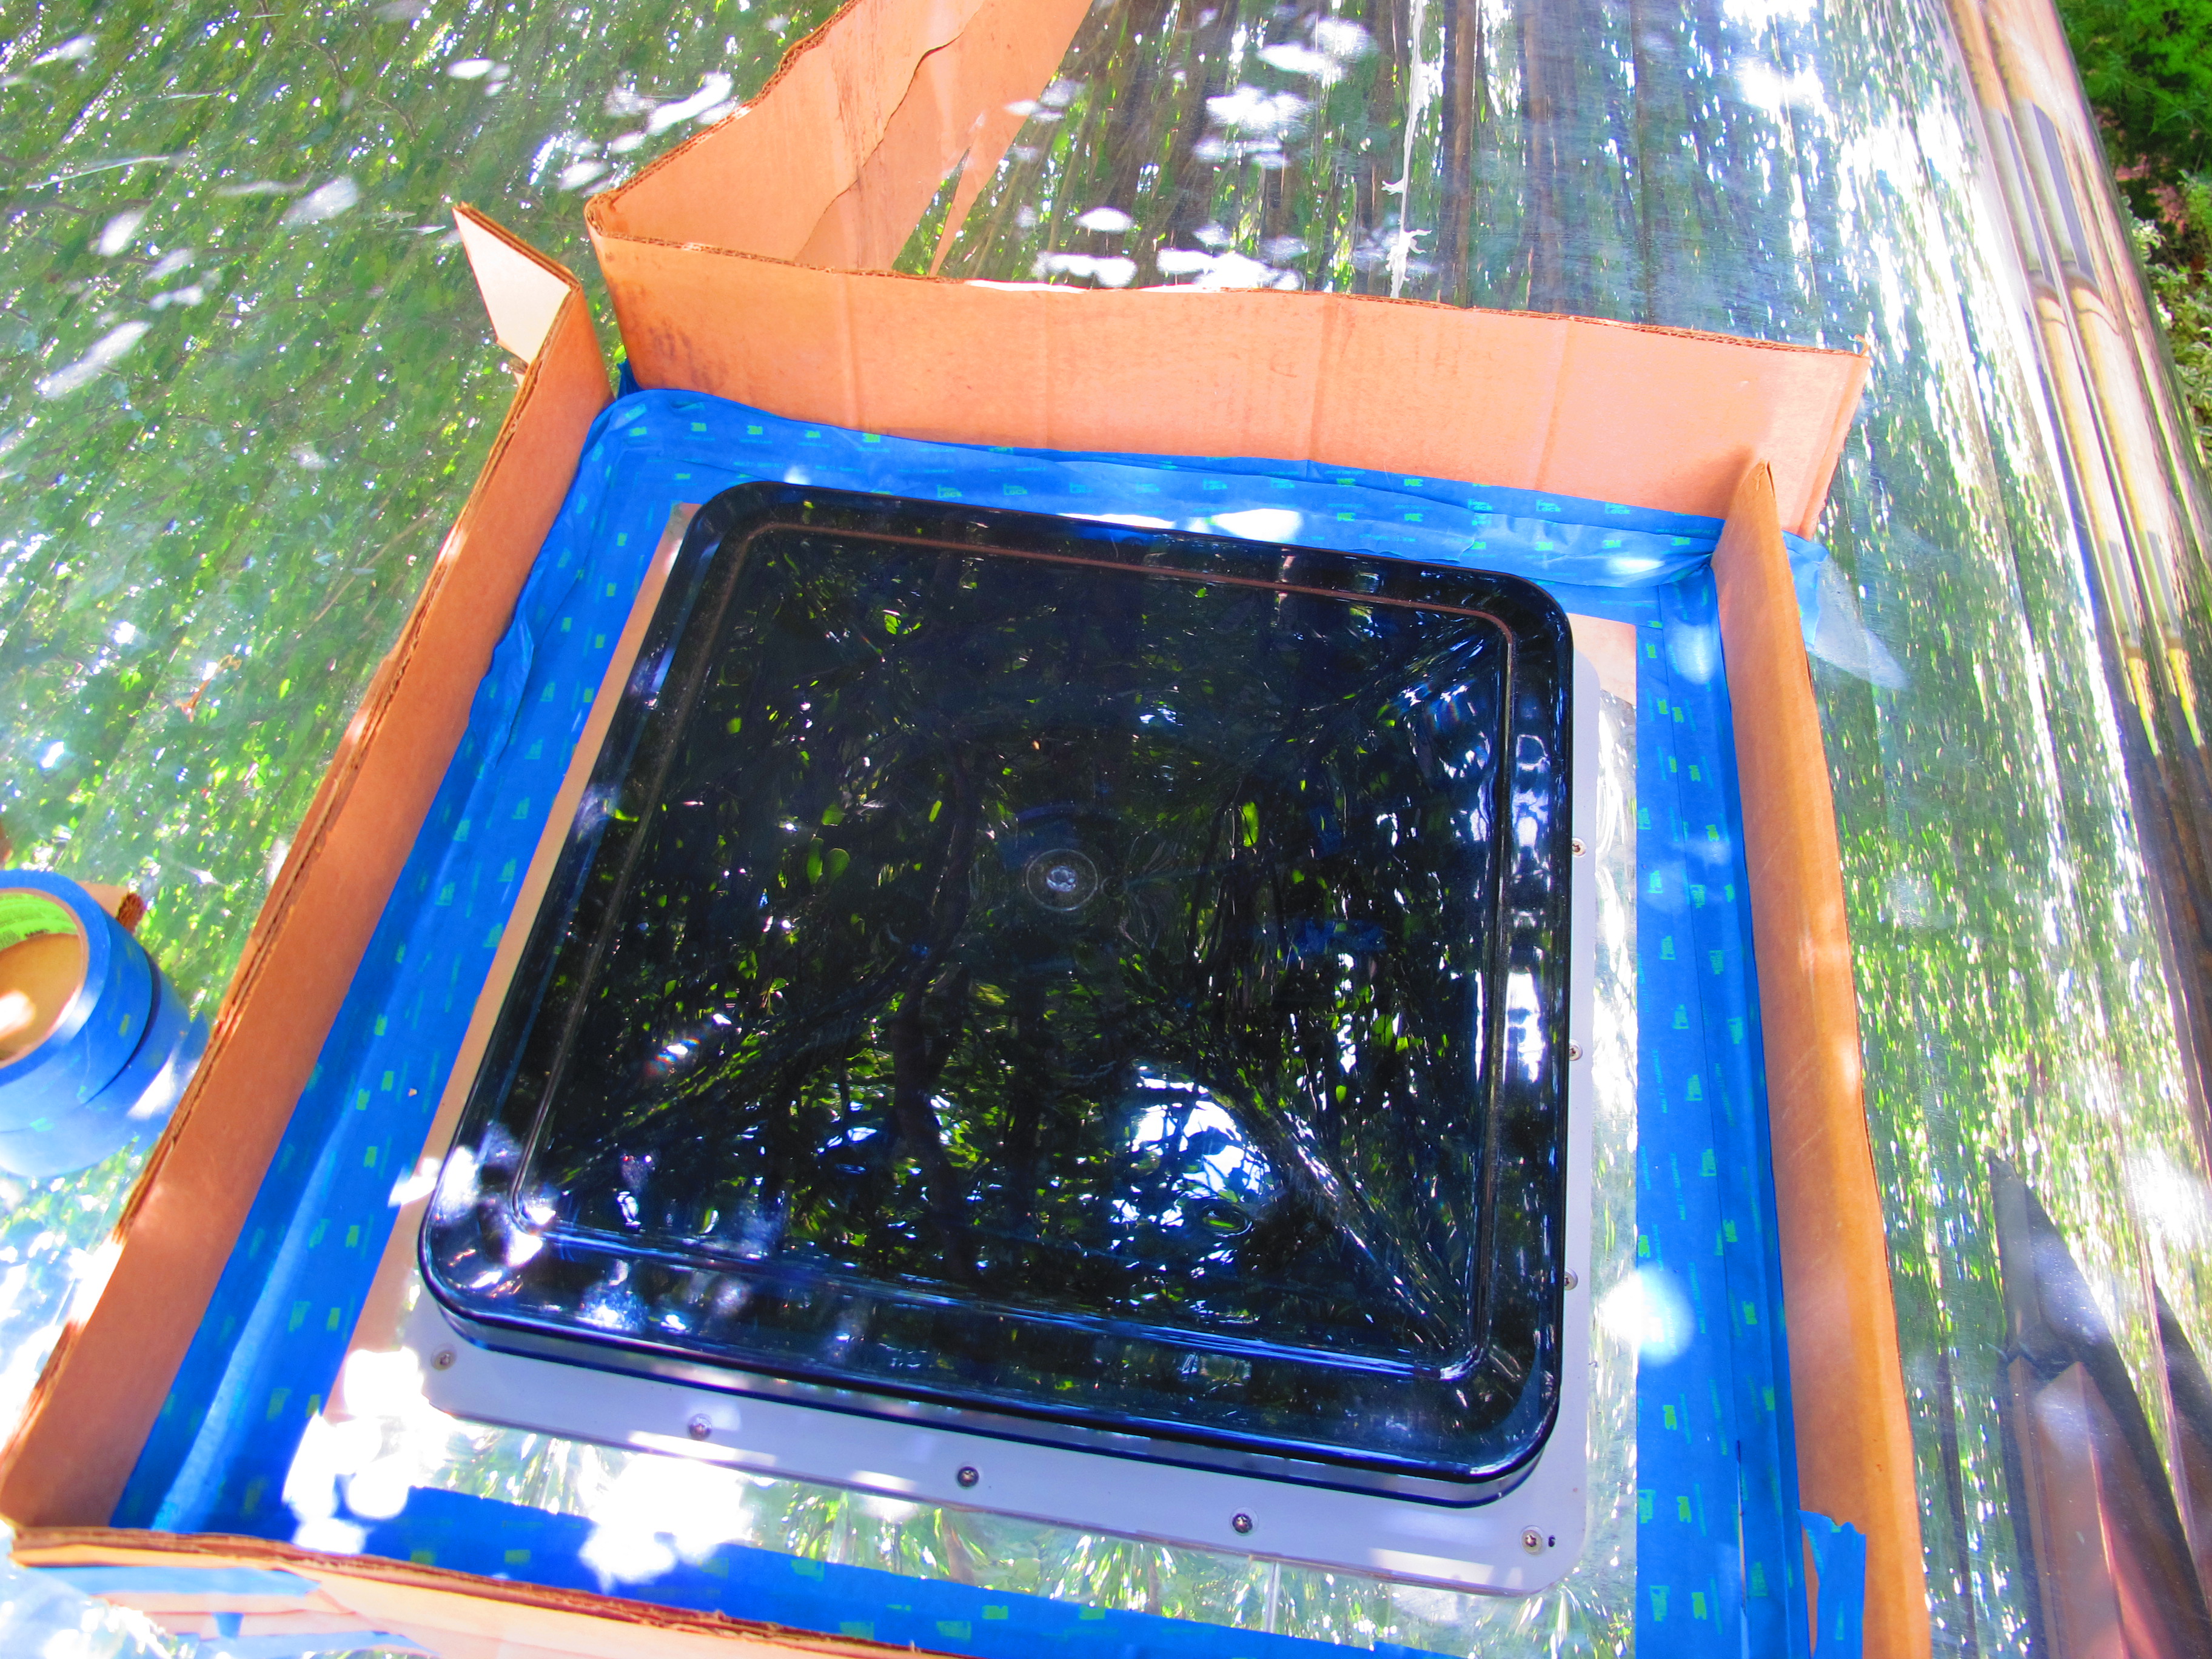
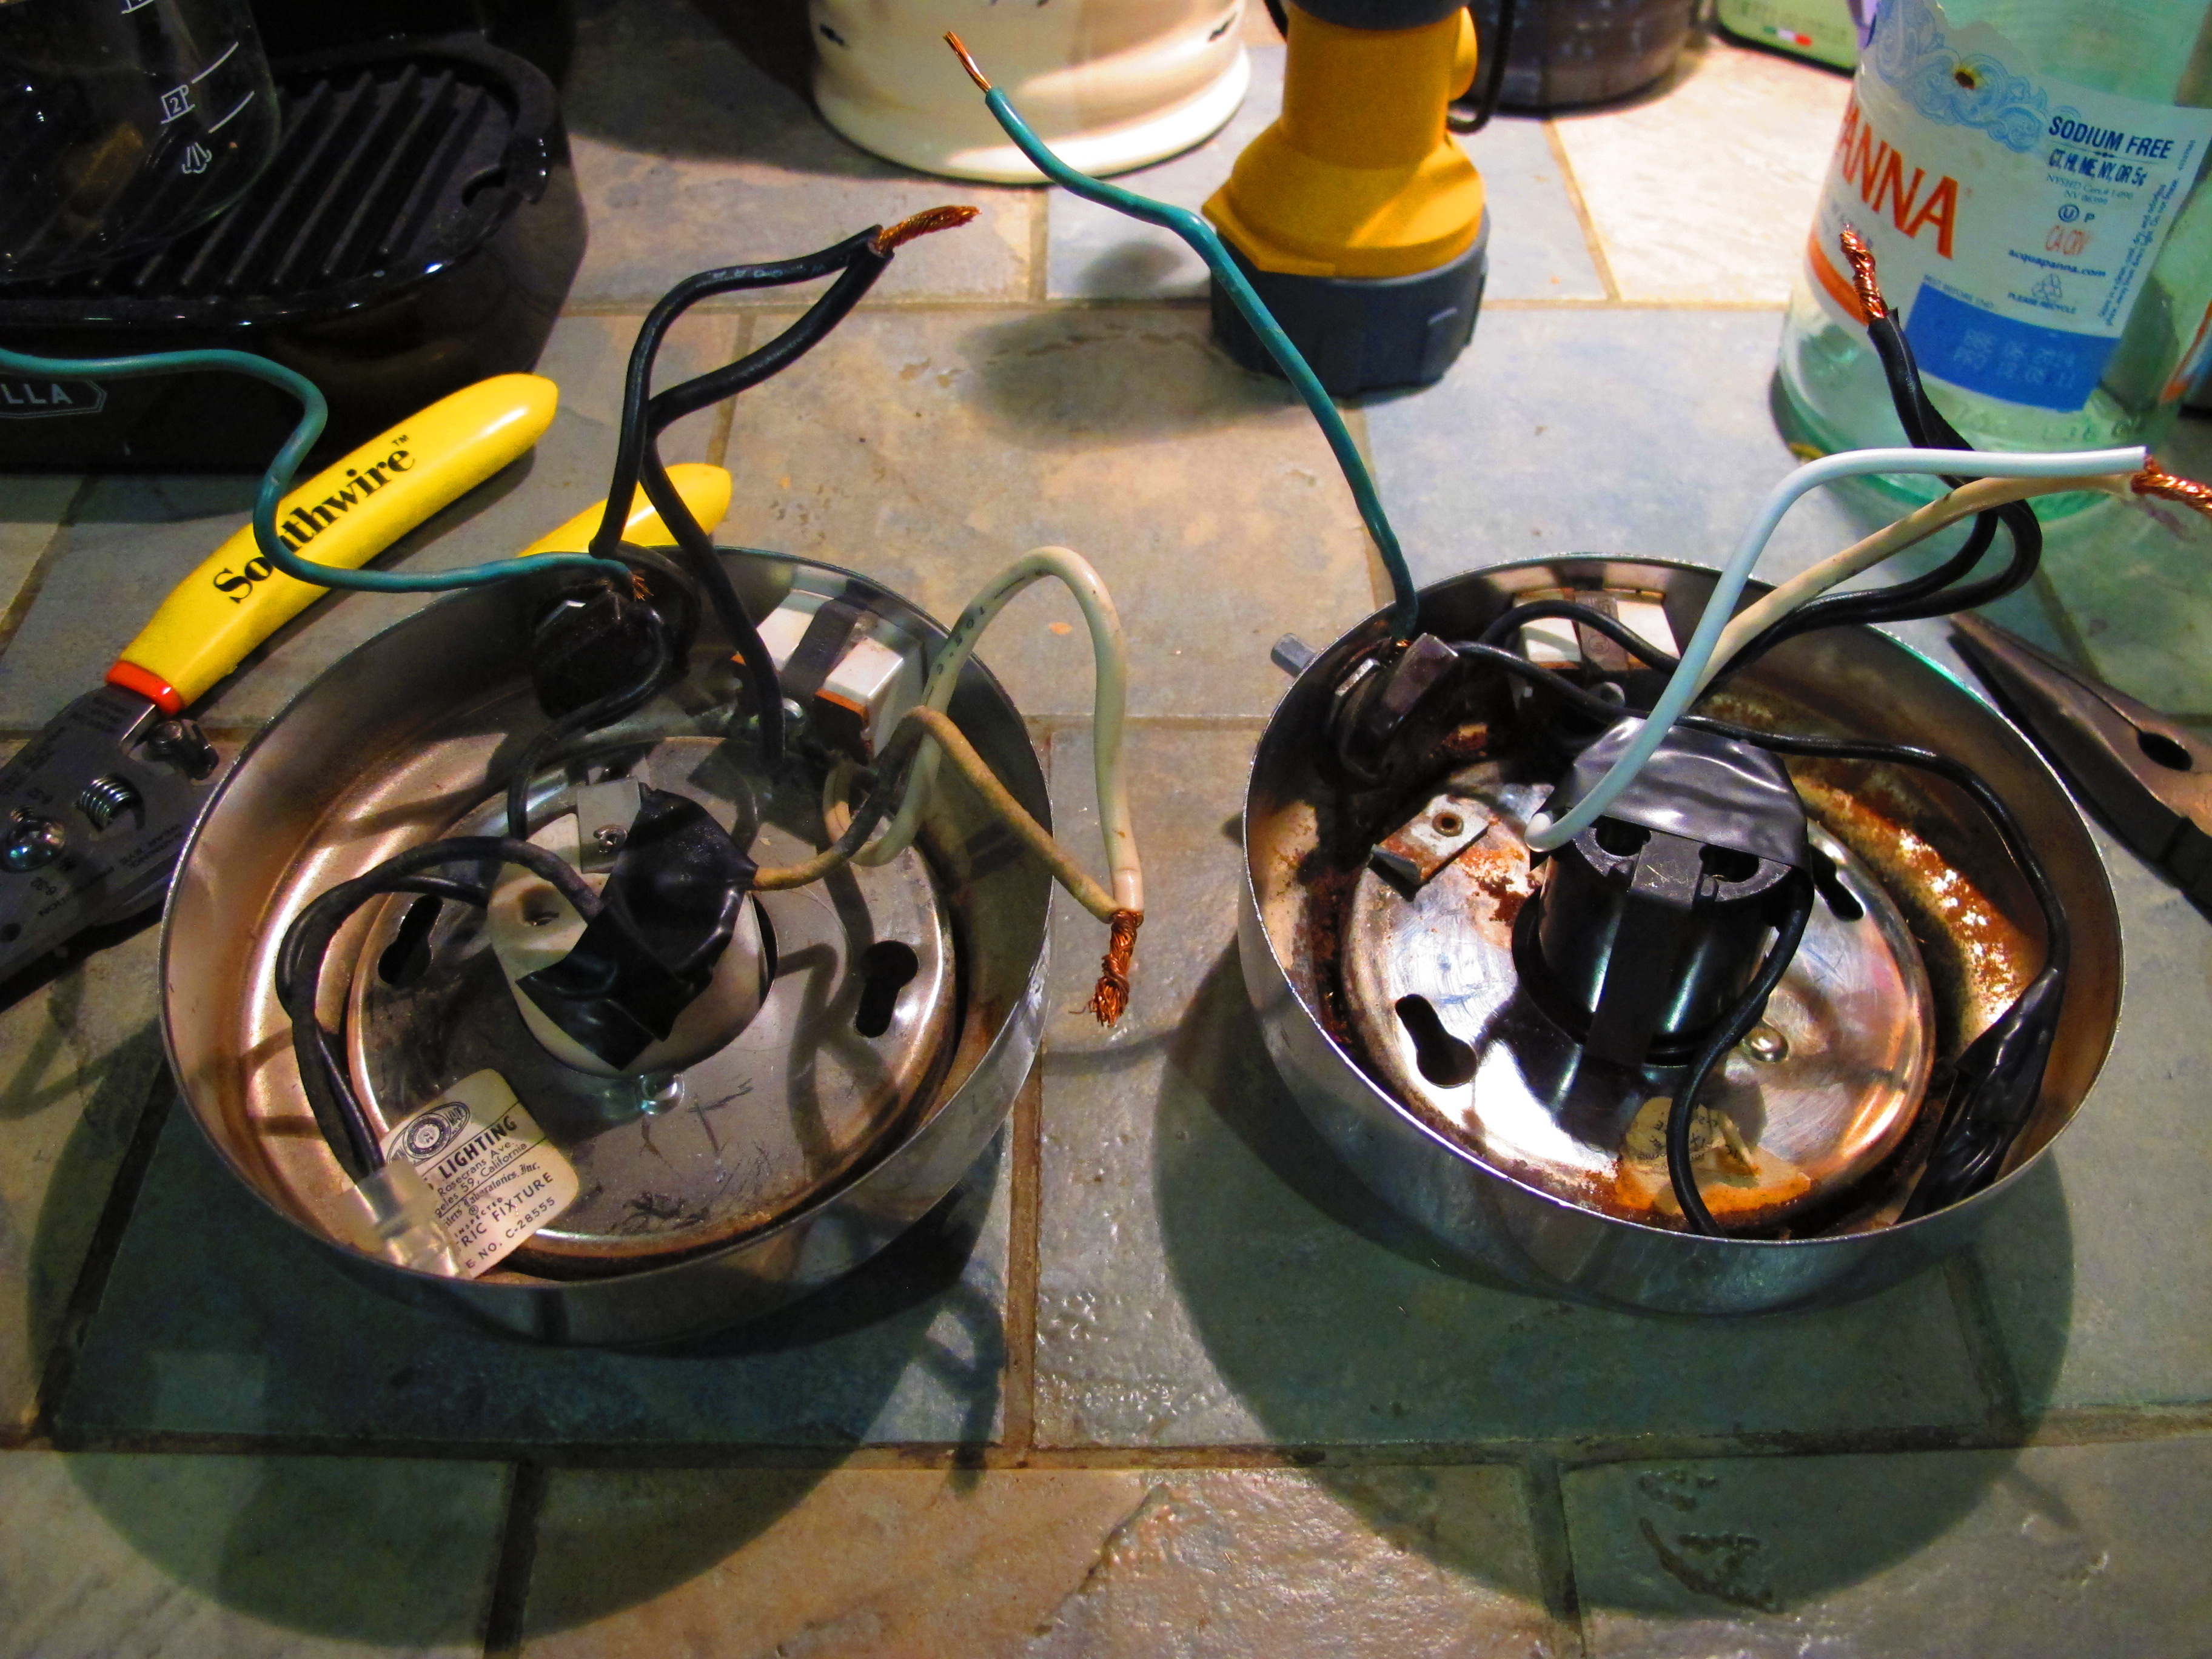
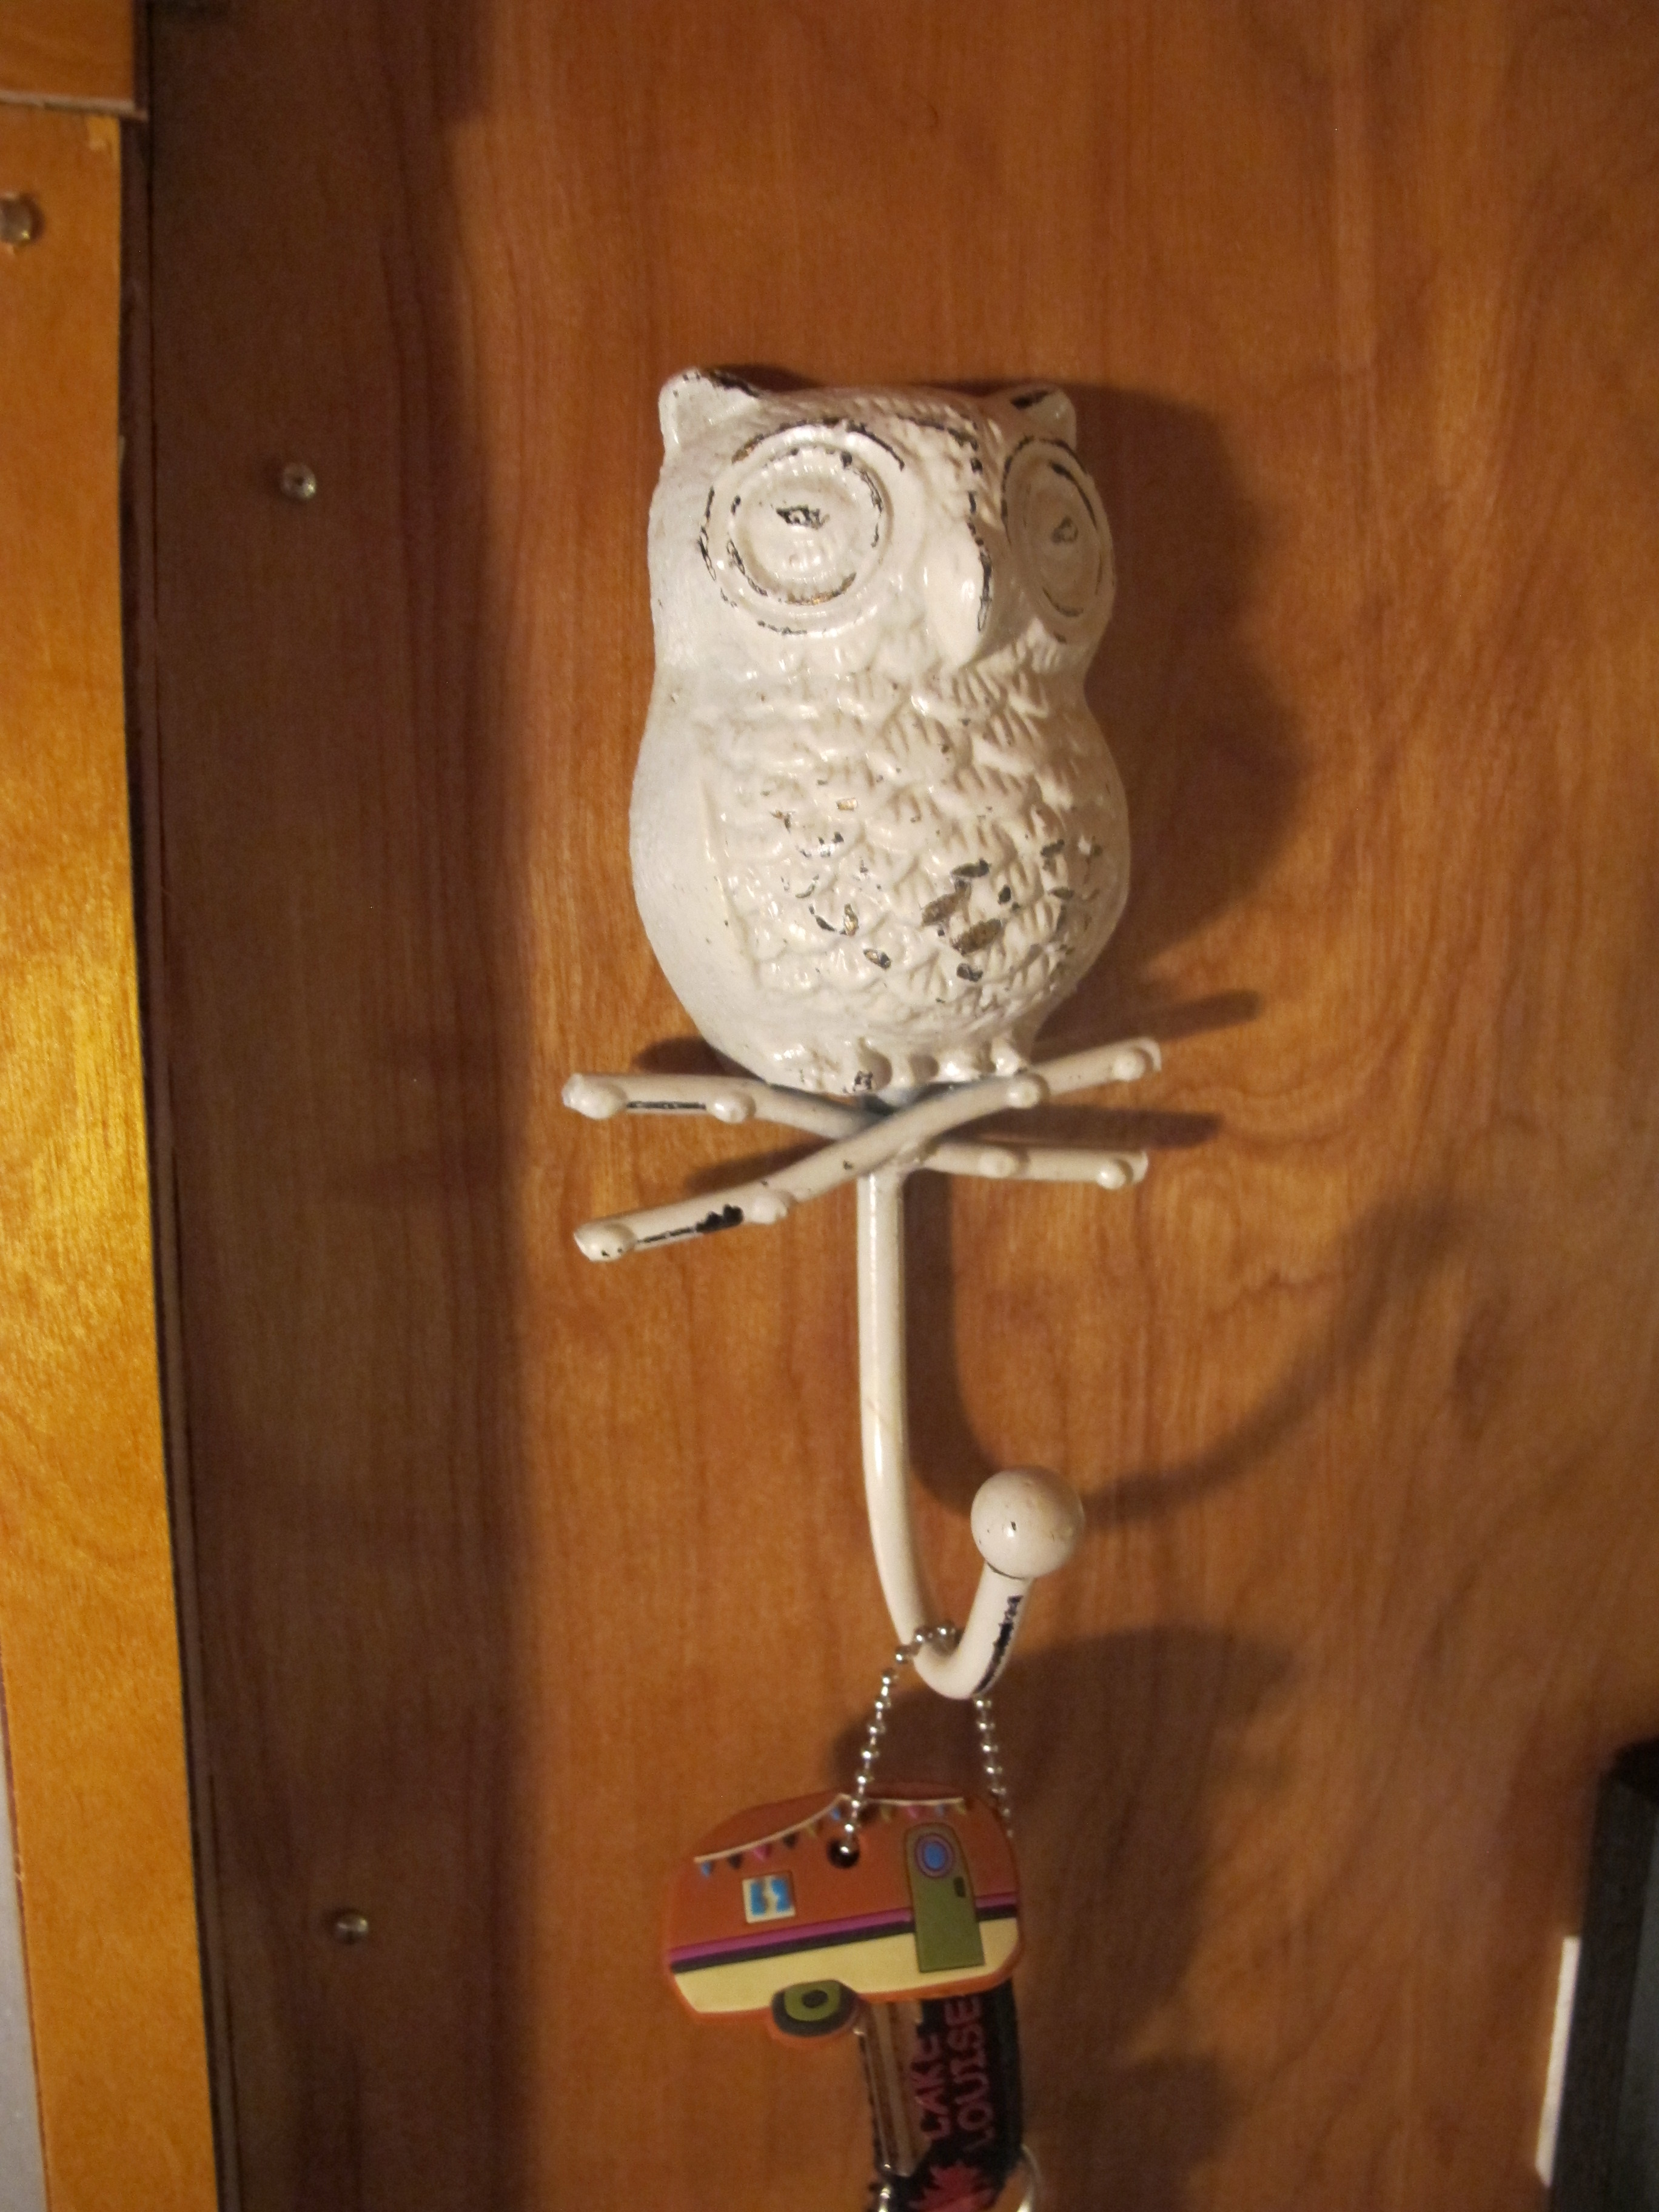
I found a cute solution for the lighting in the closet/bathroom.

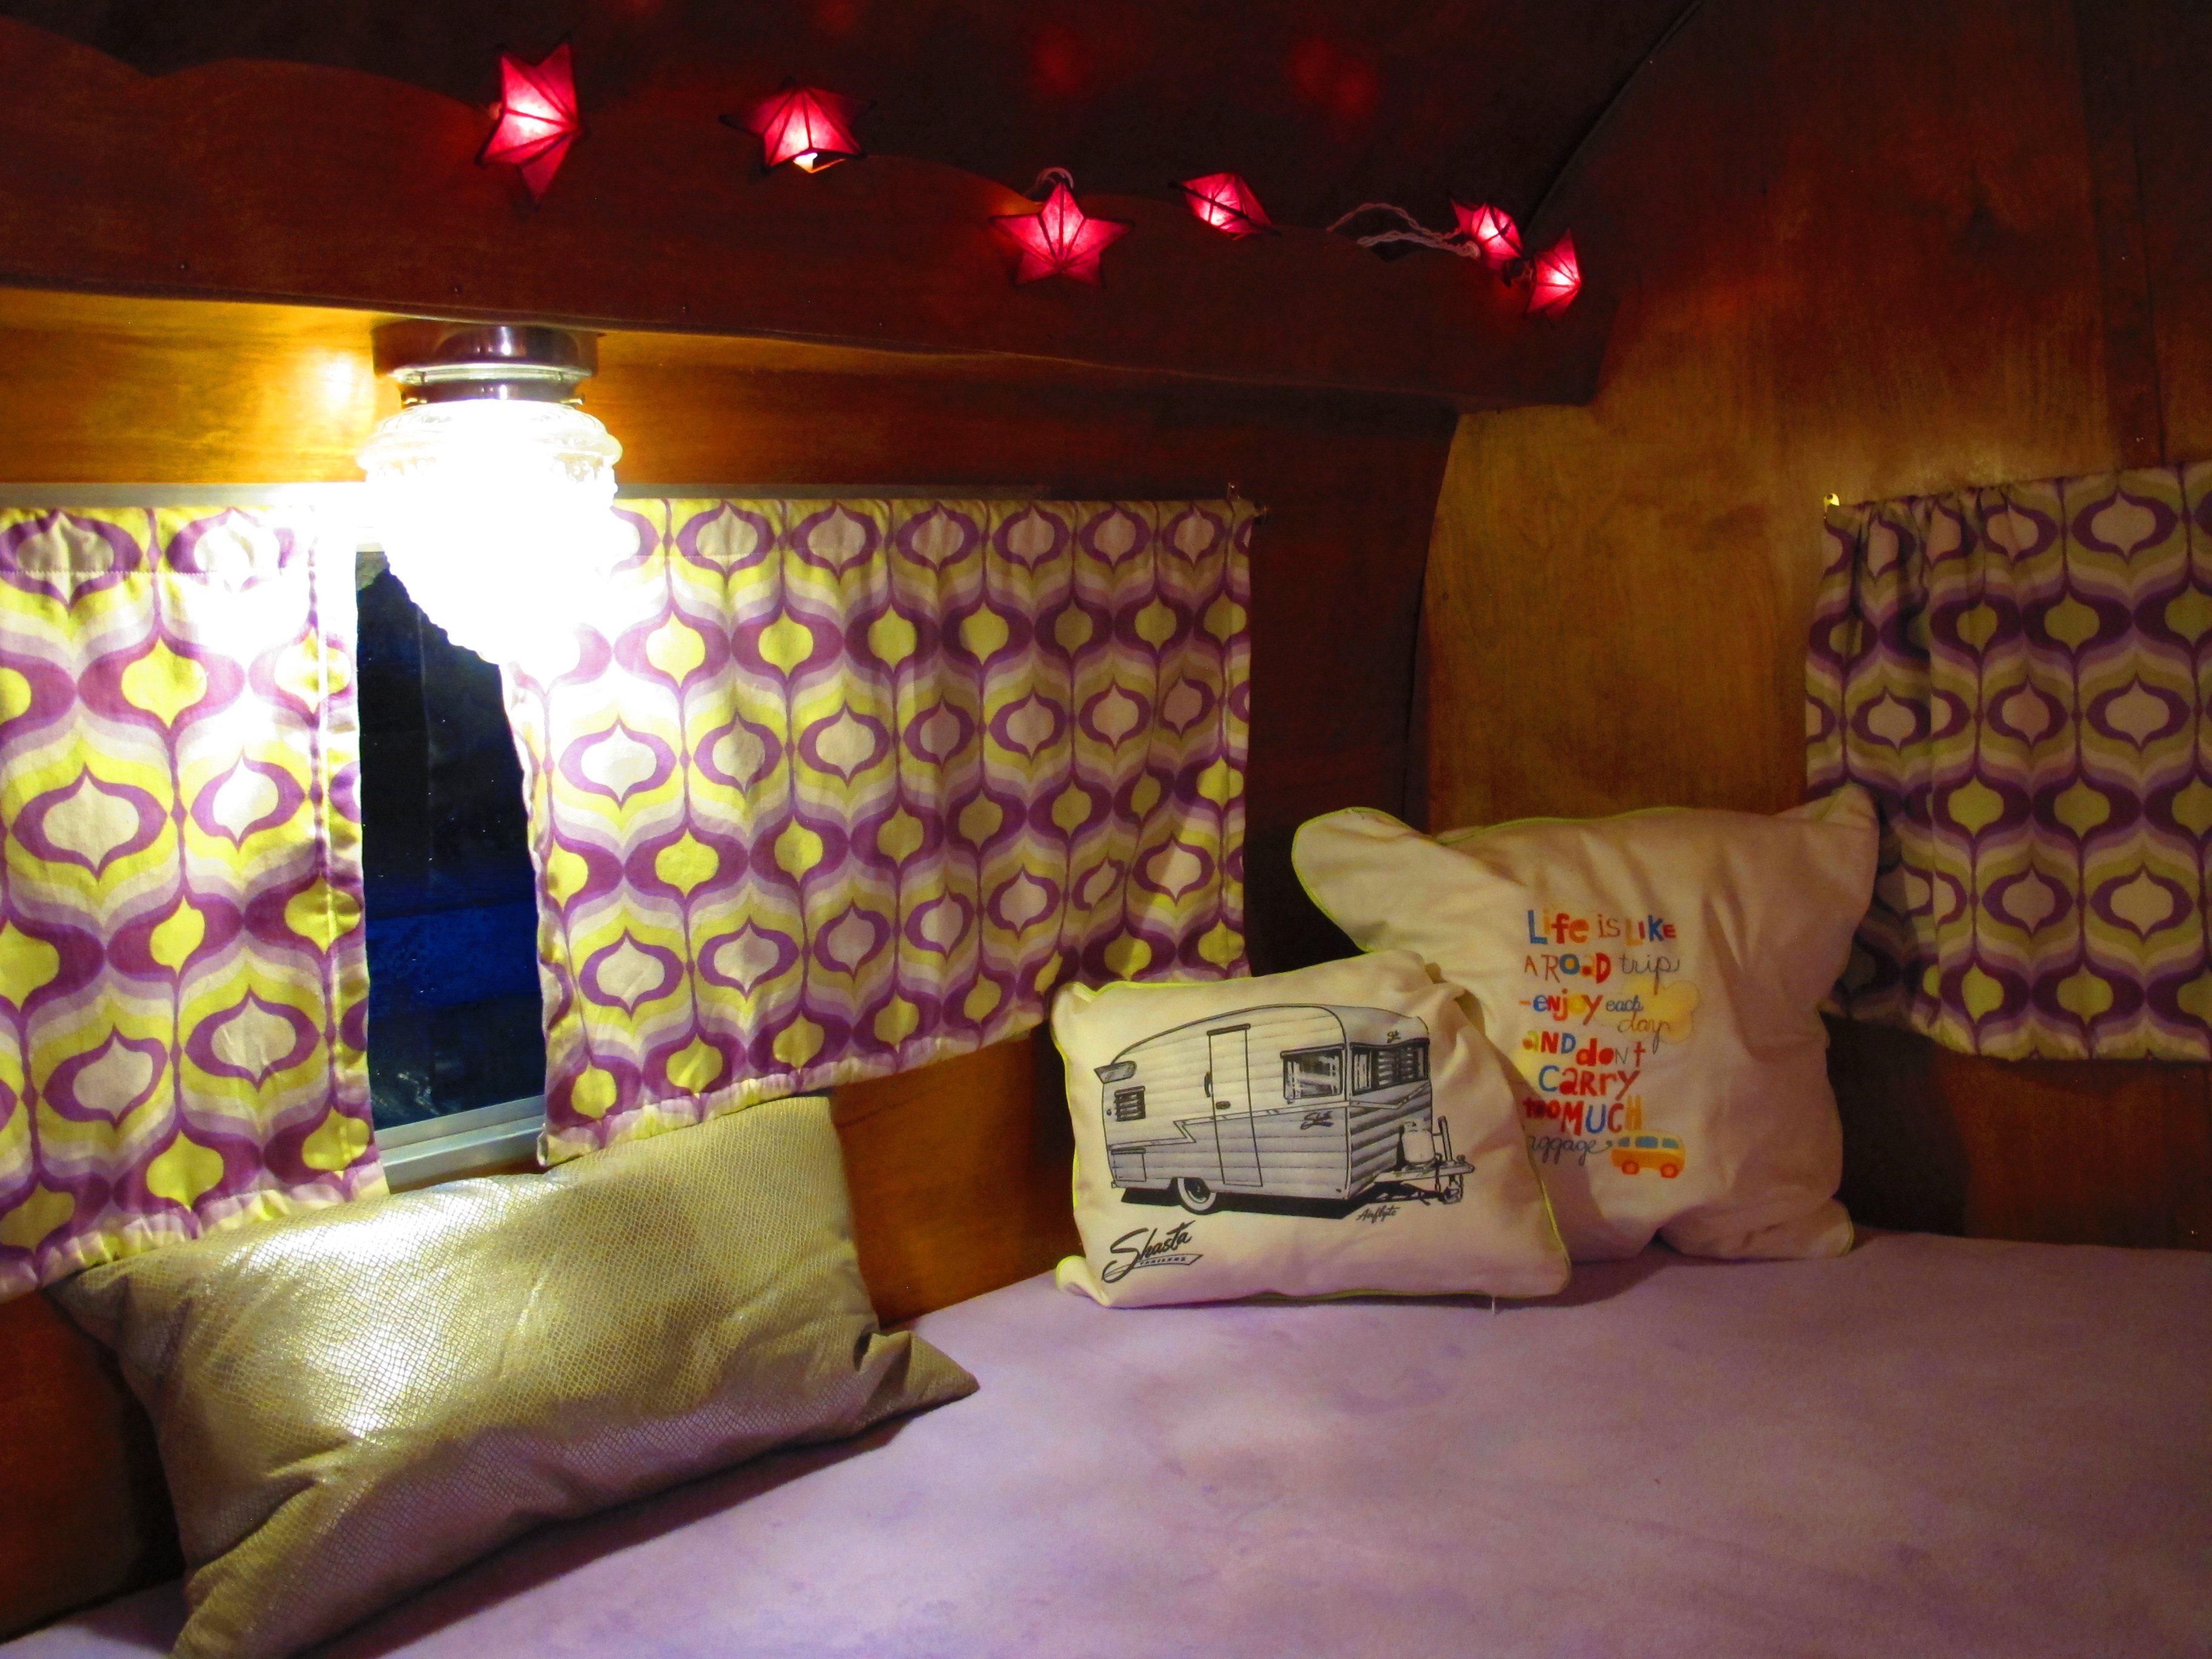
Junebug was positively glowing at night.
Friday night, the hosts of the event cooked a big pot of taco soup (yummy) and we all ate together under the pavilion. It was a little awkward at first because I didn’t know anyone and wasn’t sure who to sit with. I ended up sitting with a really nice, elderly couple who were retired English teachers. After dinner, I ended up joining a big group sitting in a circle around a campfire and just visited for a while before retiring to my camper for the night.
I slept really well that first night, but I woke up super early the next morning from excitement I guess. Shortly after taking Baxter for a walk around the campground, it started raining. And it rained and rained and rained. It didn’t stop for about three hours. I just sat inside Junebug and listened to the pitter patter of the raindrops on the aluminum roof. I couldn’t really relax the whole time because I kept thinking she was going to leak somewhere. This was the first time she really got soaked for a long duration. A little after noon, the rain stopped and the temperature had dropped about 15 degrees. Good thing I brought some pants and a jacket! Everything was soaked, and the ground was muddy. That night, we were having an open house for the public and other rally attendees to tour the trailers. We were also have a potluck dinner, and I hadn’t planned ahead and didn’t have anything to bring. I had to make a trip into San Marcos to the local Wal-Mart “cringe”. I picked up an additional rug and towel as well as some random foods that didn’t need to be cooked so I wouldn’t show up empty handed.
The open house went really well, and I think around 50 -100 people came by and toured Junebug. It was so fun to show her off and get compliments on my handiwork from total strangers. A few guys literally couldn’t believe I did all the work myself and kept asking if I had some help from a boyfriend or husband. I could have been offended, but I just laughed. I’m surprised that in this day and age, some people are still so sexist! A woman can do just as much as a man, gender really has nothing to do with the ability to fix things! I decided that for my next rally, I’m going to get some little business cards printed with my blog address so that I can hand them out. I think some of the people who came to look would have liked to check out my blog but didn’t have any way to write down the address.
There were some interesting characters at the rally. There was an uncomfortable moment when I got grilled by a guy about the oil and gas business since I worked for a large oil company. I told him that he couldn’t criticize my industry while he was driving around a suburban and towing a big Airstream, and I think he realized he was being a little bit of a hypocrite and changed the subject to football. haha
My neighbor on the other side was a really nice girl named Heather. Heather came to the rally with her three year old son, Max. I was happy to see another girl there kind of by herself (at least not with another adult). And she also has a blog! http://www.adventuresinglamping.com We agreed to let each other know if and when we were going to another rally since she just lives in San Antonio, so not far from me.
One other notable event was that I plugged my hair dryer into the camper outlet, and it worked like a charm with no electrical issues whatsoever! (The guys at RV Masters had told me not to do this.) I think having the camper plugged into the 30 amp power source made a difference. I plugged the hair dryer into the exterior outlet on Junebug since it was on its own 15 amp breaker, just to be safe.

All dressed up and ready for the open house on Saturday night.

I loved this woman’s Native American metal light hanging on the side, I thought it was a quirky touch and went well with her theme.

Baxter loves to sit on the bed inside Junebug because the height is just right for him to look out the window and see passers by.

Cool tow vehicle!
I didn’t want to post all of the photos I took at the rally on this blog post since there were so many, so if you’d like to see photos of all of the cute campers at the rally, please click on the link below to the official Facebook photo album. The album is public, so you should be able to view them.
Fentress 2014 Fall Rally – Facebook Photo Album
When I was packing up to leave, it started raining again, of course. Everything got all muddy, which was annoying. When I got home, Junebug was covered in dirt, so I quickly gave her a shower and dried her off before putting the cover on her again. At that point, she didn’t appear to have any leaks inside.
Fast forward three weeks….
I got inside Junebug last weekend to check things out and get her ready in case I decided to take her to the Texas Renaissance Festival for a night. Much to my dismay, I saw a bit of water damage along the edge of the back wall on one side. ![]()
This was my worst nightmare come true! I don’t know if it was from the rain or from the shower I gave her when we got home, but clearly some water had seeped in and caused some black discoloration along the corner. ugh

I can see where the water came in on the outside, so I think I’m going to go around the outer edges with some additional Sikaflex since I only sealed underneath the j-rail previously because some of my seams were exposed after folding the roof over a little too far. I think what happened was that the water seeped in through the top of the seam and because I had sealed the underside of the seam with the Sikaflex, it just sat there and slowly seeped in through the cracks in the metal. I also think I may have drilled a hole in the skin through the j-rail for one of the screws that was going to hold the wing, then drilled another in a different spot to straighten it out and forgot to seal the first hole. oops I need to pick up some more Sikaflex before I tackle this repair, and I just haven’t felt like doing it yet. I will have to fix this before I take Junebug to my grandma’s house for Thanksgiving. Overall the damage wasn’t that bad and could have been much worse. It was still really disappointing to find that Junebug had a chink in her armor after I had worked so hard. Hopefully when I seal her up this time, she won’t leak again. I wish I lived in a drier climate!
I think it’s time to close and get outside to enjoy the beautiful, cool weather! It’s starting to feel like fall, my favorite time of year. I will write another update after I complete the resealing of Junebug’s seams. Until next time!