I just sent out the Evite for Junebug’s unveiling party this past week. Evite even had a little Shasta camper template so it couldn’t have been more perfect for the event! The date is September 12th and now the pressure is on to finish.
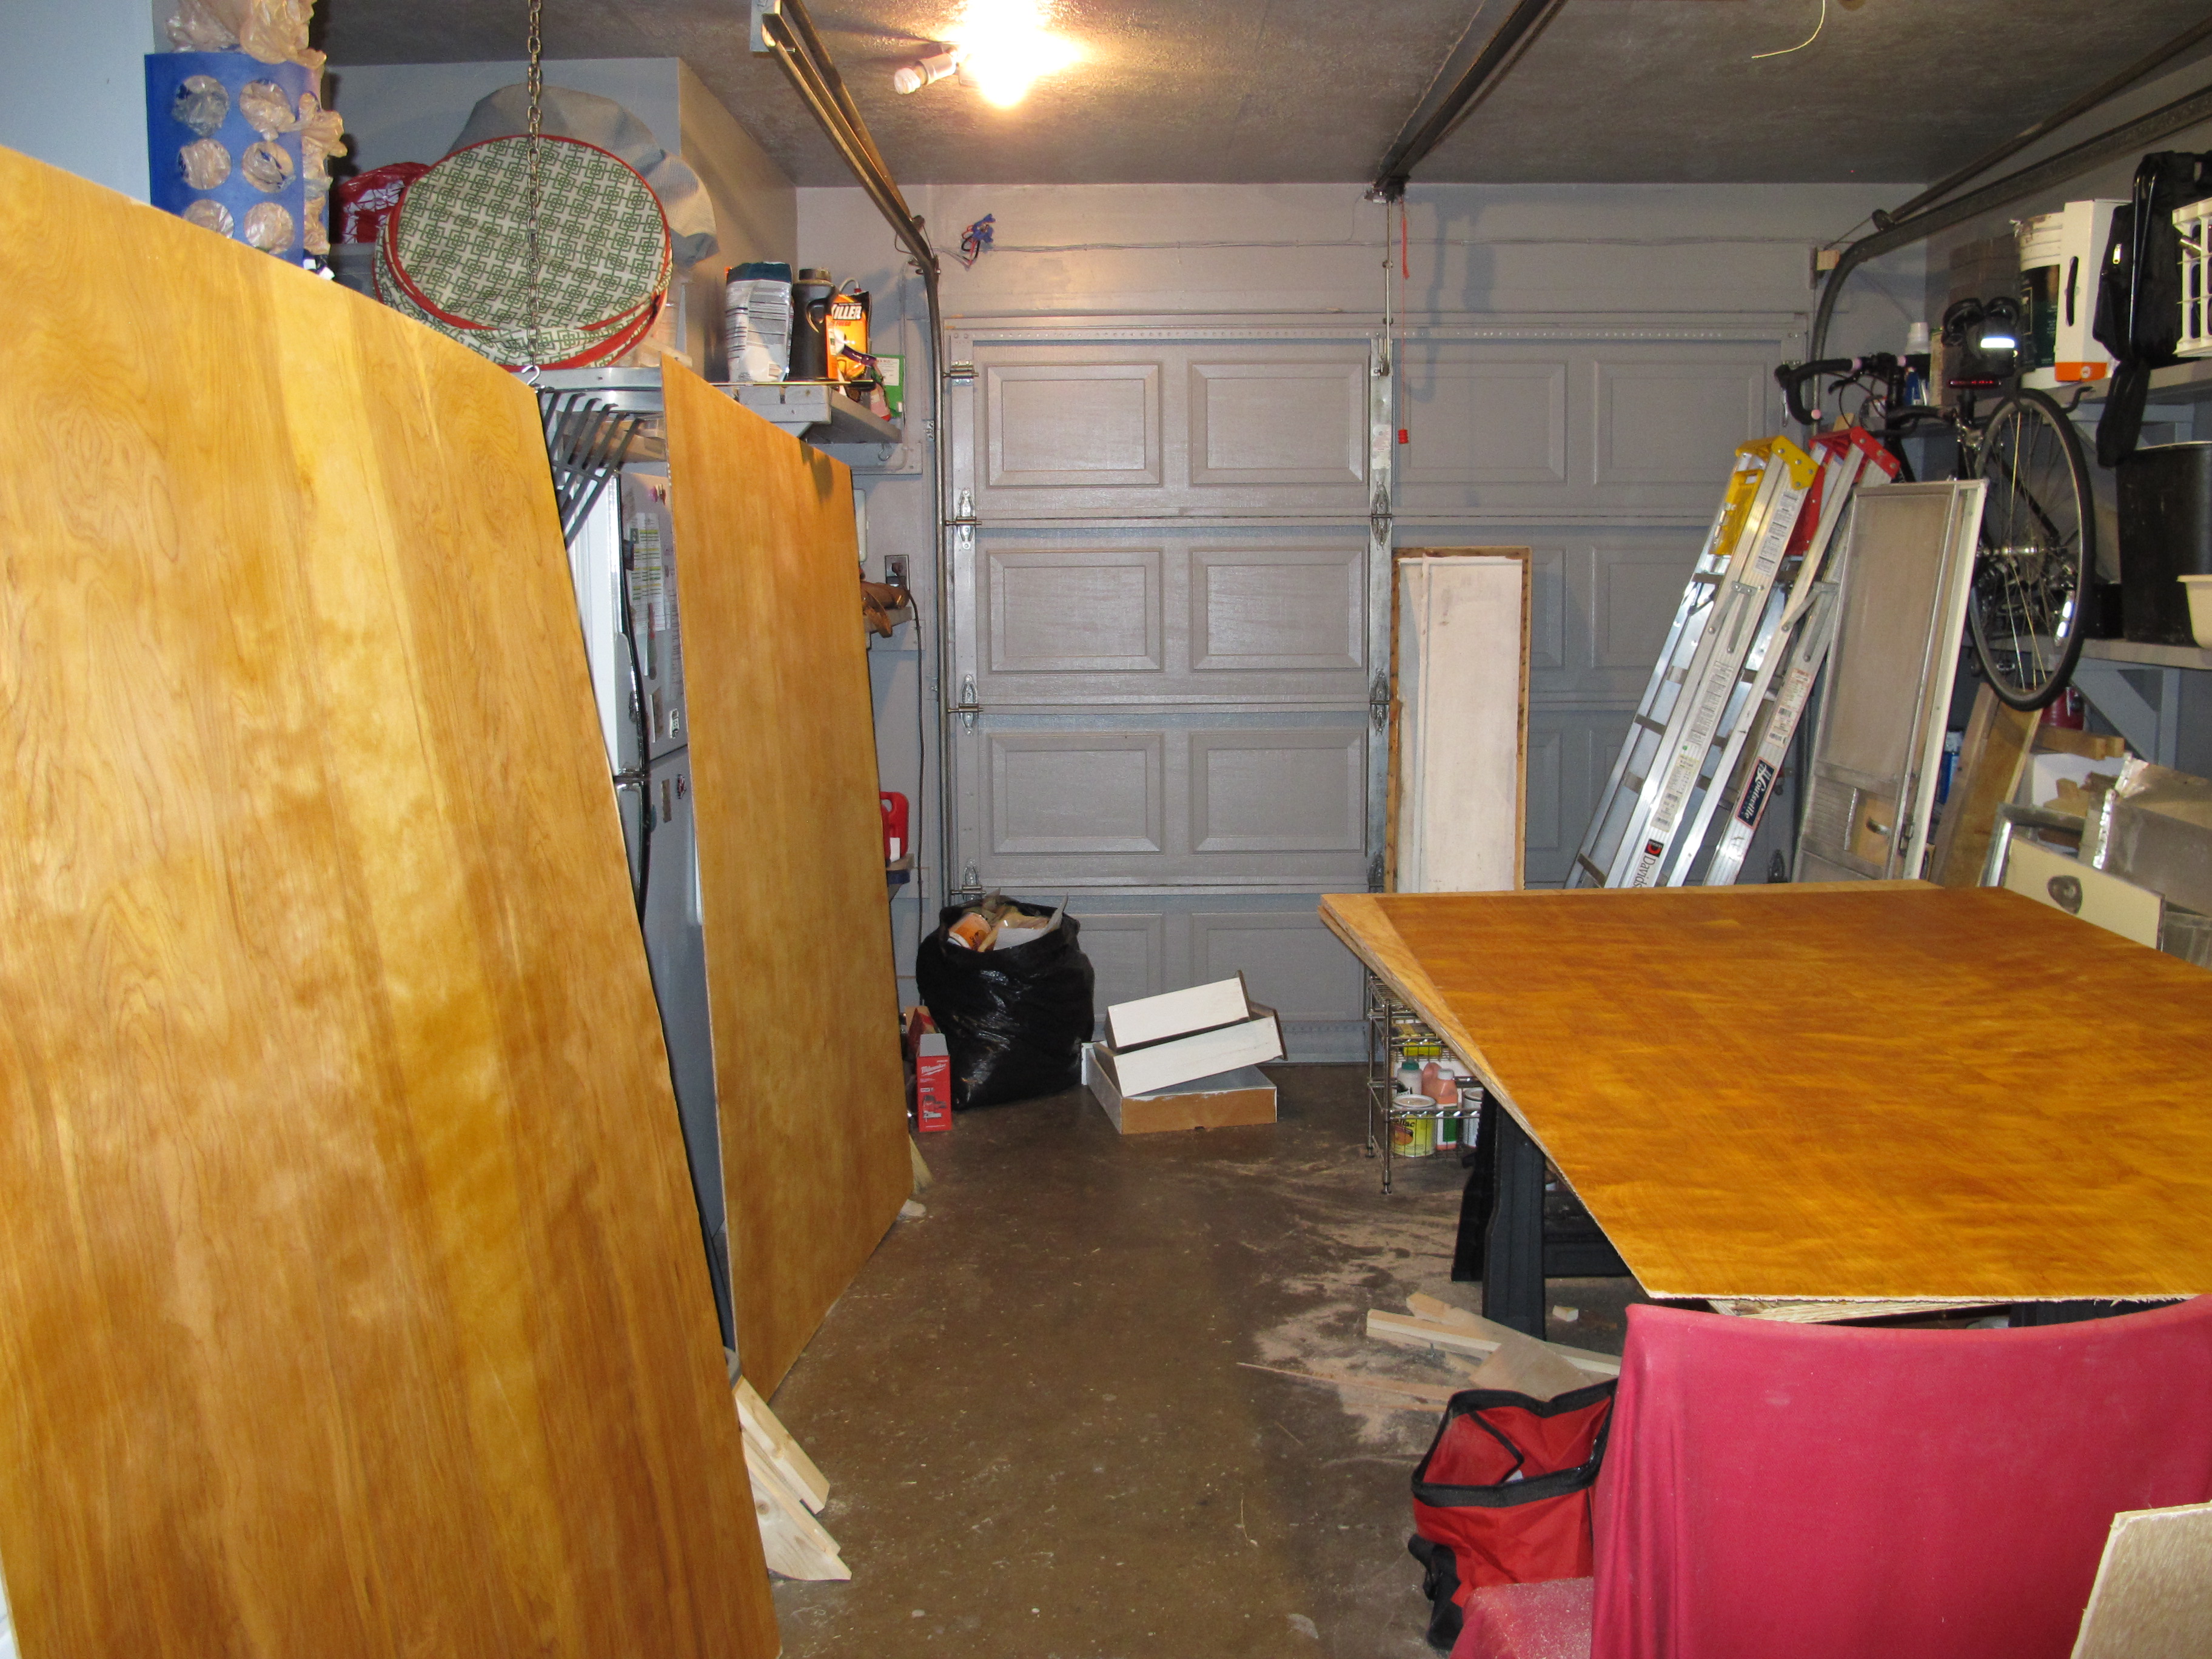
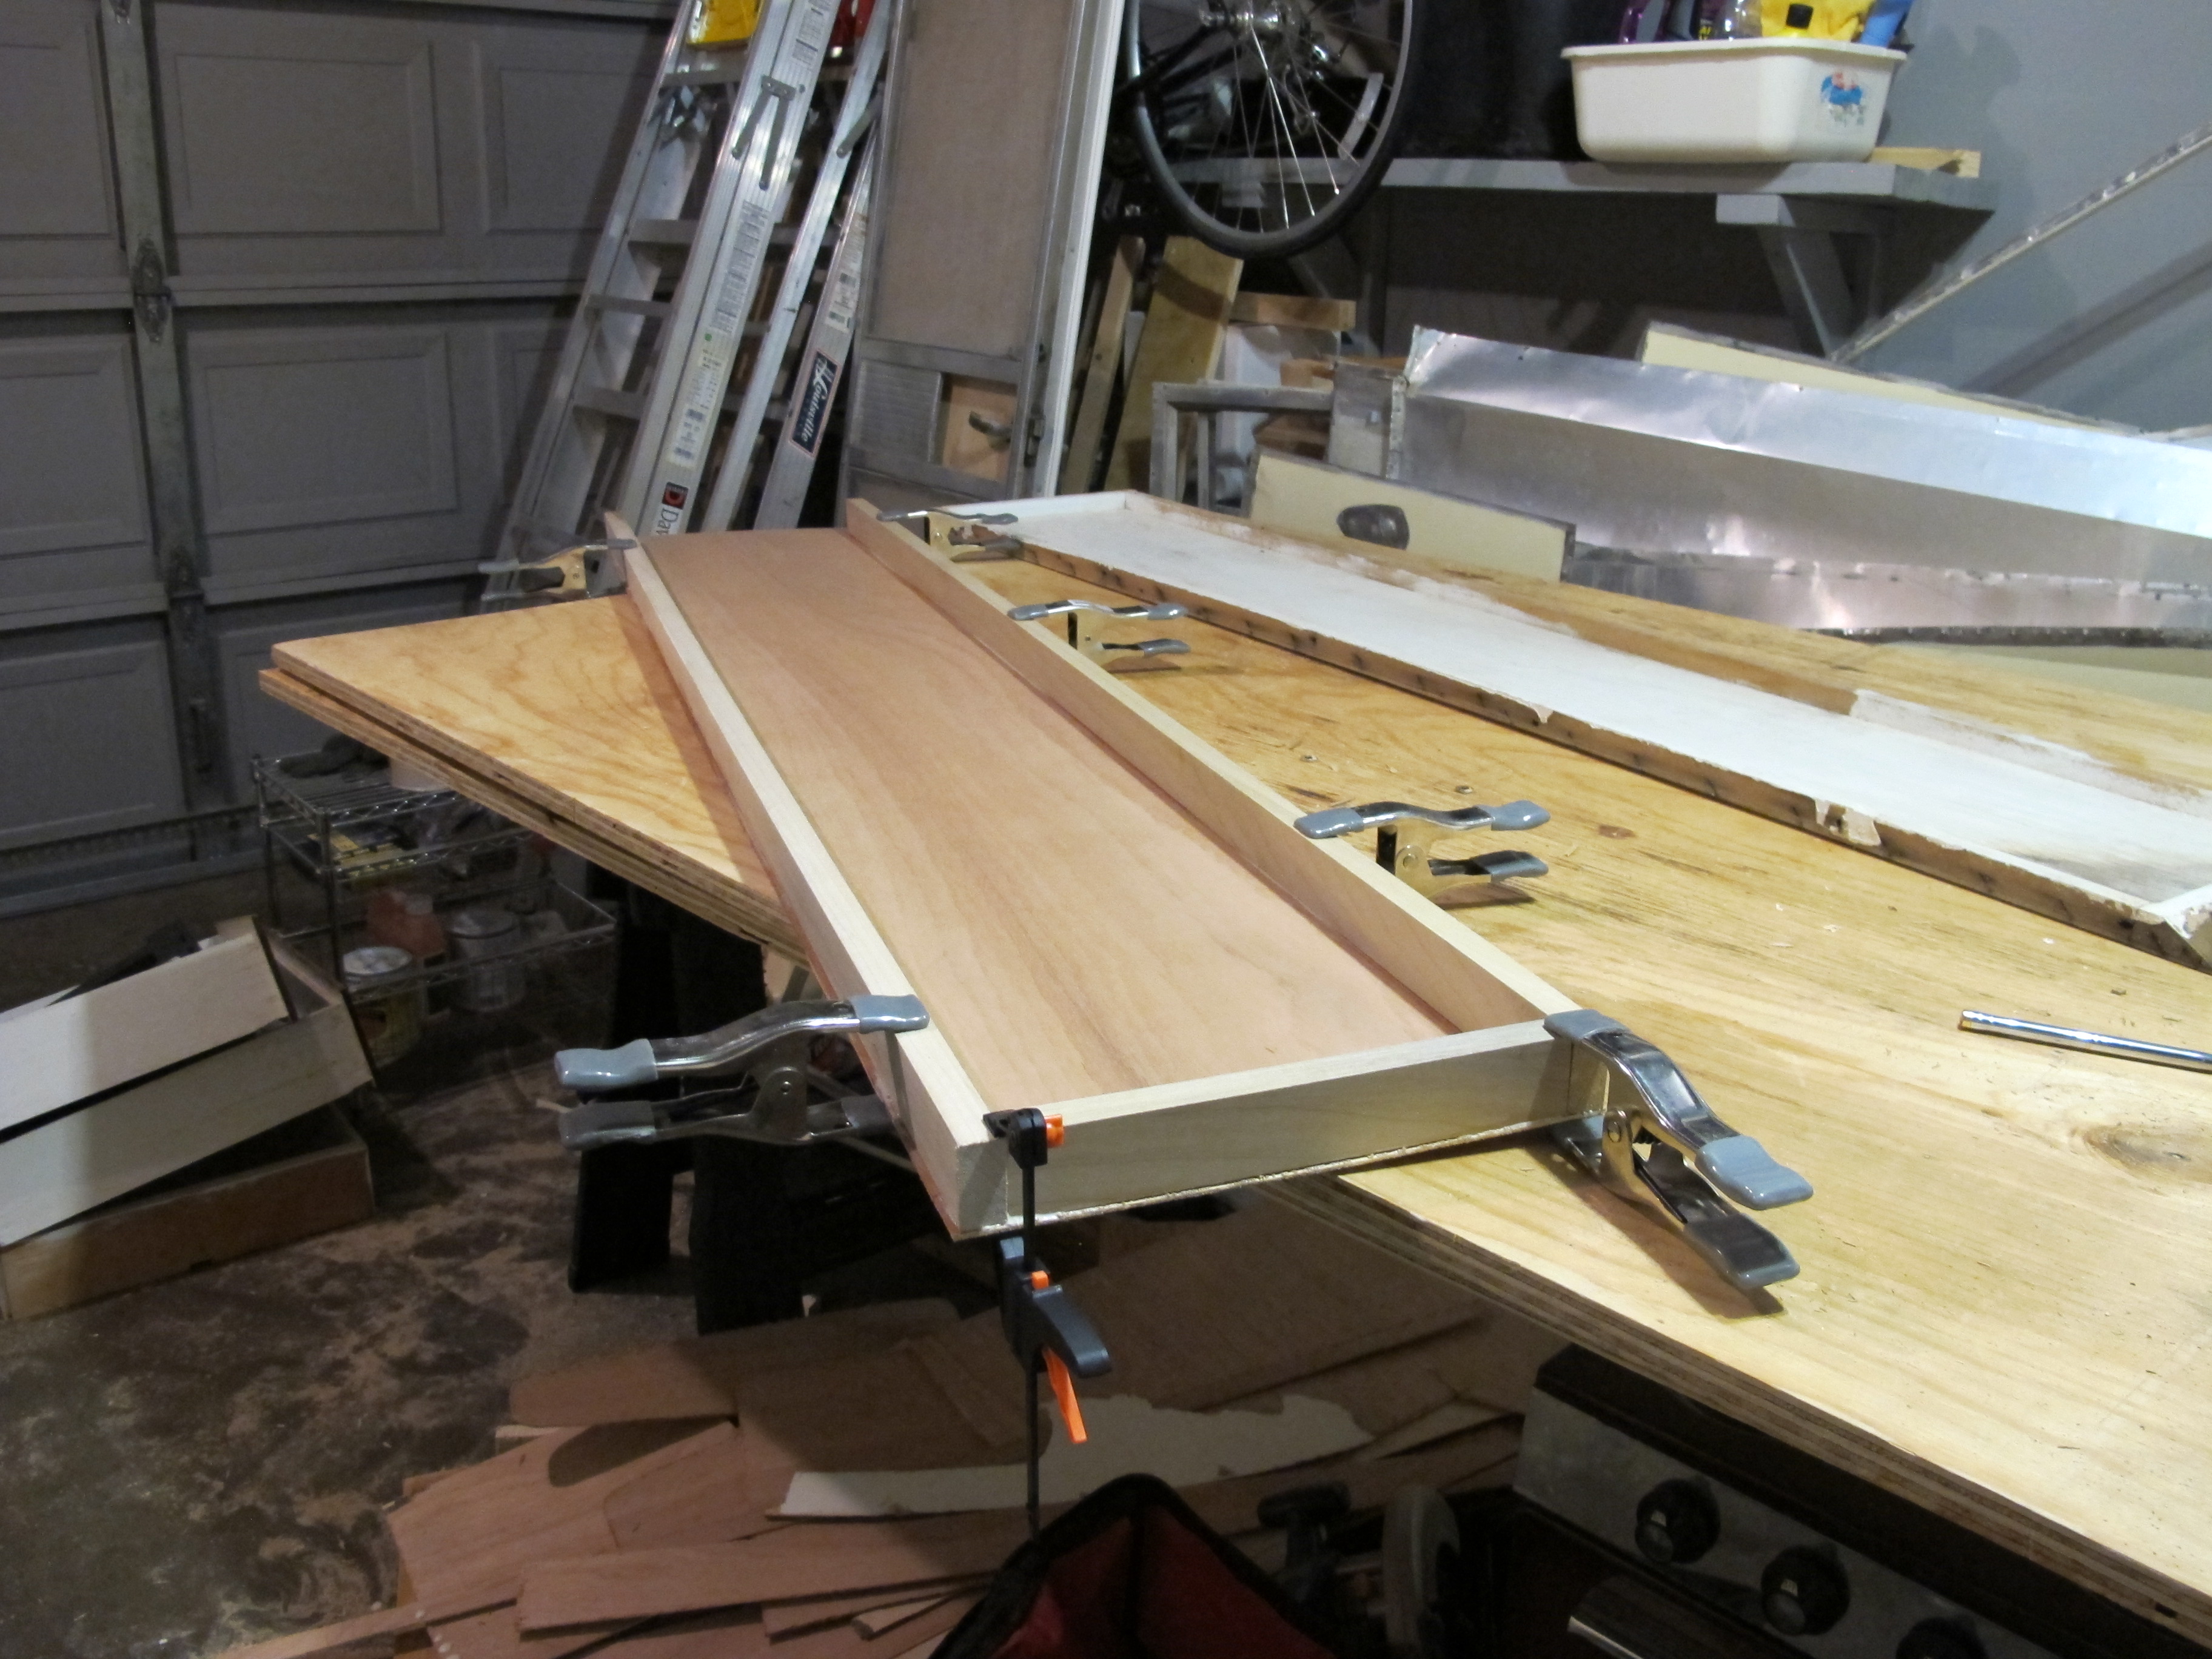
I thought since I now had September 12th as my new deadline, I would get extra done this weekend, but that’s not really how things went. On Saturday, I applied a third coating of paint stripper to the drip rail. I let it sit and went in the garage to finish rebuilding the door. I thought the door wouldn’t take me that long to finish because I finished stripping the paint off the frame pieces during the week. Unfortunately, it took me almost all day! I initially thought it would be a good idea to add some putty tape around the edges of the door frame to seal it. That didn’t work at all.

What ended up happening was that the putty tape was too thick and I couldn’t get the frame piece around it because it’s supposed to fit tightly. Then I tried some gutter seal, and that just made a big fat mess everywhere, so I gave up and didn’t add any sealant. If some water gets in there, oh well.
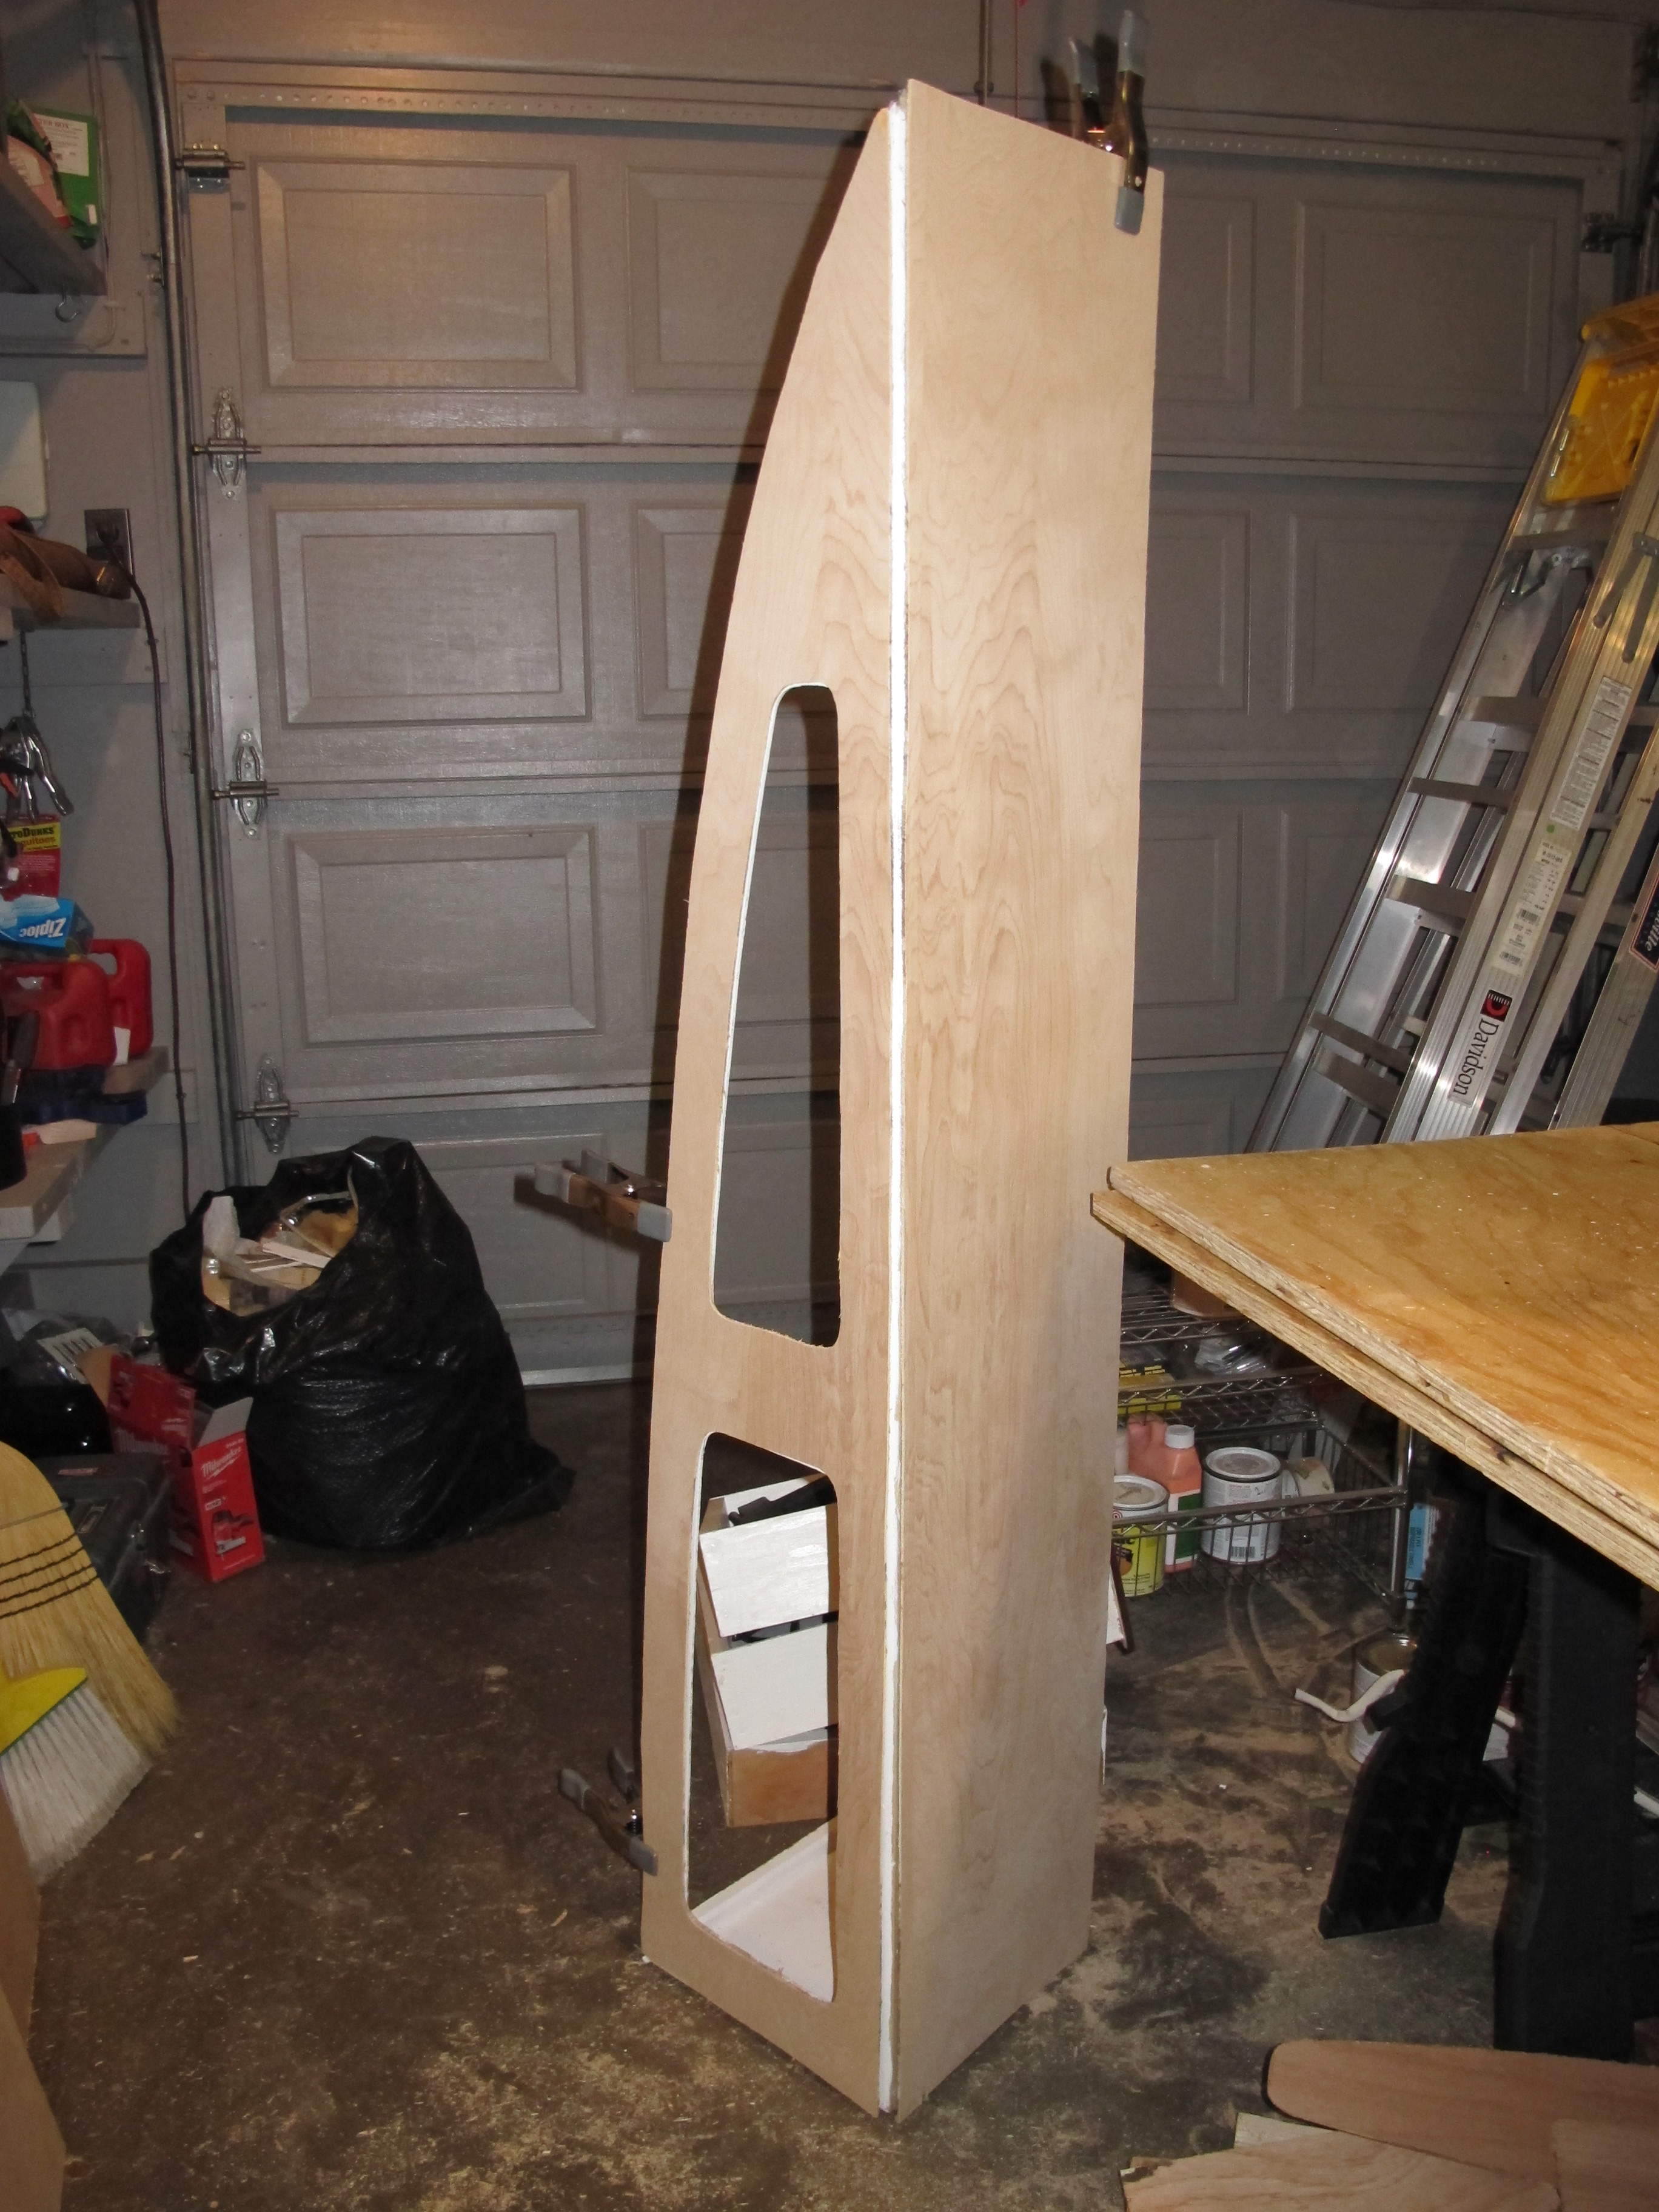
Once I was done rebuilding the door, I got ready to install it. I first put the screen door back in the door frame because it was still attached to the hinge. It was at that time that I noticed the screen no longer fit in the doorway! When I retiled the floor on top of the old tiles, it added just enough extra height to the floor that the screen was too long. ugh I was planning to make a new screen door one day, so I guess that day will come sooner than I imagined!
I removed the screen door and then installed the door. After I found the handle for the exterior and interior, I went to look for the keys and then realized I had no idea where they were. I searched high and low and still haven’t found the stupid keys! I usually don’t lose things, but this project has made such a mess of my garage and house that I have been losing things right and left. I went ahead and installed the handle, but now it won’t lock unless you’re inside the camper. I may have to pay to have it rekeyed…again.
Later that day, I tried scraping off the remaining paint from the drip rails. Unfortunately, some of the paint would not budge. I ended up deciding to use the wire wheel on it to scrape the rest off. It leaves scratches all over the aluminum, but I was too tired of messing with it. Even using the wire wheel, it is taking me ages to get all the paint off! I still have two more pieces of drip rail to go before they’re all cleaned and ready to install.
Today (Sunday), I installed the drip rails that were finished and ready. I also spent an hour at Lowe’s looking for various pieces I needed to get my AC installed correctly. I had to get a bit creative, but I’ll save that post for another day. ![]()
After installing the drip rails, I also installed the license plate. It is really starting to come together! I’m still a little nervous that the tail lights won’t work when I hook them up again. Fingers crossed that none of the wires come loose under all the skin!

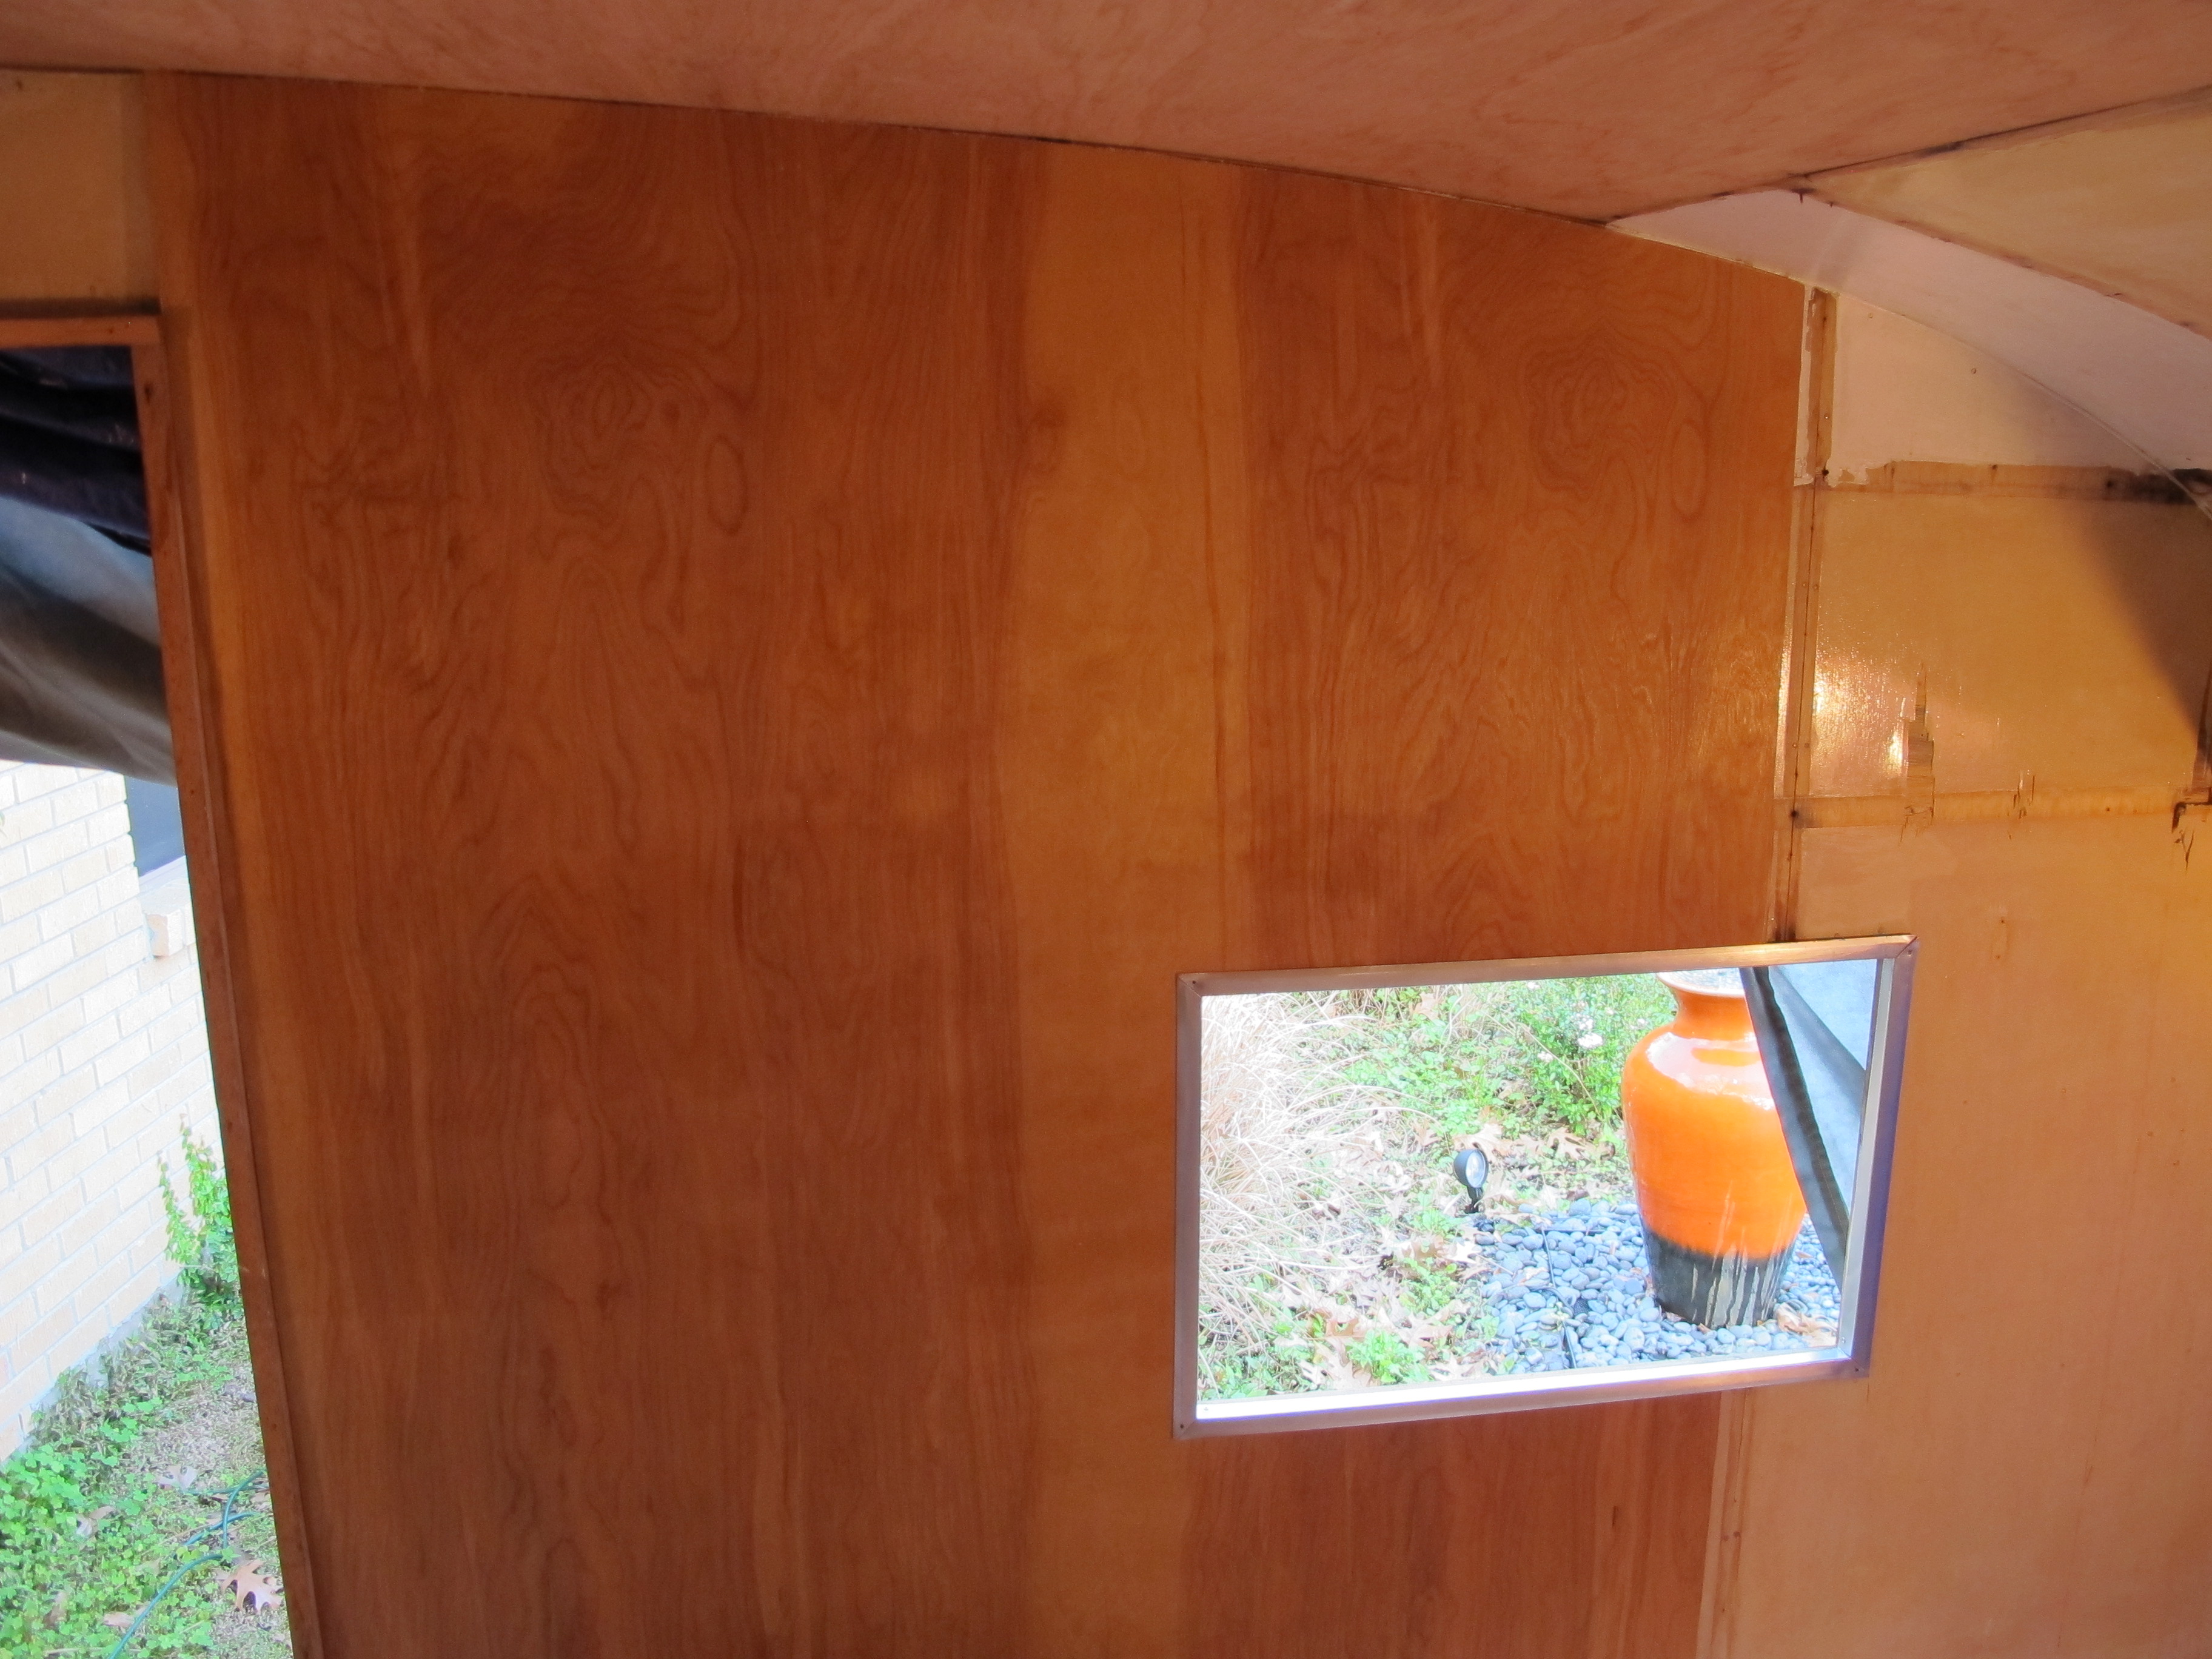
The lines don’t exactly match up on the left side of the door for some reason. It’s not that noticeable so I’m hoping no one will see it. I’m definitely not taking the door off and starting over!

Awning rail installed! There’s one screw sticking out a little because I ran into a screw behind it that was holding the frame together. I think I may cut this screw short so that there’s still a screw in that hole.
It’s really starting to look like a complete camper again!


I’m going to try to work on the electric wiring during the week this week just to get a bit of a head start on the weekend. My new 30 amp plug and cord came in the mail today, but I’m still waiting for the 15 amp adapter that I will need to test it out at home. I still need to finish installing the breaker box and all of the receptacles first anyway. Next week’s post should be electric! hehe