Just a quick post to talk about applying birch veneer. As I posted previously, I applied some birch veneer to the cabinet door and was successful (so I thought). I noticed when I inspected the cabinet door today that some bubbles/wrinkles had appeared. I was able to smooth it out, but I’m wondering if they will reappear again later. Houston’s humid climate is probably not helping either. We’ll see how it goes! ![]() Today I decided to tackle the closet door. It is much bigger, so I was a little nervous, but it came out great (so far).
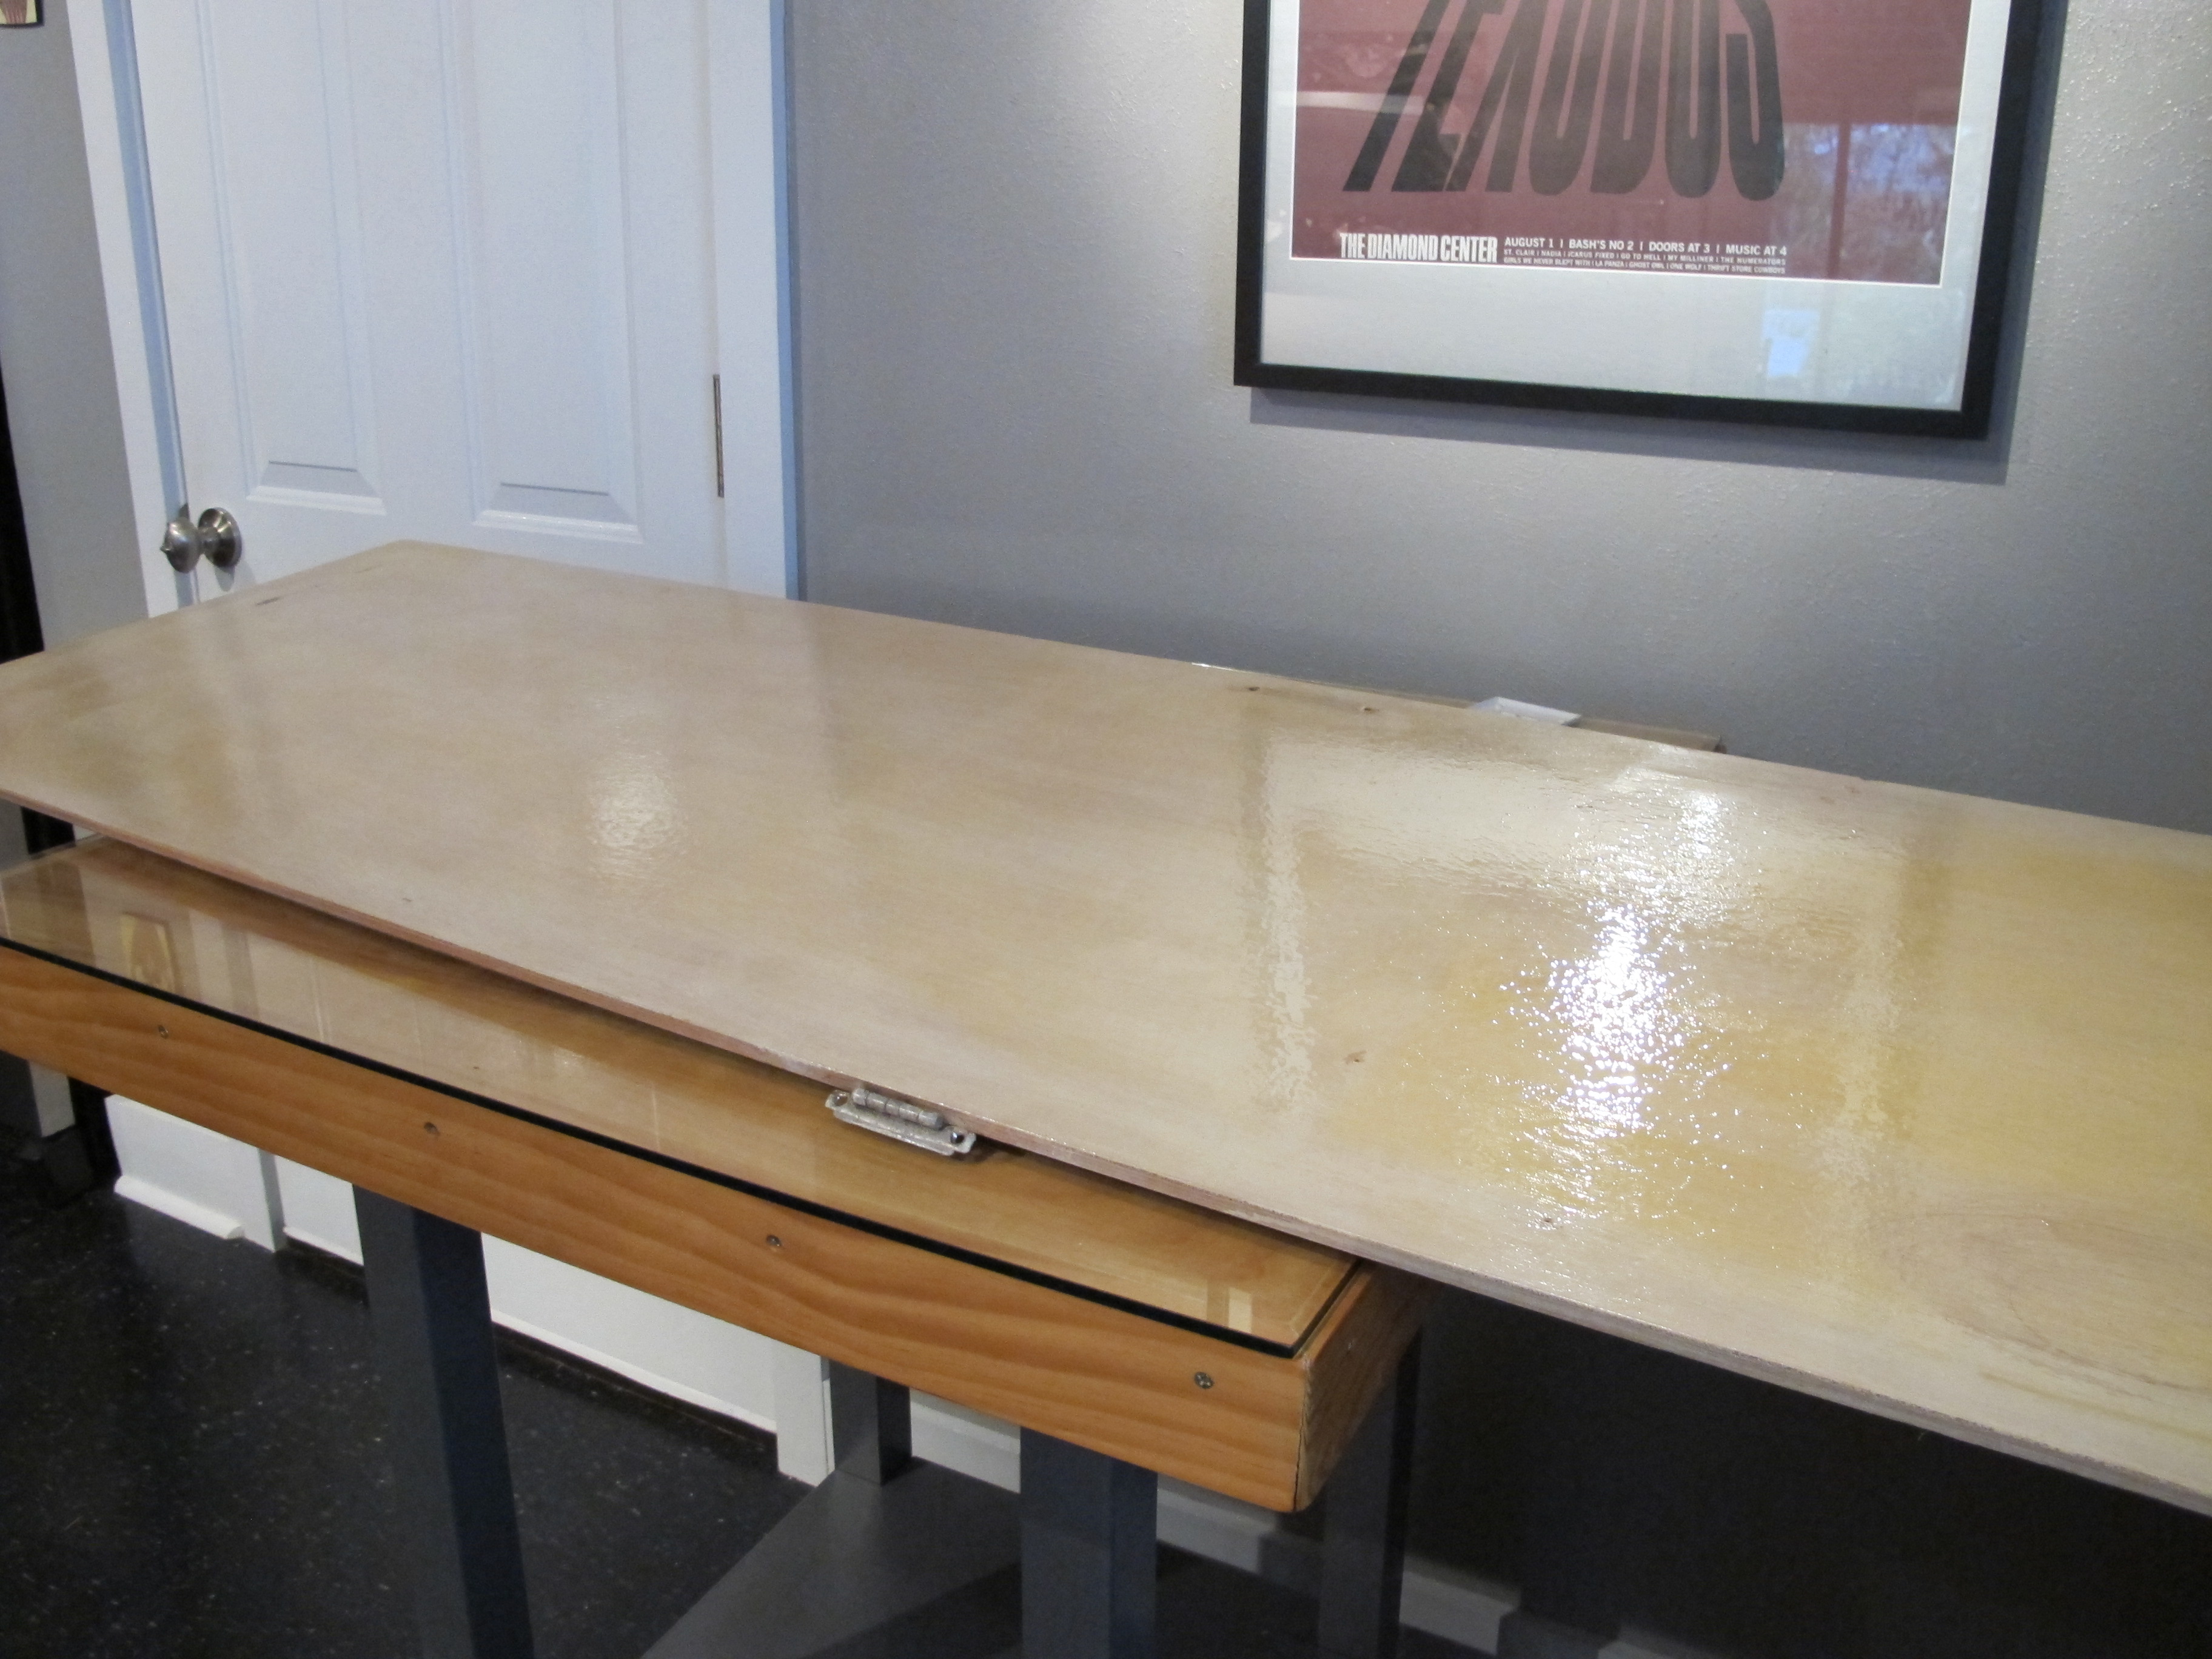
Today I decided to tackle the closet door. It is much bigger, so I was a little nervous, but it came out great (so far).
Door before

Veneer is cut and ready for the contact cement. I cut it a little larger than the door, just in case I didn’t get it aligned exactly right.

This is the kind of contact cement I used. I also used a small roller for this item since I had to cover a larger area.
Just to save myself some time, I poured the contact cement on the door and then used the roller to spread it around.

It only took one coat of contact cement for the door because of the polyurethane finish on it. I made sure to sand any rough spots first, i.e. screw holes from the handle and mirror.
The veneer is very porous so I had to give it two coats of the contact cement. Using my dining table was probably not the best surface. haha

I had to clean off my workspace in the garage to make sure no sawdust got in the adhesive. 
Instead of picking up the veneer and applying to the door, I picked up the door and turned it upside down on top of the veneer. This was easier to get it lined up. 
I then flipped the door over and applied pressure using a very sophisticated tool. ![]()

I found that this light switch plate worked very well to apply pressure evenly all over the door. 
This is the cabinet door. As you can see, there is a tiny bit of veneer sticking out on the edge.
I took a razor blade and cut the veneer at the edges. Then I used a very coarse sandpaper to smooth the edges, finishing it off with a higher grain sandpaper. Fingers crossed that no more bubbles appear tomorrow! I will have to do the same with the edges around the door, but I’m going to wait until the cement has fully cured.


Doing great Jannica. Did you let the contact cement tack over before putting them together?
Thanks! Yes I forgot to say that in my steps, I waited about 15-20 minutes after applying the contact cement before putting them together.